Final Preparations
Fury will have additional opportunities to search for any outstanding Humans or artifacts after her battle with Pride , but we recommend doing so now. Not only will this allow for additional upgrades prior to fighting Pride , but it will allow you to enjoy the endgame sequence naturally. There’s no right or wrong order for revisiting earlier locations, but if you’ve been following along closely—or looking ahead to the maps in the Atlas haven ’t yet covered.
There are also smaller areas that can be explored in greater depth thanks to now having the full assortment of Hollows . We outline a few here, focusing on those containing the rarest items or Humans, but we recommend you flip ahead to the Atlas Haven: West End and work your way methodically through the world, map by map, until you’ve found everything you’re missing. Again, there’s no need to do any of this—and there is time to do it later, even after the credits roll—but doing so now leaves Fury in the best position to take on Pride .
Advanced Exploration: Forgotten Lake
Hollows Required: Stasis, Force, Flame
Activate Stasis form and run across the surface of the lake to the south end of the cave. Locate the purple rocks high on the wall. Quickly toggle to the Force Hollow and blast the rocks with Salvation. Refreeze the water with Stasis, then Flame Jump up to find an Angelic Artifact . Also, while at Forgotten Lake, use the Stasis Hollow to climb the waterfalls in the northwest corner to find a Demonic Artifact and Piece of Adamantine at the Eroded Pipeline.
Advanced Exploration: Sunken Tracks
Hollows Required: Stasis, Force
There’s an area atop the south end of the Sunken Tracks station, but the only way to reach it is by first climbing the Stasis shaft to the north. Once on top, grab the Incandescent Remains in the corner and smash through the crates to expose some ductwork. Crawl through to the cave and drop down to get a Demonic Artifact beside the gate controls. Climb back up the Stasis shaft, activate Force form, and whip swing into a Force Ball to roll across the ceiling to the south. Smash through the rocks to free a Human and gain another Luminous Visage .
Advanced Exploration: Tangled Grotto
Hollows Required: Force
Head up the stairs at the west end of the Tangled Grotto subway station and smash through the rocks with the Mallet of Scorn. This leads into a vast network of tunnels and passages containing a multitude of items. Grab the Demonic Artifact on the right and Flame Jump up to the next level. Go through the tunnel and head left at the fork. Duck into the tunnel beside the Incandescent Remains to find an Angelic Artifact . Continue through the hive, exploring each branching path to find several more artifacts and two Humans .
Advanced Exploration: Cargo Hold
Hollows Required: Force, Storm
Return to the Cargo Hold Serpent Hole and exit the ship as you did after defeating Lust . Cut through the warehouse to the north and step out onto the containers near the toxic pool. Storm Glide to the warehouse to the east, grab the Demonic Artifact near the insect hives, and head north to the next warehouse. Use the Mallet of Scorn to break through the rocks, grab the Angelic Artifact to the left, and cut through the opening on the right to continue south.
Fight past the Undead Beast to the large purple block and knock it southward across the flooded warehouse so you can reach the upper room to the right of the Stasis shaft. You’ll likely need to zigzag it into position to get around the pieces of floor and other obstacles. Knock the Mansk down onto the ground below—you’ll need it to reach the roof! First, use the Stasis Hollow to wall jump up to the southern room. Grab the Angelic Artifact and Force Ball down to the containers below. Leap across to the island to find a very rare Chunk of Adamantine .
Return to the Mansk on the ground outside and drive it northward toward the roof of the farther warehouse. Leap from the Mansk onto the roof and head inside to find a Human and a Piece of Adamantine.
Advanced Exploration: West End
Hollows Required: Storm, Force
Make your way to the split in the tree root at West End and follow the path that curls toward the building, as if you were headed back to the beginning of the map. Spot the Incandescent Remains on the cliffs to the south and Storm Glide over to them for a Havoc Shard. Follow the path up into the derelict office building to find a Piece of Adamantine . Smash through the purple rocks to expose a Stasis shaft with a Fragment of Adamantine at the bottom. Return to the cliff edge overlooking the clearing and Flame Jump to the cave above to grab an Angelic Artifact .
If you’re having trouble reaching the cliffs via Storm Glide, know that it’s possible to access this area via the cave after the parking garage. Smash through the purple blocks to reach the bottom of the Stasis shaft described above.
Meet Pride at Aries
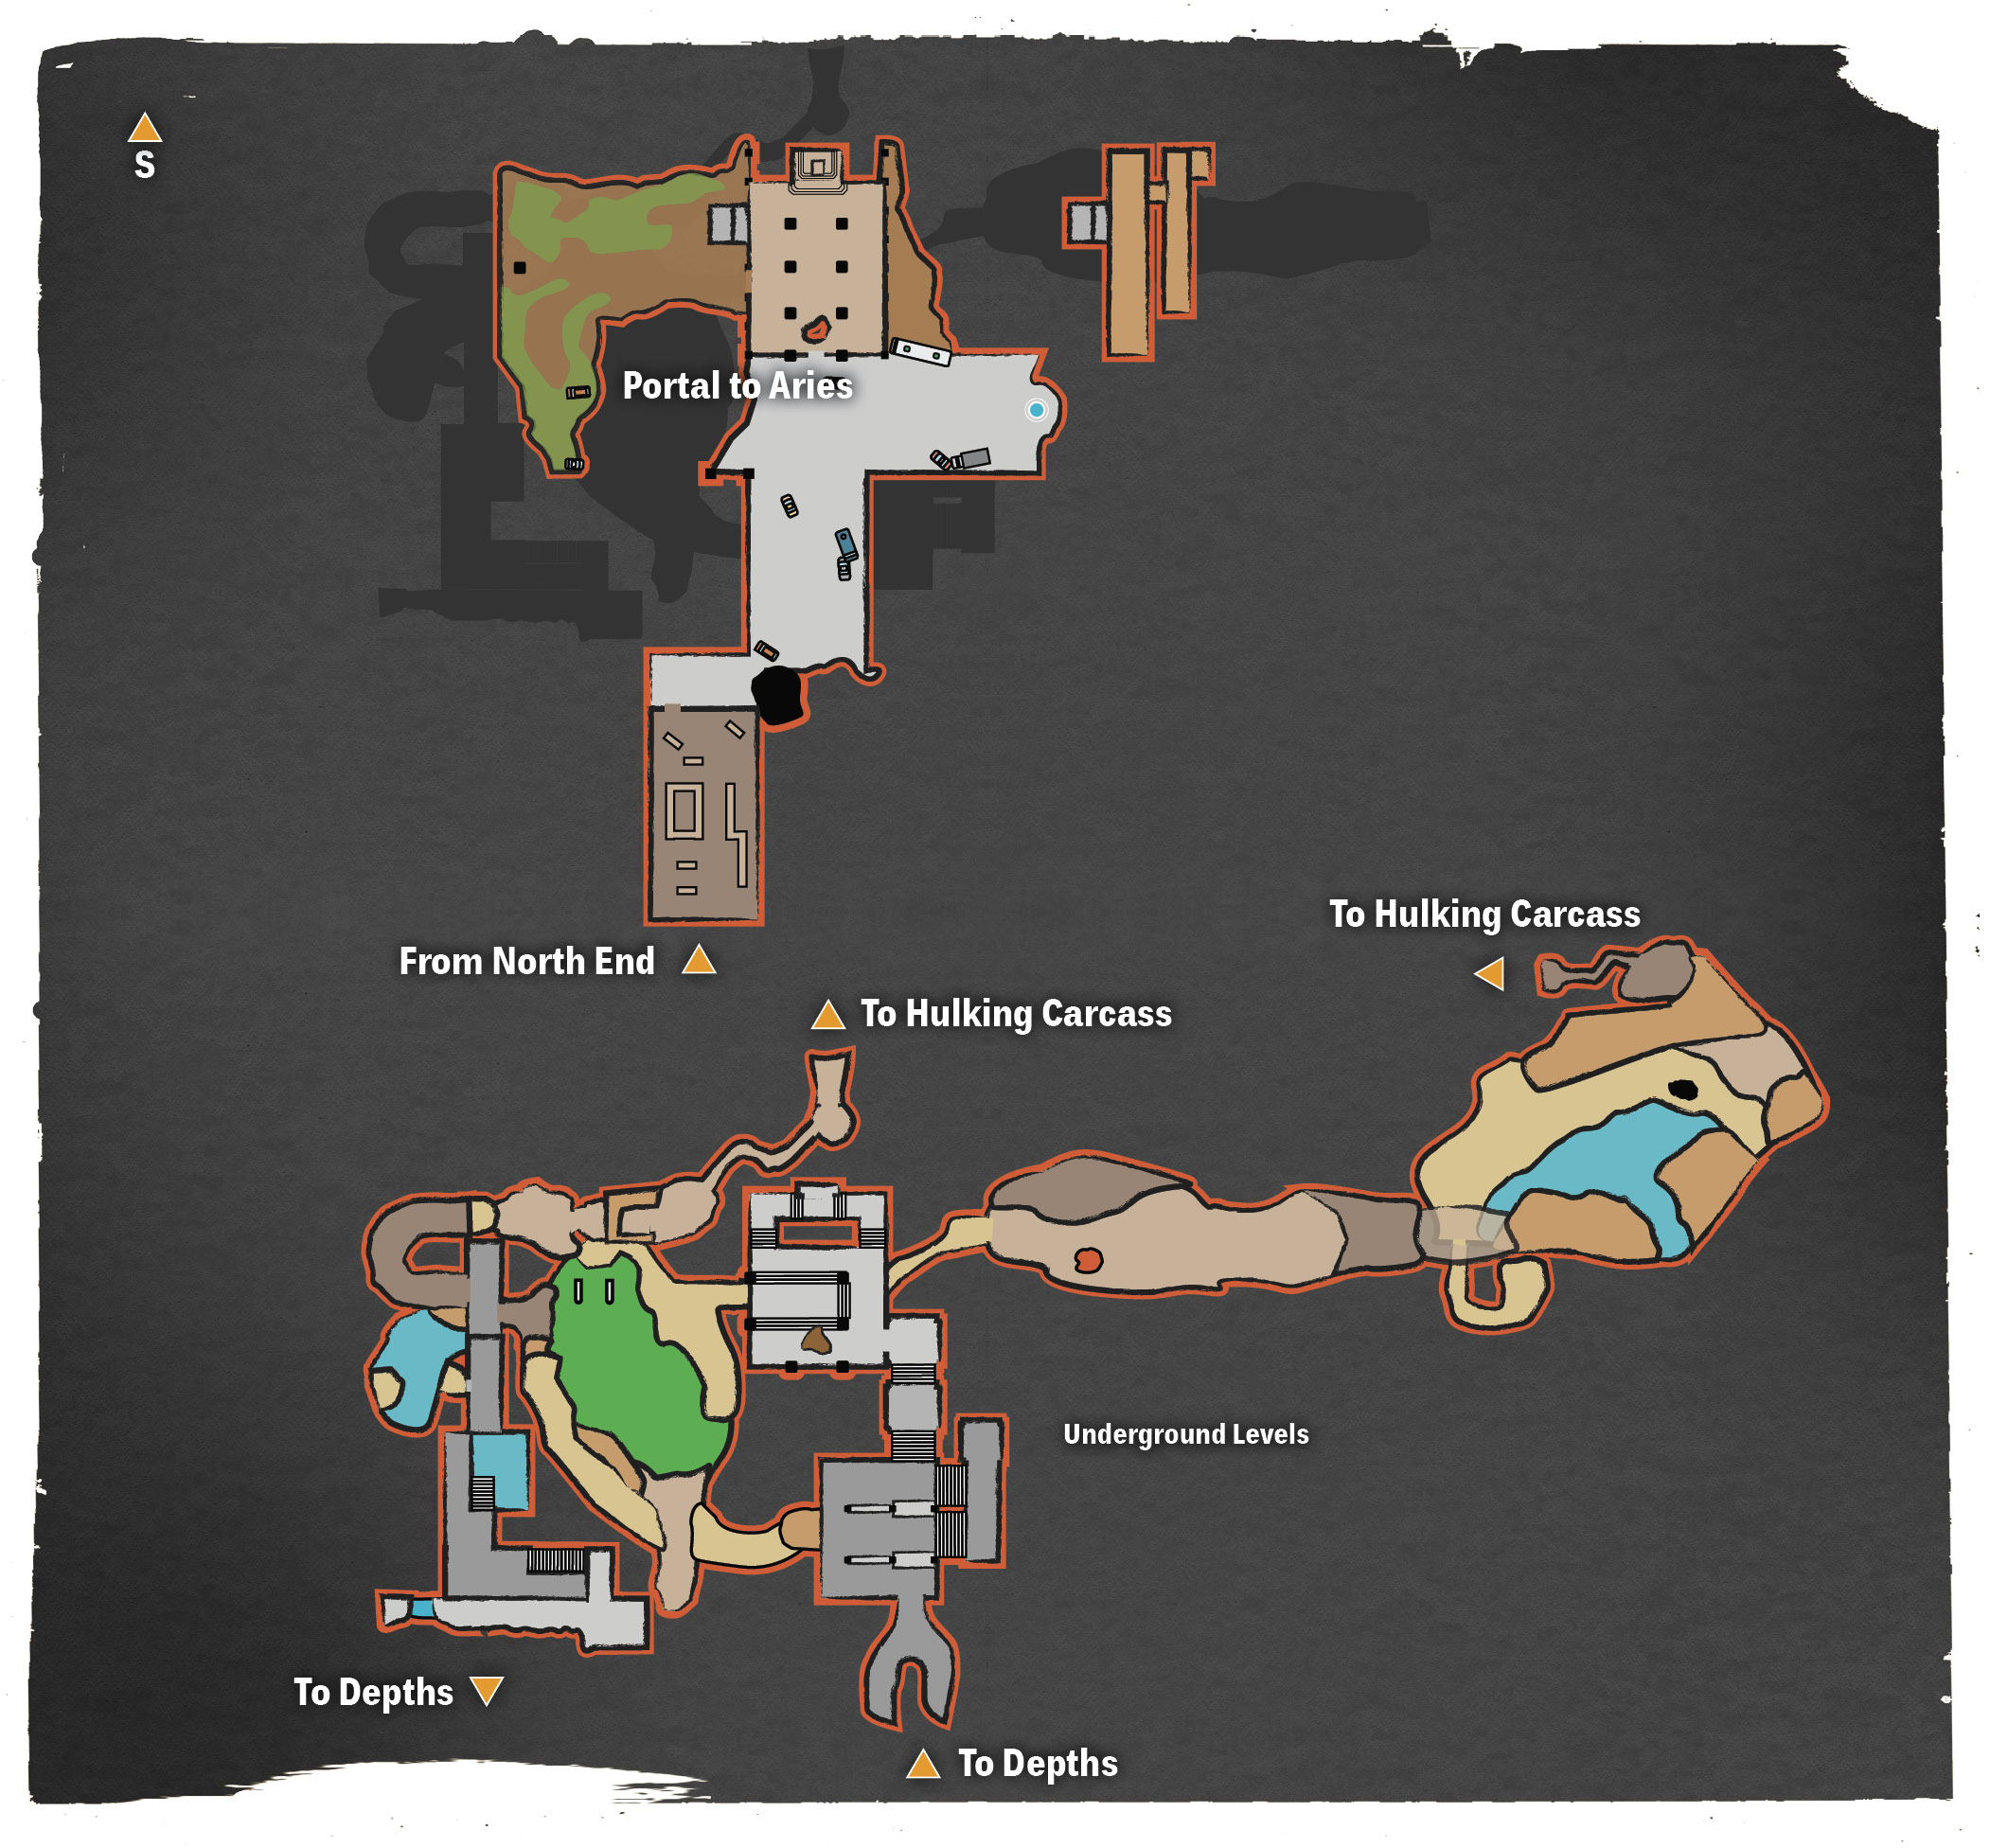
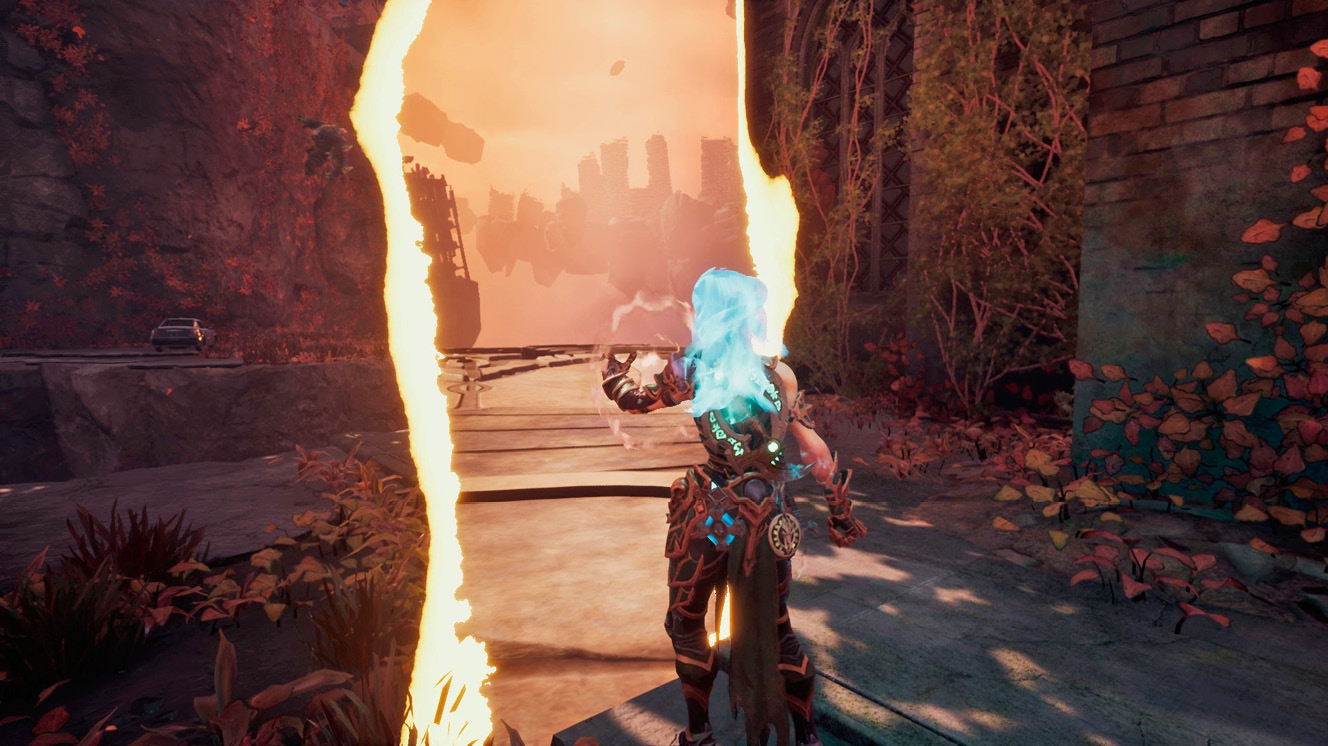
Pay a final visit to Ulthane to procure any last-minute upgrades, then return to South End. The portal outside the church is your ticket to Aries, home of Pride . Approach the portal and press the Action button to enter. She’ll be expecting you.
It’s time to bring an end to the Deadly Sins.
Spoiler-Free Ending
We’re not going to mention anything story-related from this point on. Instead, the following pages contain battle tactics for the outstanding battles. We do not recommend flipping ahead until you’re positively ready for the tips those pages contain. Your ending may differ, based on how you handled the encounters with Abraxis and the Lord of the Hollows . Consider choosing differently on a subsequent playthrough, perhaps on Hard or Apocalyptic difficulty.
Pride
Protective Shield: Pride begins the fight by casting a protective orb around herself. Fury must break through this barrier in order to inflict any damage. The best way is with the charged Mallet of Scorn and, better still, an Arcane Counter.
Leaping Slash: Be ready to dodge when Pride glides forward in a slight spinning motion, as she’ll slash downward from left to right. Dodge left to be in position behind her.
Spinning Combo: Pride will hold her lengthy sword out to the side and spin across the arena toward Fury. Dodge backward away from her to avoid her spin, then duck to the side before she finishes with an overhand strike.
Arcane Orbs: Back away quickly if Pride ’s raised sword begins glowing blue, as this is your warning that a volley of Arcane projectiles is headed your way. Dodge backward away from her and continue somersaulting in a wide arc to stay ahead of the homing projectiles.
Statue Energy Beam: Once Pride has lost roughly 40 percent of her Health, she summons a statue that glides around the arena, emitting a powerful energy beam forward and backward. This beam inflicts minor damage if Fury hits it, but it also works to corral her on one side and cause her to stumble if it makes contact.
Divebomb: Late in the battle, Pride flies high into the air, points her sword at Fury, and swoops down at her in a diving motion. Dodge aside as she begins her dive, then Arcane Counter.
At first glance, Pride fights in a similar manner to Lust . She’s skilled with a sword, patient in picking the time to attack, and quite fast. What truly sets her apart is the protective shield she casts around herself at the start of the battle. Back away so as to not be caught in the area of effect. Fury can’t damage Pride until she has broken through the orb-like barrier.
Any damage dealt to Pride ’s protective shield weakens it, but there’s nothing like a charged Hollow attack or Arcane Counter to really bust it apart. Pepper the shield from afar with the Salvation crossblade, but focus on landing Arcane Counters with the Mallet of Scorn or Edge of Scorn for maximum effectiveness. Pride drops to a knee as soon as the shield is burst, leaving her vulnerable to a full five-hit Executioner combo or, sticking with the Mallet of Scorn, a three-hit Aftershock combo.
Continue dodging and counterattacking to break through her first two shields, while chipping away at her Health. Before long, Pride summons a statue head to the battle. This statue hovers around the room, emitting a piercing energy beam out the front and rear of its head. Though it doesn’t inflict heavy damage to Fury, it is a nuisance that must be avoided. If cornered and low on Health, switch Hollows and either Storm Glide or Flame Jump over it.
Switch to Stasis form and trigger the Stasis Shield when the statue joins the battle. Charge Pride ’s position and attack with the Barbs of Scorn before she summons another protective shield. With the Stasis Shield active, Fury can ignore Pride ’s energy projectiles and the statue’s beam.
Envy
Sword Lunge: Envy lunges forward, stabbing outward with War’s massive sword. Between the length of Envy ’s arms and the length of the sword, this attack reaches farther than you might expect. Dodge to the side as soon as Envy begins coming forward.
Backhand Slash: Dodge to the side when Envy casually turns her back to Fury, as this is how she signals an upcoming backhand sword attack. Counterattack immediately and back away before her next attack.
Ground Stab: Beware any nonchalant twirling of the sword, as this often precedes a vicious ground stab that causes a ring of blades to erupt from the ground. Dodge to the side or trigger Stasis Shield for protection.
Scythe Toss: Watch for an apparition to emerge from Envy once she’s been reduced to a third of her Health. This often precedes a vicious scythe swing, followed by a toss. The scythe boomerangs around the arena, so keep dodging until it’s back in Envy ’s hand. The best way to avoid the scythe attacks is by circle-strafing around Envy to attack her blind side.
Gunshot: Once below half of her Health, Envy begins using Strife’s pistols whenever Fury is out of range of the other weapons. She fires each gun in quick succession. Try to dodge toward the side of the first gun fired.
Envy has managed not only to possess the six other Deadly Sins, but also to have somehow acquired War, Death, and Strife’s signature weaponry. There’s no telling how she got it, but Fury can’t let her add Scorn to her collection. Despite being relatively resistant to Arcane damage, Envy attacks with a wealth of Arcane attacks. Be sure to have the Shade enhancement equipped to a weapon you use least. It’s also worth equipping the Marauder enhancement for the increased chance to receive a Health Lurcher.
Maintain a moderate distance from Envy while watching her closely to dodge out of the way of her lunging sword thrust and various sword swings. Counter quickly with the Barbs of Scorn—Envy is resistant to the chilling effects of the Edge of Scorn—and back away. Continue employing hit-and-run techniques until she stands in place and twirls her sword. Immediately trigger Stasis Shield to guard against the ground stab, and continue hitting her.
Envy begins summoning apparitions resembling the various Deadly Sins once she’s been reduced to approximately 60 percent of her Health. Green images of Pride , Wrath , and Sloth appear most often. Wrath rears back and pounds the ground three times, unleashing a mighty shockwave with each punch. Double-jump over the spreading shockwave to avoid being hurt. The vision of Sloth flutters briefly in the air and then slams down atop Fury. And the Pride apparition performs a twirling sword attack. Visions of the other Deadly Sins may also appear, each performing its signature move. Stay on the lookout for their emergence and dodge accordingly. Each summoned entity disappears immediately after it attacks, so don’t waste any effort trying to hit it.
The final moments of the battle get quite intense, with a constant series of Deadly Sins joining the fight. Though you can’t afford to ignore their attacks—especially Wrath ’s—you must try to focus on Envy . Her lunging sword thrust and scythe tosses will chip away at Fury’s Health if you don’t manage to dodge effectively. Make use of your Nephilim’s Respites whenever the Health Meter empties halfway, and use Wrath Shards to keep the Stasis Shield active as much as possible. The final moments of the fight are frenetic, and you must aim to dodge and strafe around to Envy ’s blind side as much as possible. And, lastly, if all else fails, trigger Havoc Form one final time.
Humanity depends on it.