
Darksiders III Guide Hunting the Deadly Sins Avarice
Hollows: Blistering Bridge
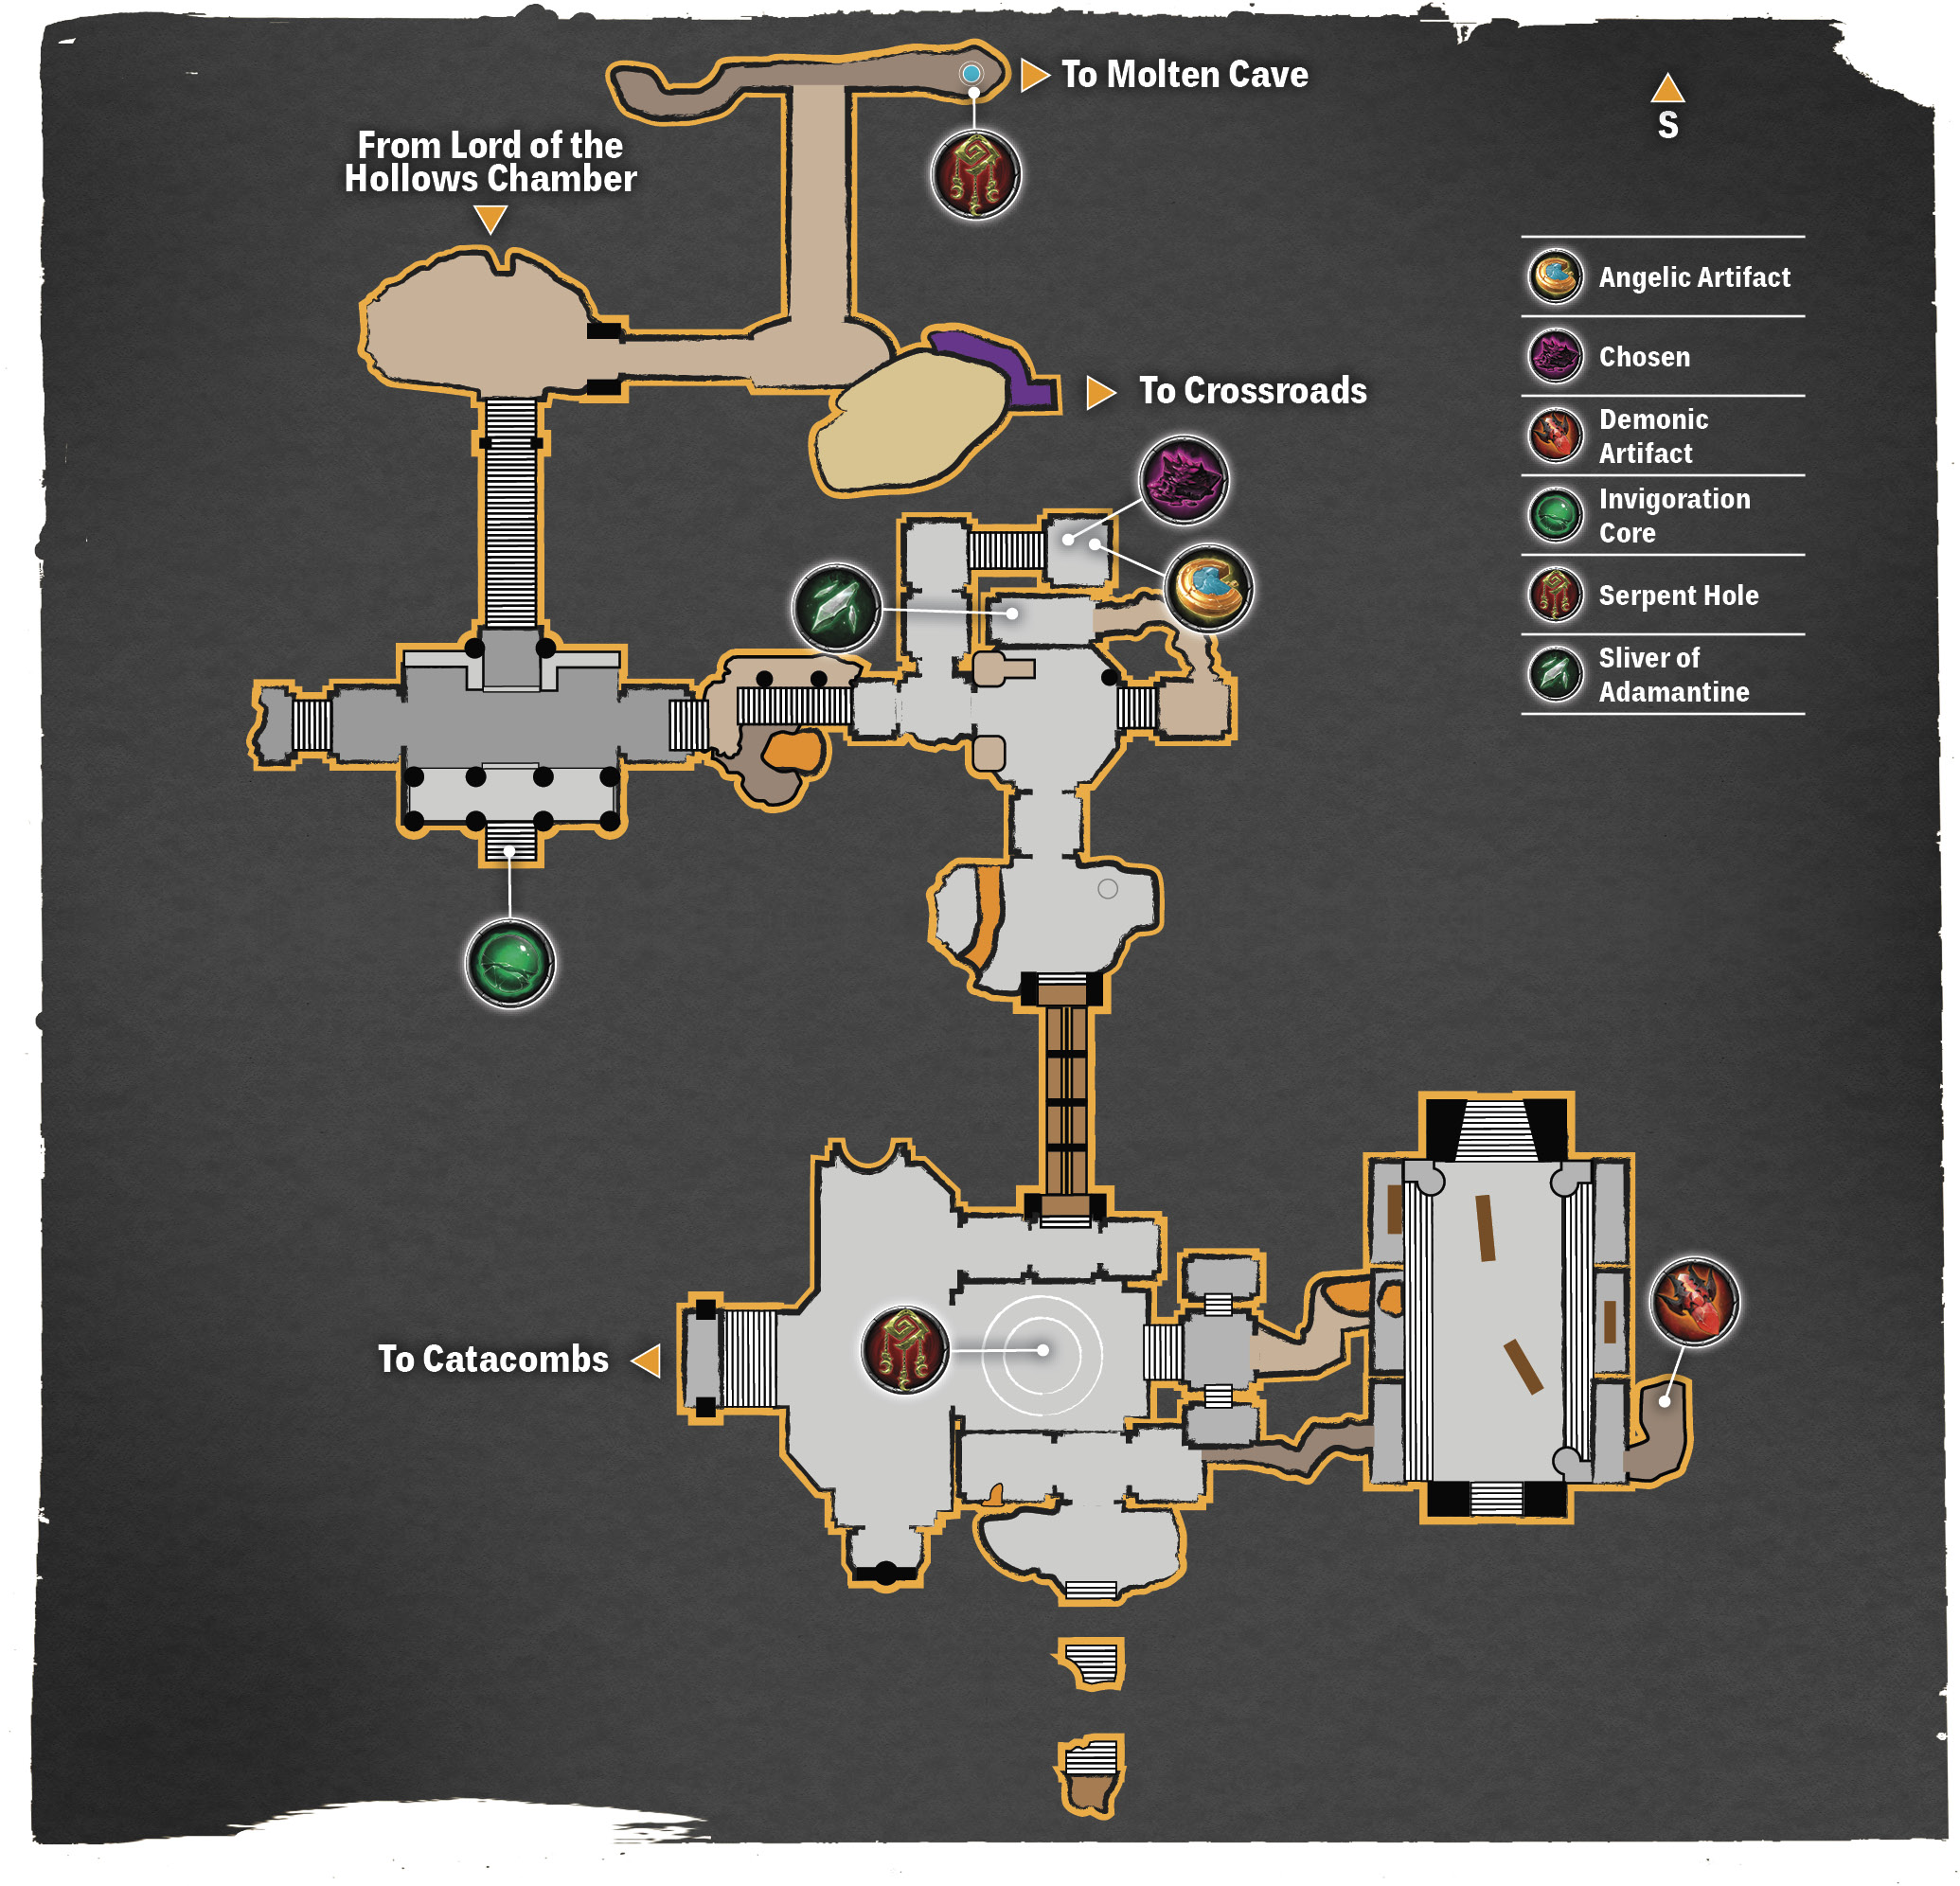
Drop off the right-hand side at the end of the stone path to find the first Demonic Artifact along the lava river below. Beware that two Lava Abominations will rise from the lava as you grab the artifact. Focus your attacks on one while you watch for the other’s projectile attacks. Flame Jump out of the pit to escape.
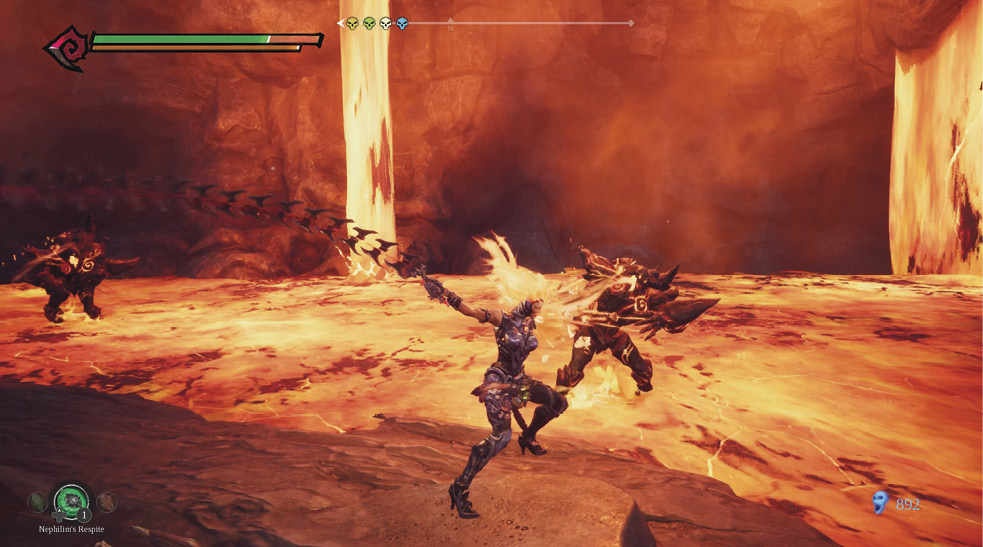
Whip swing across the fiery trench beyond the winding path, crush the Skeletons on the far side, and top off your health. A Lava Brute guards the entrance to the crypt and he’s nobody to be trifled with. Dodge his early swings while keeping your distance and wait until the massive axe gets stuck in the ground—then go on the offensive! Activate the Flame Hollow’s Immolation attack to engulf Fury in a burst of flame—perfect for initiating fire damage even while using the Barbs of Scorn. The beast explodes upon death, so back away the instant you spot the Lurchers escaping.
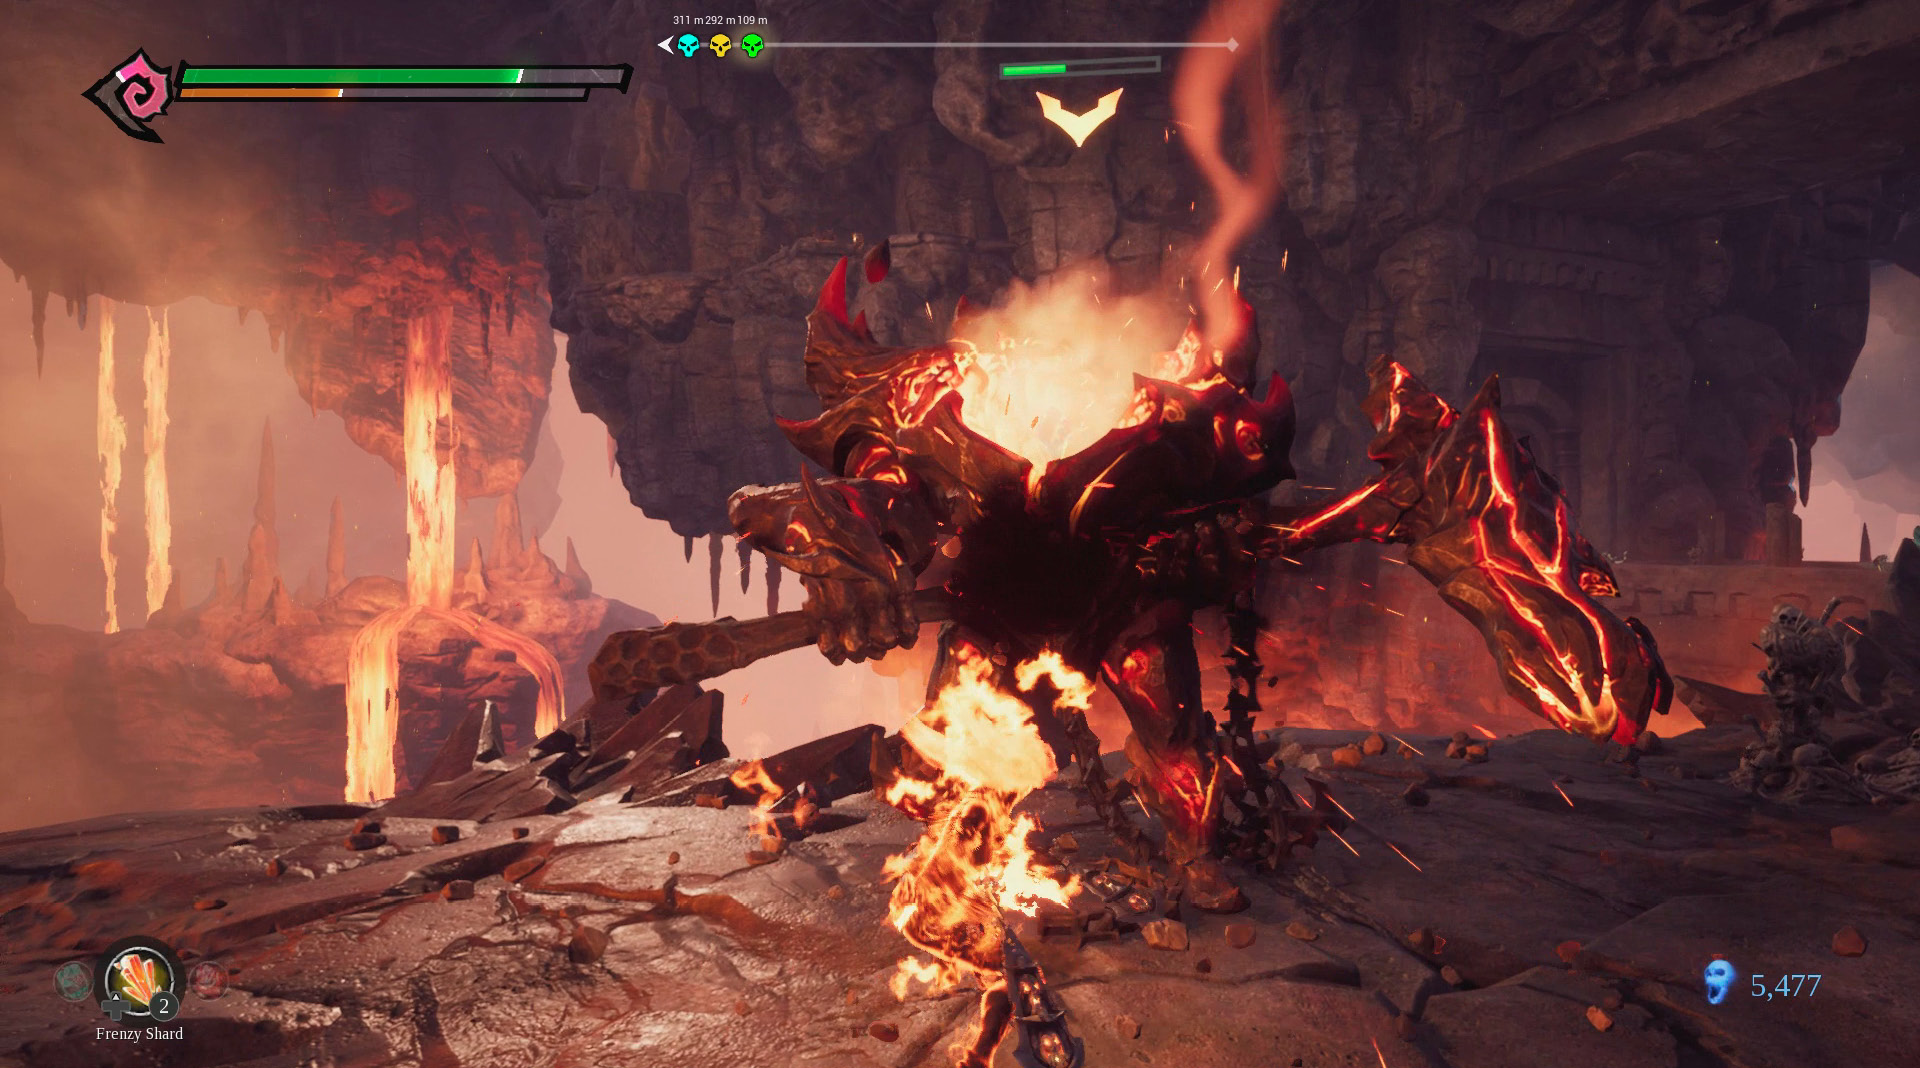
Flame Jump into the air and strike the sword above the gate, then ascend the stairs to the crypt. Focus on the Skeleton Sword and trust the unarmed ones to shatter in the process. Hit it with lengthy combos with the Barbs of Scorn and then mix in some attacks with the Chains of Scorn. Collect the Invigoration Core from the alcove and rejoice in the ability to carry a third Nephilim’s Respite.
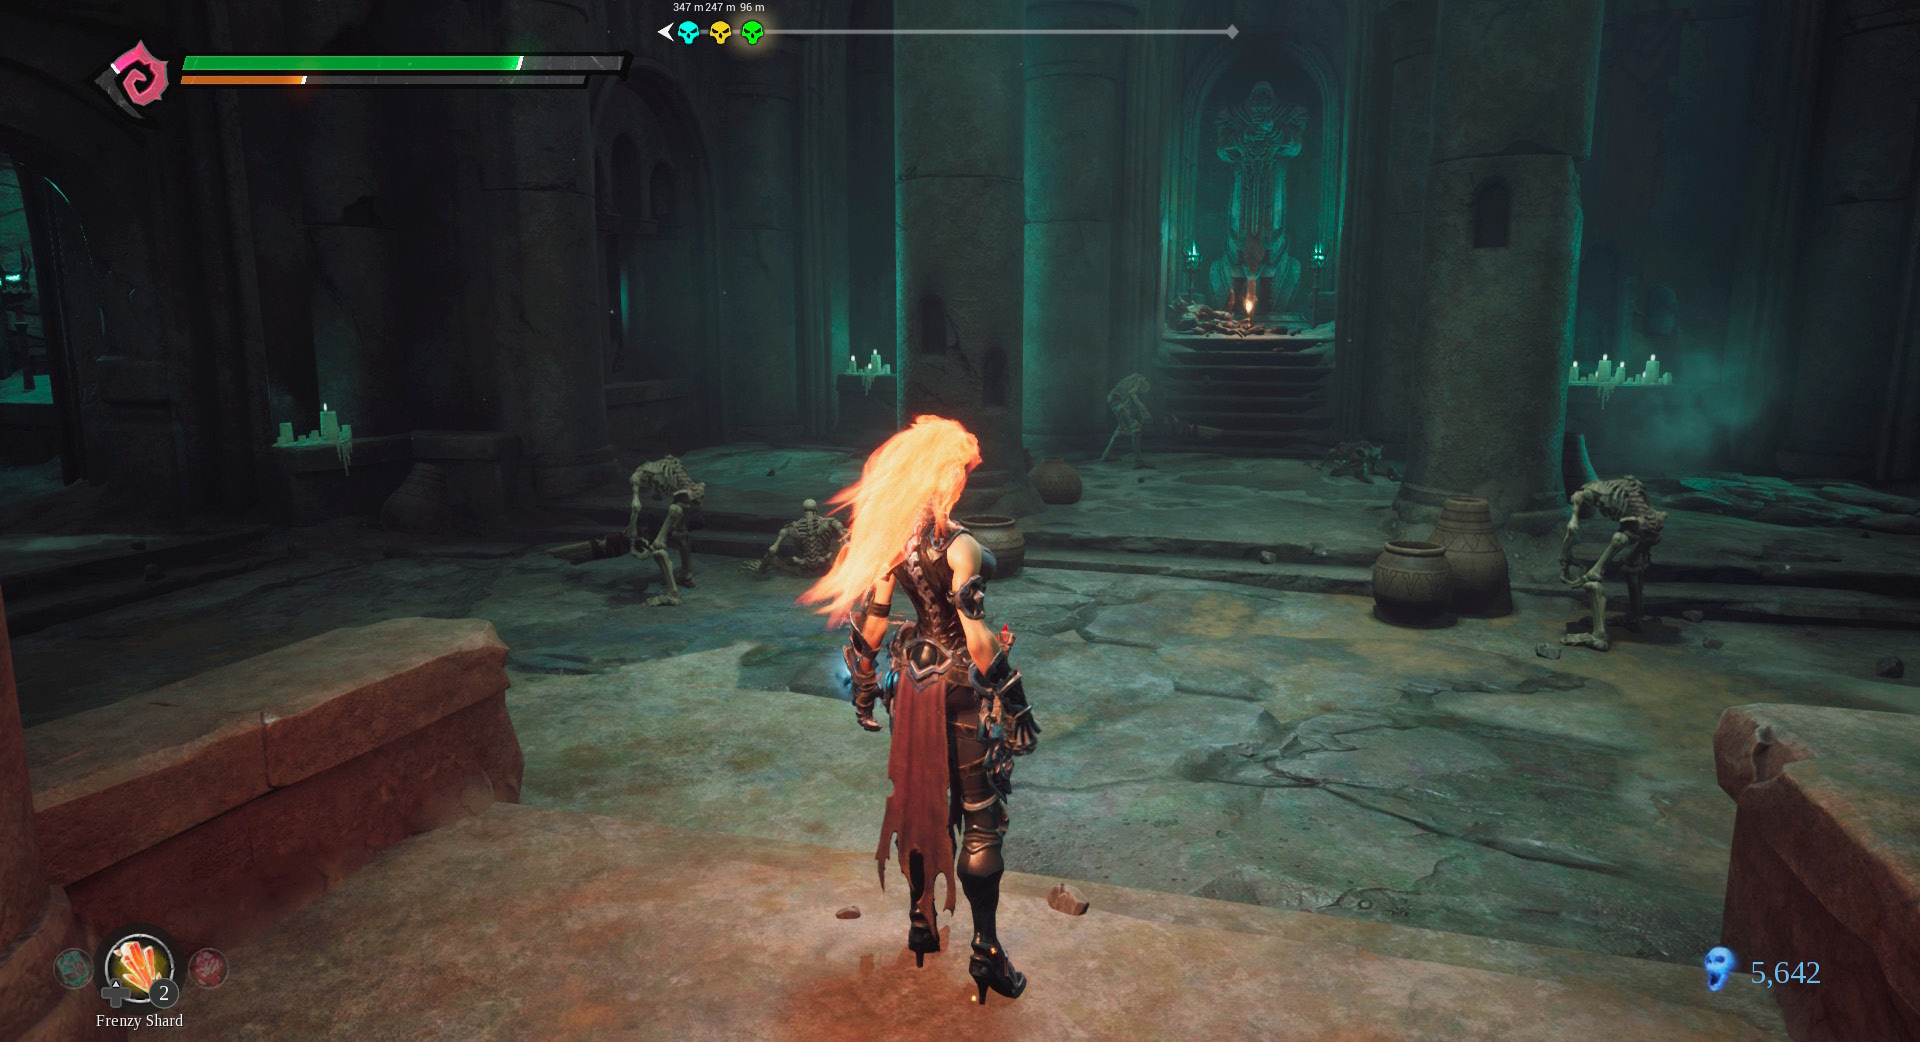
Dodge the arrow from the Skeleton Archer atop the stone stairs and approach the next room slowly. Ignore the worshipping Skeletons until you’ve first eliminated the Skeleton Archer on the ledge to the right. Jump up and hit him with a Gravel Grinder.
Defeat the Flame Warden
The sword in the center of the room controls the gate opposite it, but don’t open it just yet. There’s a secret battle to be had for those wanting to challenge their first Chosen. The hallway to the left of the sword appears to be a dead-end, but the stone wall at the end is actually controlled by a hidden lever in an adjacent passageway.
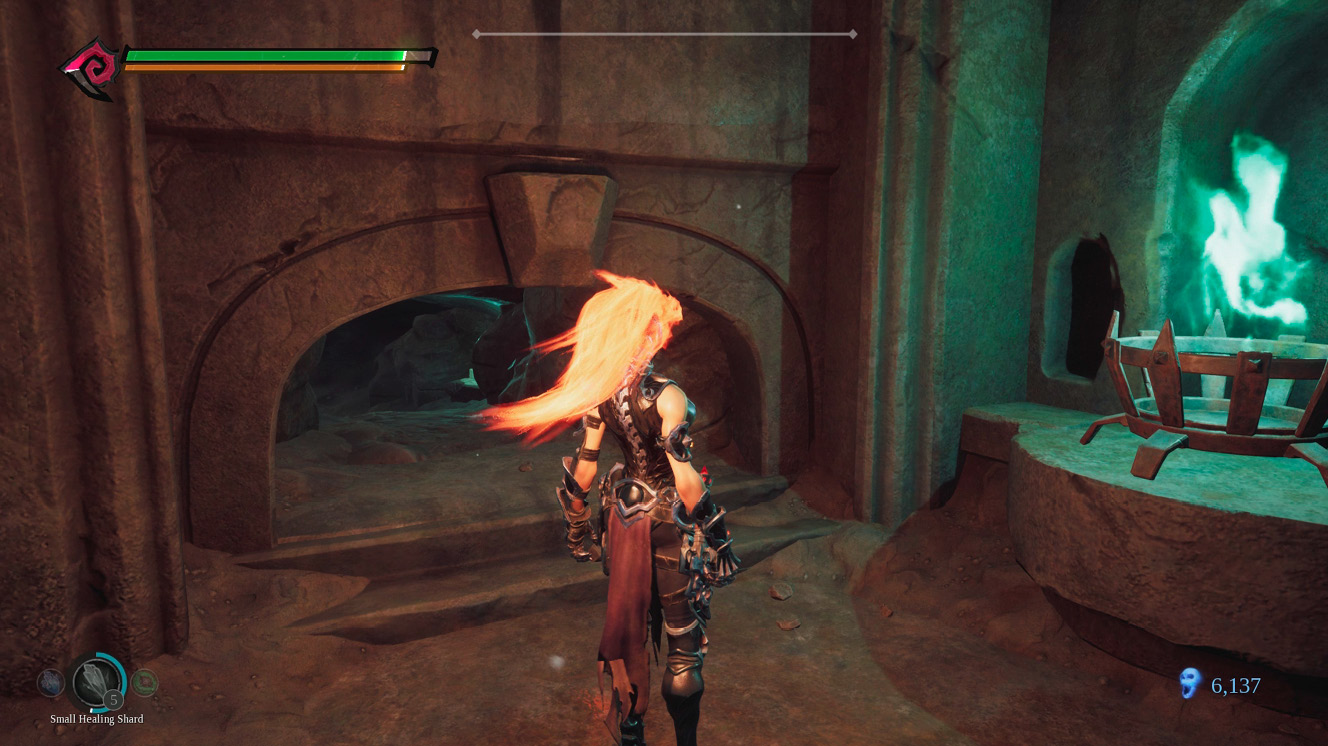
Ascend the steps beyond the door-controlling sword and smash the pottery on the left to reveal a hidden tunnel. Crawl through to reach a Sliver of Adamantine and the lever controlling the hidden door in the prior hallway. Return the way you came, top off your Health and Wrath, and activate a Fortification Shard or Undying Shard as you climb the stairs.
Chosen: Flame Warden
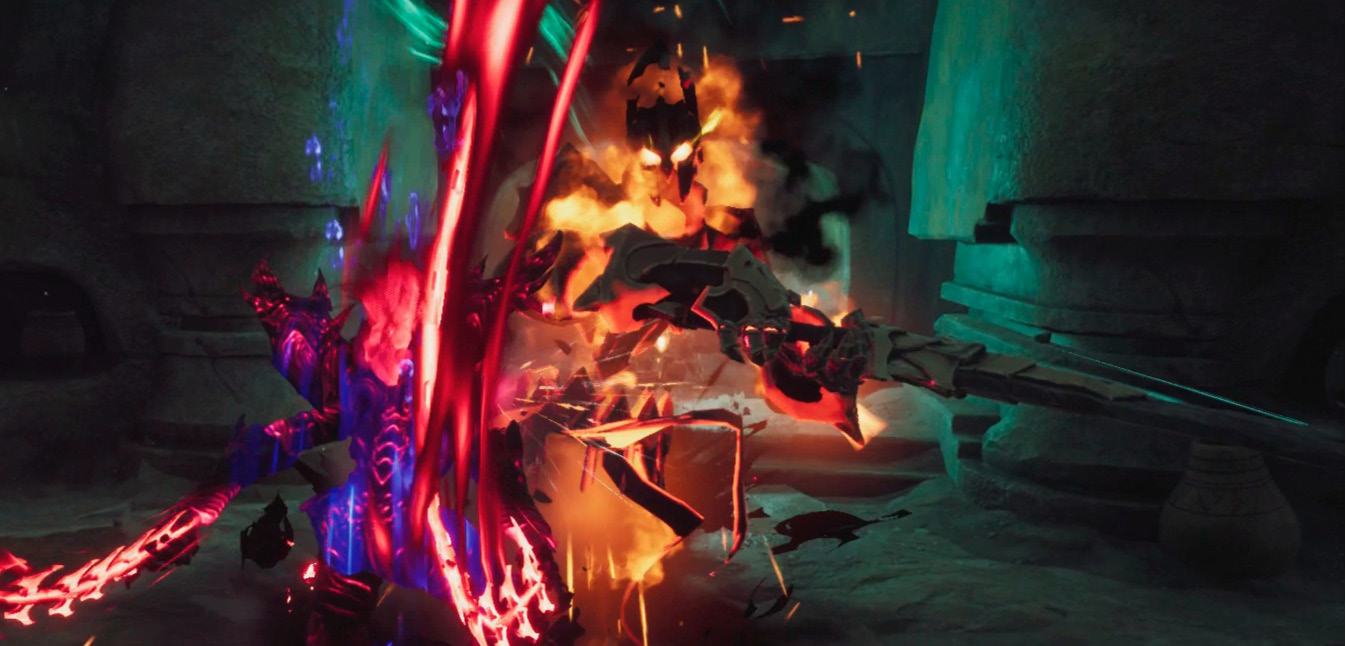
The Flame Warden is by far the strongest creature Fury has yet to encounter and must be approached with care. Fury should be at least level 7 before challenging this enemy, as there is little opportunity to use a Nephilim’s Respite in the tight confines of its domain.
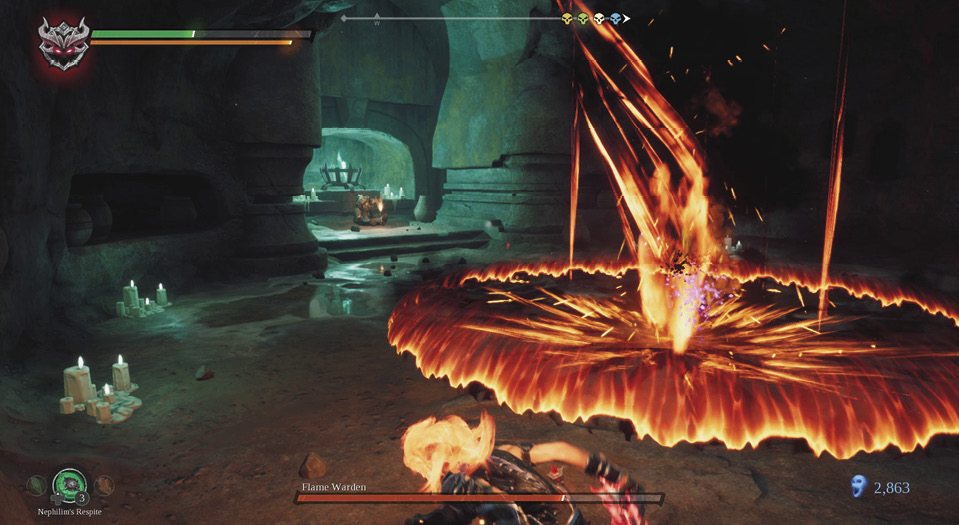
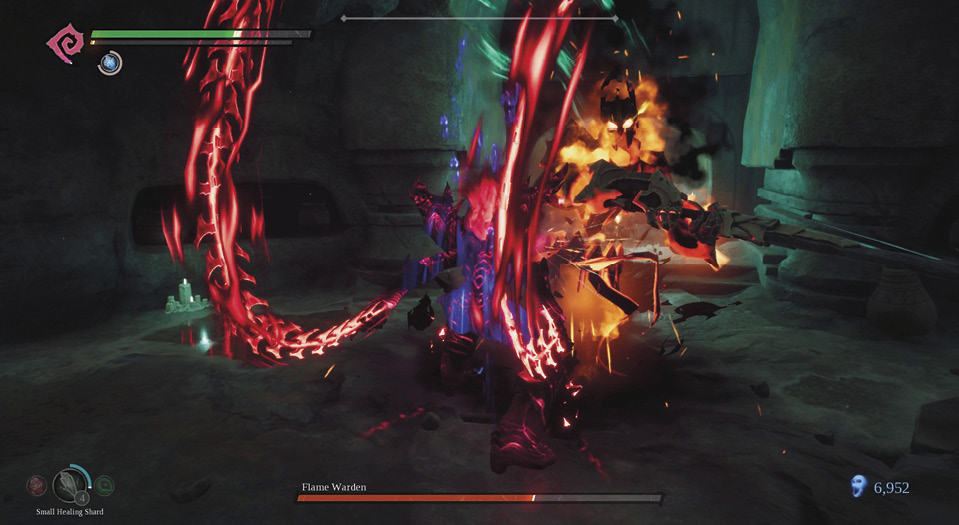
Keep your distance as the Flame Warden rises up and launches an arc of flame across the room with its fiery uppercut swing. Move in to attack, but be careful. It will swing its massive broadsword with little warning and surprising speed whenever Fury is within range. Never try for more than a single slash or two between dodges, as your attacks will not interrupt its offensive onslaught.
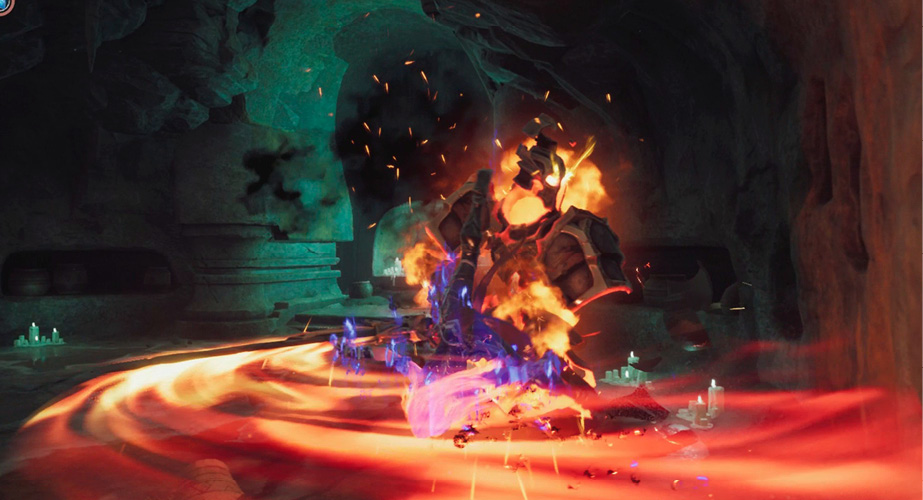
There won’t always be time for an Arcane Counter between its attacks, especially following its charged-up overhand right attack, as it quickly follows it with a backhand slash. There’s more time to perform an Arcane Counter following its uppercut swings. Don’t hesitate to activate Havoc Form if Fury’s health falls below the halfway mark. Remain vigilant until the Flame Warden drops into its fire portal, then activate Havoc Form (or try to consume a Nephilim’s Respite). Once in Havoc Form, maintain the pressure, but watch the Havoc Meter closely, as you don’t want to be caught vulnerable to an attack when you least expect it. Collect the Angelic Artifact and Essence of a Chosen and return the way you came.
Raise the Drawbridge
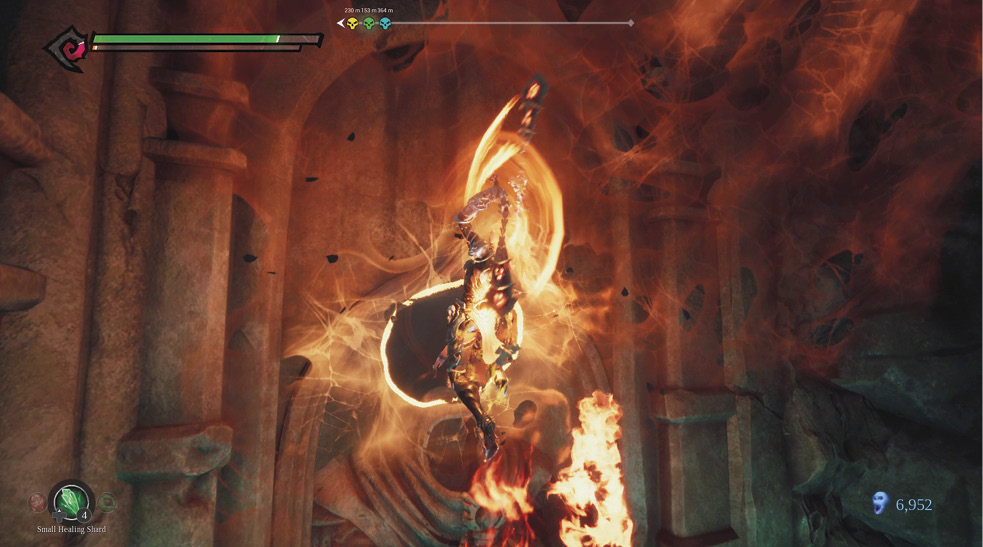
The drawbridge near the lava is controlled by the two swords flanking it. Striking the swords is easy, but they must be struck nearly simultaneously in order for them to activate. Individually, the swords will glow yellow when struck, but the only way to turn them red—and thereby raise the bridge—is to hit them both within a second of one another.
Since they are too far apart to run between them in time, Fury must use the lengthy array of red cobwebs to spark the sword on the left-hand side while she rushes to hit the one on the right. With your back to the bridge, stand atop the broken column and Flame Jump toward the webbing above the stone carving. This will ignite the webbing, causing it to burn toward the sword. Dash across the lava and strike the other sword as soon as the fire reaches the first one.
Open the Two-Sword Gate
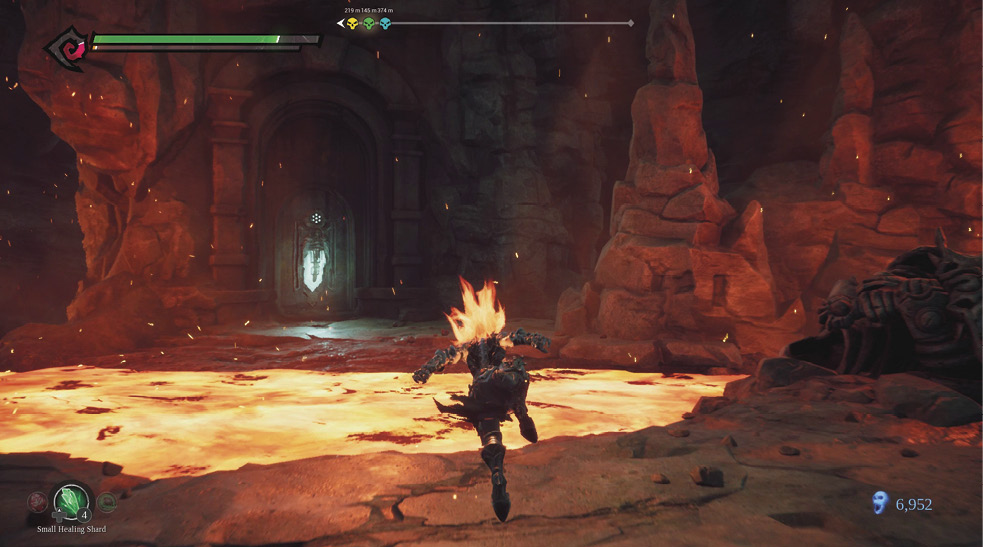
One of the angel statues ahead is missing its sword, and there’s no way to open the gate atop the stairs without first finding it. Cross the room toward the lava left of the gate, leap across the gap, and enter the crypt on the left. It’s best to kill the Skeleton Archer near the window before grabbing the pickup on the crumbling stairs outside. Crawl through the tunnel to the cathedral-like room beyond.
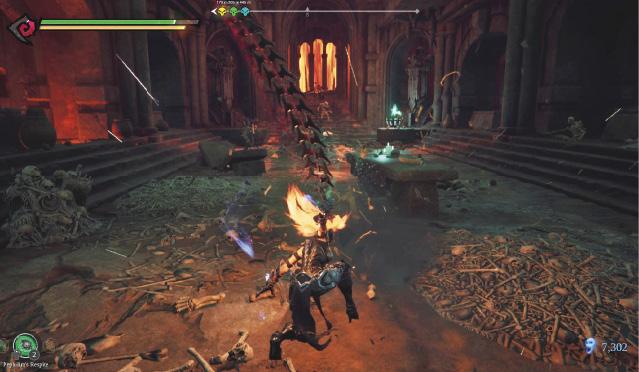
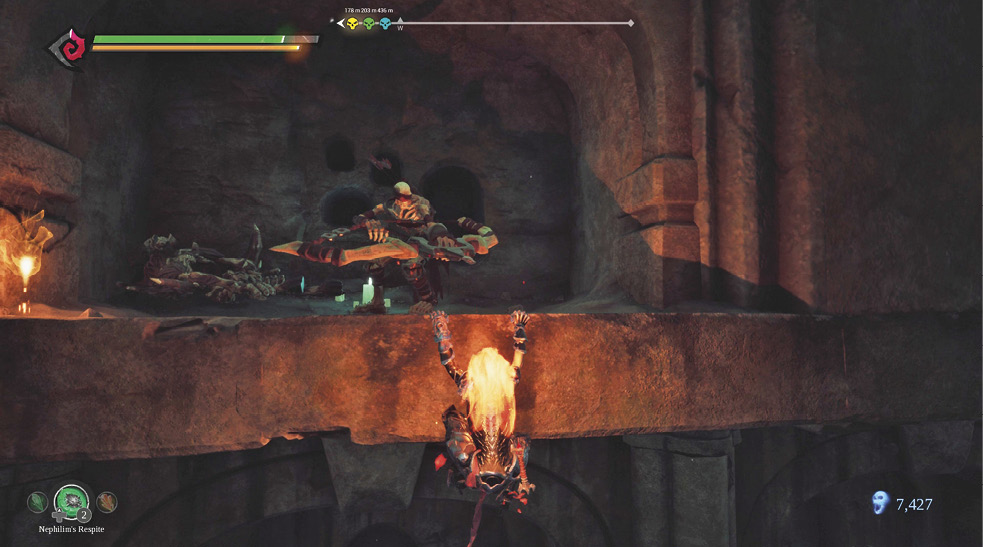
This multi-story room houses a wealth of sarcophagi, many of which contain a Lurcher Crystal, consumable, or crafting ingredient. You’ll want to Flame Jump from ledge to ledge to gather them all, but first clear out the Skeletons on the ground and Skeleton Archers on the balconies. Leave the latter for last and stay on the move as you deal with the ground forces. The balconies can be difficult to reach, and you don’t want to be surrounded by enemies as you try to line up jumps. Fight your way across the room to the Skeleton Archer atop nearest the cascading lava.
Use a Flame Jump to climb onto one of the altars and then crisscross the room from ledge to ledge by double-jumping into a Flame Jump. To reach the lower ledges, allow Fury to fall a bit before initiating the Flame Jump. Similarly, she can drop from one ledge and grab hold of the one below it. Don’t miss the Demonic Artifact on the uppermost ledge across from where you entered (the one with the red glow).
When ready to leave, drop through the hole in the floor to the lava below. Follow the cave to the room with the Serpent Hole and Vulgrim. Strike the sword to open the gate, then pick it up after it falls. Place the sword on the angel statue near the stairs, then quickly strike both swords to raise the next gate.