
Darksiders III Guide Hunting the Deadly Sins Wrath
Nether: Splintered Station
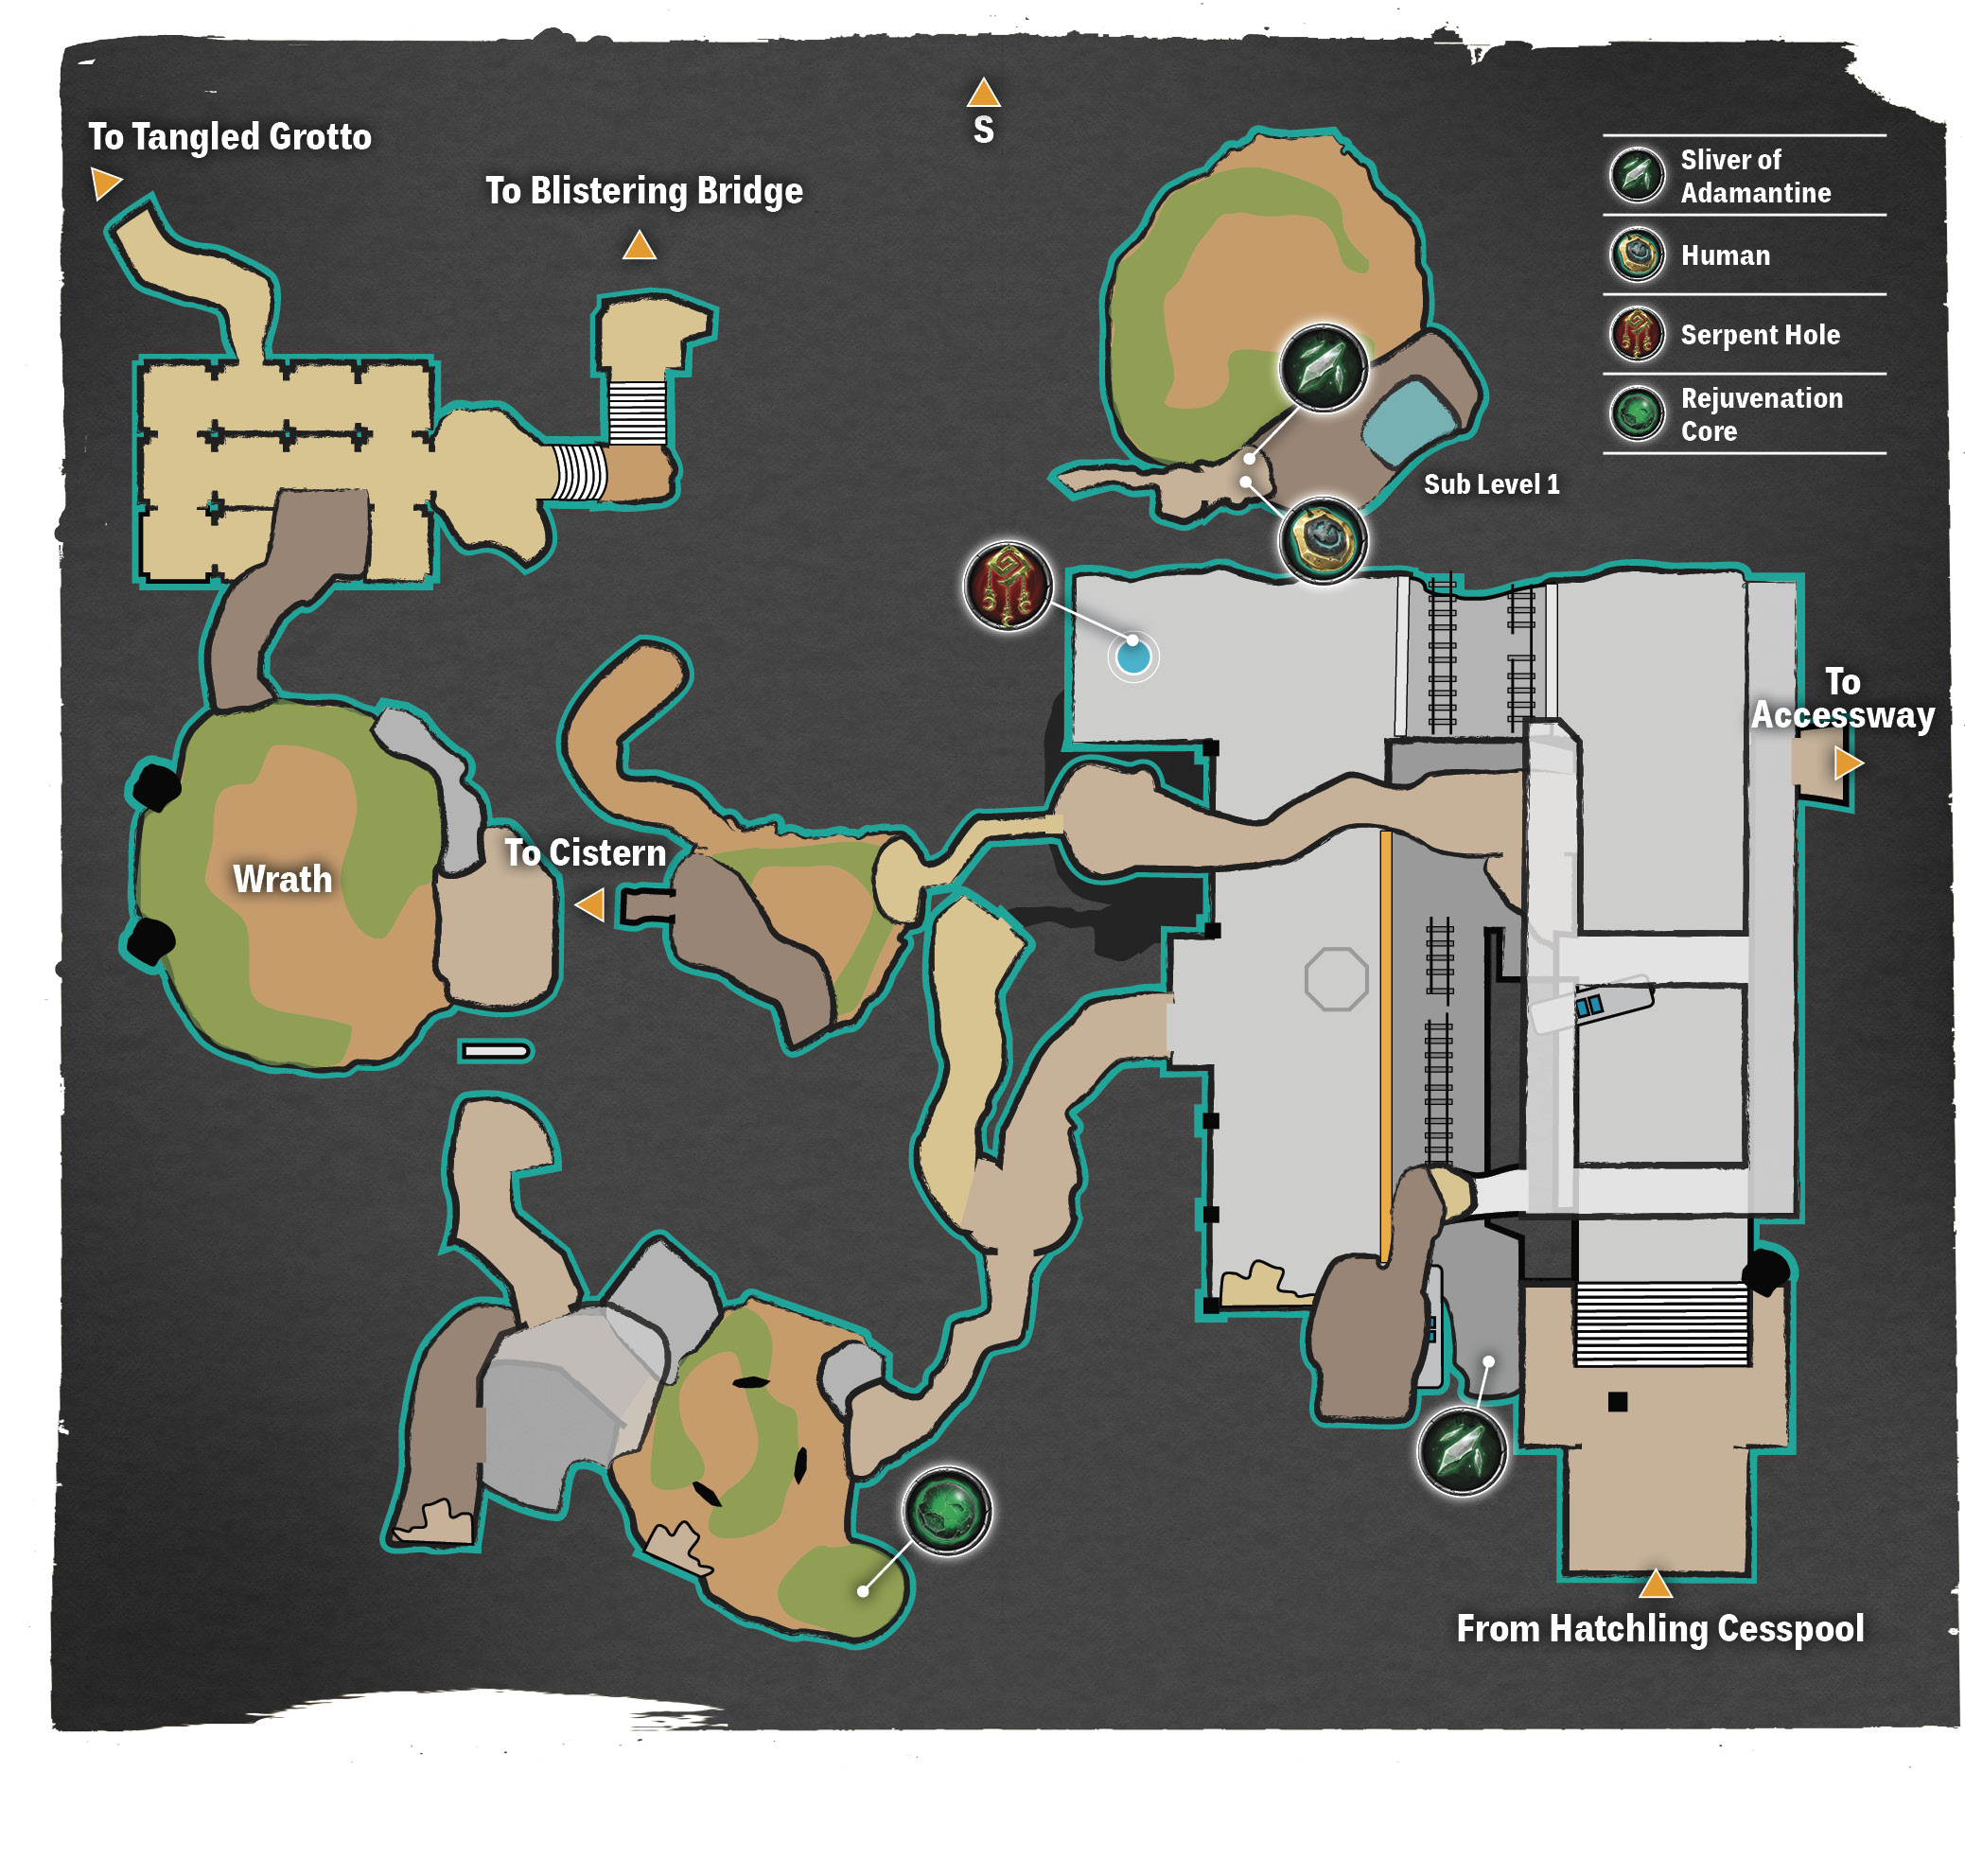
Locate Wrath Inside the Nether
Clear the Sloth Bugs from the subway tracks and Aerial Slash the Mosquito near the Sliver of Adamantine to the left. Note the location of the insect near the hive on the right, but leave it where it is for now.
Descend the slope to the right and activate a Fortification Shard (or Wrath Shard if none are available). Rush toward the Black Sycophant on the edge of the cliff, dodge its attack, and Arcane Counter. Try to get to the far side of it (or lure it back uphill) and strike it with Cross Slash and Flurry combos as you push it back away from the edge. If possible, perform an Arcane Counter with an Air Initiation attack to get it airborne, and finish with a Flip Saw.
With the Black Sycophant defeated, crawl through the narrow opening to the cave where it was standing. There, you can rescue another Human. Check your tally of Slivers of Adamantine and use the Serpent Hole to visit Ulthane if you have the four needed for your next weapon upgrade (or six for your first two upgrades if you haven’t returned yet).
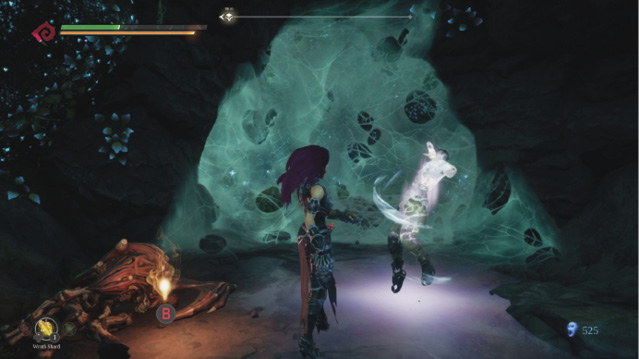
Aerial Slash the cocoon of decomposing meat near the large web, then return up the hill and grab the Bomb Bug. Carry it to the meat and wait for it to eat, becoming explosive. Grab it again and quickly hurl it at the web to burn through it. Follow the tunnel to the cave with the two webbed tunnels up ahead (a third red webbing is out of sight on the upper platform). Here is where things get tricky. But first…
Ensure your Health is topped off, then drop into the cave, where a Brood Mother smashes through the rocks on the left. Use a Strength Shard and stand back as the Brood Mother deploys its poisonous Brood Mother Spawns. Don’t strike them, as they’ll explode upon death, showering the area in toxicity. Instead, stand back, dodge the Brood Mother’s charge, and Arcane Counter. The Chain Spiders will self-destruct after several moments. Better yet, aim to lure the Brood Mother into her spawn. Unleash a Scarlet Strike to inflict heavy damage, then hit the Brood Mother with lengthy combos.
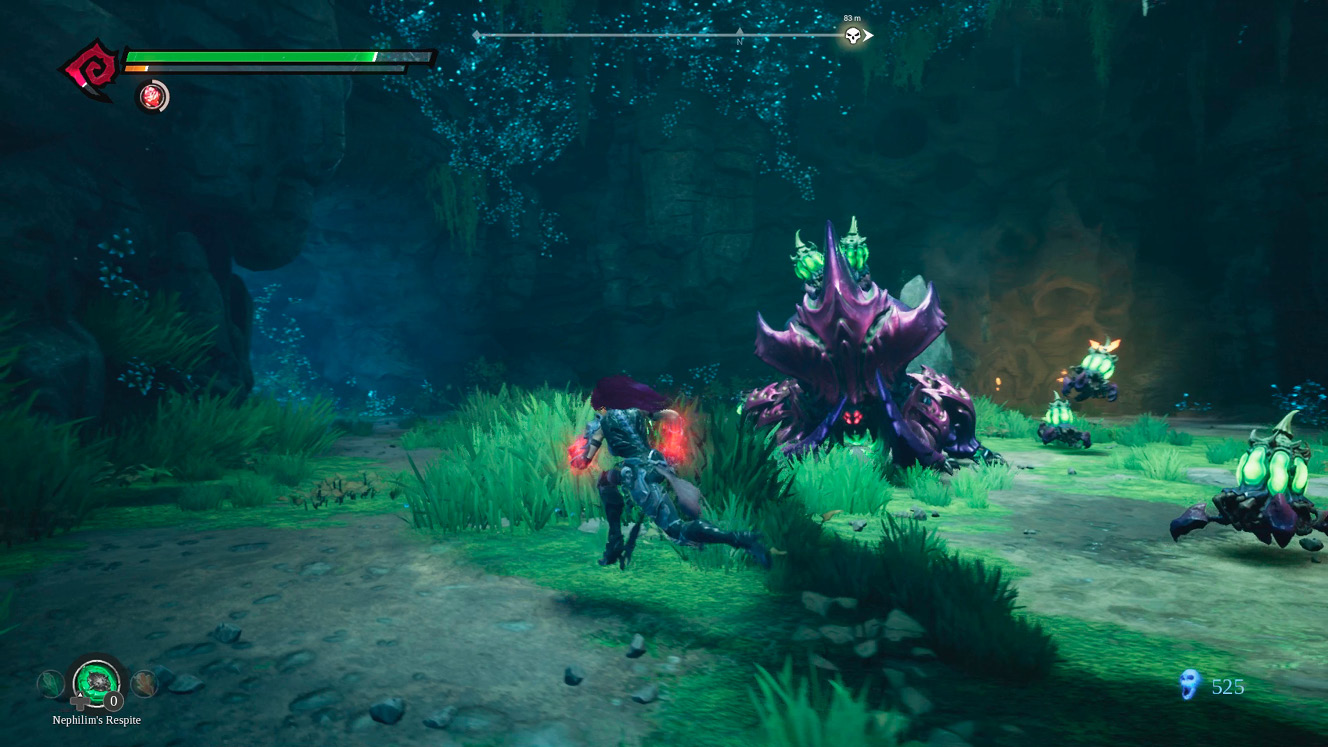
Now it’s time to deal with the webs. Cut down the red meat from the cocoon, wait for the Bomb Bug to eat it, then slash it to burn the webbing on the ground. Wait for a second Bomb Bug to emerge—only one can exit a given hive at a time—and grab hold of it. Carry it through the tunnel you exposed to a pile of meat near a red web. Wait for a second Bomb Bug to scamper over, then drop the one you’re carrying near the food. As soon as the second Bomb Bug gets near the food, pick up the first, pause for a moment, then throw it at the red web. Quickly grab the second Bomb Bug and run through the tunnel before the webbing reappears, then hurl the Bomb Bug at the gray web around the corner to the left.
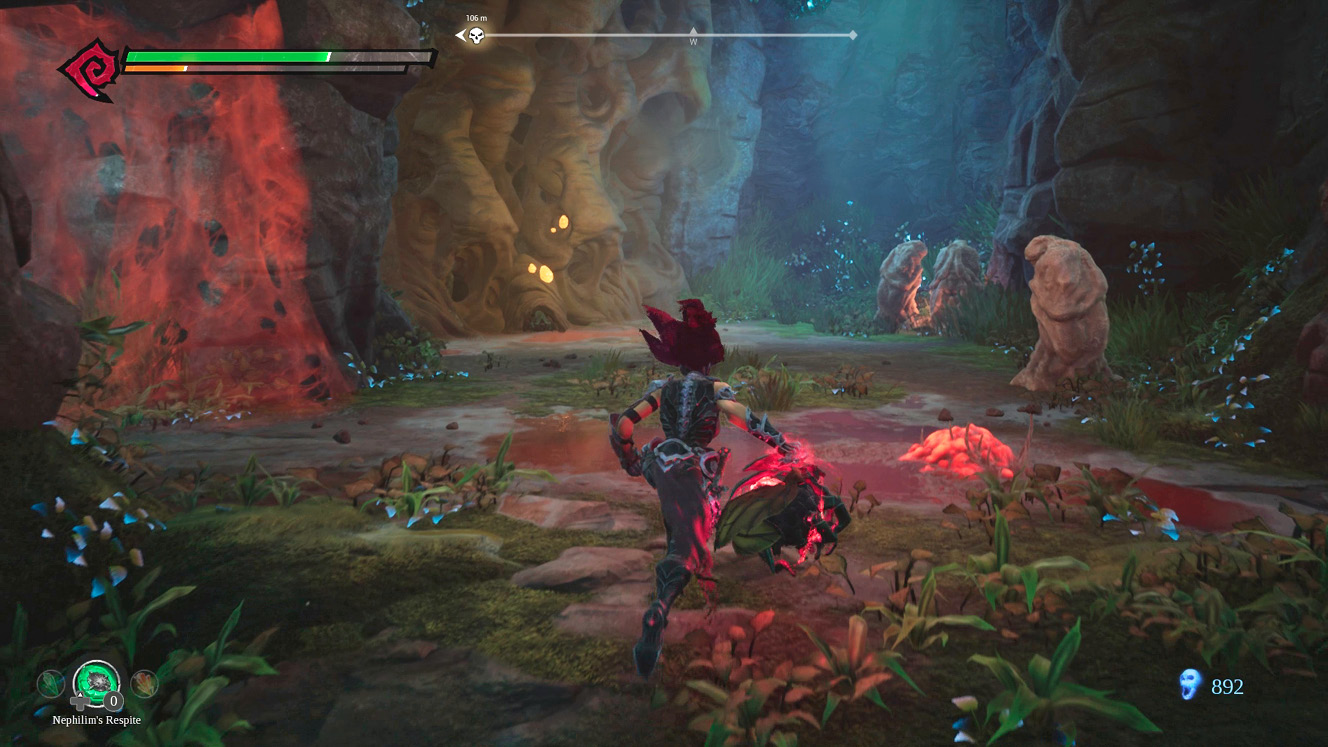
Descend the sloping path to the canyon deeper underground and swing across to the other ledge. Pause for a moment to top off your Health and Wrath before approaching the overlook.