
Darksiders III Guide Forces of Chaos
Legion
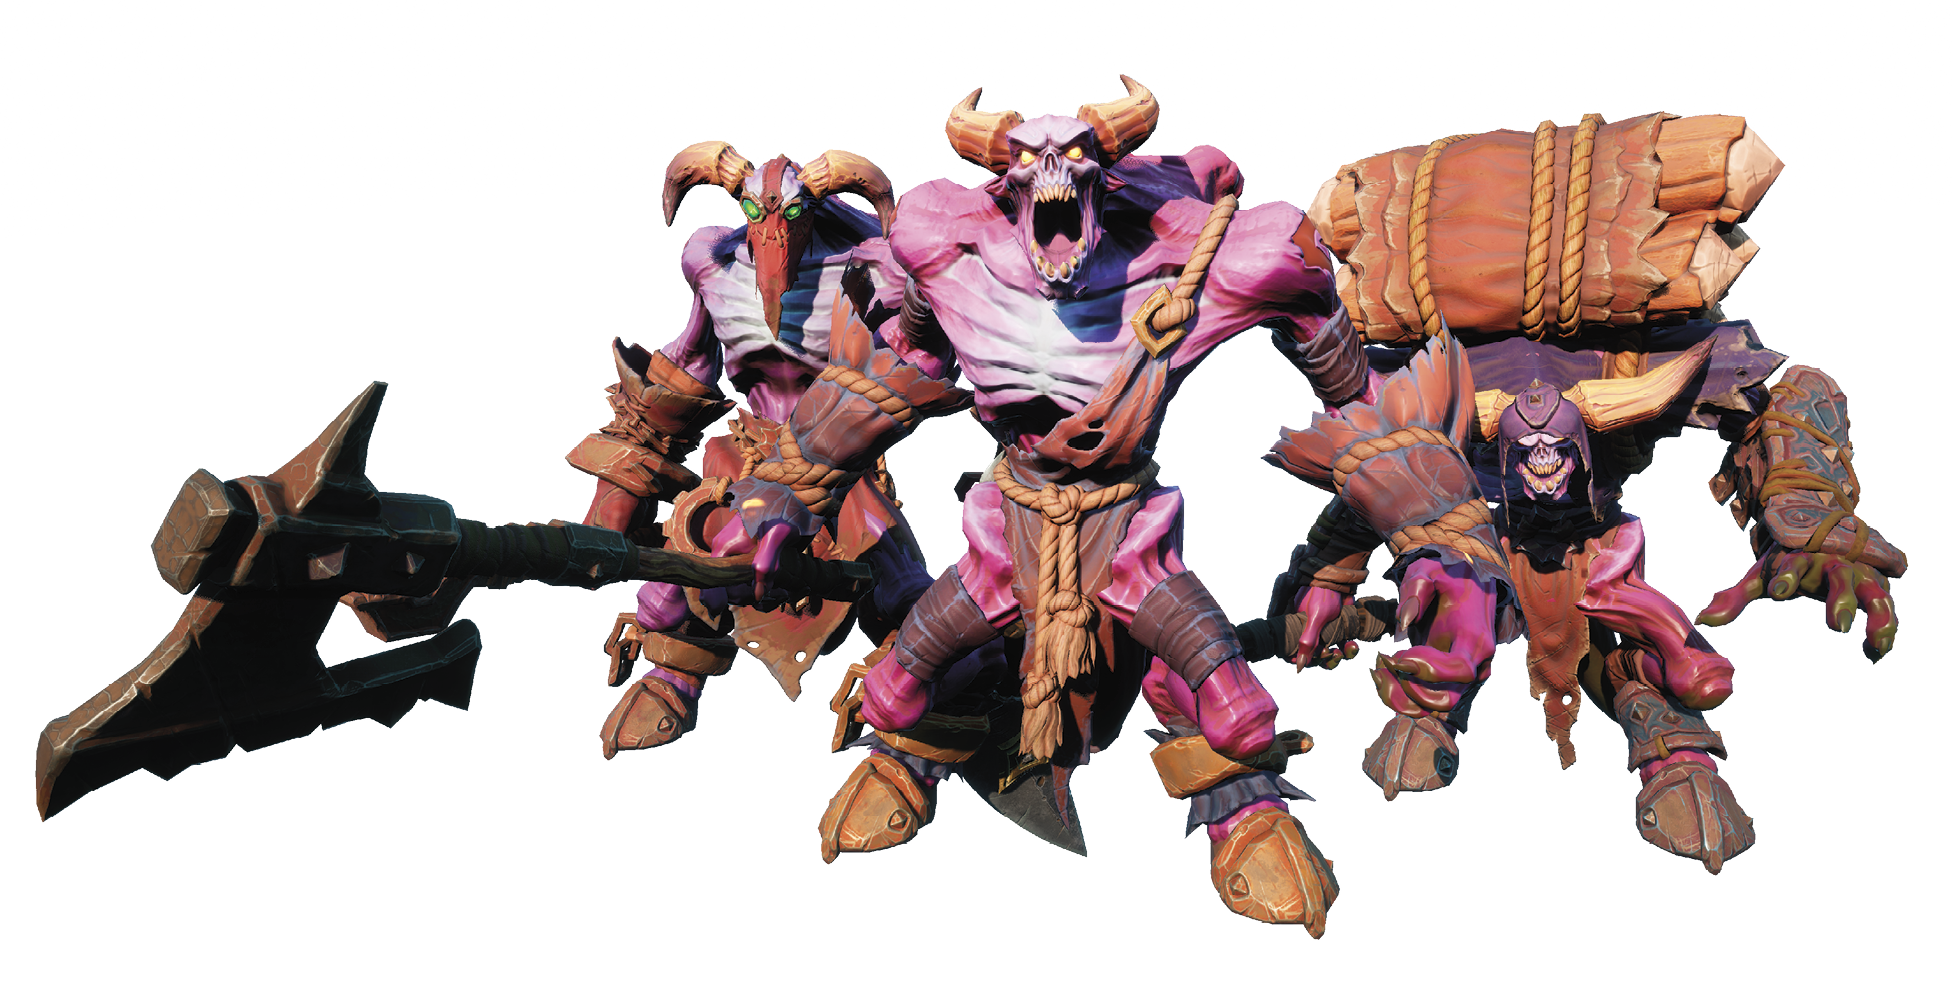
|
Primary Region: Scar |
| Enemy | Signature Attack |
|---|---|
|
Phantom Wretch |
Pickaxe swing |
|
Phantom Guard |
Axe attack |
|
Trauma |
Claw uppercut attack |
|
Phantom Guard Ballister |
Throws spear from afar |
|
Phantom Guard Captain |
Shield slam, frenzy call |
|
Taskmaster |
Summons a clone to attack |
The various Phantoms that work at and guard the area of Scar share similar traits but pose different levels of threat. The Phantom Wretches are quite weak and can be dispatched easily, but the units that watch over them, particularly the Phantom Guards, are much tougher. These enemies not only possess much greater durability and strength, but also they can use their horn to call for reinforcements.
When fighting a group of Phantoms it’s often best to ignore the Phantom Wretches, because they will likely get struck by the backswing of Fury’s various attacks. Consider them collateral damage as you focus on the mid-tier enemies. Assuming a Trauma isn’t present, Fury should work to eliminate the summoned enemies—typically on the order of a Phantom Guard—first, before the horn is blown again, thereby stirring them into a frenzy.
The Trauma and Phantom Guard Captain are much larger foes, often alone or with only one other enemy by their side. These enemies are best handled with either the Force Hollow or Stasis Hollow active, so as to be able to use their potent Wrath Attacks. Activate Stasis Shield or Cataclysm at the first sign of danger, especially if other enemies attack or if you’re out of Nephilim’s Respite. Their attacks aren’t particularly hard to dodge at this point in the game, but Fury has come too far to take any unnecessary risks by the time she reaches Scar.