
Darksiders III Guide Hunting the Deadly Sins Avarice
Hollows: The Catacombs
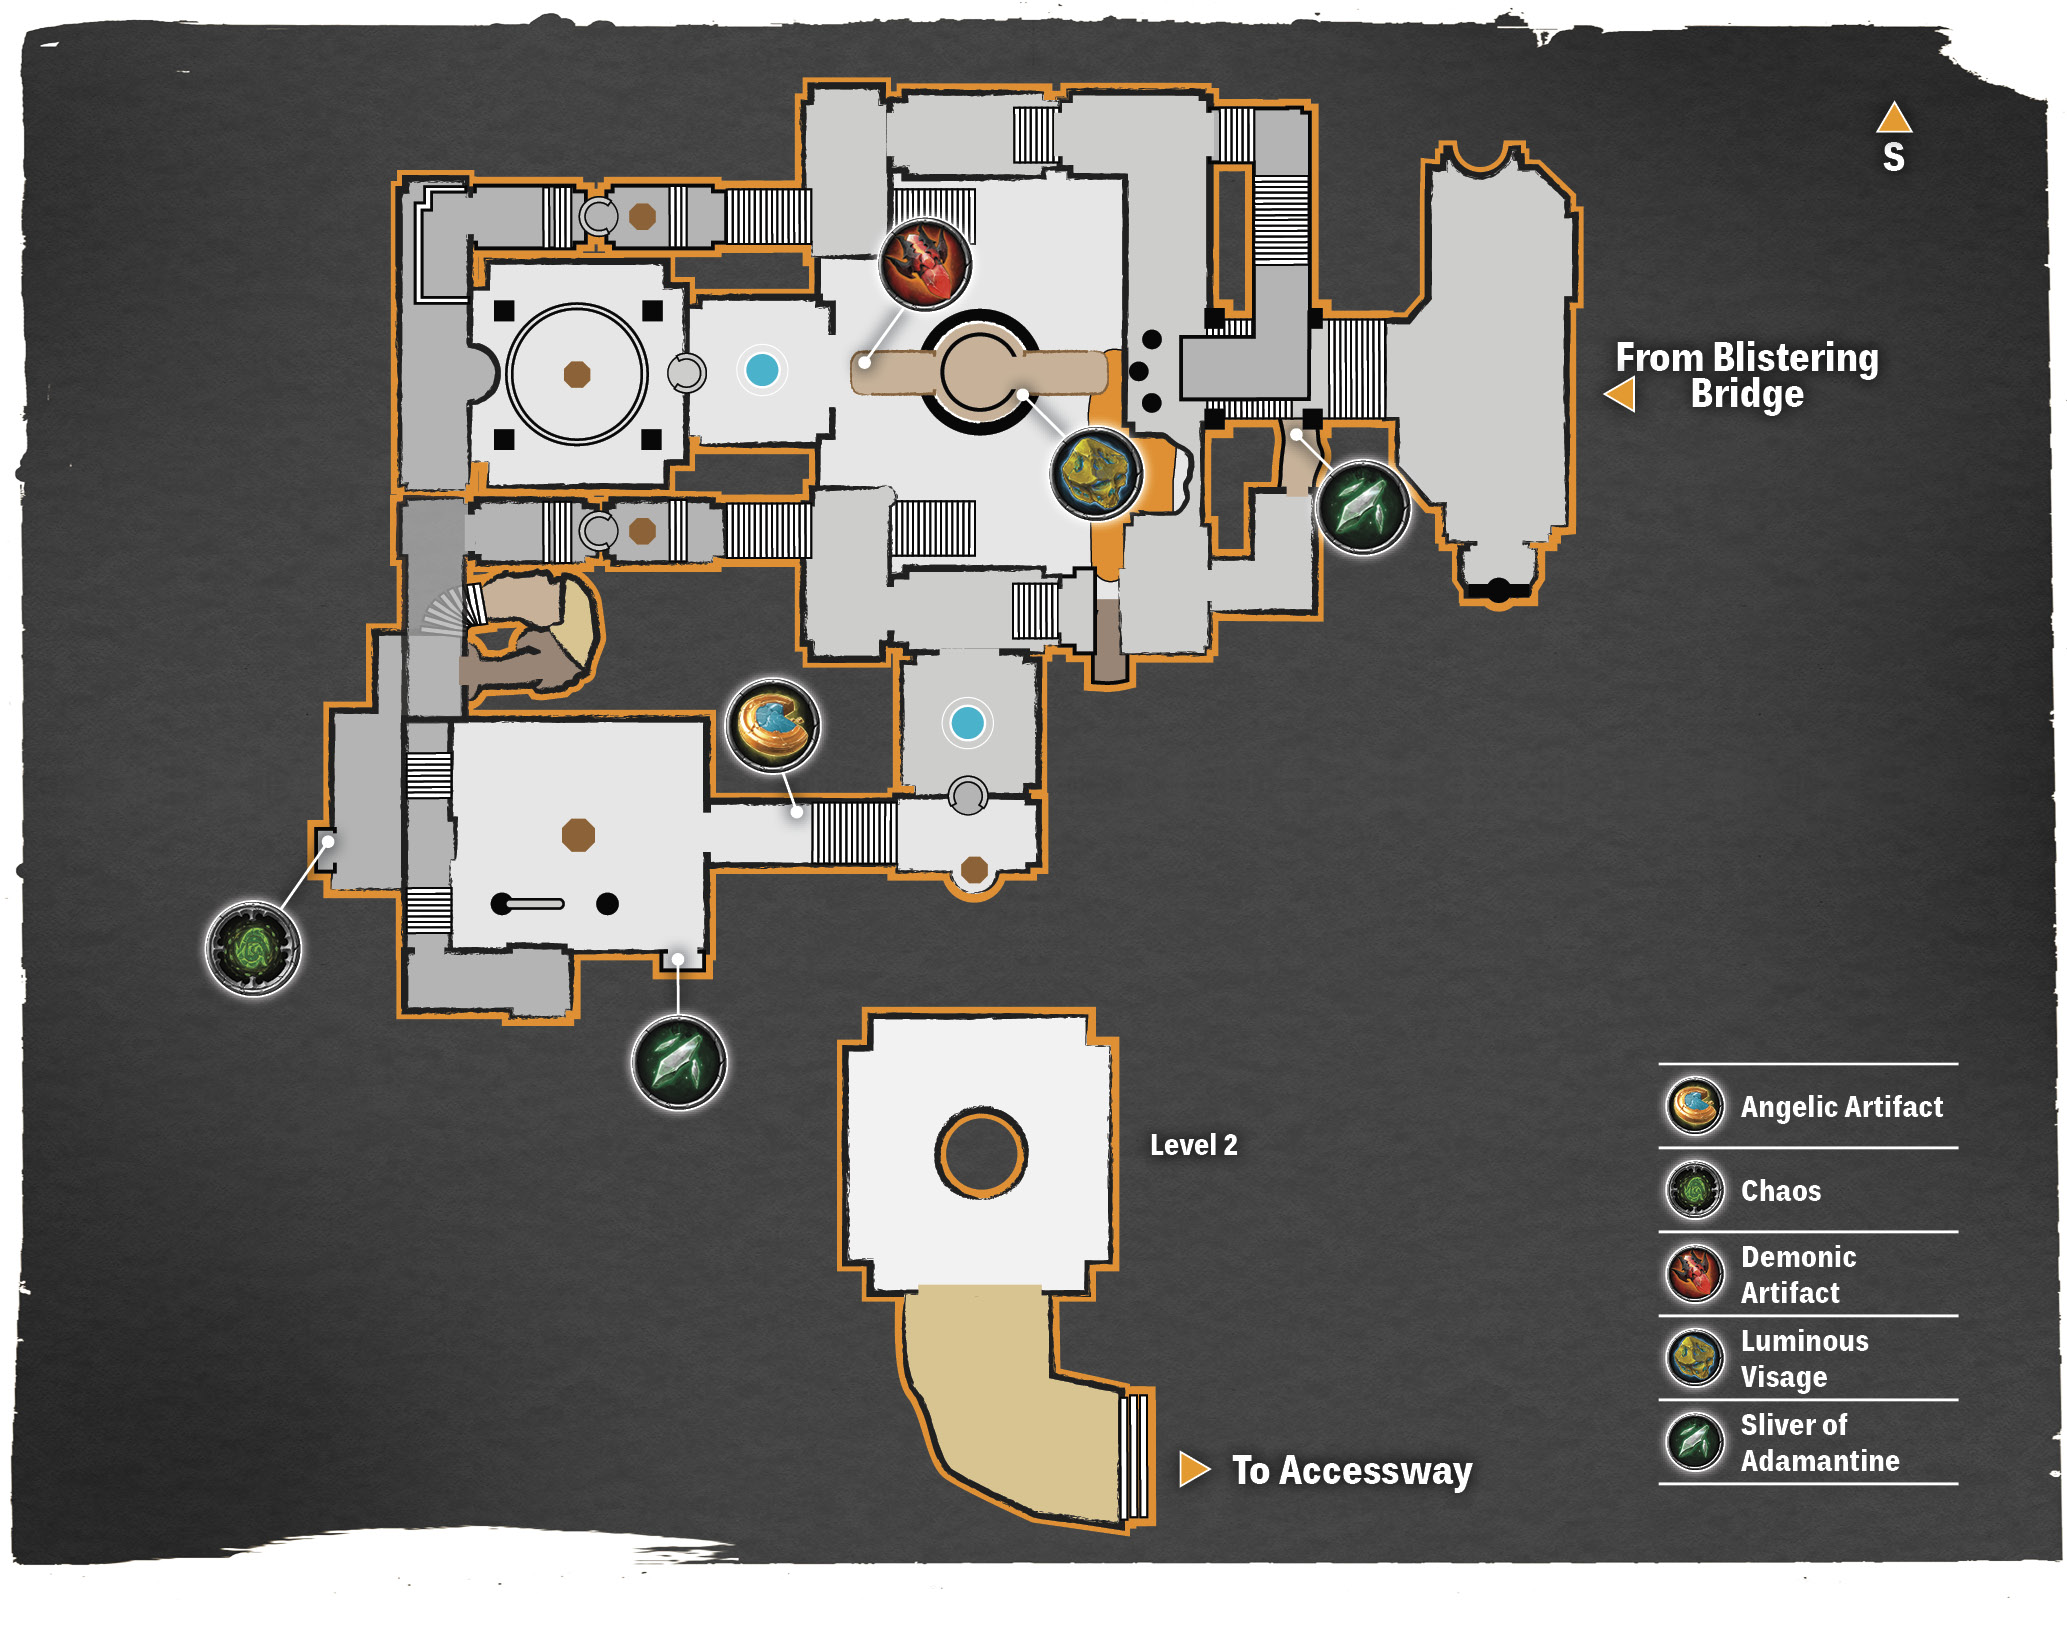
Unite the Three Swords
The cavernous square-shaped hall atop the stairs has three angel statues, but only one has a sword. Ignore the Lava Brute on the central floor for now and fight your away around the perimeter to the far right-hand corner. Ascend the steps and stand on the switch to activate the revolving wall. Proceed around the corner to the ledge overlooking the sunlit room below and leap down amongst the bones.
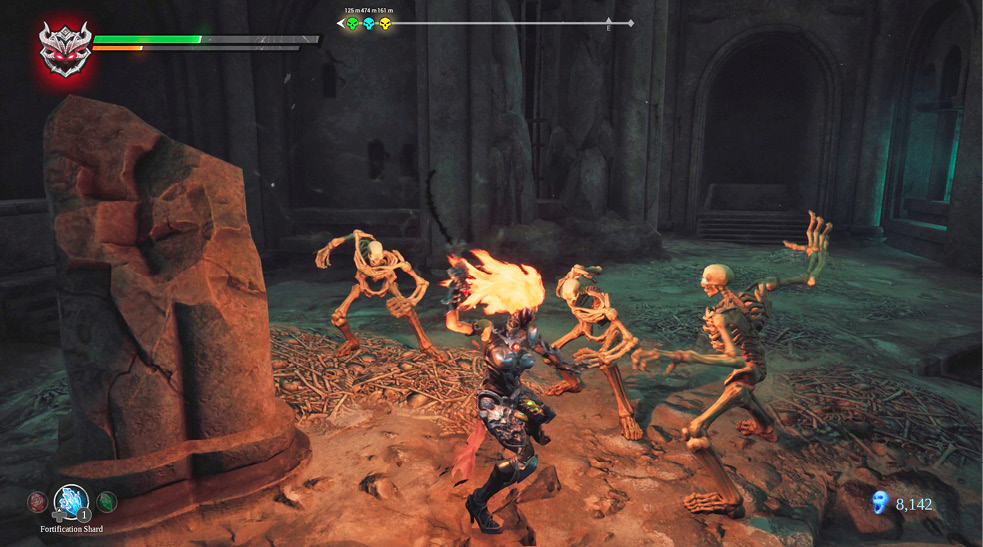
Dozens of Skeletons attack as Fury enters their domain. Stay on the move at all times to avoid the archers’ arrows as you mix in attacks with both whip and the Chains of Scorn. Focus your attention on the Armored Skeletons, as they’re the only ones that can block Fury’s whip attacks. If surrounded, unleash an Immolation attack. If the Wrath Meter isn’t full, Flame Jump into the air and unleash a charged Apex Scorch attack from above. Dash to the corners of the room to take out the Skeleton Archers last.
Smash the sarcophagi in the alcoves around the perimeter to find numerous Lurcher Clumps as well as an Undying Shard, a Demonic Artifact, and a Sliver of Adamantine. When ready to leave, stand atop the panel in the center of the room and wait for the slow-moving alcove to rotate into view. Dash forward to slip inside before it closes. Grab the sword from its chains, then Flame Jump and strike the sword above the gate to exit. Climb the stairs on either side and return the sword to an angel statue.
Now it’s time to get the second sword. Head left from the angel statues and ascend the stairs in the far left-hand corner of the large room. Use the floor switch to enter the passage beyond the revolving wall.
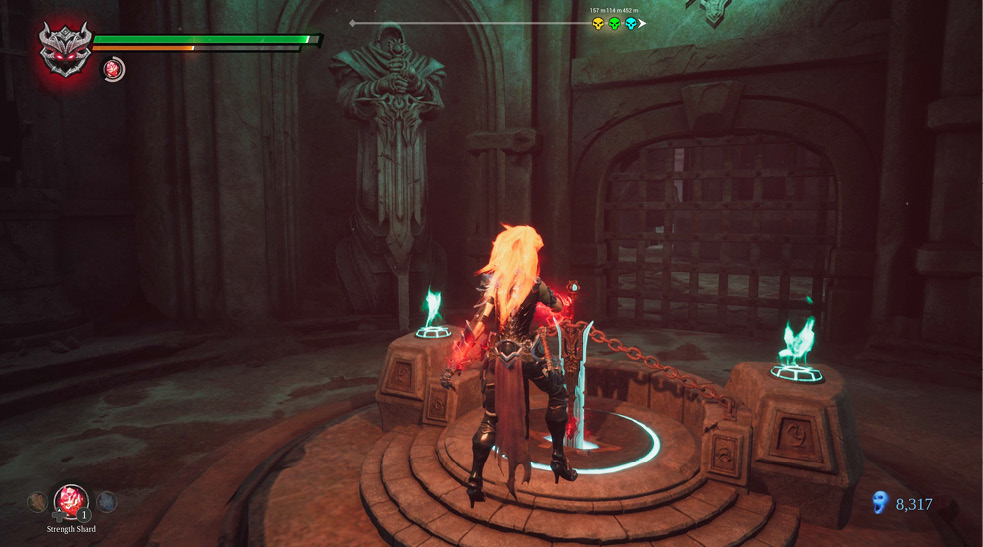
Locating the prior sword tested your combat skills. This one tests your puzzle-solving abilities. The floor switch controls a revolving wall high above the gate, where a sword is mounted. You must strike the sword to open the gate, but stepping off the switch causes it to rotate out of view. Eliminate any enemies present, then scan the ceiling for the Bomb Bug bait hanging in the cocoon. Ascend the stairs to the balcony, whip swing across to the upper webs, and Flame Jump to ignite them. This causes the bait to fall.
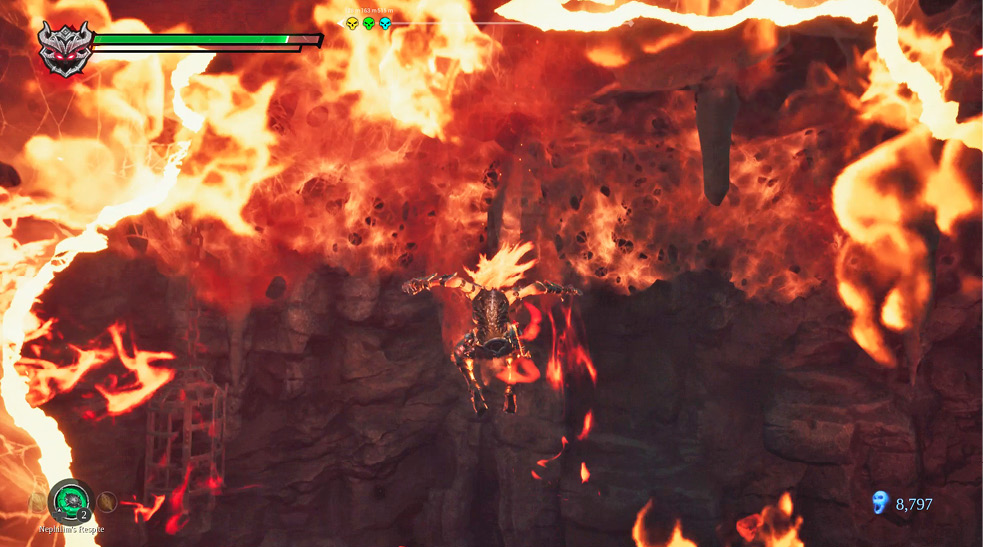
Toss the Bomb Bug at the bait and leave it to feast. Now approach the red webbing near the puddle on the left. Light it on fire with the Chimera’s Growl, then dash to the floor switch in the center of the room. The webs will burn toward the feasting Bomb Bug and the resulting explosion will ignite the webs leading up to the sword. Fortunately, the sword rotates into position before the flame reaches it.
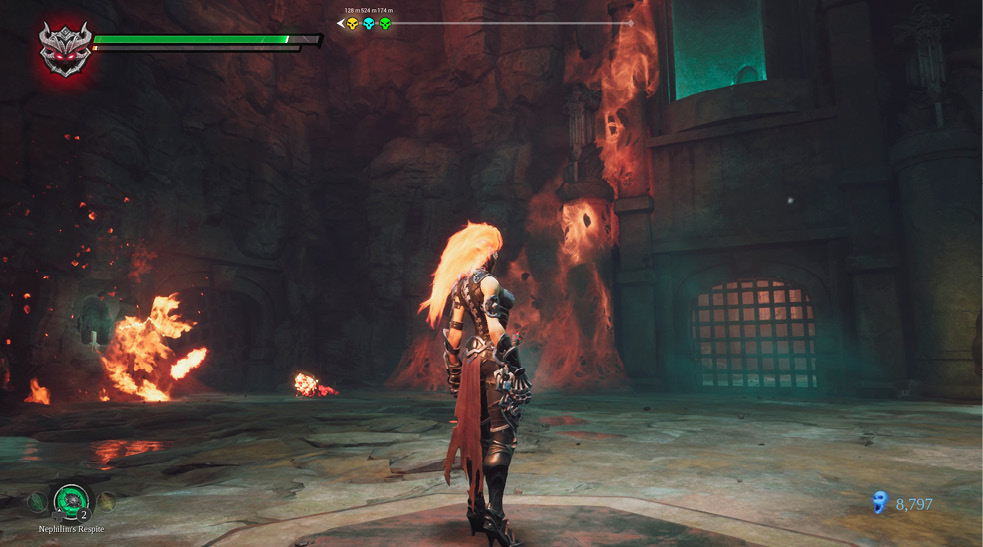
Collect the Angelic Artifact behind the corpse near the stairs in the next hallway, then burn the cobwebs to reveal another floor switch. Wait for the revolving alcove to slam into position behind Fury, then dash toward it. Retrieve the sword, open the gate, and return the sword to the statues as before.
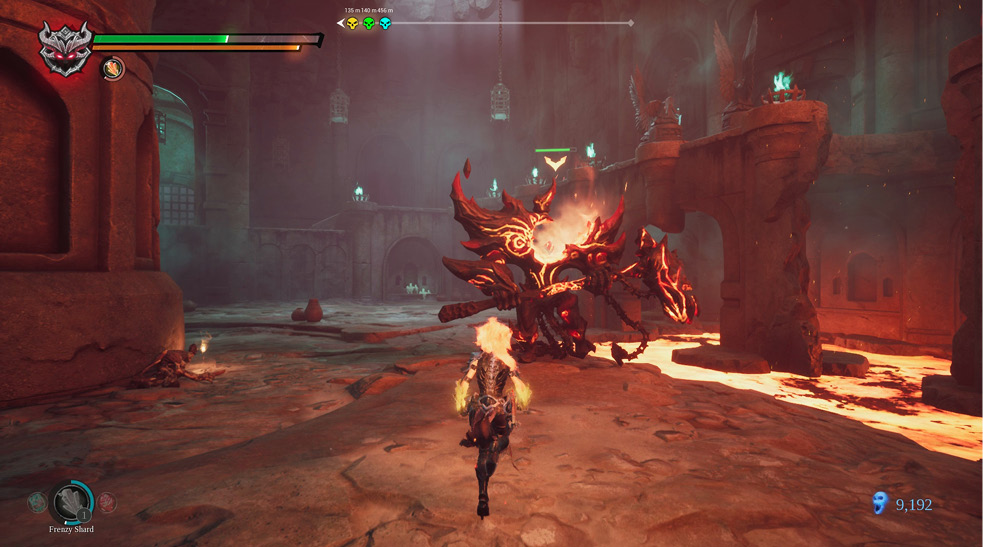
Before you activate the three swords with a Chain Cycle spin attack, take a minute to defeat the Lava Brute below. Trigger Havoc Form to make quick work of him (he’ll drop a Havoc Shard) and grab the Incandescent Remains (+1 Attribute Point) near the base of the giant statue. Scour the area for Lurcher Clumps, then strike the swords to activate the giant statue leading out of the Catacombs.
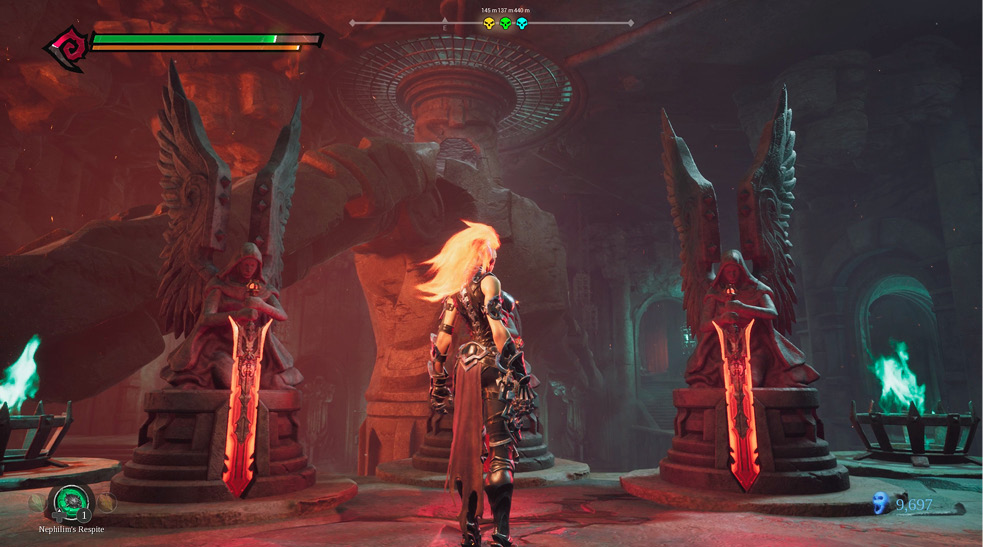
Climb the stairs to the right (as viewed while facing the swords) and leap off the ledge above to reach the giant statue’s outstretched arm. Continue across the statue’s other arm to the cave beyond the lava cascade for a Demonic Artifact, then return to the broken ladder and Flame Jump up.
Escape the Children of the Grotto
The child-like creature Fury sees upon exiting the Catacombs poses a surprising threat. Capable of ravenous swipe attacks at close range and skilled lobbers of explosives, these Avarice Children should not be taken lightly. Dodge their thrown explosives by dashing to the side—never toward the bomb—and then Arcane Counter. The quick-hitting Chains of Scorn are best used for precise hits, especially near their traps.
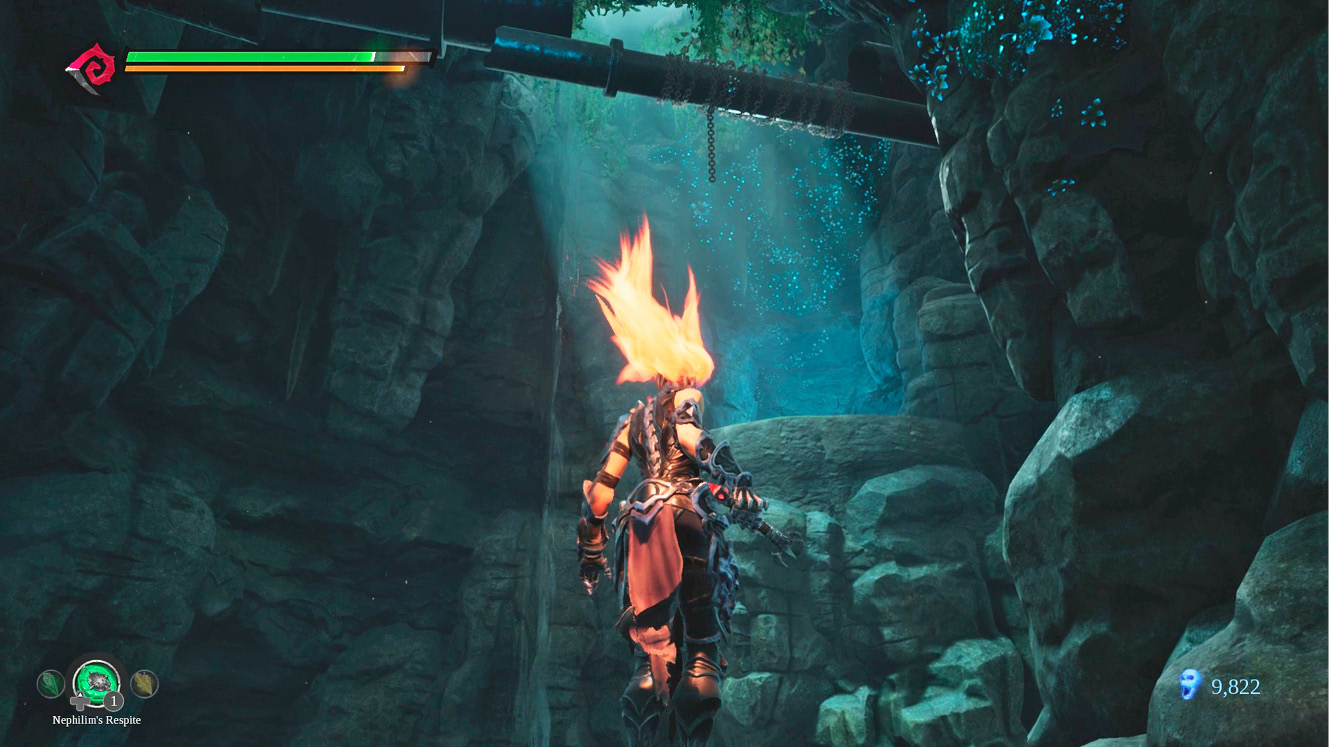
Flame Jump up the cliffs, then turn and spot the pipe overhead. Flame Jump into a whip swing to reach the ledge across the grotto. Now turn around and double-jump back toward the pipe. Whip swing into a Flame Jump to grab hold of the ledge leading back to the maintenance tunnels beneath the city.