
The Order: 1886 Signature Series Strategy Guide Weapons
Special Arms
Essex M2/Pn83 ‘Falchion’ Auto-Rifle
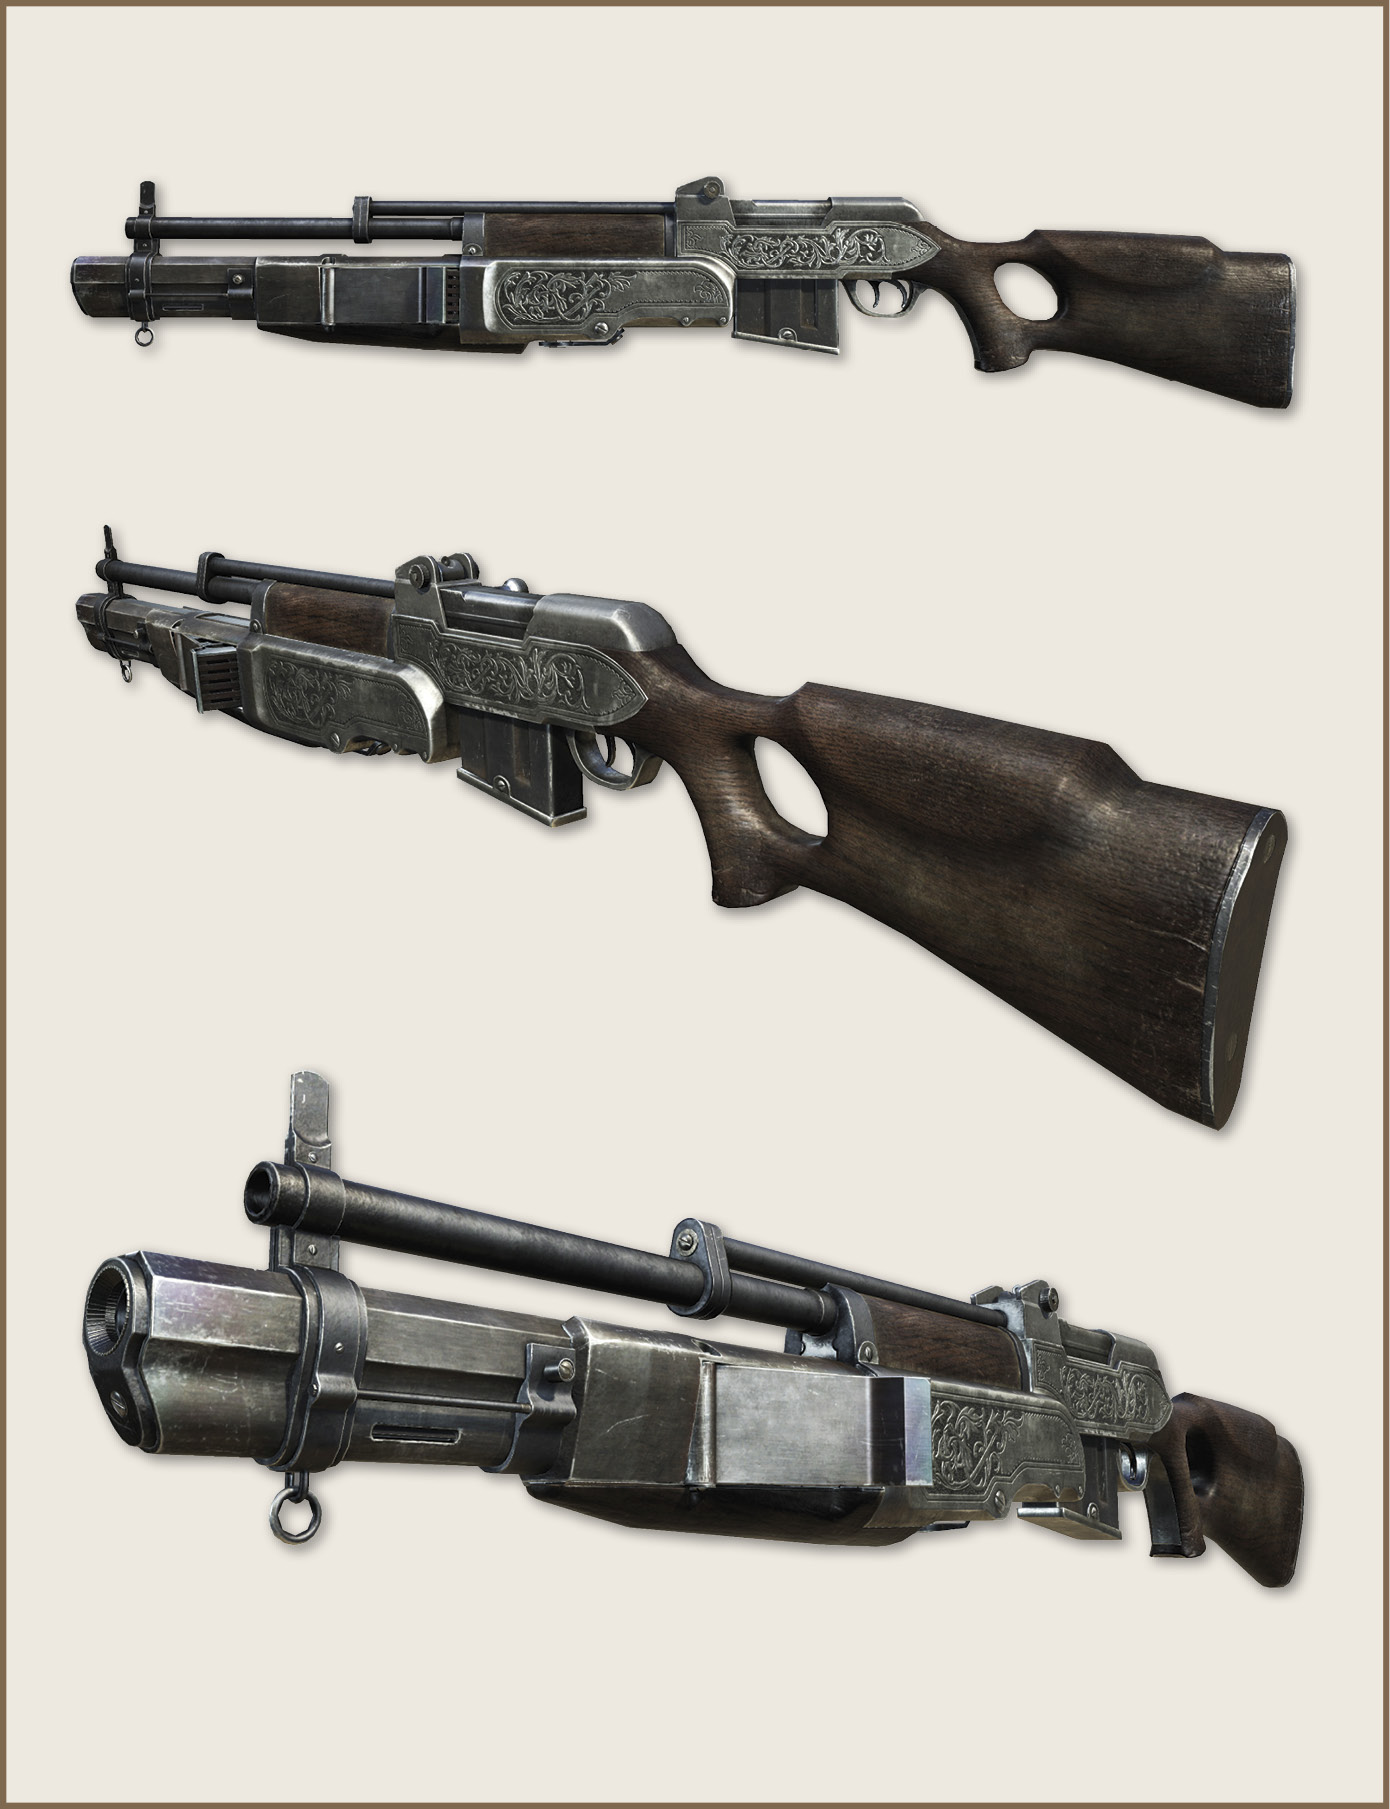
More accurate than the M85 Automatisch, and faster firing than the M82 Selfloader Carbine (thanks to being fully-automatic), the Falchion occupies the middle ground between those two weapons to provide a single, extremely versatile armament. It gets even better though—with the underslung Pn83 (that can be triggered via Alt-Fire on  ), the Falchion can stun entire groups of opponents at close range, shatter flimsy cover, and even repel Lycans! Its only major downside is its rarity. Made specifically for the Knights of The Order, only the occasional trial unit or cross-training loan can be found in the armouries of the United India Company and the Royal Army.
Fighting with this weapon
The Falchion remains accurate and effective at mid-to-long ranges, requiring only a quick burst of three rounds to finish most foes; at extremely close ranges, only two rounds are needed. Additionally, its recoil is manageable enough such that the trigger can be held down with only a minimal reduction in accuracy, a feature that is crucial when fighting Heavies (who are effectively immune to the Pn83’s concussive blast). Aim at their head and don’t let up until they go down! On the other hand, the Pn83 is all but invaluable when fighting Shotgunners. Wait for them to close in on you, and then simply blind-fire the Pn83 in their general direction to stun them. From there, you can either sweep in for a melee takedown, or finish them off with primary fire from the M2 Auto-Rifle if you prefer to hold your ground. Lastly, a well-timed blast from the Pn83 can repel a charging Lycan, giving you an opportunity to land a few more rounds, oftentimes just enough to down the beast.
Fighting against this weapon
Fortunately, this extremely effective weapon isn’t something you’ll have to face.
| STATS | |
|---|---|
| Ammo | 20/160 |
TS-17 Remote Detonation System
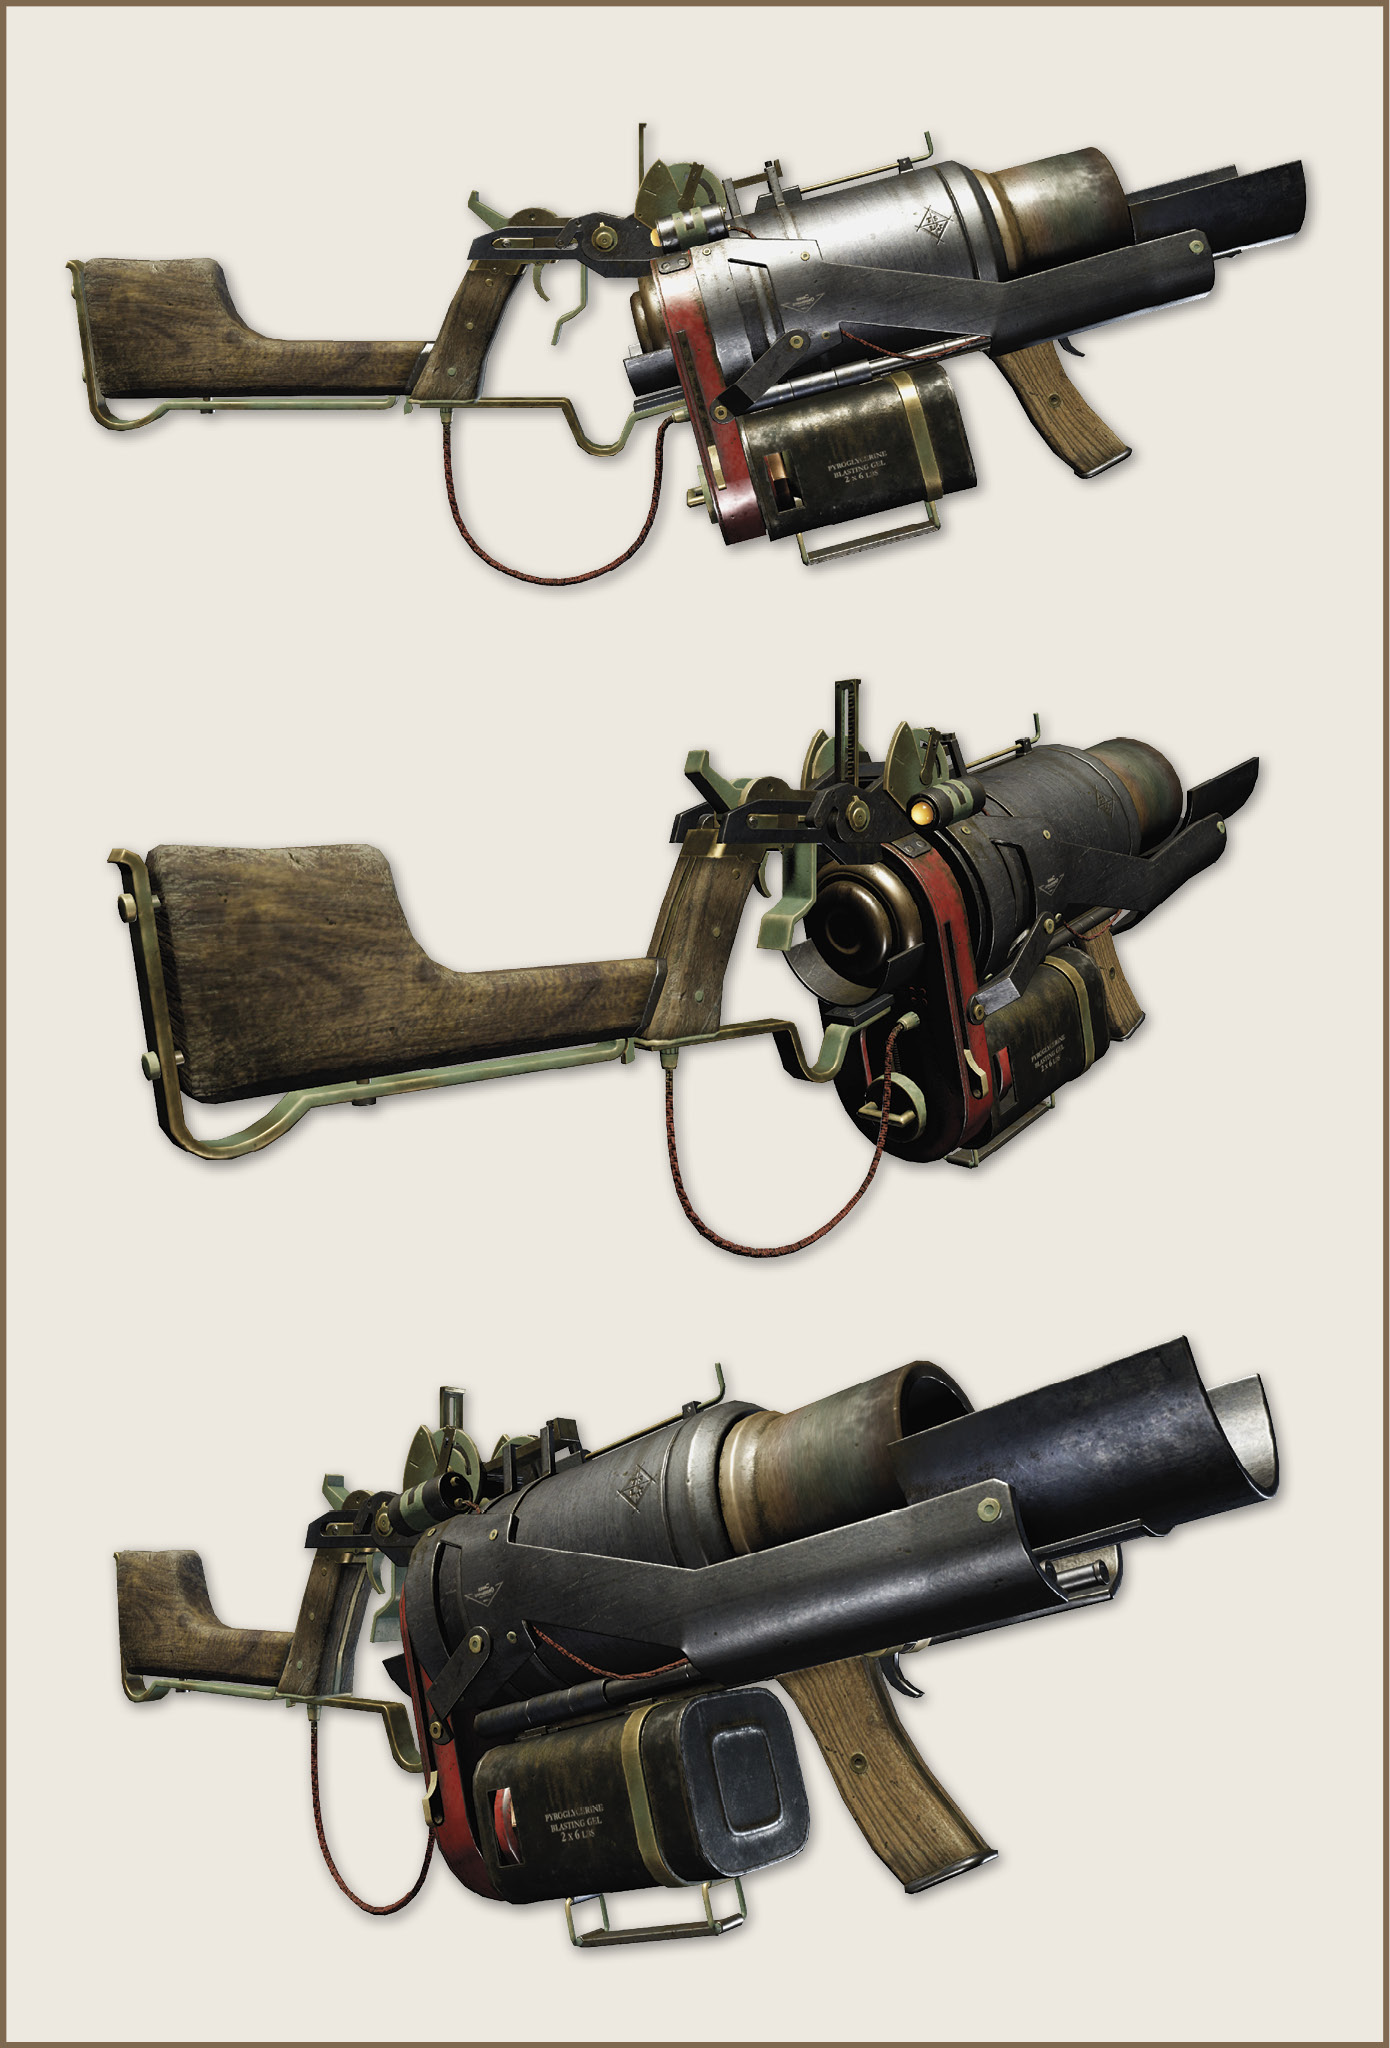
Known more commonly as the ‘Detonator,’ this technologically advanced weapon is rightly feared for its ability to launch multiple explosive charges that adhere to surfaces and can be remotely detonated at will. Fortunately, it’s rare that you’ll face this deadly weapon, as it’s only wielded by Heavies of the United India Company and Royal Army.
Fighting with this weapon
Unlike most other weapons, the Detonator often is most effective when you’re not aiming directly at your target. Instead, try aiming at the ground between him and another enemy, allowing you to catch both of them in a single explosive blast. However, if they are very close to one another, you can try for a direct hit; if you’re successful, the explosive charge goes off automatically! When you don’t score direct hits, your charges can be set
off by tapping Alt-Fire to detonate your charges one at a time (the first charge you launched is the first to detonate), or you can hold to detonate them all simultaneously. This weapon is easiest to use when you have the high-ground, allowing you to easily land charges behind enemy cover.
Fighting against this weapon
When fighting against a Detonator, listen for the distinctive “clink!” sound of a charge adhering to a surface. Once you’ve heard that sound, you need to determine if you’re safe from the charge, or need to move to avoid it. Fortunately, you have two tools for determining how close a charge is. The threat indication icon appears, potentially prompting you to press  to dodge away from the charge if it’s very close. In addition to this, you can also hear interference over your Communicator when near a charge; the closer you are, the louder the interference will be. If you’re near the charge, obviously you should move to avoid taking serious damage from its blast (even the edge of the blast can cause you to stagger). If you’re not near the charge, you should strongly consider staying put; accidentally wandering into the blast can be disastrous.
| STATS | |
|---|---|
| Ammo | 4/8 |
Essex M86/FL Thermite Rifle
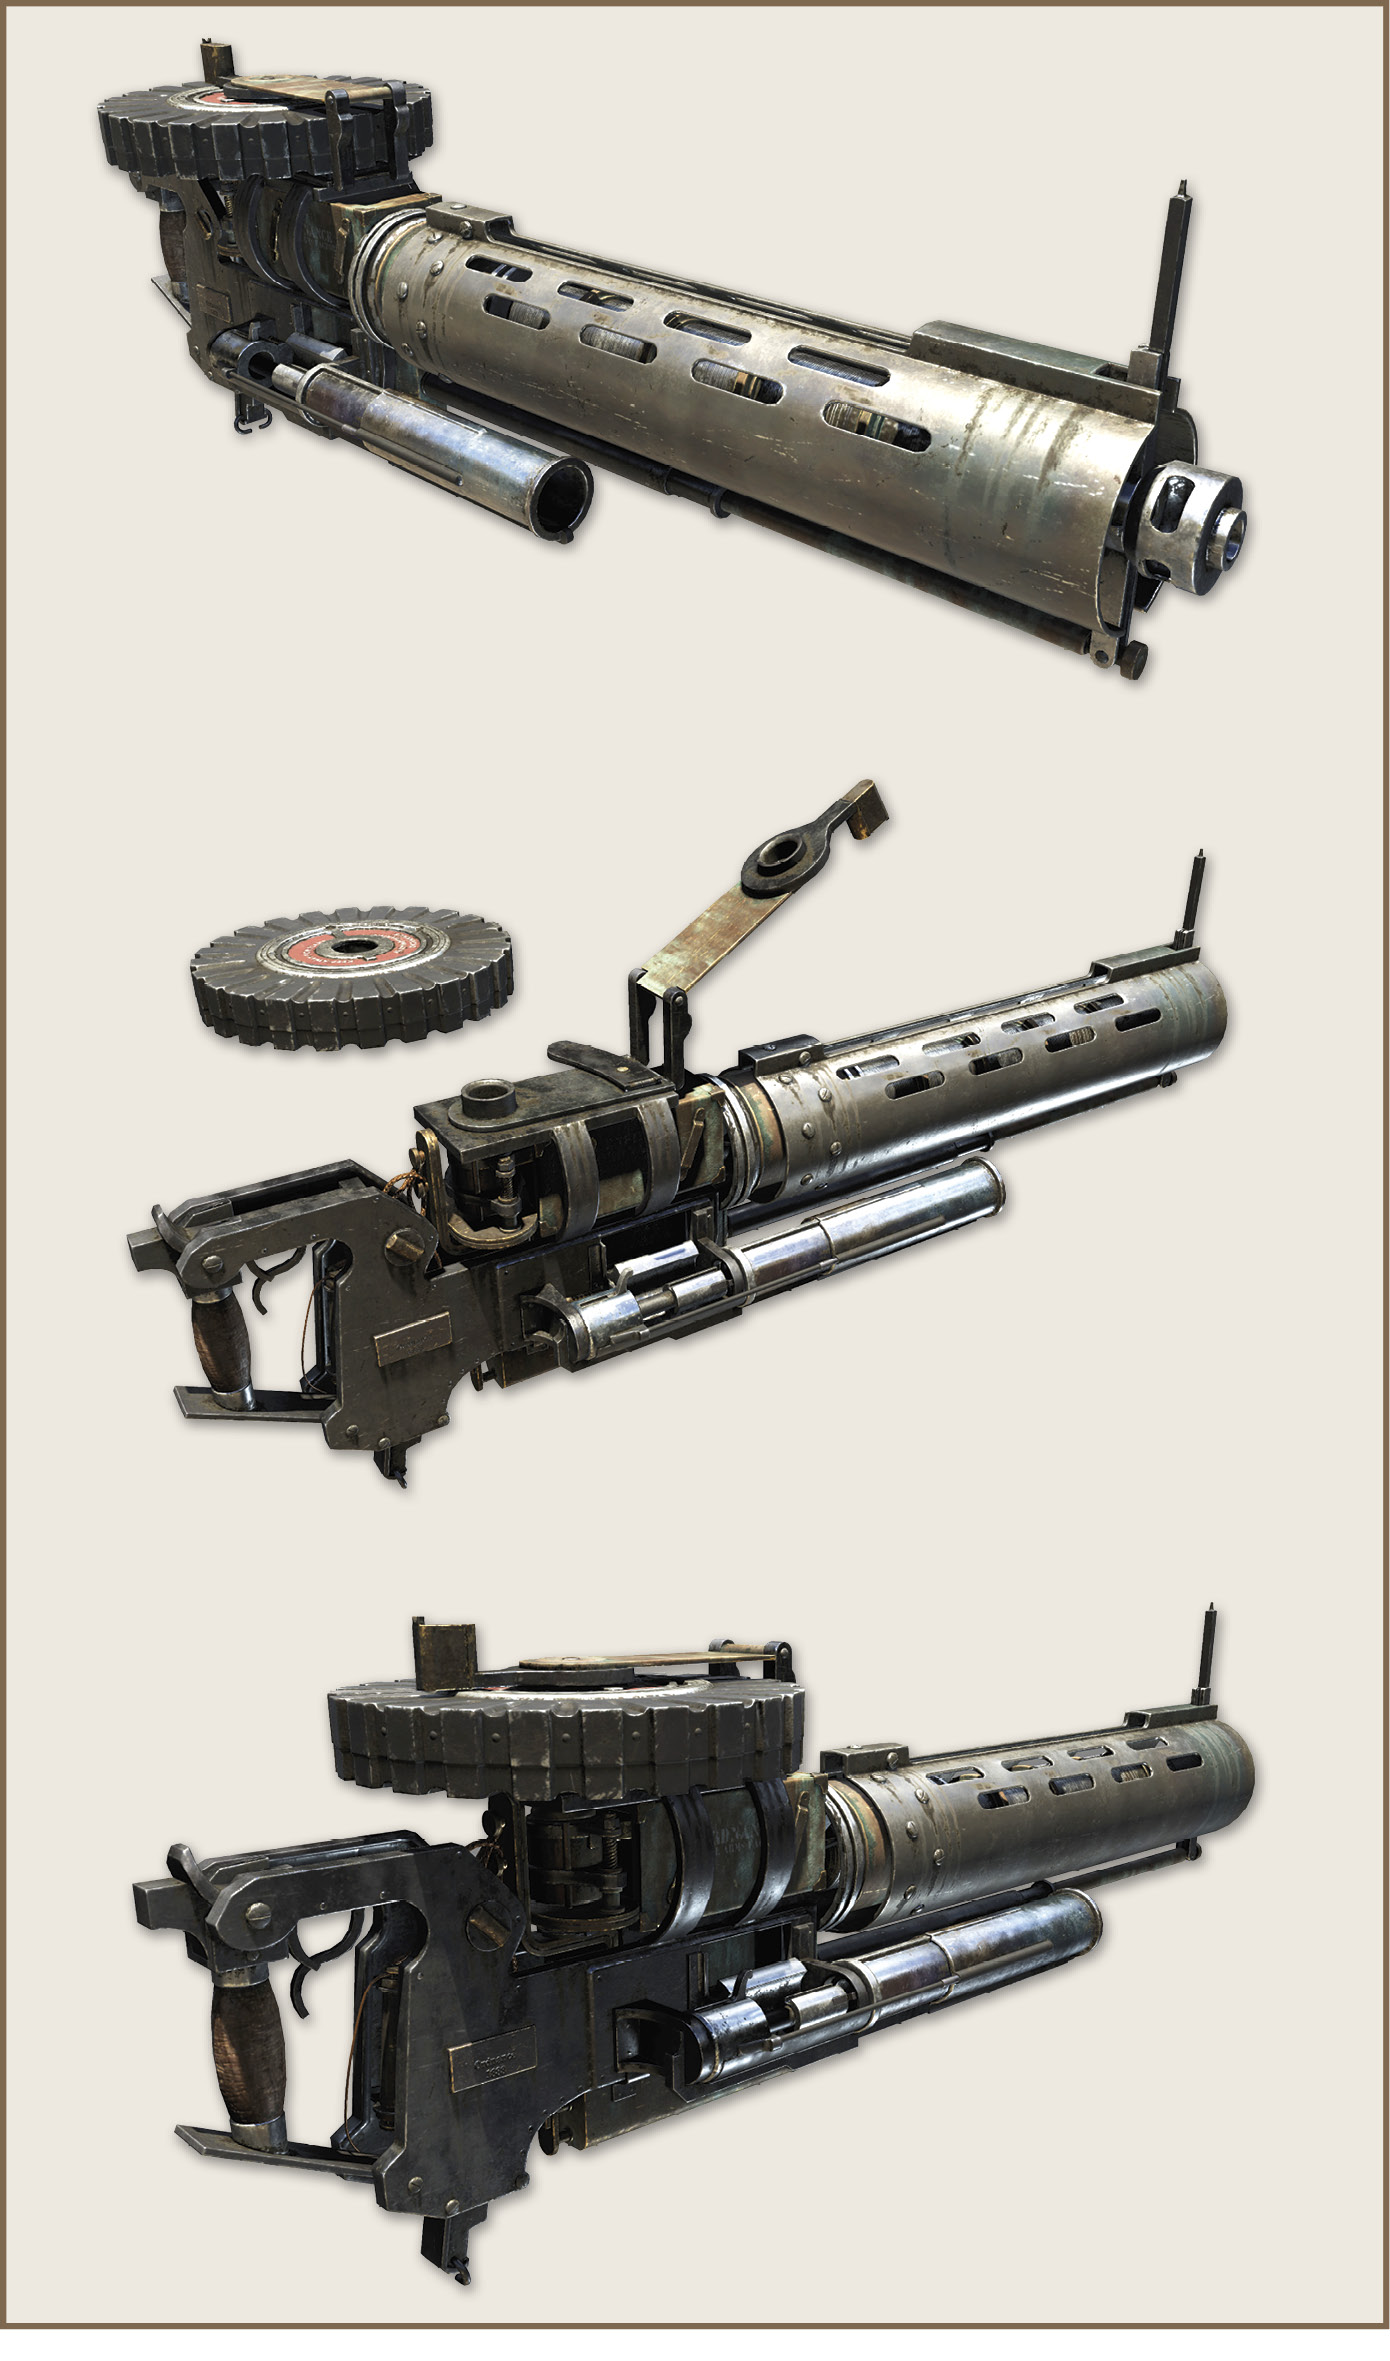
The Thermite rifle is a stunning technological achievement—and we mean that literally. Its ability to engulf an area in a noxious cloud of aluminium iron oxide grit causes those within to break cover in a fit of coughing. But the truly stunning effect is seen once a flare is launched into the cloud, igniting it in a spectacular shower of sparks and potentially immolating anyone unfortunate enough to be in the area. This deadly piece of hardware can be found in the hands of Rebel, United India Company, and Royal Army Heavies.
Fighting with this weapon
A single pull of the trigger  fires a burst of ten frangible rounds that break into small puffs of aluminium iron oxide grit upon impact. When firing at a single target, the inherent inaccuracy of these rounds gives you an effective spray pattern to make a sizable cloud of ignitable airborne grit. Alternatively, you can sweep a broad area as the burst fires, allowing you to potentially catch many foes in a single burst. Do not be afraid to follow up with a second burst if you need more coverage. Also note that even direct hits from these frangible rounds do very little damage; attempting to kill a foe with only the primary fire is a waste of ammunition.
Next, once you’ve caught your target(s) in a cloud of grit, Alt-Fire an ignition flare into the cloud to initiate the weapon’s namesake “thermite” reaction. These flares travel slowly in a bit of a corkscrew pattern, but clouds they strike are immediately ignited, creating brief, but extremely high-temperature blasts that ignite any unarmoured enemies in the immediate vicinity. Additionally, the shower of molten sparks that rains down from the blast can be similarly damaging, though it is not powerful enough to be lethal against an undamaged foe. However, any foe that is currently ignited can act as an ignition source for other clouds of grit, including new ones you fire. This can allow you to finish off a target that was only caught by the shower of sparks, or can allow you to spread the blast even farther to other targets nearby. This can be particularly important because, while you do have an unlimited supply of flares, you have to wait for the auto-loader to finish before being able to fire another one. Note that flares can be somewhat damaging all on their own; a
direct hit causes the target to stagger backward. While it takes a total of three direct hits to kill even the weakest of enemies, the flare adheres to them (like any other surface), while the staggering allows you to easily follow up with a burst of primary fire and set off a deadly thermite reaction right on top him.
Given these features, the Thermite Rifle is a very effective weapon for dealing with large groups of enemies, as well as for dealing with foes that are entrenched behind cover. The coughing exposes them, and the igniting blast of the thermite reaction will surely finish them.
Fighting against this weapon
Unfortunately, everything that makes the Thermite Rifle excellent for destroying your foes also makes it quite deadly when used against you. While facing a Heavy wielding a Thermite Rifle, you need to remain highly mobile. The weapon’s ability to engulf entire pieces of cover in a deadly inferno means that staying put usually isn’t an option. However, staying on the move out of cover can be dangerous if there are foes with more traditional weapons around, so you need to take them out quickly to avoid getting gunned down in the open.
Once you can move freely, it simply becomes a matter of staying out of the grit clouds while returning fire to slowly whittle down the Heavy. There is, however, one exception to this: if you get directly hit by the Heavy’s flare, you need to change tactics immediately! A single round of primary fire landing anywhere near you can be quite damaging, as it will be ignited by the flare now attached to you! In this scenario, your safest option is to find a tall piece of cover and keep it between you and the Heavy until the flare burns out; actually attaching to the cover would be a mistake though, as it will most likely end up engulfed in a cloud of grit. As such, you’ll actually want to stand a few feet behind the cover to avoid igniting anything.
| STATS | |
|---|---|
| Ammo | 40/400 |
TS-23 Resonant Circuit Arc Induction Lance
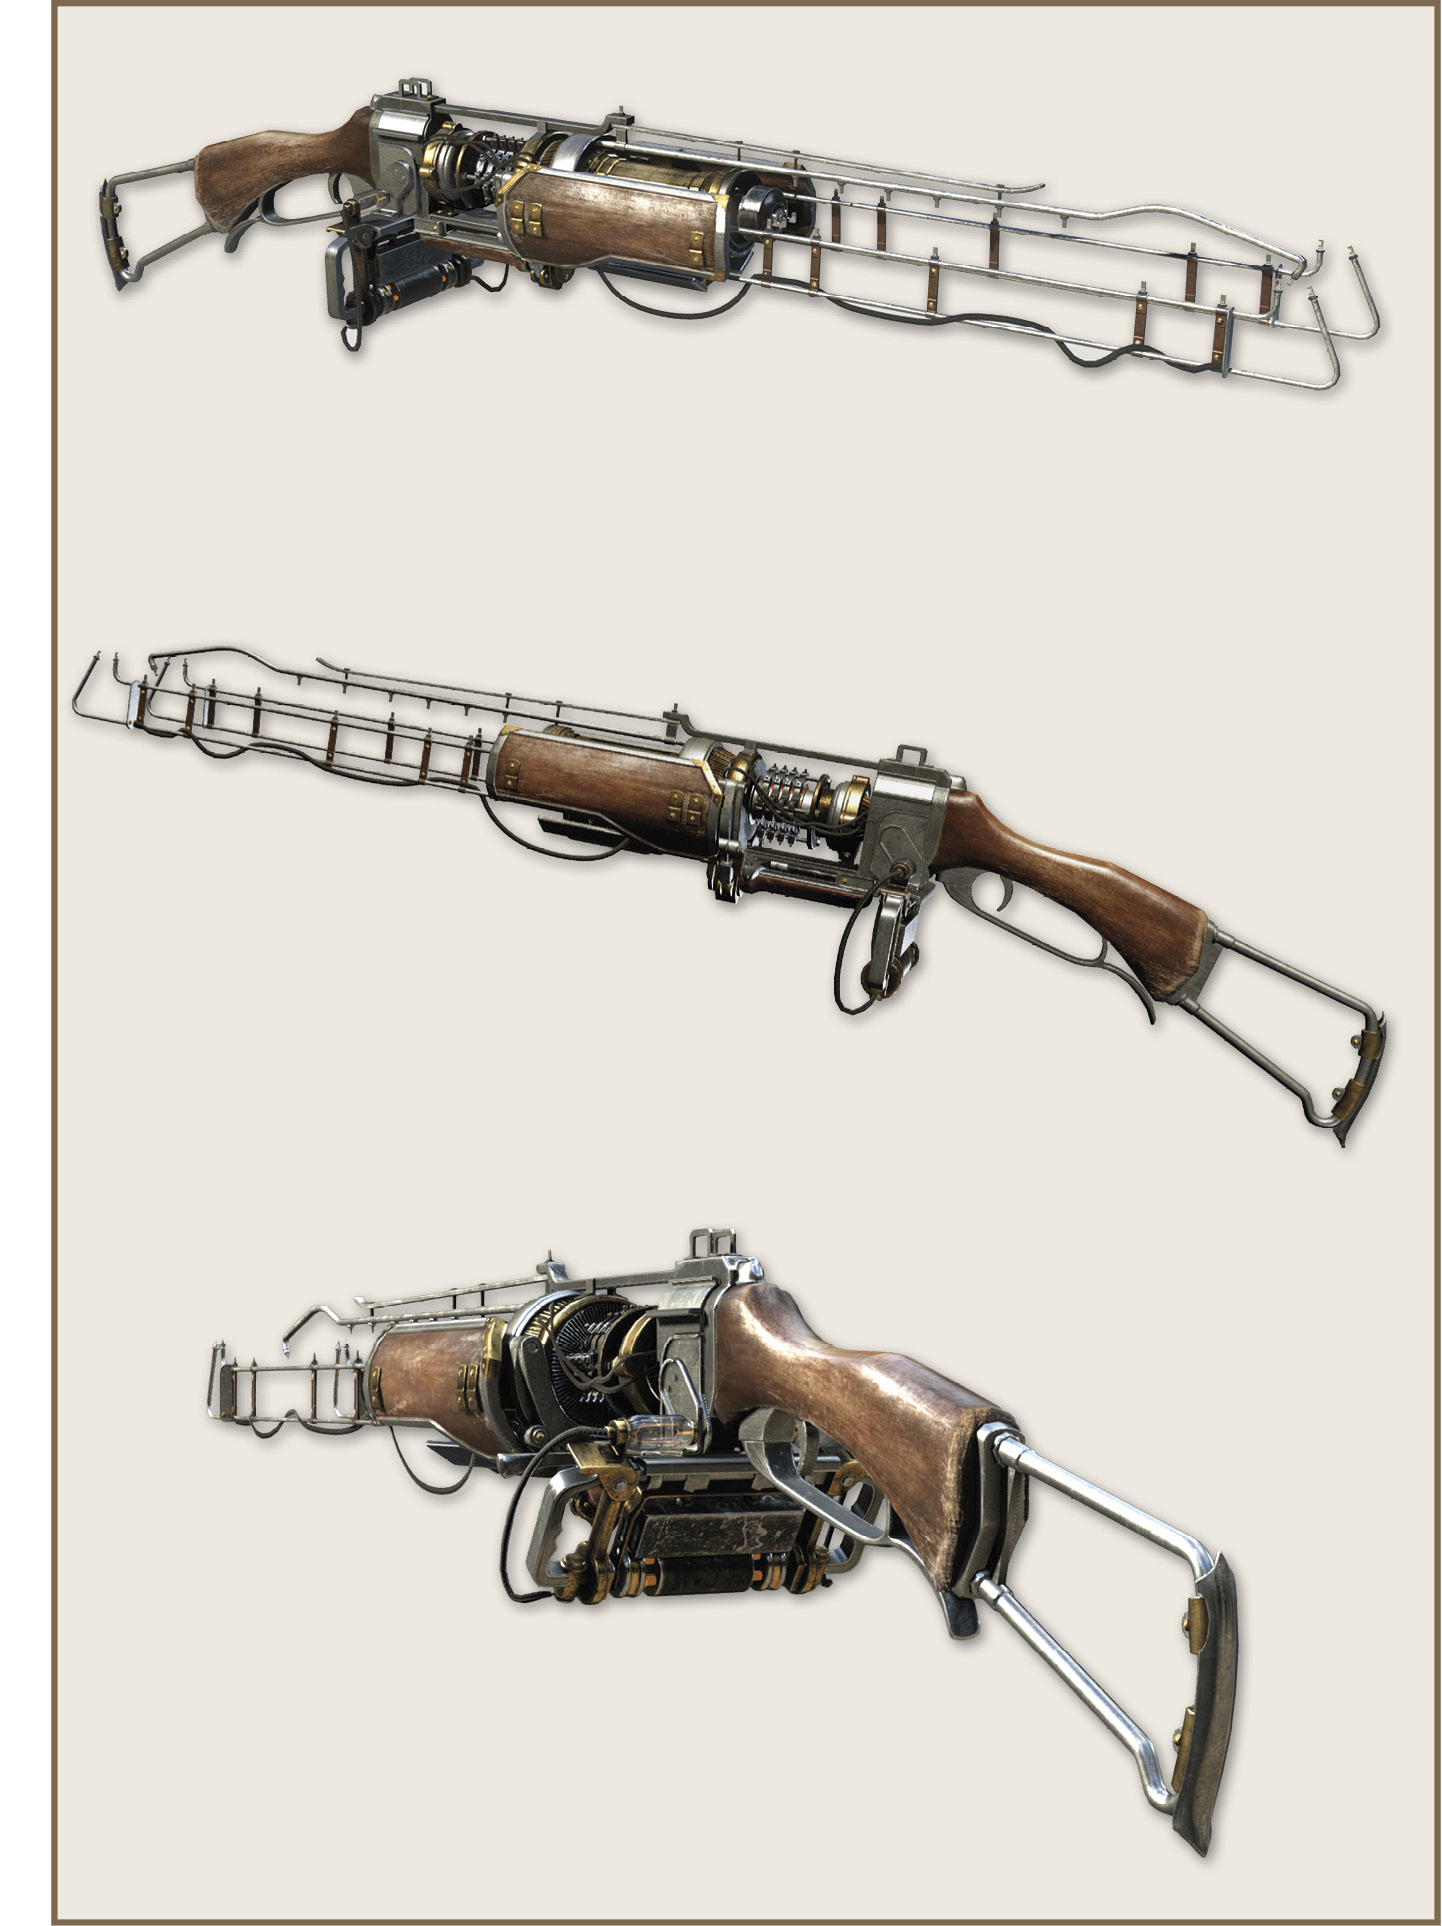
Sometimes referred to as the Arc Gun or Arc Rifle, this magnificent weapon is extremely deadly—and even a bit gruesome—as it harnesses raw electrical power to deal severe bodily harm to even the strongest of foes.
Fighting with this weapon
The Arc Induction Lance must be charged in order to fire. Hold to charge the weapon, and release it to fire. While this charge delay is very brief (less than one second), it can be off-putting for some. However, in practiced hands, this weapon is absurdly effective. Pay attention to the audio, visual, and controller rumble cues to learn the timing of the charge, and soon you’ll be able to fire the weapon with ruthless efficiency. From there, using the weapon is a simple matter of pointing it in the general direction of your opponent; the bolt of electricity unleashed by this weapon arcs to the target as long as they’re somewhere within the reticle. In other words, precision is not required! The time it takes you to charge the weapon should be long enough to line up your next target, so once you get the hang of it, this weapon allows you to down a target about once a second.
But wait, it gets even better! Given the weapon’s ability to trivialize aiming, it can be extremely effective while blind-firing. This allows you to rapidly eliminate foes while taking minimal risk yourself, meaning that as long as you can sustain the weapon’s reasonable ammunition requirements, you haven’t much to worry about. Furthermore, the Arc Induction Lance is one of the most effective weapons for dealing with Heavies. The first bolt sends him reeling as the electrical charge disperses across his armour, while the second shot cooks him alive inside his otherwise protective shell. The only scenario where the Arc Induction Lance faces significant difficulty is when fighting a large group of enemies in close quarters. The charge time can be problematic when an enemy suddenly appears in close proximity by popping out from behind cover, and the ammunition consumption can be significant.
Fighting against this weapon
Lucky for you, this prototype weapon is so specialized and rare that you never have to face a foe wielding it.
| STATS | |
|---|---|
| Ammo | 6/12 |
TS-29 Magnetically-Assisted Cannon
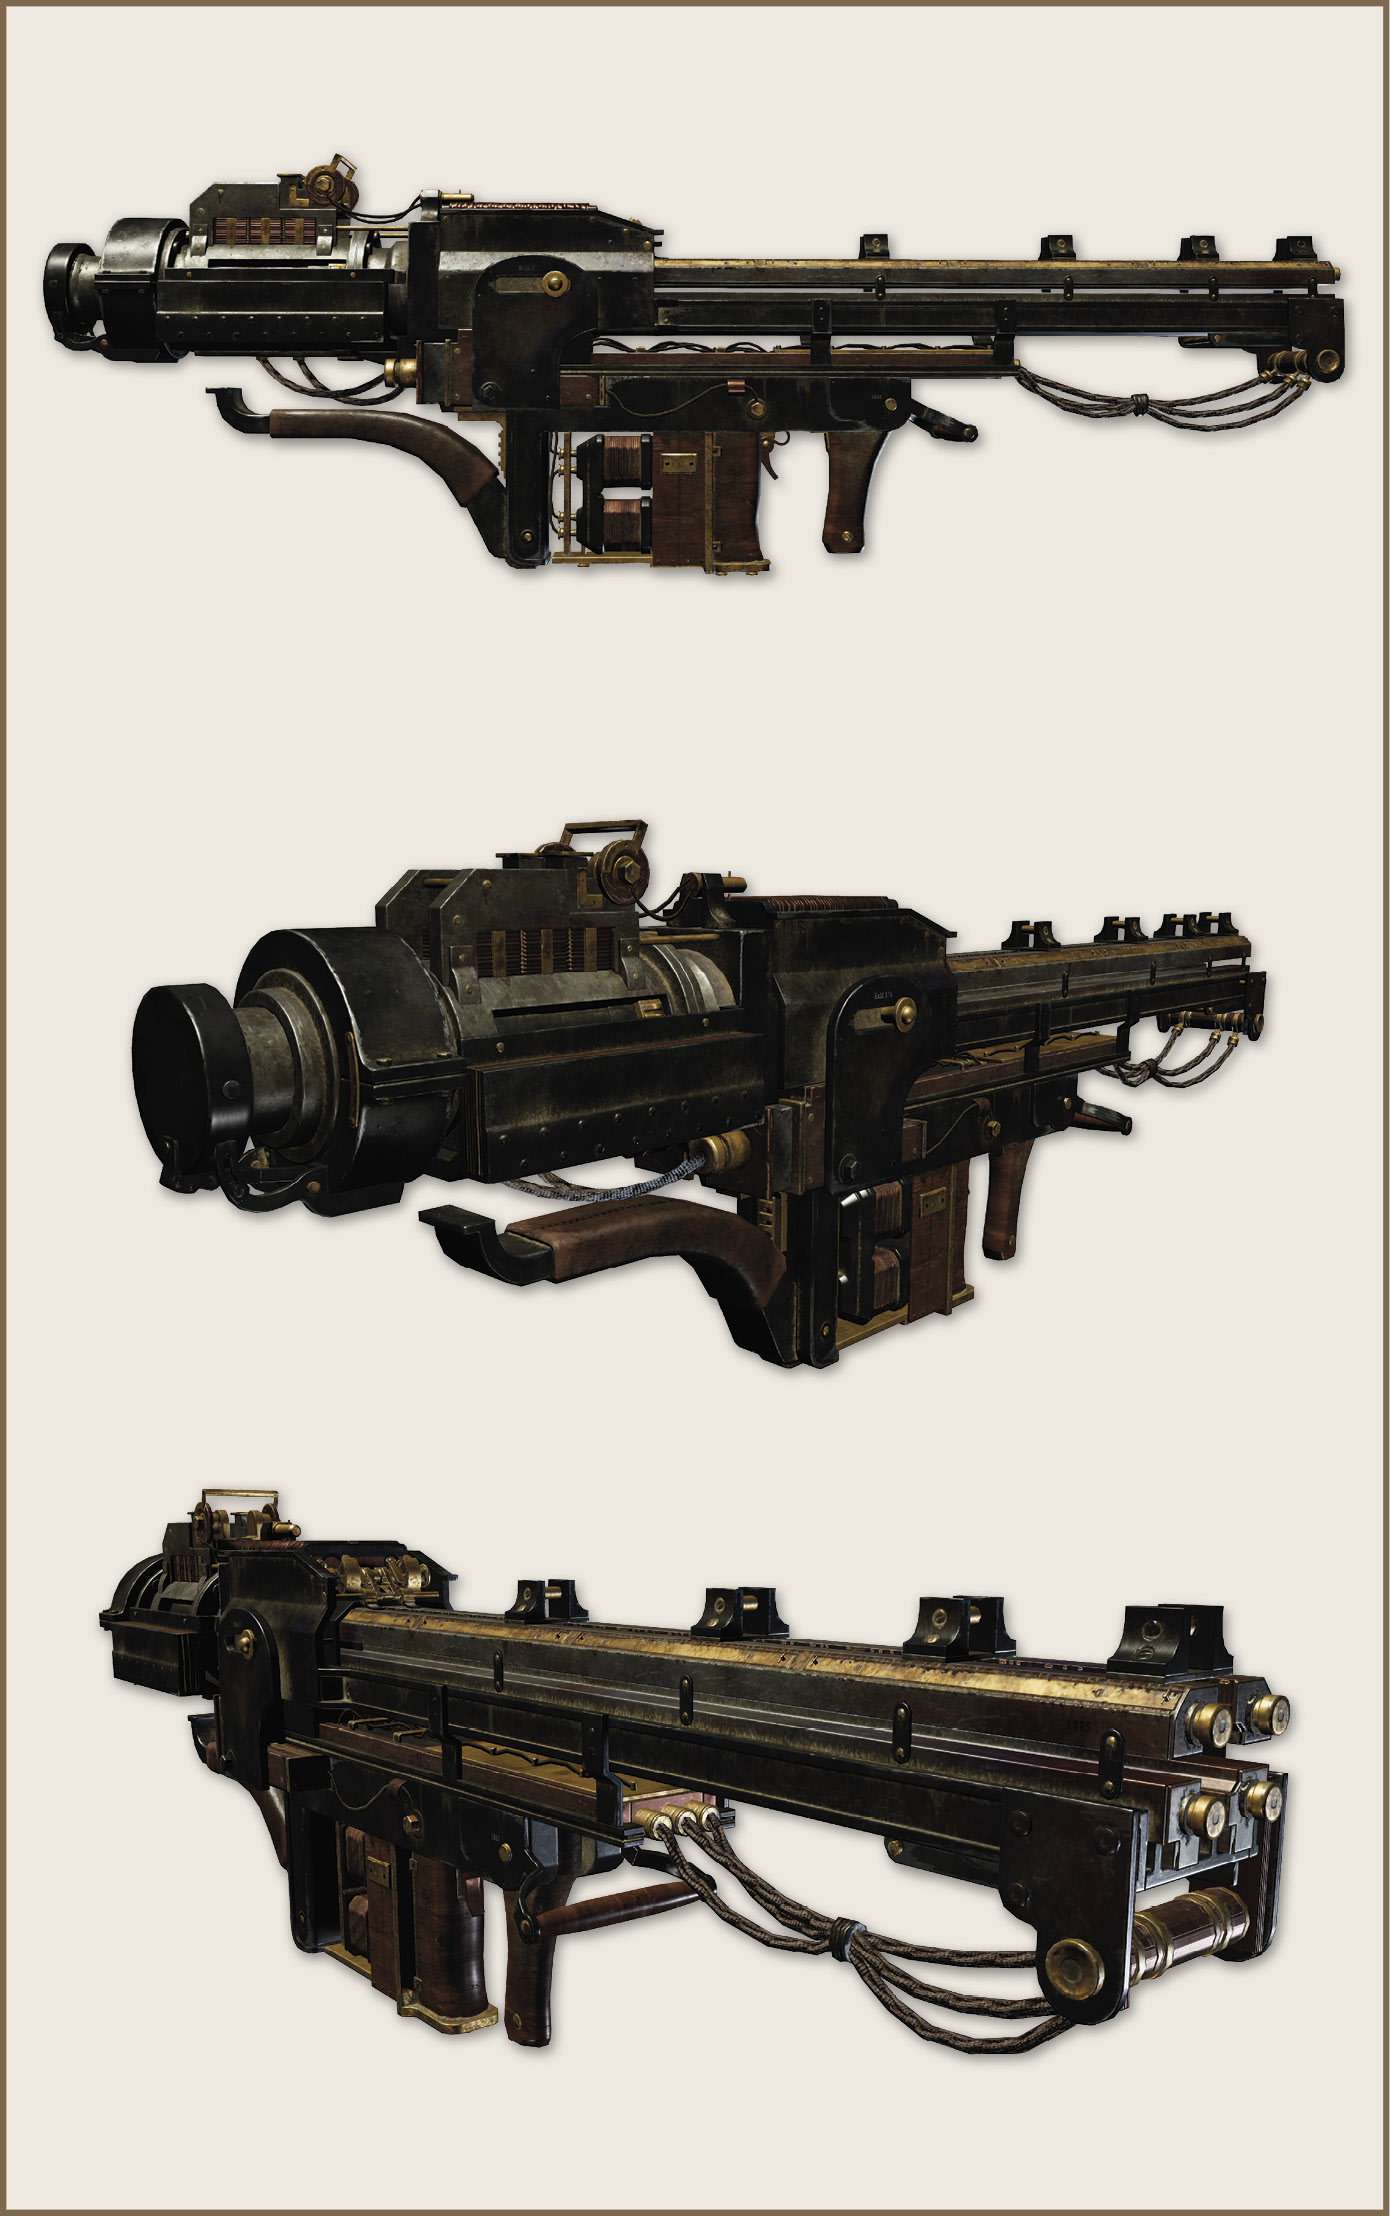
This monstrously powerful shoulder cannon combines traditional firearm technologies with electro-magnetic assistance to launch very heavy projectiles at incredible speed, resulting in a sizable explosive blast at the point of impact. While the Rebels manage to get their hands on a single prototype of this deadly weapon, you get to turn it against them shortly afterward.
Fighting with this weapon
The TS-29 requires a moment to charge its electrical components, resulting in a small delay from the time when you pull the trigger to when the weapon actually fires. Beyond that, it’s a fairly simple point-and-shoot affair, though it is recommended that you try to catch as many targets in a single blast as possible (even if it means aiming at the ground near them instead of directly at them). Lastly, the stacked-cartridges allow you to fire the weapon three times in quick succession before needing to reload; this can be useful for quickly following up on any targets caught staggering in the outer fringes of a prior blast.
Fighting against this weapon
In short: kill him before he kills you. A single hit from this weapon spells disaster, so your only real choice is to close to an effective distance, forcing the weapon’s wielder to expose himself while you take your shot. See the section regarding this specific battle in the Chapter VIII: Under Siege portion of the Story Walkthrough for further details.
| STATS | |
|---|---|
| Ammo | 3/∞ |
Crofton-Woolwich Repeating Compound Arbalest
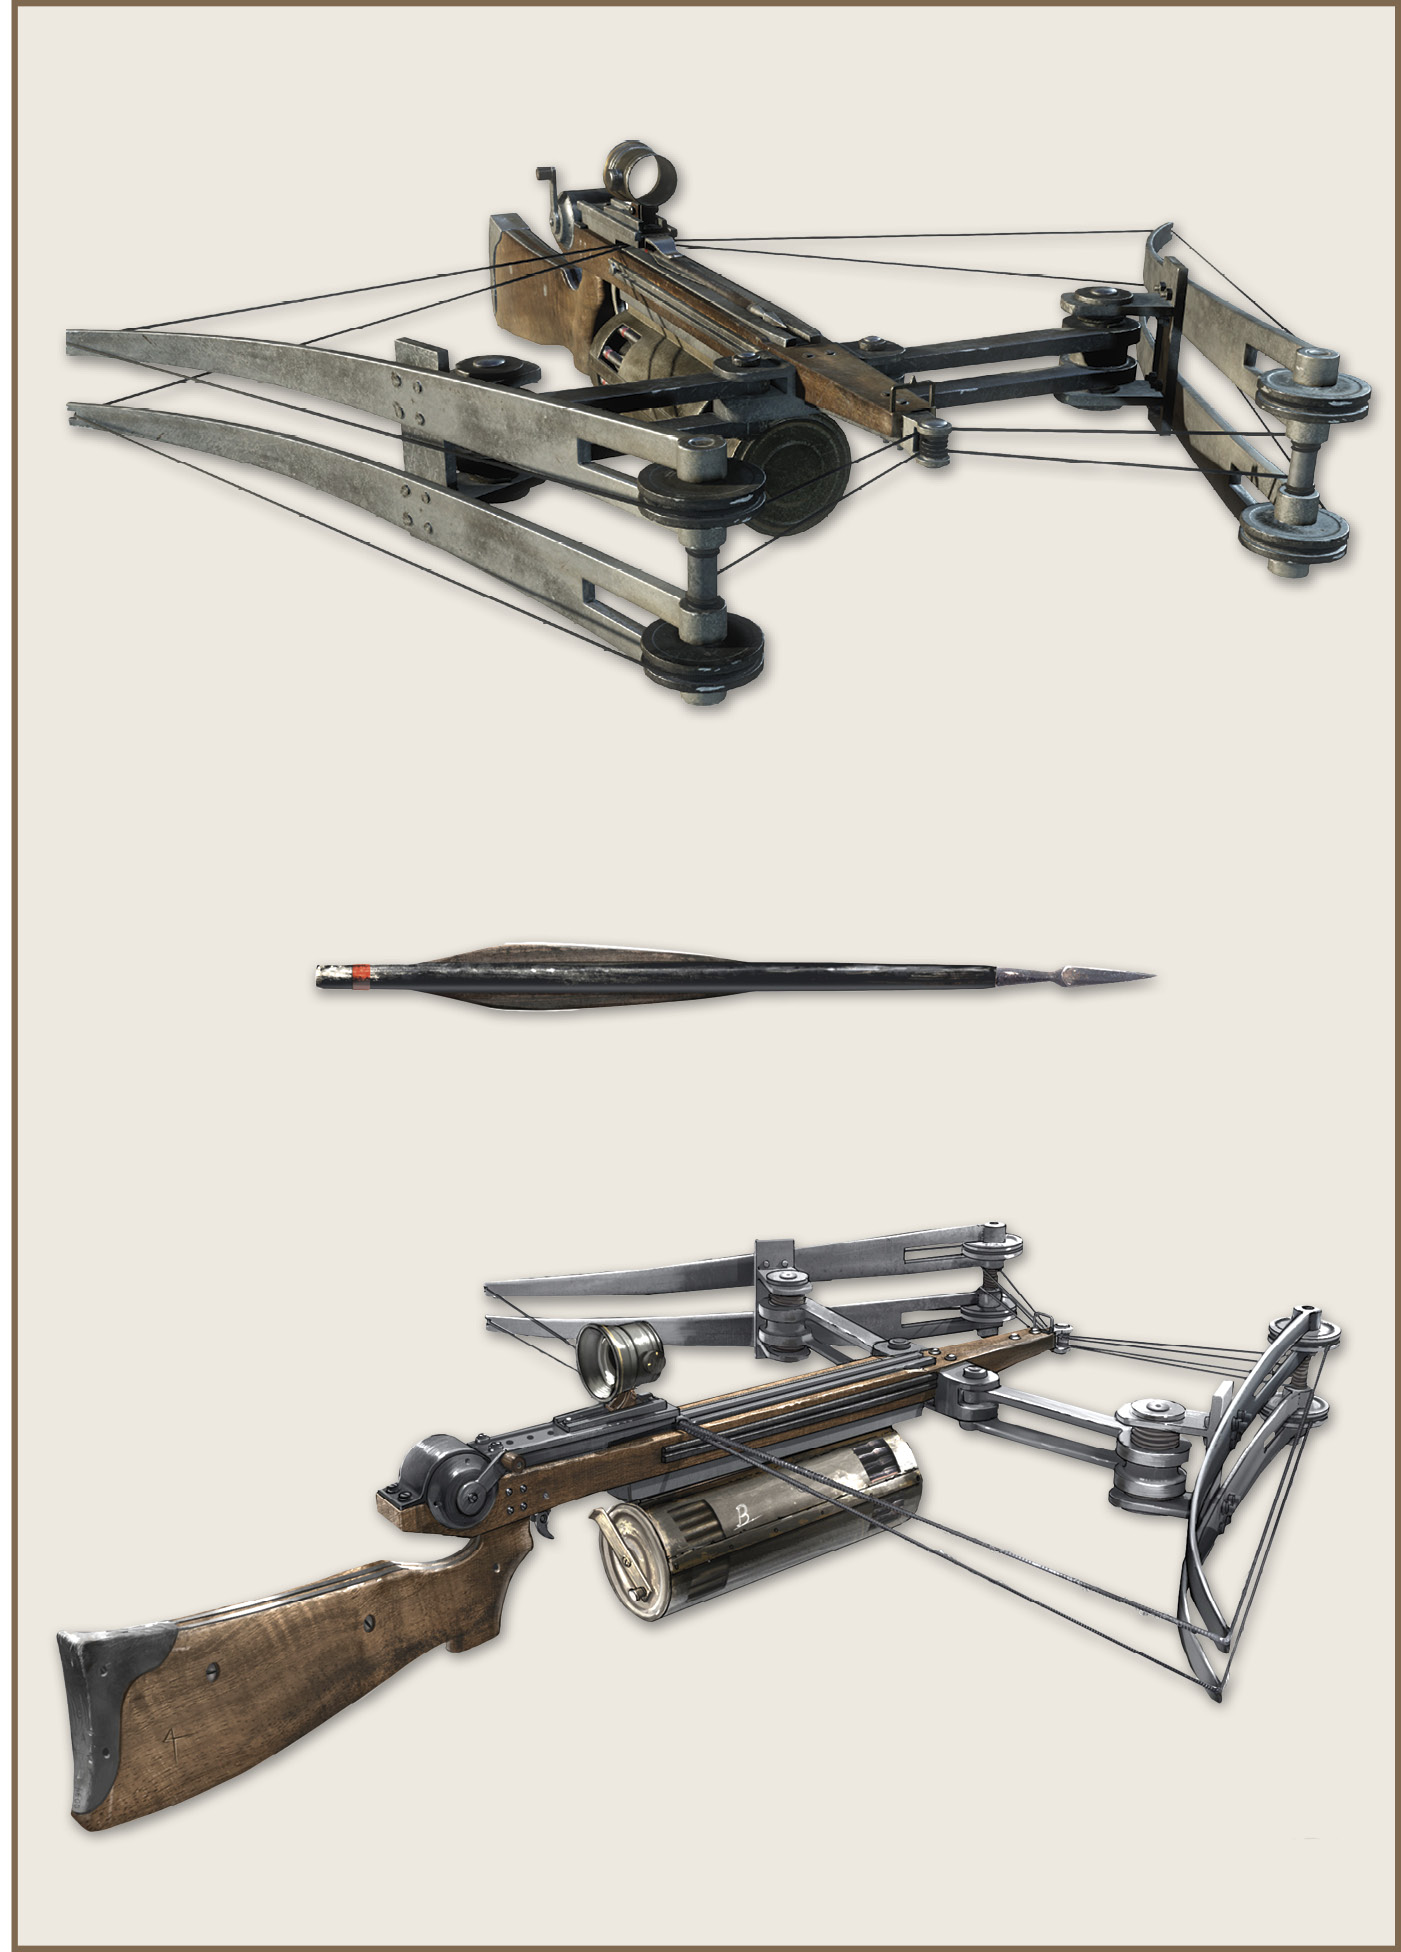
This crossbow is a silent, deadly, and highly accurate stealth weapon. Given its atypical nature, it can’t be found in the armed forces of any of the opposing factions you face.
Fighting with this weapon
Your bolts instantly kill anything less than a Heavy if you score a hit, the trick here being properly accounting for the travel time of the projectile. Unlike most other weapons, the Arbalest projectiles need a (very short) period of time to reach their target; the farther the target, the longer it takes to reach it. This can make hitting moving targets a bit difficult, but since the projectiles are perfectly accurate (they go exactly where your crosshair aims them), carefully leading a target can be effective. Beware though! While sneaking about with this weapon, a missed shot can alert your target, sending him looking in your general location and increasing the chance of your being spotted. Additionally, since ammo can only be obtained from crates, you need to use the Arbalest carefully and precisely if you don’t want to run out of bolts. Like the M84 Marksman Carbine, this weapon cannot be hip or blind-fired: you must take aim to shoot.
Fighting against this weapon
Like several of the other weapons used exclusively by the Knights, the Arbalest is never used against you.
| STATS | |
|---|---|
| Ammo | 5/10 |