The Order: 1886 Signature Series Strategy Guide Walkthrough Chapter III: Inequalities
Roles Reversed
Lafayette gives colorful expression to his frustration with London’s city planners: another deadend! (Note the rebel’s raven & white tower insignia painted on the wall ahead.) Galahad grabs the Monocular and pinpoints a weak spot in the elevated tracks. As he prepares to move forward, you see an armored rebel heavy wielding a Thermite Rifle move into position on a raised platform (63) up ahead. That’s not good. You need to reach that platform to access the tracks.
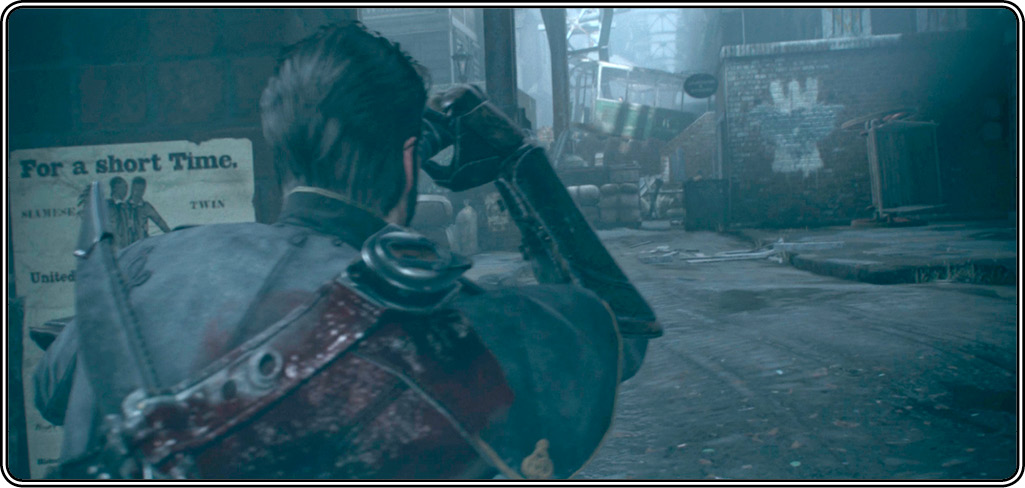
Sling thermite dust at the armored goon. When his thermite clouds appear near you, hustle away before they ignite. Note that an explosive barrel sits just to the right of the rebel heavy. When he foolishly drifts over near the barrel, explode it with a flare or pistol shot to take him out. When the street is clear, follow Perceval to the cart (64) lying on its side under the platform.
Help Perceval with the cart
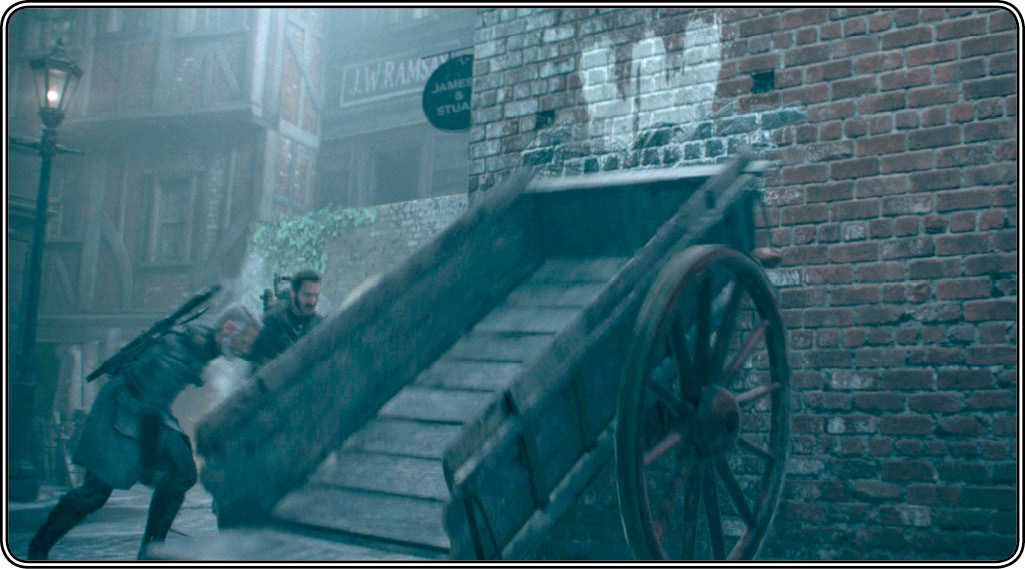
Approach the left side of the cart and press the button indicated to help Perceval pull it onto its wheels. Follow Perceval up the tilted cart, jump to the ledge above, and pull yourself onto the platform.
Plant thermite on the bridge
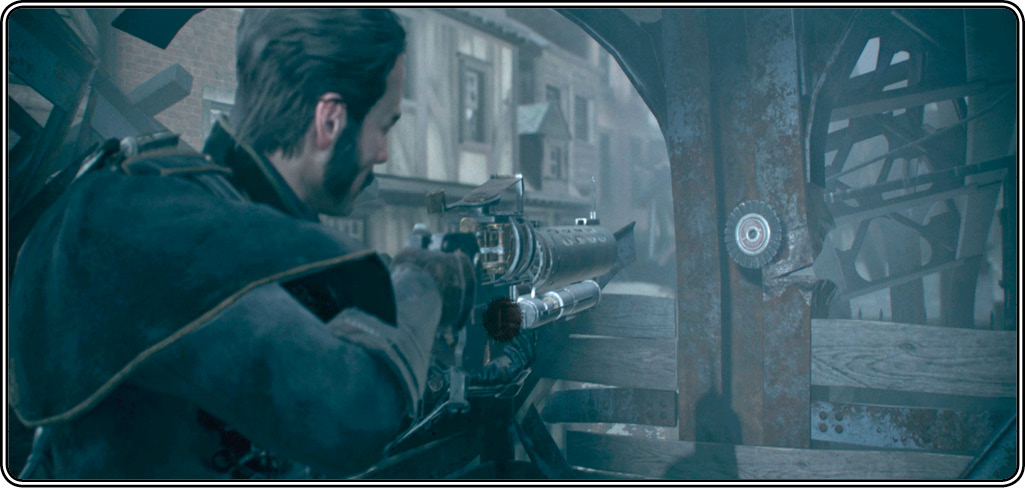
From the platform, climb the stairs up into the room. You need a Thermite Rifle for the next step. If for some reason you swapped yours out, another Thermite Rifle is on the room’s floor with an ammo crate too. Hop out the window and plant a thermite cartridge on the track support beam (65) where indicated. Then shoot it with the rifle’s ignition flare…and watch the glorious collapse.
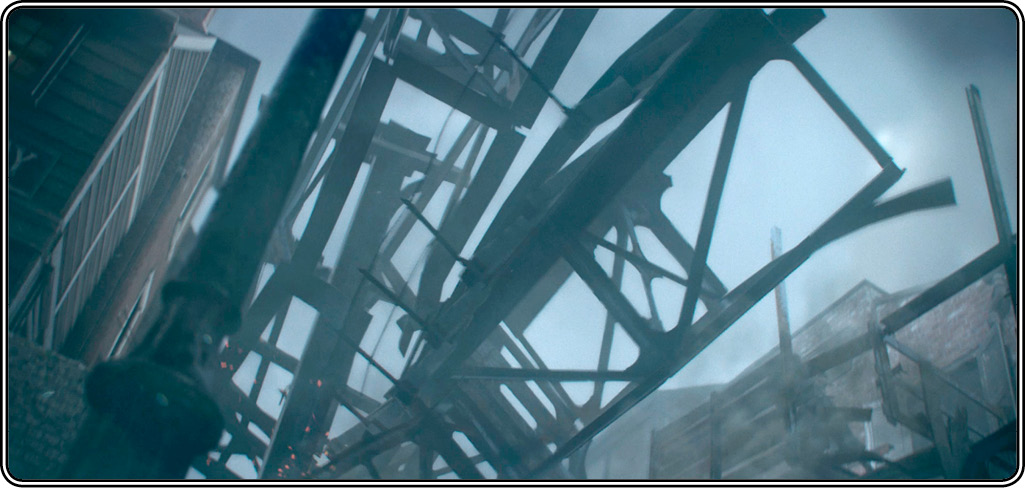
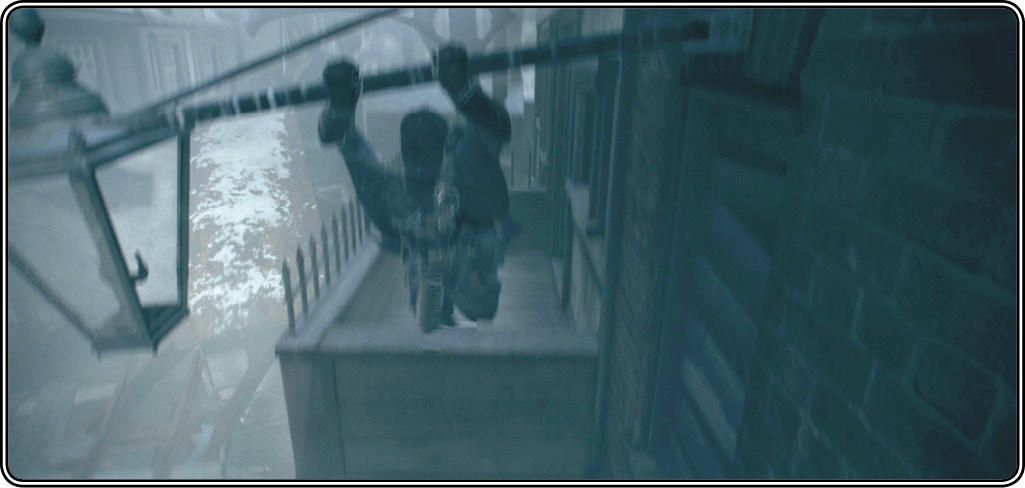
Move forward and jump to swing across the gap to the next balcony using the metal lamp strut. From this balcony you see your fellow Knights rushing down the street below.
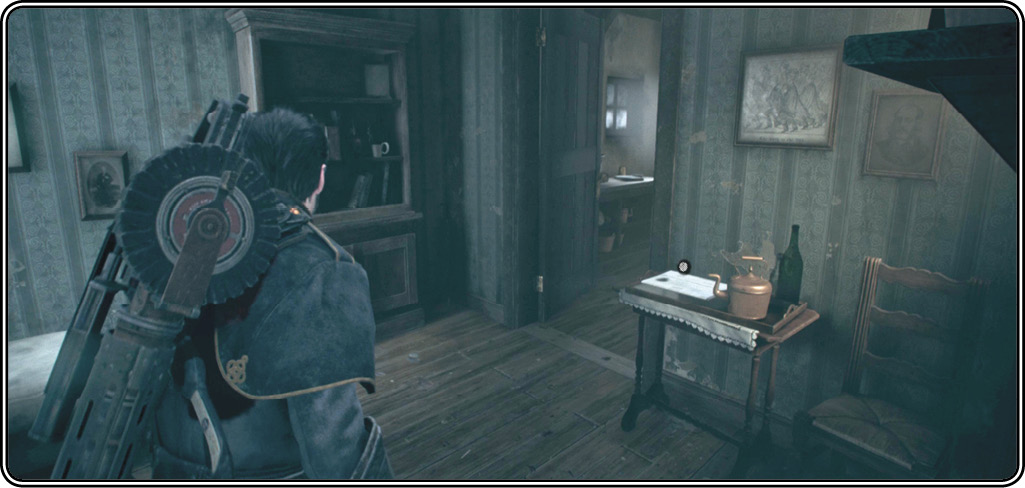
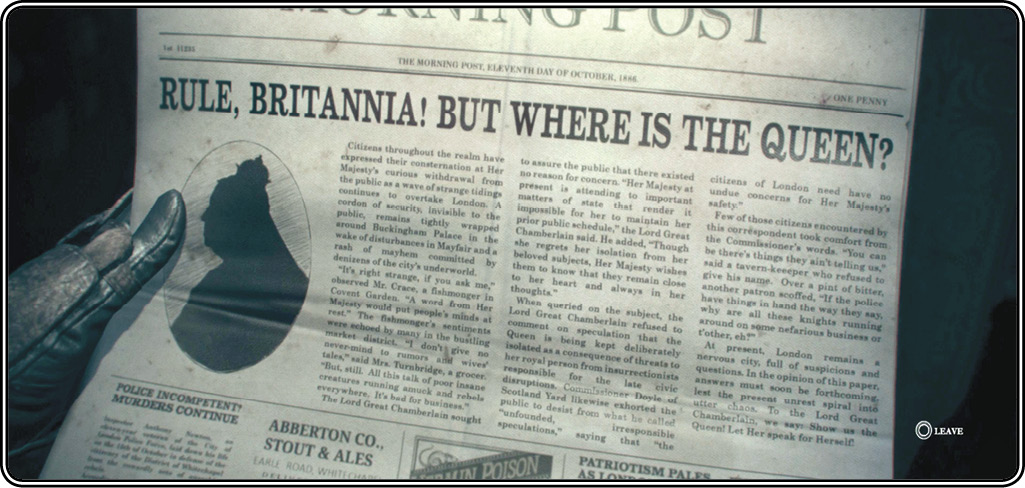
Enter the building and turn into the small room on the left. Inspect a copy of the Morning Post newspaper (66) on the small table near the opposite door—unrest is spreading across London, and the Queen is nowhere to be seen. Exit the room, head downstairs, and leave through the red door to trigger the chapter’s final scene.