
The Order: 1886 Signature Series Strategy Guide Walkthrough Chapter V: AGAMEMNON RISING
Stand and Fight
Stop the rebels from coming into the foyer
Start picking off rebels from your sniper post using the M84 Marksman Carbine. Use the scope’s zoom function to target headshots on rebels. You can nail targets efficiently even if they’re using cover. Stay upstairs for the first wave, moving along the banister to get better shooting angles, if necessary.
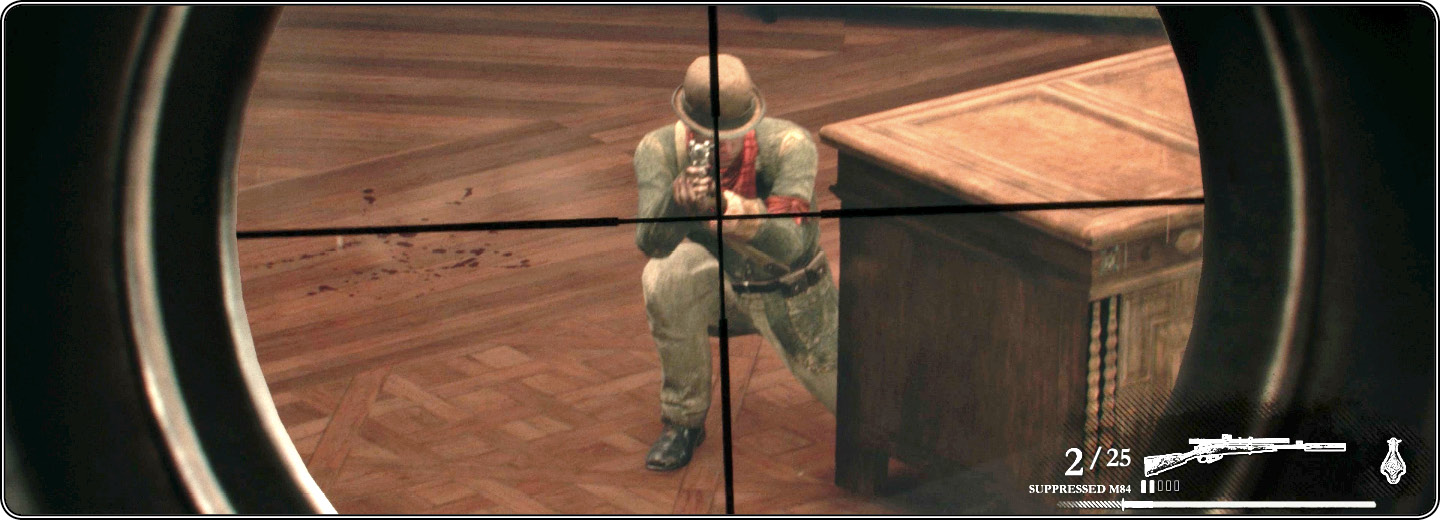
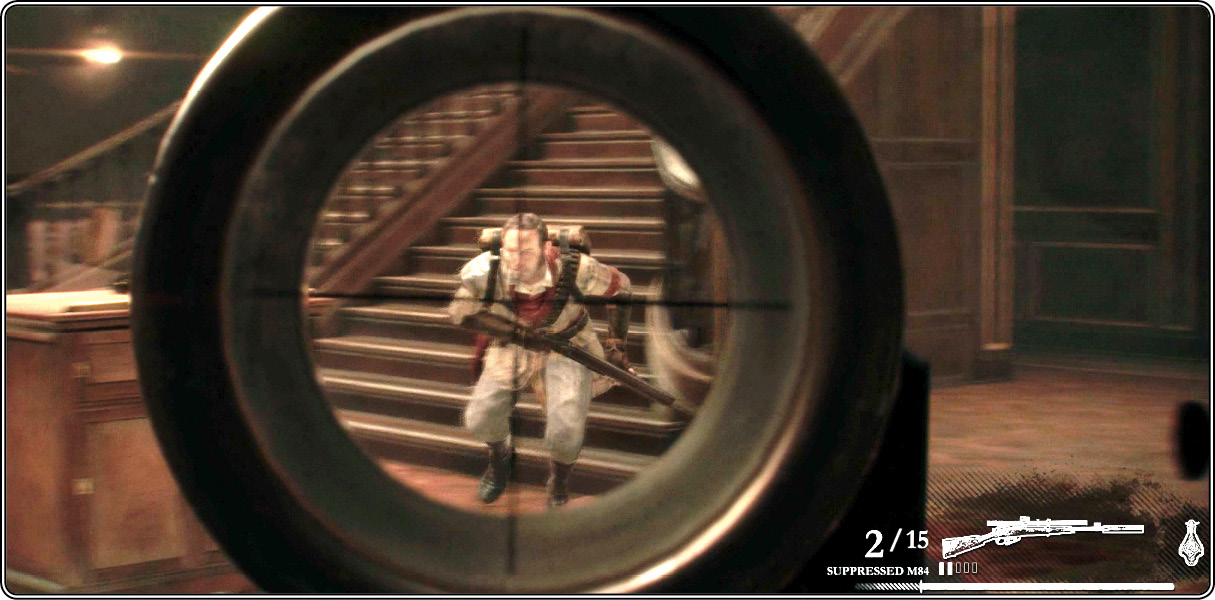
When you find no more targets from the balcony, swap your sniper rifle for a pistol. Be ready! Descending the staircase (29) to the ground floor triggers a second rebel attack wave. This one includes an aggressive shotgunner with a powerful Coach Gun who rushes across the foyer for close-range attacks. (If you’re still equipping the sniper rifle, these in-your-face rushes can give you fits!) Watch out for a rebel grenadier as well.
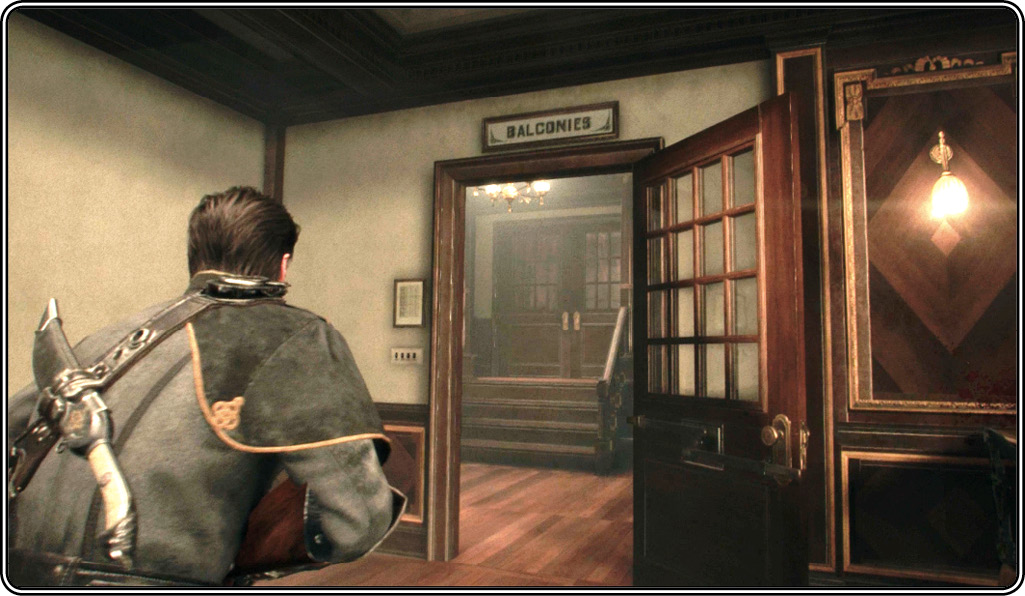
You must clear the foyer completely, including two enemies upstairs on the far balcony. One is at the top of the stairs, and another hides just beyond the “Balconies” doorway (30).
When this last foe falls, a brief cutscene plays: a powerful explosion rocks the airship, and Perceval reports a bomb detonated on the front engine. Suddenly, the same rebel commander you saw in Whitechapel appears and orders her troops to fall back. She orders a grenadier with a backpack to follow her, and they slip out a side door.
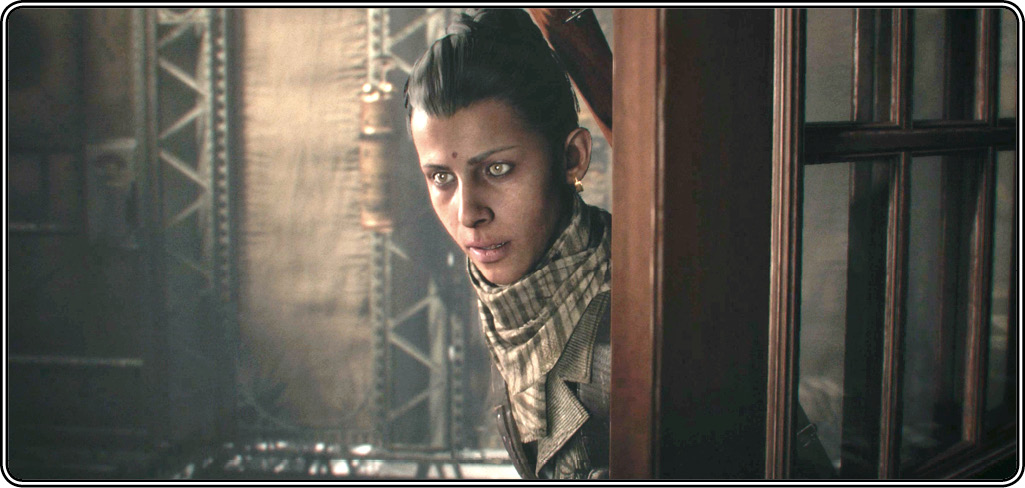
Pursue the rebel leader and her accomplice
Your new objective is to follow this “mark” before she escapes. More rebels sweep into the room to cover their leader’s exit. As you fight them, you hear the Agamemnon’s officers calling evacuation to the lifeboat decks. Gun down the rebels and then head out the side door (31). It leads into the propeller housing.
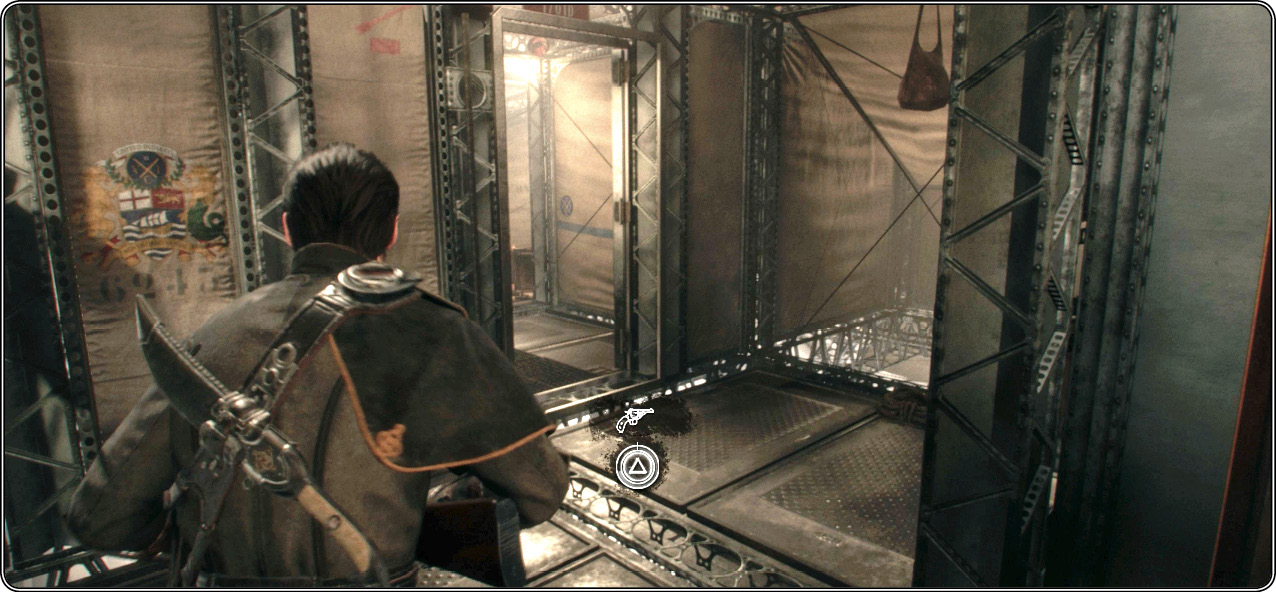
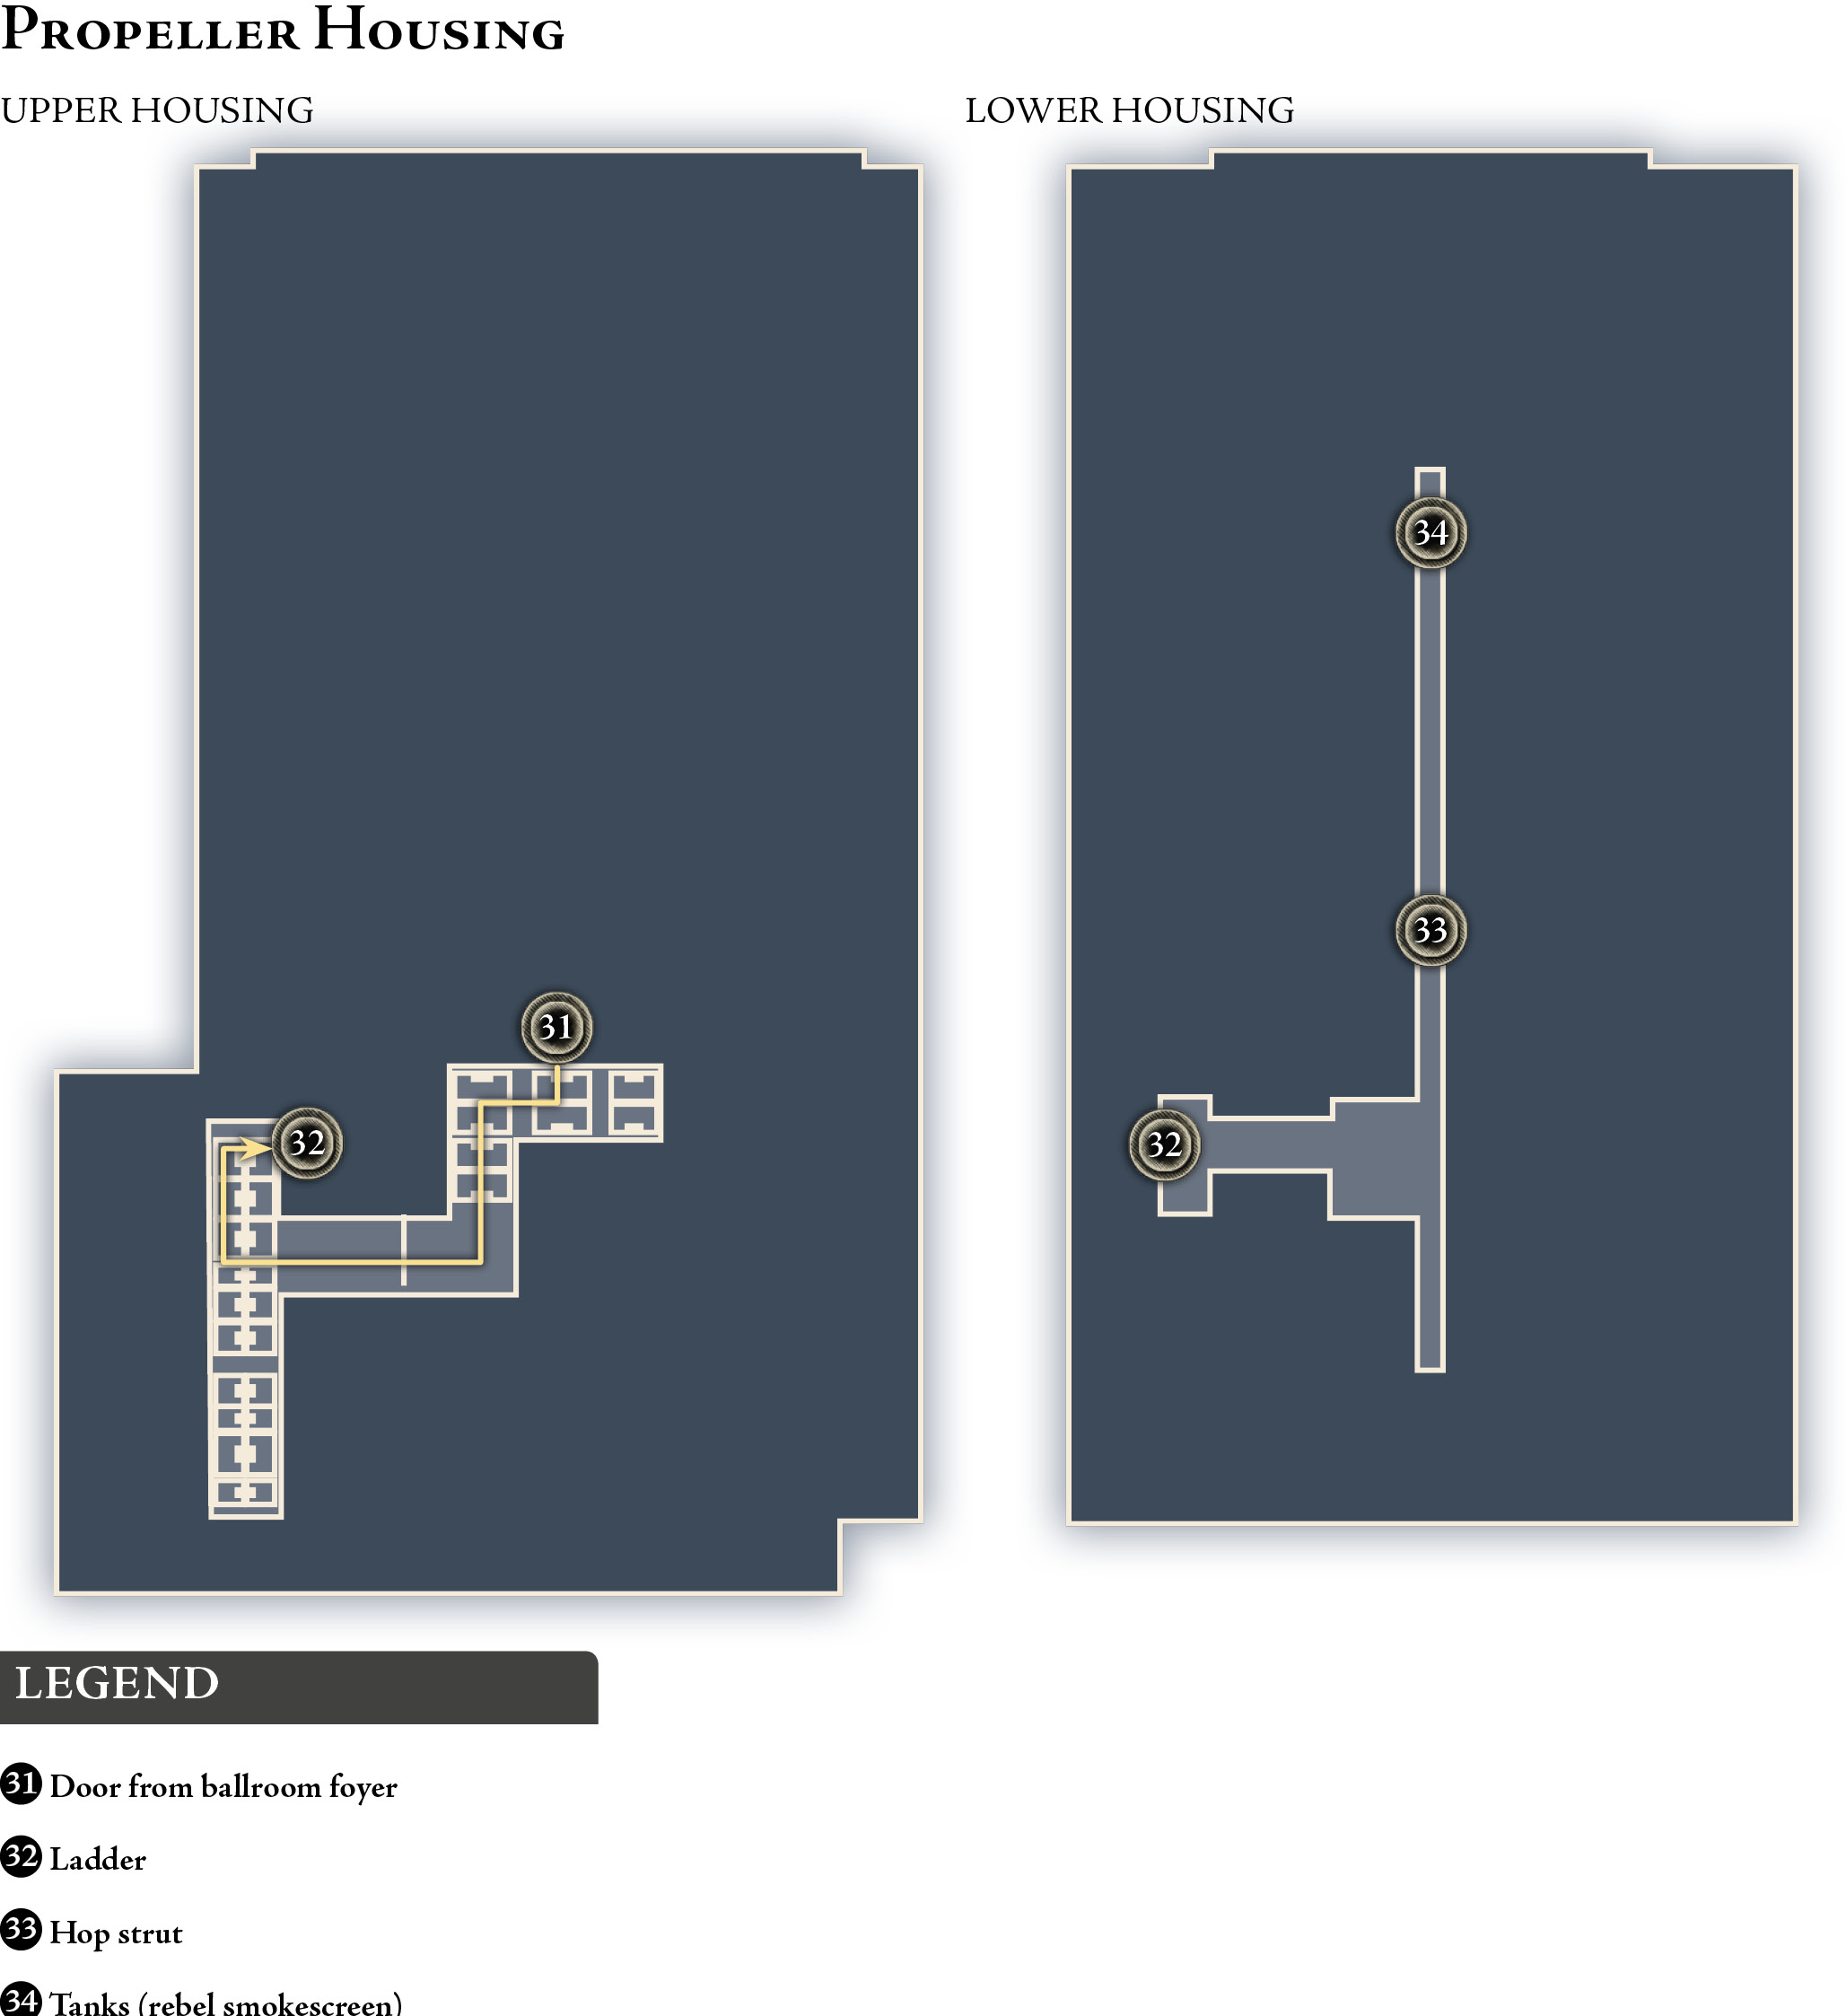
Follow the passage to the ladder (32) and descend it to trigger a quick cutscene: the rebel commander and her bandanaed grenadier escape down a catwalk. The soldier tosses a smoke grenade behind them for cover as Galahad reaches the level.
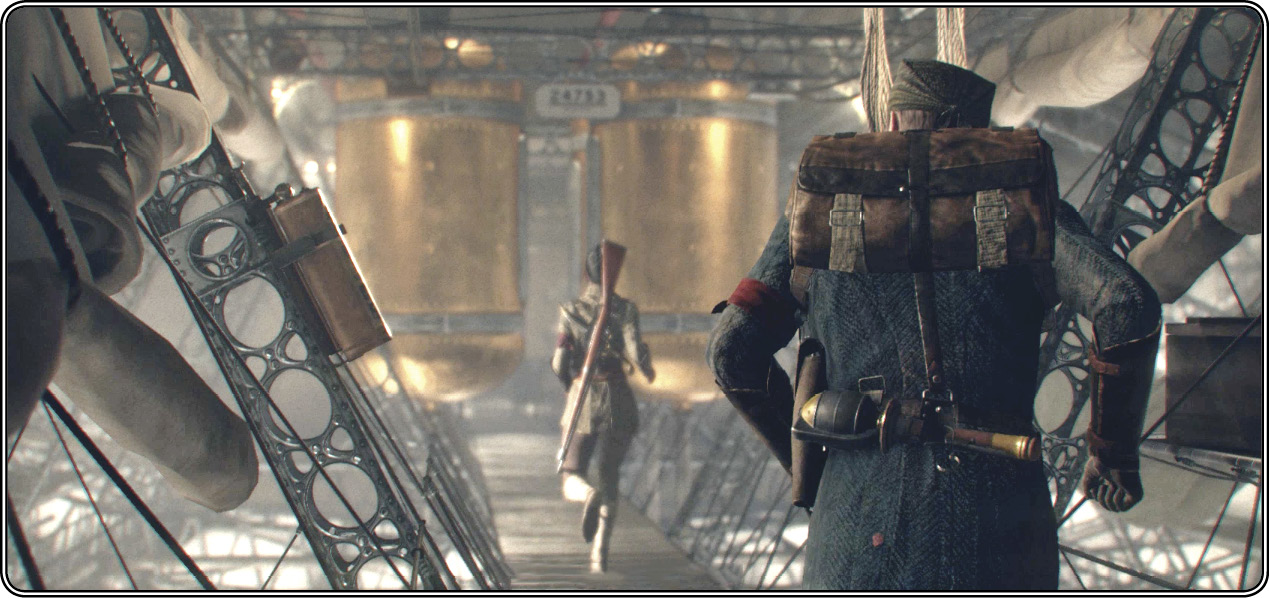
When control returns, move down the ramp, turn left, and follow the long narrow catwalk toward the smoke. Press  to hurdle the strut (33) halfway down; Galahad automatically slides sideways through the smoke-filled tanks (34). This triggers a long cutscene: Galahad reports he’s lost the mark, and Perceval calls him back to the lifeboats to face a bigger problem. It appears a second bomb is somewhere aboard the ship.