The Order: 1886 Signature Series Strategy Guide Walkthrough Chapter IX: AN UNEASY ALLIANCE
The Plot Thickens
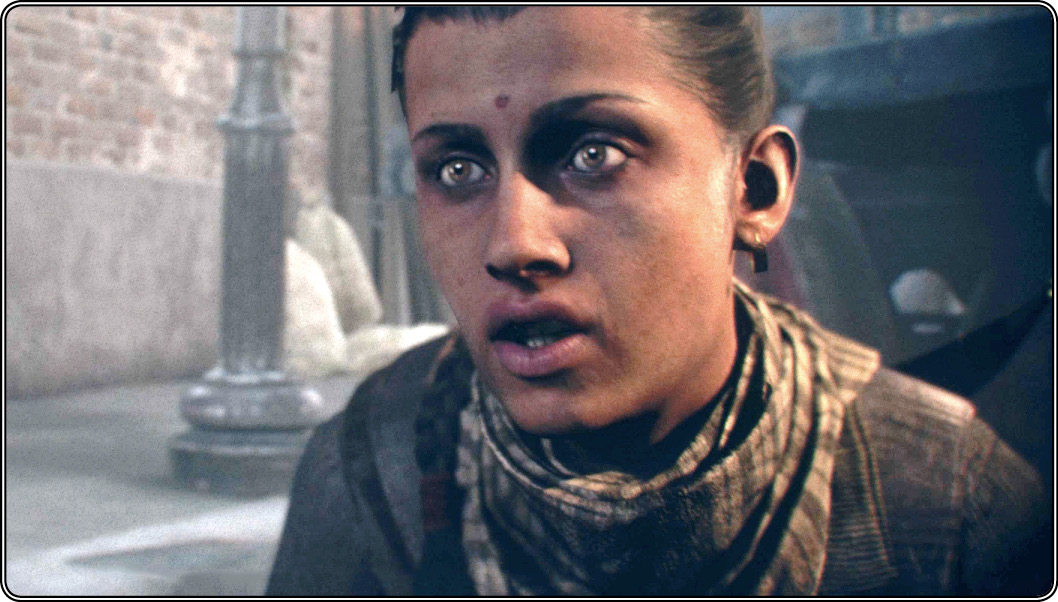
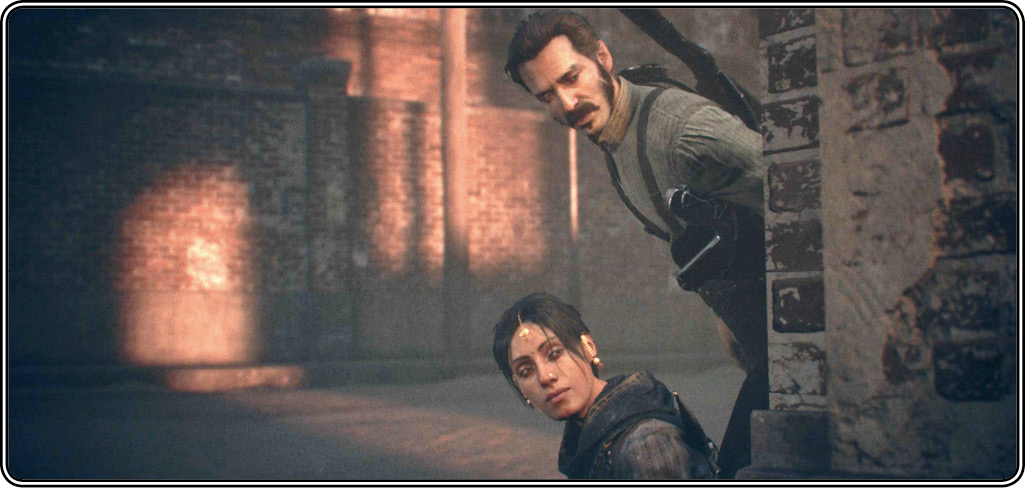
Watch as Devi, Lakshmi’s second in command, reports on the Company cargo bound for the Americas and the West Indies. Note that Devi calls Lakshmi “Rani,” the name for a Hindu queen. As the trio spies through the gate, they spot Lord Hastings. When Galahad notes that Hastings is often at the Council, Lakshmi replies, “How convenient for him.” As the Knight moves away, Devi questions his trustworthiness, but Lakshmi says that “the scientist” vouches for him—meaning Tesla, no doubt.
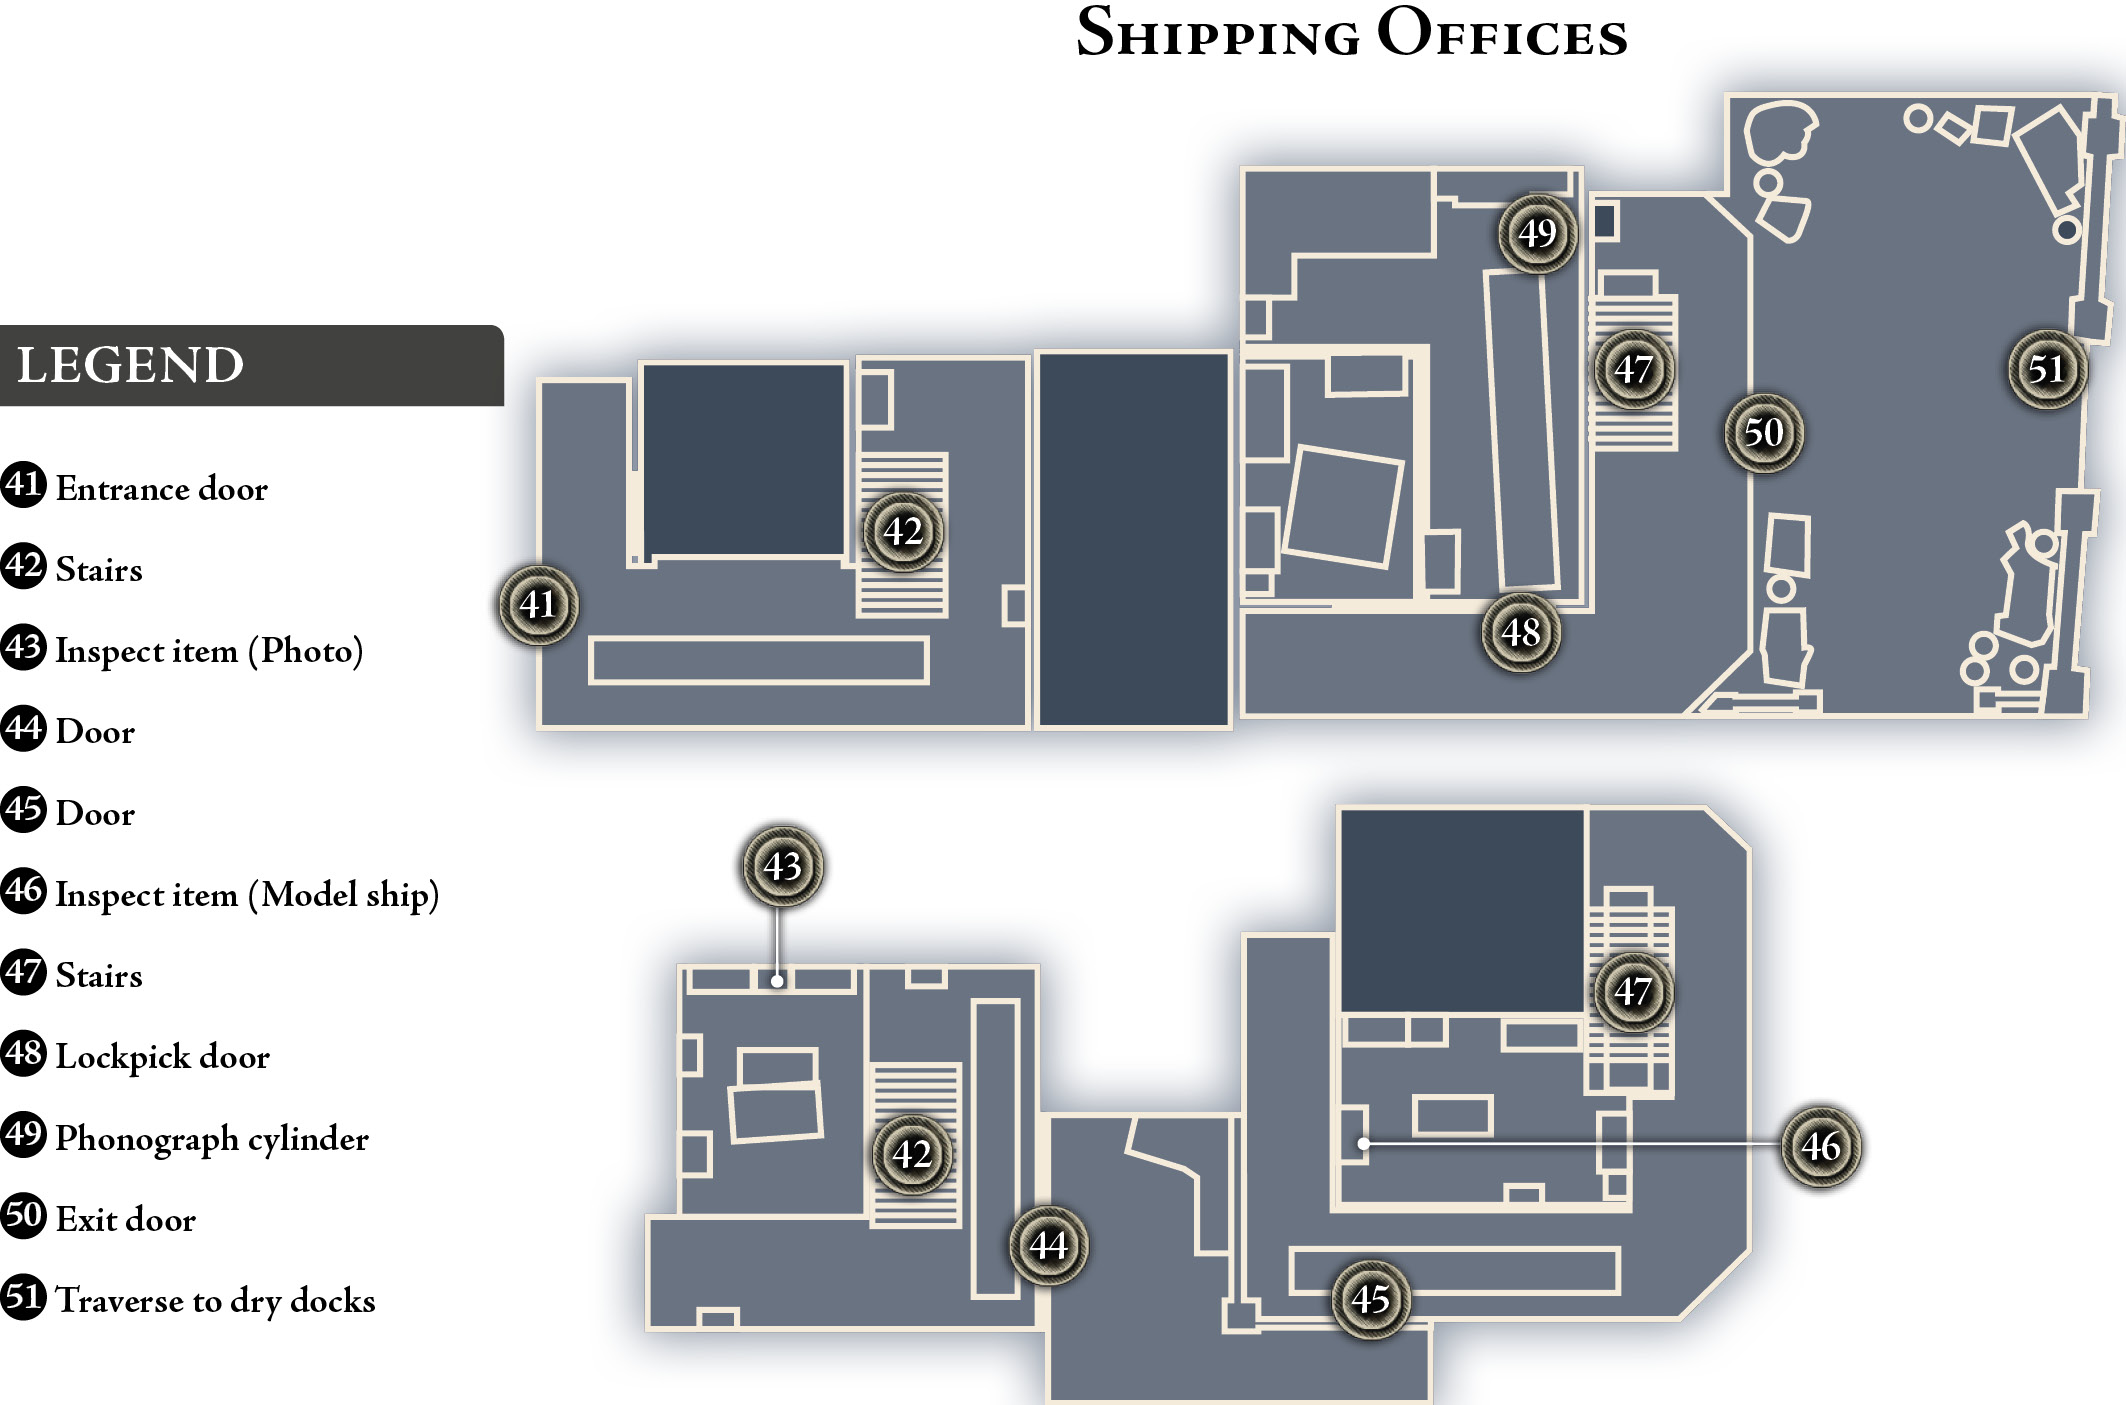
Galahad automatically leads the way into an office building. When you regain control at the door (41), follow Lakshmi and listen to the conversation: Galahad realizes that she is the famous Rani of Jhansi, the great warrior queen who led the resistance against the Royal Army in India. Reportedly killed in Gwalior years earlier, it appears Lakshmi has worked underground ever since.
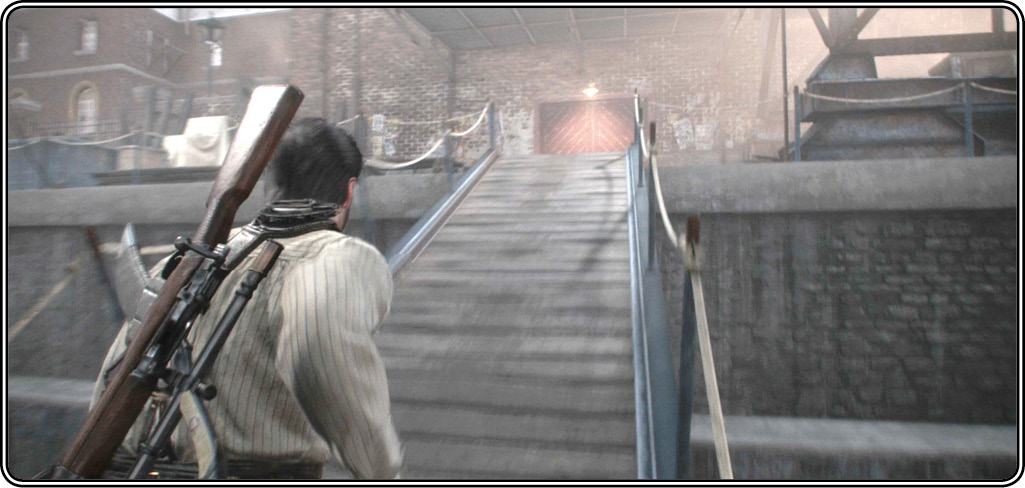
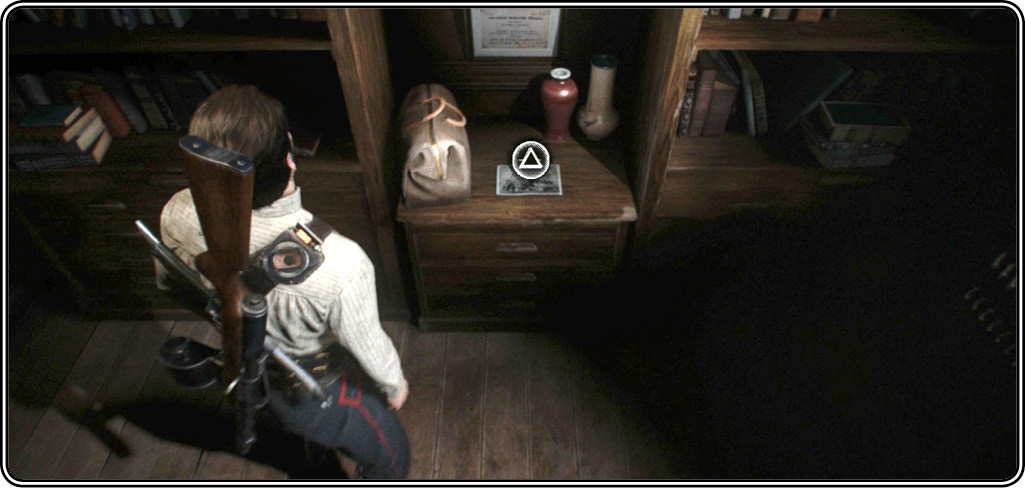
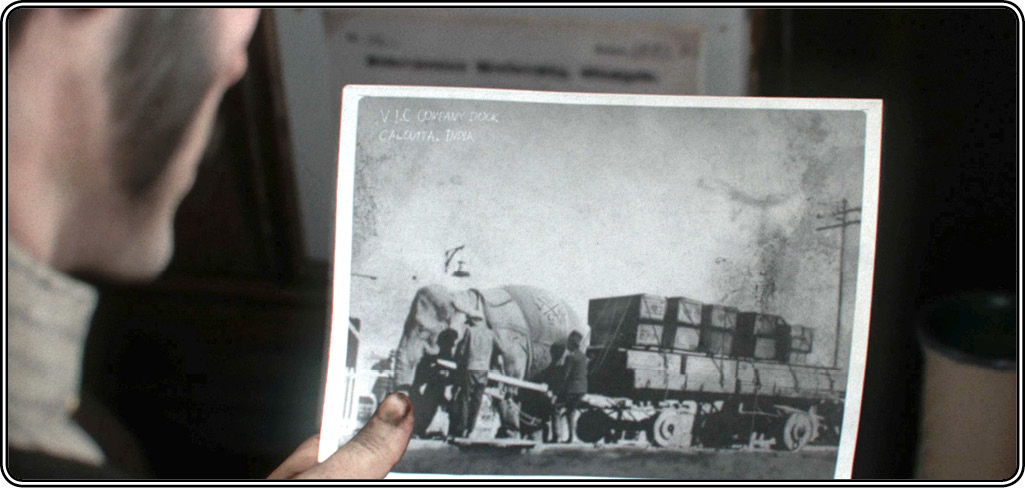
Climb the stairs (42). Lakshmi uses the exit door (44) onto the open balcony and heads for the next building, the Booking Office. Before you join her, follow the corridor to the Nestor C Office and enter to find an item on the desk between the bookshelves. Inspect the photo (43) of an elephant-drawn railcar at the Company docks in Calcutta, India. Then exit and go to the next building, where Devi waits at the door (45).
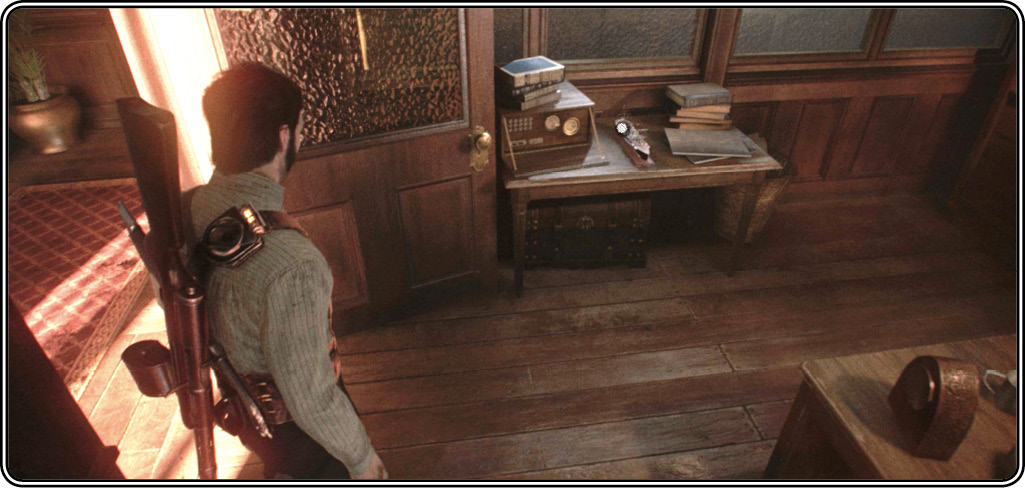
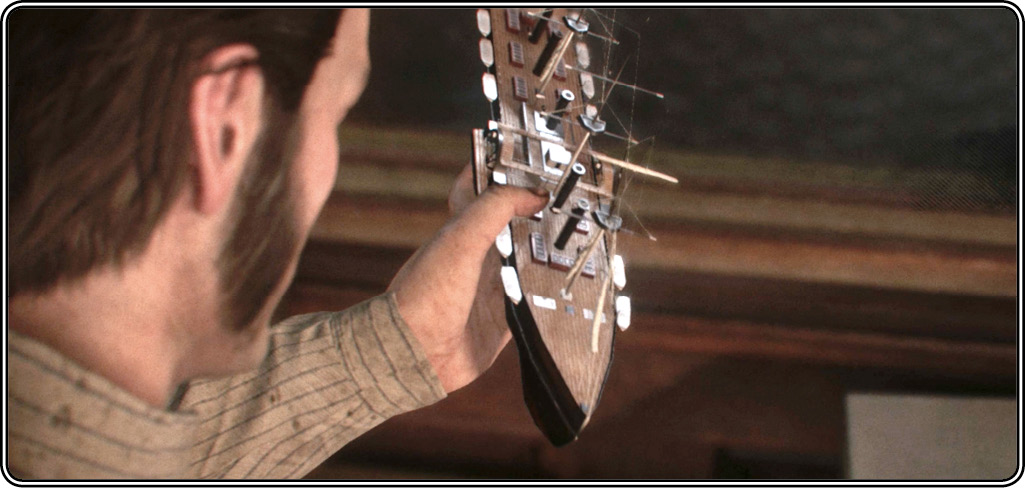
When you enter, Lakshmi waits down the hall at the window, calling you to take a look. Before you do, duck into the first door, the Carpinteron Office, and inspect the ship model (46) on the side table—the latest in the Company’s fleet. Then exit and join the queen at the window. She points out the cargo being loaded.
Get to the dry dock
Proceed down the staircase (47) where the two women wait at the exit door (50). But before you open it, walk around the corner and use your lockpick to open the Receiving Room door (48). Inside, find the “Cargo Inspection Log” phonograph cylinder (49) on the desk. It’s a report on the condition of the secondary cargo containers loaded aboard the airship Agamemnon for its ill-fated journey.
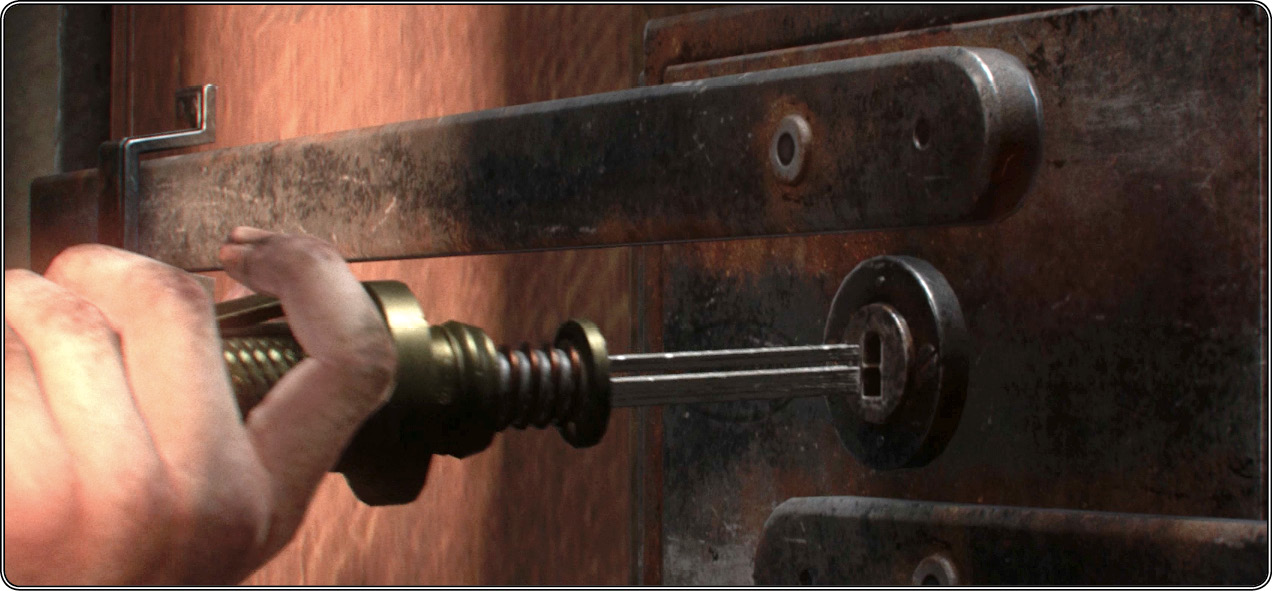
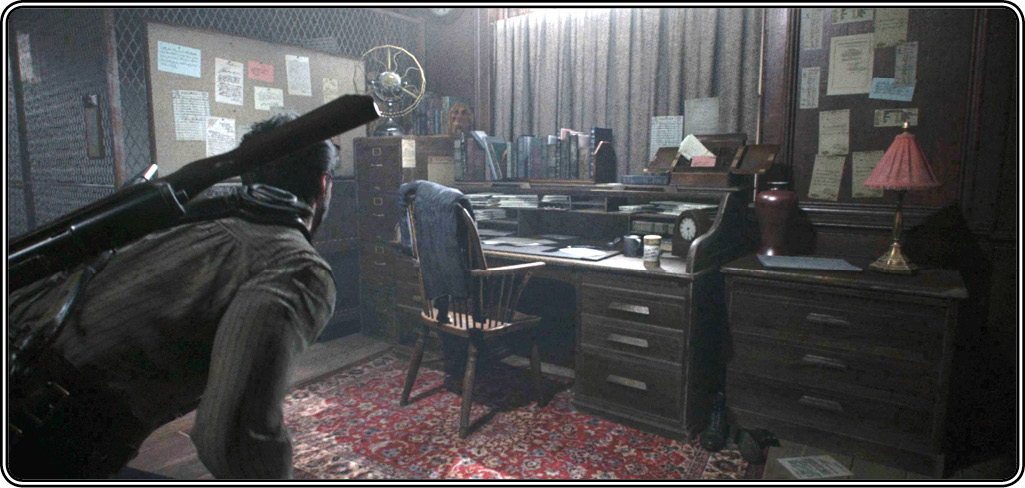
Now go back to the exit door and press  to open it. Lakshmi sends Devi off to protect the escape routes then crawls over the wall (51) to the dry docks. Follow her lead!
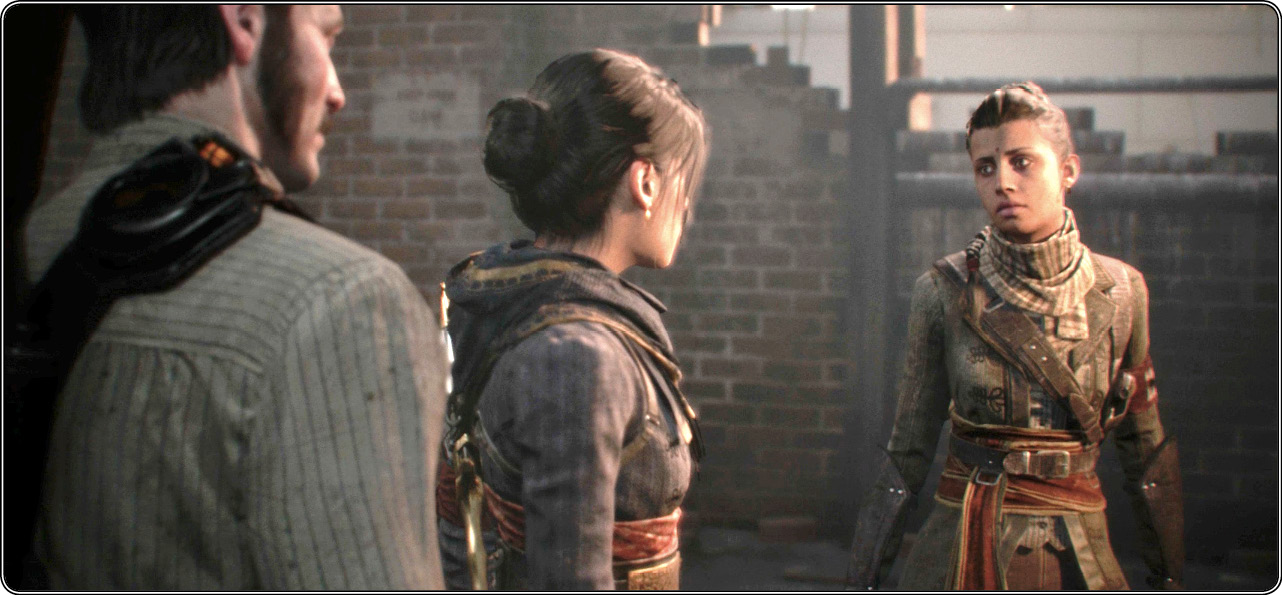
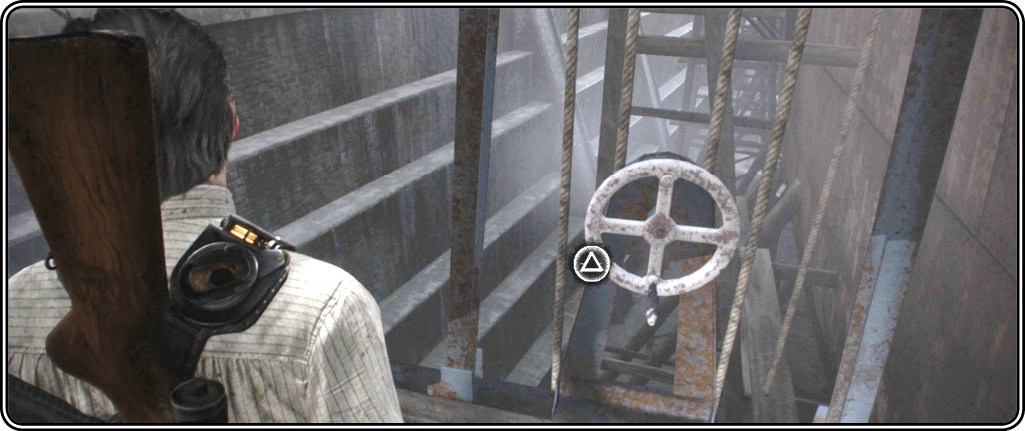
Jump across two platforms to the hoist crank (53) and turn it to raise that platform. Then approach Lakshmi and press to boost her up so she can scout the situation.
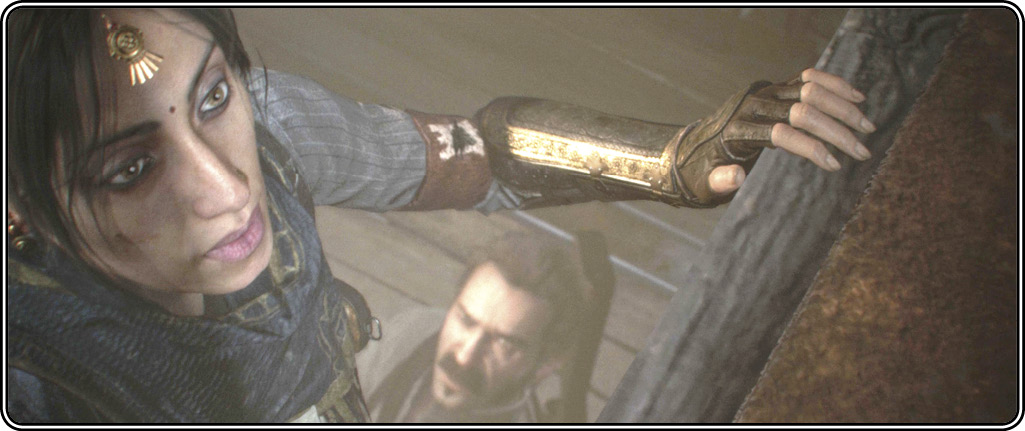
Hop across the platforms along the ship’s hull. On the second jump, be ready for a quick action event: Galahad reaches the platform (54), then Lakshmi jumps. As she flies through the air you must use the right stick to move your targeting reticle over the icon on her reaching hand to activate a prompt. Press quickly when the prompt appears to catch Lakshmi and pull her onto the platform.
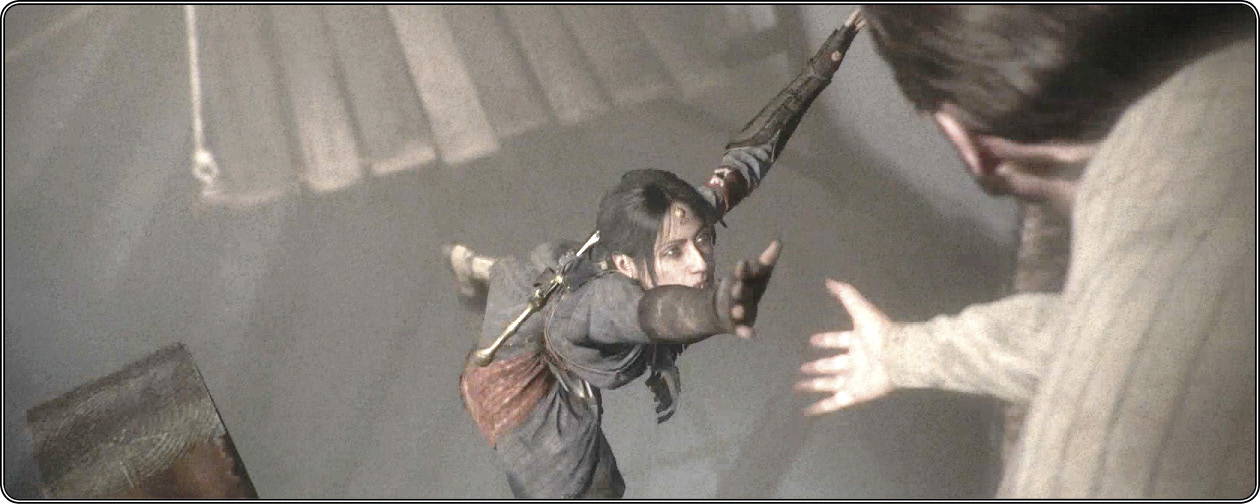
Both characters quietly crawl up onto the ship’s top deck, but guards spot them and call out a warning to Lord Hastings’ security detail. Then the guards open fire.
Take out the guards
Top Deck
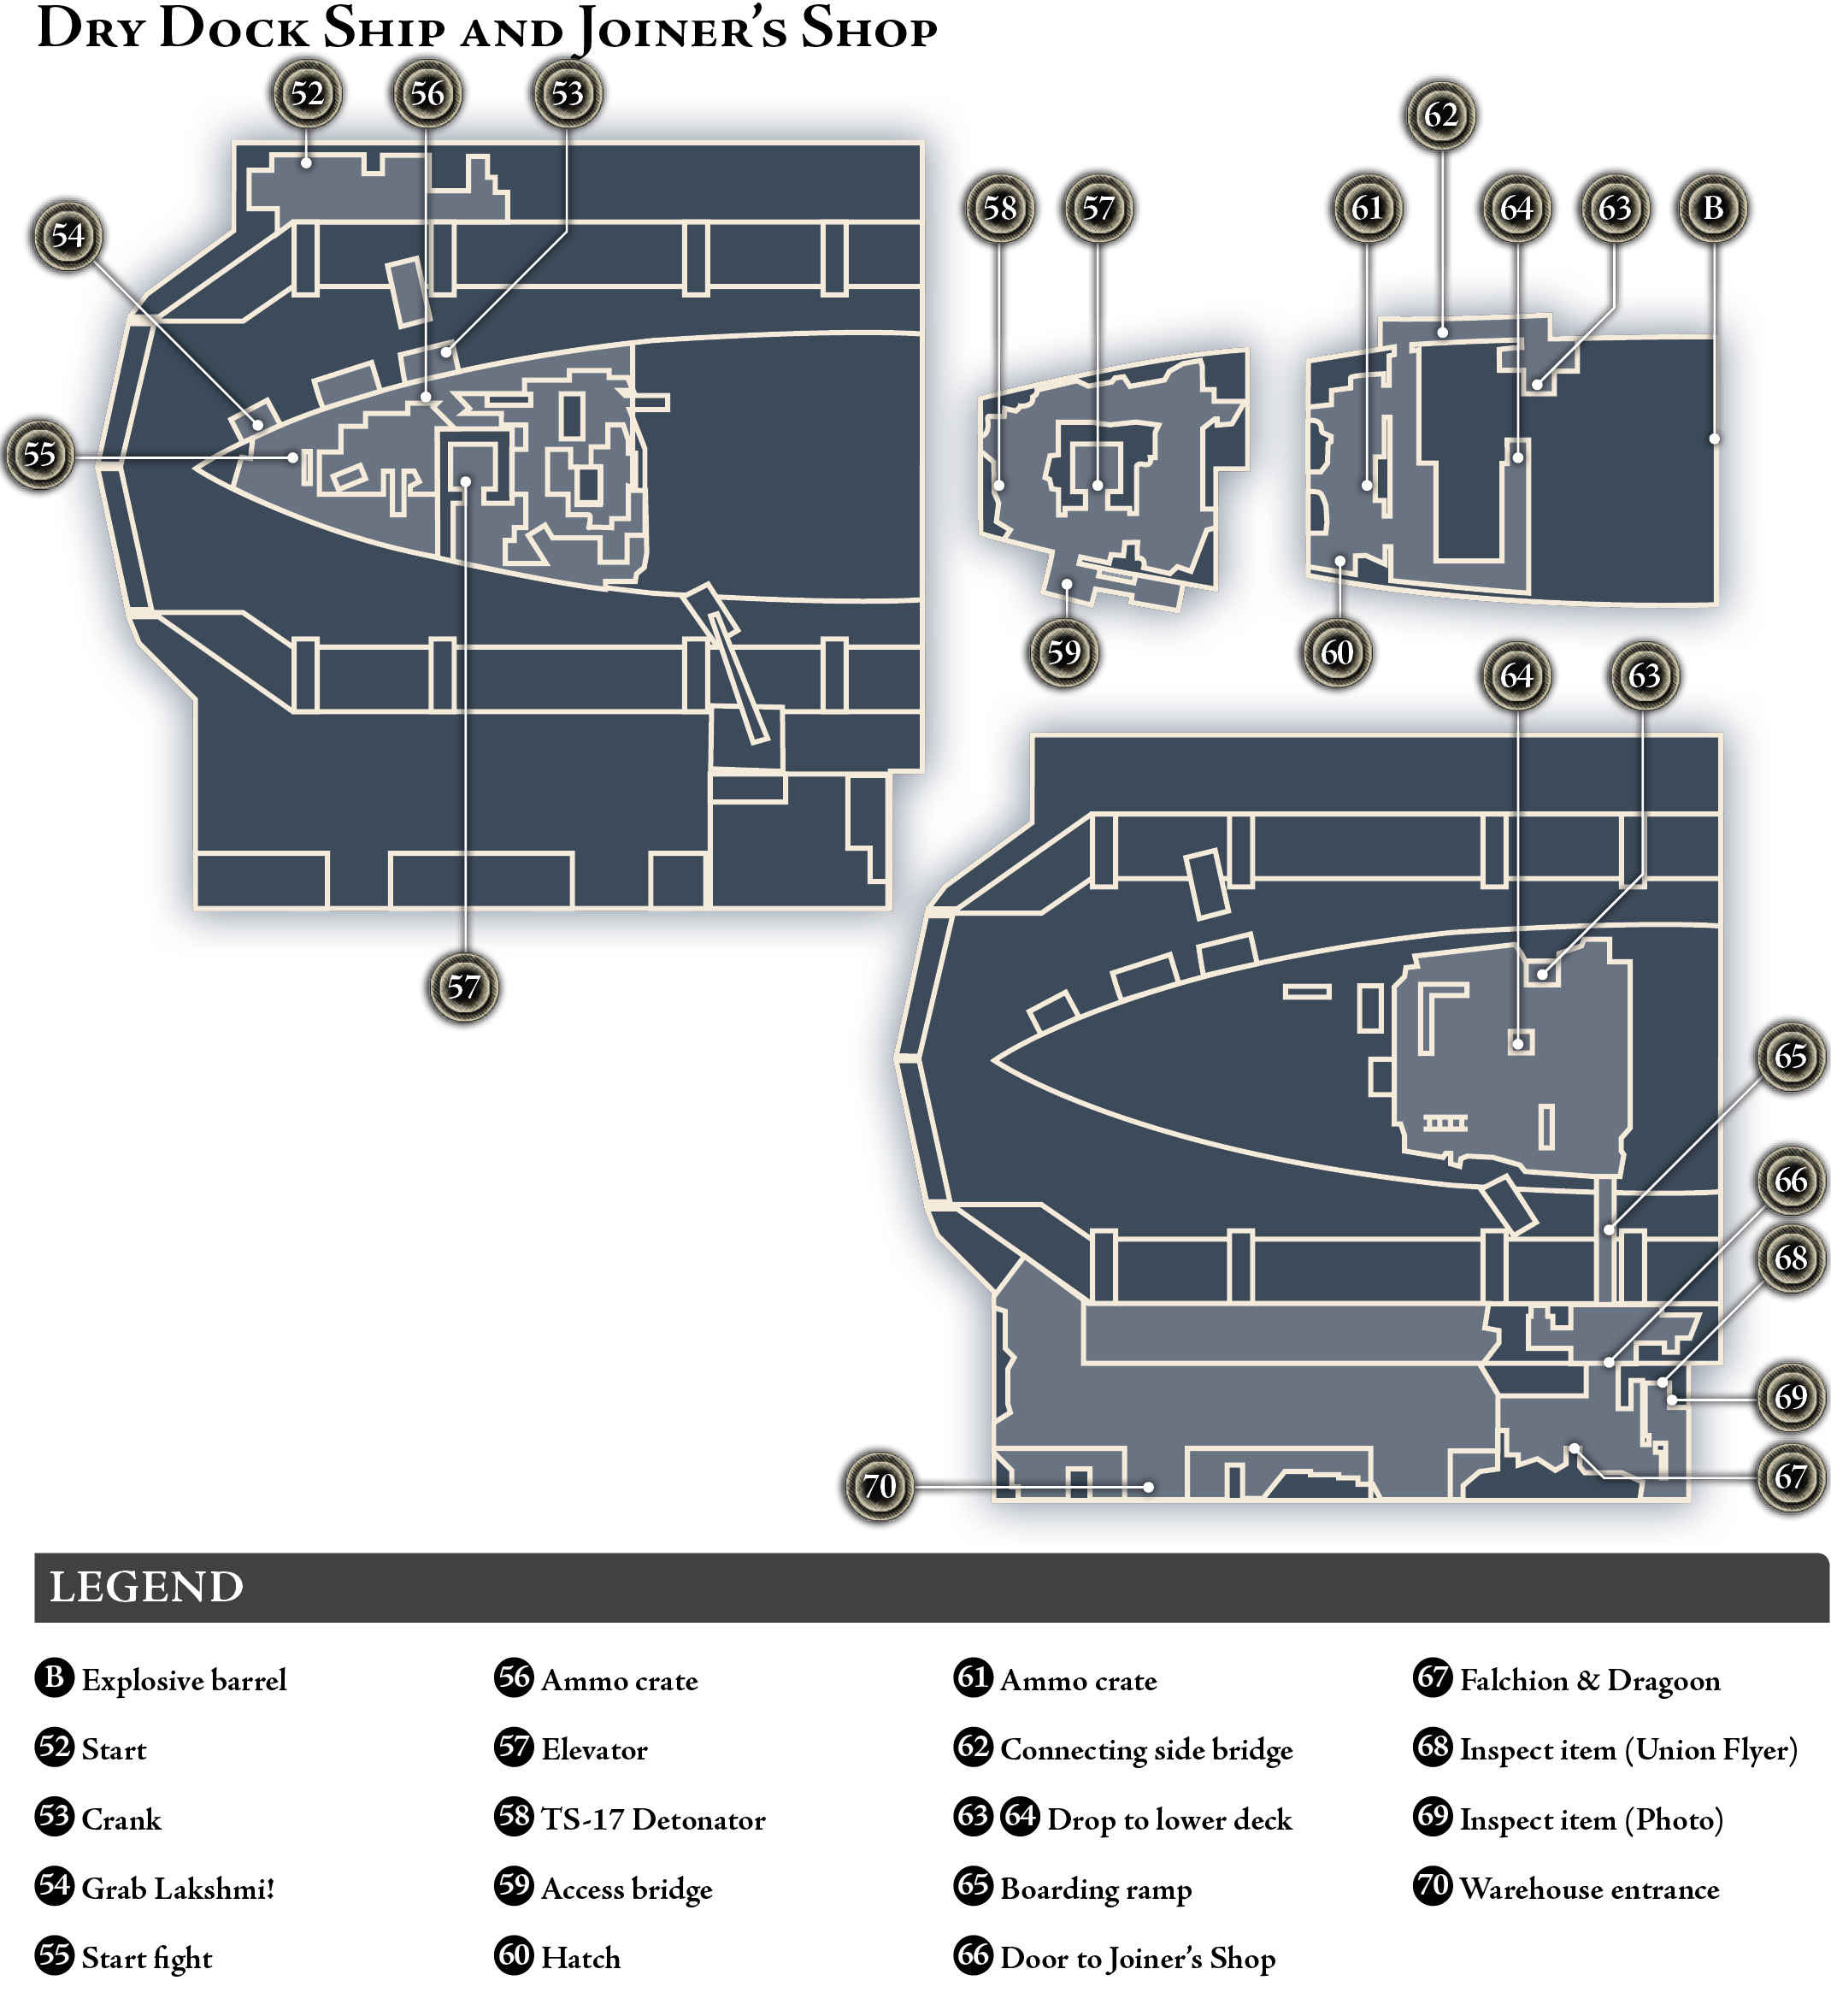
You start out behind cover (55) with an M84 Marksman Carbine sitting on the stack right in front of you. You can use it now to snipe targets on the top deck. But another good option is to use your secondary weapon with Blacksight to clear the top deck, and then grab the sniper rifle for two purposes: first, to pick off the sniper firing down at you from the crane, and second, to target the shooters down on the dock.
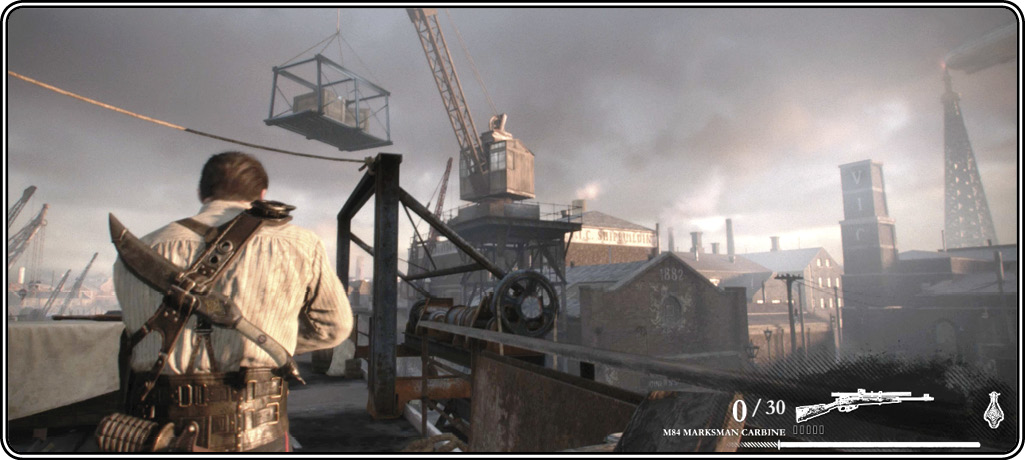
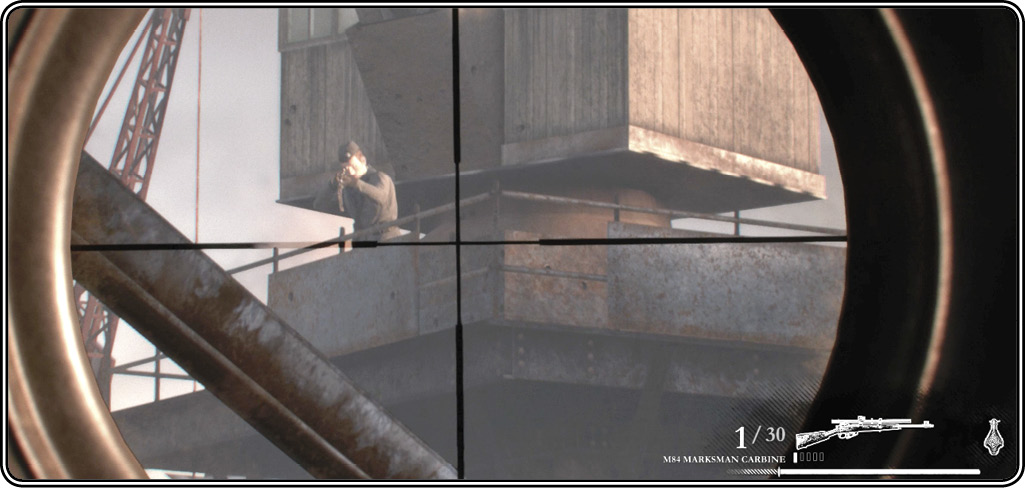
You can also acquire a TS-17 Detonator after you gun down the heavy guard on the top deck and use it to fling explosives at the dockside shooters. In any case, note that an ammo crate sits near the starboard gunwale (56). You can find frag grenade pickups on this top deck too.
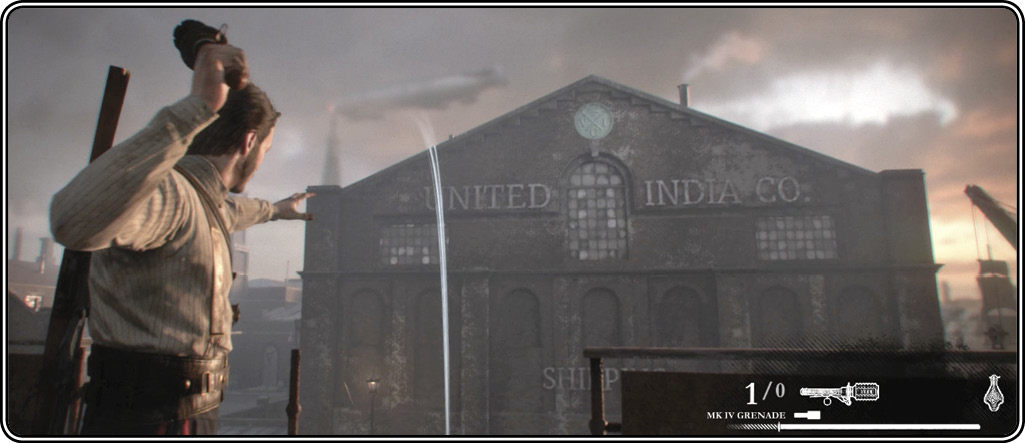
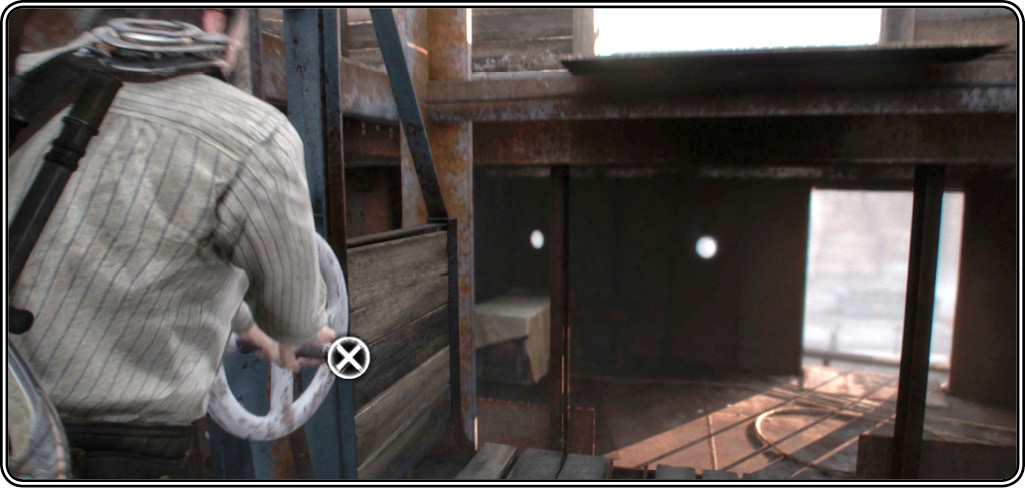
When the top deck is cleared and the crane sniper neutralized, join Lakshmi on the elevator (57) and take the crank opposite hers. Then tap  to turn the cranks in unison and lower the elevator down to the second deck.
Deck 2
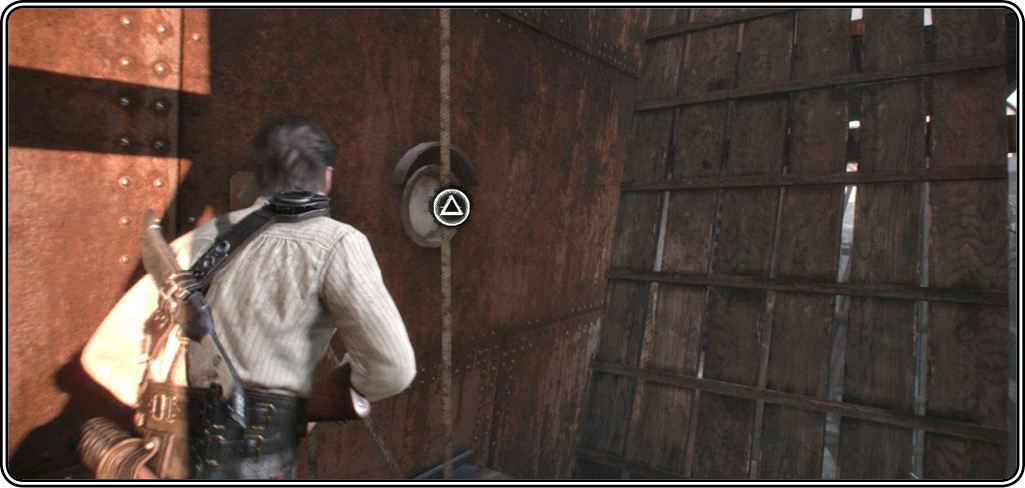
This deck is under construction. Find some grenade pickups and grab the TS-17 Detonator from the worktable (58) if you want. Then follow Lakshmi out the side hatch and drop down onto the access bridge (59). Approach the marked cable and press to slice it with your blade and drop the ramp. You see guards boarding the ship up ahead! Move down the ramp and then climb up into the open hatch (60).
Deck 3
Guards open fire from the deck to the right as well as the lower deck. Take cover and start picking them off. Grab more ammo from the nearby crate (61). You can move down the left flank using the connecting side bridge (62) to get better shot-angles on the Company gunmen down below. Drop down to the lower deck at either one of two openings in the upper railing (63)(64).
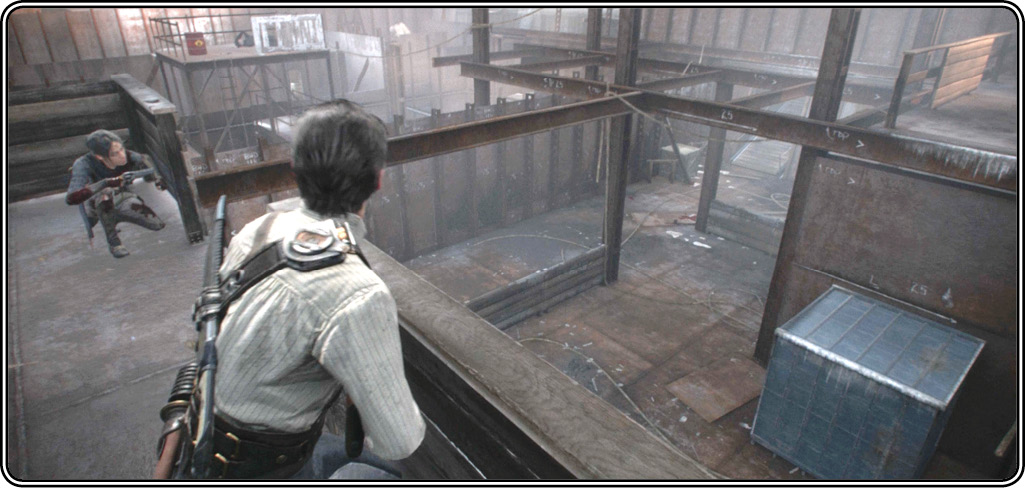
Deck 4
Be ready! The moment you hit the bottom deck, another squad rushes down the boarding ramp (65). Try to nail them while they’re still bunched up on the gangplank, before they fan out across the deck or get behind cover. Once you clear this final deck, head up the ramp and open the door at the top (66).