The Order: 1886 Signature Series Strategy Guide Walkthrough Chapter XV: TO SAVE A LIFE
A Path Seldom Walked
The Third Day of December, 1886
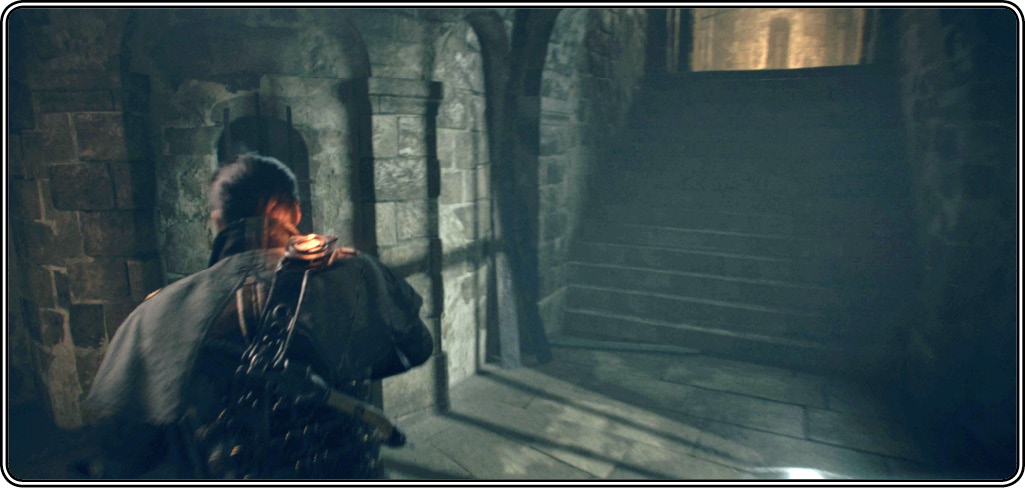
As a man wanted by all the powers of England, Galahad’s only travel option at this point is underground. From the Westminster Bridge underground station, Galahad seeks an access point into the Catacombs. These will lead him to Tesla’s basement lab in the Palace of Westminster.
| Inspectable Items | |
|---|---|
|
|
Newspaper |
|
|
Map |
|
|
Photo |


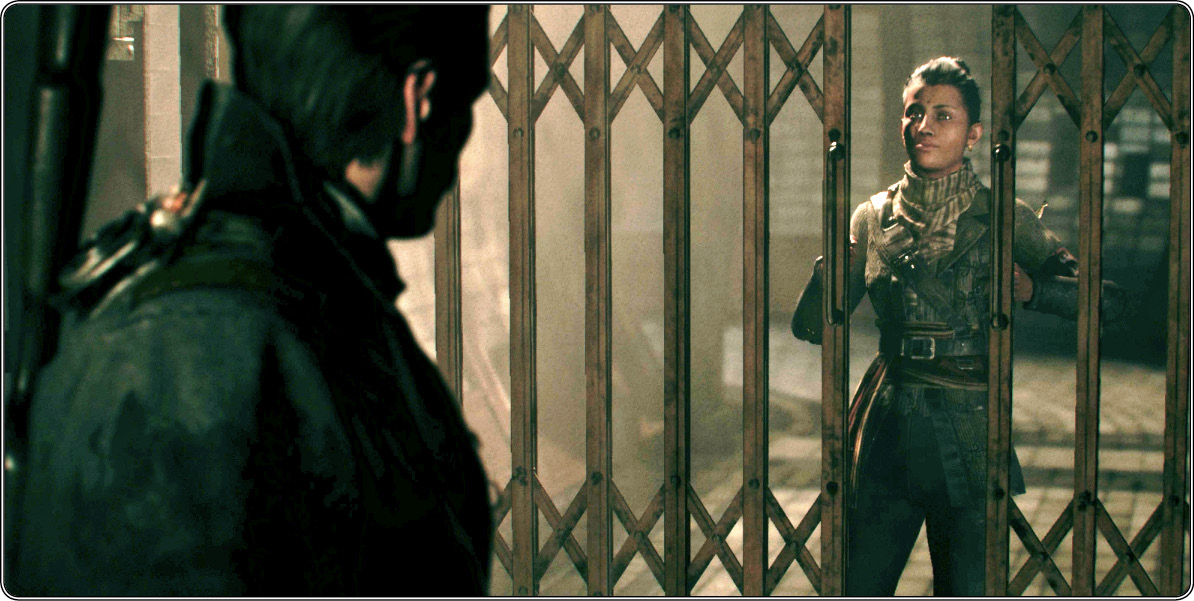
As Galahad moves down toward the station’s train platforms, he gets a last visit from Devi, who delivers two gifts: an M2 Falchion Auto-Rifle, and the news that “it seems my queen has taken a liking to you.” Then she locks the access gate behind the ex-knight.
Get to Tesla’s lab
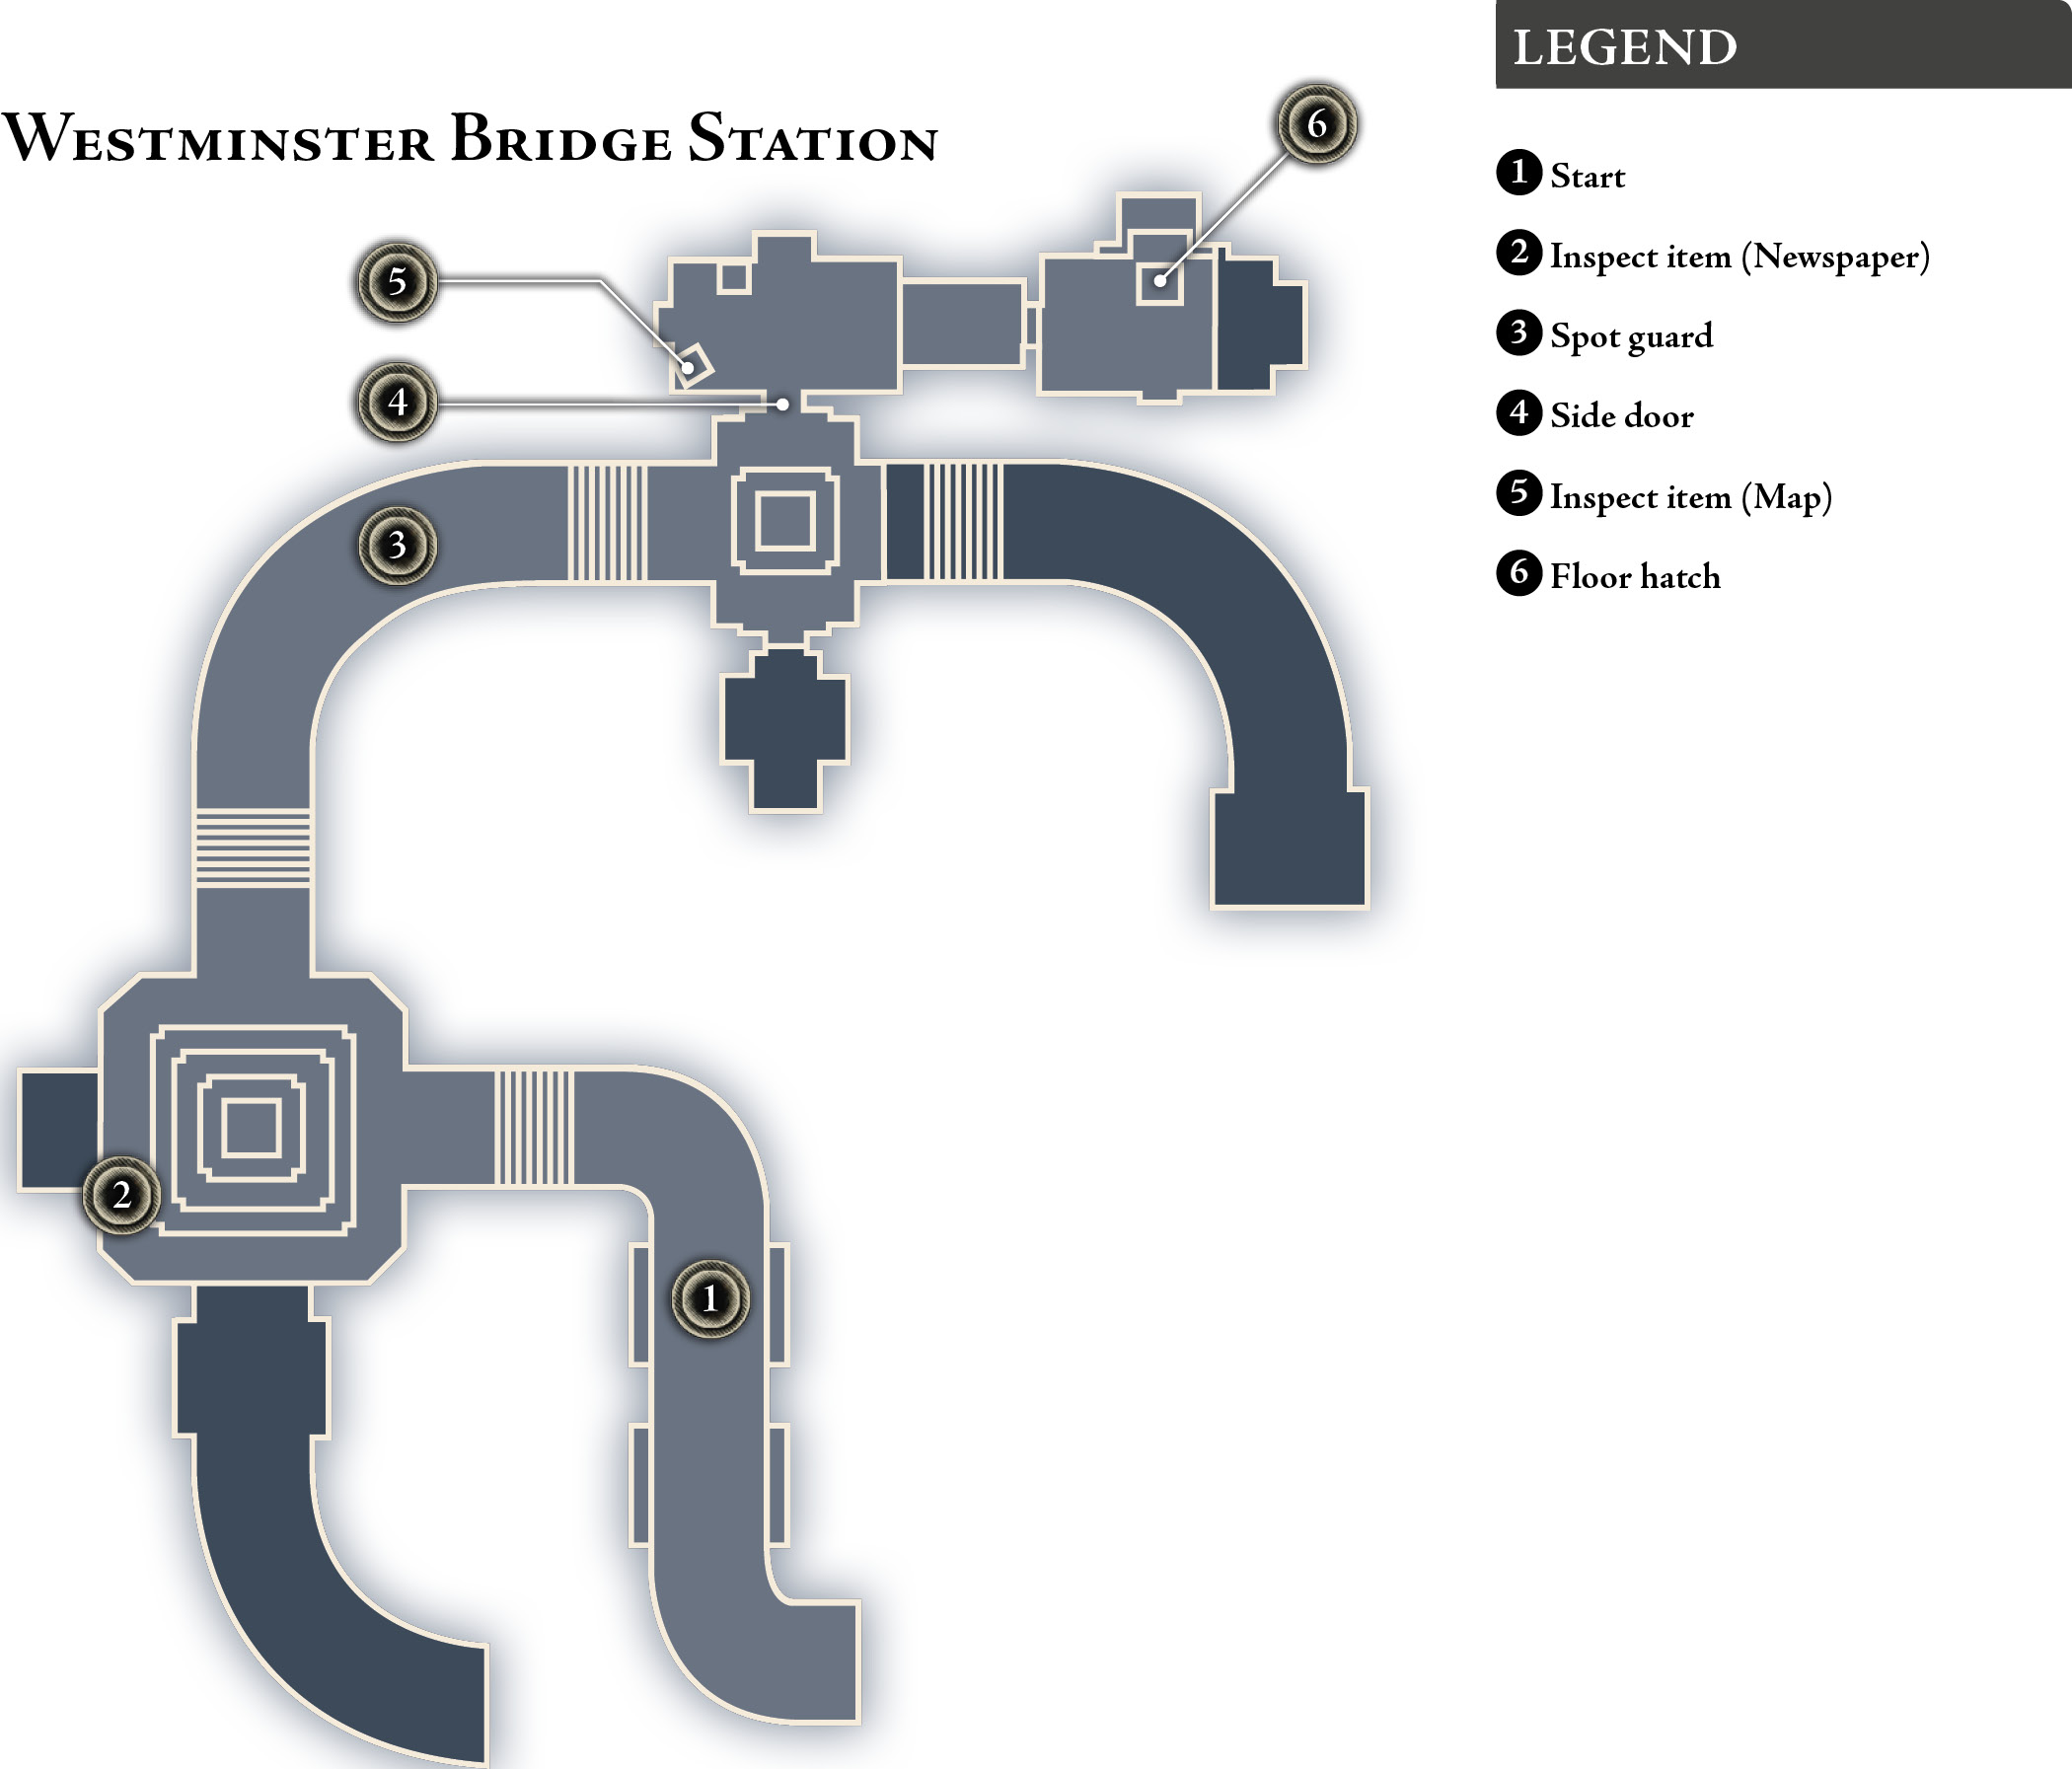
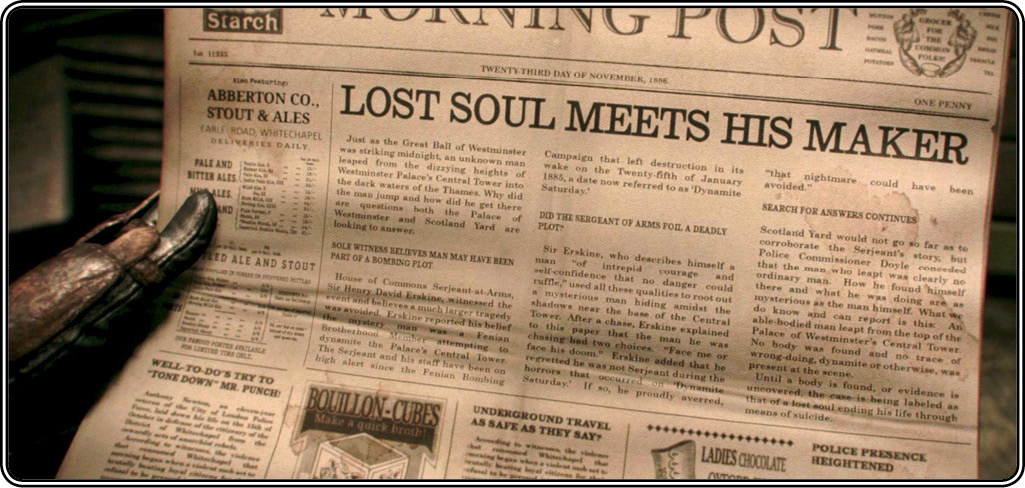
From the start (1), just follow the entry tunnel down to the big Platforms lobby. Find the stack of Morning Post newspapers on the cabinet in the left corner and inspect the marked one (2). Read about the “lost soul” who plunged into the Thames from the Central Tower of Westminster Palace. Sound familiar?
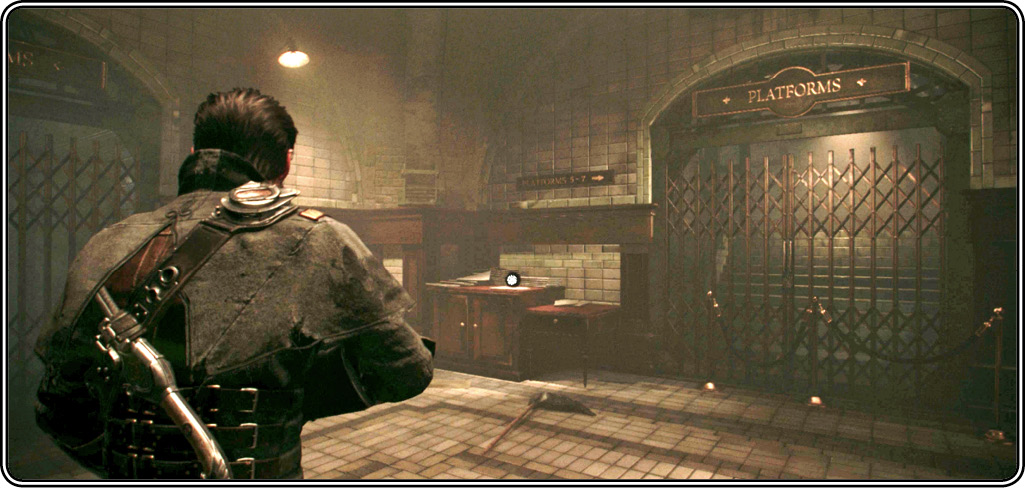
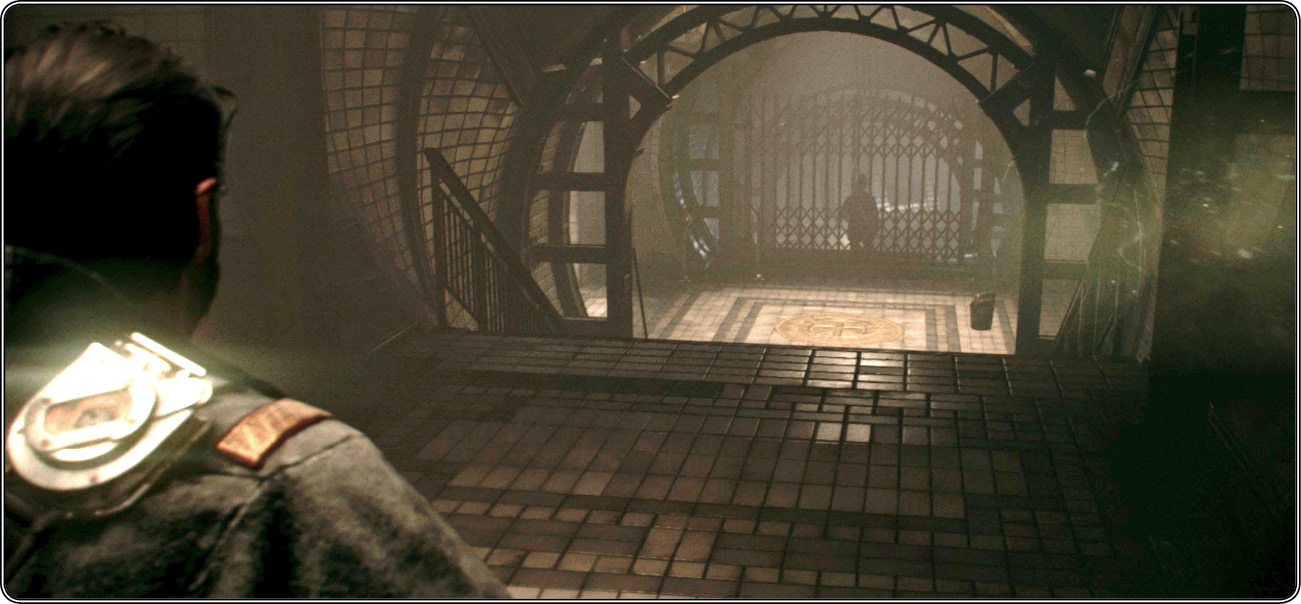
Turn right, enter the next tunnel, and proceed to the spot (3) where you see a guard turn at the gate up ahead and patrol away from you. Go to the gate, turn left, and enter the door (4) next to the “Safety First” sign. Galahad has a quick radio chat with Nikola, who tries to dissuade him from coming.
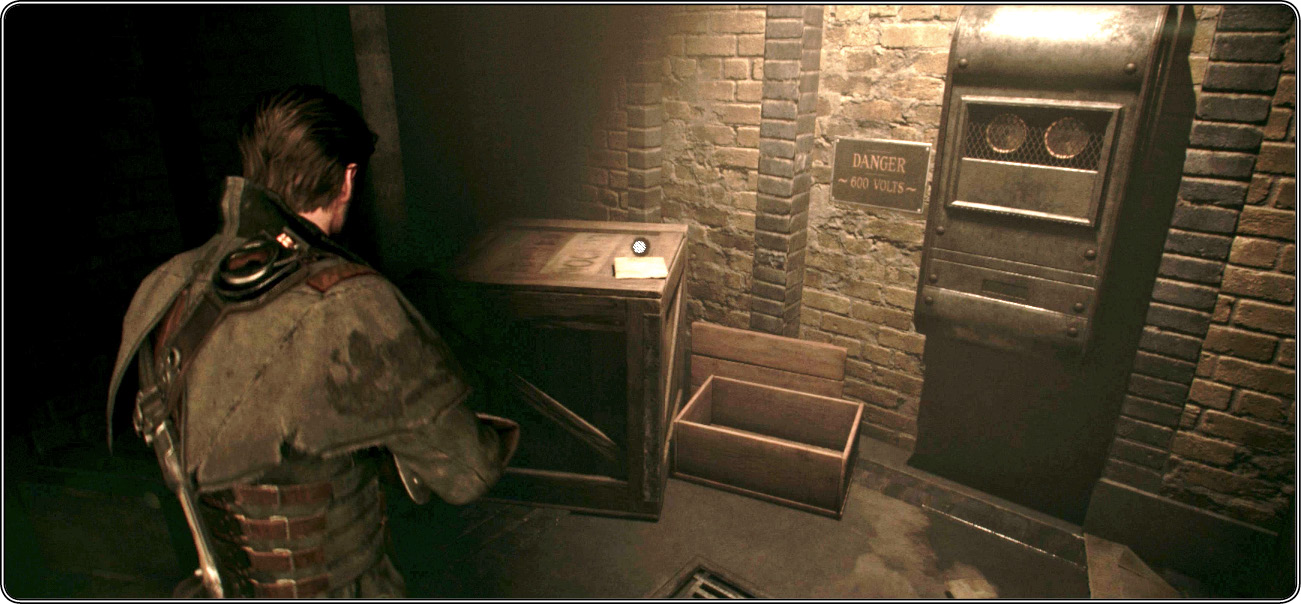
This is a generator room and work area. Turn left and inspect the page (5) sitting on the wooden crate next to the “Danger 600 Volts” sign. It’s a subterranean map of London. Put it back down and follow the passage to the floor grate hatch (6) and open it. Galahad drops down into the Catacombs of Westminster.
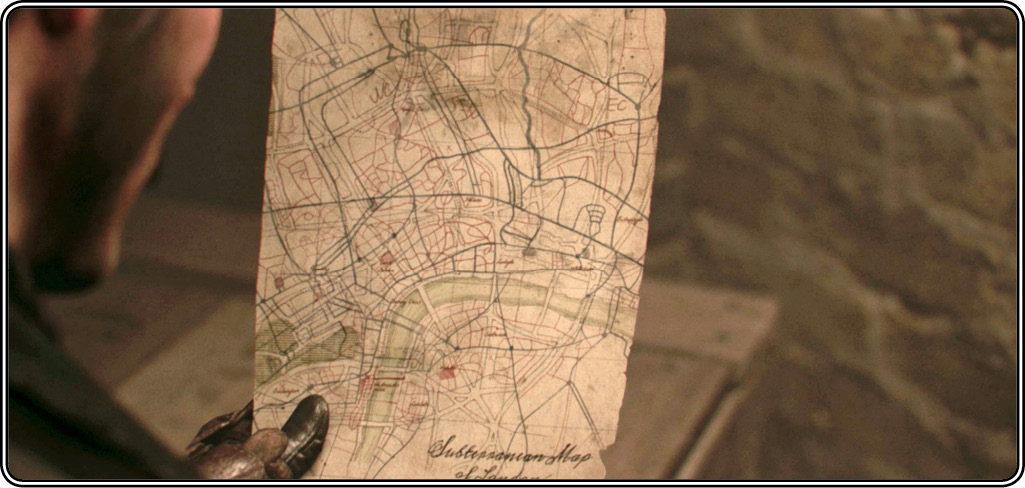
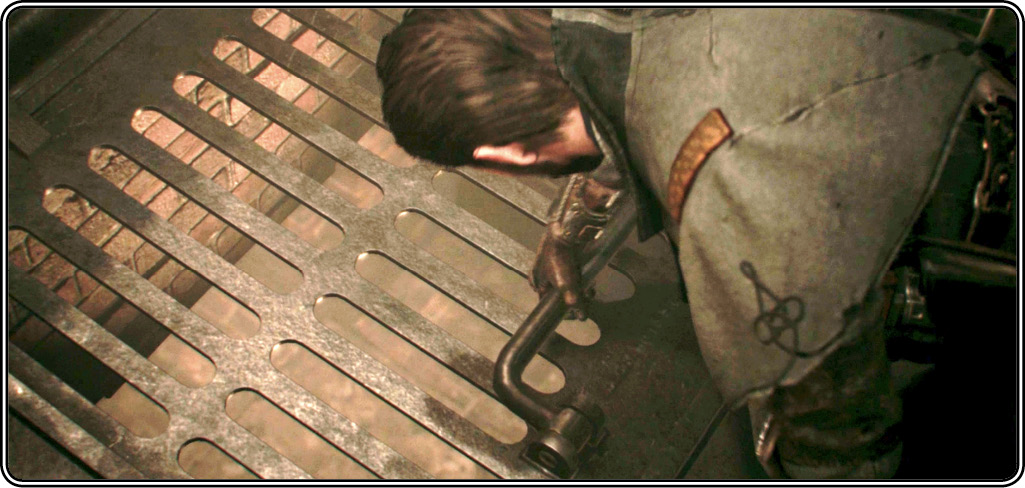
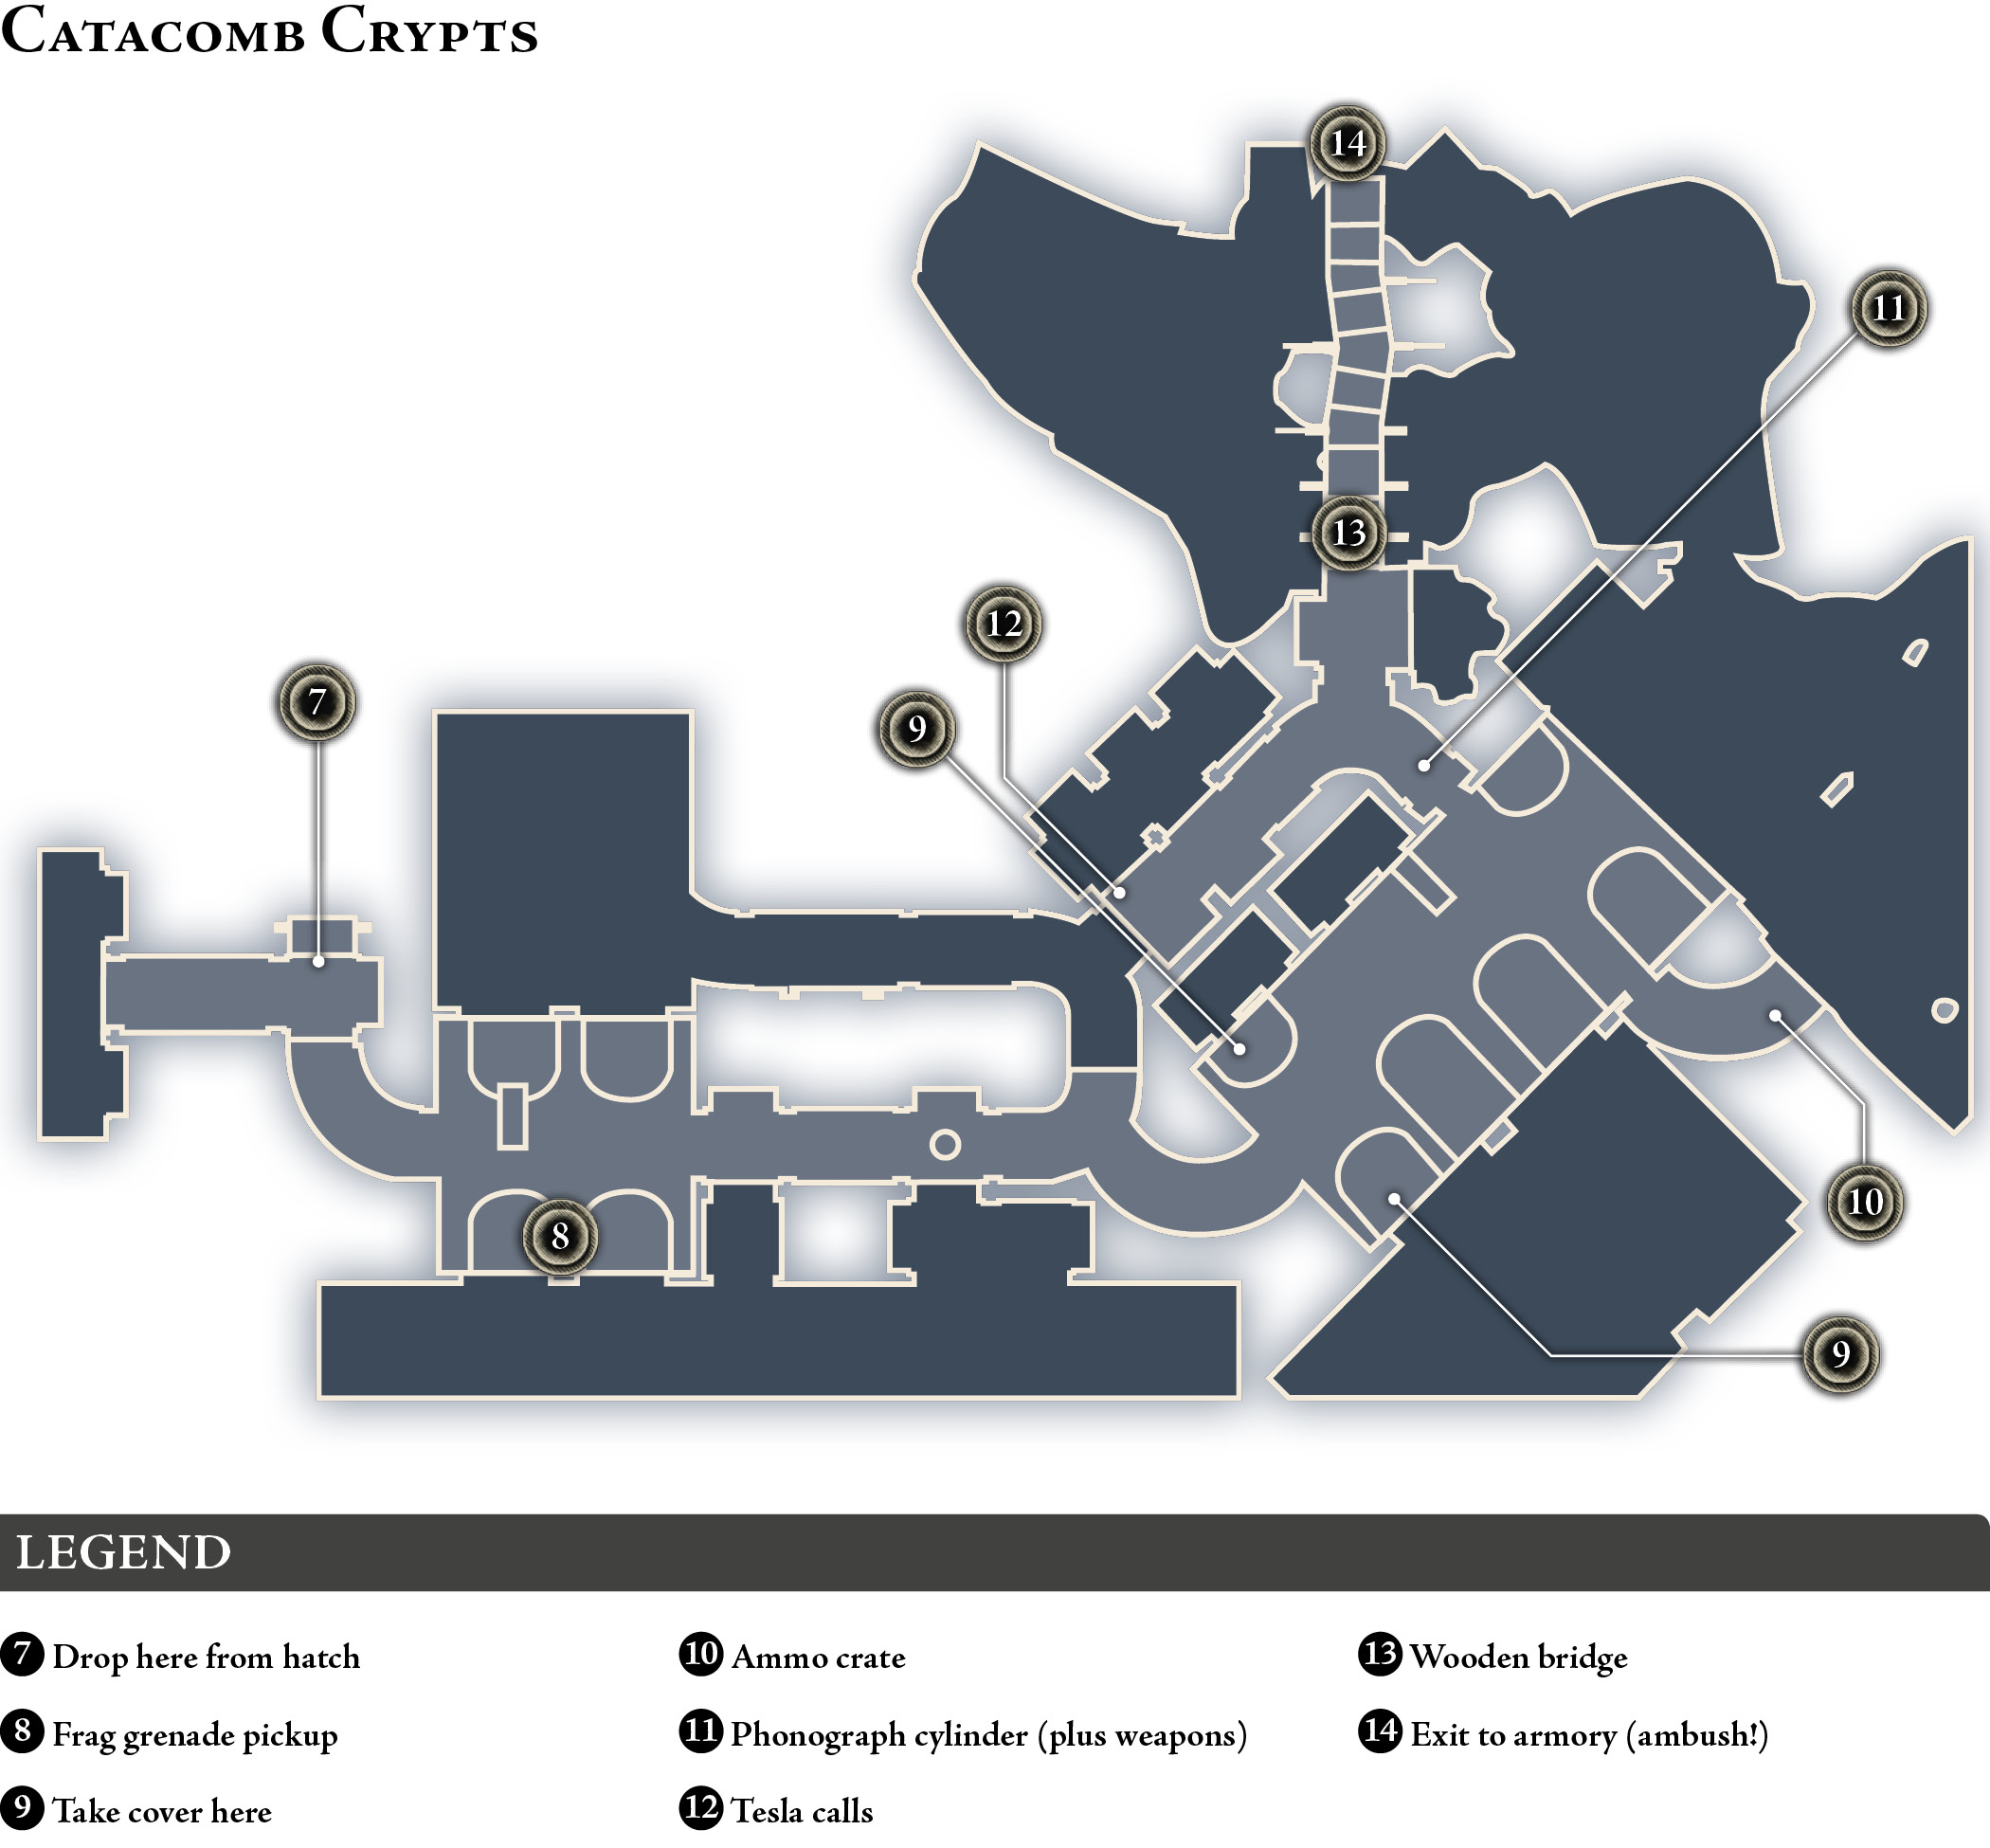
Galahad’s landing (7) is loud enough that two nearby Royal Army soldiers hear it and go on alert. Move around the corner and nail them both, then pick up the frag grenade (8) on the ground.
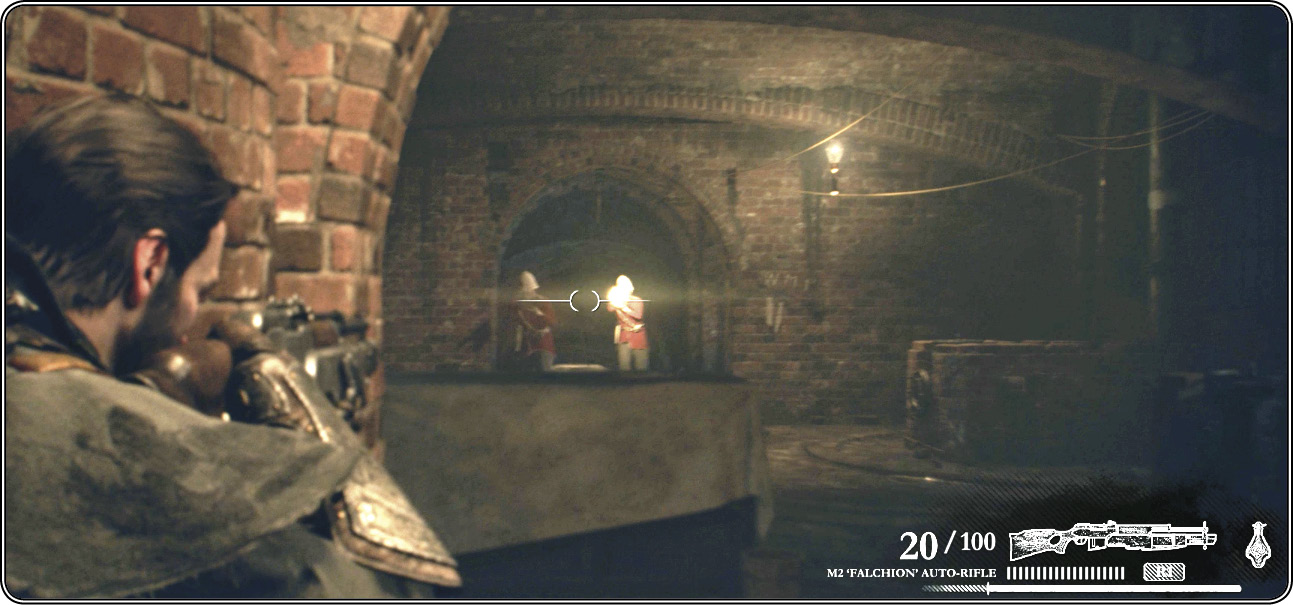
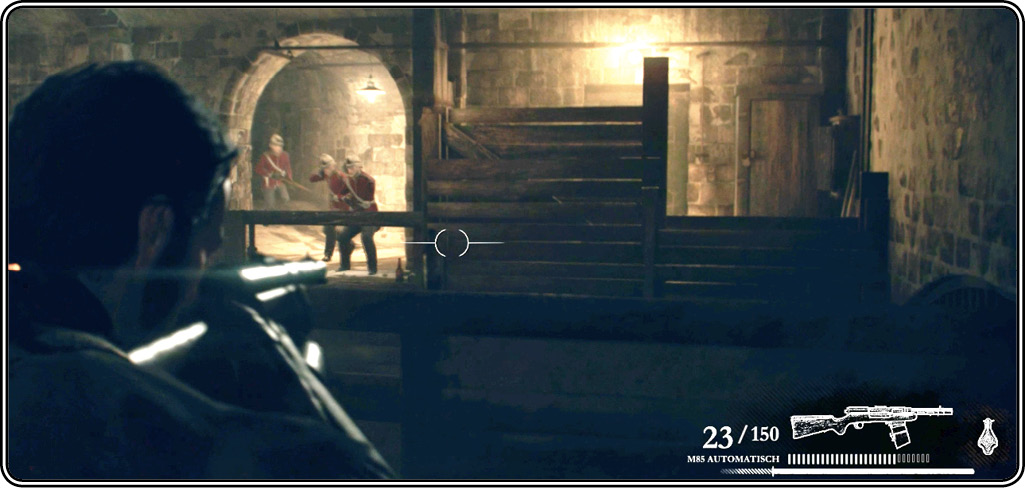
Follow the passage to the next open room where a very formidable platoon of soldiers (including a grenadier and an armored heavy with a Coach Gun) is waiting for you. Enemy bullets will tear apart the wooden barricade directly in front of you, so step just inside the room and rush over to cover behind the brick structure against the wall (9). (There’s one on either side of the room.) You’re seriously outnumbered here, so use Blacksight when it’s available. When it’s not available, be patient and methodical. The heavy shotgunner is particularly tough and deadly.
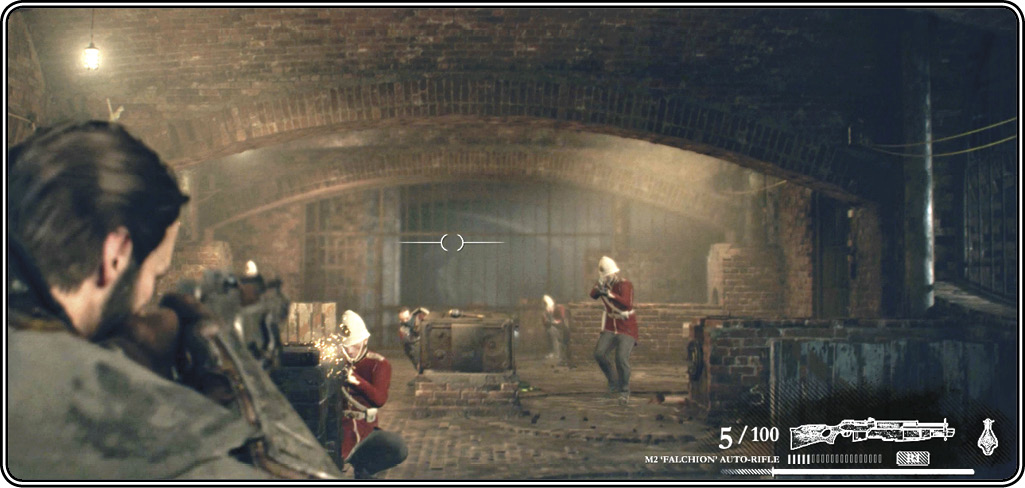
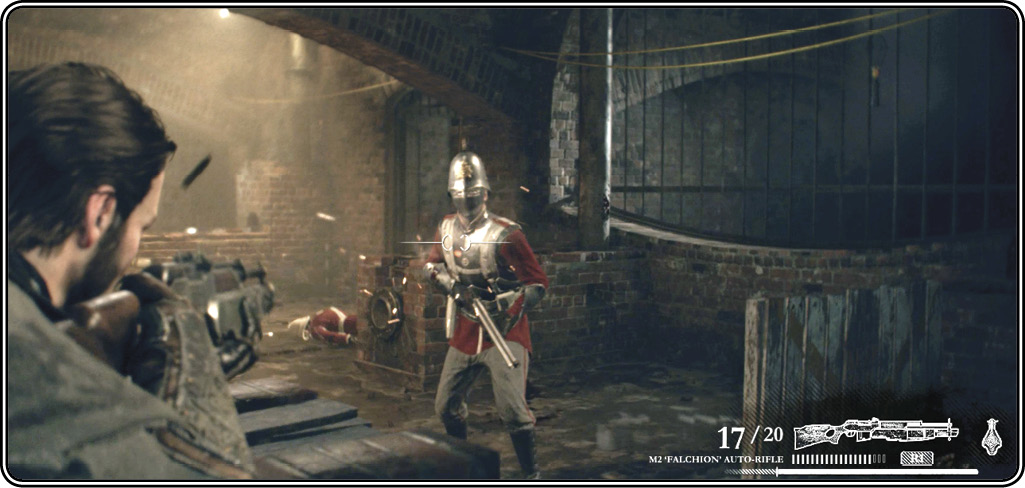
When you finally clear the room, exit via the back-right doorway to find an ammo crate (10) down a dead end. Return to the big room and go straight across to the opposite doorway (11) to get Nikola Tesla’s message about a “complication”—Sir Lucan is on the way to Tesla’s lab! Follow the curve to the left to another dead end where you find a locked crate (12). Press the prompted button to pry open the crate’s lid with your blade and collect “The Anarchists 29.11.86” phonograph cylinder from inside. You can also grab the nearby Dragoon revolver pickup, if you want.
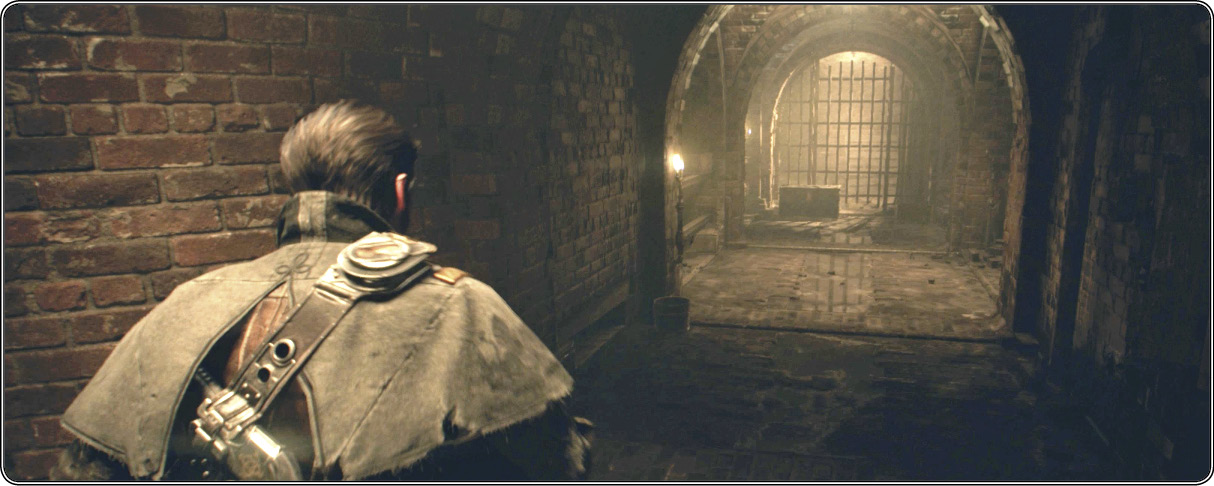
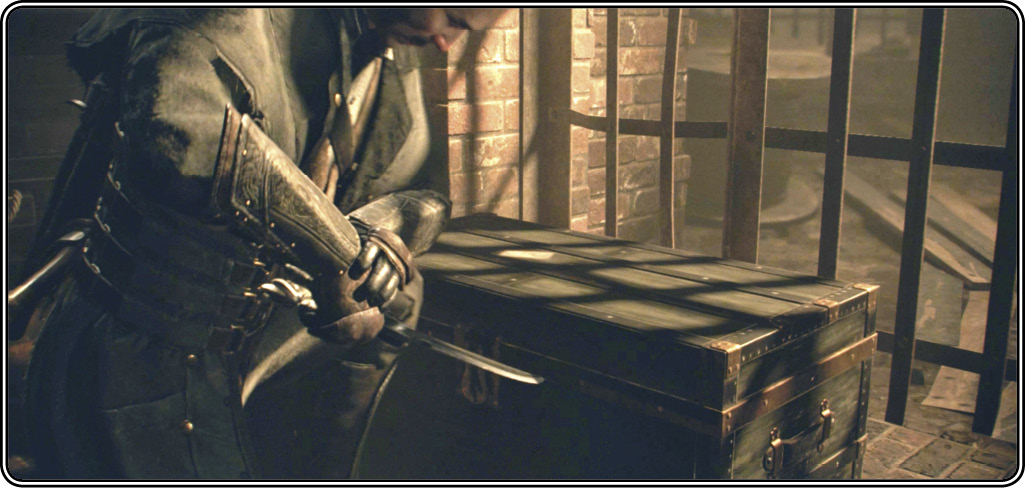
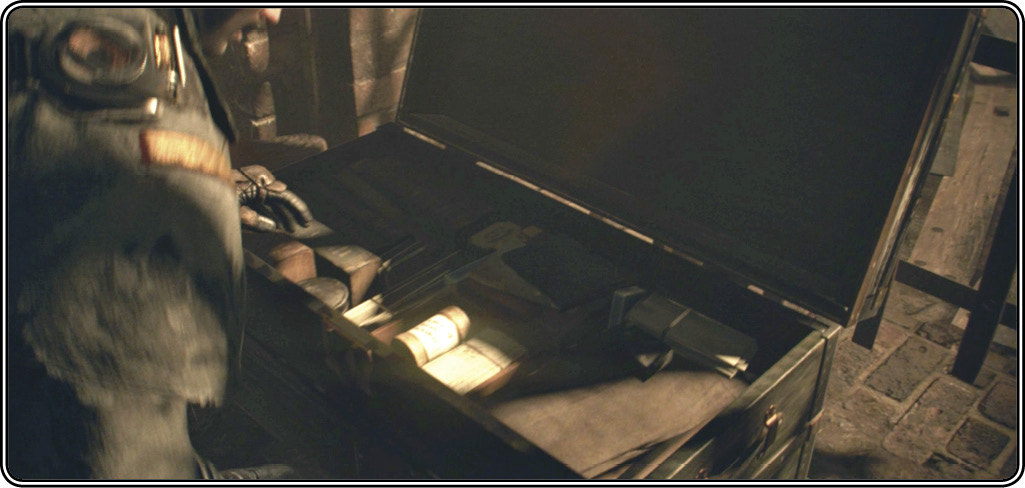
Exit this dead end and veer left to take the wooden walkbridge (13) that spans an underground waterway. Get ready as you approach the doorway (14) on the bridge’s far end. The moment you step through it, an ambush unfolds.
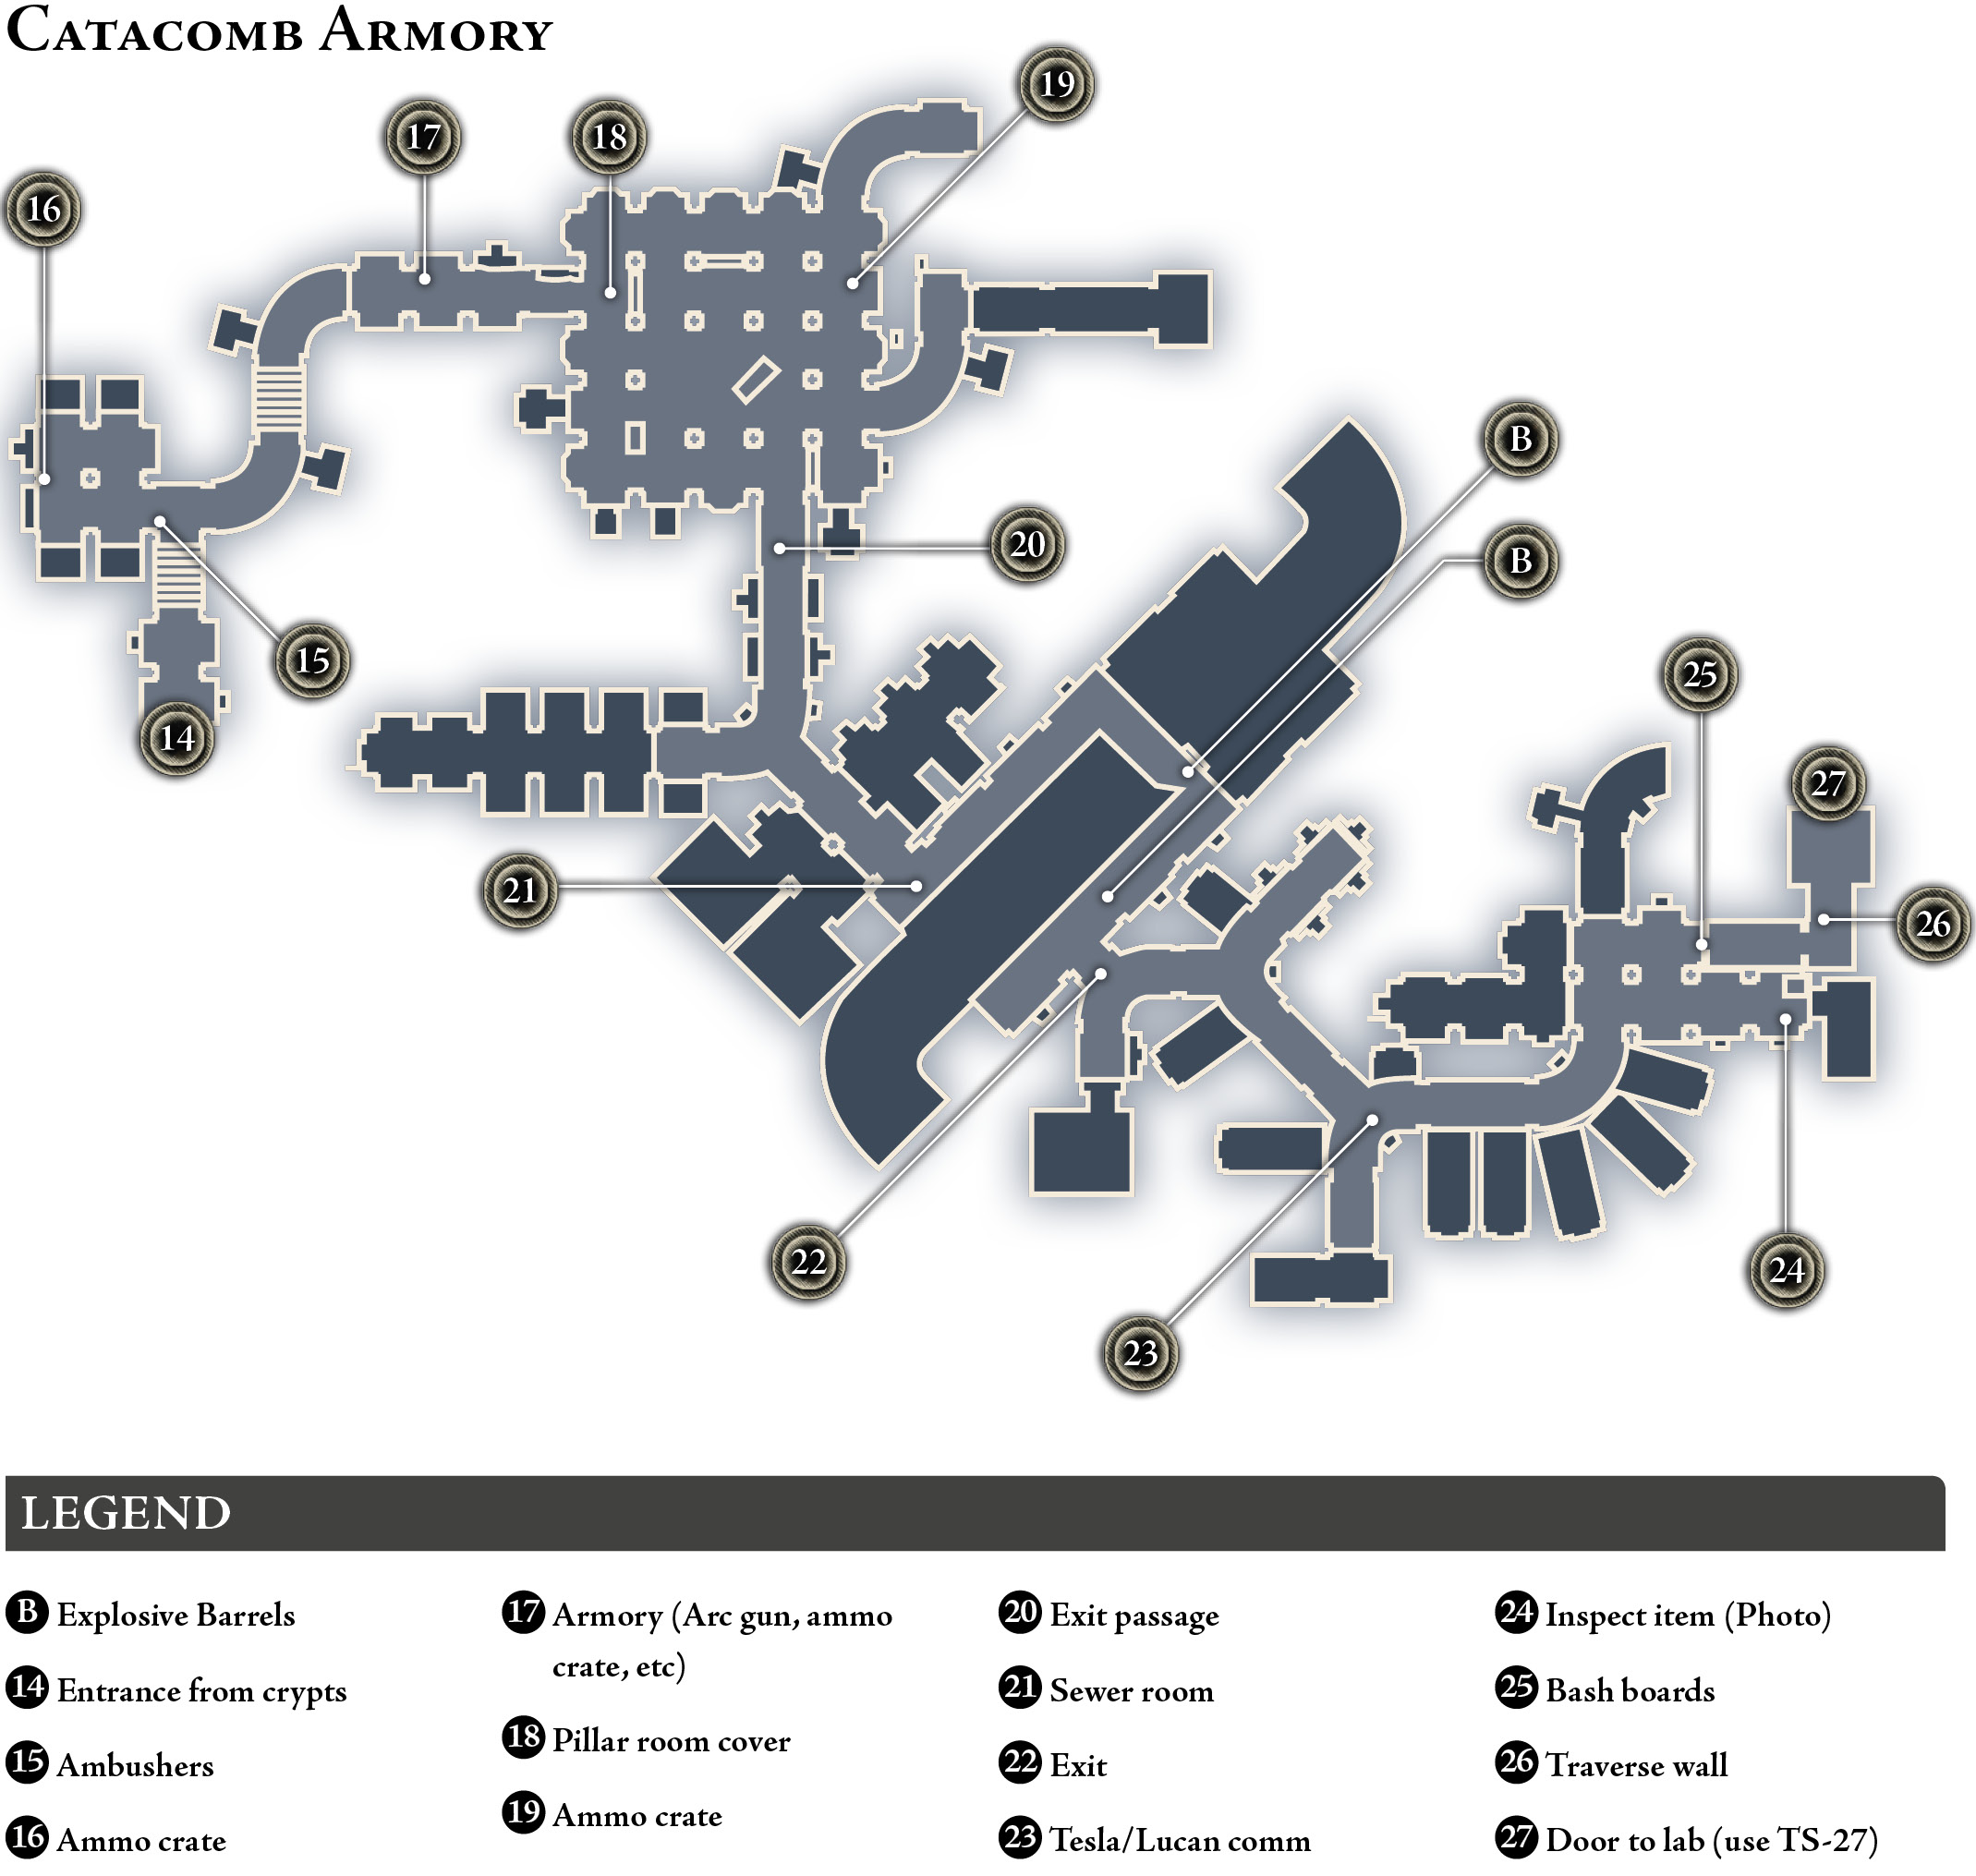
Royal Army troopers pop around the corners at the top of the stairs (15), and a shotgunner rushes downstairs too. Wipe them out, climb to the top, turn left into the side chamber, and find the ammo crate (16) on the floor next to an empty sarcophagus.
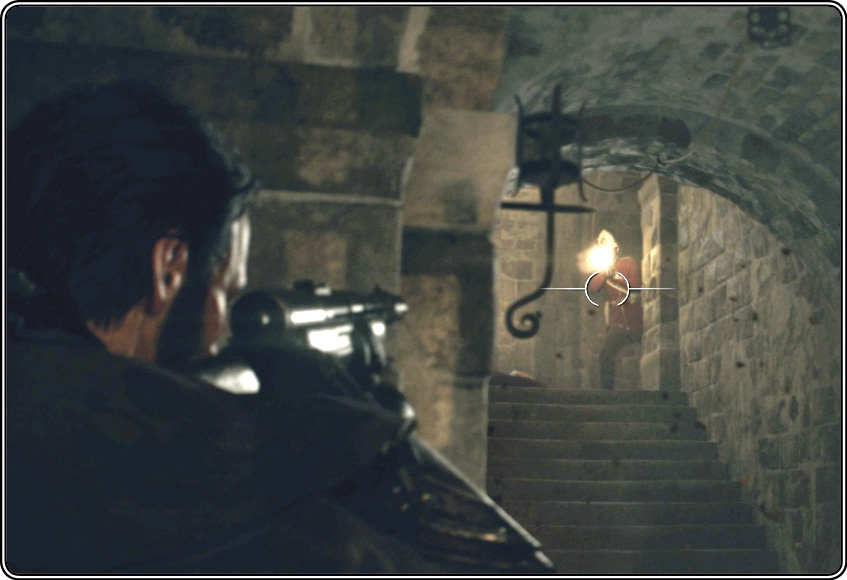
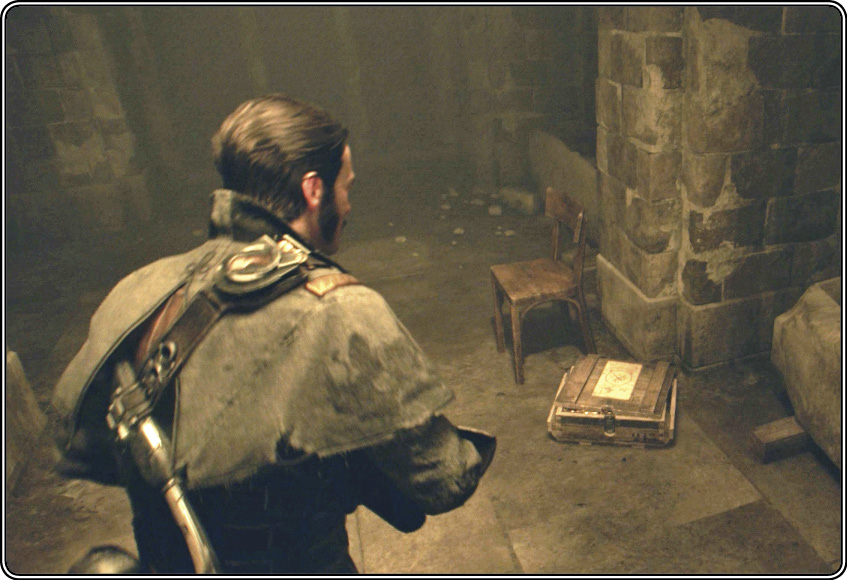
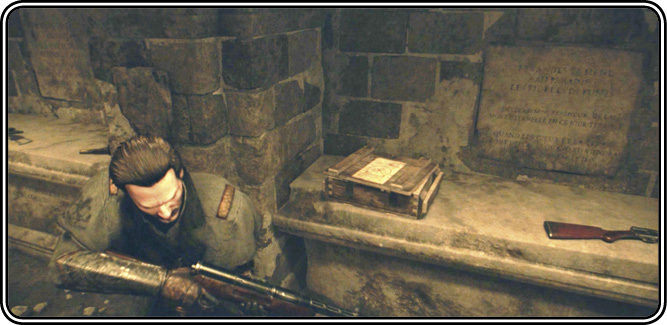
Now follow the corridor as it curves around and climbs upstairs to a tomb-lined passage that also happens to be a very wellstocked armory (17). The cache includes an ammo crate, both types of grenades, and some very good guns: an Arc Induction Lance, an M2 Falchion rifle, a Dragoon pistol, and others. Trust us, you’ll need very good guns in the next space.
Pillar Room
Bash through the armory’s exit door into a large, pillar-filled room. Immediately rush forward to a cover position (18)behind the coffin directly ahead. Many Royal Army troopers of all classes (including, eventually, one with a TS-17 Detonator) try to overrun you in this room. The pillars provide plenty of cover for the enemy. Although most of the shooters lean around pillars in the room’s center aisle, a few try to sneak up the outside aisles and flank you.
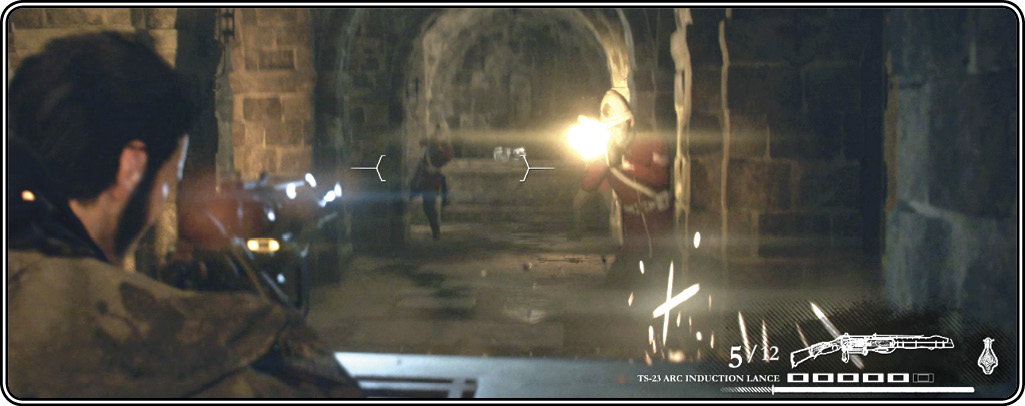
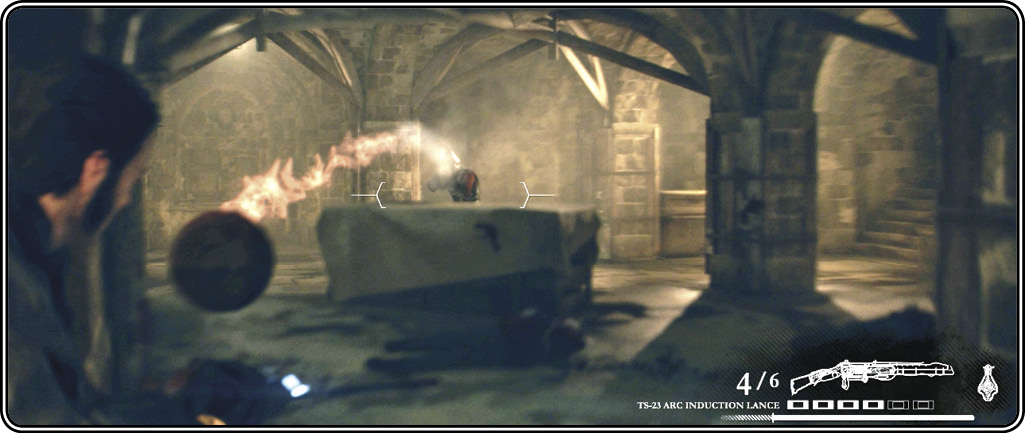
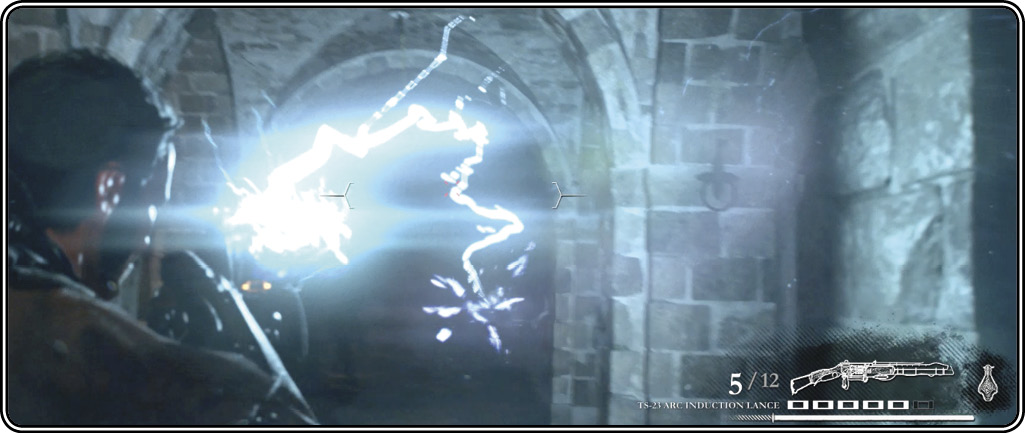
We really like tossing grenades then quickly following up with the Arc Induction Lance in this wild fight because of the gun’s forgiving targeting, plus its nasty one-shot kill ability. But you may run out of its limited ammo charges, so be aware that an ammo crate (19) sits against the wall on the far side of the room. You can also retreat back into the armory. Use Blacksight whenever you can, as well, but wait until you can clearly target at least 3-4 redcoats before you trigger it.
Later in the fight, an armored heavy soldier armed with a Thermite rifle joins the fray. Focus your full attention on him until you drop him. Thermite can make your life miserable, even if you’re behind good cover. When the room is finally clear, make the rounds to pick up weapons/ammo. Picking up the Thermite Rifle is a good option, as it comes in handy for an upcoming battle. Now take the southern exit (20). Follow the passage to the next open room (21).
Sewer Room
This chamber is less hectic but tough nonetheless. Walkways run in a rectangular route around the construction of a sewer drainage channel. Soldiers lay down a blistering fire on your position from the walkway across the channel. Keep an eye out for two explosive barrels (B) that can help you thin their ranks more quickly.
When the walkways are finally cleared, exit into the corridor beyond (22). Veer left at the first fork and right at the second fork as you hear Lucan’s arrival at Tesla’s lab over your communicator.