
The Order: 1886 Signature Series Strategy Guide Walkthrough Chapter V: AGAMEMNON RISING
CQD, SOS, DE, GFAXX
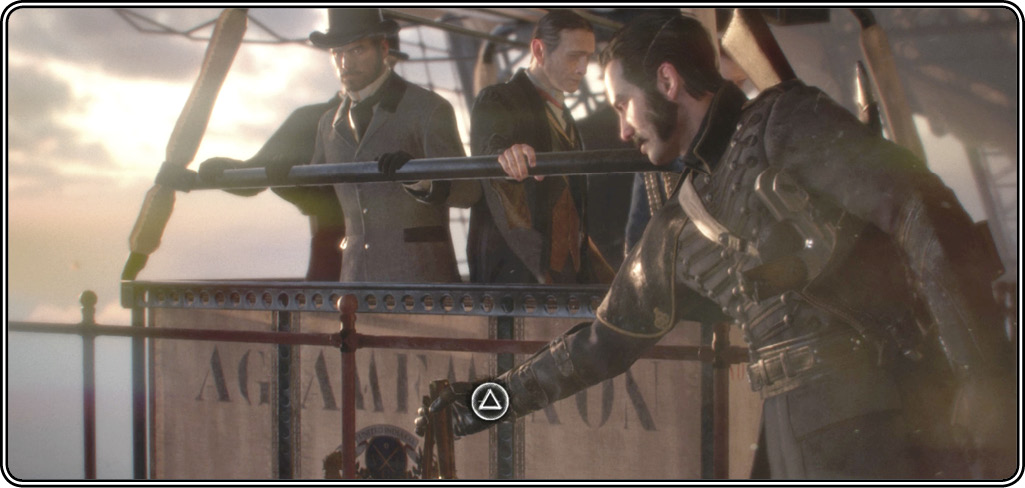
Here you cut to the hectic scene on the airship’s Starboard Emergency Deck. As panicked passengers herd into aerial lifeboats for evacuation, Lucan and Perceval wrangle over the situation. Galahad orders Igraine to find Lafayette in the cockpit and evacuate. When the button prompt appears, press  to release the lifeboat carrying Lucan and Lord Hastings. Then Perceval reports that a nearby guard station armory is available for plundering before you hunt down the rebels.
Find the rebel saboteurs
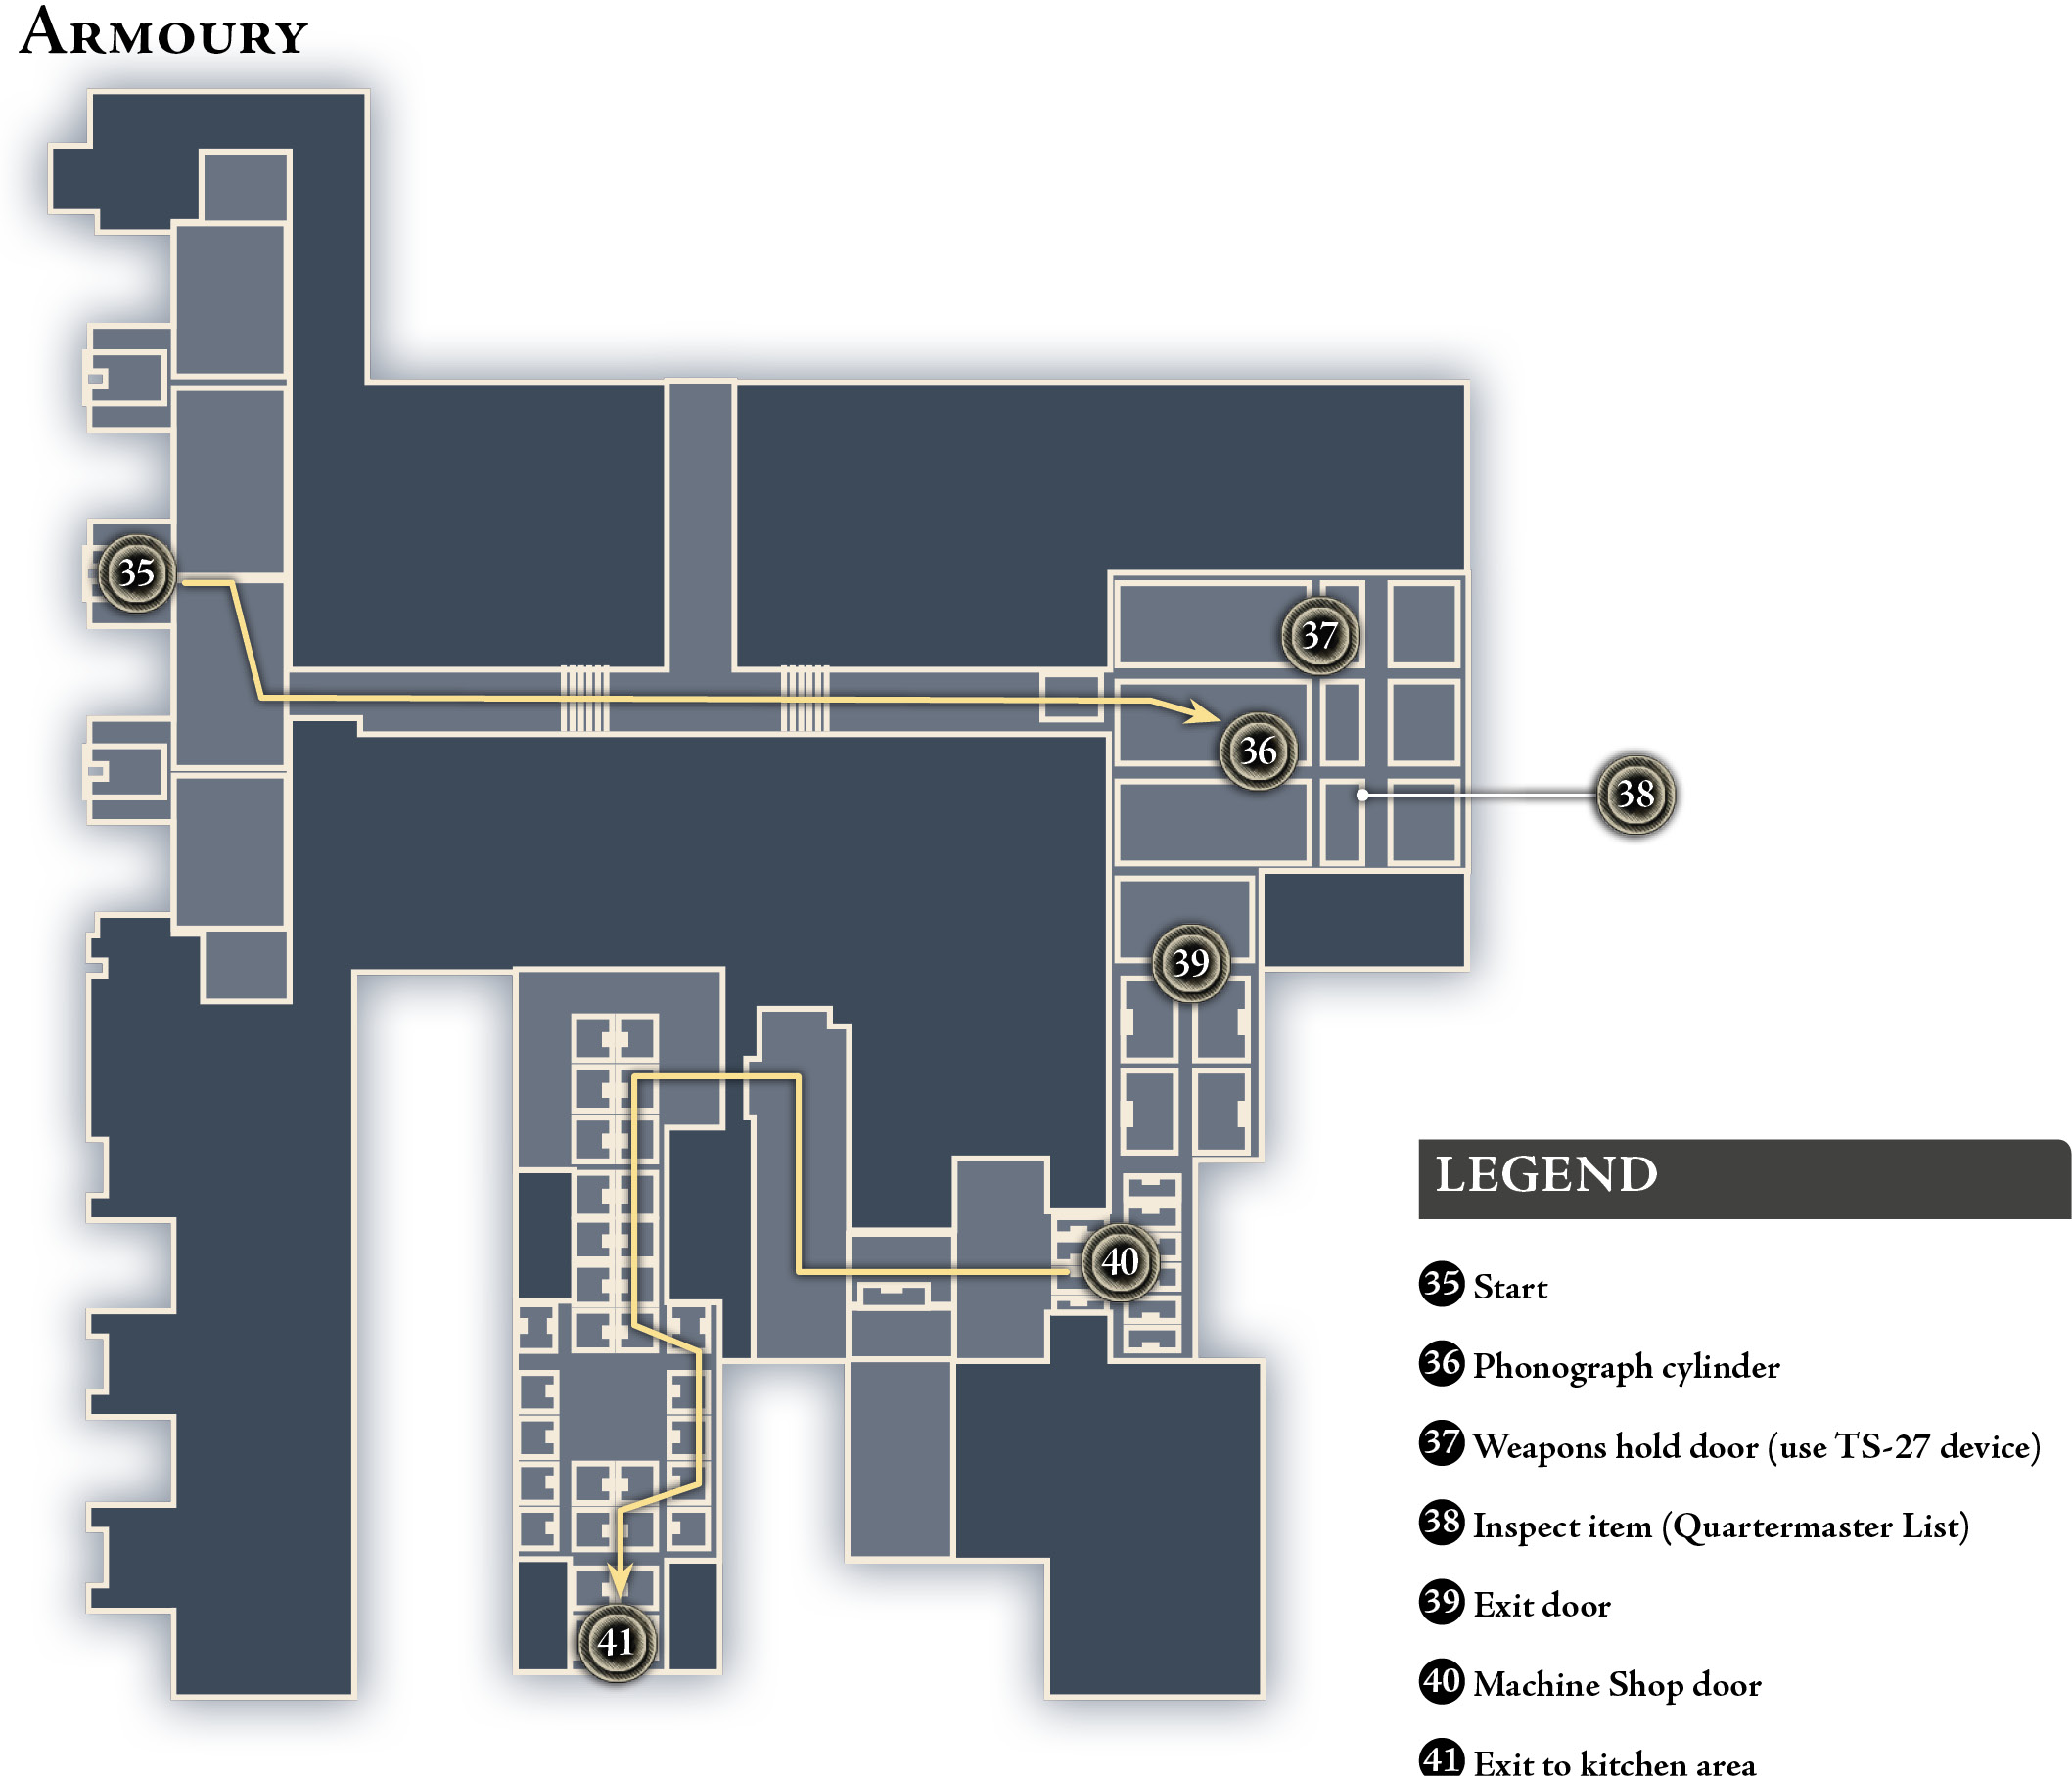
From your starting spot (35) when the cutscene ends, follow Perceval through the open door under the Armoury sign and down the walkway into the Ship Security area. Find the “Evacuation Procedures” phonograph cylinder (36) on the desk. If you listen to it, note the “class-prioritized order of evacuation.”
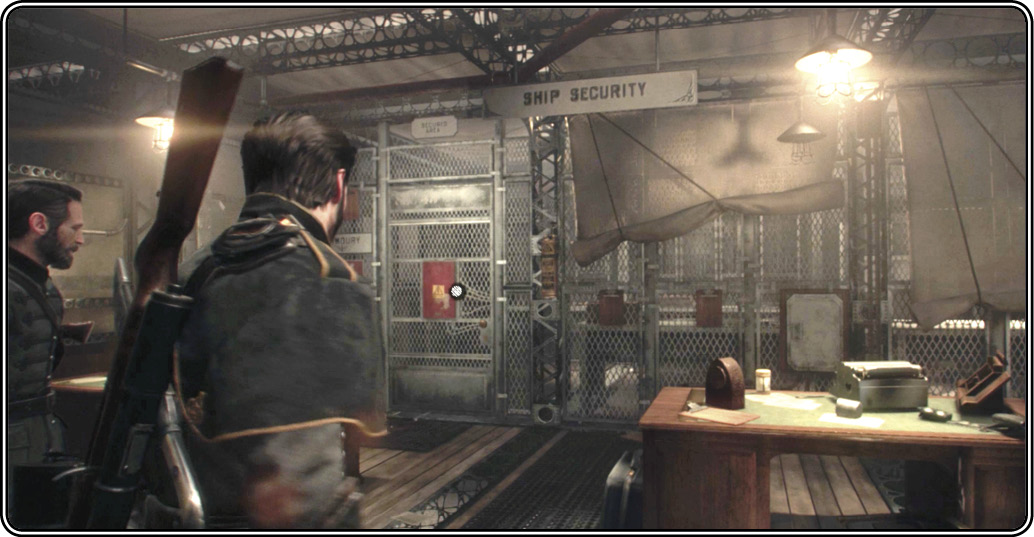
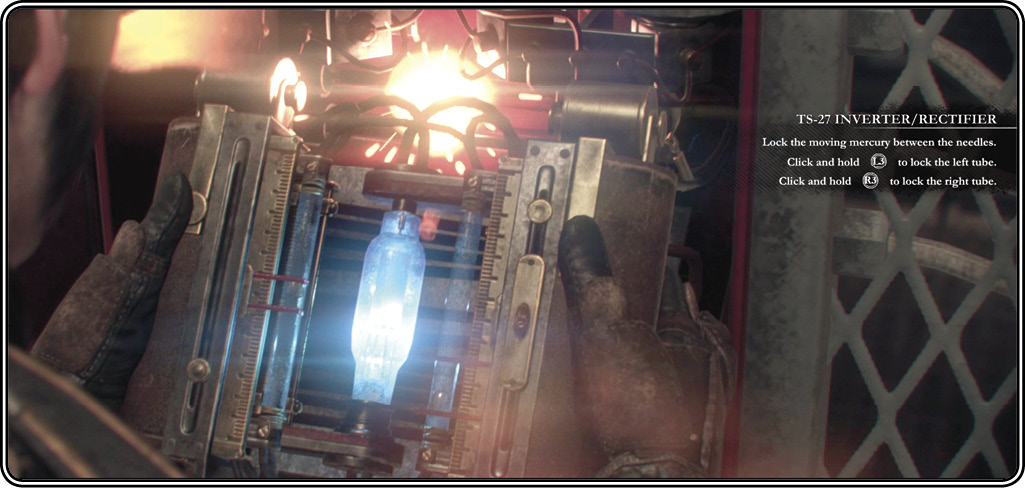
Approach the door to the ship’s weapons hold (37) and press . Galahad pries open the power box then wields his TS-27 Inverter/Rectifier and hooks up the clips. As before, trap the two mercury blobs between the needles to disable the door lock. Then enter the weapons hold and take your pick of armaments. Grab the ammo crate after you select weapons.
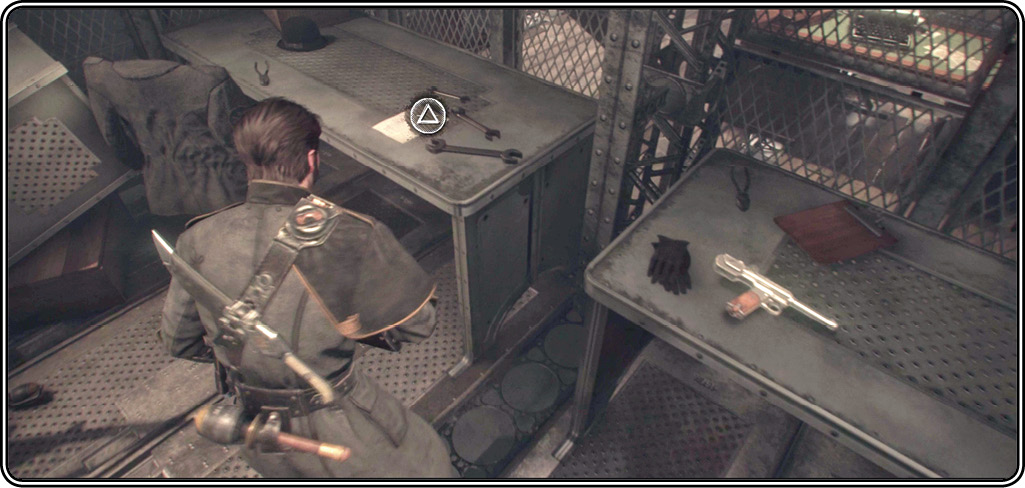
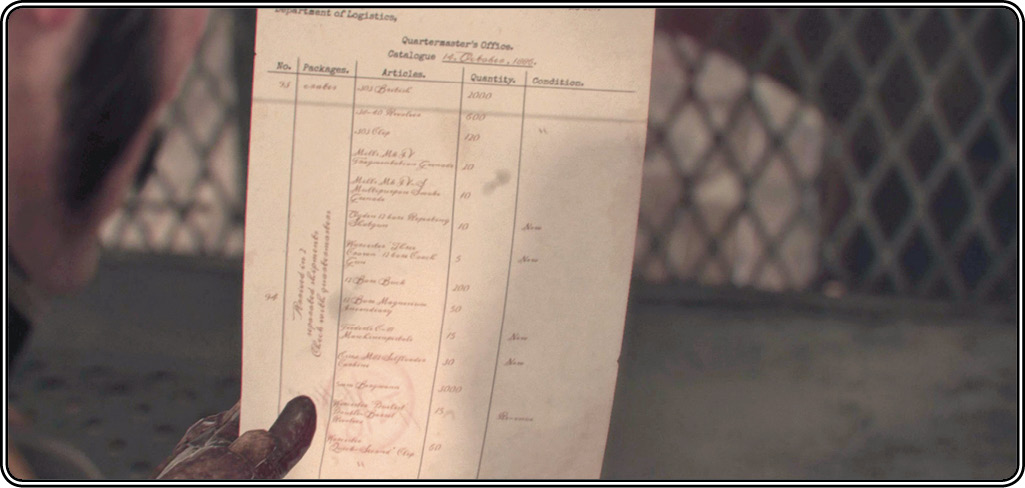
Finally, inspect the piece of paper, a quartermaster’s list (38), sitting amongst the tools on the last table. As Galahad points out, the ship is stocked with enough munitions to support a small army. Clearly, the United India Company is very serious about security.
Exit the weapons hold, turn right, and follow Perceval through the exit door (39). He tells you to be ready for more rebels: wise words. Open the nearby Machine Shop door (40) and examine the dead guard on the floor just inside. Perceval says, “All this to kill one man.”
Work your way through the machine shop (see our map for the path). When you reach the far exit door (41), you hear a rebel voice shout that he’s “moving to the second device.” That’s your man! Open the door to see two rebels scurry away. Follow them but be careful—a big rebel squad awaits your arrival in the kitchen.