The Order: 1886 Signature Series Strategy Guide Walkthrough Chapter VIII: UNDER SIEGE
A One Man Army
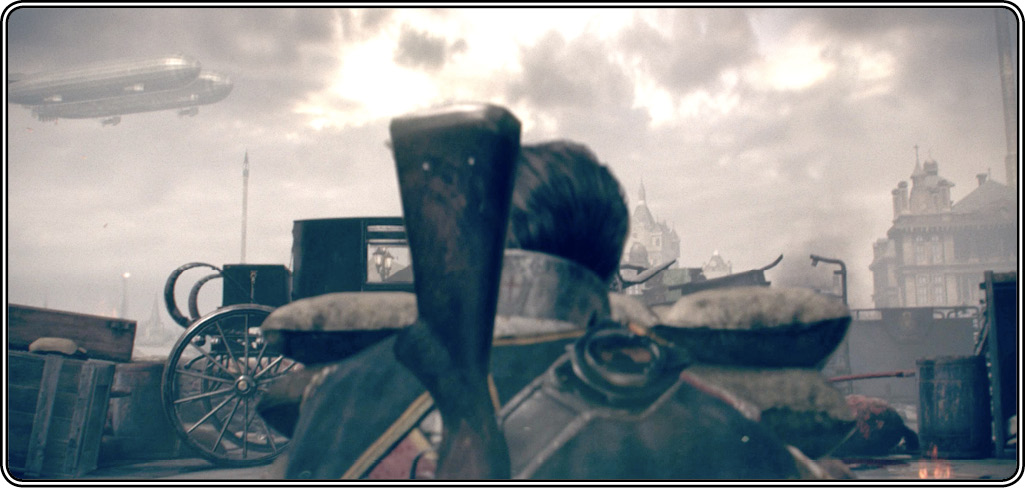
Watch as Galahad spots a rebel lieutenant deploying his crew. Galahad contacts the airship Sentinel 3 and calls for air support. The airship spotter reports a rebel wielding a shoulder cannon up ahead on the bridge. Ah, so that’s the source of all those explosions! This gives you a new directive.
Take out the artillery
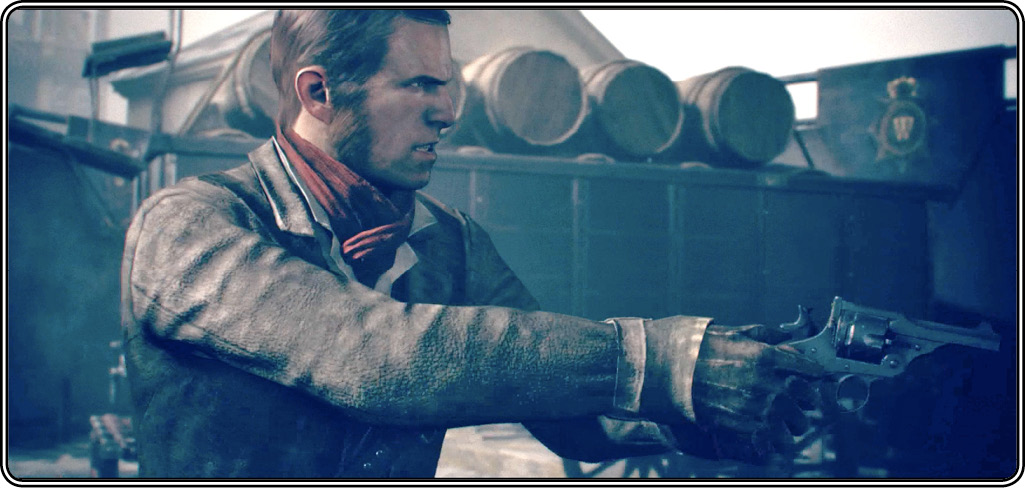
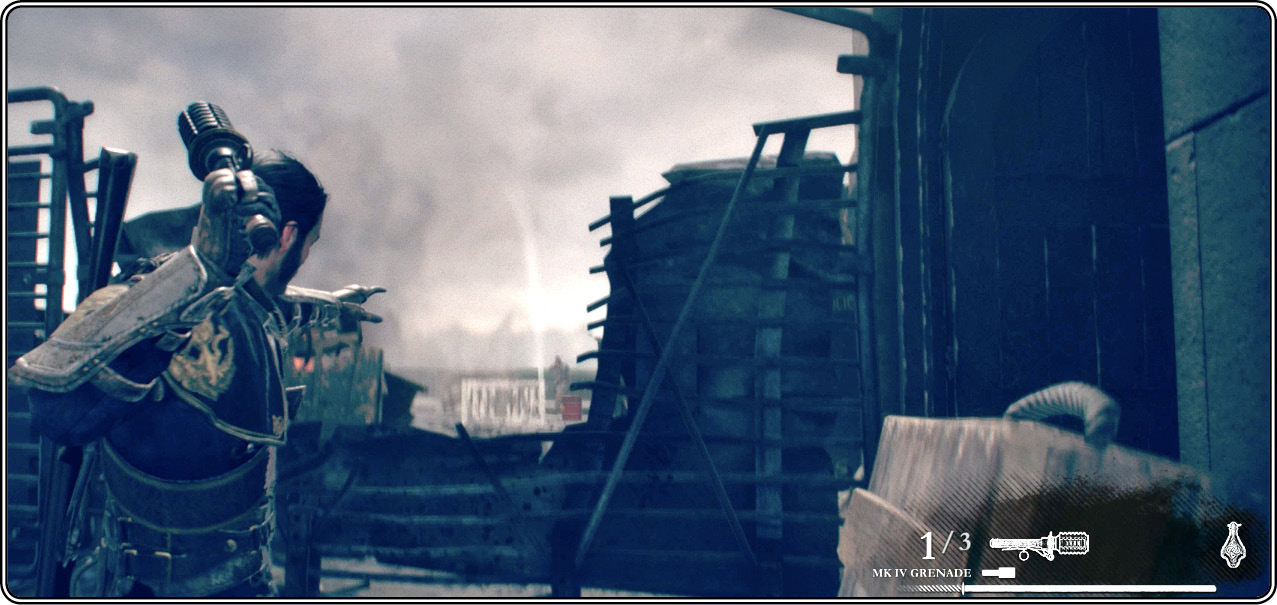
Once again, start fighting from cover to cover as you dodge cannon shots and dash through the obstructions and sandbag piles. Find another stash of frag grenades (7) in the last hut on the right side, but be ready for a shotgunner who hops into your path as you approach the hut. Gun him down, grab some grenades, and start flinging them liberally.
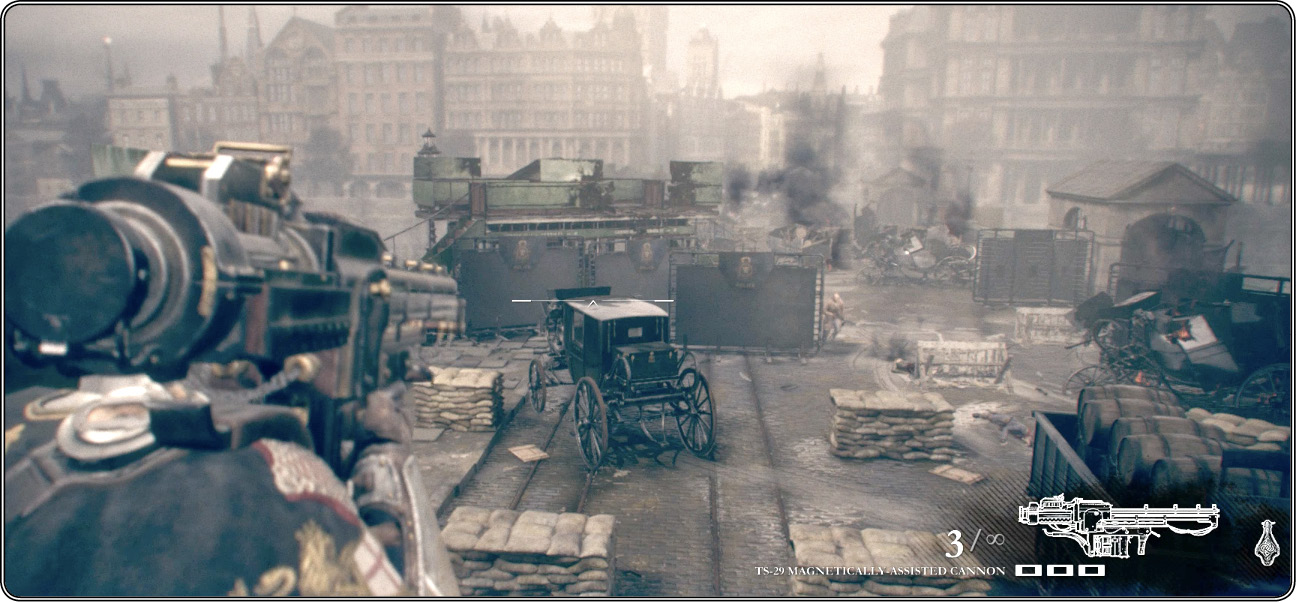
Weave your way back and forth across the bridge until you clear out all the rebels in the area. Then proceed to the bridge’s left side. Up ahead, the rebel artilleryman (8) continues to blast away with his TS-29 Magnetically-Assisted Cannon from atop another trolley.
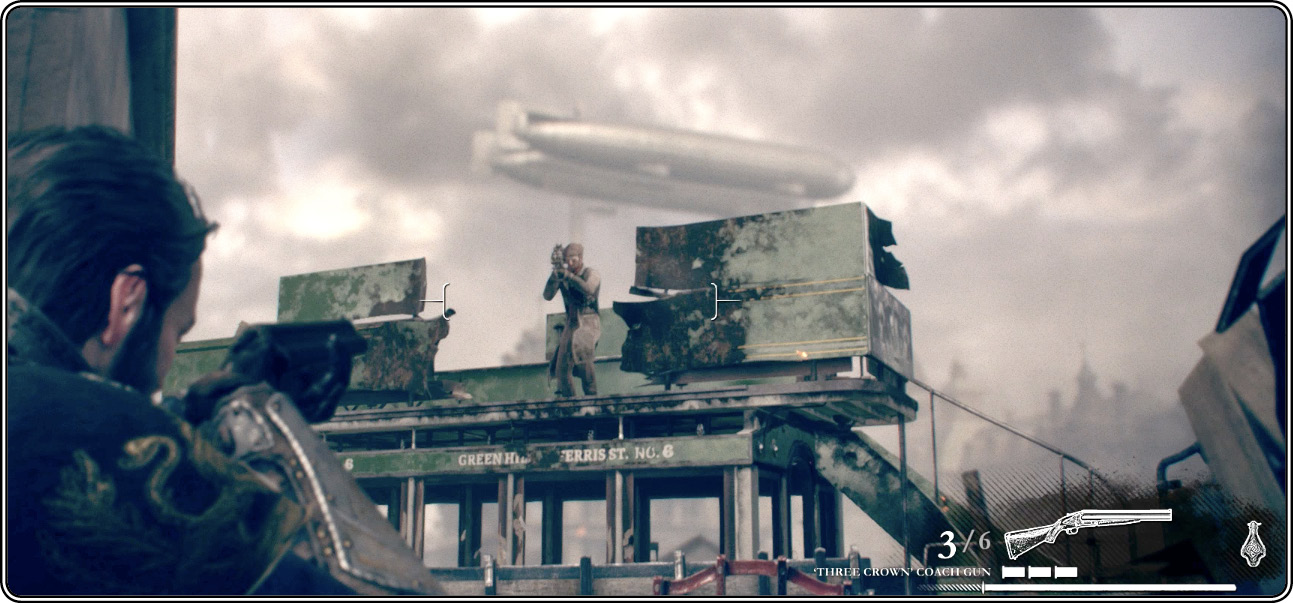
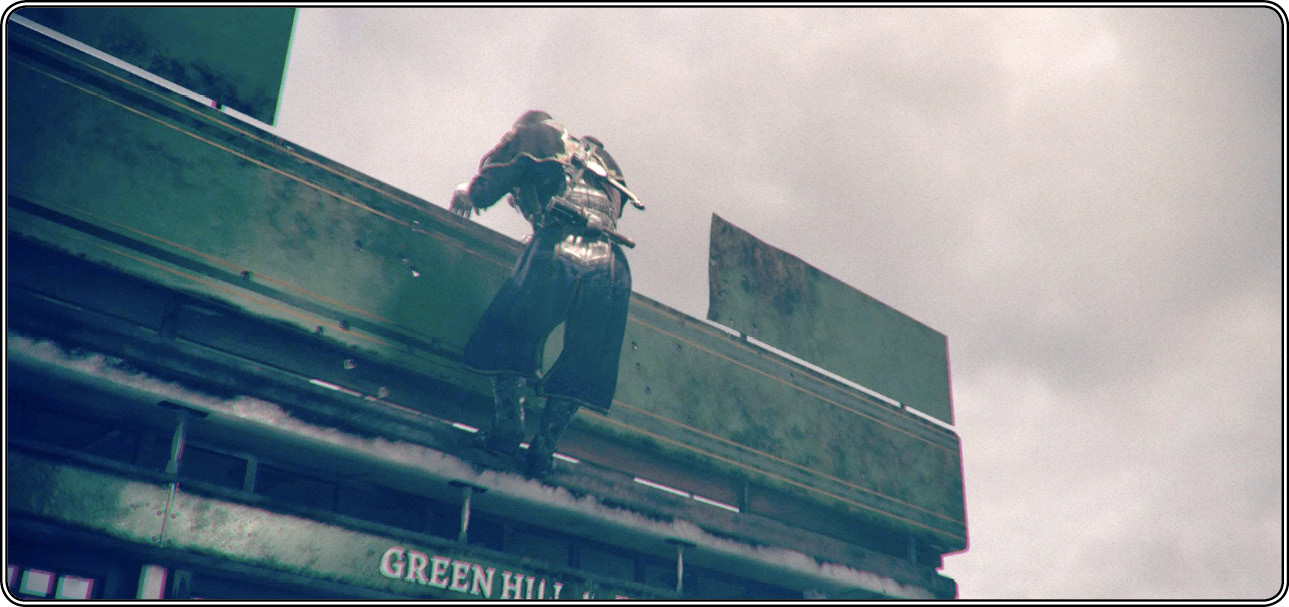
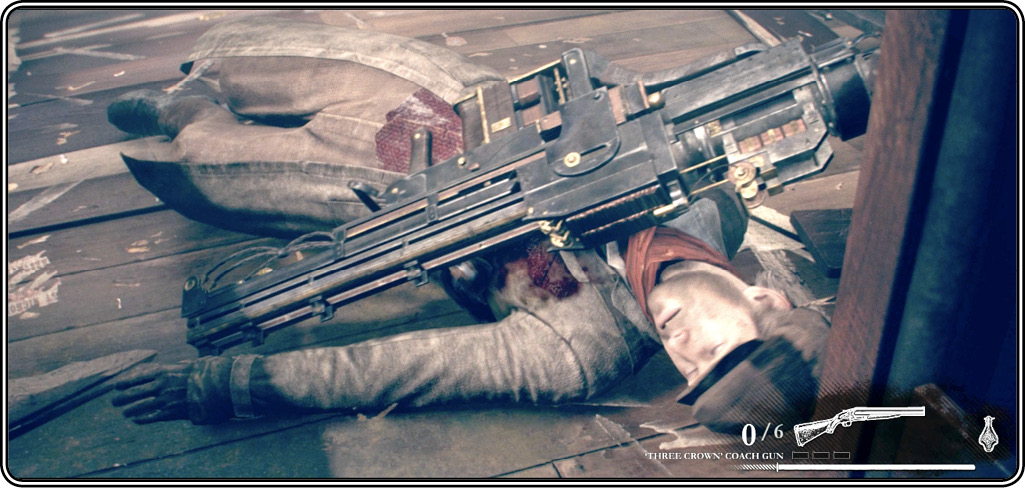
Nail him to end the threat and trigger a cutscene: Galahad climbs atop the trolley, takes up the shoulder cannon, and decides to take on the entire rebellion by himself.
Eliminate the remaining rebels
Sling glorious cannonfire into the rebels below. You have unlimited ammo, but Galahad auto-reloads every three shots. Attackers move in from multiple directions and set up all across the bridge. Some take up positions atop the opposite trolley car, or behind cover below to your left. Keep scanning the area to target attackers until the battle ends and Galahad dismounts from the trolley.