
The Order: 1886 Signature Series Strategy Guide Weapons
Pistols
Davies Mk I Service Revolver
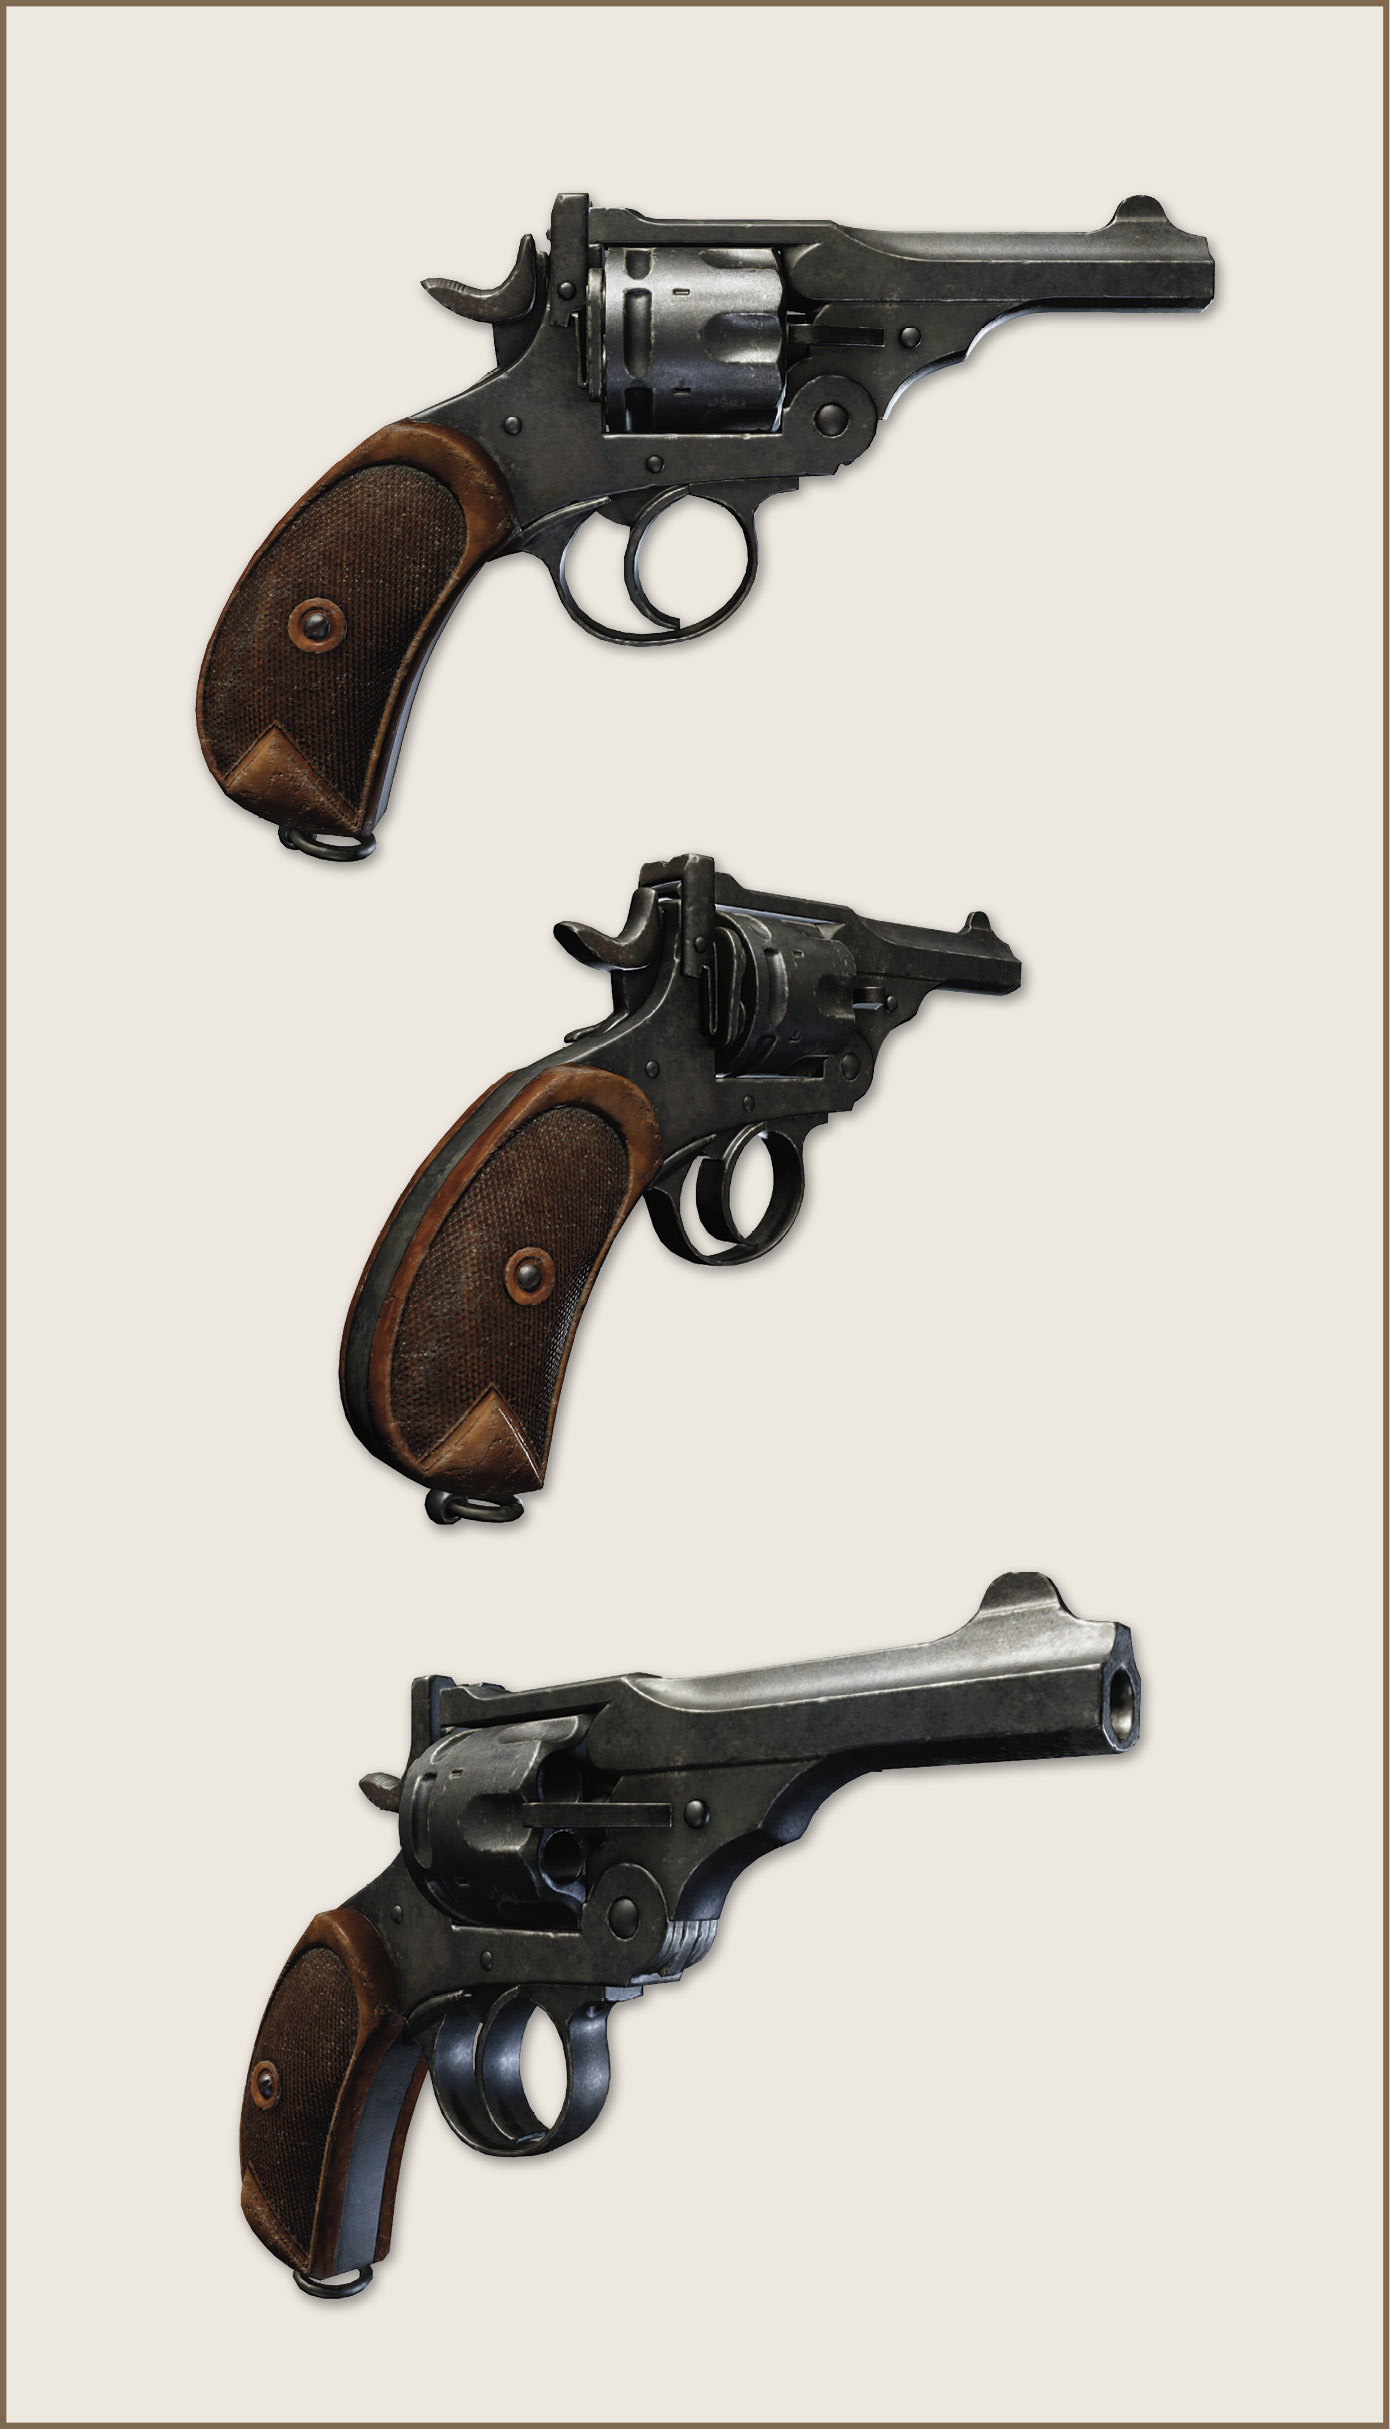
Compact and powerful, this common pistol is used extensively by the Rebels, and is standard issue for the Royal Army.
Fighting with this weapon
This Mk I Service Revolver works best at close range in patient hands. While its rate of fire and accuracy are less than that of the C-78 Autoloading Pistol, it is demonstrably more powerful. A single round staggers most opponents, giving you plenty of time to follow up with a second, killing shot—two bullets is usually all it takes! Because of its short barrel and somewhat diminished accuracy, it’s not recommended to attempt precision shots with this weapon. Instead of taking your time with headshots, try aiming for two easy shots to the torso to dispatch foes quickly. It can also be useful for dealing with encroaching Shotgunners. Hit them once to stagger them, allowing you to safely move in for a melee takedown while they’re still reeling.
Fighting against this weapon
As a Knight, this weapon poses a fairly minimal threat at range. However, if you’re already badly wounded, a single shot from a Mk I Service Revolver can be all it takes to finish you off! Additionally, large numbers of foes with this weapon can deal a surprising amount of damage, especially if you stay exposed out of cover for too long.
| STATS | |
|---|---|
| Ammo | 6/36 |
Borchardt C-78 Autoloading Pistol
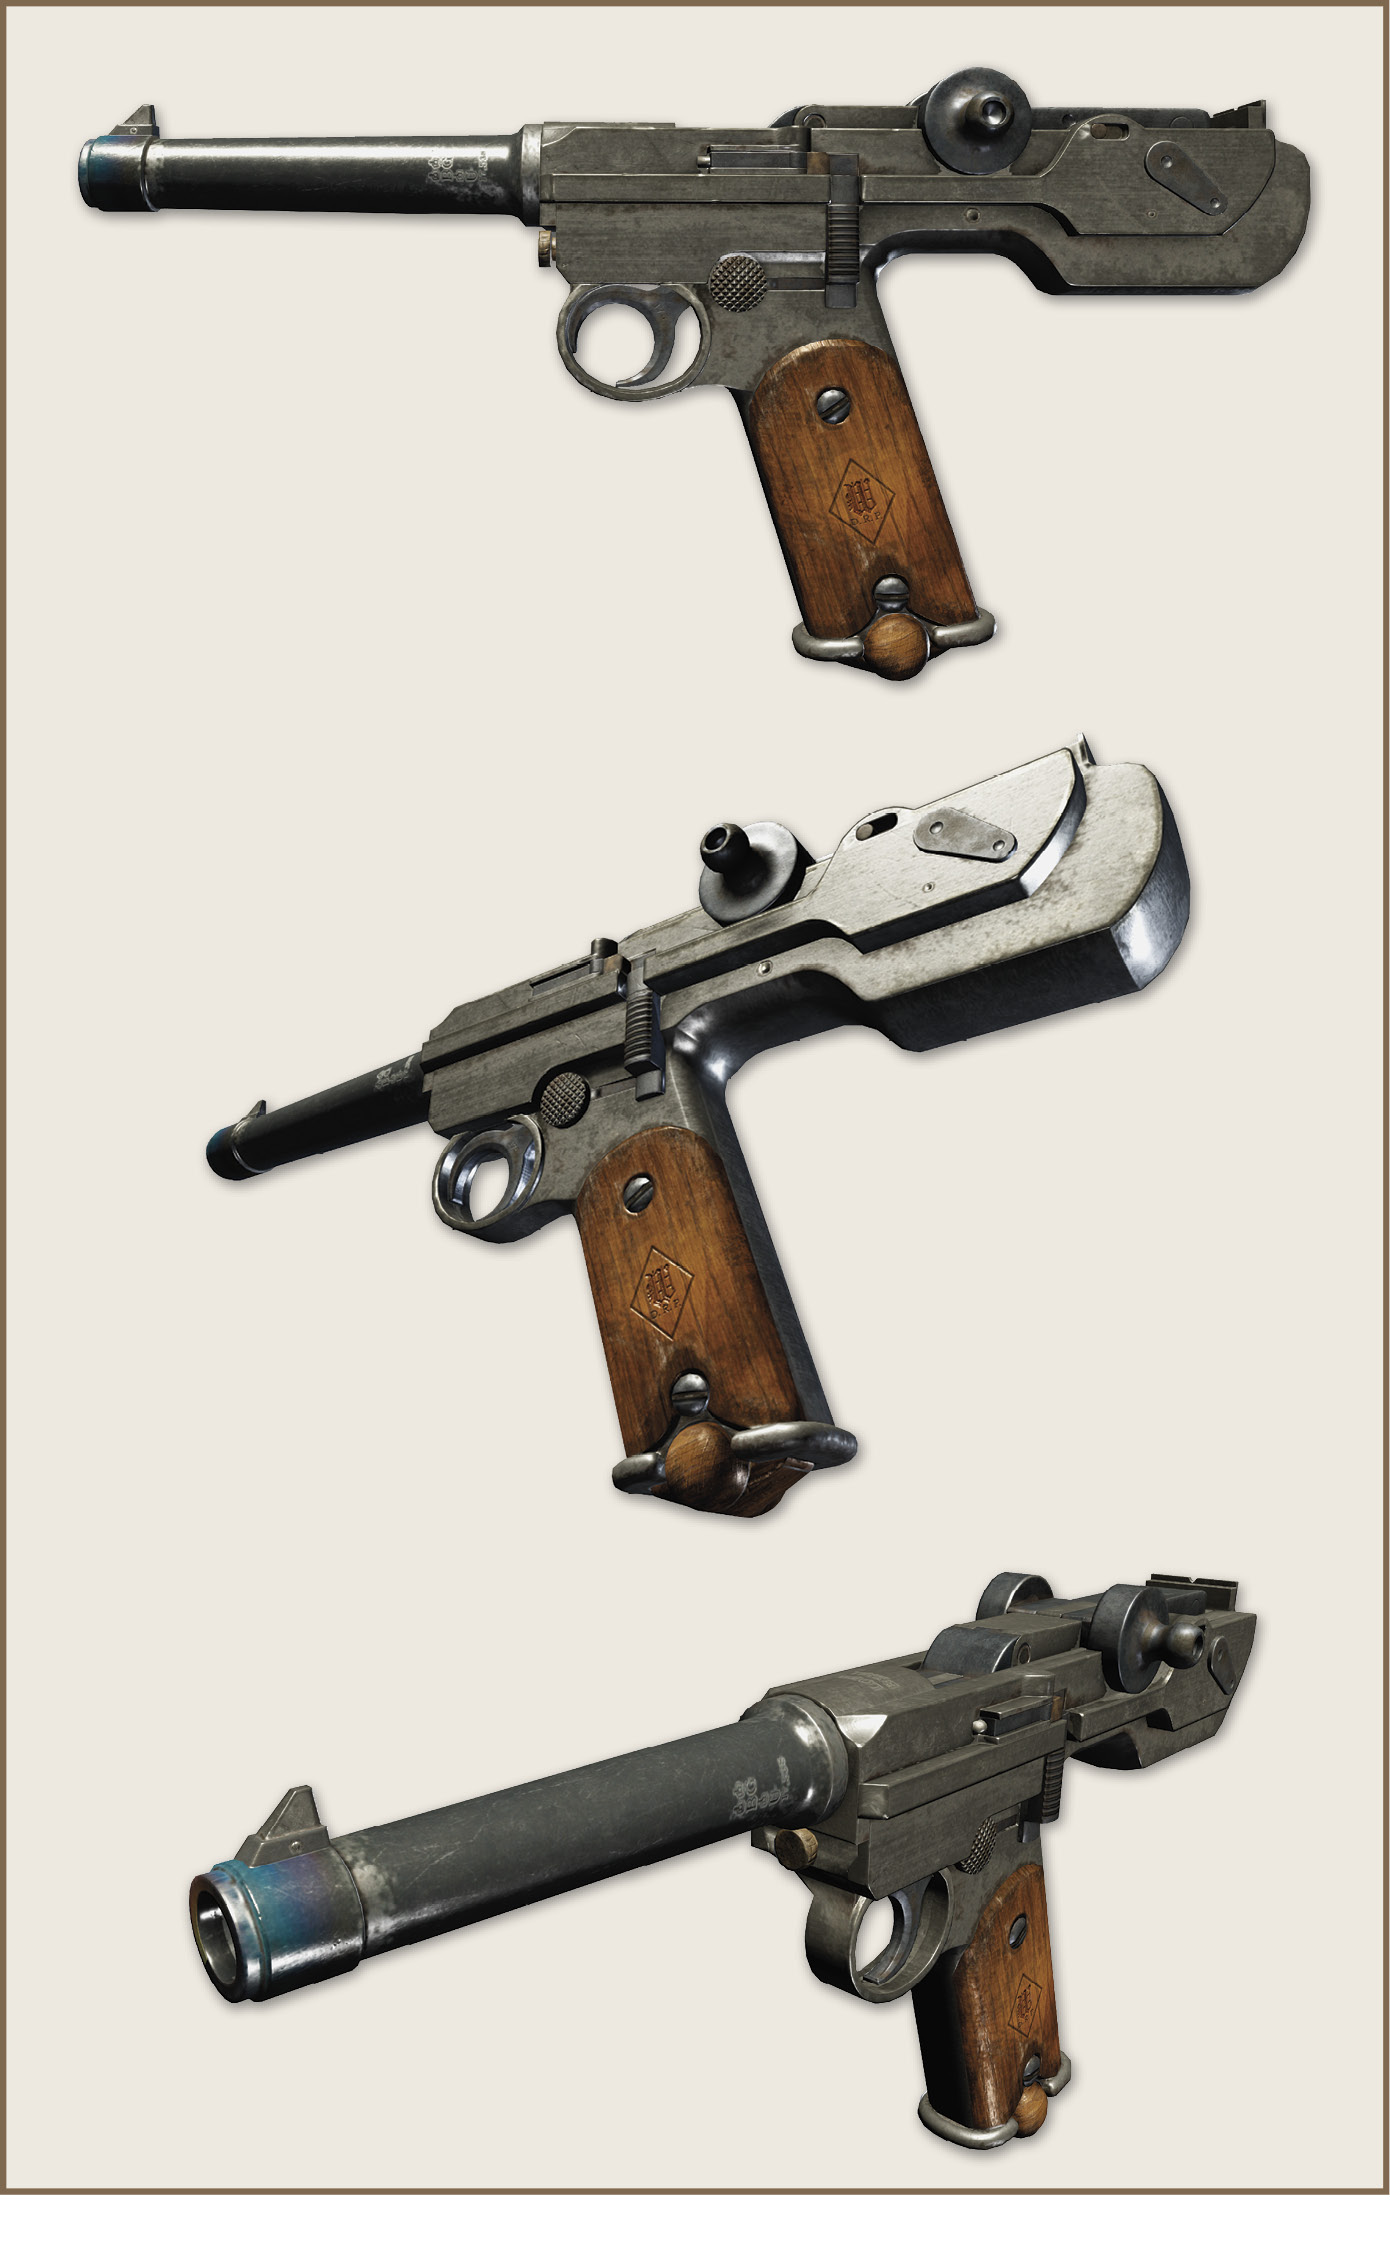
This versatile pistol is the standard issue sidearm for Knights of The Order and United India Company guards, while the Rebels have managed to obtain significant numbers of stolen C-78’s, making it the most commonly available pistol in the game.
Fighting with this weapon
Surprisingly accurate, the C-78 can be effective even slightly past mid-range, while its impressive rate of fire allows it to be dangerous at close range (though often at the expense of ammunition). As such, the key to using the C-78 effectively is knowing how best to treat it at any given range:
- Close Range: Forgo precision (even to the point of relying on hip-fire instead of aiming) while pulling the trigger as fast as possible to lay down an impressive barrage of fire…as long as you land at least three of your nine shots, you’ll come out ahead against most foes.
- Mid-Range: This is where the C-78’s accuracy truly shines! Take your time to aim for headshots and you can become a methodical killing machine that never has to worry about ammunition. Even if you miss, you have a large enough clip to make multiple follow-up attempts.
- Long Range: While the C-78 can still down foes at this range, it starts to lose power and can’t reliably land headshots. If possible, close the gap or use something better suited to the distance.
Fighting against this weapon
Similar to the Mk I Service Revolver, an individual C-78 isn’t a particularly big threat to a Knight. However, between their rate of fire and accuracy, a group of them can be quite damaging at mid-range. Furthermore, if you’re too close to a foe, they try to unload their entire magazine into you as fast possible. If they all hit, it’s more than enough to make you have to reach for your Blackwater.
| STATS | |
|---|---|
| Ammo | 9/72 |
Feederle C-81 Maschinenpistole
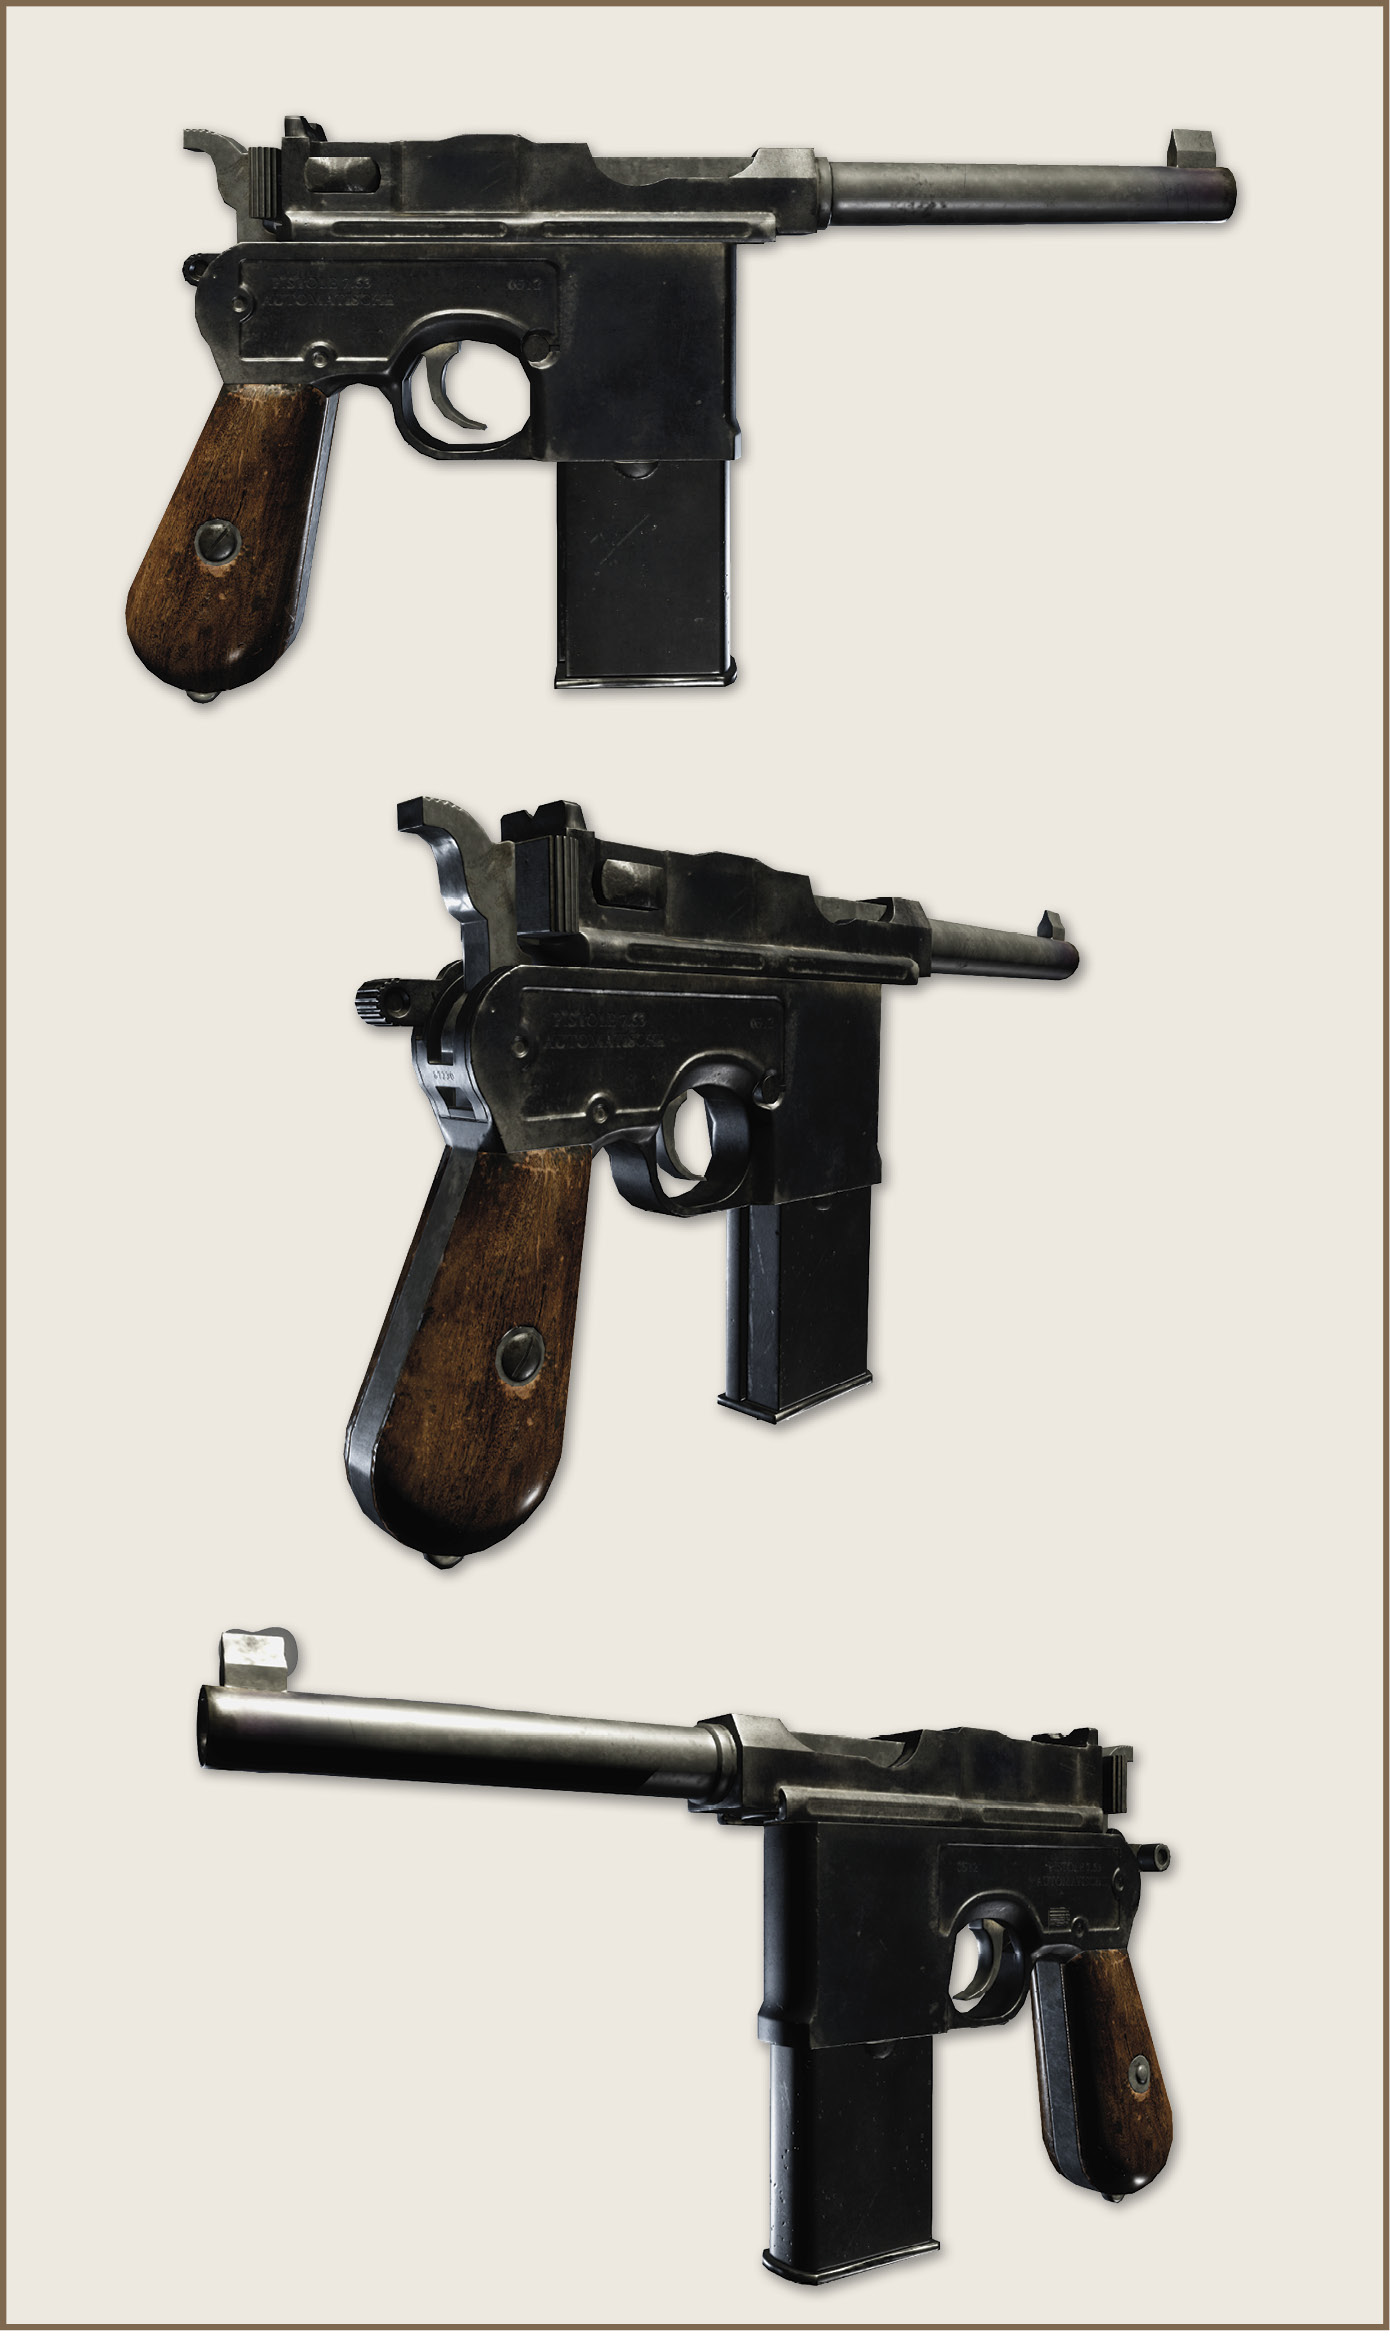
This impressive little gun can be absolutely ruthless at close range, downright murderous with Blacksight, and forceful in sending a whole group of enemies ducking behind cover. However, its effectiveness quickly diminishes with range. While short controlled bursts can help compensate for its lack of accuracy, its power per-shot leaves it lagging behind every other pistol at even mid-range. Used by Rebels, the United India Company, and the Royal Army, the C-81 isn’t nearly as common as the Mk I or the C-78, but can be found often enough to usually be a viable choice.
Fighting with this weapon
This weapon guzzles ammunition faster than any other weapon in the game, and doesn’t carry a particularly large amount in reserve. To avoid running out, it needs to be used deliberately in the scenarios that maximize its potential, making it truly a “secondary” weapon. Trying to use it exclusively can result in shortages of ammunition or too frequently endangering yourself to get into close range. However, if you find yourself engaged in a close-quarters battle, it can be an excellent counterpart to a more accurate primary weapon. Lastly, a loaded C-81 and a full meter of Blacksight can turn a fight around; use it to quickly dispatch multiple foes or even outright kill a Heavy!
Fighting against this weapon
Keep your distance! Enemies with the C-81 shoot much more sparingly at range, but in close quarters they simply hold the trigger down until one of you stops moving. Even if you have Blackwater, you may not get a chance to use it if you get caught in the sights of an enemy C-81.
| STATS | |
|---|---|
| Ammo | 25/150 |
M4 ‘Dragoon’ Cartridge-Revolver
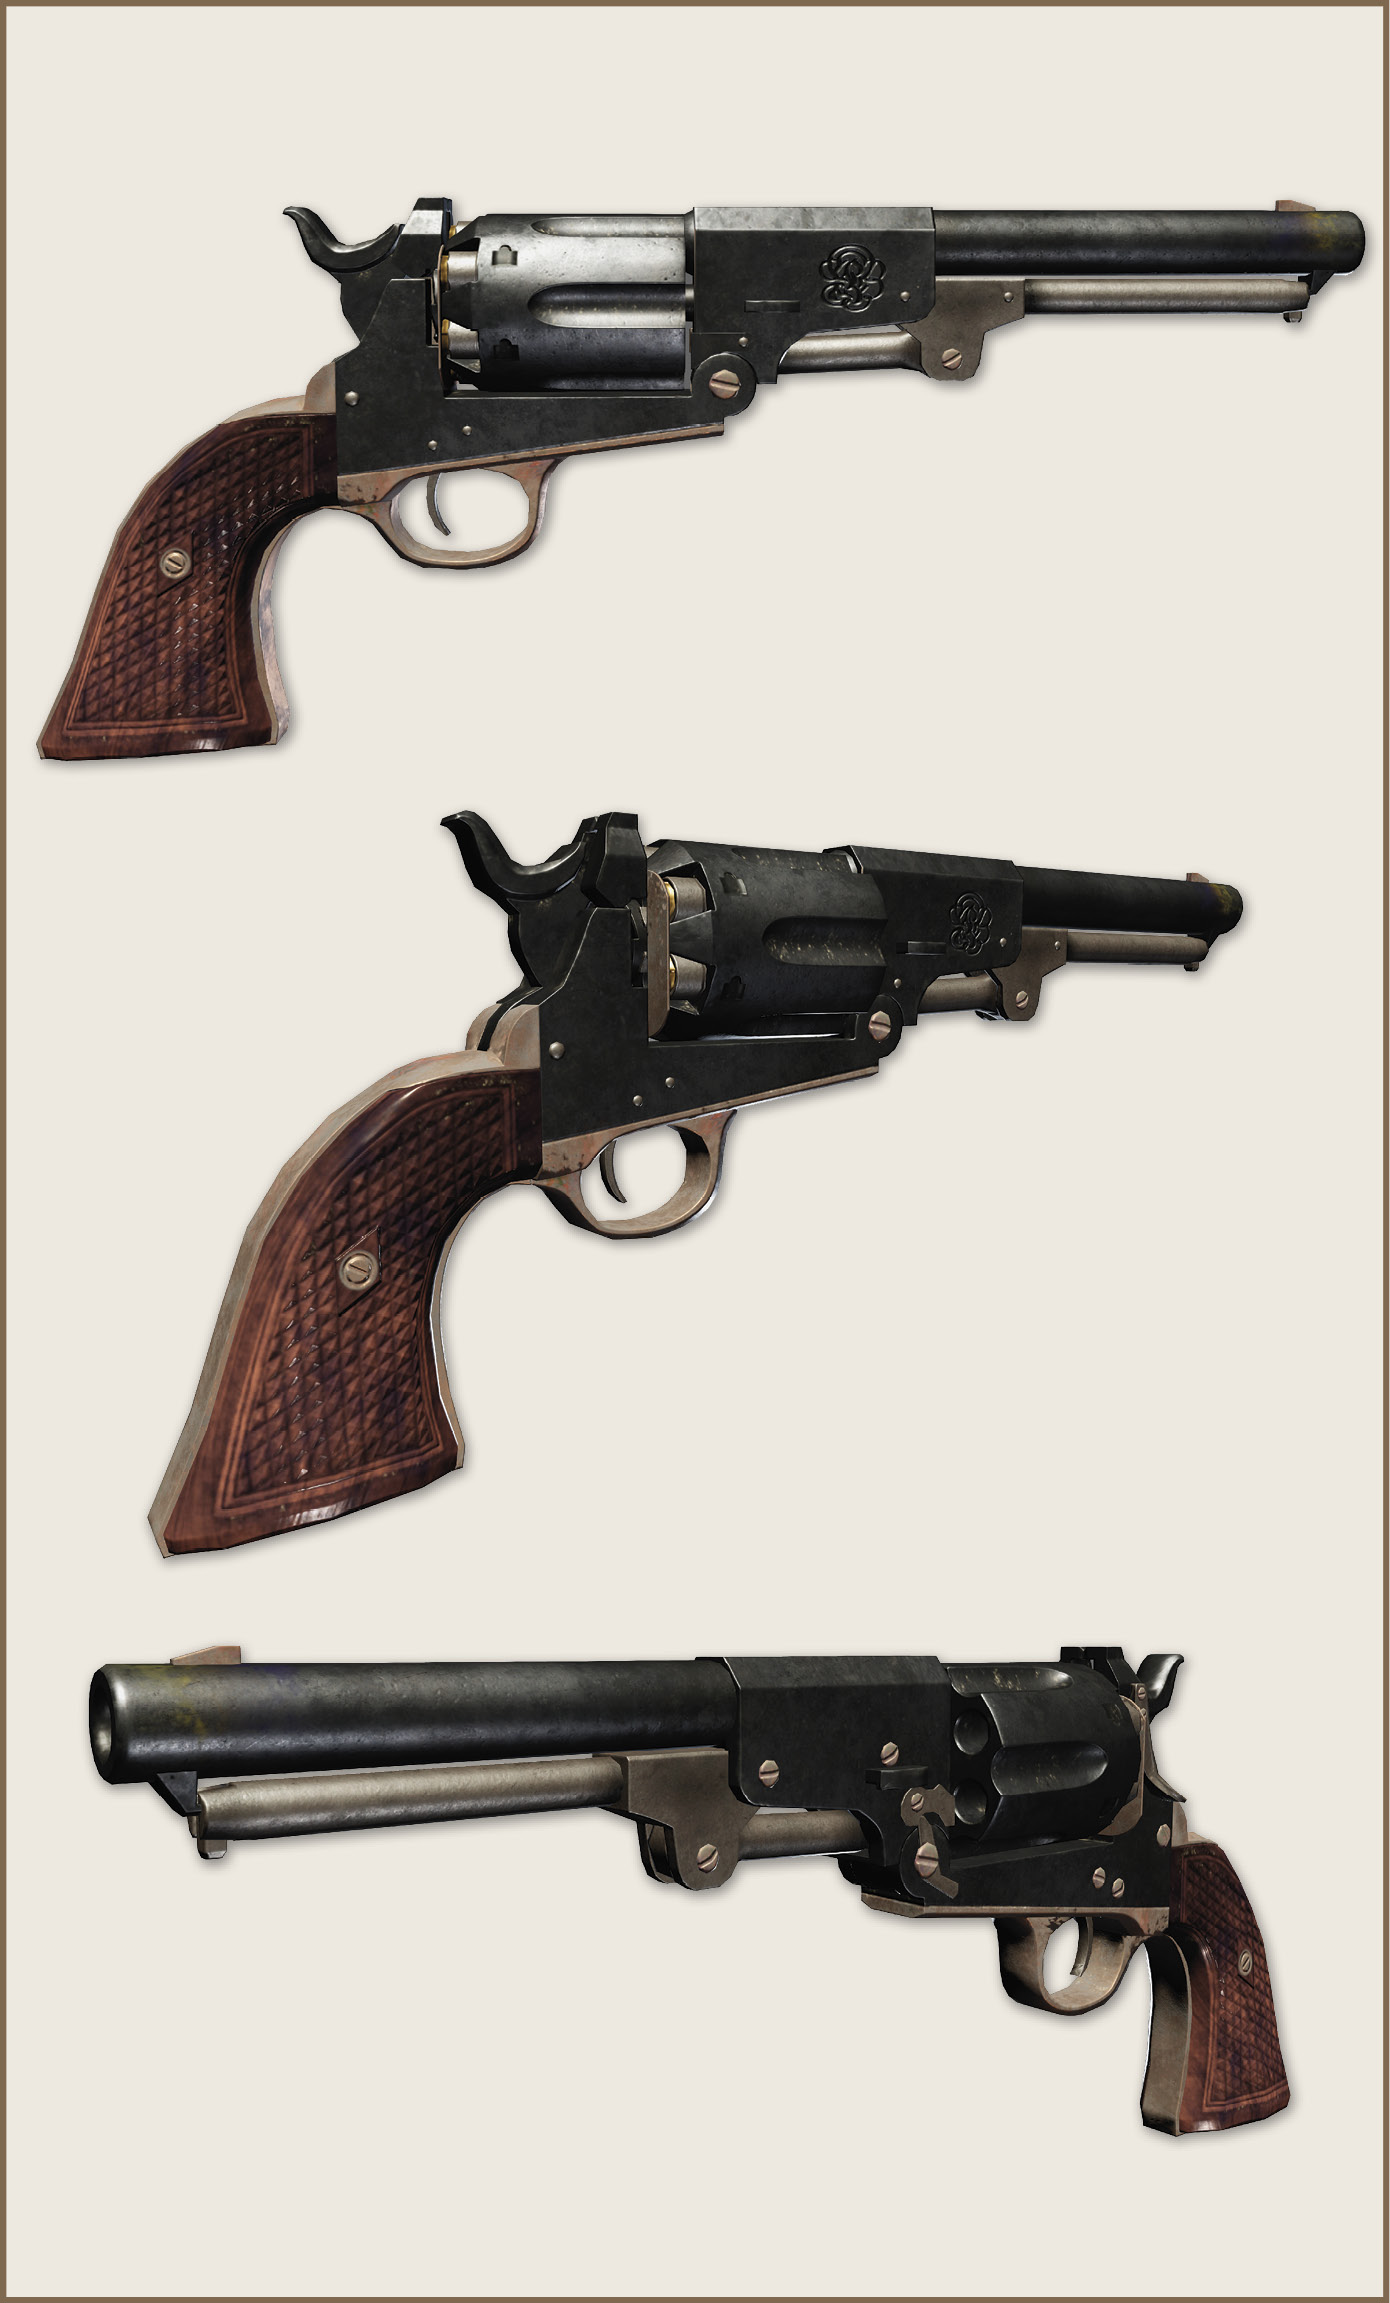
This powerful pistol, built as a new upgrade to much older M3 Dragoons, is extremely rare. It’s found (in very small quantities) only in the workshops and armouries of the United India Company and the Royal Army.
Fighting with this weapon
Fairly accurate and capable of killing most foes with a single shot, the Dragoon is a blast to use—just line up your shot and watch them fall! Grenadiers and Shotgunners need headshots if you want to get a one-hit kill, while Heavies can withstand substantially more rounds. In fact, Heavies are the only enemies that give you any trouble while wielding this weapon, but a well-placed headshot can at least send them reeling.
Fighting against this weapon
Fortunately, you’re never forced to fight against this beast of a pistol.
| STATS | |
|---|---|
| Ammo | 6/12 |
Worcester ‘Duelist’ Double-Barrel Revolver
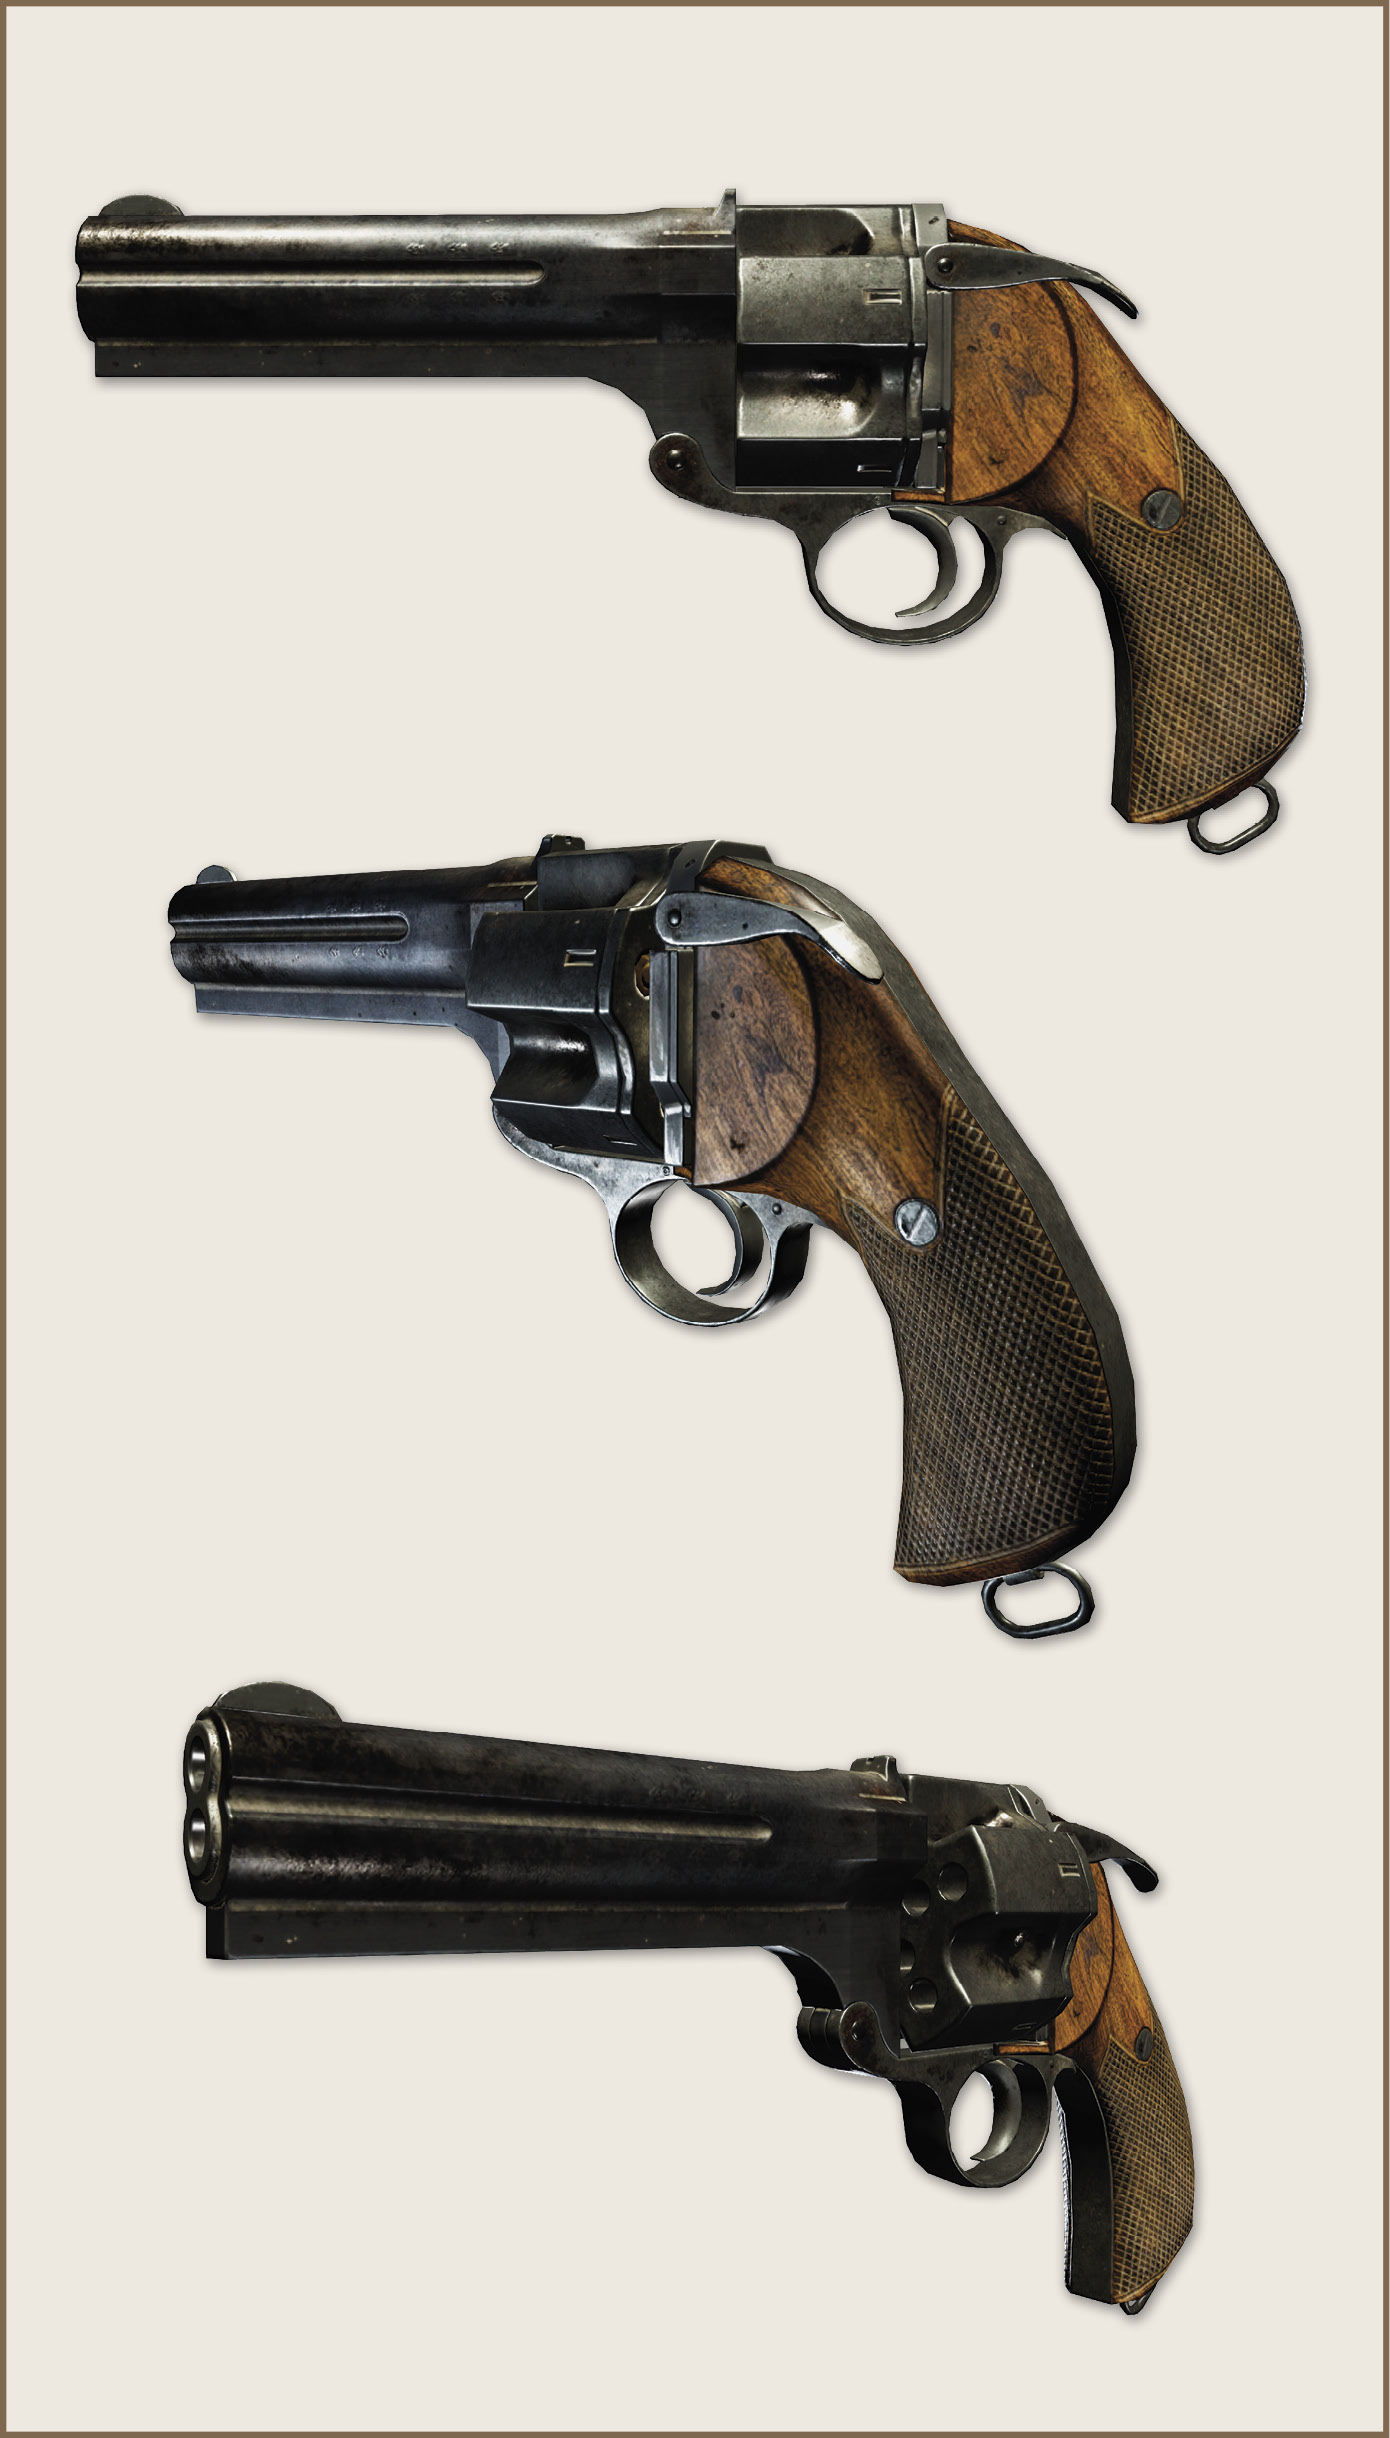
Used by Leaders, the Duelist is an uncommon but powerful pistol that is competent at most ranges. Its most distinguishing feature? A single pull of the trigger fires two powerful rounds in quick succession!
Fighting with this weapon
The trick to using the Duelist is ensuring that both rounds land on-target. If they do, that’s the end of the line for most enemies. To do this, fight the urge to aim for the head and instead target low on the torso (the farther the target, the lower you should go), ensuring that the recoil of the first shot doesn’t send the second shot sailing over the target’s head. Fortunately, a single round to the head is still effective, and following up with a second pair of rounds is fast enough that you can make short work of sturdier enemies as well.
Fighting against this weapon
It can be easy to underestimate the danger of a Leader and his Duelist. Three pulls of the trigger is all it takes for him to eliminate you, even from a sizable distance. As such, Leaders should be dealt with quickly.
| STATS | |
|---|---|
| Ammo | 10/40 |