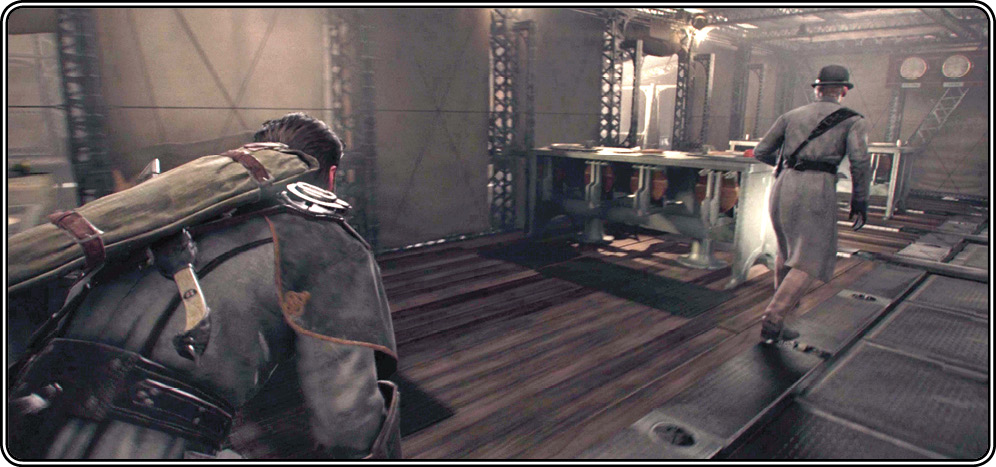
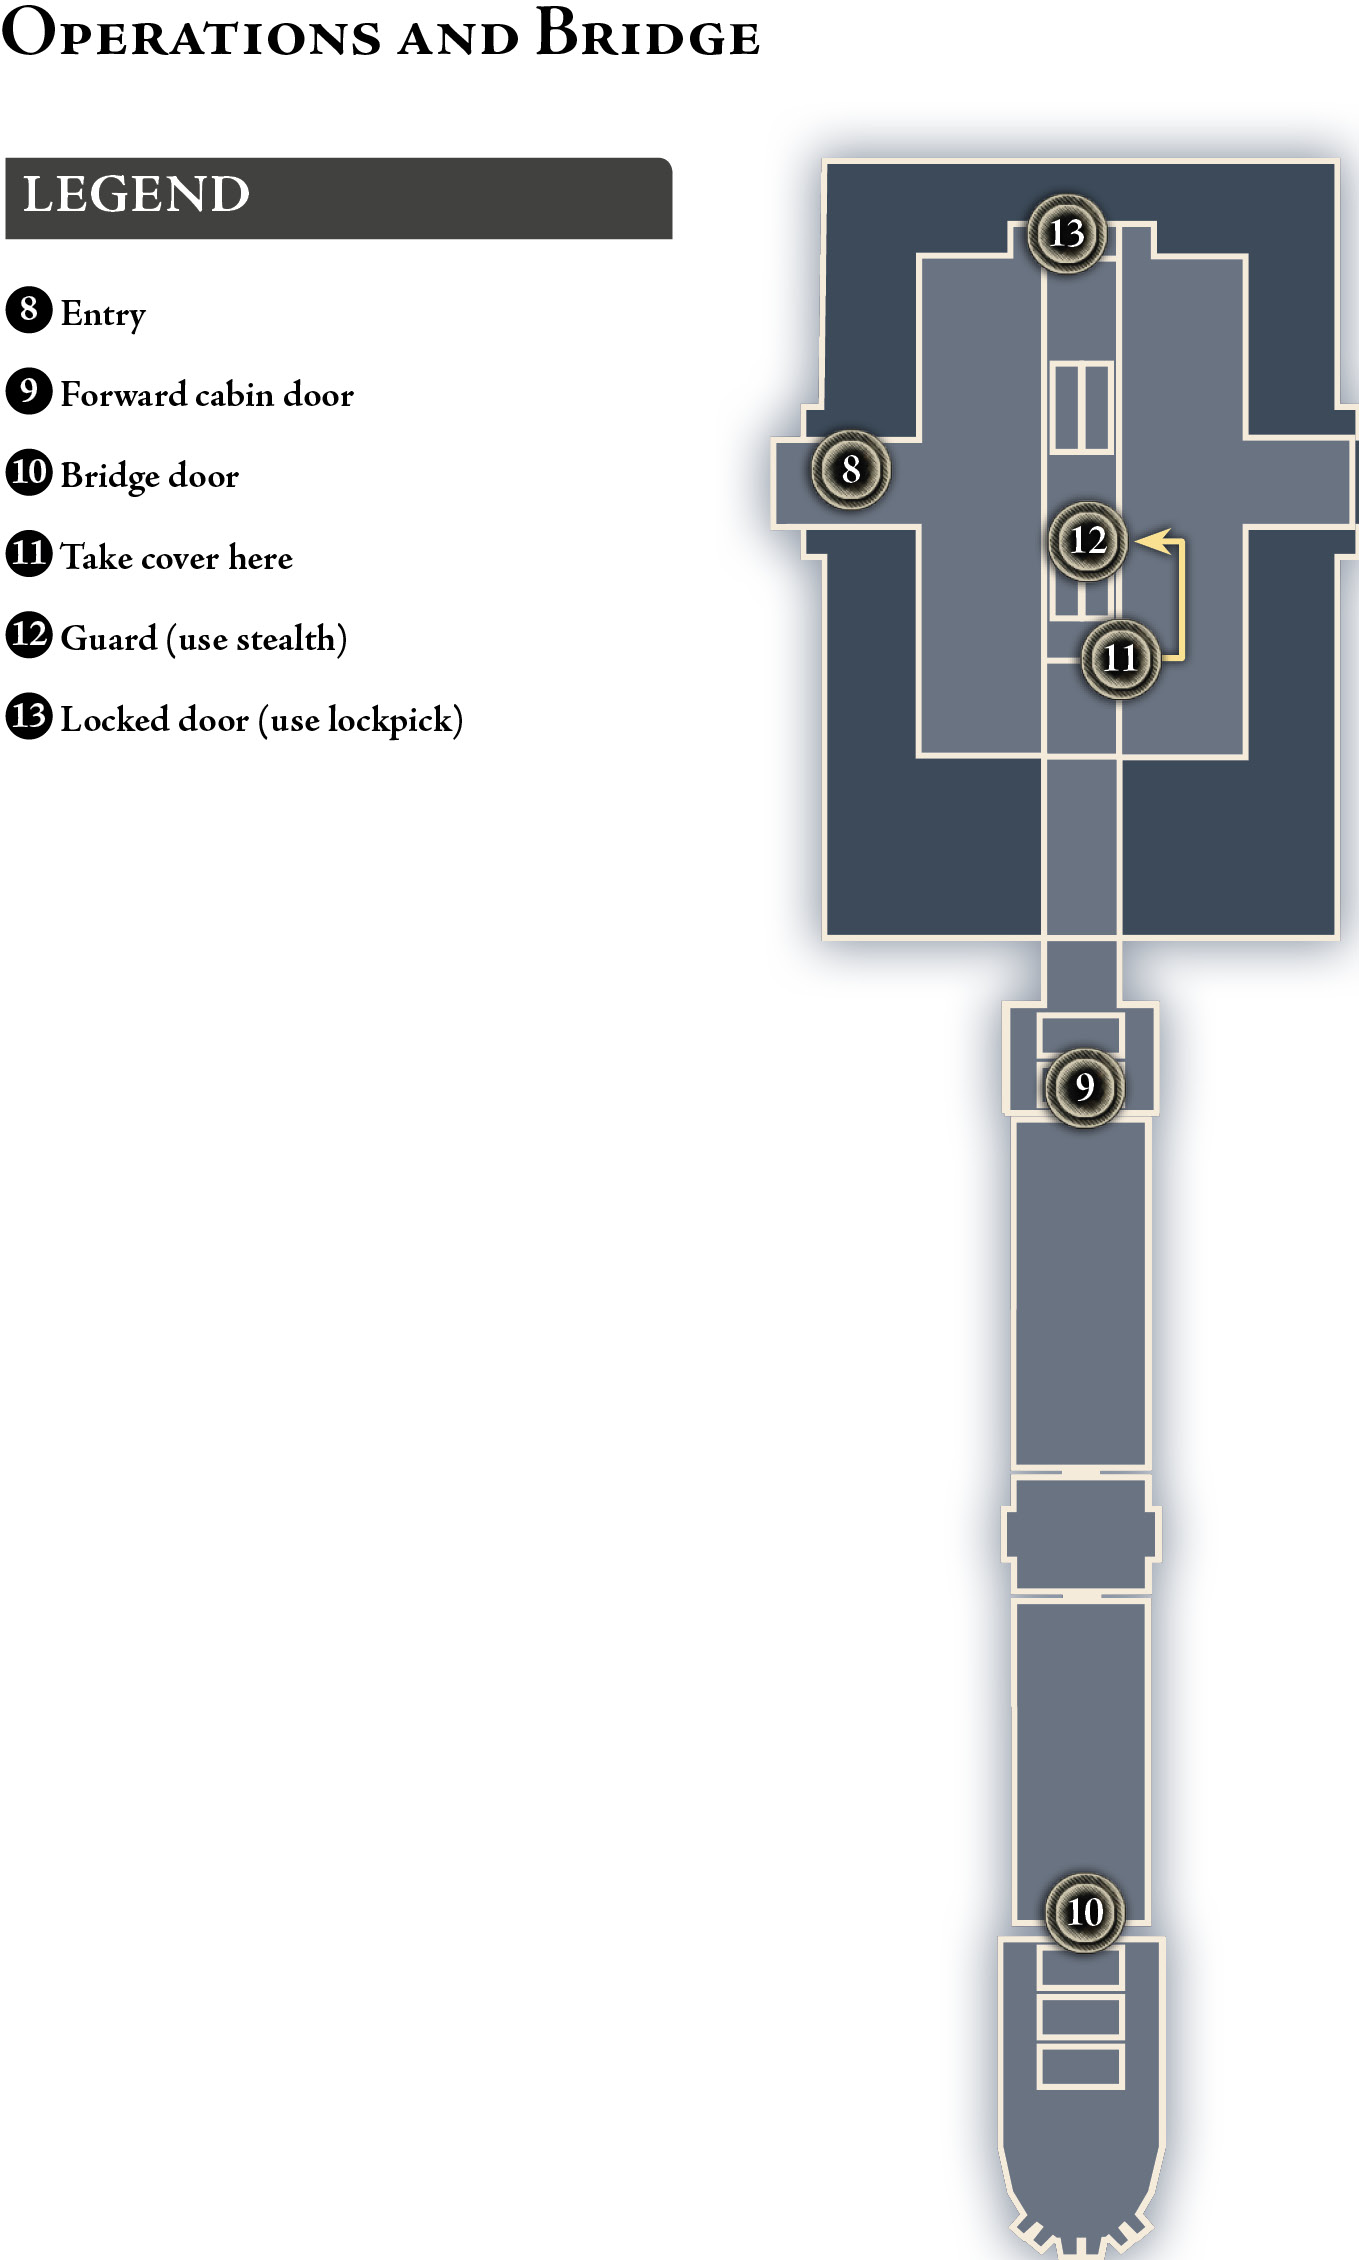
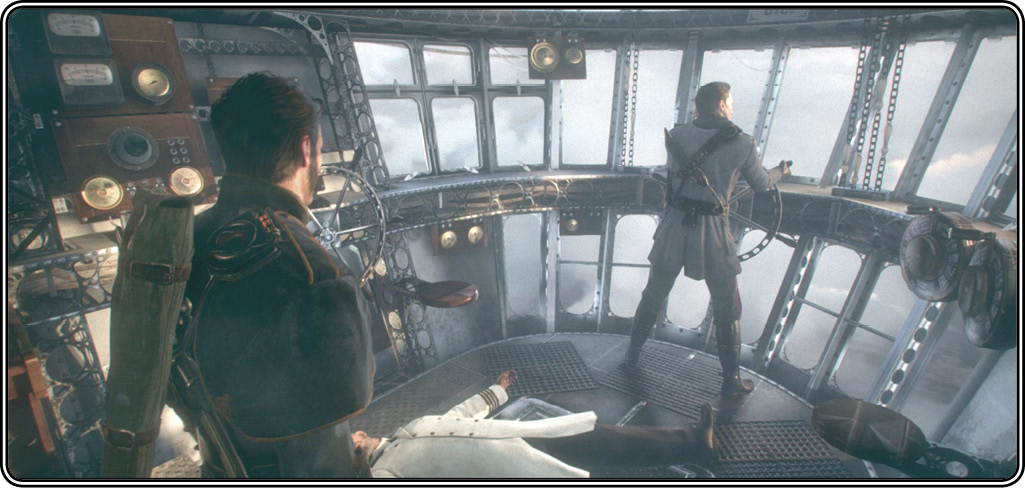
Proceed down the stairs and open the door at the bottom (9) to trigger a quick scene: the Knights spot a guard entering the Bridge up front. Follow Lafayette to the Bridge door (10). He hands Galahad a smoke grenade. Press the buttons prompted onscreen to count down and toss the grenade onto the Bridge.
This triggers a fast-paced action sequence that calls for quick button-presses in the correct order. Both Knights automatically rush the smoke-filled cabin.
Here’s the three-part button sequence:
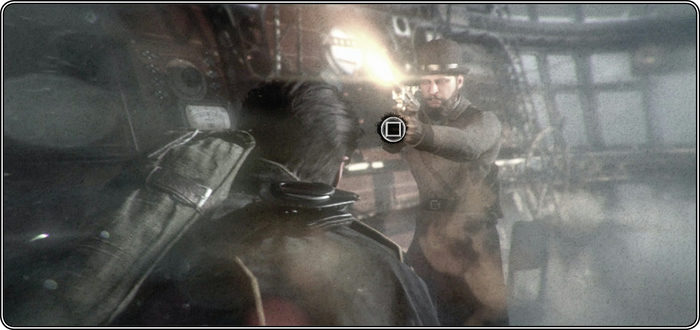
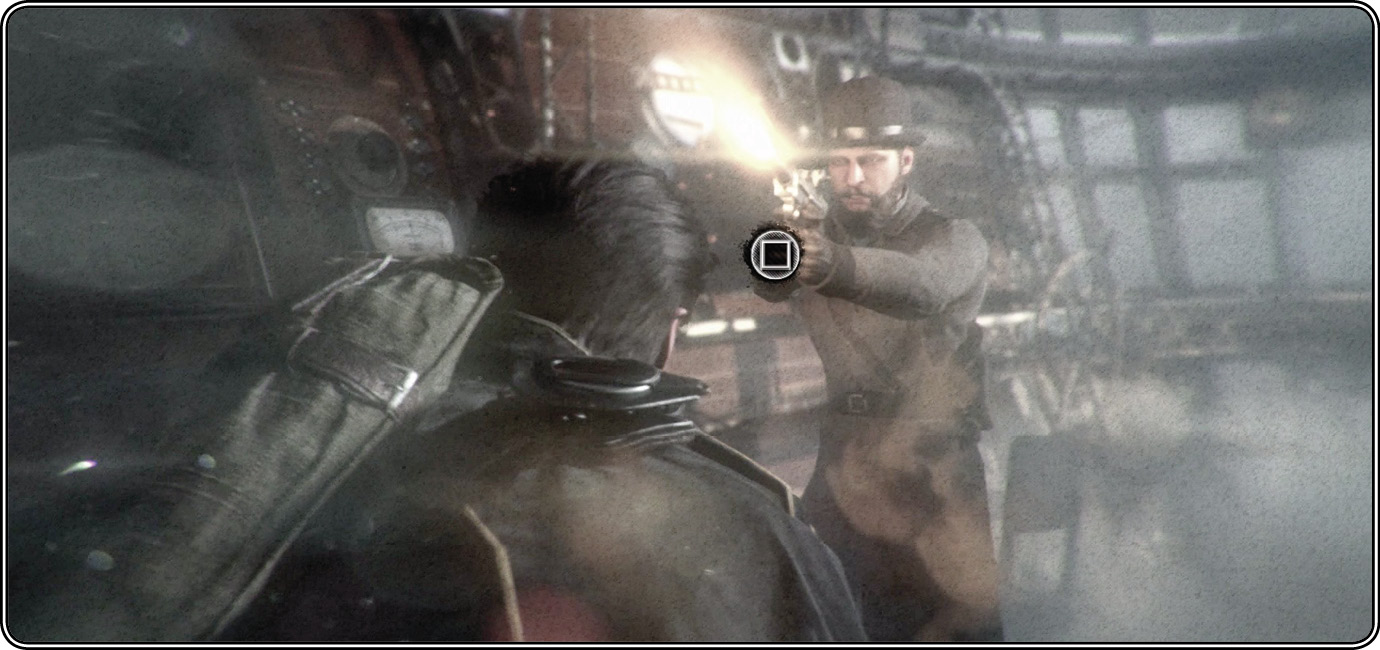
Galahad automatically heads for the armed guard. Press the moment the prompt appears onscreen. Galahad shoulder-charges the shooter then slams the gun into the man’s face.
web-gallery
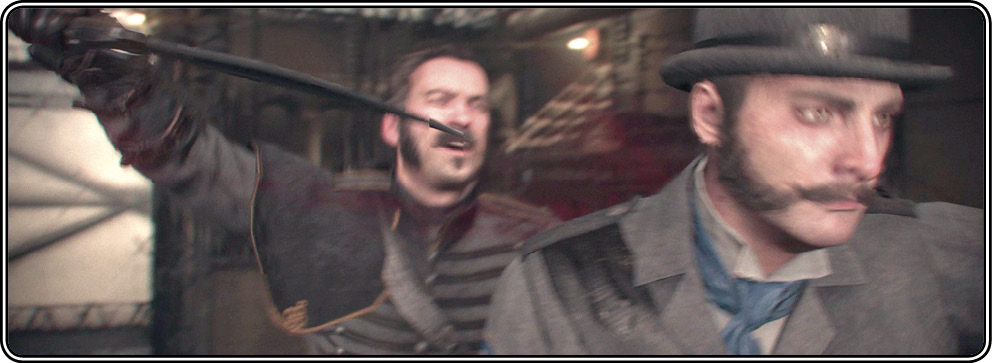
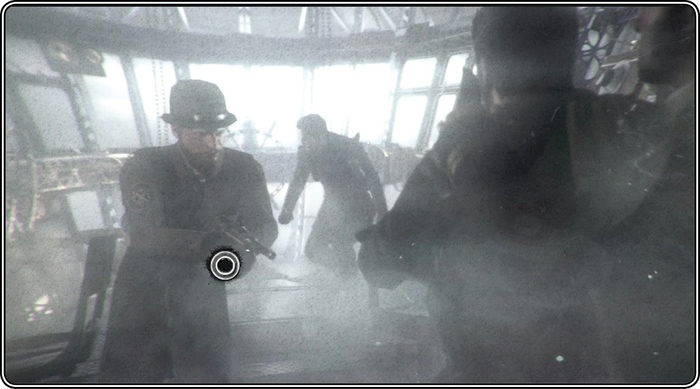
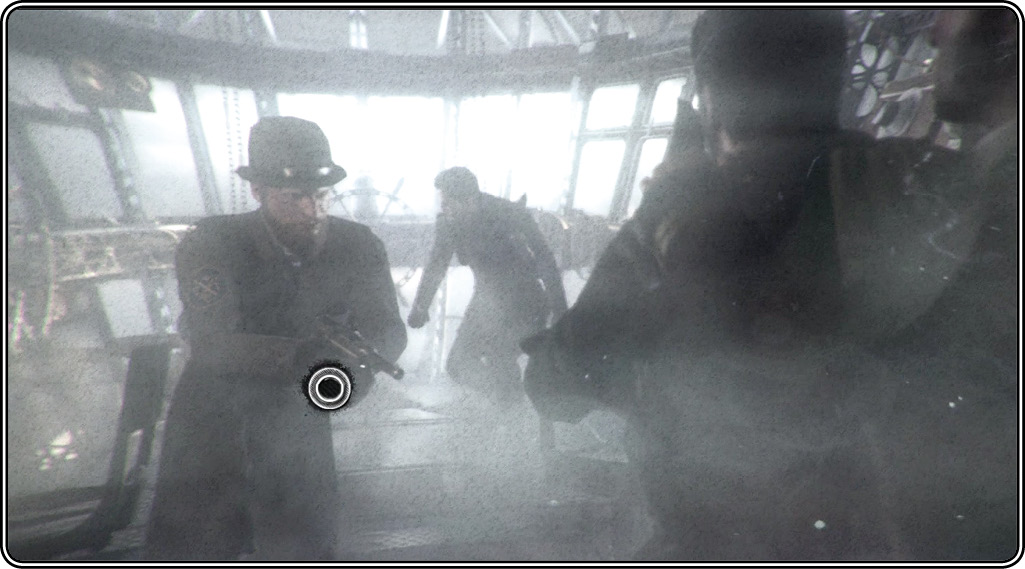
As Lafayette attacks the white-coated captain at the helm, the crew’s first officer grabs Galahad from behind and tries to slash his throat. The guard you previously face-slammed manages to recover his pistol and aim again. Press the moment the prompt appears onscreen; Galahad kicks the gunman unconscious.
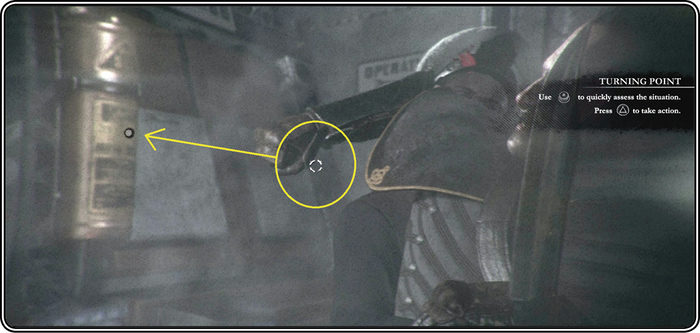
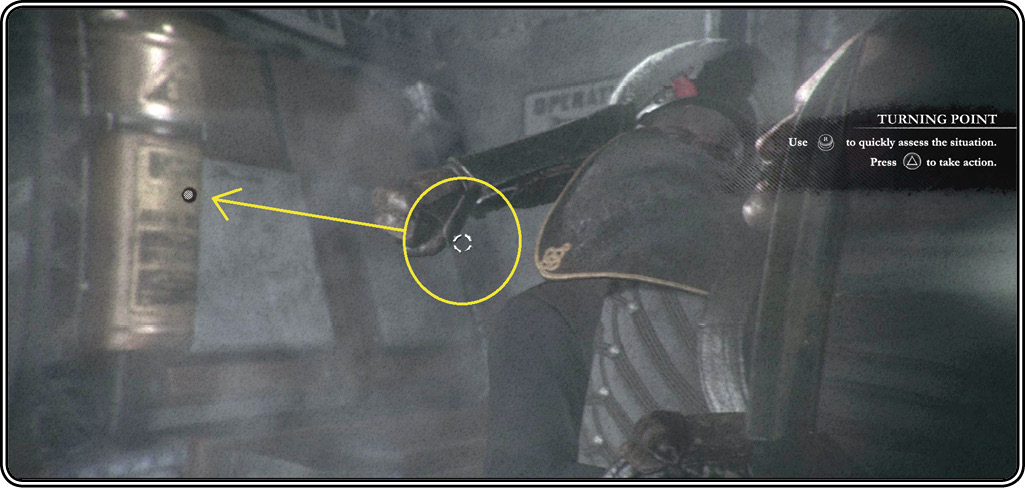
Now comes a “turning point” with the officer behind Galahad. When the targeting reticle appears, use your right stick to move the reticle left, toward the icon. When the prompt appears, quickly press it to “take action.” In this case, that action includes some fun with a fire extinguisher.
Afterwards, Galahad reports success to Perceval who calls him to the Ballroom to protect Lord Hastings. Leave the helm in Lafayette’s capable hands and start retracing your route back to Operations.
Head to the ballroom undetected
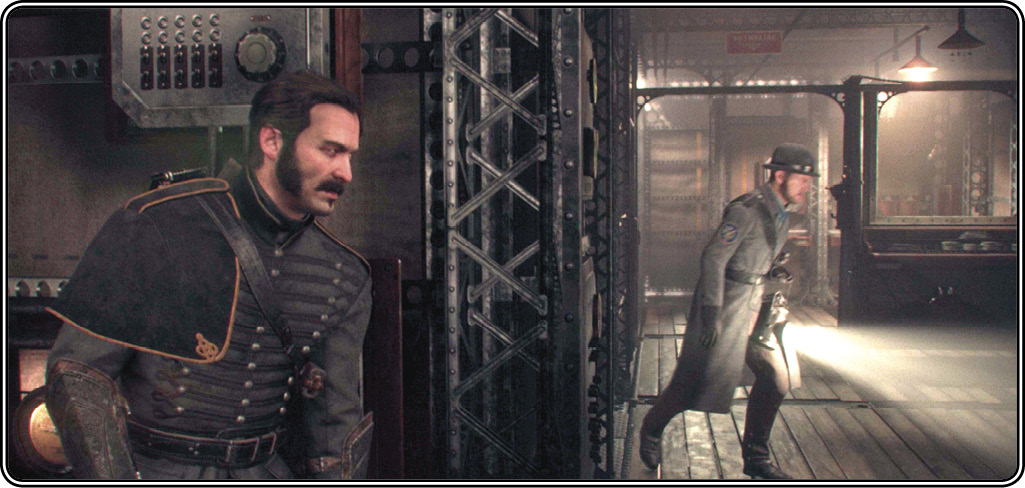
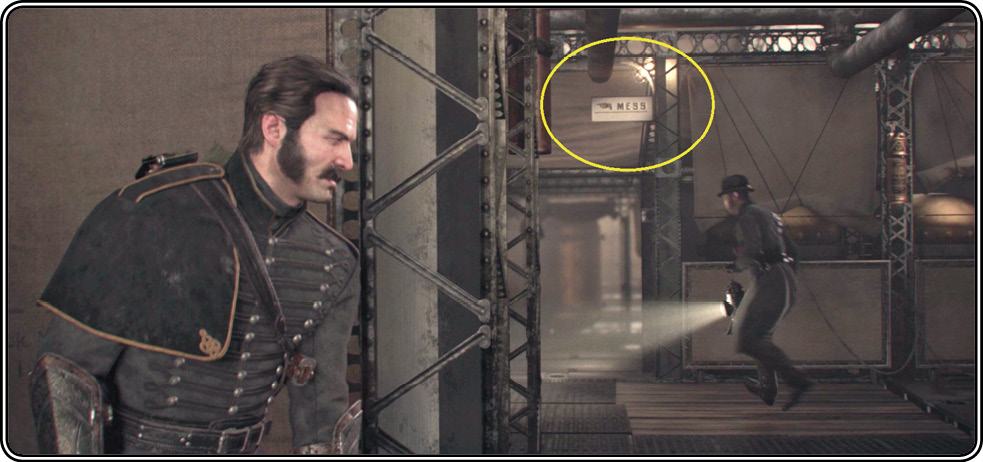
Stealth time! When you reach the stairs (9), you hear a voice up ahead: a guard. Climb to the top of the stairs and spot him moving across the Operations center. Take cover at the nearby wall (11). Wait near the right corner (see our screenshot) as the guard steps out, shines his light toward you, then turns around and heads back.
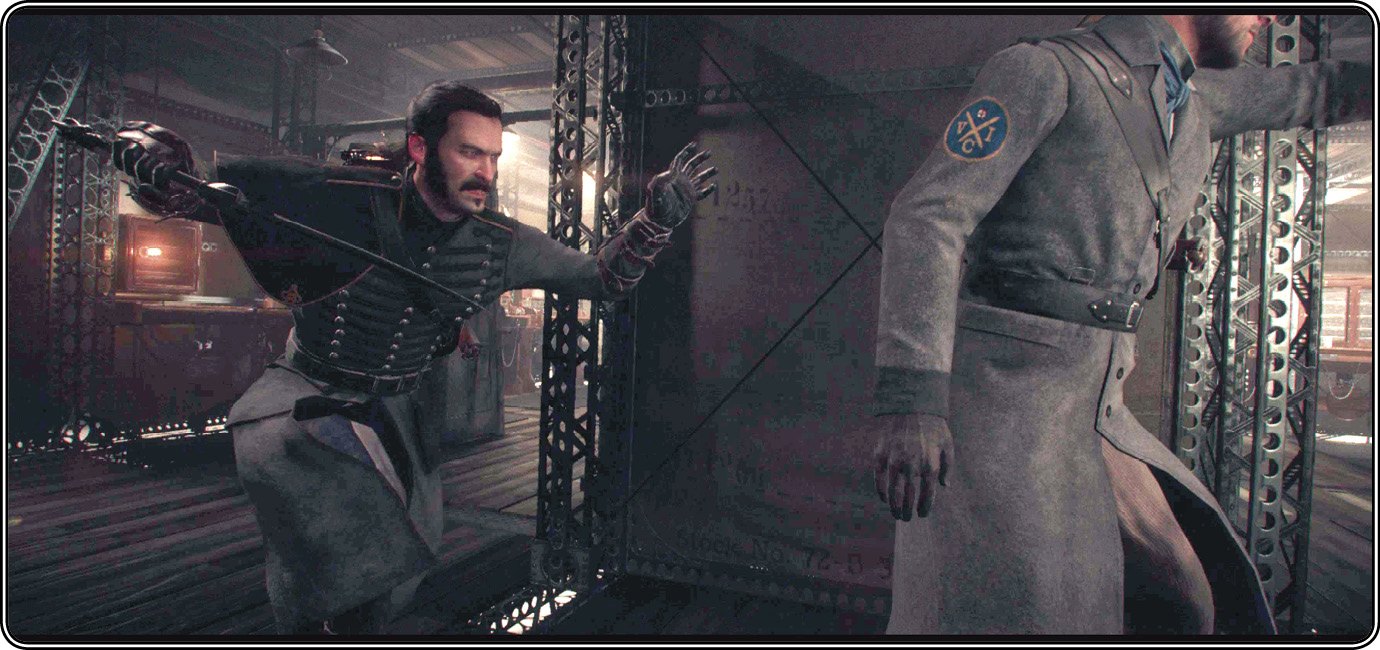
Step out from cover and carefully follow the guard (12). Stay directly behind him and creep closer until the prompt starts flashing. Hit your button when the prompt is highlighted white to trigger a silent takedown.
Now you can proceed to the far door (13). It’s locked, so Galahad inserts his Stamford Lockpick. Disengage all three tumbler pins, and then open the door and exit the Operations area.
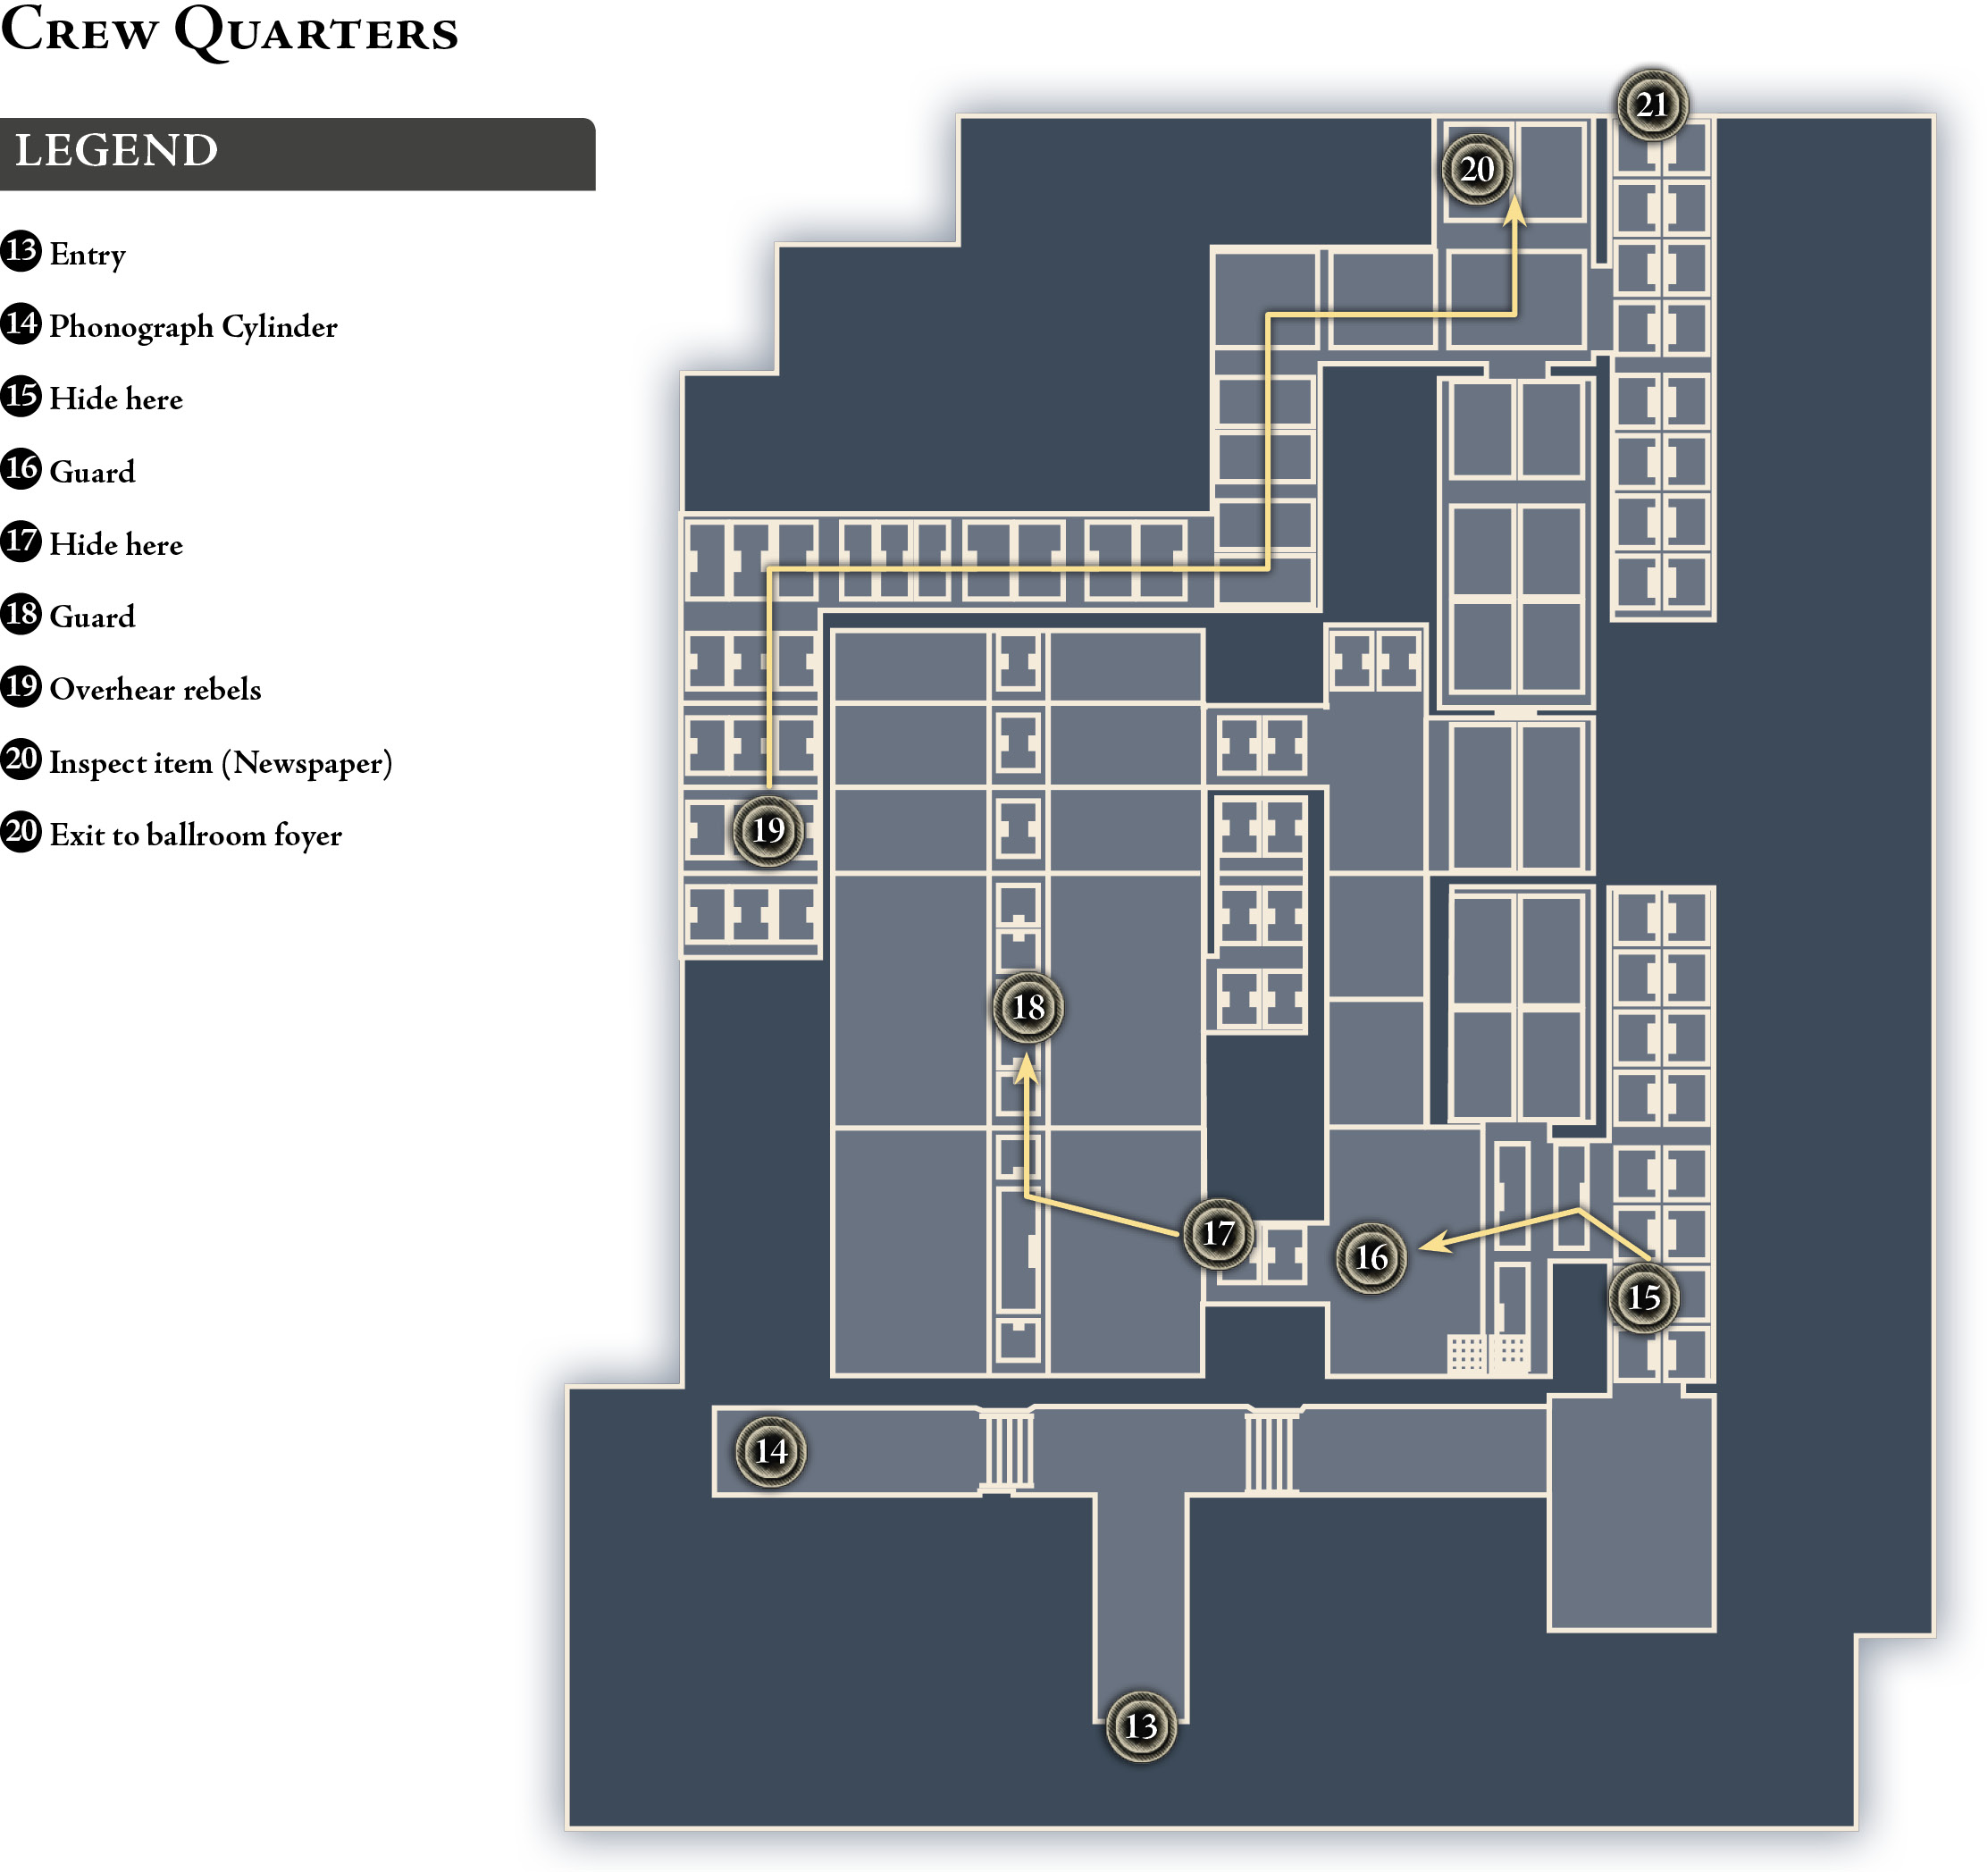
This is the Crew area, and the stealth work continues. It gets trickier here, though. This time, two guards pace the aisles. When you first arrive, they stand directly ahead discussing rumors that the Company sent sharpshooters to its dockside operation at Blackwall Yards.
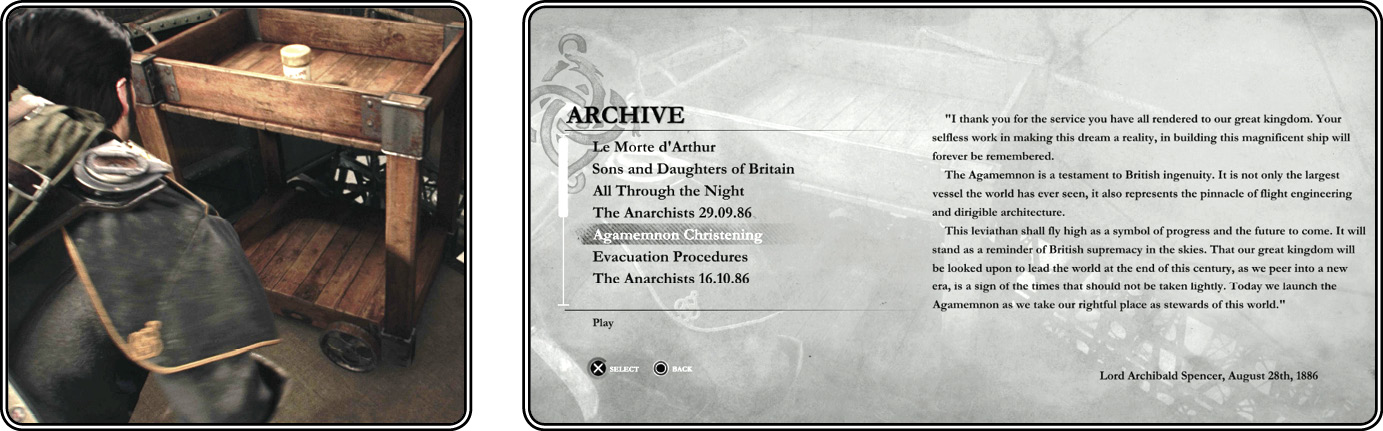
First, turn left and find the “Agamemnon Christening” phonograph cylinder (14) sitting on a handcart. This one features Lord Archibald Spencer expounding on Britain’s supremacy in the skies and its role as “stewards of this world.”
Go through the open door on the opposite side, turn left and move down the hallway to the first corner (15). Take cover there and wait. You should see a “Mess” sign (circled in our shot) up high when you peek around the corner. A guard moves in from the right then turns away from you to look toward the Mess sign. Sneak up and execute a stealth kill (16).
Immediately move under the Mess sign to the next corner (17), take cover and wait. A guard moves through the mess hall in your direction, stops to look around, and then heads back. When he turns away from you, move into the mess area and follow him until you can make the stealth kill (18).
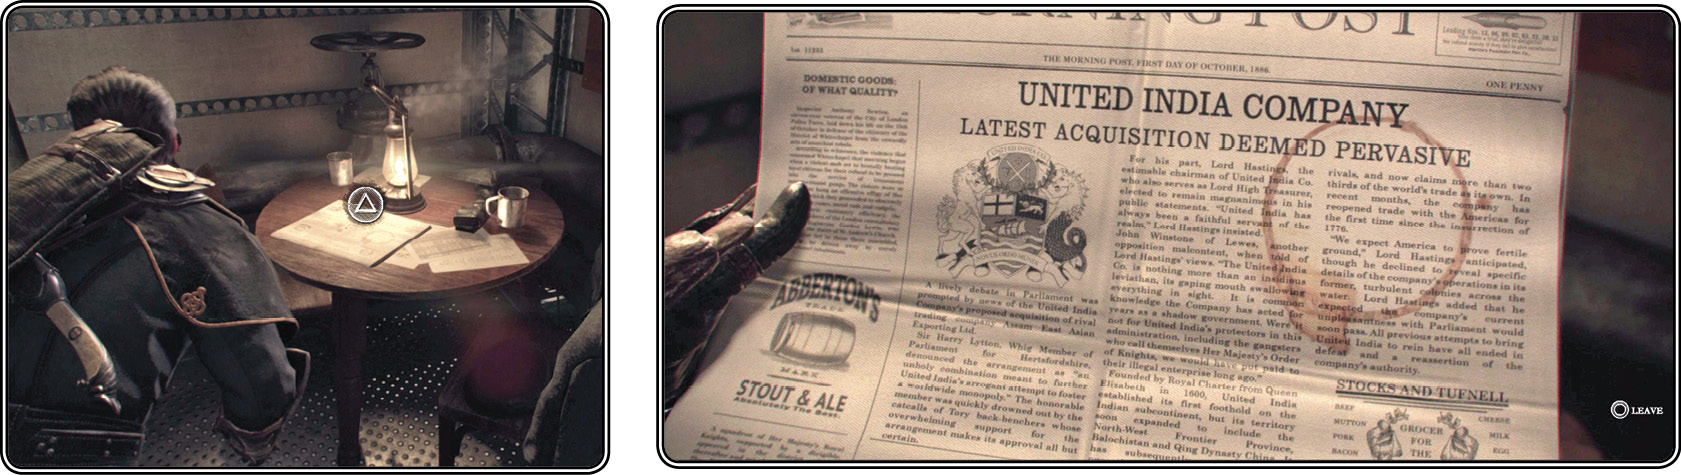
Exit the mess hall through the open door to the left (19). You hear more “guards” ahead, but it’s clear that they’re actually rebel infiltrators in disguise. Follow the corridor as it zigzags back and forth until you reach the open room marked by the sign “Crew 15A.” (See the route on our map.) Enter and inspect the Morning Post newspaper on the table (20). Read the headline article about the debate in Parliament over the United India Company’s latest moves. Exit the room, turn left, and then left again to reach the door (21) to the Agamemnon’s Ballroom Foyer.

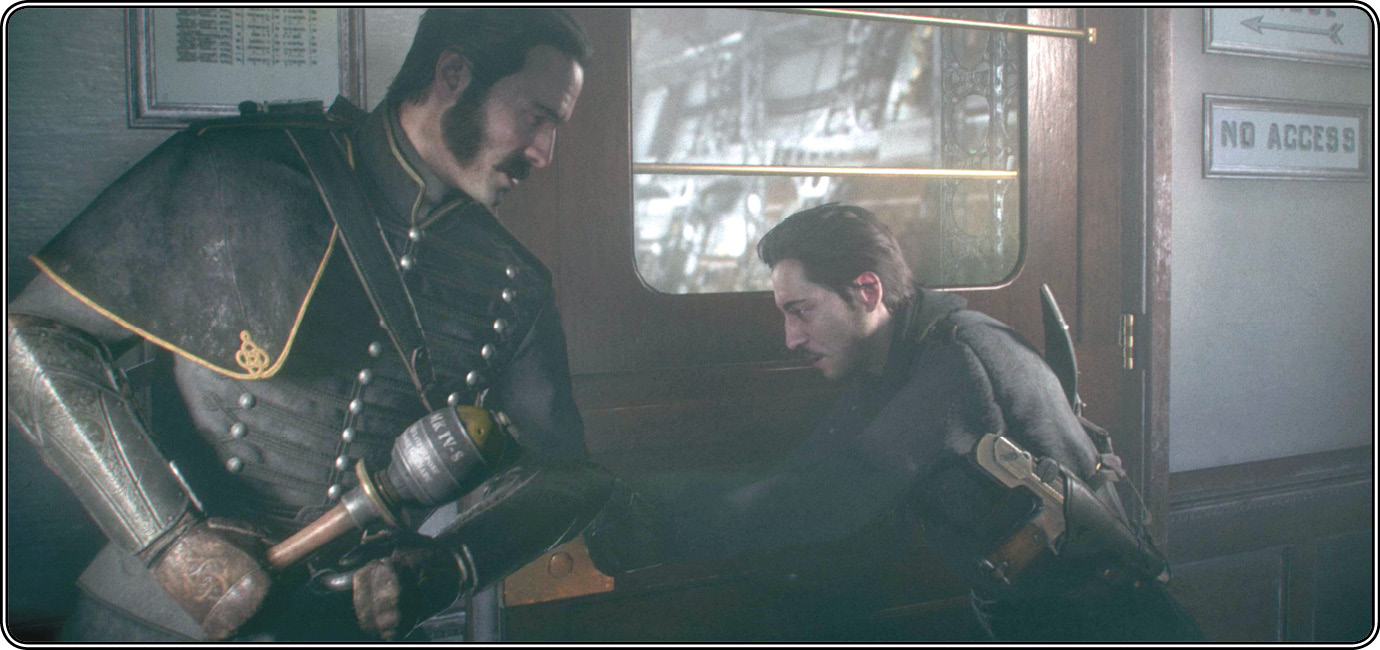
 the moment the prompt appears onscreen. Galahad shoulder-charges the shooter then slams the gun into the man’s face.
 the moment the prompt appears onscreen; Galahad kicks the gunman unconscious.
 prompt appears, quickly press it to “take action.” In this case, that action includes some fun with a fire extinguisher.


 prompt starts flashing. Hit your button when the prompt is highlighted white to trigger a silent takedown.