The Order: 1886 Signature Series Strategy Guide Walkthrough Chapter IV: AN ENDLESS BATTLE
Whitechapel Underground
The Fifteenth Day of October, 1886
Lafayette provides a lantern to Galahad for the next sequence, since the best route into the Hospital is via the Underground tube. (The lantern operates whenever you’re not wielding a rifle; you can hold the lantern and a pistol in separate hands.) Use R to raise the lantern and zoom your view ahead a bit.
| Inspectable Items | |
|---|---|
 |
Reception Log |
 |
Photo |
 |
Manifest |
 |
Phonograph Cylinder |
 |
Phonograph Cylinder |
 |
Uniforms |
Use the Underground to get to the Hospital
Descend the long staircase into the Underground and examine the grisly scenes in the entrance hall, including severed limbs and internal organs on the ground. Could the bedlamites be responsible for such indiscriminate slaughter?
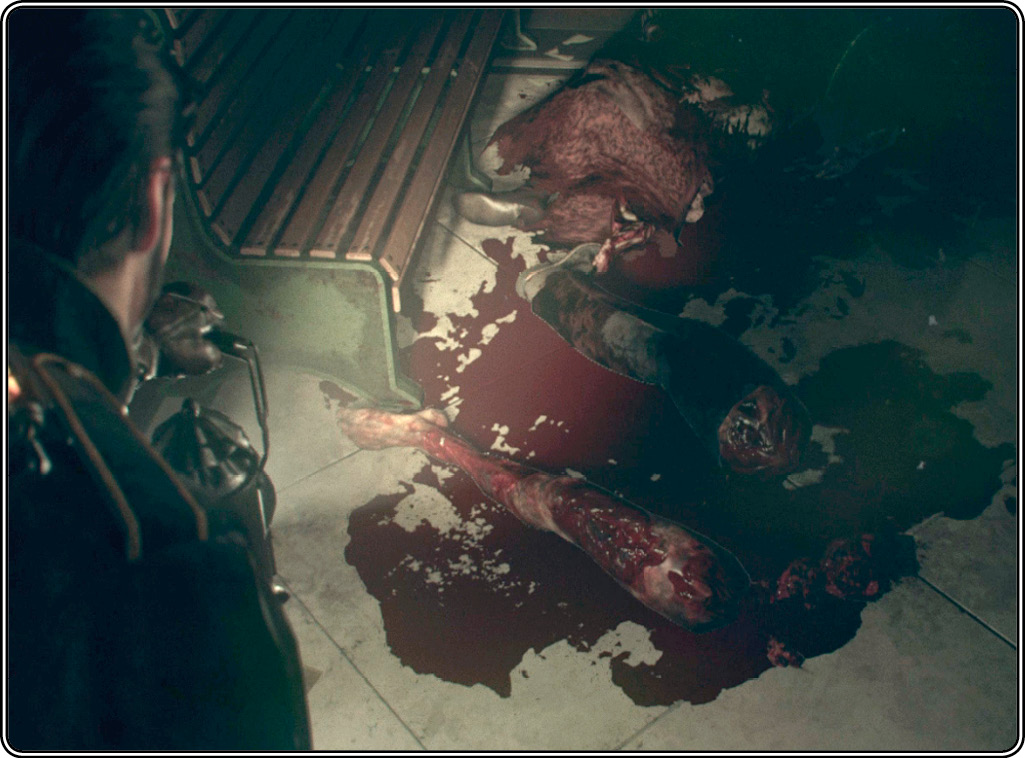
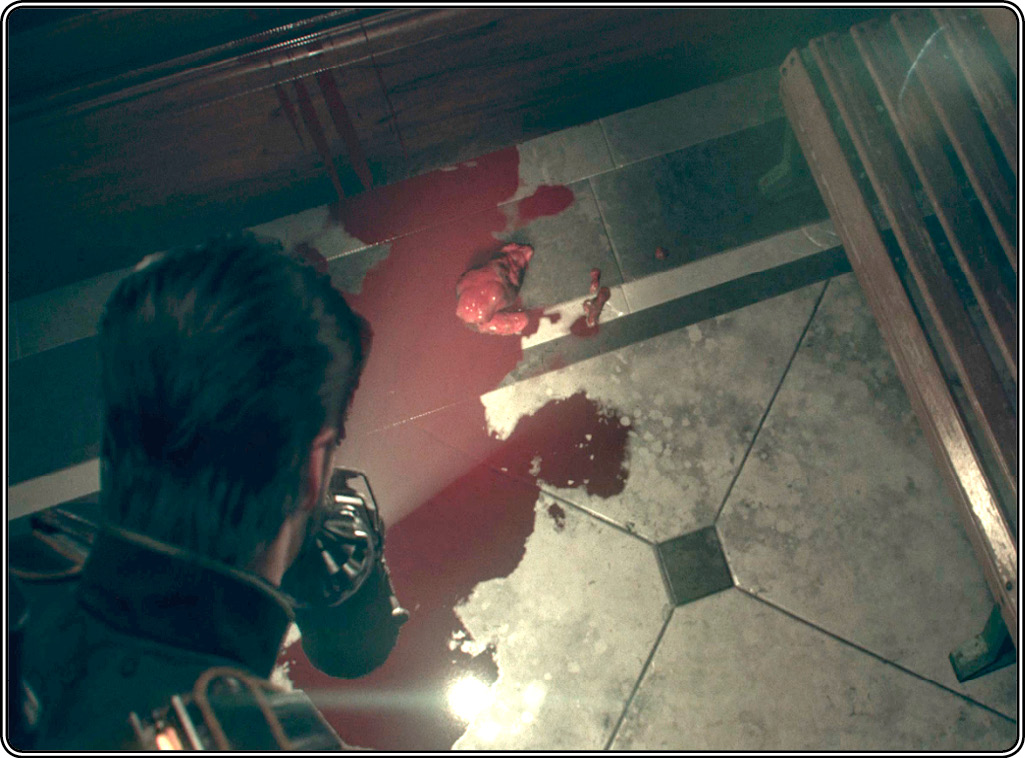
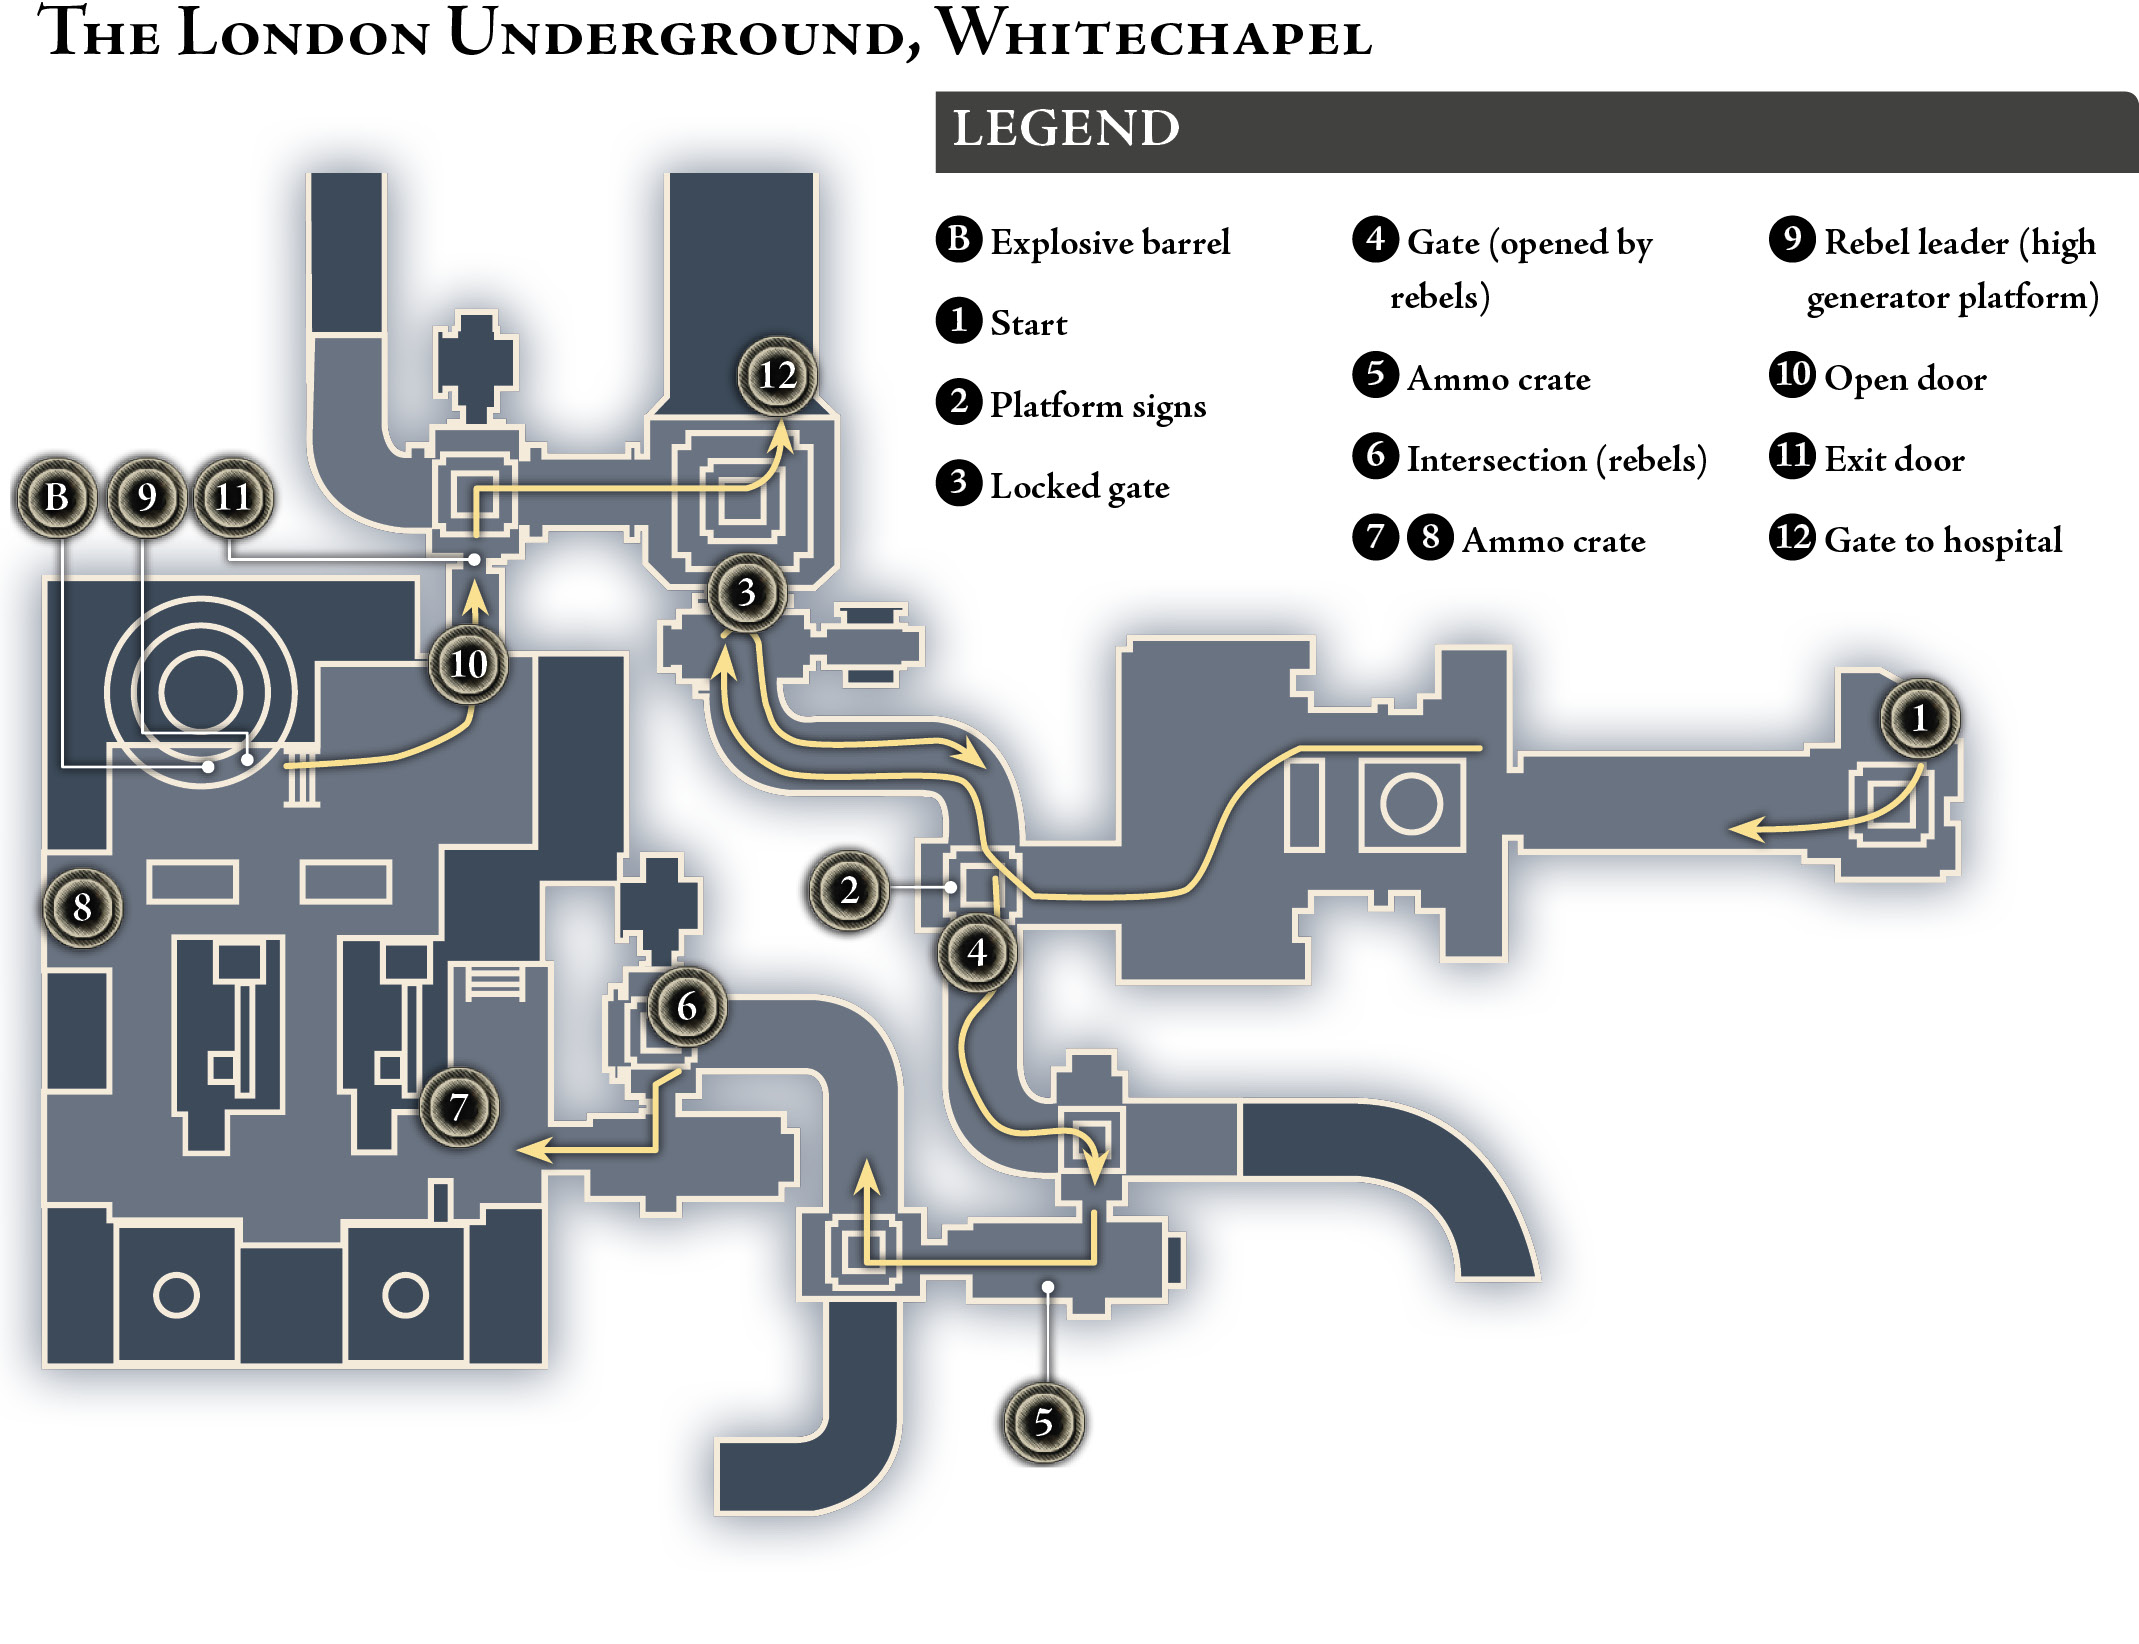
When you reach the platform direction signs (2), the gate at left to Platforms 1-4 is locked. Turn right and proceed toward Platforms 5-7. This leads to another metal gate (3). The Hospital exit is just on the other side, but this gate is locked too, forcing you to double back.
Find another way to the exit
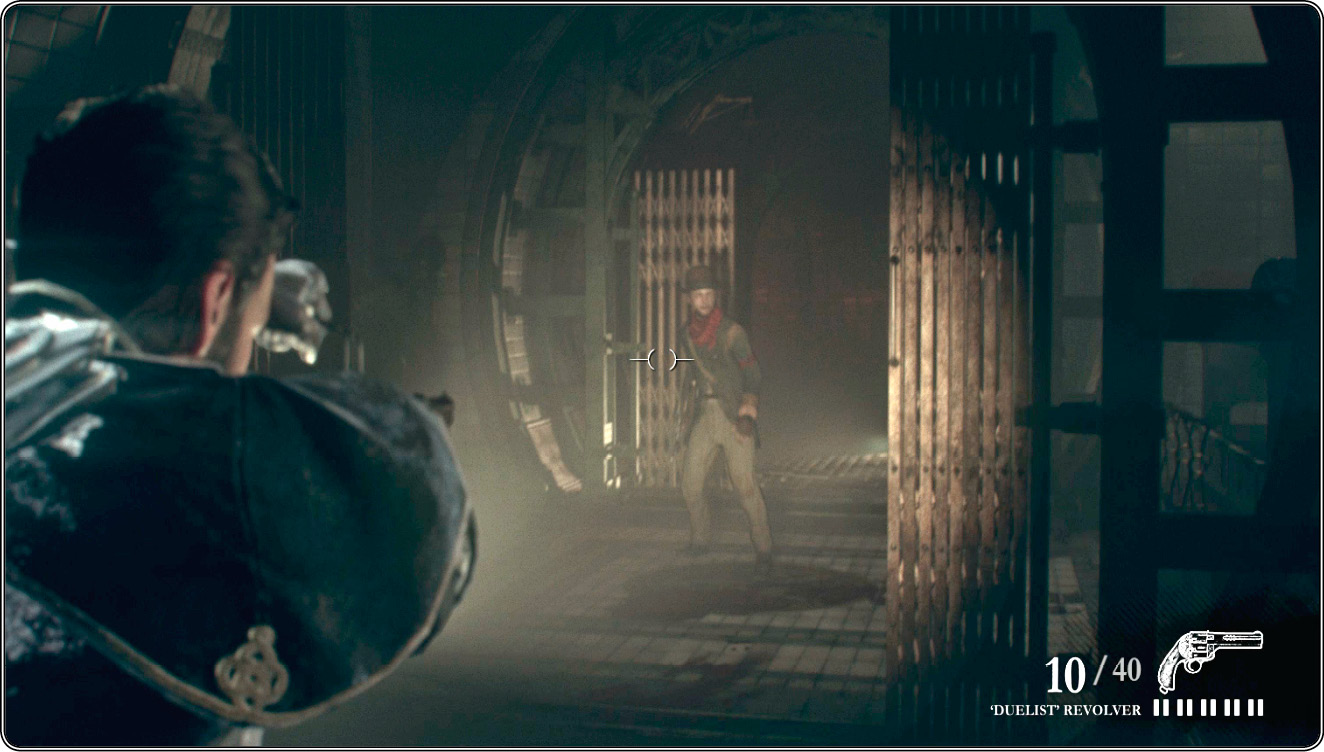
Retrace your route back to the platform signs. As you get close you hear somebody open the first gate. Galahad says, “Weapons out!” and draws his pistol. Gun down the two rebels who emerge, and then proceed through the now-opened gate (4).
The route branches into a small generator sideroom marked by a “Danger” sign. When you enter, you hear more rebel voices up ahead. Grab the ammo crate (5) on the floor to the left, and then push through the sheet hung across the passage and turn right; you’re back in a commuter corridor now. Follow the curve and get ready to fight two more rebels at the next intersection (6).
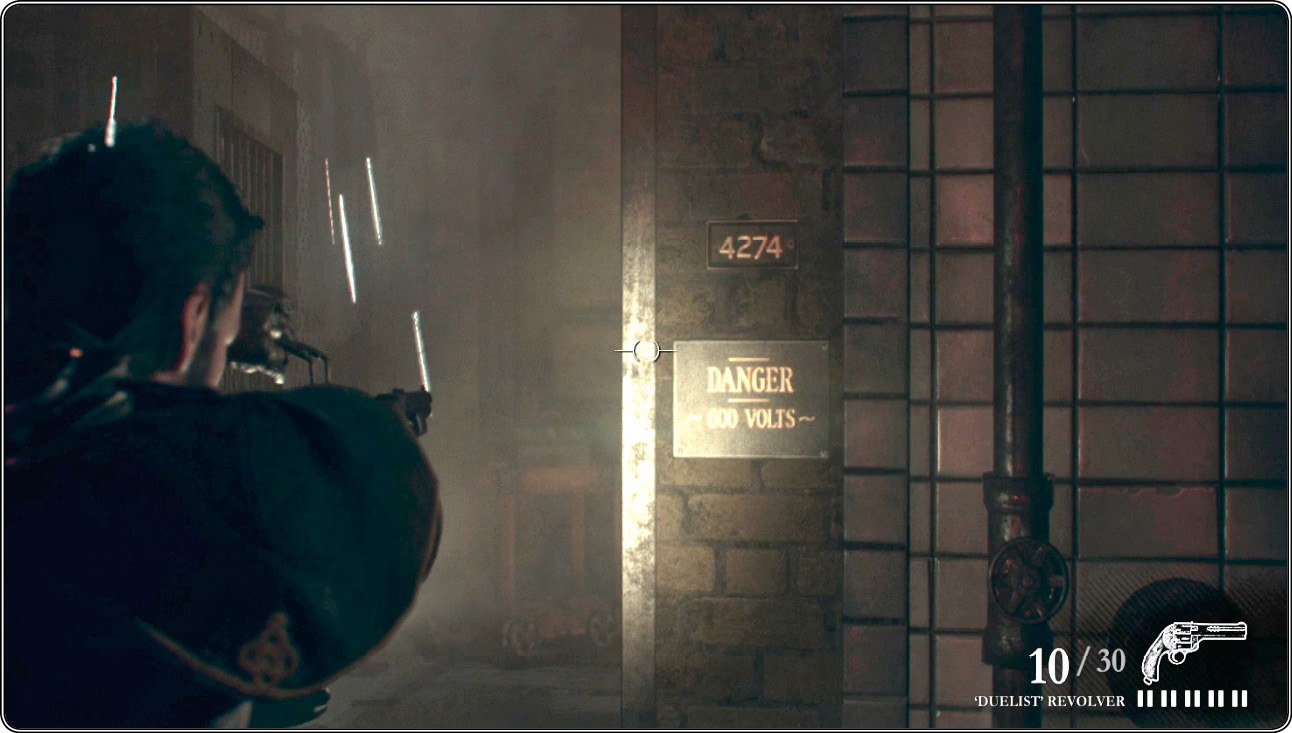
Turn left into another power supply area, past generators and other equipment. You see a rebel fleeing up ahead into a large power room with big turbine wheels, furnaces, a towering generator and other equipment. Several rebel fighters are posted here. Ammo crates can be found at two locations on the floor (7)(8). Keep an eye out for the rebel leader posted up high on the generator platform (9). Note that he stands near an explosive barrel (circled in our screenshot); shoot it for an easier kill.
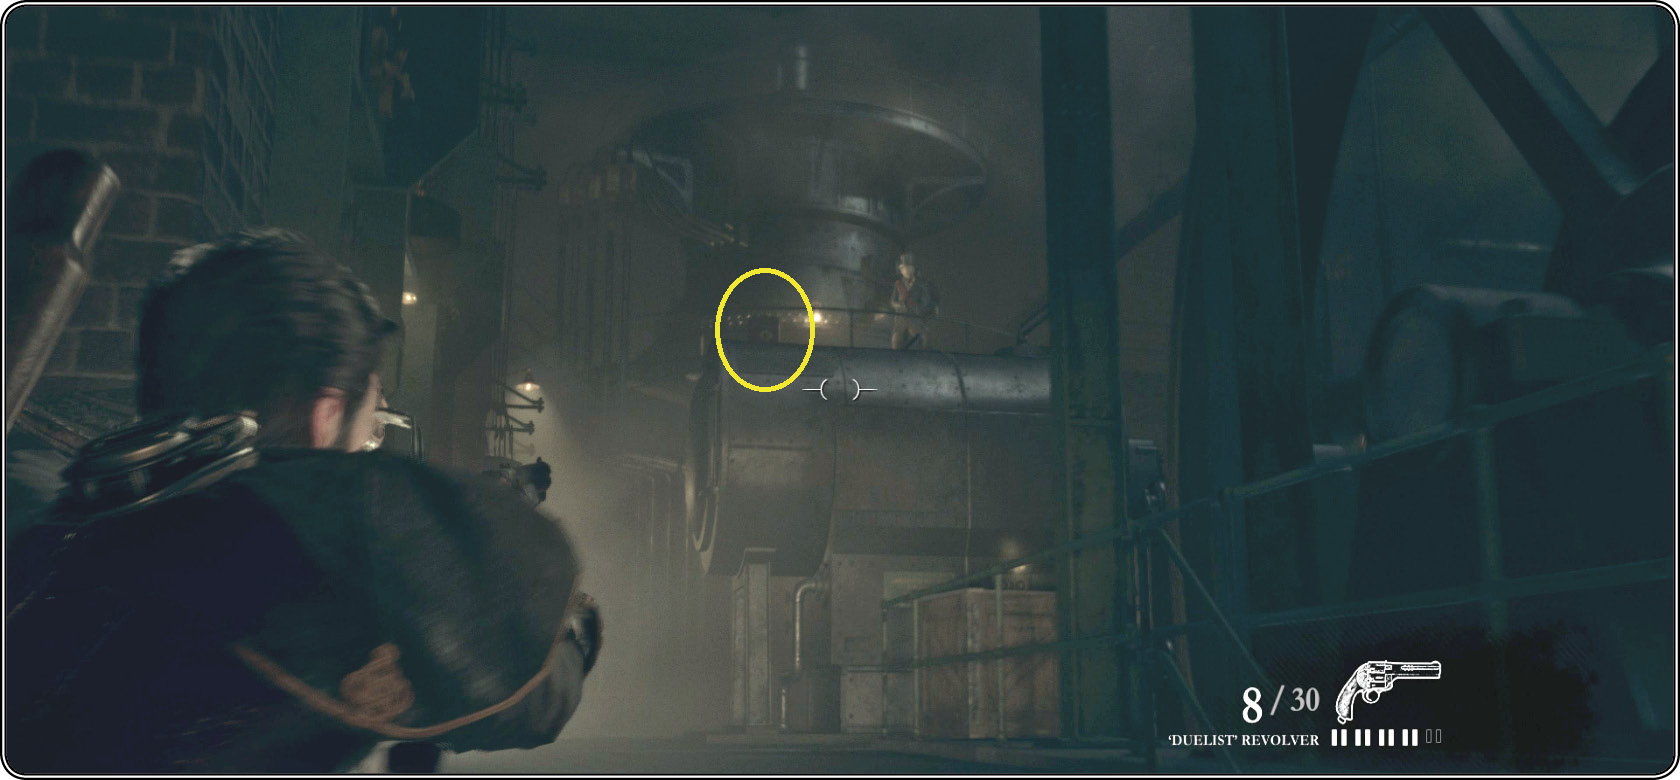
Be ready! When you approach the exit door (10) one last rebel rushes into the room to fight. Take him out then follow Igraine into a short hall; she bashes open the opposite door (11) for you. Veer right at the intersection, heading under the Whitechapel sign. In the lobby, open the metal gate (12). Galahad and Igraine head upstairs into the London Hospital.
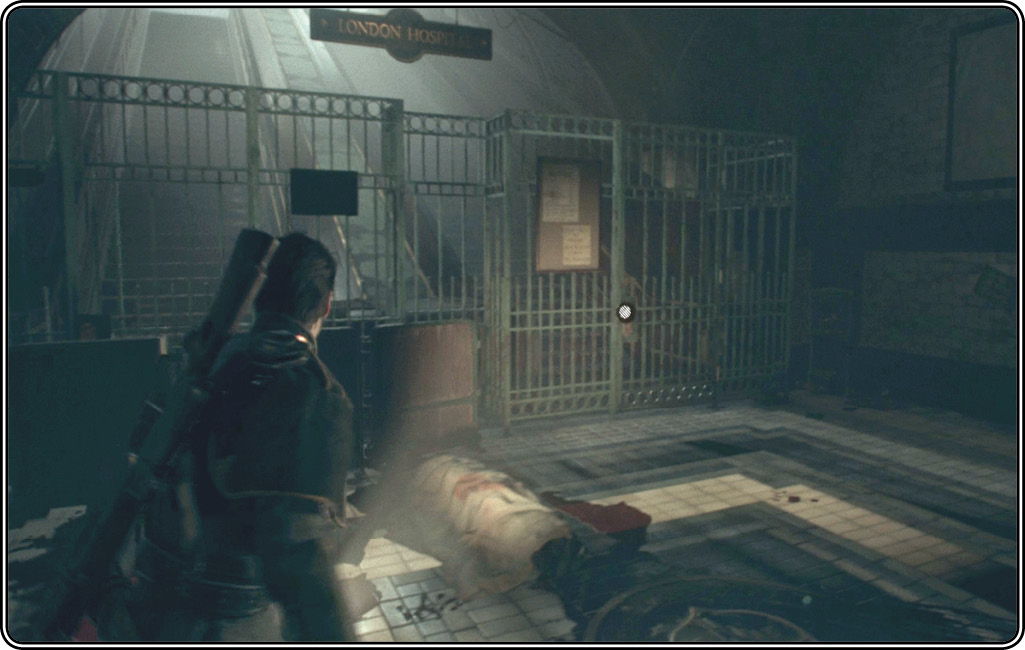
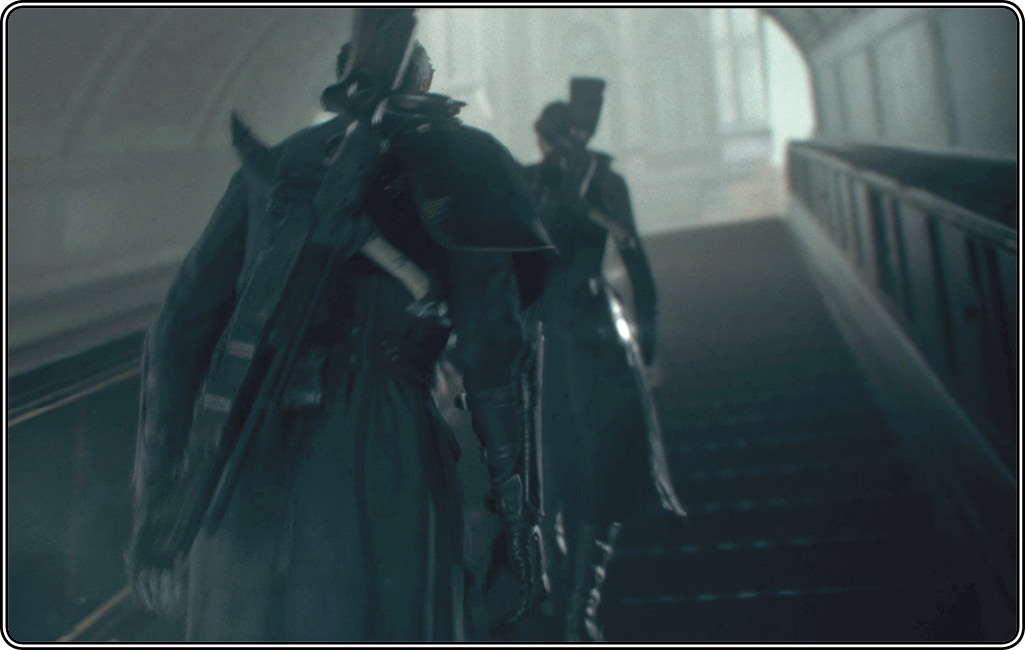
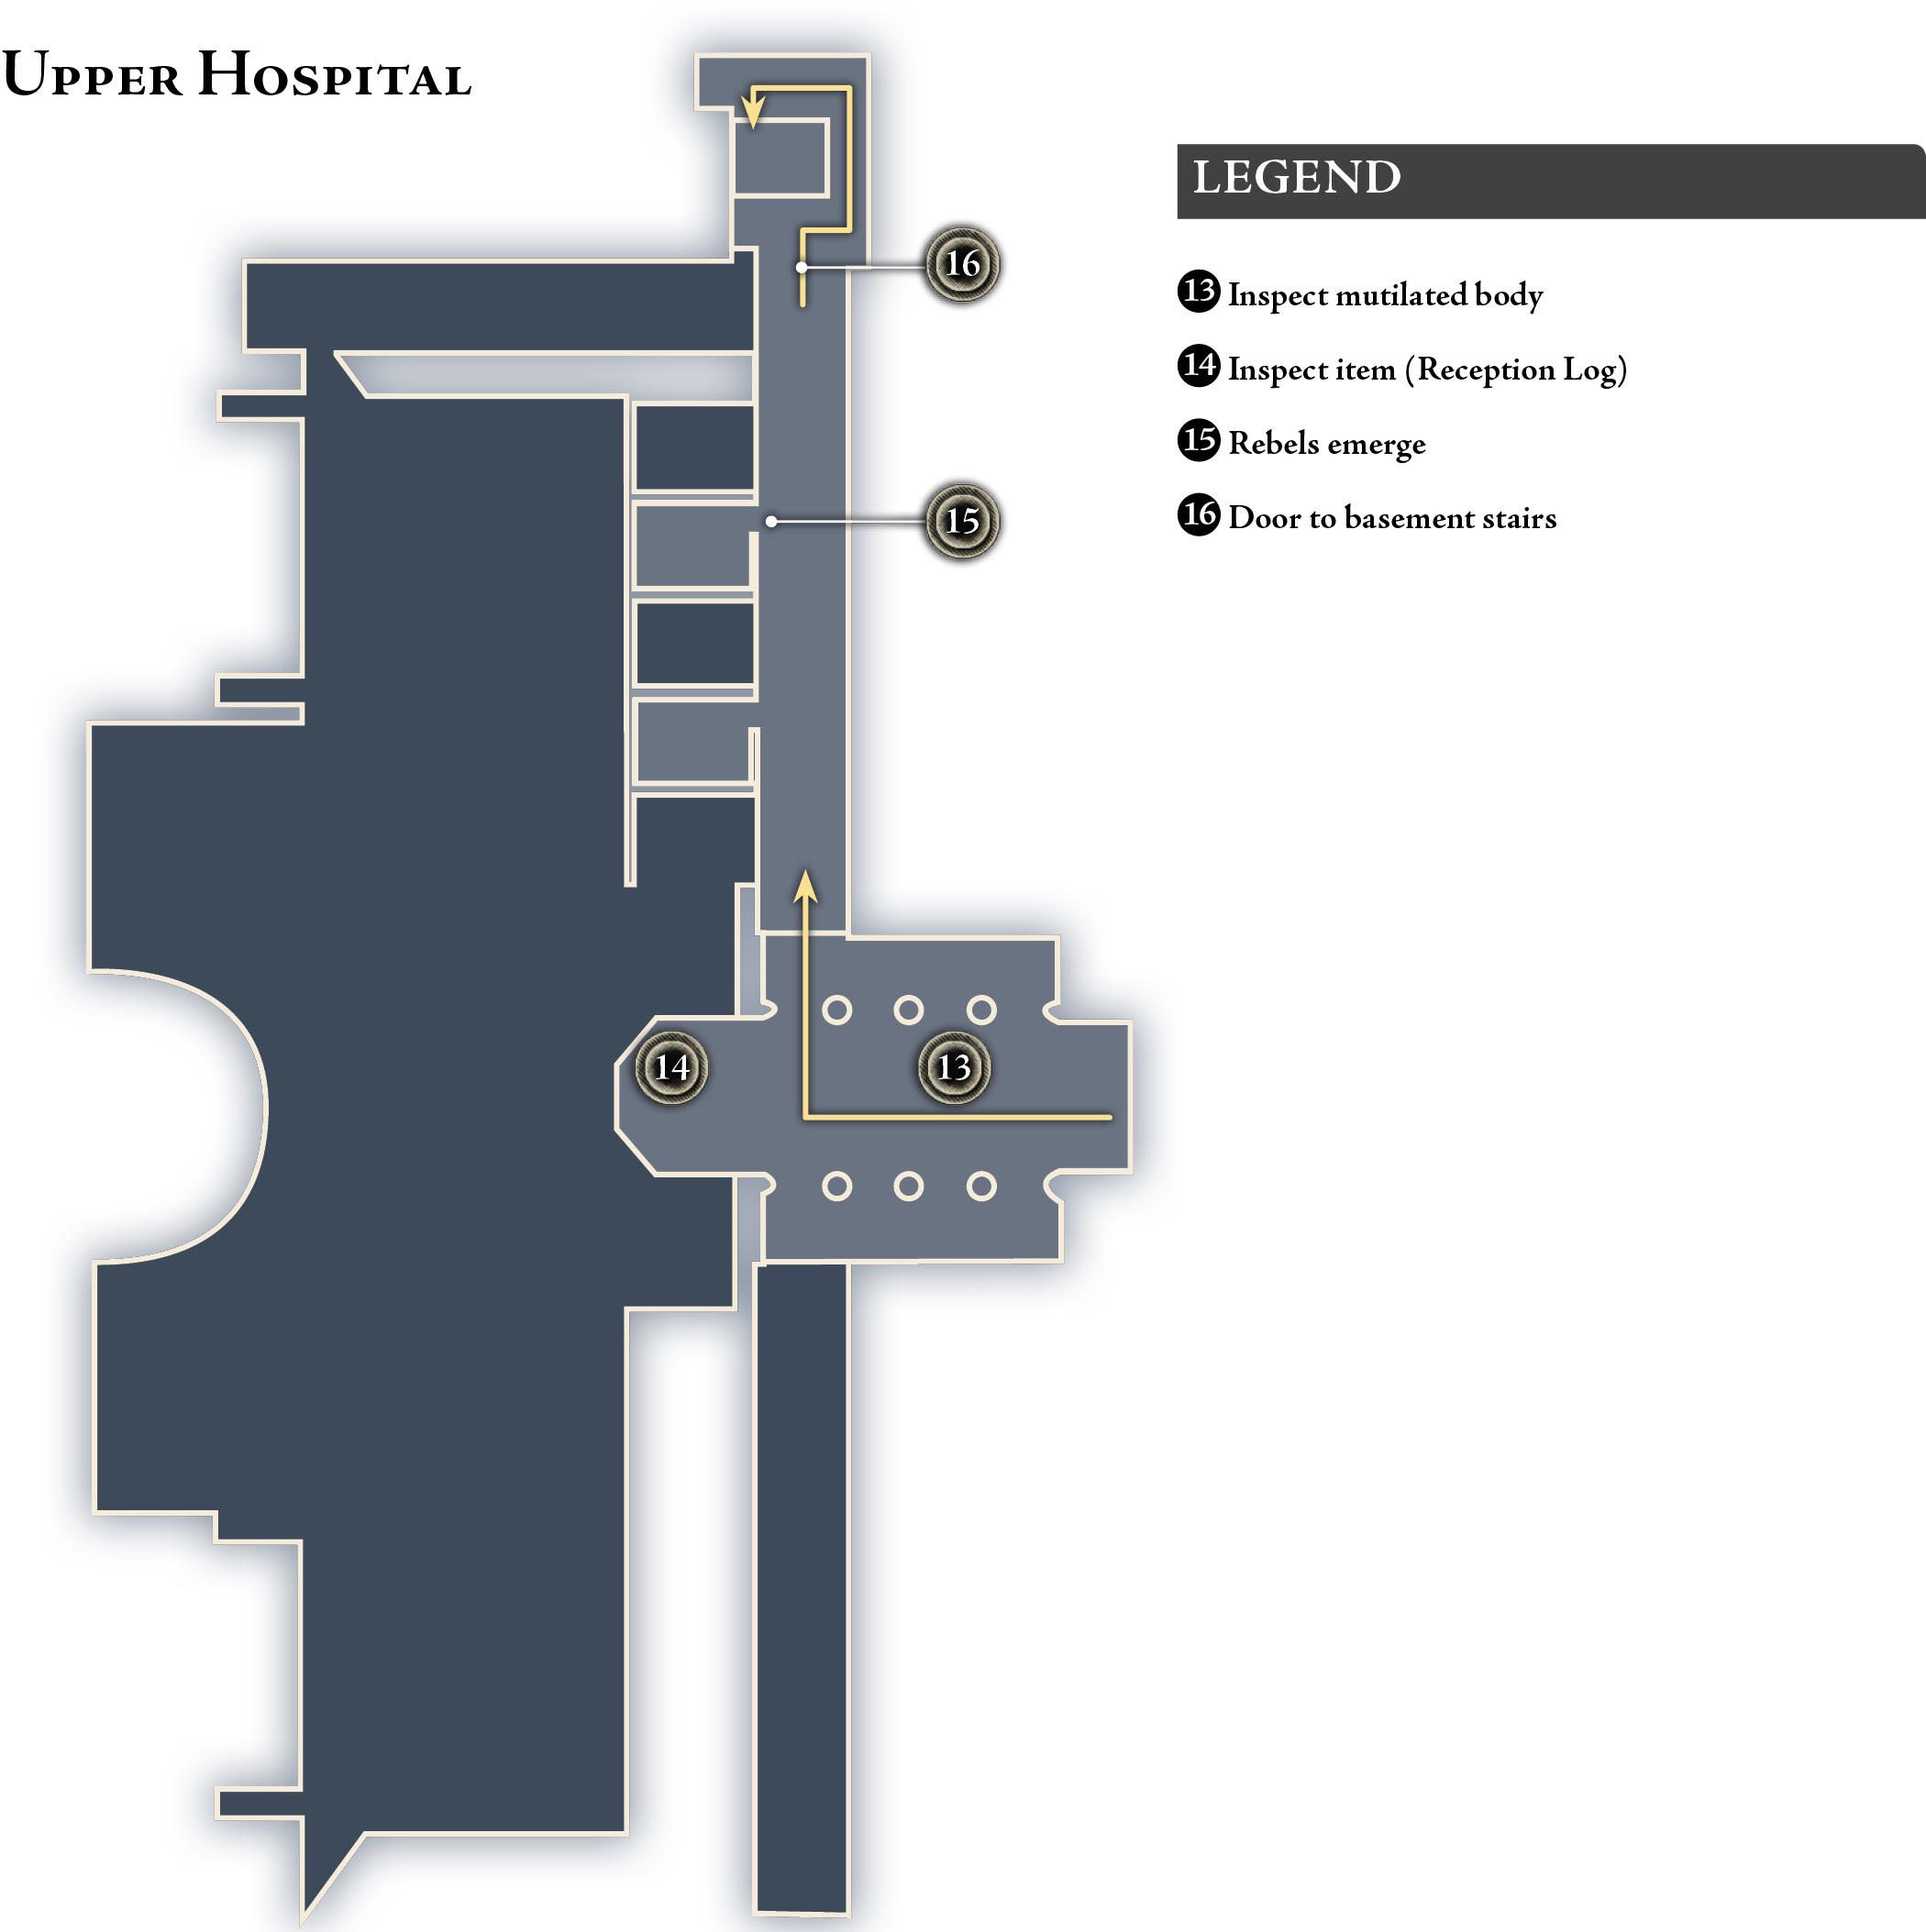
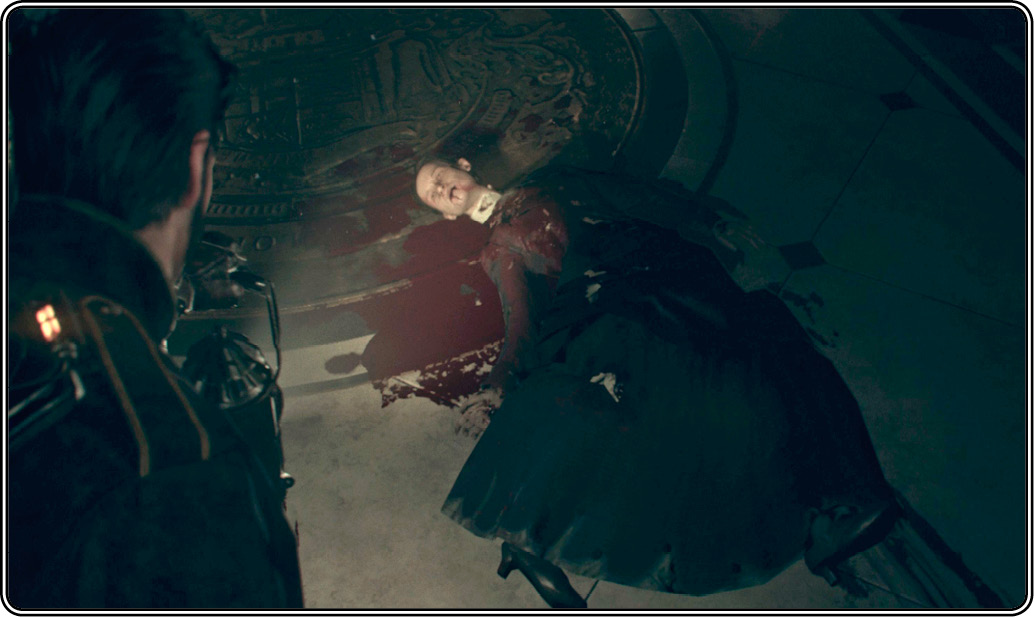
As they enter the London Hospital, Galahad spots Perceval on the street, talking to the hooded old man again. Inside, inspect the mutilated body (13) marked on the floor. Galahad says, “These patients have been mauled.”
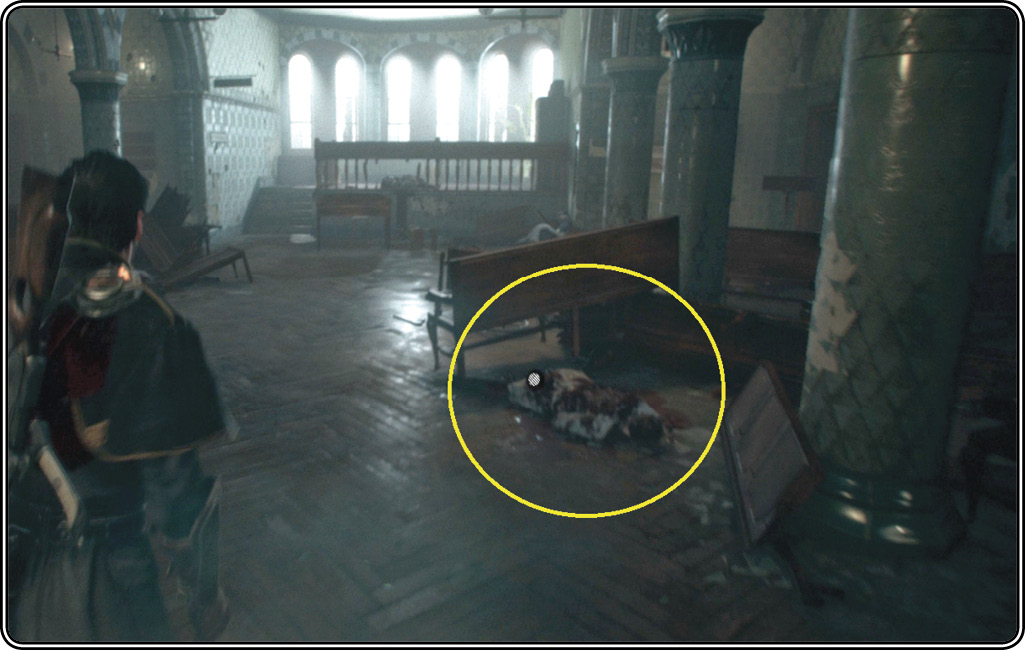
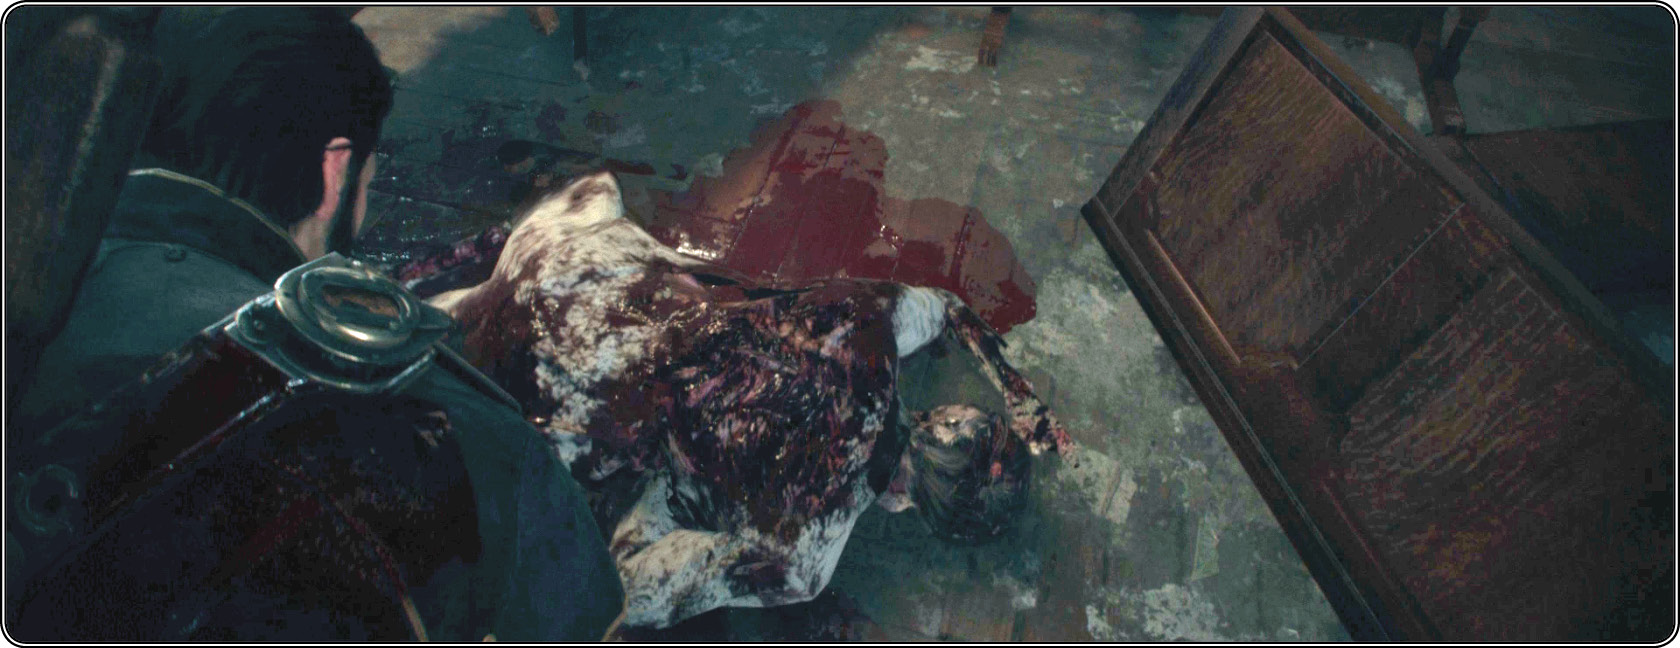
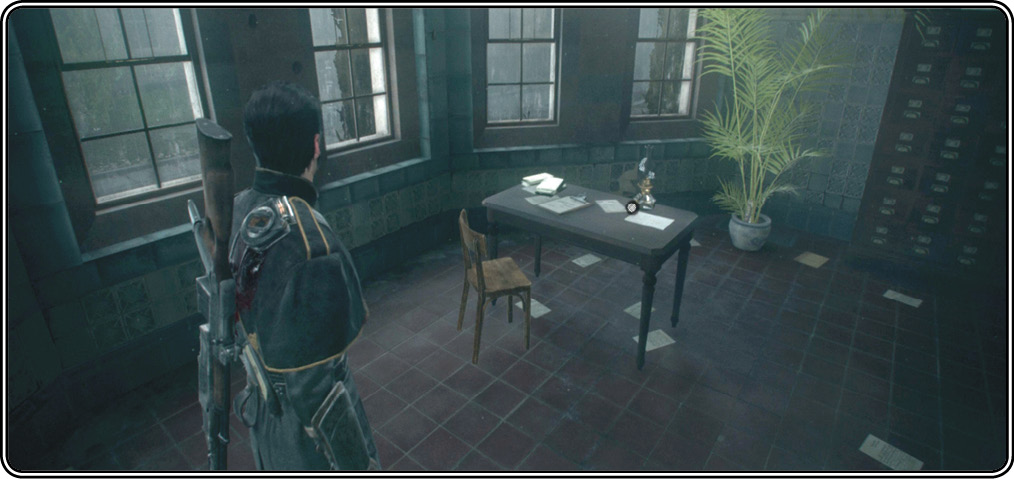
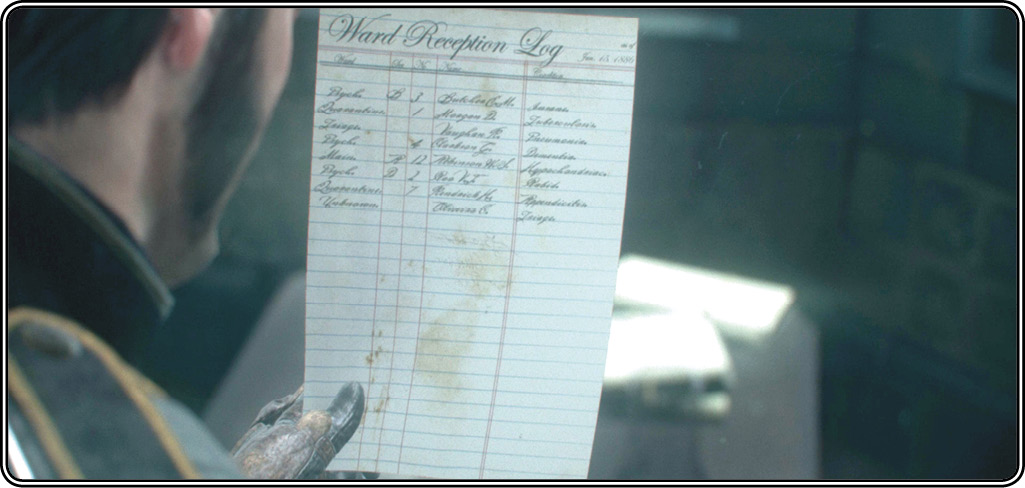
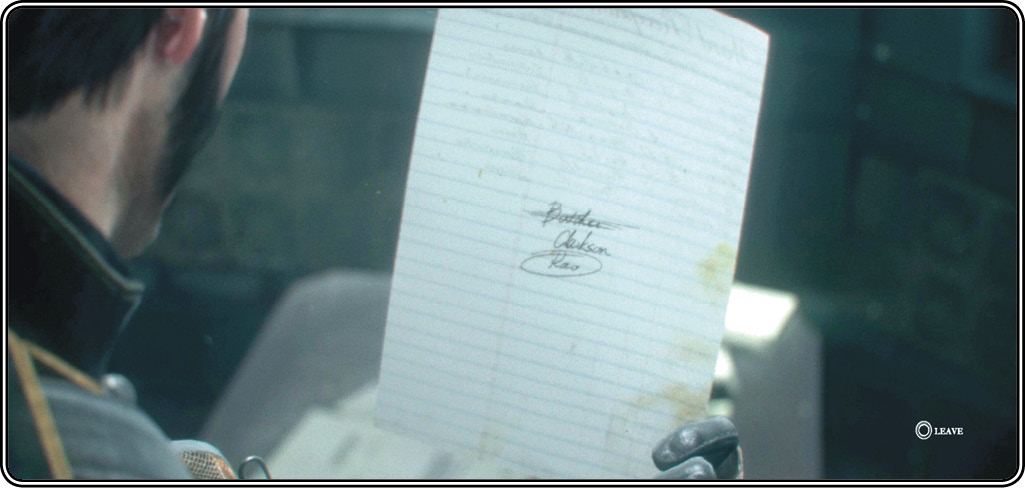
Head upstairs and find the ward reception log (14) on the table. Inspect it to see the patient list. On the back you see patient Rao circled. He’s in the Psych Ward and is listed as “Rabid.”
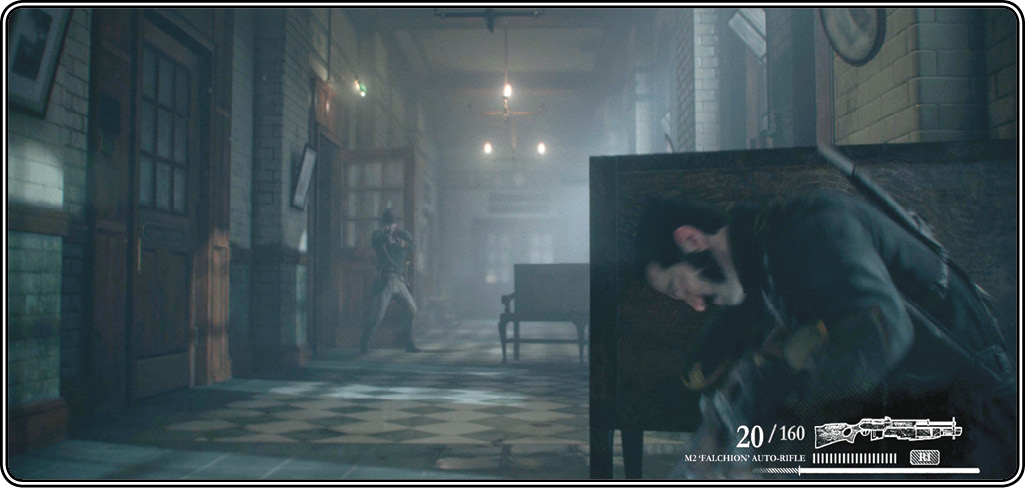
Now move carefully up the office hallway. You hear rebel voices, and then two gunmen step out of an office doorway (15), the second open door on the left. Rush forward to take cover behind the bench, and then nail them quickly.
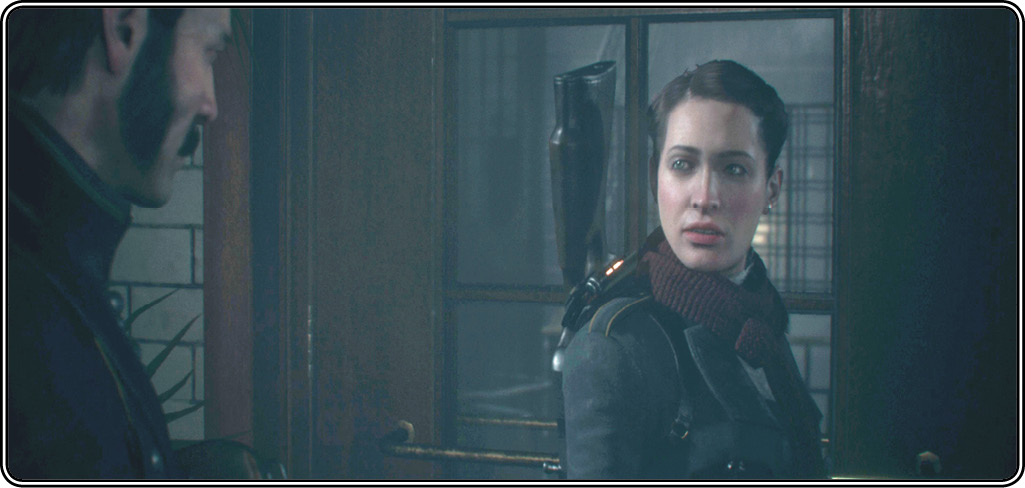
Continue to where Igraine waits (16) at the door at the hallway’s end. Approach her and press the indicated button to trigger a quick exchange: Igraine suggests that one of you search the basement. Galahad agrees to do so, and heads downstairs.
Investigate the basement
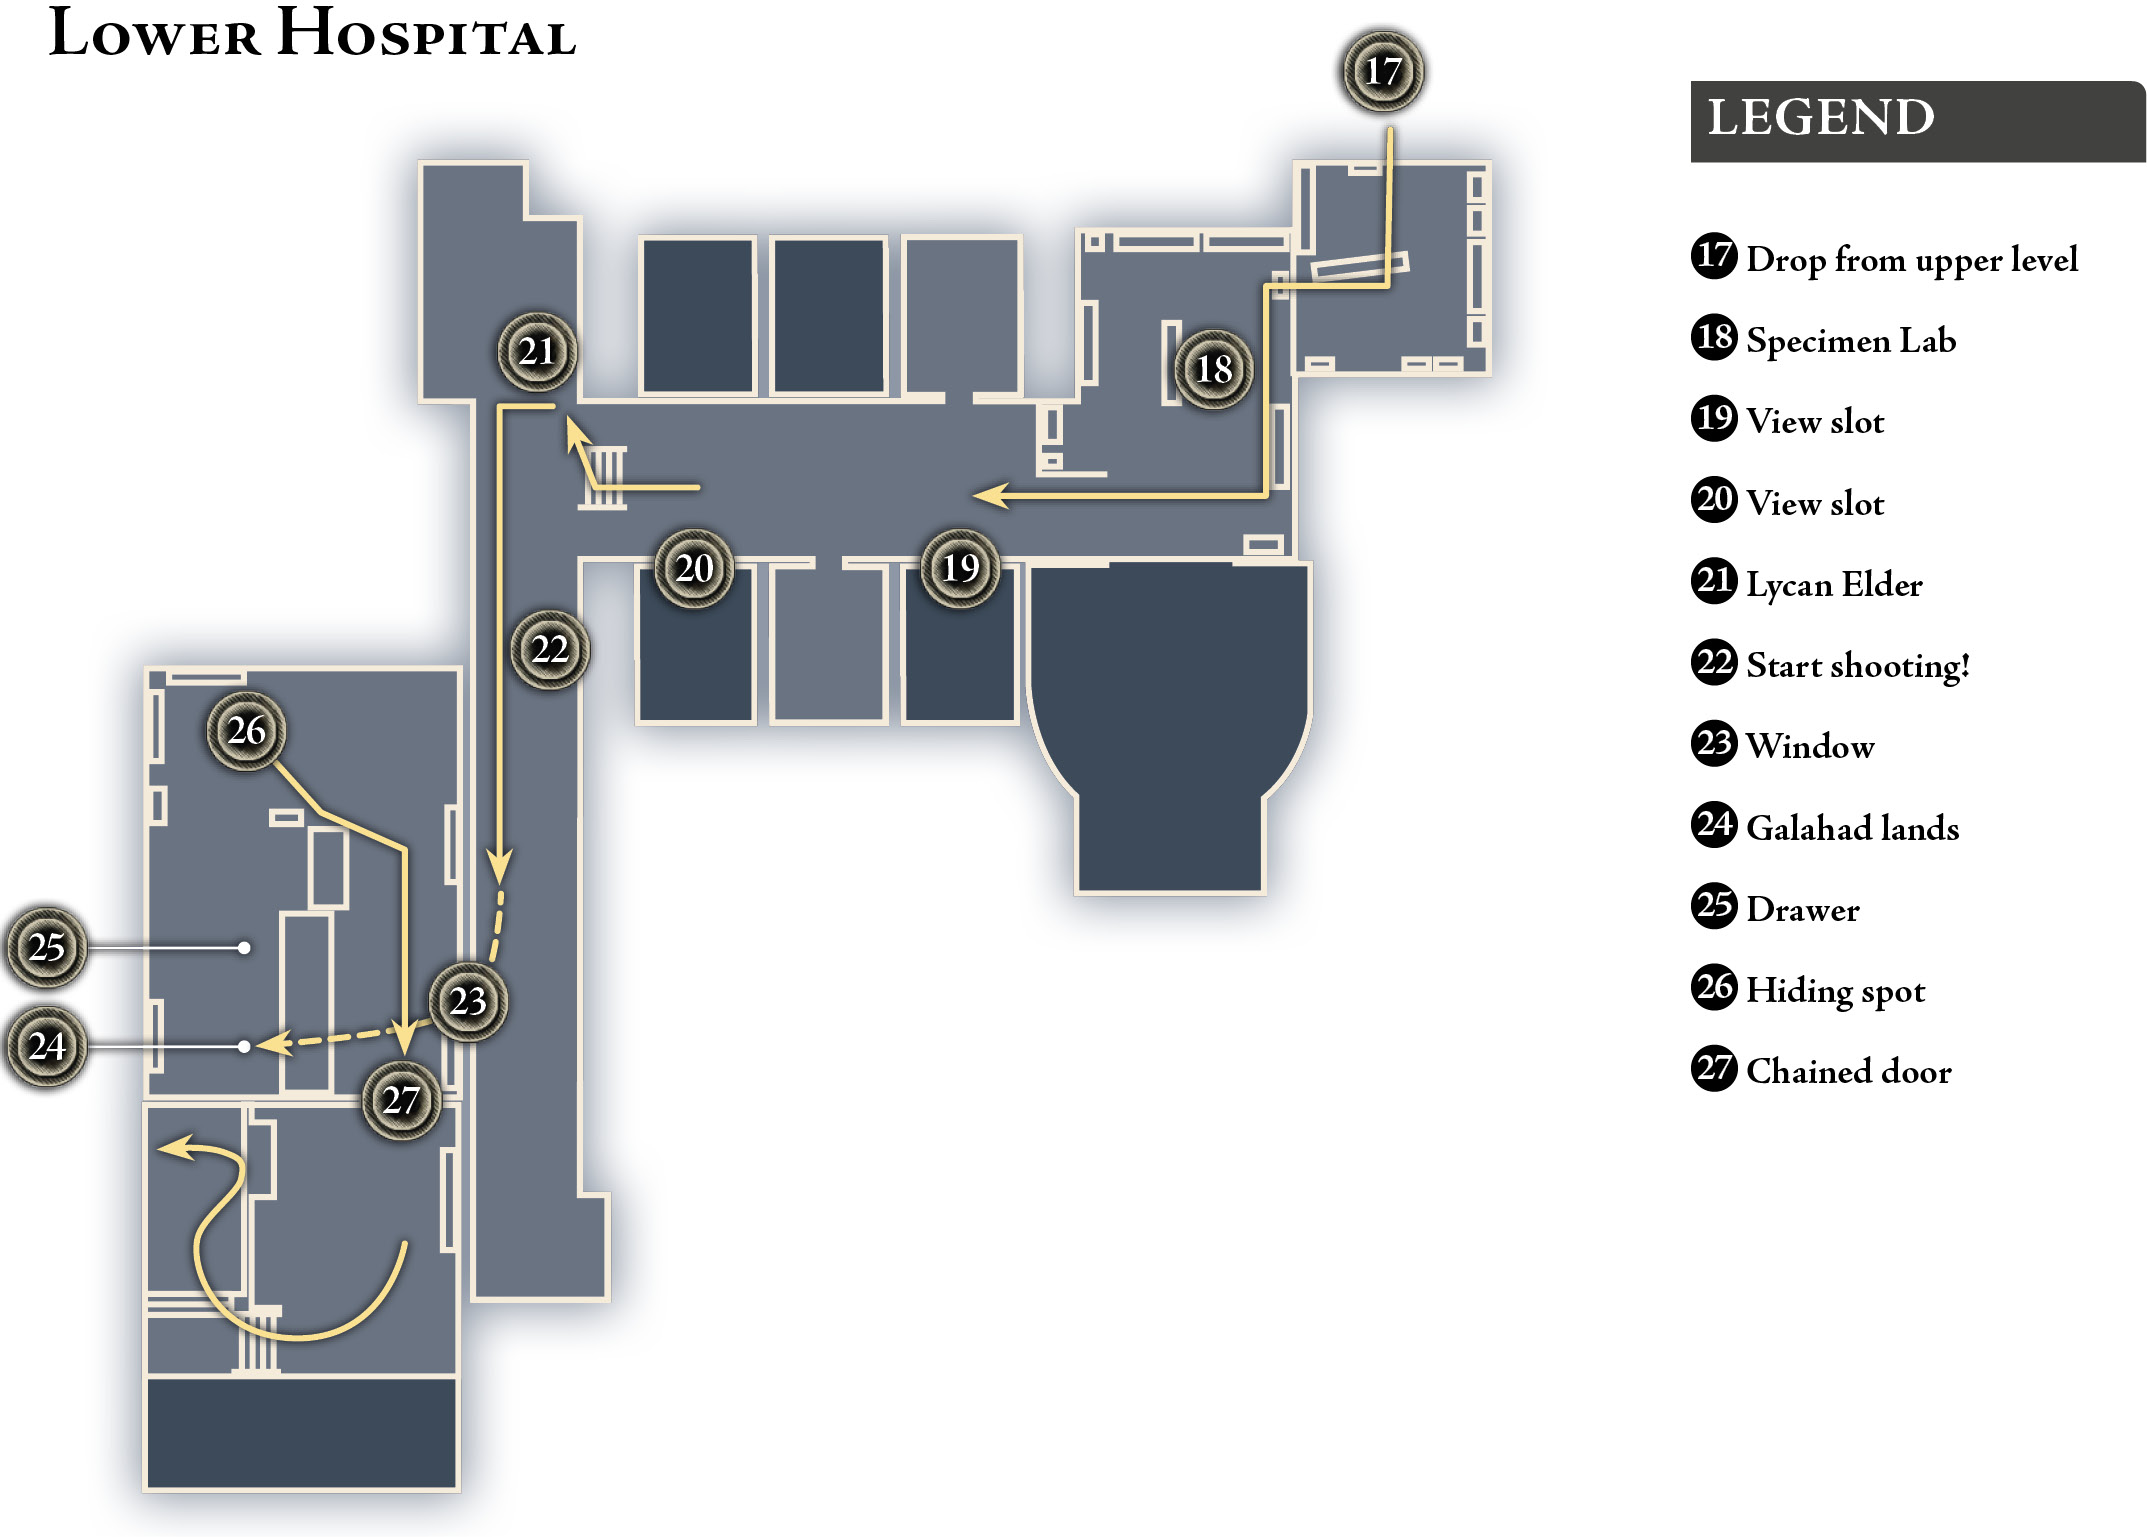
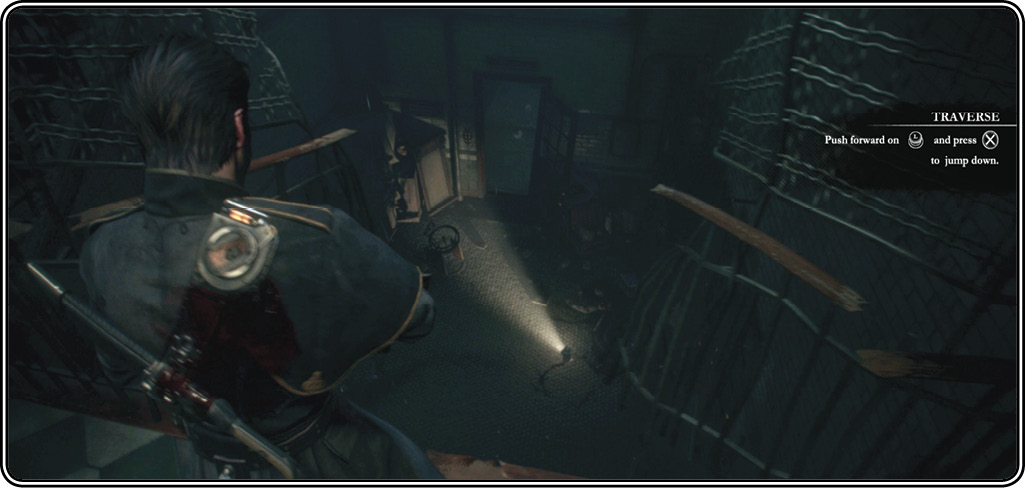
Proceed downstairs. When you reach the “traverse” point where the metal railing has been torn open, push the stick forward and press  to jump down to the darkened basement floor (17). Galahad picks up a lantern…and the scary music kicks in. He reports to Igraine that the power is out.
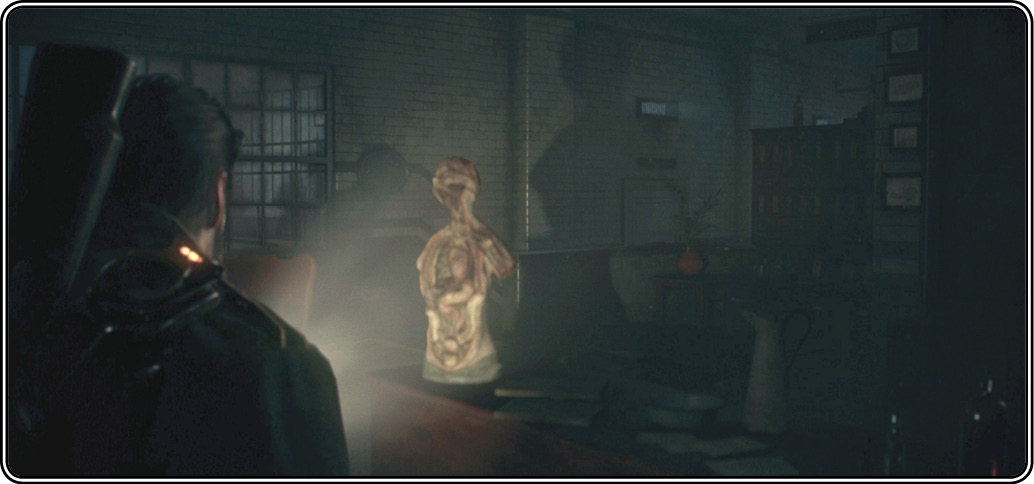
Move through the doorway marked “Specimen Storage.” Work your way through lab (18) with its shelves filled with jars of…well, specimens. As you reach the stairs leading down to a row of patient holding cells, Igraine calls in but the transmission is garbled. It sounds like she’s found something she wants you to see.
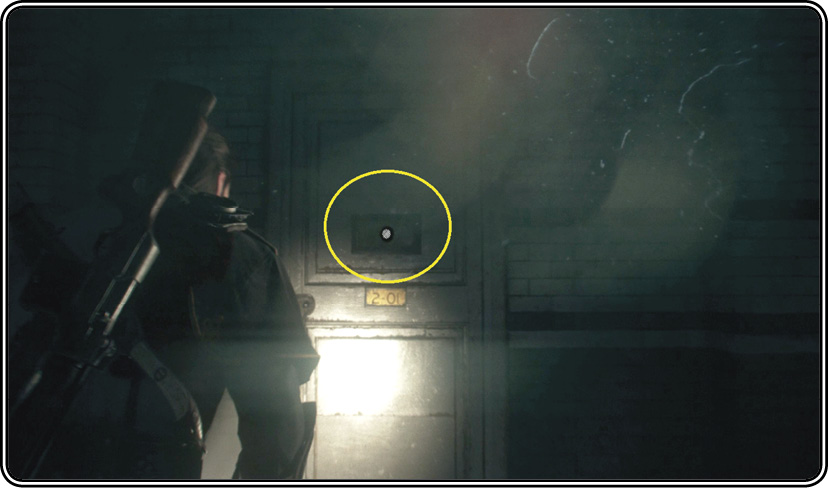
You can look through the viewing slots of two cells in this corridor. The first one (19) is room 2-01, the first door on the left. Approach the door and press the indicated button to open the slot. In this case, you see nothing unusual.
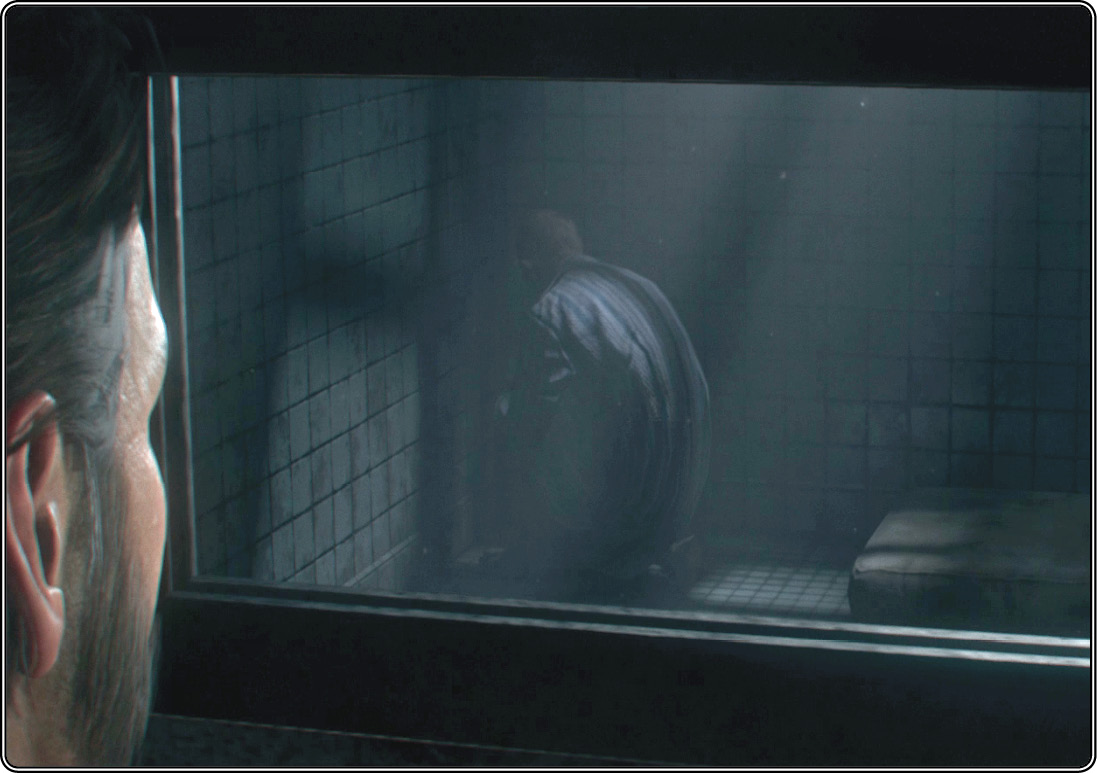
The second one (20) is room 2-03, the third door on the left. Open the slot to see a patient cowering in the corner. That doesn’t seem unusual either. Now move up the ramp at the end of the corridor to trigger a new scene.