The Order: 1886 Signature Series Strategy Guide Walkthrough Chapter VIII: UNDER SIEGE
The Battle of the Bridge
The Seventeenth Day of October, 1886
This chapter literally starts with a bang, as rebels with powerful ordnance rock the Palace of Westminster. More bombs rain down as the Knights rush out to meet the threat and rescue Lord Hastings on the Westminster Bridge.
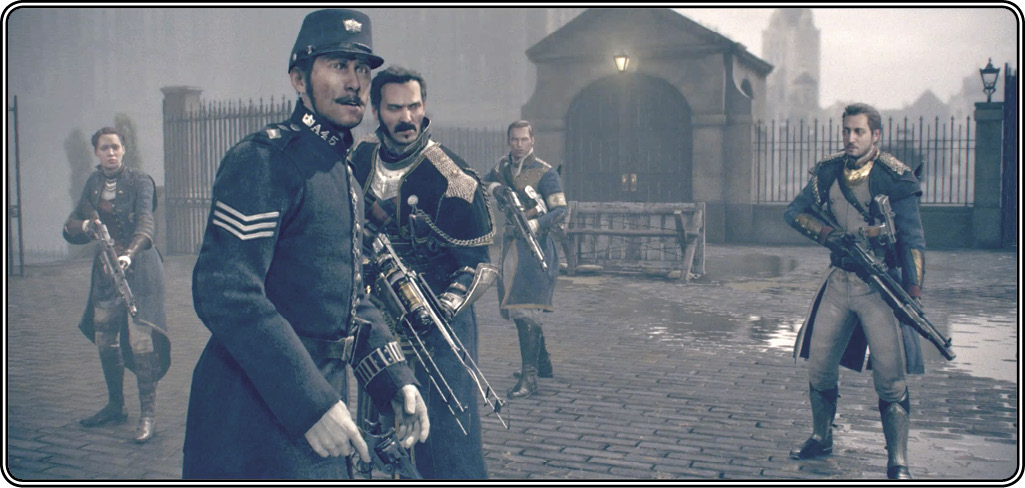
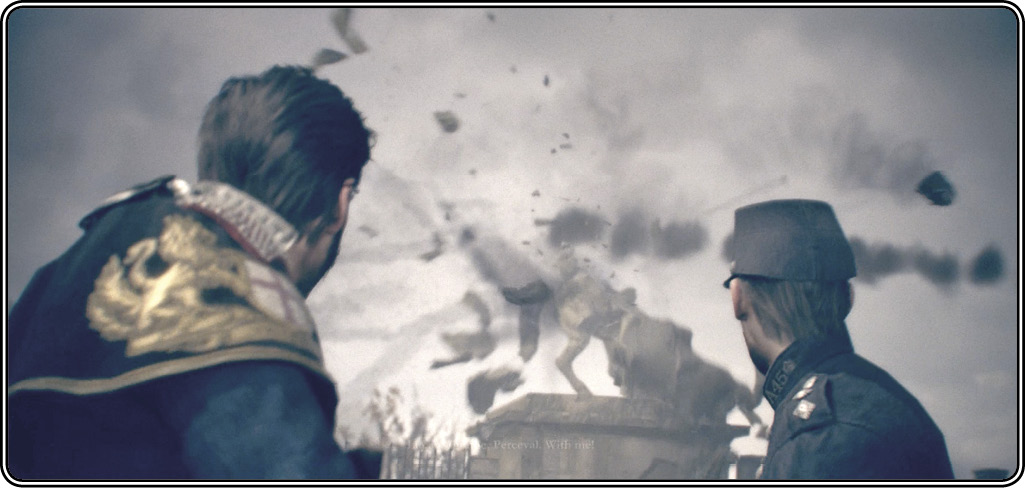
The Knight Commander orders his charges to take defensive positions on the bridge. Sir Lucan defers tactical command to Galahad, who grabs a TS-23 Arc Induction Lance for the fight. As the Knights arrive in the midst of chaos, a sergeant reports that Lord Hastings’ carriage has been hit in the middle of the bridge. Galahad and team push forward—just as another rebel cannon strike shatters the bridge’s equestrian statue.
Clear a path to the carriage
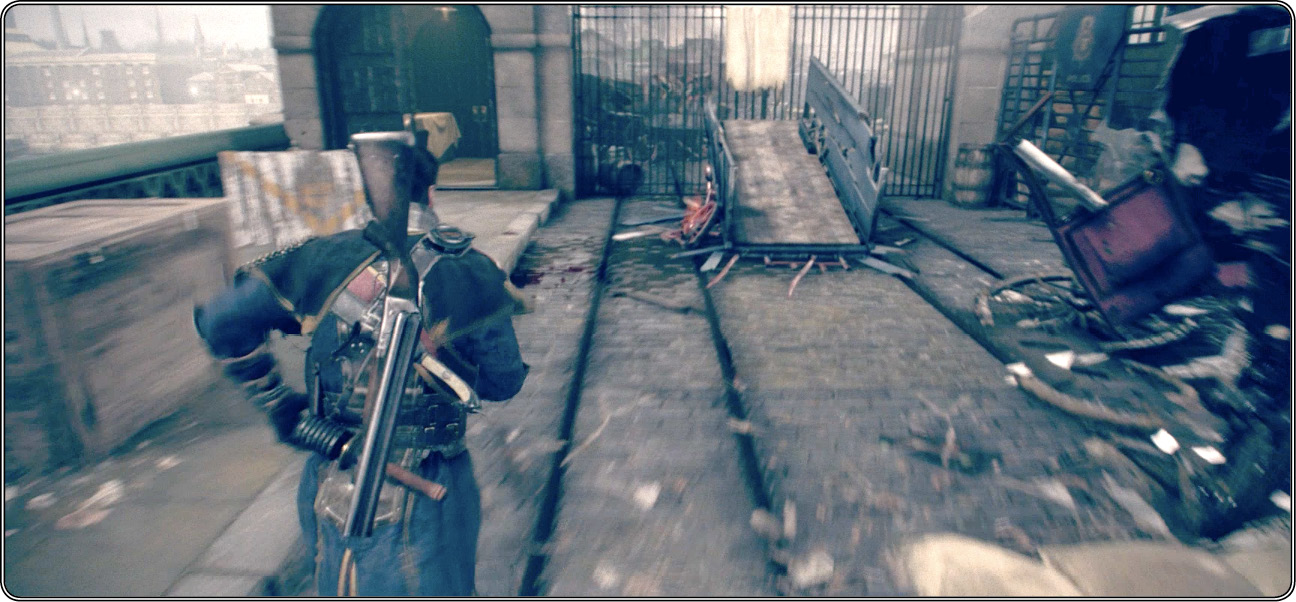
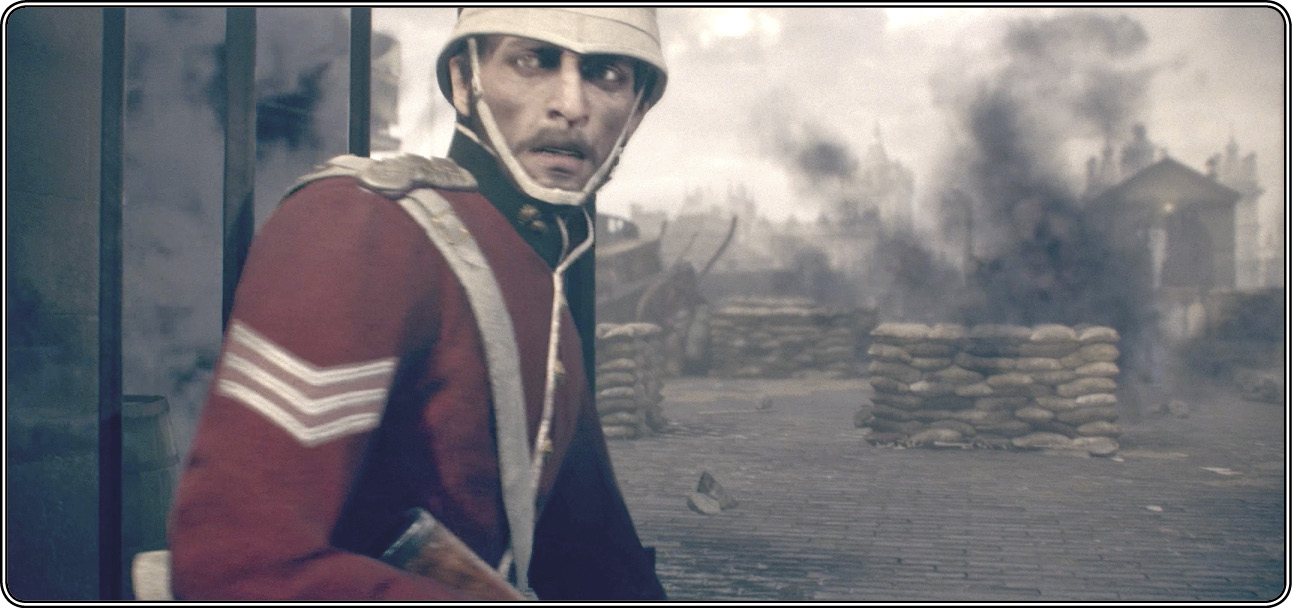
You start out in cover behind a sandbag implacement (1). The Arc rifle is an extremely powerful weapon with near-perfect accuracy. Don’t waste time with specific aiming—just charge it up, point it in the general direction of your target, and discharge when ready. The electrical surge bolt instantly eviscerates any flesh in its path. It’s a true one-shot kill, delivering damage of 500 at “volume” (the area of damage inflicted expands over distance).
The drawback of the Arc Induction Lance is that it holds only 18 charges worth of ammo; you won’t find dropped weapon refills because none of your enemies carries an Arc gun. So the lance is good for just 18 shots unless you find ammo crates to refill it. Fortunately, ammo crates are stashed in each of the two huts on the right side of the bridge.
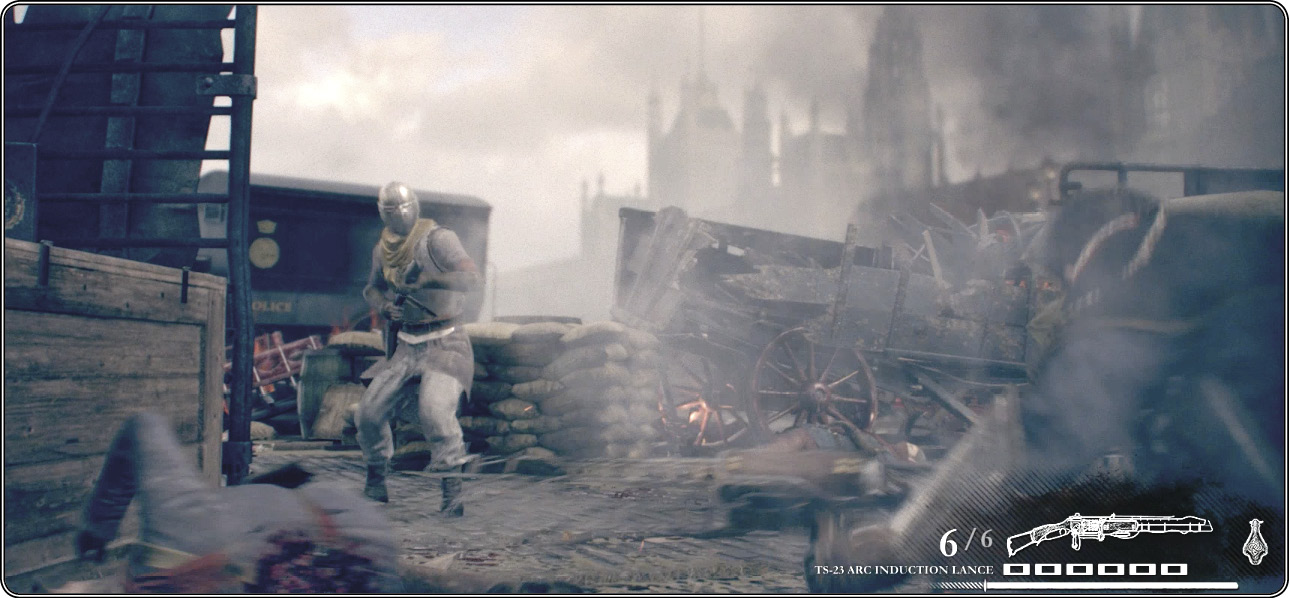
Methodically clear away the rebel presence in the first stretch to Hastings’ carriage, and then go nab the first ammo pickup (2). Watch out for rebel grenadiers plus an armored rebel heavy firing a Coach Gun in this next area. Be aware that the armored fellow can actually survive the first Arc shot you fire into him!
Keep pushing forward from cover to cover with your Knight team. The bridge is crazy maze of cover—barrels, barricades, crates, blasted carts and carriages, mounds of sandbags, and other debris. Deadly shotgunners unleashing Coach Gun blasts can pop up suddenly or make a rush from hidden positions. So proceed carefully, and check your flank often.
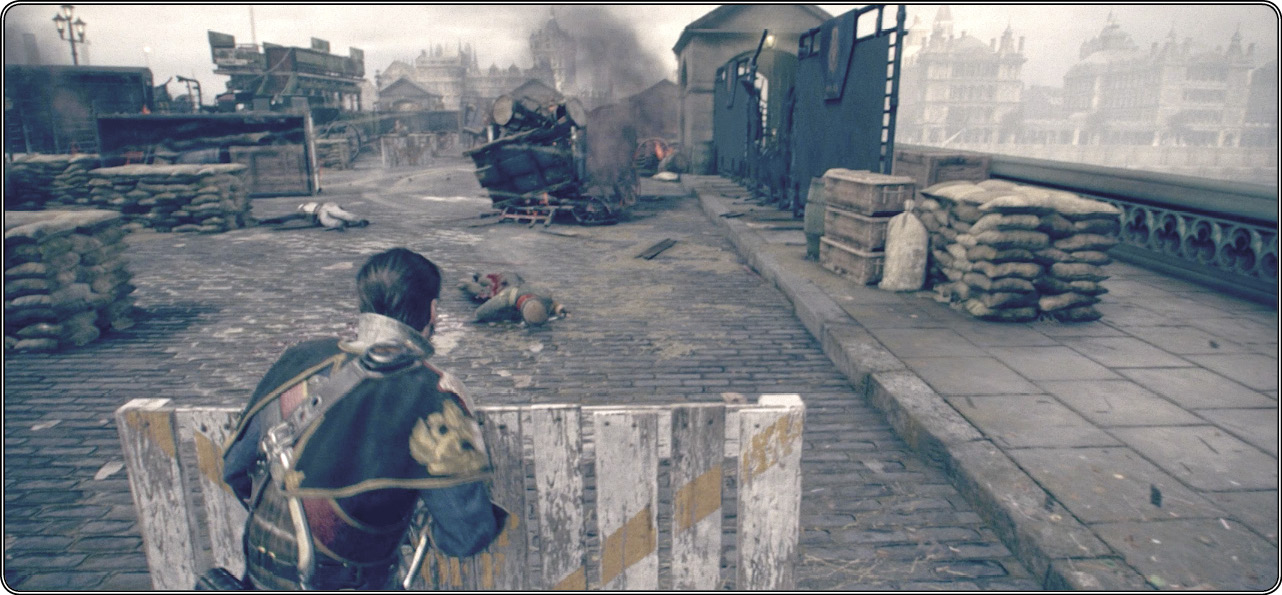
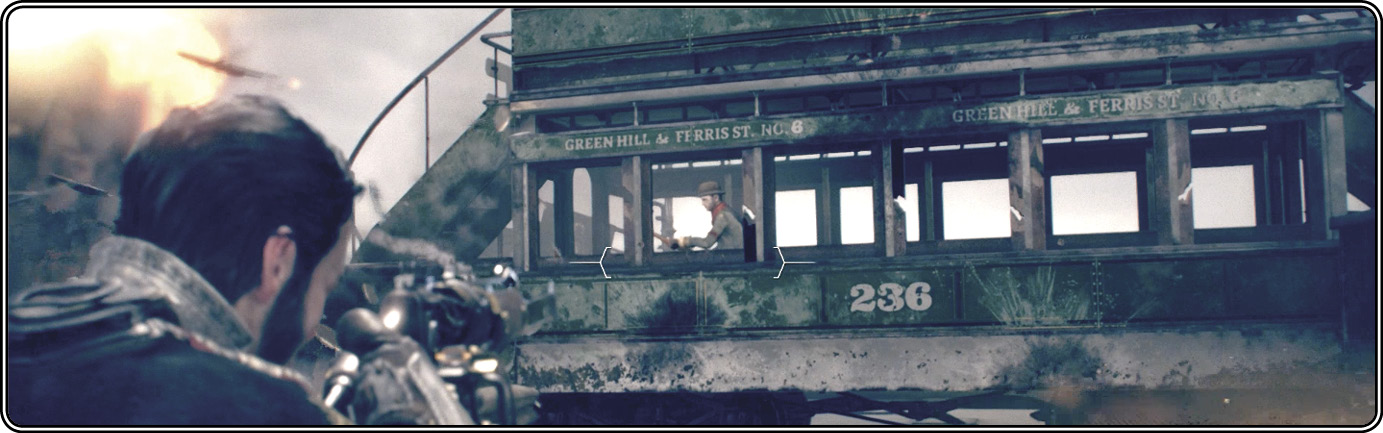
When you finally reach the carriage in question (3), you find it turned on its side. A rebel crouches on top, trying to pull the door open. Next to it, a Green Hill & Ferris St double-decker trolley car has been turned into a rebel nest, including a tough rebel leader up on the top deck. Patiently neutralize it with Arc blasts. When the last rebel drops, you hear Igraine call out, “Clear! We’ve retaken this portion of the bridge!” Now you can safely examine Hastings’ upended vehicle.
Save Hastings
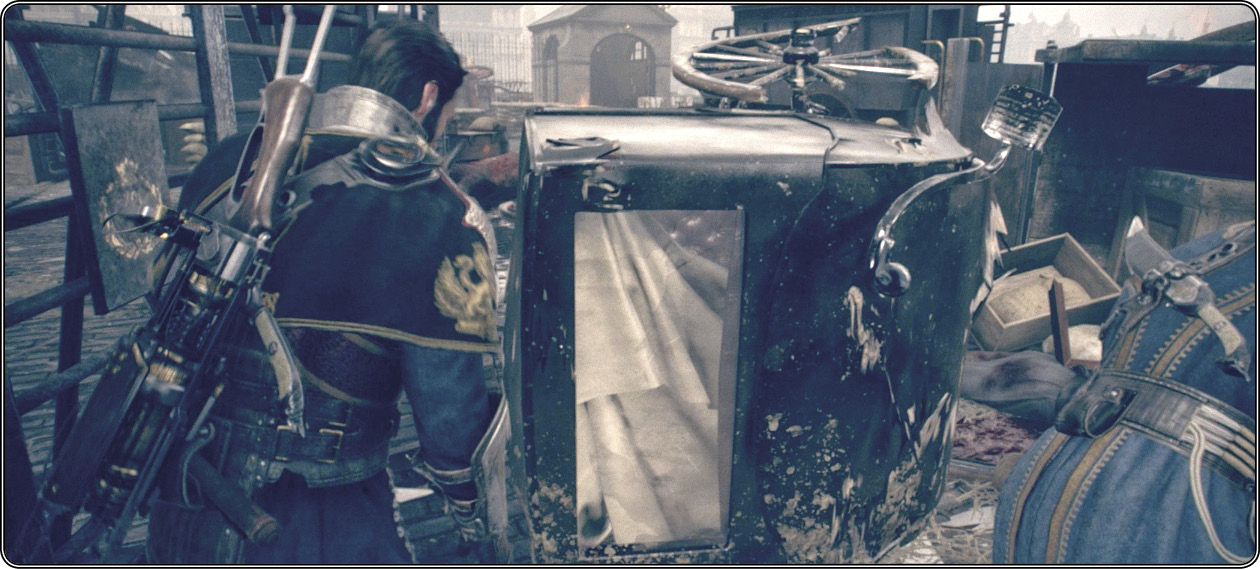
Approach the marked carriage. You can hear Hastings moaning inside. Press  when the prompt appears; Galahad braces against a metal police barricade and, with Lucan and Igraine, tries to lift the carriage so they can pull Hastings out. Tap
  rapidly when the prompt appears. Eventually, Hastings is freed.
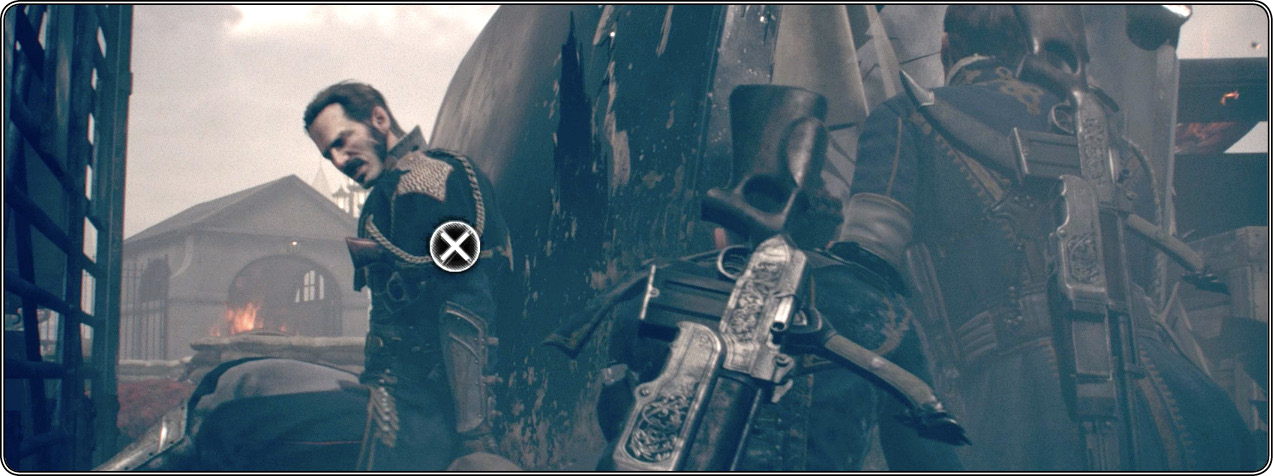
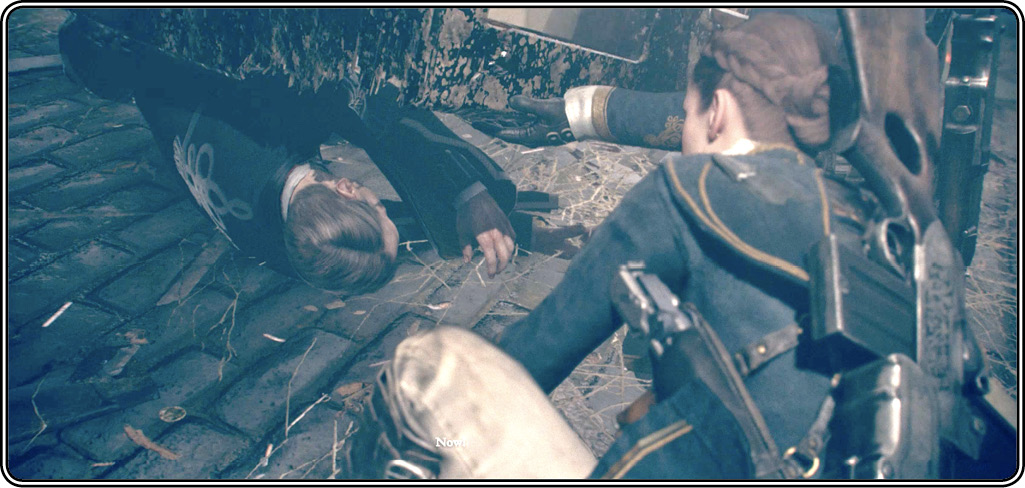
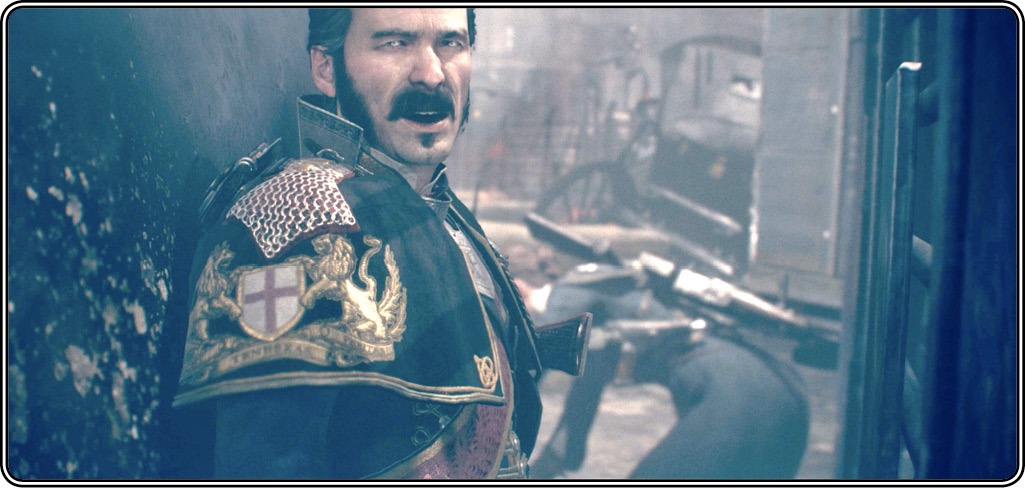
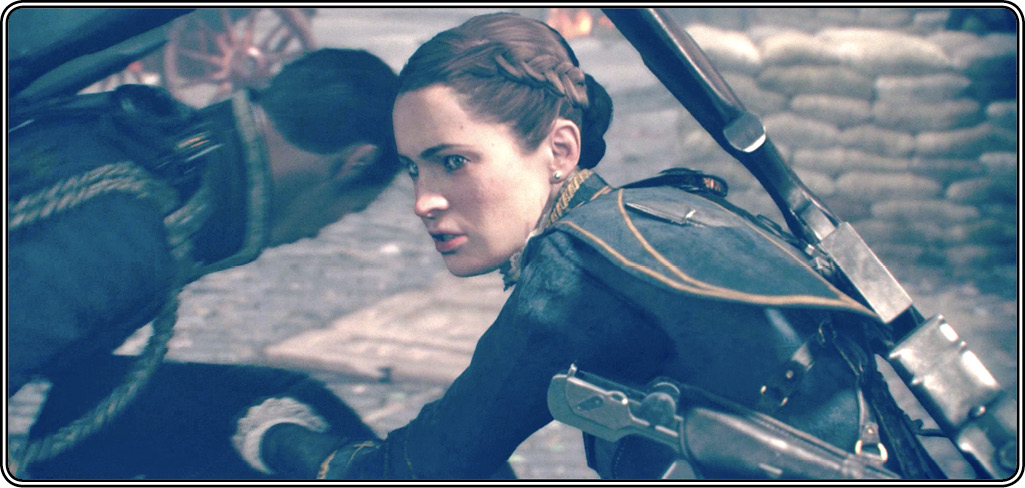
But as Lucan calls for everyone to fall back to the palace, Galahad spots the rebel commander directing operations further up the road. Despite Igraine’s pleas, he decides it’s time to “finish what we started” and pushes ahead.
Stop the rebel attack
Continue your assault, once again moving from cover to cover across the bridge. Watch out for more rebel grenadiers plus another armored rebel heavy. If you stick with the Arc Induction Lance, work your way to the second ammo crate (4) in a hut on the right side for a refill of charges. You can also find an unlimited stash of frag grenades in the center hut (5).
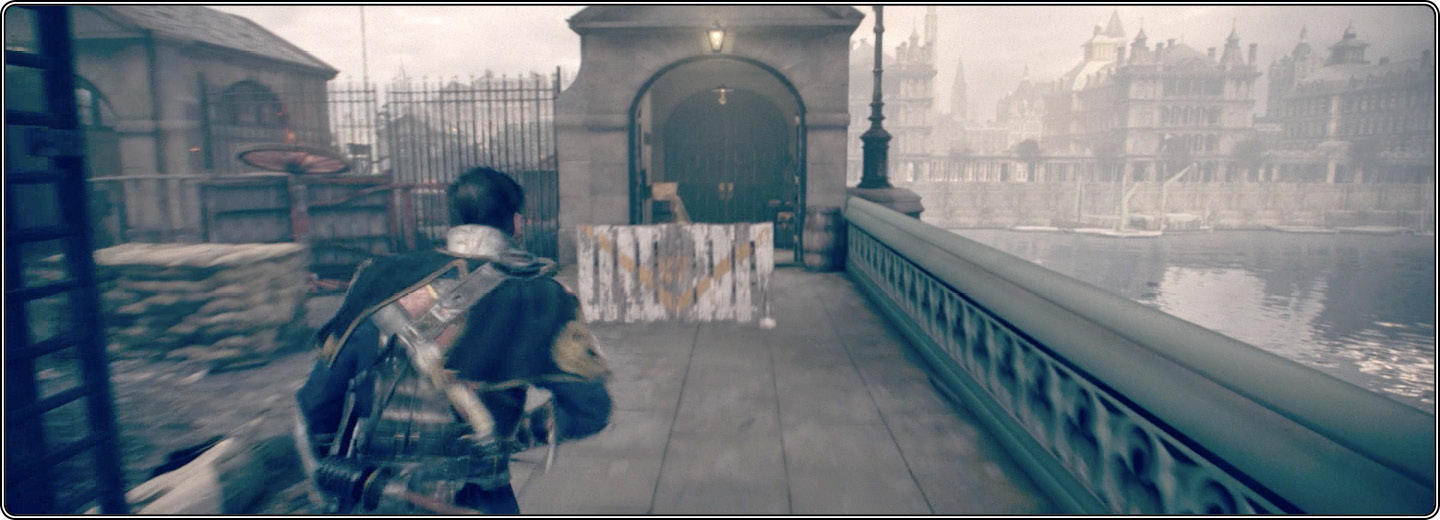
When this second bridge area is cleared, use the tilted wagon (6) to climb over the fence into the third area. This triggers the next scene.