The Order: 1886 Signature Series Strategy Guide Game Basics
Combat Tips & Tactics
With a character-driven story at its heart, The Order: 1886 offers a compelling narrative framework for its gameplay. But the core experience of the game is some pretty heated combat employing a variety of weapons, foes, and environments.
With the help of the Ready At Dawn team, we’ve put together a quick list of tips and tactics that can help you fend off rebels, lunatics, and Lycans alike. But before we get to our list, let’s start with what we consider Our Tip Of Tips.
The Importance of Cover
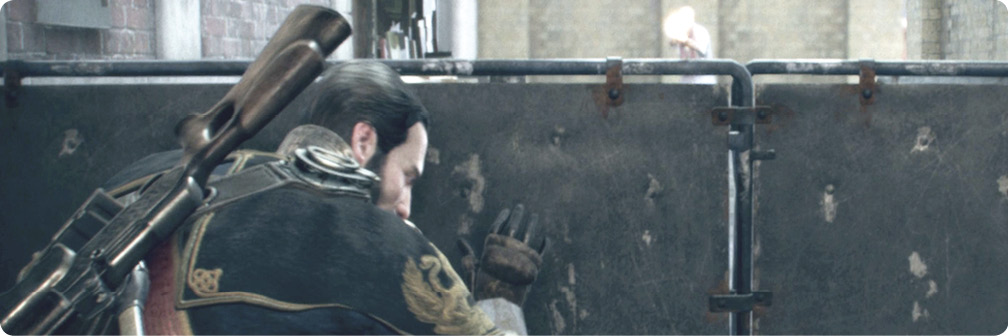
The key to survival in The Order: 1886 is to realize that, despite the benefits of Blackwater, it does not make Galahad immortal by any means. In fact, you’ll likely learn very early on that just a few well-placed enemy rounds can knock you right back to a checkpoint restart.
Thus the most important combat tactic you employ regularly is finding and using cover. During combat sequences, whenever you enter a new area—a plaza, street, room, hallway, or passage—make it a habit to immediately scout out good cover locations before you proceed. If you take fire, dive into that cover! As you take down foes, advance carefully from cover to cover, taking their shooting angles into account as you go.
Learn how to refine your aim more safely from cover, as well. When you press  to aim, Galahad pops out of cover and the targeting reticle appears onscreen. Adjust your aim quickly towards a target and then release to drop back into cover. As long as you don’t adjust Galahad’s position, you’ll aim at the exact same spot when you press again. Learn how to do this dance rapidly. This method of refining your aim then dropping back into cover will serve you well, minimizing damage from enemy fire—especially if your foes are accurate shooters, e.g., snipers.
Remember that Galahad automatically regenerates health over time. If you take a few hits and the screen reddens (indicating damage inflicted), find cover and stay put until the screen brightens again.
Tips on Using Cover
- To peek over short cover and around any unobstructed edge of cover, simply hold the Left Stick toward the cover. To peek out from an edge, hold the Left Stick toward the edge. Peeking gives you a better view of the battlefield while providing minimal risk to you. It is particularly helpful for getting a better aim approximation for blind-firing.
- You can move around the unobstructed edge of a piece cover in several ways. If there is more cover around the corner, you can hold the Left Stick toward the corner and then hold
 to slip around the corner while staying in cover. Holding the Left Stick the same way, you can tap
  to slip out of the cover into a jog or hold
  to exit into a sprint.
 - You can also hop over short cover. Simply hold the Left Stick toward the cover and then tap to vault over the cover. This maneuver can be very useful for quickly getting past wide pieces of cover.
- If you’re at the edge of a piece of cover and spot another piece of parallel cover that is aligned with your current cover, hold the Left Stick toward the new cover and tap to quickly scurry over to it while staying low and protected.
- When you exit cover by backing away from it with the Left Stick instead of tapping , you enter “soft-cover” mode. While in soft-cover, Galahad stays low and automatically slips into any cover that you steer him into. If you move too far away from any actual cover, start sprinting, or tap , you exit soft-cover. Fortunately, aiming and hip-firing allow you to retain your soft-cover state (though you stand the entire time you hold
 to aim). This is very helpful for cautiously moving from one piece of cover to the next.


Tips List
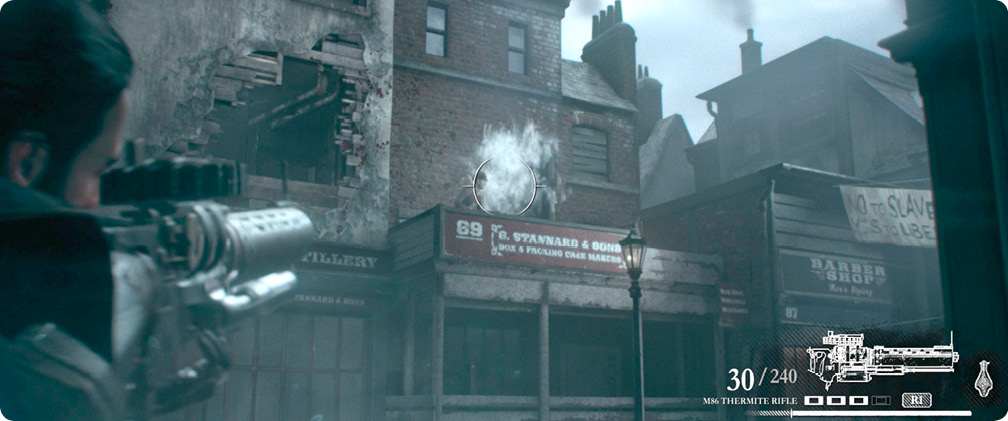
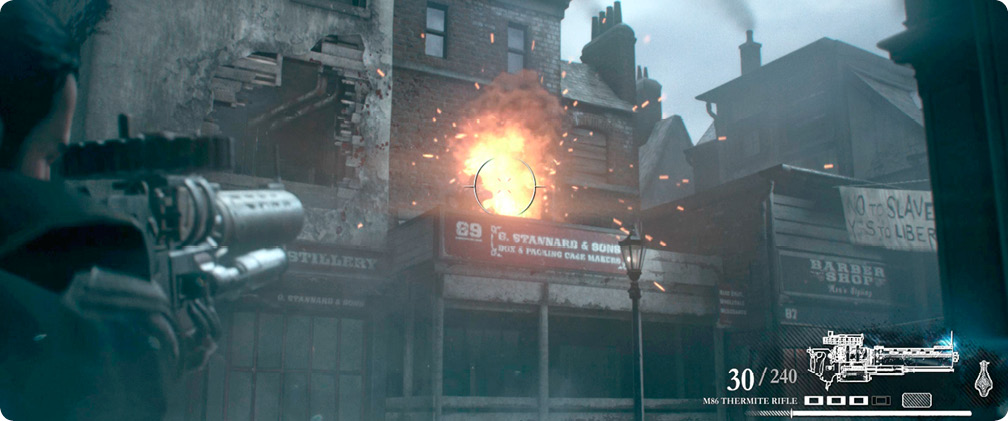
- Use the Thermite Rifle to attack enemies hiding behind cover. Just fire the cloud above them and ignite it with your Alt/Fire flare to rain thermite down on foes you couldn’t hit with other guns.
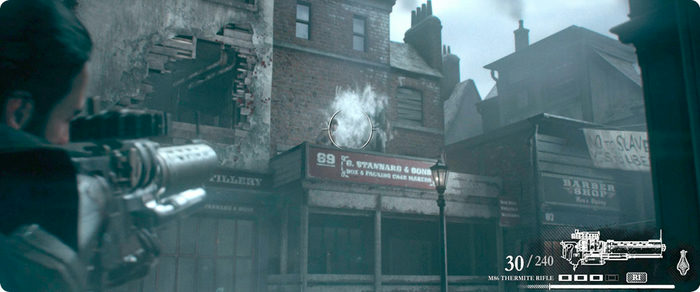
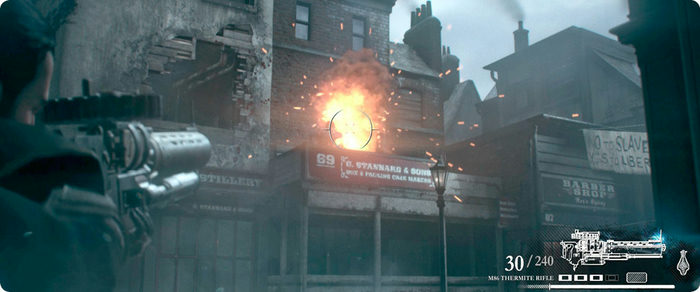
- Smoke grenades can also be useful against enemies in cover. A well-tossed smoke grenade often flushes foes out of hiding. It also stuns enemies, so you can target them more carefully for headshots without taking as much incoming fire.
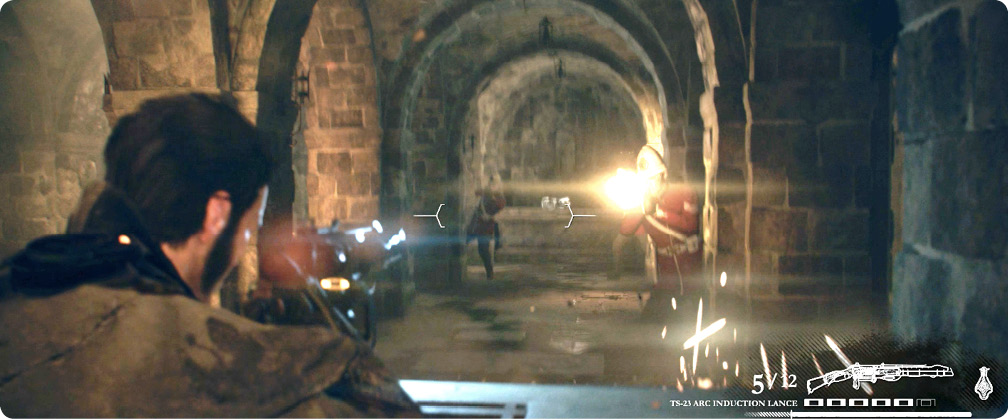
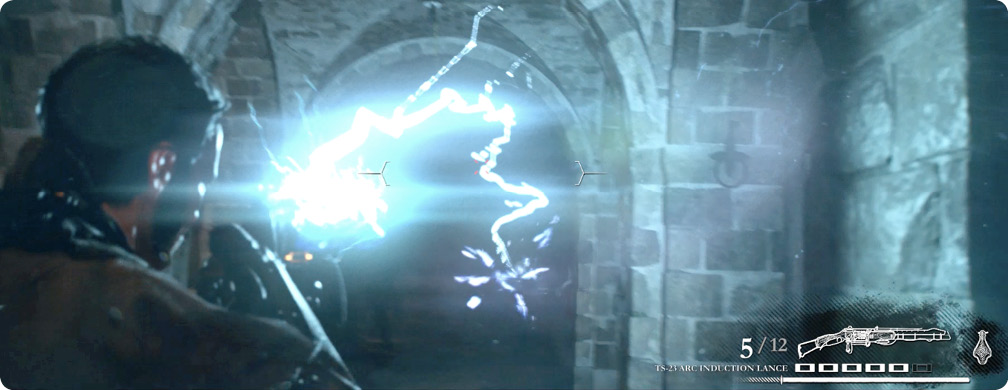
- Don’t waste time with specific aiming when using the Arc Induction Lance. Point it in a general area after charging up then discharge when ready. Its electrical bolt automatically finds the nearest target within the targeting reticle, which is fairly wide.
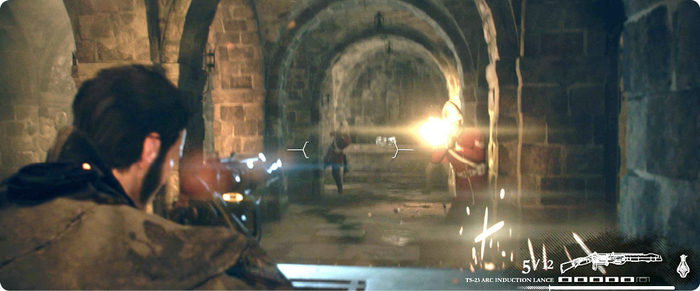
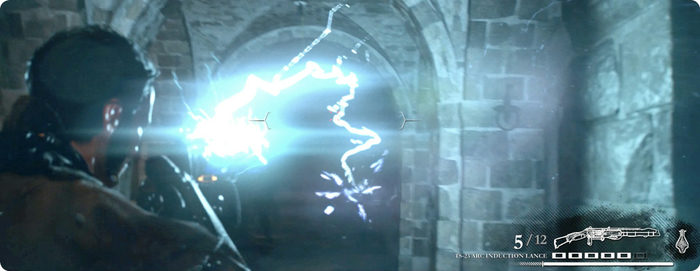
- Charge up the Arc gun’s shot while safely in cover. Hold in
 while behind a barricade, and then press to pop up and aim. Swing your aim to the general area of foes, release to fire, and then immediately release to drop into cover again. This significantly minimizes your exposure to enemy fire.
 - The M2 Falchion Auto-Rifle can be extremely effective against Lycan Soldiers. Use its secondary fire concussive blast to stun onrushing Lycans, and then follow up with a few rifle shots before they can scamper away.
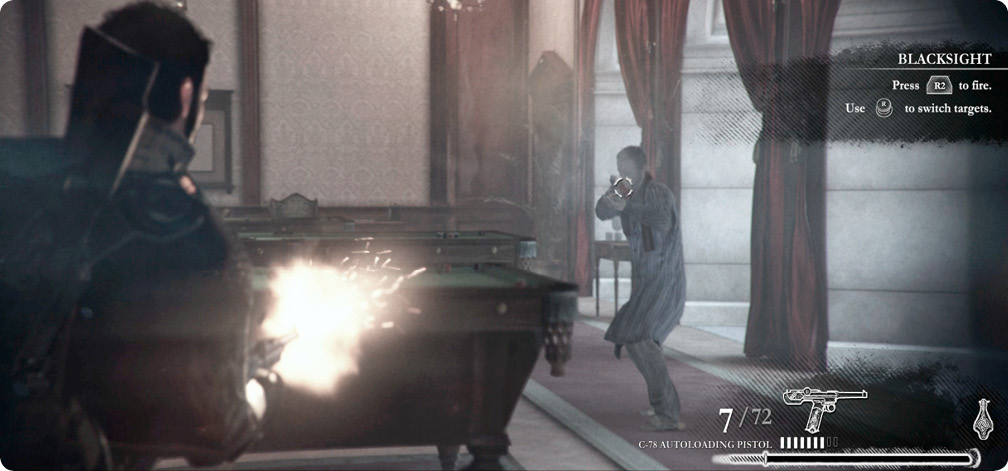
- Don’t forget to use Blacksight! It’s a devastating ability. Yes, it makes life much easier when battling vastly superior numbers, but its auto-targeting can be quite useful against even lone targets. Just remember to toggle it back off after the takedown.
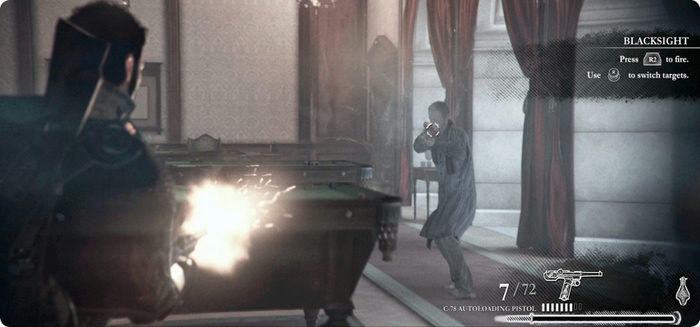
- Many players tend to hold onto their Blacksight until the end of a chapter. Use it freely and often when available. Your Blacksight meter refills fairly quickly during combat as you score kills.
- Mixing Blacksight with the C-81 Maschinenpistole as your secondary weapon creates an overwhelming hail of fire that can swiftly tear an enemy platoon apart. It’s also a good combination against Lycan attacks.
- Use Blacksight to have fun with enemy grenadiers. Watch them carefully—when one wields a grenade, trigger Blacksight just as he’s about to throw. Then shoot the grenade right in his hand. A variation that requires expert timing is to wait until the grenadier actually tosses his grenade and then trigger Blacksight before shooting the bomb in mid-air, exploding it near enemies.
- If an enemy downs you, don’t just lay there—you can still crawl. You need a few seconds until the
 prompt appears that lets you take a drink of Blackwater. Shooters will continue to target you relentlessly and without mercy. Crawl out of their line of fire if at all possible. If you’ve been downed during combat, be sure to press as quickly as possible once you’ve taken a drink of Blackwater to add more Blacksight meter for use once you get back up.
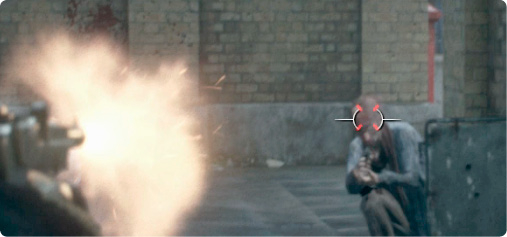
 - Spend most of your time firing weapons while aiming (hold ) in order to avoid wasting large amounts of ammo on inaccurate shooting, but when necessary, hip-firing and blind-firing can be absolutely worth it. To hip-fire, simply shoot without aiming; blind-fire works the same way when you’re in cover. Because hip-firing doesn’t slow down your movement or turn speed, it can be very helpful if you find yourself surprised by an enemy that’s up close, or if you need to quickly lay down some suppressing fire while scrambling for cover. Blind-fire allows you to shoot while putting yourself at minimal risk. It’s not very accurate, but at close range it is quite effective, and is a good way to give yourself covering-fire in preparation for relocating to new cover.
- All pistols and rifles get double-to-triple damage for headshots. Target heads for likely one-shot kills.
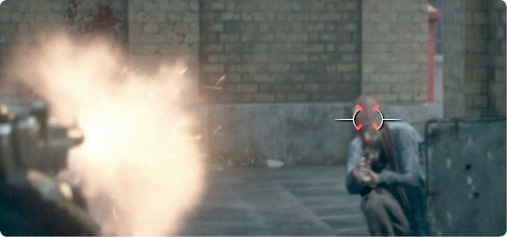
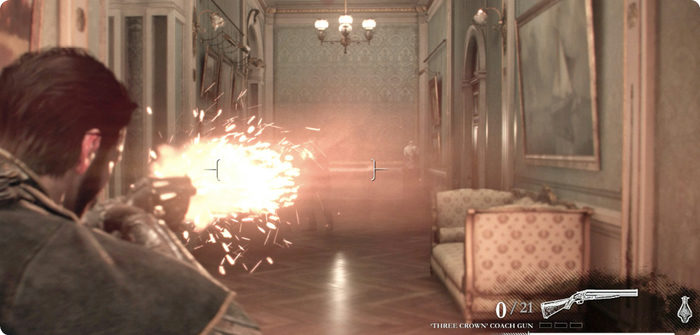
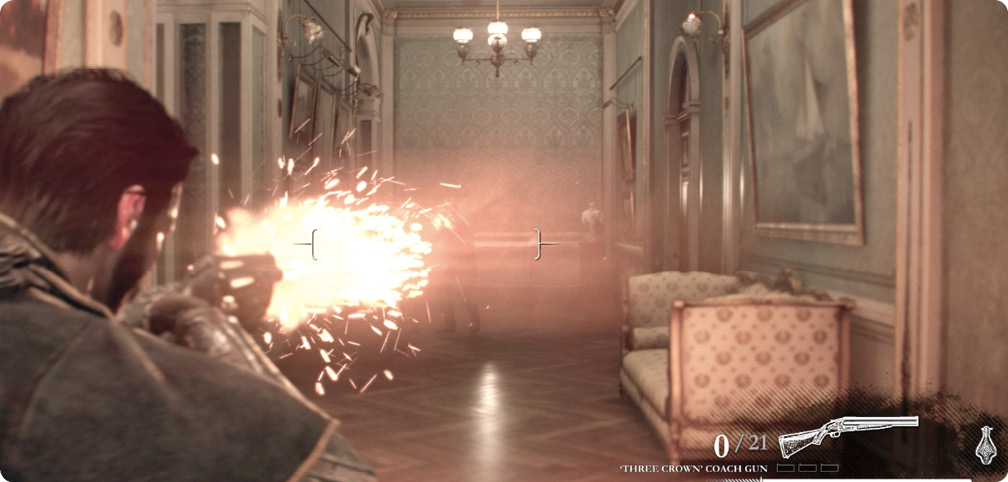
- The shotgun and the coach gun both fire multiple pellets that spread apart as they travel. So these weapons are most effective at close range, when the spread is minimal and all pellets can strike the target, inflicting massive damage. Both guns kick with enough power to dismember enemies.
- All grenades (fragmentation and smoke) can be “cooked” to shorten the time until they detonate after being tossed. From the moment you first press to pull the pin, you have four seconds until the grenade explodes. Just hold in for 2 seconds before you release it to make the throw. This reduces your enemies’ ability to flee out of the damage radius once the grenade lands.
- Enemy sniper scopes glint right before they fire. Take cover if you see the glint!
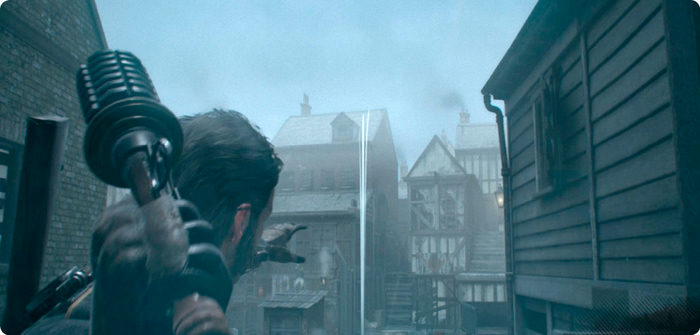
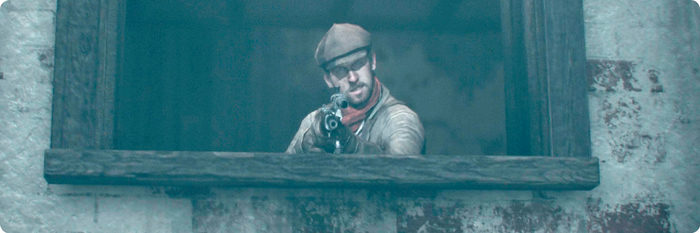
- Galahad is ruthless in close-quarters combat, employing impressive fighting skills to quickly incapacitate foes. When you’re close to an enemy, a prompt appears. Press it for a quick, guaranteed takedown. Be careful! You can still take damage from other enemies while performing a melee attack, and moving into the appropriate range can be quite risky. Fortunately, being in cover doesn’t inhibit your melee capabilities. Galahad simply reaches over or around and takes them down, allowing you to take a more protected route as you close in for the kill. Lastly, Heavies, thanks to their sturdy armor, simply aren’t vulnerable to your melee attacks; the button prompt doesn’t even appear. If you linger near an enemy for too long, they try to strike you, dealing a sizeable amount of damage. Finish them before they finish you!
- During the game’s stealth phases, enemy guards patrol in repeated patterns. To avoid having a stealth target unexpectedly turn and spot you, stay in cover and observe his pattern until you learn his stops and turns.
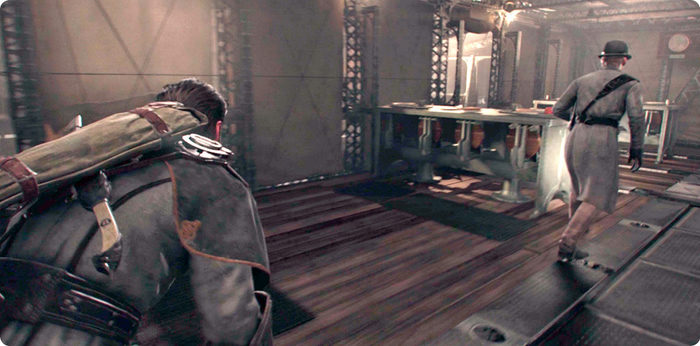
- Performing melee attacks while sneakily infiltrating is similar to melee during open combat, but requires more precise timing. Don’t run while approaching an enemy from behind. You have better control of the strike when you approach slowly. Wait for the pulsing outer ring to meet the center, causing the prompt to flash. Right as this happens, press the button to perform a silent takedown. If you miss-time your strike a little too early, you won’t have as clean of a kill, but if you’re too late (or significantly early), you may find yourself in trouble.
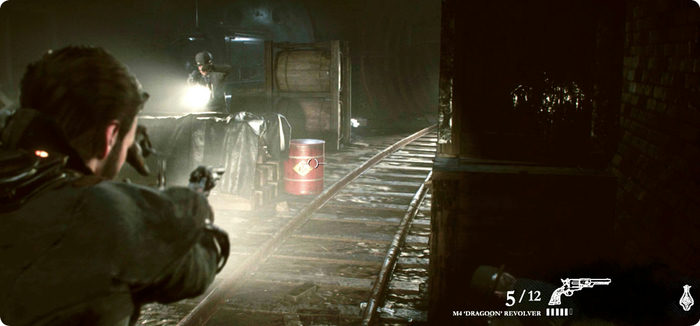
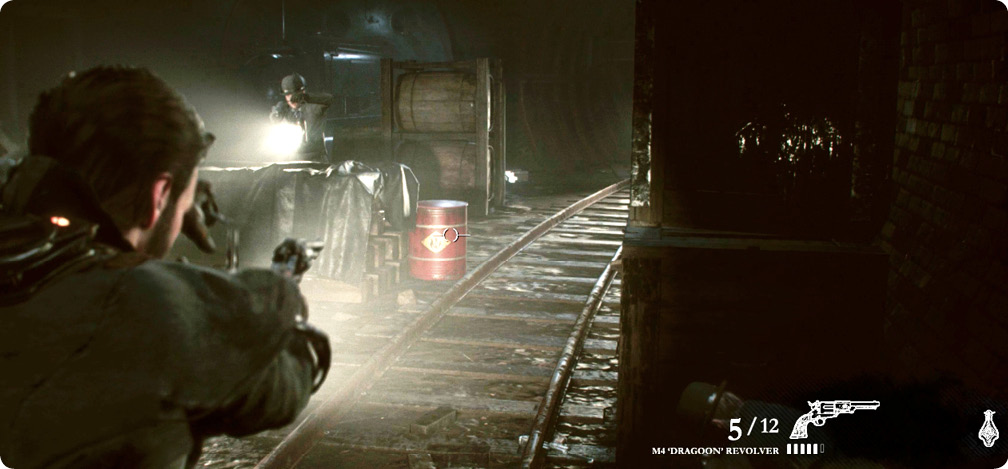
- Shoot those red barrels! In tough fights, you’ll often find highly explosive powderkegs sitting in strategically important locations—next to a particularly tough enemy Heavy or Leader posted on a high balcony, for example, or near a cover spot where multiple foes have taken up firing positions. When detonated, these barrels deal immense damage to anything nearby, so you can make a single bullet pay huge dividends.