The Order: 1886 Signature Series Strategy Guide Walkthrough Chapter I: ALWAYS A KNIGHT
Take Cover
Here’s your first gunfight! Rush forward to the barricade (21)and press  to take cover. Cover is very important for survival in this game, so use it whenever possible. After Igraine says, “Let’s get to work!” you get a new directive.
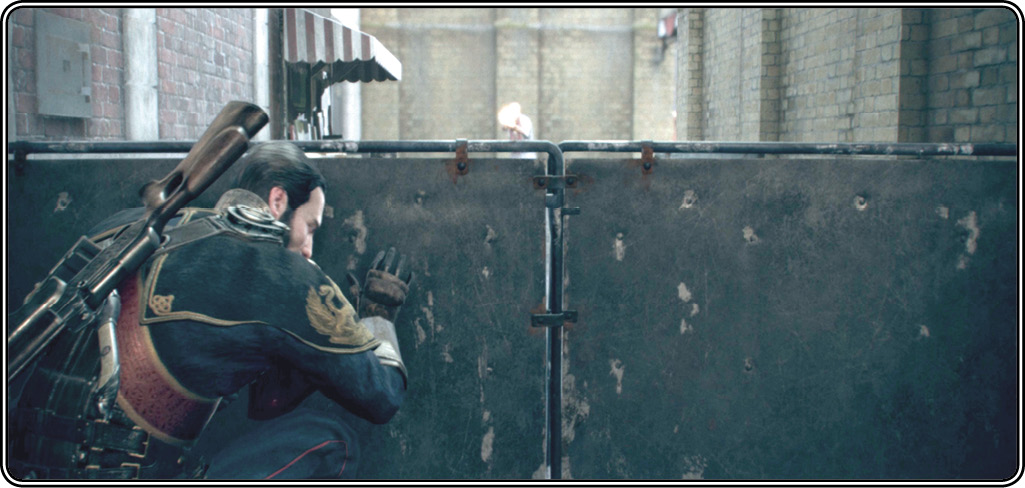
Incapacitate the escapee threat
Using the “Equip Weapon” controls, press the left D-pad button to equip your secondary weapon, a C-78 Autoloading Pistol. (Again, check out its specs in our Weapons chapter.) You can “blind-fire” weapons from behind cover by simply pulling the Fire Weapon trigger  , but this method makes aiming adjustments imprecise. It’s much more effective to use
  to pop out of cover and aim, adjust aim quickly, release the trigger to drop back into cover while your targeted enemy fires back, then pop up again and fire before the target can return fire.
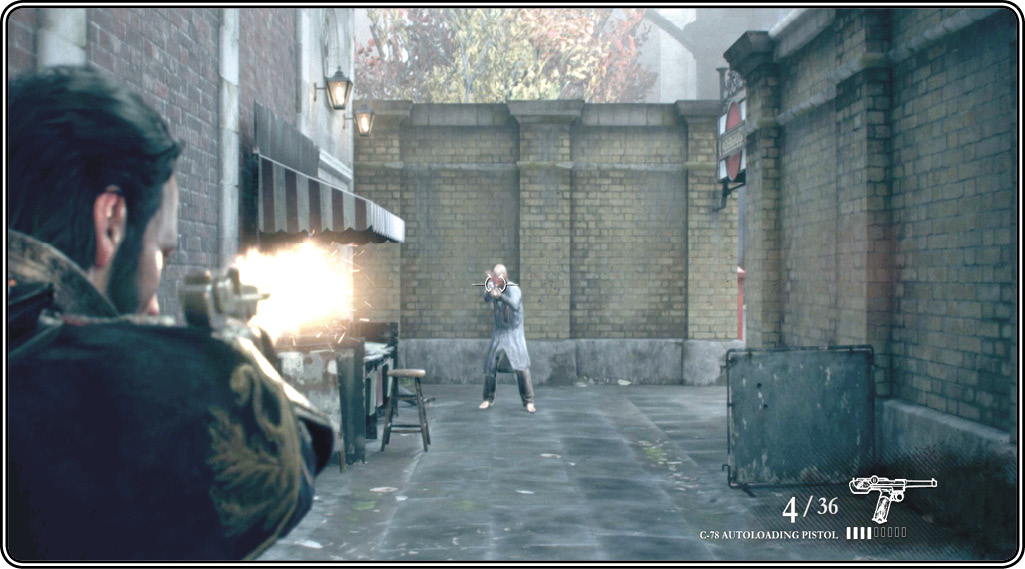
When your first ammo clip gets low, Igraine suggests you reload. Take her advice and press  to do so. (It’s always a good idea to use any lulls in combat to reload your current weapons.) After you pick off the first two escapees, push forward by using the “Vault” maneuver to hop the barricade—i.e., push forward on the left stick and press
  , the same controls as “Traverse.”
Here you can choose to swap pistols by picking up dead escapees’ weapons. But your C-78 has greater accuracy and power than their MK I Service Revolvers so we recommend you pass up that trade. When you reach the corner, watch the cutscene as more bedlamites tip over a carriage and deploy to fight.
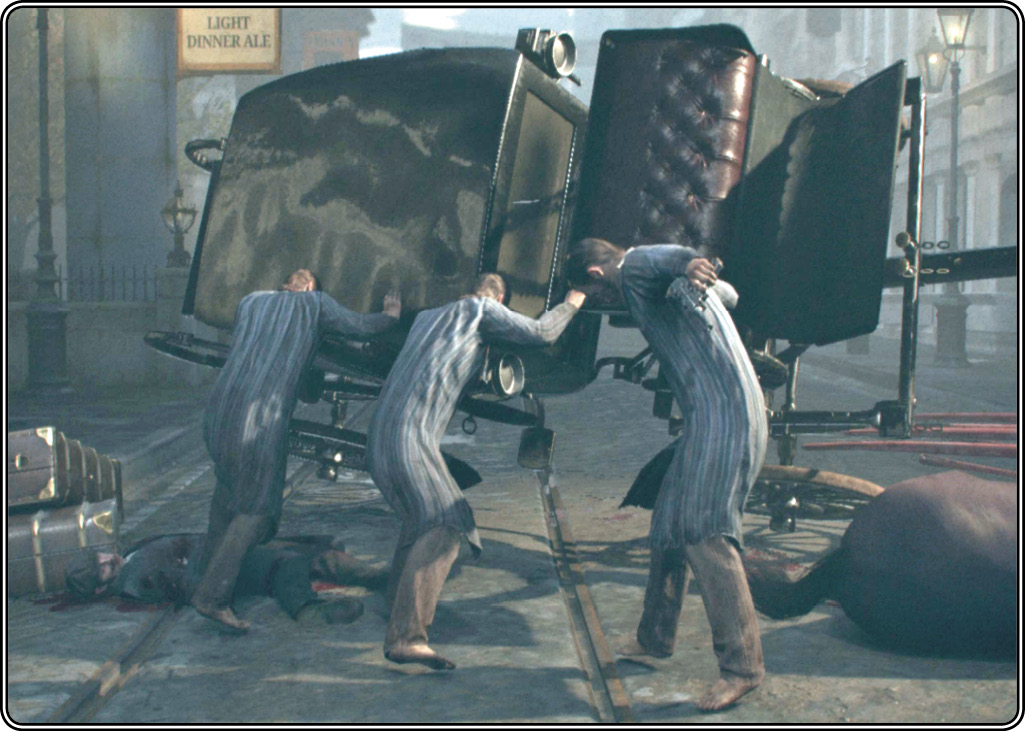
Hustle to the cover on the left (22)and take Igraine’s advice again by switching to your Falchion rifle. (Press the right-button on the D-pad to equip your primary weapon.) Once you eliminate the first group, a second crew emerges from the alley; Galahad notes how “some are headed for the atrium.” Nail the ones that take up positions down the street, and then follow Igraine’s lead as she pushes forward to the courtyard of the Royal Exchange building.
Duck behind the first planter box (25) for cover and start gunning down the escapee gang that advances across the courtyard near the King Alfred the Great statue. Push forward with Igraine from cover to cover and fight upstairs onto the Exchange building’s portico (26). Be sure to check fallen foes for dropped ammo!
Pursue escapees into the Exchange building
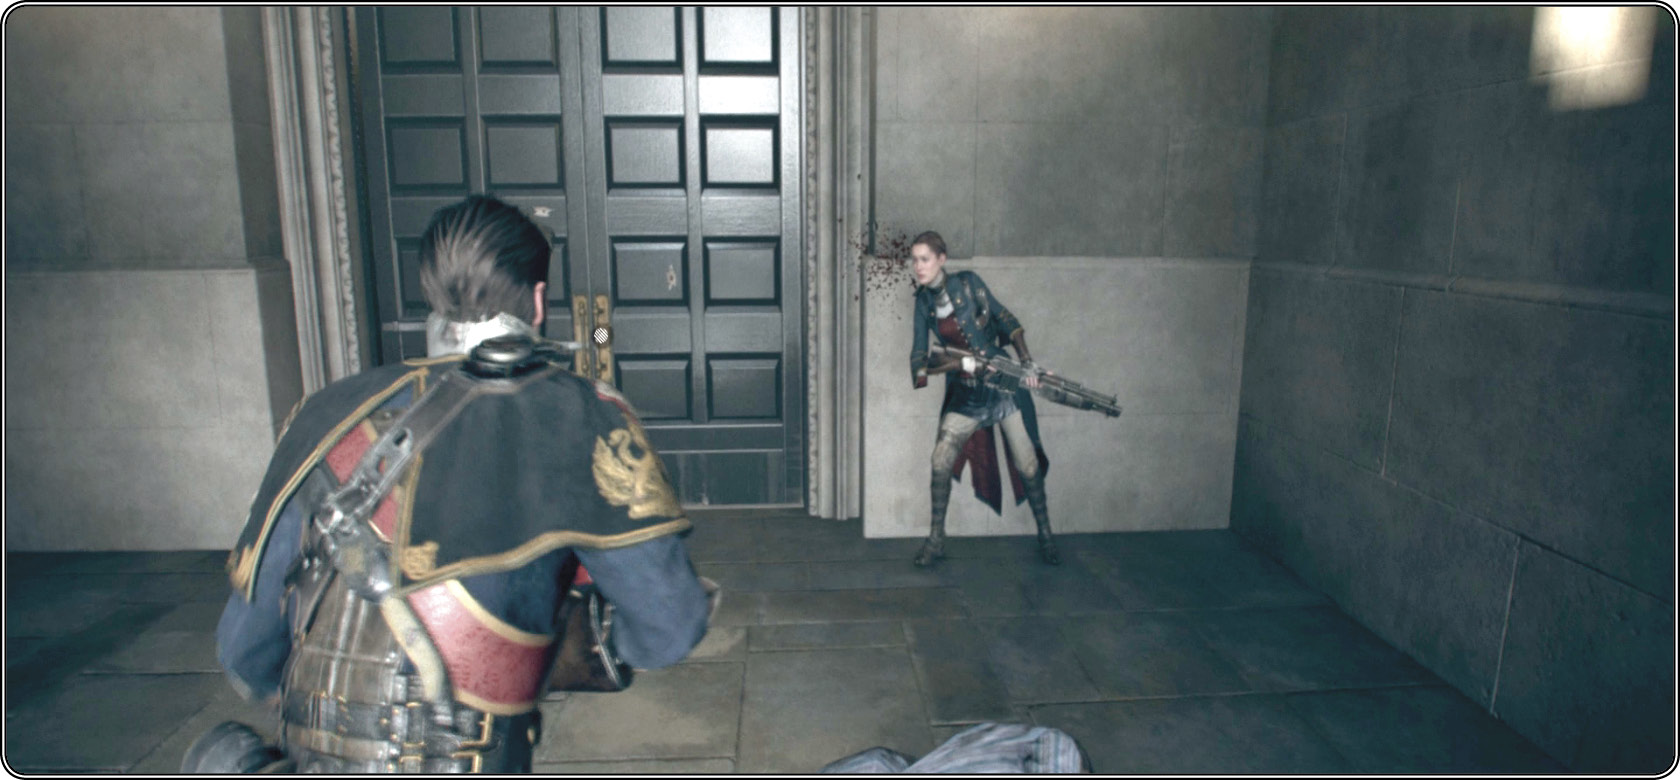
As you approach the entry door you hear an escapee shouting, “I swear I’ll blast his head into [expletive] mash!” Nail one last gunman near the entrance then approach the locked double-doors (27) to hear the commotion inside. When the prompt appears, press  . Galahad automatically wields his Falchion rifle and then shoulder-bashes the doors open.
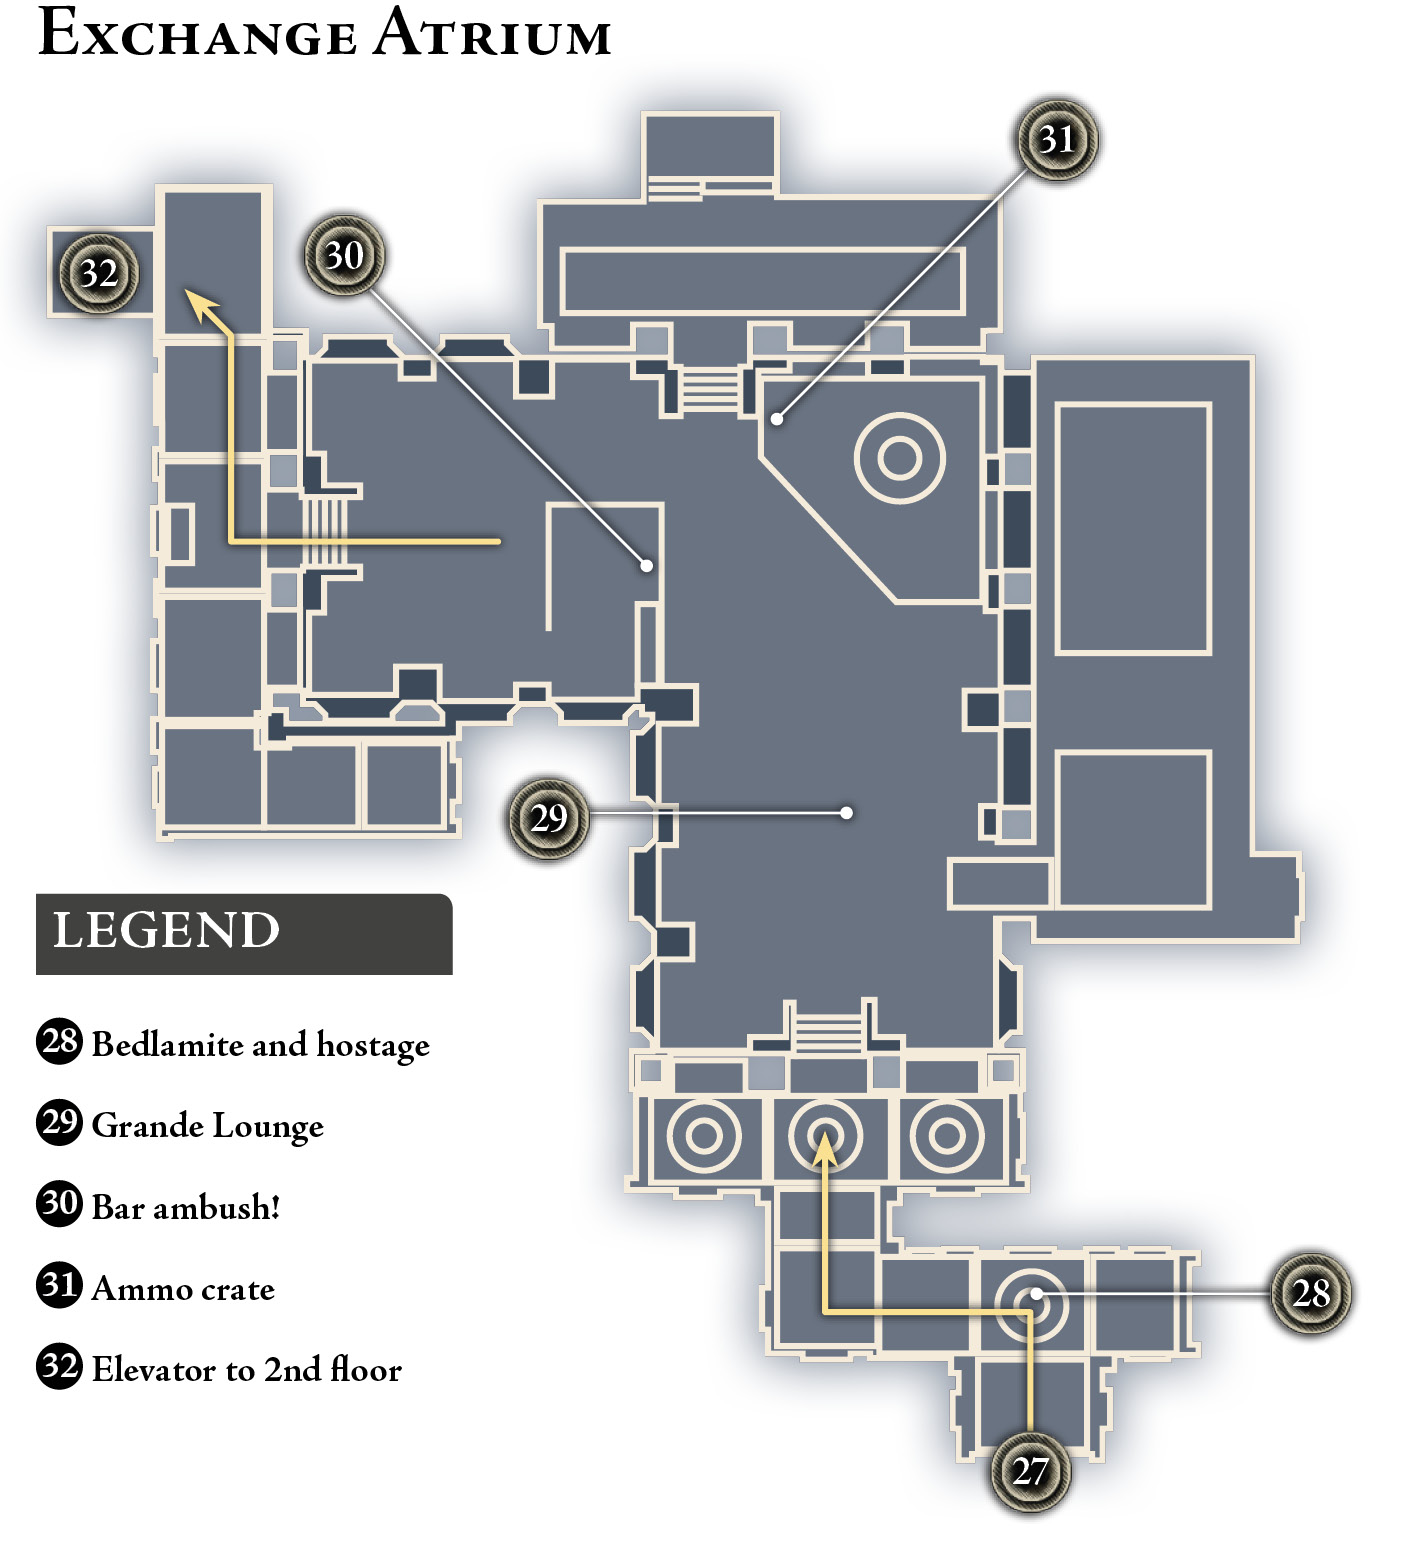
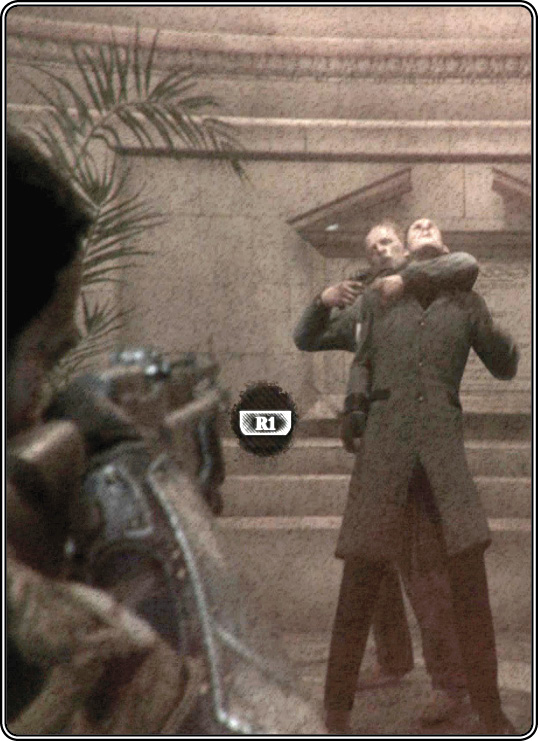
An escaped lunatic holds a gun to his hostage’s head (28). Quickly! Aim your Falchion at both men and press  (the right bumper button) as directed onscreen to fire the rifle’s secondary armament, a stun-inducing concussive blast. Both men get knocked to the ground. Shoot the escapee and follow Igraine left to the next corner. Galahad complains, “I’m too old for this.”