
STAR WARS™ Battlefront™ Guide Multiplayer Game Modes Locations Tatooine
Rebel Depot
Blast
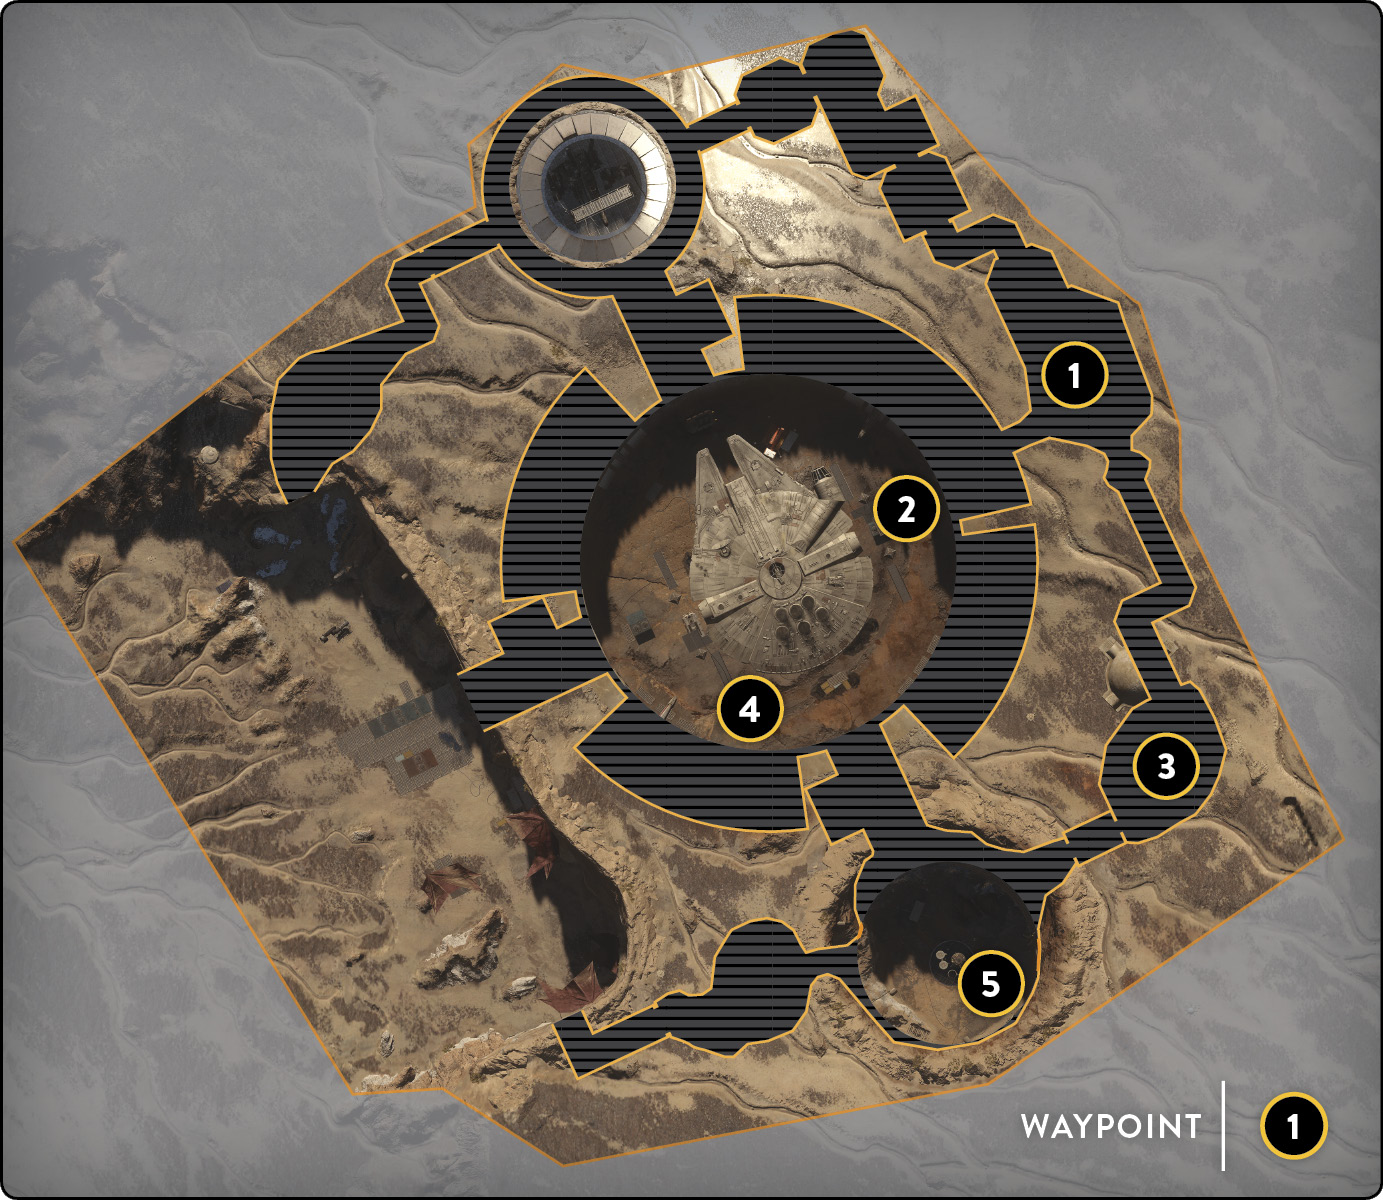
 The Rebel Depot is one of the rounder maps, with an interior perimeter and an exterior center that make for a well-balanced map when it comes to playing Blast. If you are the run-and-gun type, there are several ways you can play Blast on Rebel Depot: circle the outside perimeter, circle the inside perimeter, or (if you like to change things up) try a mix of both an inside and outside run.
Circling the outside perimeter means that you are using close-quarters tactics. Equip a blaster with a high fire rate, like the DLT-19 or the T-21, or try something like the CA-87 shotgun-type blaster to take care of any enemies that surprise you around corners. If you happen to pick up a proximity mine on a power-up, note that setting up ambushes is not their sole use. The best places to drop a proximity mine when using the run-and-gun tactic are directly around a tight corner (like a box or turn) or in a narrow corridor (like a doorway or maintenance shaft).
 The inside perimeter run requires a slightly different approach, as there are points during the run where you are exposed on multiple sides. Unlike circling the outside, this tactic works best when you are teamed up with a partner. Being able to watch both flanks from a short distance, you and your partner can cover each other’s blind spots, taking the Millennium Falcon’s exterior by storm. Just like the interior on the outside perimeter of the map, there are general preferred areas for dropping proximity mines, such as in front of doorways and behind box corners. Drop the mines on the corners facing the direction in which you are running. Anyone who catches a glimpse of you may come out to shoot you in the back, and what is waiting for them could potentially save you.
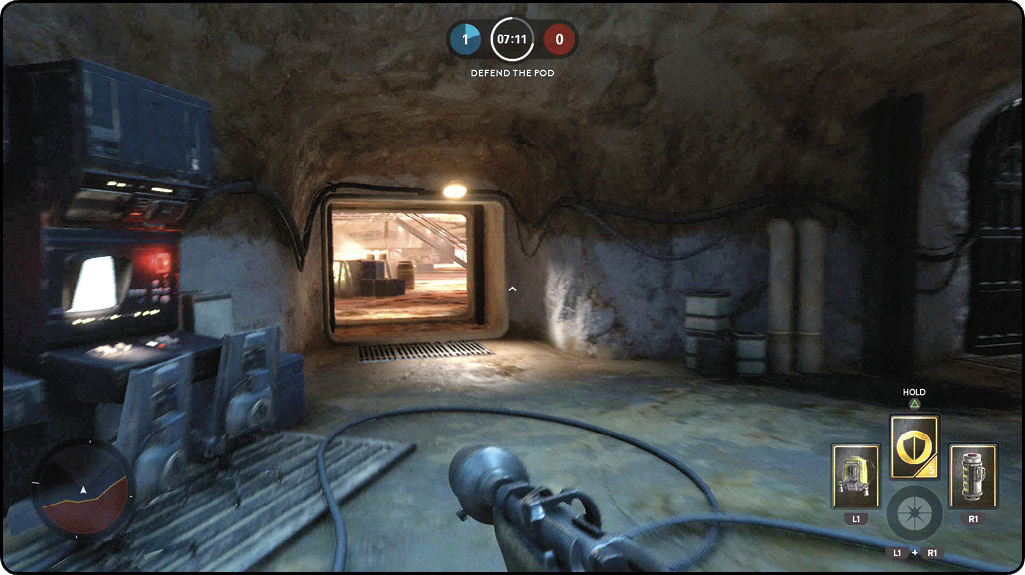
 Running the perimeter of the map in Blast is a very effective tactic, but depending on the enemy, there are situations where you should stop and lock down a location and block any opponents who may have the same idea. Locking down a location also allows for a defensive setup. With such a setup, you run the chance of frustrating your adversary, causing them to make mistakes—possibly even the same mistake repeatedly. Dropping Infantry Turrets and Blaster Cannons becomes extremely effective when they’re aimed at choke points.
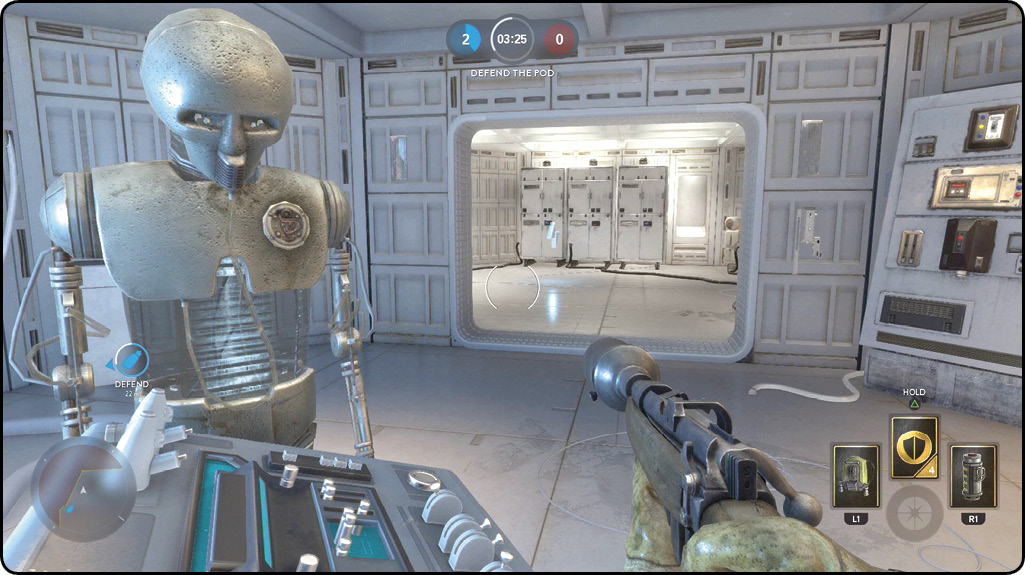

 A few locations quickly become highly valued because if you have at least one of them, your team can funnel enemy troops through a minimal amount of passageways, lining them up like target dummies. The X-wing hangar with the destroyed X-wing has only three entrances. As long as a few members of your team are on board, it is very effective to lock this hangar down. Whatever you do, don’t break ranks. Another location is located on the opposite end of the map, in the outdoor cargo area. Here, using the same tactics is almost as effective because of the same amount of entrances. Note that this area is slightly less effective simply because it is a little easier to get the high ground just above. Watch your entrances, and take a peek at the ledge above you every few seconds to make sure that you’re not about to get a Barrage thermal grenade launcher dropped atop your head. If you’re feeling adventurous and you happen to have a team that you really mesh well with, try taking over the Millennium Falcon hangar and posting troopers at locations overlooking the hallways. Your opponents will begin to spread out because in the hallways, the number of enemies in the group have little to no effect because of the bottlenecks. Unless they all attack at the same exact time, you have a large game of whack-a-mole on your hands.
Drop Zone
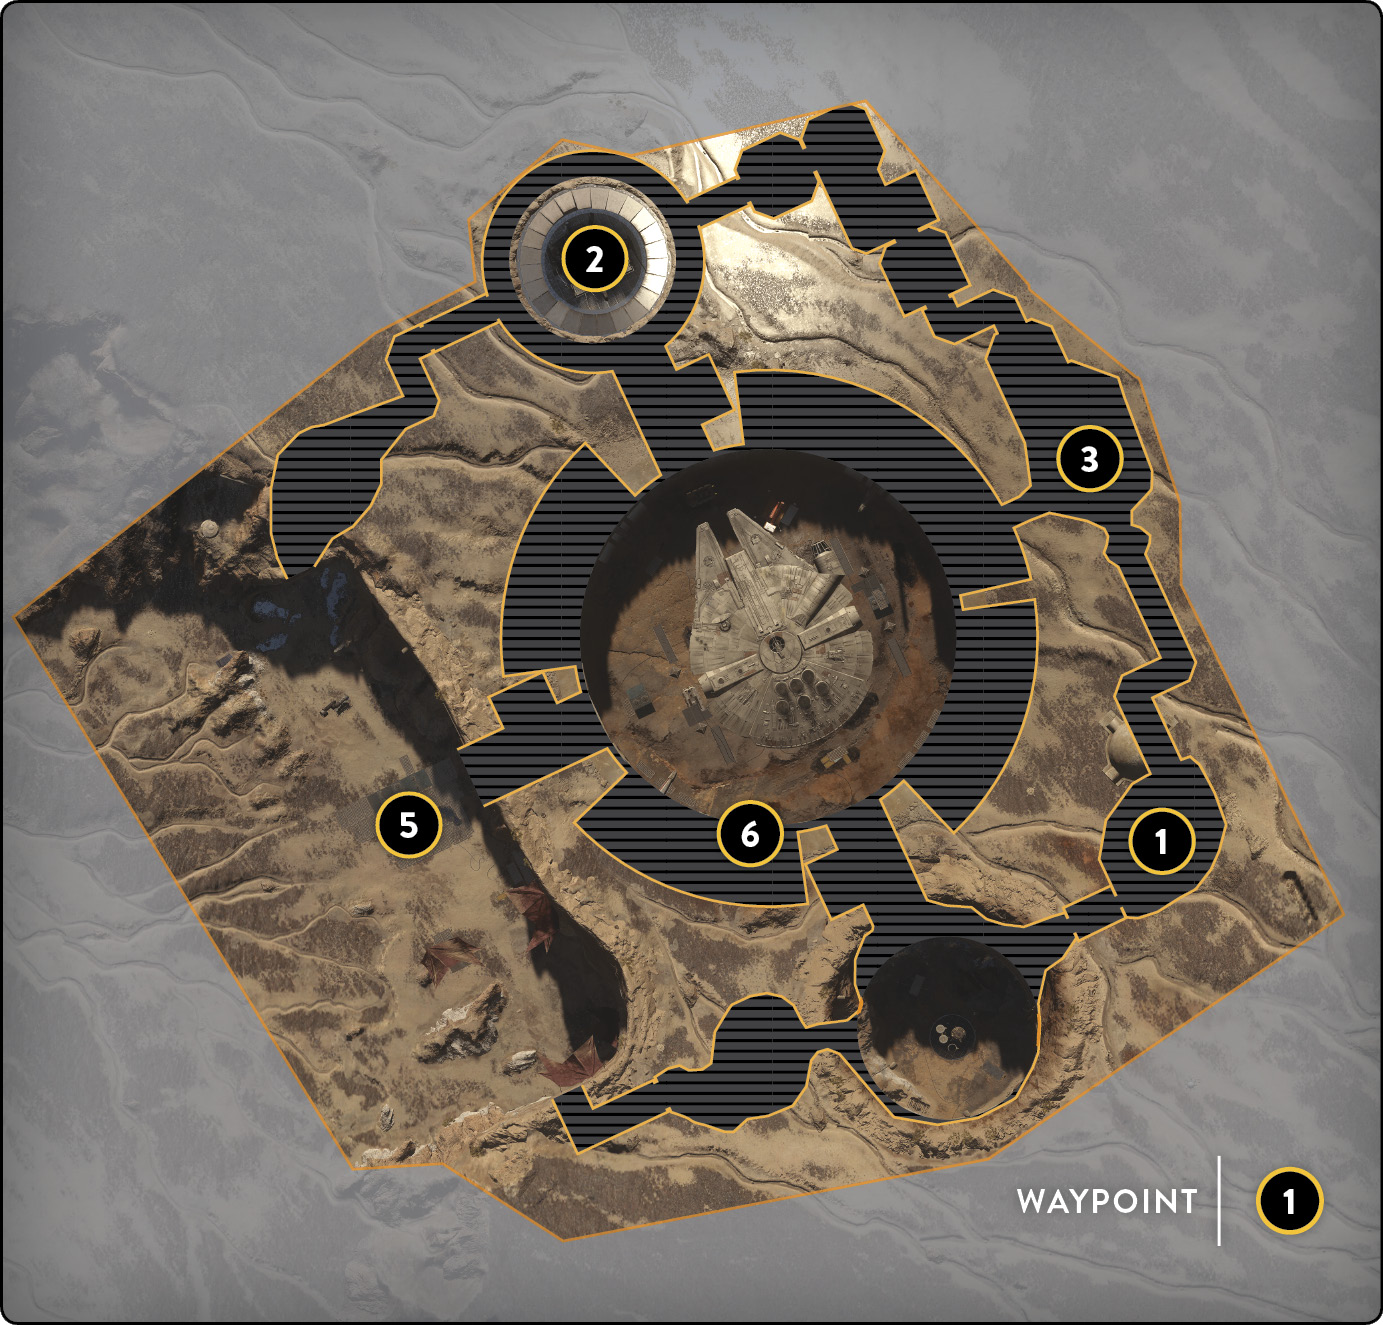
 One of the most important things to know about playing Drop Zone on Rebel Depot is that a large percentage of the map is indoors, which means there is a relatively small amount of space for drop pods to land. Think about this map like so: even though the map is quite asymmetrical, there are five distinct areas where you can check in and have a jump on getting to the pod before the enemy does. These areas include the X-wing hangar, the intelligence center, the outdoor cargo hold, the depot entrance, and the Millennium Falcon hangar, which sits directly in the center of the map. Each of these areas has a chance to drop a pod, making them the most important locations.
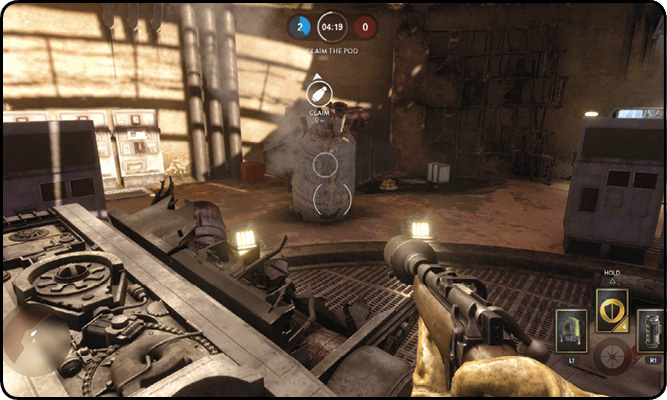
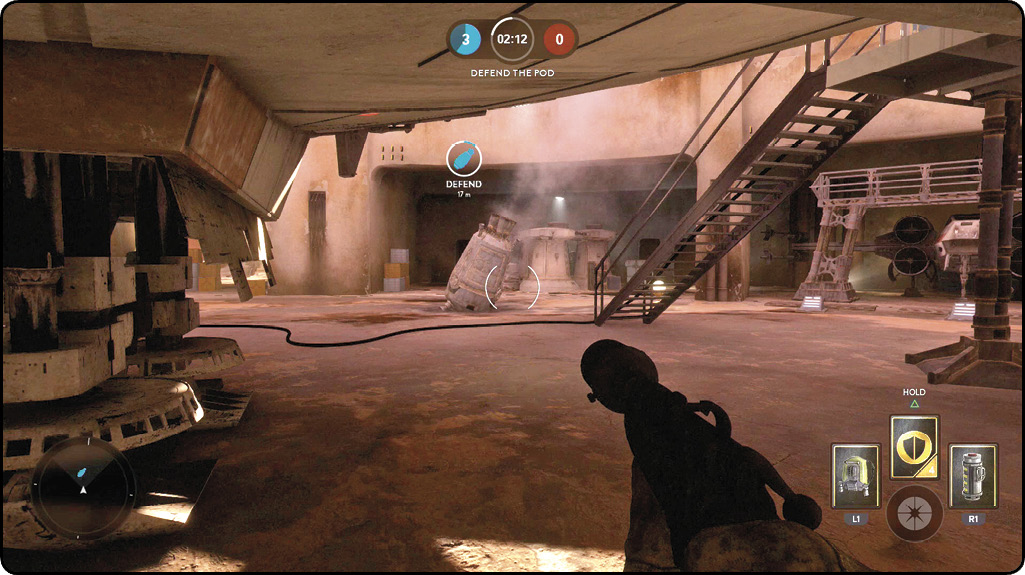
 The X-wing hangar has an opening above it, and the drop pod can deploy directly next to the X-wing. There is not much variance in the exact location it drops while in the hangar itself. As long as you are near the destroyed X-wing, you are close enough to claim the drop pod for your team without resistance. After you have claimed the pod, you have a couple ways to defend this location during the capturing phase. Keep at least one other team member with you during this phase, and use the partner system. You must cover three separate directions, and it’s much easier to do that with a wingman. If available, drop an Infantry Turret in the direction that is of lower priority to cover; this is normally the direction that the majority of your team is in. If your team is close enough, you’ll be able to see them on your radar. Drop down the auto-firing turret, and pay attention to what you originally are supposed to guard, while the turret guards the final unguarded area. If you can, keep up communications with your partner, and make sure that you drop back and stay safe if your partner goes down. As long as you’re still alive, he or she can potentially deploy on your location
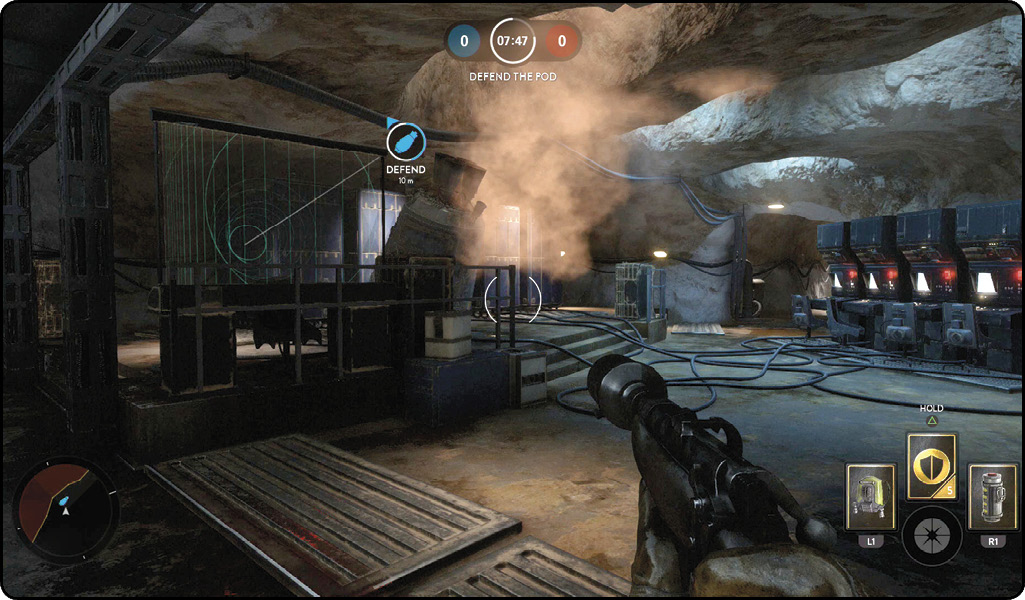
 The next zone over is the intelligence center to the starboard side of the Millennium Falcon. It may not seem like there are any places where the drop pod can fall from to make it into this location, but there are a couple very narrow openings in the ceiling—just perfect to drop supplies through. Just like the X-wing hangar, there are three directions you must watch when defending the location. However, the ceiling is much lower and the corridors are a lot tighter, making the CA-87 shotgun-type blaster more effective here than in any other section of the map. Use the chokepoints to defend this location, and set up deployable turrets to mow down any opponents that round the tight corners, leaving them no chance of escape. Attacking the intelligence center is the most challenging. Use Seeker Shots and Smoke Grenades (in that order) to have a chance at poking a hole in the enemy’s defense.
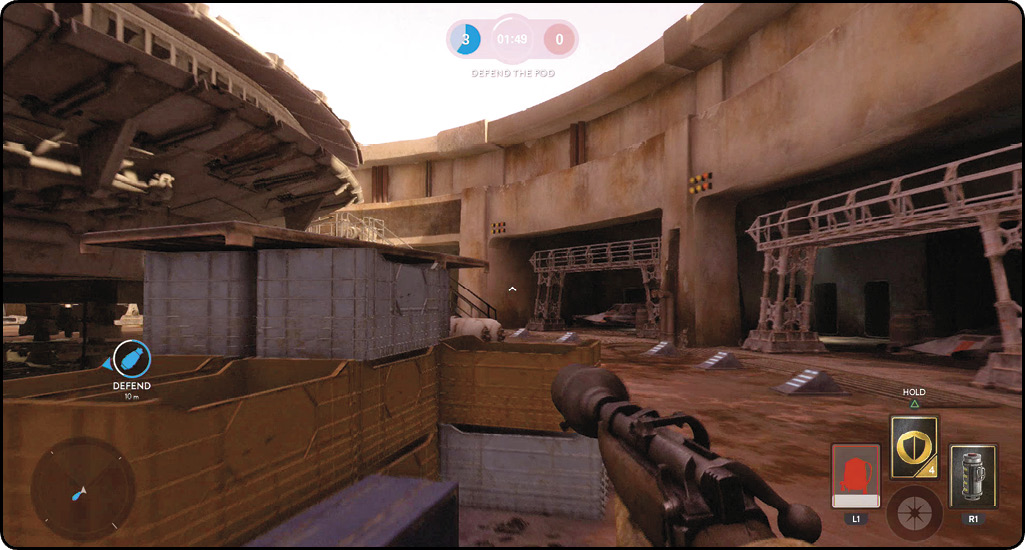
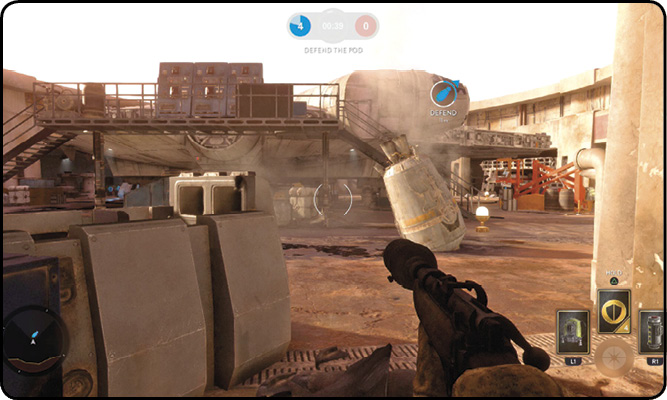
 The third location is quite a bit more open than the previous locations. Thanks to its wide open skyline, it is technically outdoors. This open format allows you to jump to the top level and get the advantage over the defenders. If possible, use a Jump Pack to get up there from the Millennium Falcon. If you’re in the middle of capturing the drop pod from the outdoor cargo hold, don’t risk getting to the top level. Accessing it isn’t a simple task, nor is it possible from that side of the cliff. Because of this danger, some of the best locations from which to defend the drop pod are the interiors, either the hallways on the sides or the vehicle entry underneath the cliff itself. The location that allows the easiest return to the pod is the central entryway from the Millennium Falcon hangar. However, it is also in the direction where the enemy most likely attacks from. The Personal Shield is very useful when you are attempting to get to the drop pod in a pinch. Anything might be waiting for you, and the shield gives you a few seconds to react to whatever is there.
 The depot entrance is by far the most open area of the map. However, with the boundary keeping you from leaving and running out into the rest of Tatooine, it can appear deceivingly bigger than it actually is. There is no defined wall, but you can go beyond the main line of debris, which makes for a great ambush location. Hiding behind the debris that lines the border of the map gives you two advantages: you avoid being directly in the line of sight, and you remain completely hidden until you choose to reveal yourself. Since you are out of any enemies’ line of sight as they enter this area, you have the advantage of waiting for them to enter your chosen ambush location and striking at your discretion. There is always the chance of a vigilant opponent coming to look for you before attempting to capture the drop pod, so stay frosty and be ready for anything.
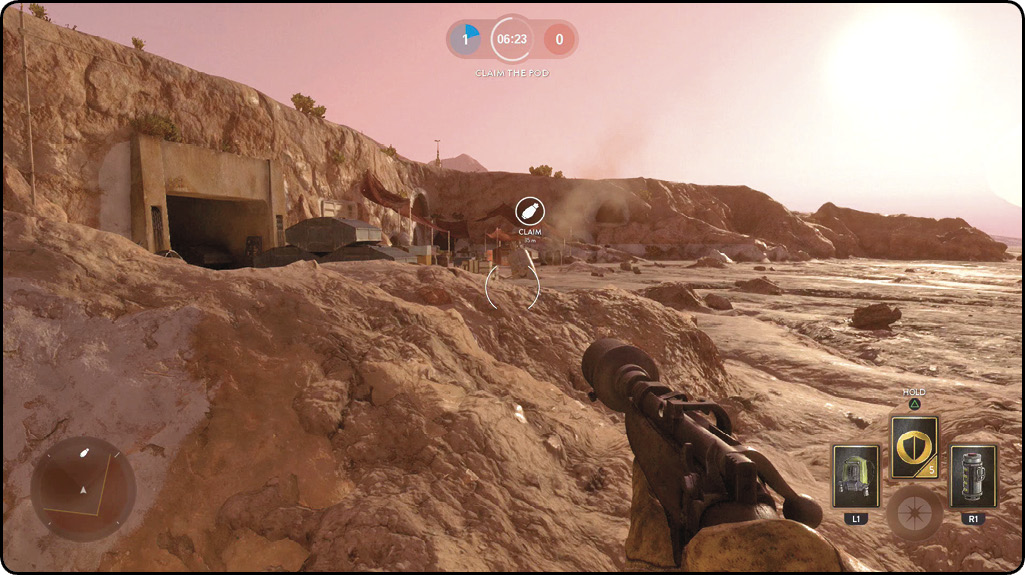
 Finally, the biggest and most difficult location to hold in the Rebel Depot is the Millennium Falcon hangar, which can be accessed from any other area of the map. This location is always a bit chaotic, but as long as you can get the high ground on the Falcon or one of the cliffs, you will have a major advantage. Keeping the high ground is both challenging and requires some help from your teammates. You won’t be able to capture any drop pods while up high, but it is your job to keep them protected and call out any locations that your opponents are attacking from. The drop pods can drop anywhere around the Falcon, so be ready to set your sights on every angle. Also, be ready to jump as quickly as possible; by default, your foes roam this area anyway.
Cargo
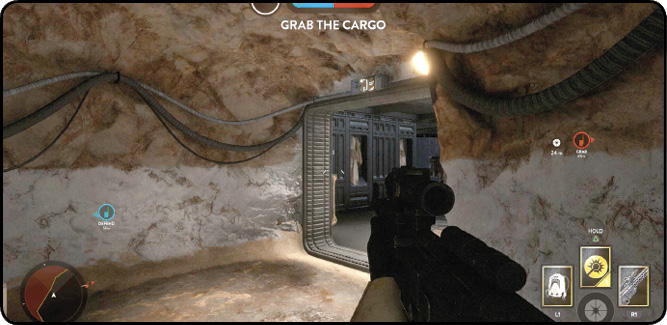
 The Rebel Depot is definitely one of the more advanced places to play Cargo on. The tight corridors make it difficult to get past any defenses the enemy team might have set up in preparation for your return with their cargo. Alternatively, if the cargo carrier can get lucky or directly outsmart the other team, he or she can return to base without laying eyes on a single adversary. The same goes for defending cargo. You should always be aware of where your opponents are and where they might be defending from (or where exactly they are defending). Either way, all tactics in this mode on this map require a ton of teamwork before you can defeat the other side.
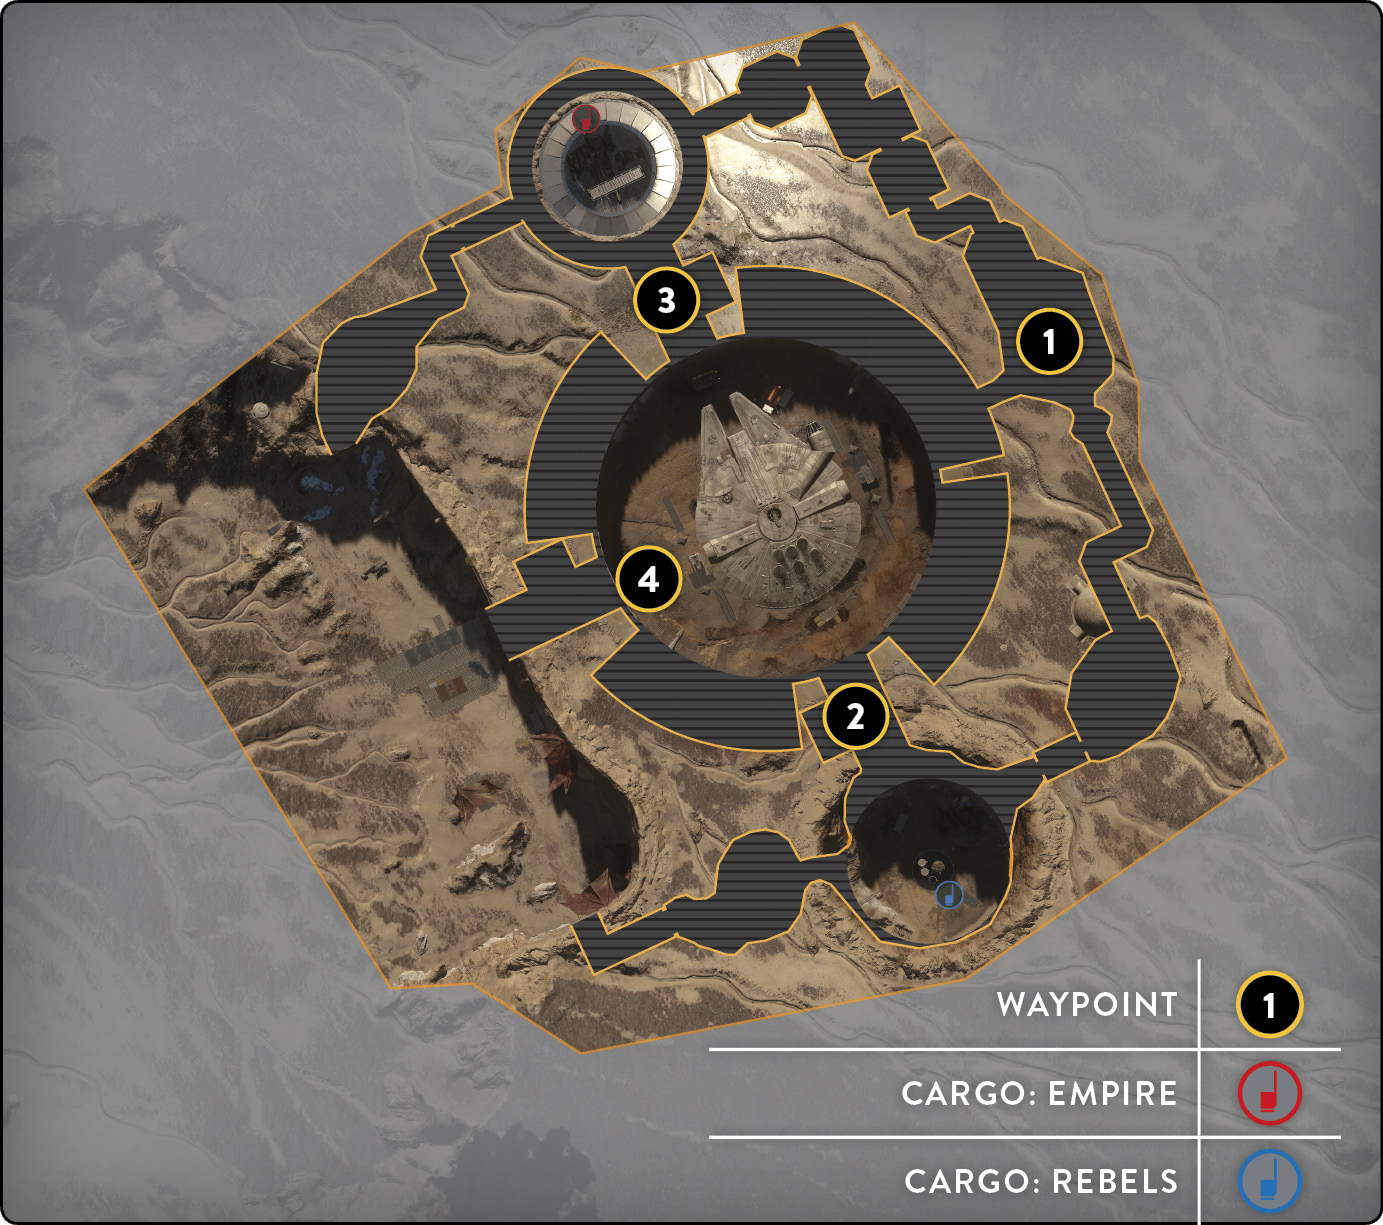
 Playing as the Rebel Alliance, your team’s cargo is located in the outdoor cargo hold, which sits toward the stern of the Millennium Falcon. There are three different directions to be aware of, but whenever you’re playing Cargo, you and your team should know what everyone is doing and which tactics you plan to use. If the majority of your team is playing the midfield and has a fast pathway to your friendly cargo hold, you might want yourself or other friendlies to defend the side paths from inside the corridors and from a little farther up to keep the enemy as far from your cargo as possible. However, if your team is scattered and perhaps on full-charge offense, the defender should stay as close as possible to your friendly cargo and remain out of sight. Within the cargo hold, “out of sight” means either behind some of the boxes spread out in this area or in one of the corridors to the side (granted, there you have something or someone watching your back).
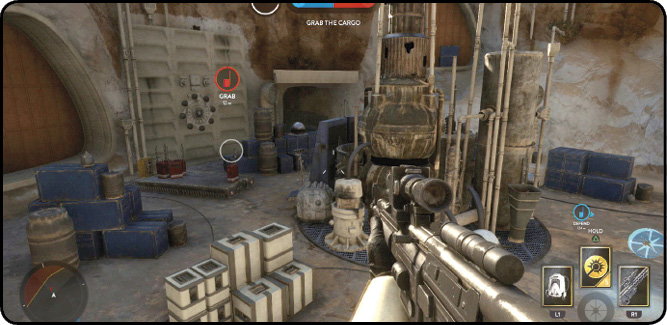
 Fighting for the Empire is fairly similar, but the big difference is that you have fewer options of hiding and keeping protected while near the cargo than you do in the side corridors. The cargo for the Empire is located in the X-wing hangar off the bow of the Millennium Falcon, and the entrance to the hangar is slightly narrower. However, there is not a wall that obstructs the entrance, unlike the outdoor cargo hold on the Rebels’ side of the Rebel Depot. You can shoot straight into the X-wing hangar, creating somewhat of a free fire area near the cargo. Because it’s likely for the hangar to get quite hot, you should defend from the sides. Here, there are a couple of rooms that provide some areas where you can move around and set up proper defenses against attackers. However, because it is not as difficult to attack this side of the map, this also means that a good way to prevent the enemy from looting your team’s cargo is to take over and hold down the center Millennium Falcon hangar. Use that leverage to quickly dispatch any attackers from this location if they happen to get inside the X-wing hangar, or cut them off before they get to their side by running down the horizontal center of the map.
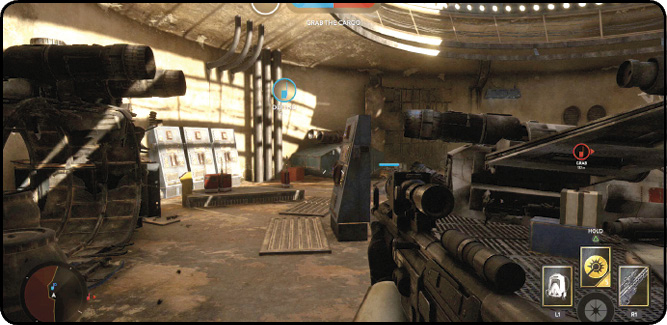
 Avoid worrying too much about the neutral center of the corridors on the sides of the map, unless you and your team have a plan. Controlling the hangar that the Millennium Falcon is located in gives your entire team the advantage in moving to either side to defend your teammates as they make off with the enemy’s cargo, or kill the enemy stealing yours and return your own cargo, keeping the enemy team from scoring. The port side of the Falcon leads to the depot’s entrance, the most open area, which leaves a lot of room for unknown and unexpected firefights. You never know if someone might be waiting out there for you, so taking the cargo this way is extremely unpredictable. Still, it is much easier to protect if planned in advance. If the status of the depot entrance is unknown, the safer path is the starboard side of the Falcon simply because you can see much of how well it is defended before you go too far.
Hero Hunt
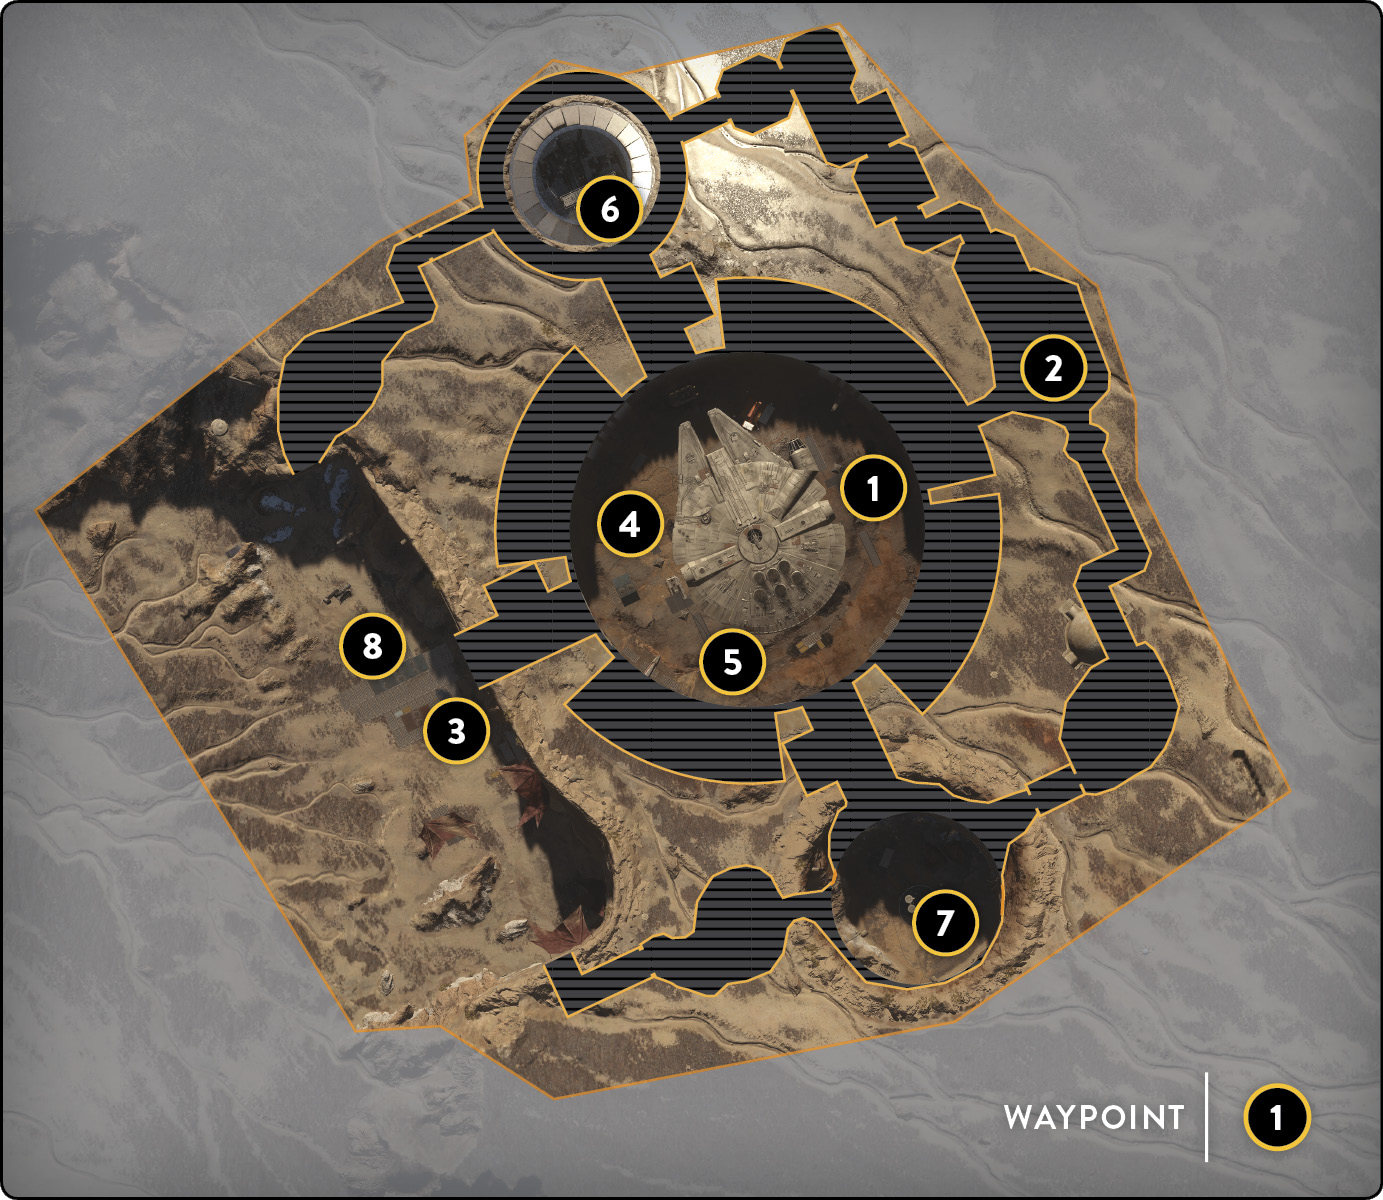
 Hero Hunt in the Rebel Depot is heroes against stormtroopers, or in this case, sandtroopers. As the stormtroopers chase you around the Millennium Falcon, there are dozens of locations and ways to avoid and/or ambush them, depending on the character that is chosen for you to play. If you are playing as Luke, Han, or Leia, your tactics should change dramatically, as these characters are built extremely differently. As with all modes on Rebel Depot, there are five prime locations that give both teams an advantage when used in a few specific ways.
 Luke Skywalker has a few extremely powerful strengths that can eliminate the entire team if you catch them off guard. Using Luke’s full swing, you can take out every enemy standing nearby, so a small room or intelligence area can lead to a massacre. Consider how narrow the corridors leading from room to room are. If you can lure the entire team into a single hallway, deflect blaster bolts straight back at them, leaving them no room to avoid your fire. If the stormtroopers get wise and stop shooting in order to throw grenades or explosives, Luke can use his Force Push to heavily damage the enemy troops. He can then use his Saber Charge ability to immediately go after the survivors.
 If you are playing as Han Solo, you want to use the outdoor locations (like the cargo hold or the depot entrance) and keep the enemies at range. Han’s blaster wins any potential gunfight challenge. Use Lucky Shot to take down a group of troopers in a single shot, or at least heavily damage the majority of them. This makes it much easier to kill the group and win the bigger fight. Occasionally, you may be forced to run from a fight when the entire group of stormtroopers is firing on you from one location. Remember that when you’re stuck in a tight situation and don’t have any chance but to fight, use Shoulder Charge to rush through your adversaries, hopefully trampling a few along the way. If you don’t get all of the troopers in your path, you at least have a choice of escaping, as you are no longer pinned down and stuck in a difficult spot.
 The Rebel Depot does not favor Princess Leia, but there are still many ways to survive and use her abilities to kill the enemy. Leia’s supply drop doesn’t help your success in Hero Hunt, but dropping the Enhanced Squad Shield and immediately popping Trooper Bane lets you shoot through the shield. You can kill each trooper with one shot while limiting their options for attacking you. The Enhanced Squad Shield can be useful for several situations (like the one just mentioned), but it can also be used as a trap. For the most part, the only way to attack Leia is to destroy the incredibly powerful shield, which takes a good amount of time, or to enter the shield and force a close-quarters combat situation. Use that knowledge to lure a stormtrooper or two into the shield, and then outshoot the trooper, knowing that you have a great deal more health than he or she does. Use the narrower spaces on this map to your advantage, and employ the shield tactic when you are caught in a pinch, both indoors and out.
Heroes Vs. Villains
 The balanced, Rebel Depot lends very well to this mode, allowing all the characters to use each of their abilities to its full capacity. For the most part, the heroes use very similar tactics as they would in Hero Hunt. However, there are a few slight differences that might make or break your victory. For instance, when you are playing as Princess Leia, keep in mind that your shield not only grants you more cover, but it is also the best way to counter Boba Fett’s powerful blaster as he launches above you. As Han, you should use Lucky Shot, as it is something that causes a great deal of damage and that enemies can’t deflect. Using Rapid Fire against Darth Vader or Emperor Palpatine can only get you into trouble, though, as they can deflect that high amount of damage right back at Han.
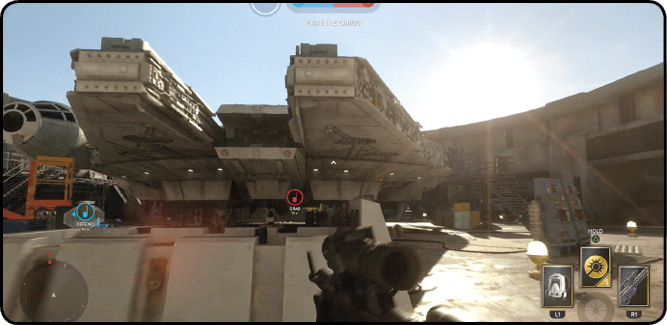
 In this mode, you can play as Darth Vader on Tatooine. Using his Saber Throw is one way to deal with both Han Solo and Princess Leia. It is difficult to kill either hero with Saber Throw, but it inflicts more than enough damage to give you a chance to close the gap between Vader and them, giving yourself the advantage of close quarters. The center underneath the transport ship’s hull is Vader’s most useful area. This location brings in most enemies close, taking away any disadvantages that Vader has at range. Lure your opponent into a tight location like this one, and then use Force Choke or Heavy Strike to take down your adversary with ease.
 Boba Fett is a man to be reckoned with here in the Rebel Depot. On this map, players can perfectly stay at range the entire match if desired and still be effective. Post up on the Milennium Falcon located to the north side of the map, and take advantage of being able to go anywhere within seconds by using your jetpack. Once you have an idea of where the enemies are, you might want to save some jet fuel and let it loose to get the high angle on all of them. If they can’t see where you are right away, you have the advantage of getting a few shots on them before they do see you, and then bugging out before being attacked. Launching Wrist Rocket as your first attack toward any hero gives you quite the advantage when it comes down to damage per second on your opponent. The Flamethrower attached to your forearm may not be quite as useful on this map as your other abilities, but if you’re caught in a pinch, it could get you out of a close-quarters situation against someone like Luke Skywalker.
 When playing as Emperor Palpatine on this map, keep in mind that you have a very powerful deflect ability that comes quite in handy when facing heroes like Han Solo and Princess Leia. As the Emperor, your best strategy is sticking as close as possible to other villains. Because you are close, you can support them by casting Chain Lightning at multiple enemies. This can either cause your opponent to bug out or attempt to close the gap on you, only to be ambushed by your partner standing closeby. Remember to escape or help protect another villain with Force Dash.