
STAR WARS™ Battlefront™ Guide Multiplayer Game Modes Locations Endor
Imperial Station
Blast
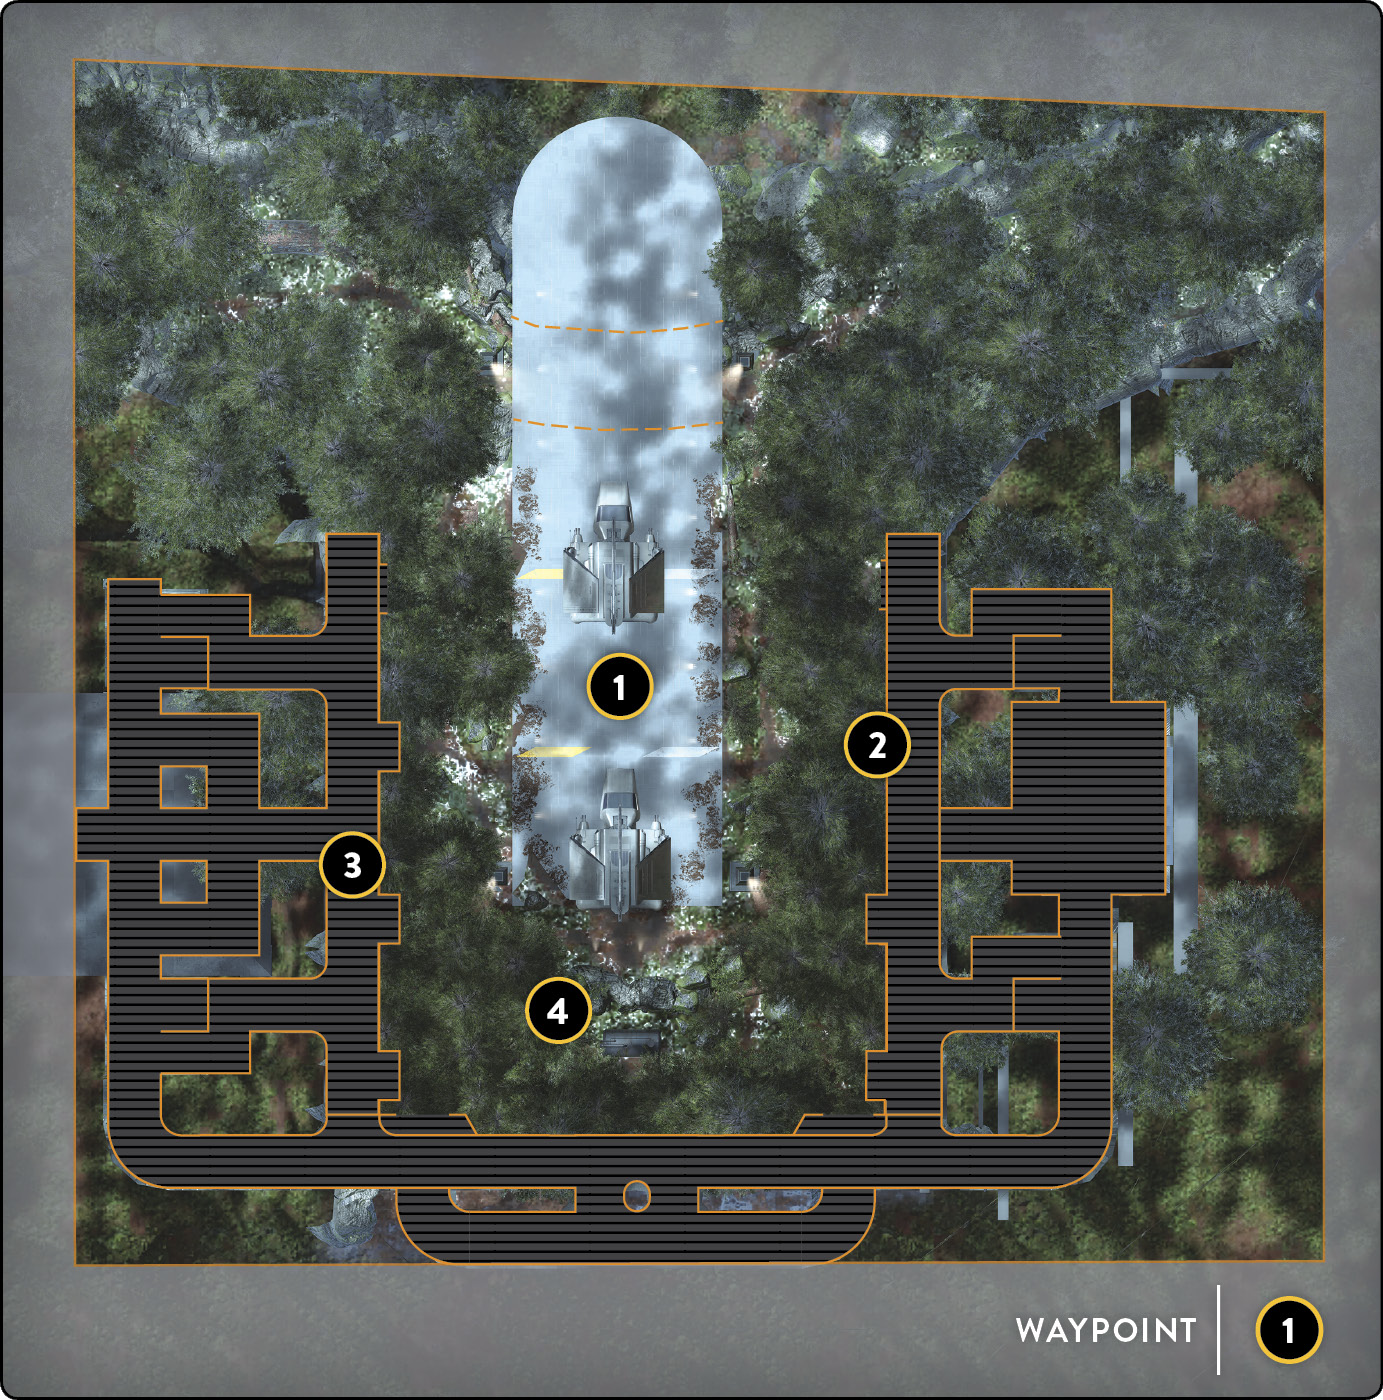
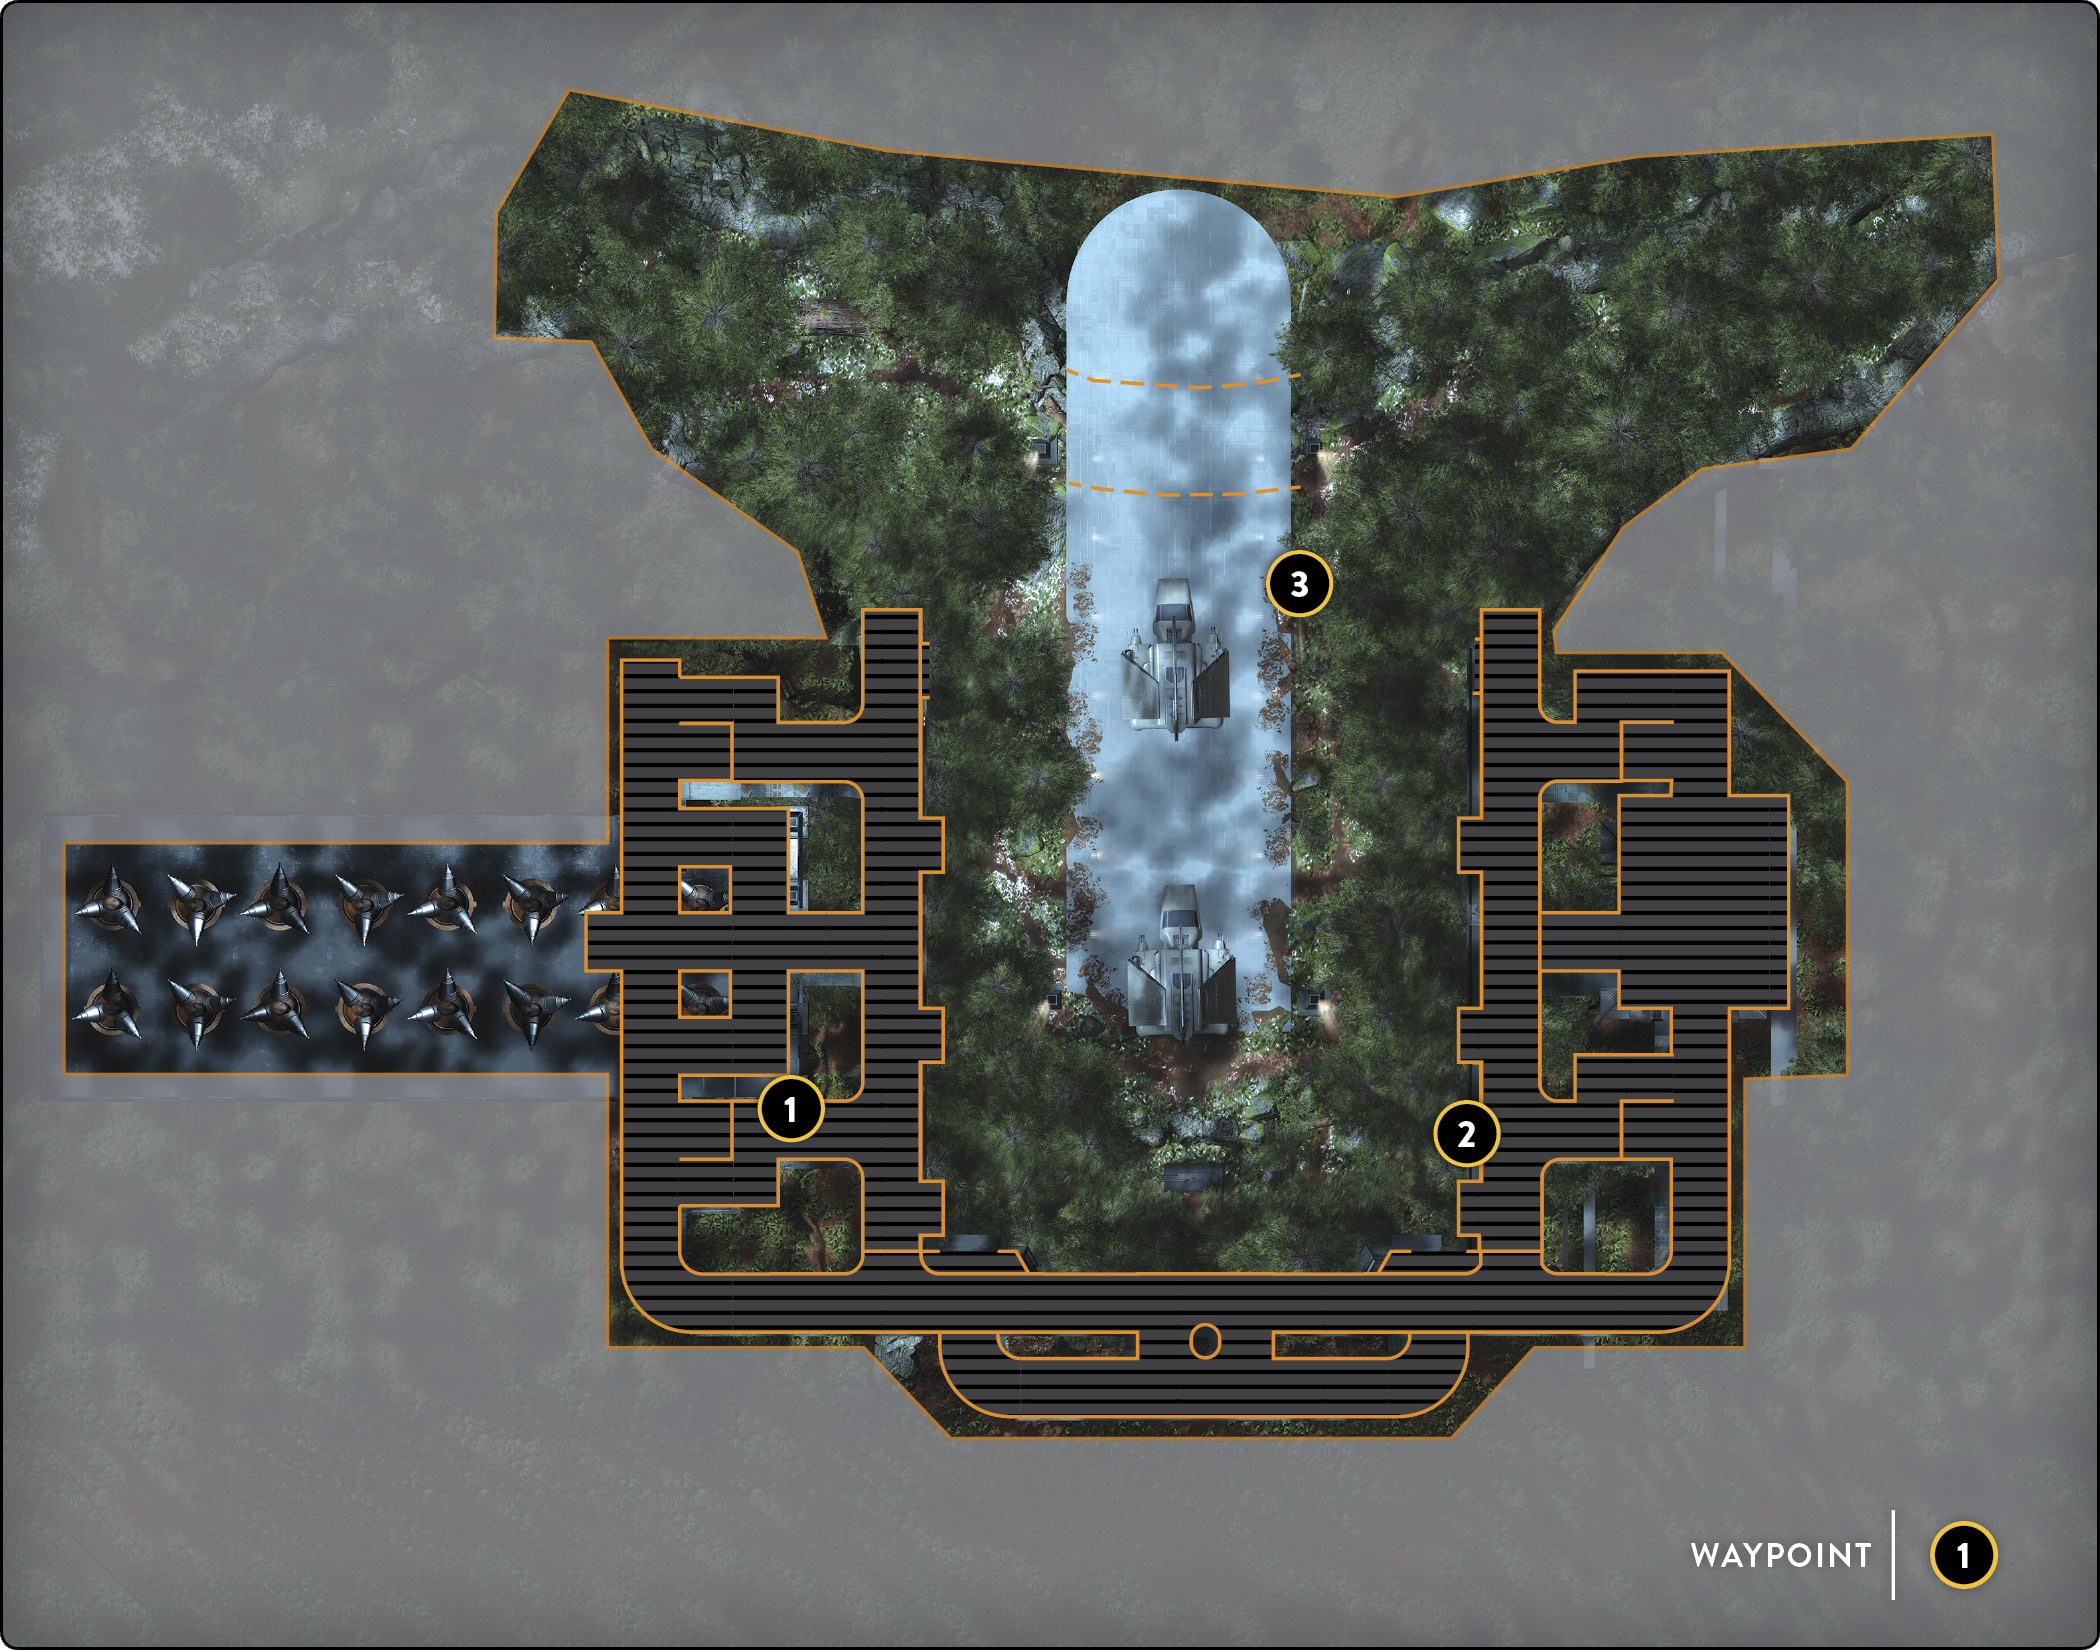
 The Imperial Station on Endor is quite the symmetrical map, making for one of the fairest places to play Blast on. Because of the way the station is configured, there are three main locations: two facilities and a landing pad that acts as the mid-ground between the two buildings. The match does not stay geometrically balanced the entire time, but there is a good chance that the initial first minutes will work that way. Take your time, and don’t move around aimlessly. Random movements do make a difference when there are so many corners that enemies can hide around.
 The facilities on either side of the landing platform are almost identical, having two floors and a few corridors on the back side that are all connected by stairways. Starting from the top floor is a long hallway that can both act as a sightline when you’re hiding around the major corners awaiting an enemy’s arrival and as a way to stay in cover when you’re being attacked from the outside. The top floor acts as a great overwatch area when you are covering your teammates from above. Use it to call out enemy troops and newly respawned power-ups so that the other team cannot collect and use them against you. Be aware that it is very possible to be flanked while you’re up there. Either work with a partner, or set up proximity mines and Infantry Turrets to deter the enemy and protect your six.
 The lower floor of each facility is one of the most important areas to control, since it is the gateway to almost all points of cover at the Imperial Station. You can use the large doors as a tactical on/off cover system. Simply pop open the door and take a few shots to slow down the enemy. The moment your foe starts attacking you, back out and let the door provide major cover. You can move around the bottom floor and make your way to the top in a few ways. Just above the main entrance is a balcony that has direct access to the top floor, but the only way to get to the balcony is by using a Jump Pack. The other way to reach the top floor is to move through the bottom floor toward the back and through the corridor to the stairs.
 The center of the map contains a great range of possibilities as far as combat goes. The landing pad includes two Imperial transport ships that are tall enough for you to peer underneath them. With a Jump Pack, you can leap from ship to ship if want to use them as another form of cover. However, it is entirely effective to use both the ships and the boxes set down on the landing pad itself. This is where the majority of the action happens at the Imperial Station, so get familiar with these forms of cover and use them to your best ability. The other area that can be used in the center of the map is located just off the side of the landing pad in the grassy area. There is quite the drop off the edge, and you can use that alone to toss a grenade or two onto the landing pad itself. Use this as an alternate route when the landing pad just gets too hot.
Cargo
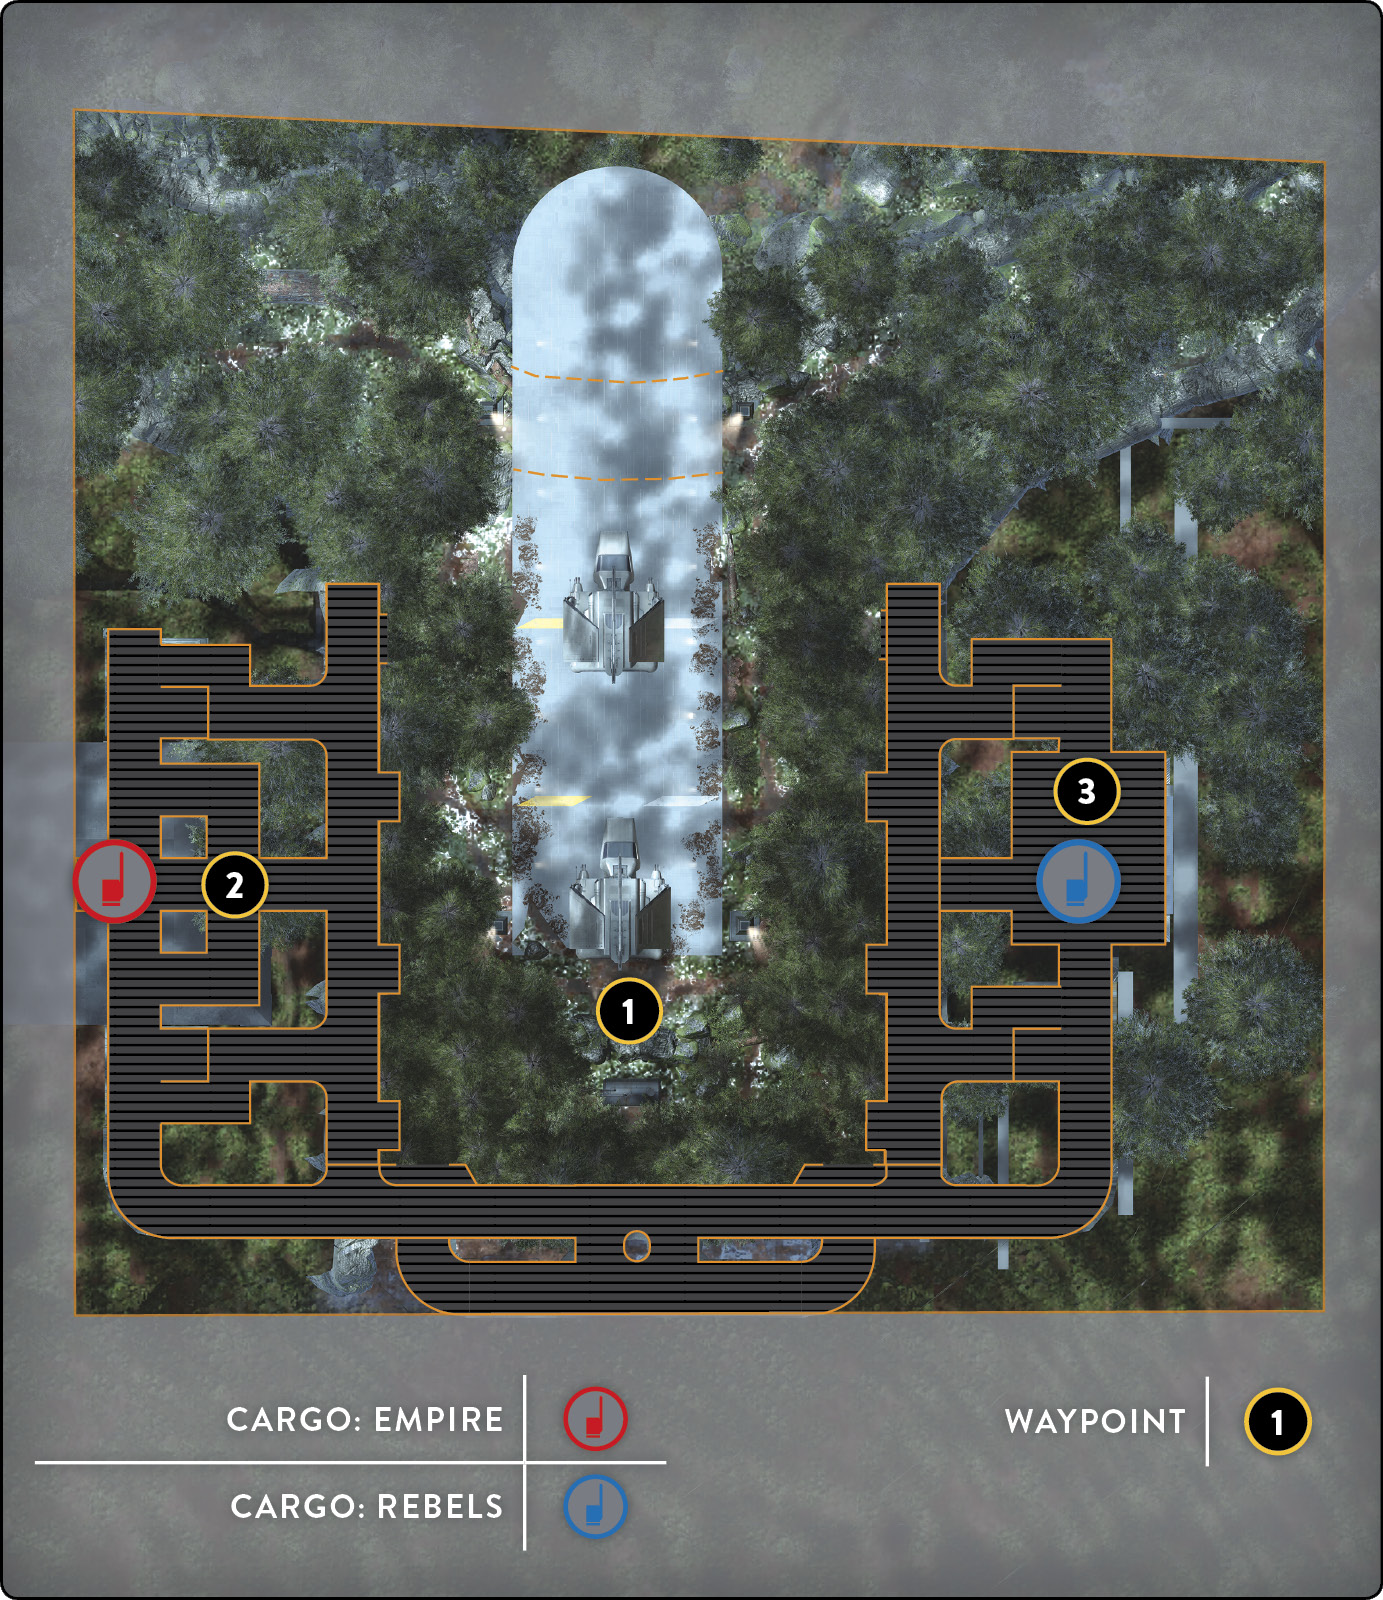
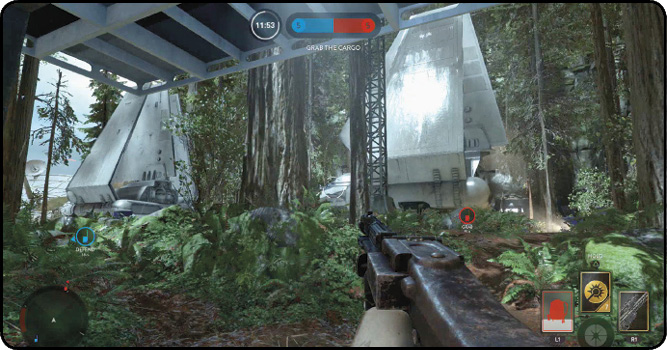
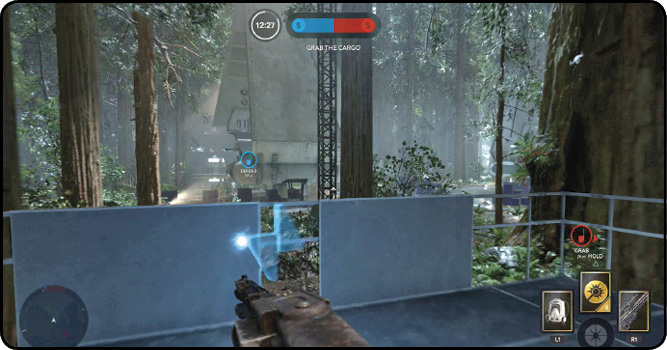
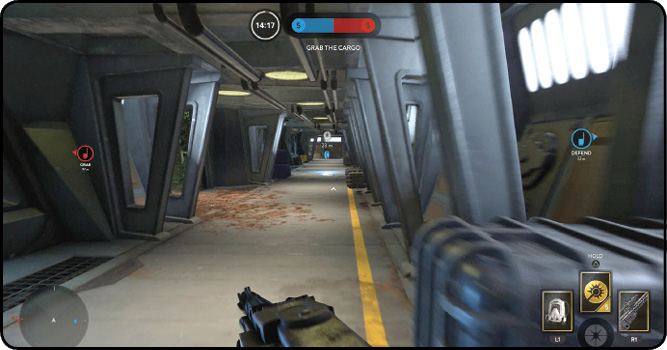
 Cargo at the Imperial Station on Endor makes for a relatively short run when making the line from cargo storage to cargo storage. However, there are added challenges because of the map’s width. Because the run from base to base is short, players have the quick impulse to run straight down the middle, taking the shortest route possible to make the run even shorter and thinking it might be an easy grab. On the contrary, there are many places to hide in the center section of the map between the facilities that allow players to camp the middle and watch for any cargo carriers. One of the best tactics for this map is the “chaos tactic.” Wait for chaos to ensue (because it will), and use it as cover and distraction to take the route around it. You’ll make it past the enemy without being noticed.
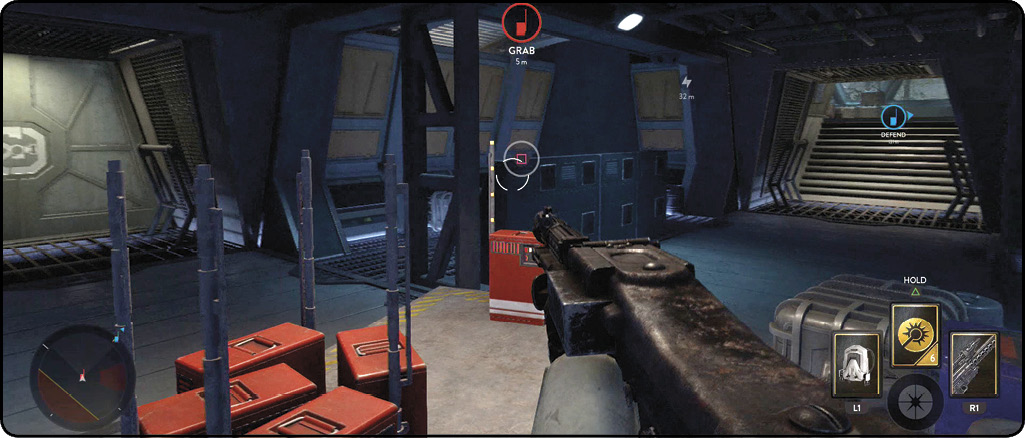
 The Imperial cargo storage is located in the reactor room and has a great amount of ceiling room. This allows those with Jump Packs to get a height advantage when trying either to surprise defenders or avoid a bad situation with attackers and keep the advantage. There are three different entrances into the reactor room, and you must defend each one of them if your team is to avoid having your cargo taken. The tricky part about defending the reactor room is that the doors give you very short notice before enemies are in the room with you. Take cover behind some of the crates on the walkways, and don’t forget to duck behind the cargo itself if you need to fall back to safety.
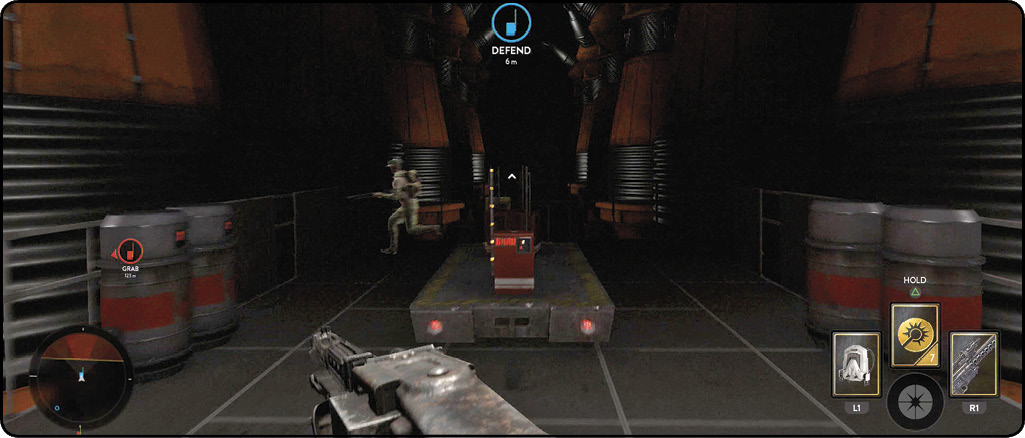
 The Rebel cargo storage is a tad different from the Imperial reactor room, with the biggest difference being the amount of room there is to move around. The Rebel cargo storage is located on the other side of the map and inside an intel room that includes very low ceilings and is a complete waste for Jump Packs. The Flash Grenade is one of the best Star Cards to use in this room, both for defending and attacking. Since the room is such close quarters, it’s very likely that a single Flash Grenade will affect the majority of the soldiers in the room, allowing you to easily take advantage of the situation. The intel room also has three entrances, but the major difference is that the cargo storage is extremely close to one of the doors. If you have multiple defenders, you should set one defender outside the closest door and one directly behind the cargo itself. This gives your team a protected view of the cargo and allows you to have the advantage of covering a full flank.
Hero Hunt
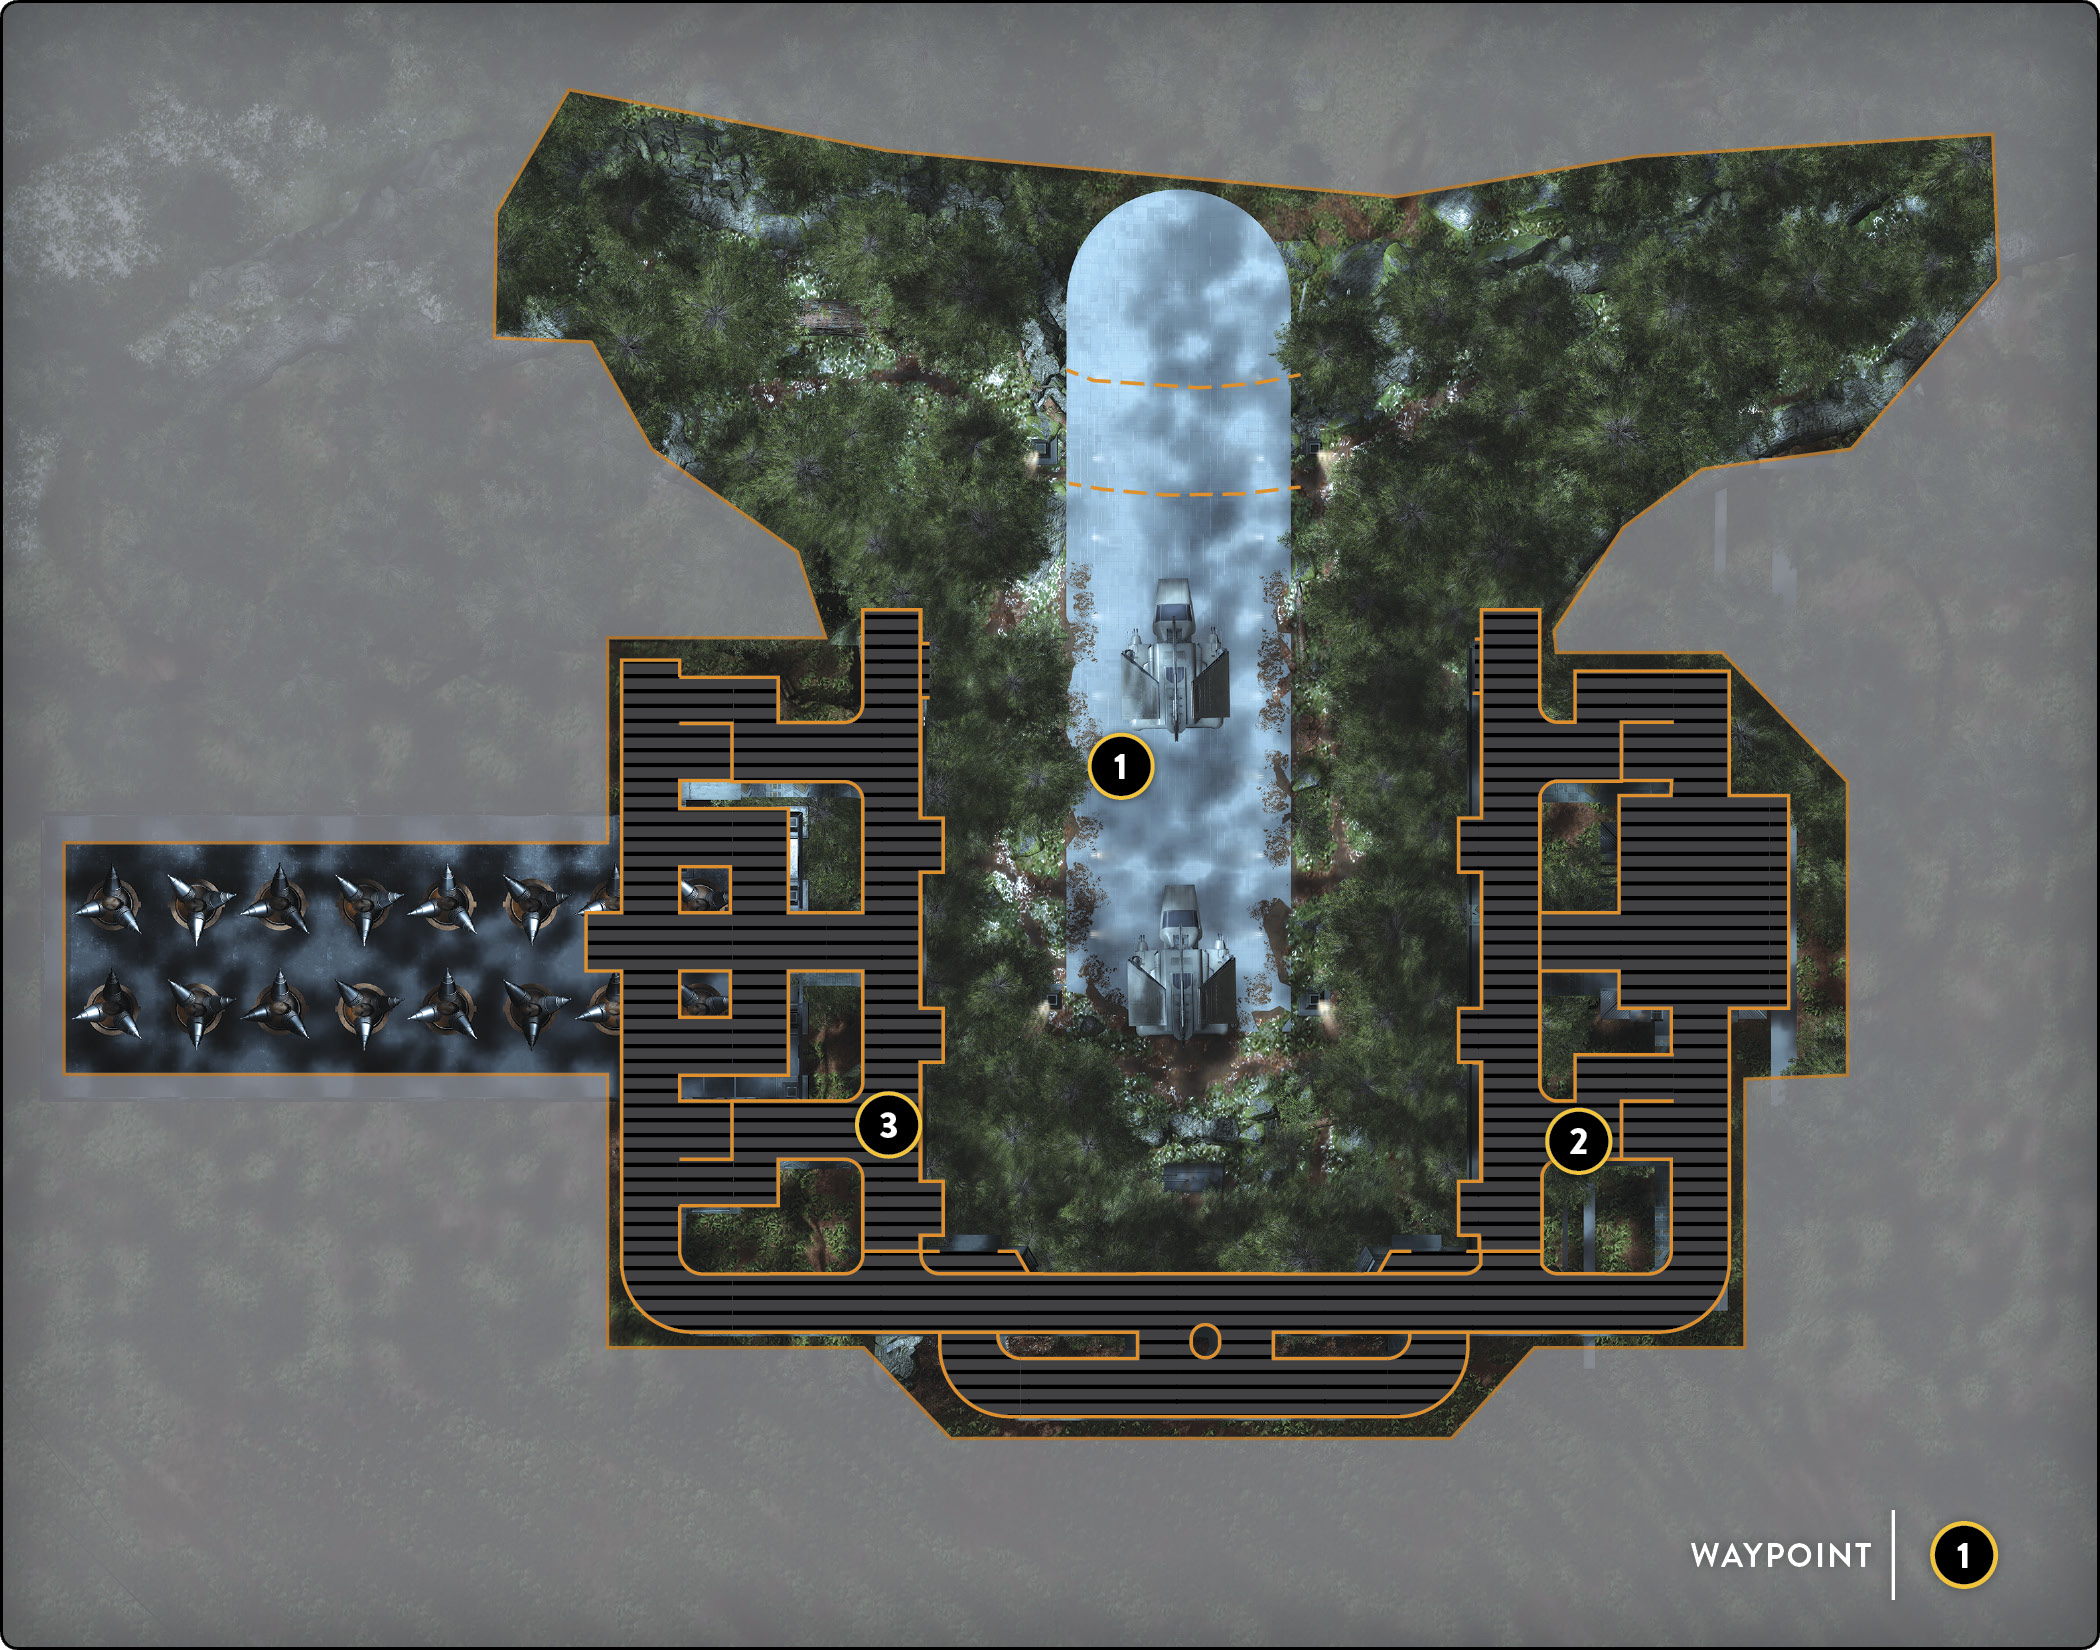
Playing Hero Hunt on Endor means that the Rebels are hunting the villains of Star Wars Battlefront. Adjust your tactics to their fighting styles. Vader is by far both the best villain to play in this map and the most difficult to kill, followed by Emperor Palpatine and Boba Fett. Use their tactics as the knowledge to beat them, and play to their weaknesses to make things a tad easier while hunting them down.
 Darth Vader is a melee character, and because of the size of the Imperial Station, he flourishes. He is almost invincible as long as he is indoors. Because Vader can deflect almost any bolt that comes flying toward him, the best course of action is to always get behind him and prevent Lord Vader from deflecting your bolts back at you. He has an extremely powerful Heavy Strike, but he does not have a lunge, which means you must lure him outdoors slowly and carefully. Do this, and you will have Vader at a major disadvantage.
 Emperor Palpatine also has quite an advantage in the Imperial Station because of the indoor, close-quarters combat. Because of the Emperor’s Chain Lighting, never line up for him. Either take him on two at a time (one from each side), or launch explosives like the Thermal Grenade or Contact Grenade at him for quick damage. When you attack Palpatine, it’s important to use an alternative damaging method because he can also block blaster bolts. To damage him quickly, shoot the explosive cans located inside the corridors.
 While hunting Boba Fett, you may have to completely change up your previous tactics because of the map’s layout. However, it works to the hunters’ advantage. Treat the landing pad in the center of the map as a giant kill box, using crossfire between your team to trap Fett within these parameters. Splitting up the team and putting them on the top floor of each of the facilities can do one of two things: the player controlling Boba will either try to take cover and shoot the hunters from the center, or he will enter the inside and chase them down. Unfortunately, the bounty hunter has quite a bit of health, making it extremely difficult to take him down head-on. If he chases you into the facility, use the Jump Pack to get out of there, and regroup with your team to attack him in full force while you have him trapped inside. If he decides to stay outside, make sure your fire is relentlessly pinning him down from both sides, giving him no choice but to keep moving and distracting him from firing on the hunters.
Heroes Vs. Villains
 Heroes Vs. Villains at the Imperial Station makes for one of the most epic battles in Star Wars Battlefront. Because of the close-quarters combat that is inevitable at the Imperial Station, the melee characters are more than dangerous, but everything depends on positioning. While it is very easy to take down the enemy when using Luke Skywalker or Darth Vader, the elevation and levels make a huge difference, as players can change with the flick of the wrist.
 Watch out for the proximity of Luke Skywalker or Darth Vader. If you are caught within their reach, it’s likely you will be removed from the match quite quickly. The best thing for the troopers on each team to do is to lure them to an ambush location where other heroes or villains can take them out. With Vader’s Saber Throw, distance may not be your savior. Use the sharp corners to draw your opponents toward you and meet them with several of your own forces. Keep Vader at a distance to do as much damage as possible before your squad is completely wiped out by the Heavy Strike. Skywalker has a similar Saber Rush, but it isn’t identical and must be handled a little differently. Simply moving around the corner may not keep you safe; he might not kill you with the Saber Rush as you hide behind the corner, but he will get to said corner much faster, leaving you zero time to set up an ambush. Instead, try tempting him to use the Saber Rush directly into a barrage of explosives, or use a Smoke Grenade to escape from him.
 Emperor Palpatine has a great advantage while inside these corridors and stairways. He can use his lightning and take constant health from his enemies as long as they are in range. Since there are not many ways to escape once you are deep enough inside, his lightning lasts for quite a while before his opponents can get away. The counter to Palpatine is Han Solo because he can Shoulder Charge Palpatine, taking him down a few pegs. Han may sacrifice a few points while charging, but he can disorient Palpatine as he runs him down. At this moment, Solo must make a hasty escape and rest so he can then take the Emperor down with Lucky Shot. It’s up to Palpatine to prevent Han from getting away with his antics and Force Dash after him, keeping the distance close.