
STAR WARS™ Battlefront™ Guide Multiplayer Game Modes Locations Endor
Swamp Crash Site
Blast
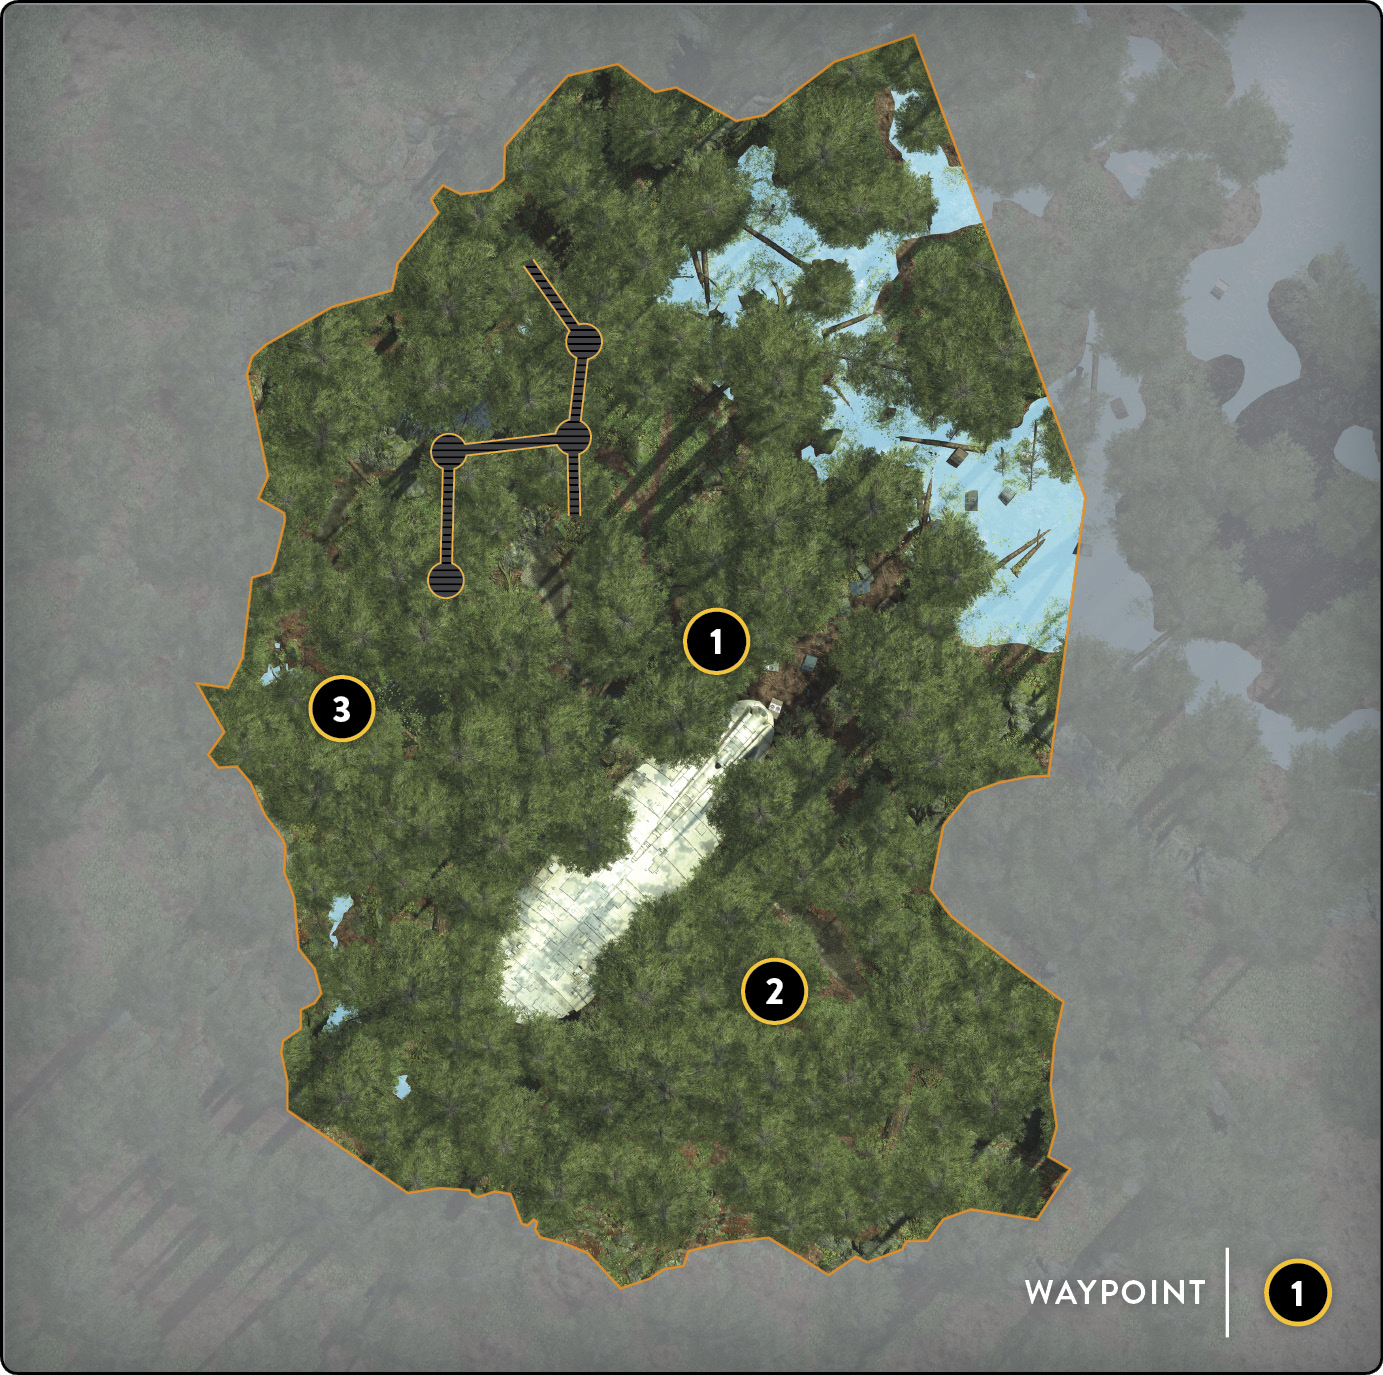
 In the Swamp Crash Site, you must use everything you possibly can as cover and as a means of protection. Use the trees, the downed starship, the rocks, and the changes in elevation to keep yourself from being seen. Not many planets give you the opportunity to stay stealthy and hidden in the same way that Endor does, so use the brush and shadows to your advantage to flank the enemy. Playing Blast is all about getting the most kills. Because of this, you and your team must also have the fewest deaths. Stay hidden, and pick your battles carefully. The treacherous terrain and thick forest can betray your senses, and the moment you are not careful is the moment you get shot in the back.
 Some of the better weapons to use in a mode like Blast in the Swamp Crash Site are the mid-range blasters. Blasters like the E-11 or the DLT-19 give you the advantage of having a large spectrum of accurate moments with any situations you may be caught in while on this map. Items like the Smoke Grenade or Seeker Shot are challenging to use here because the areas are so vast. They may even give your position away, killing the element of surprise. Instead, assets like the Pulse Cannon or the Cycler Rifle can keep you at range and out of dangerous firefights while still snagging kills for your team.
 The best place to use these assets are on top of the elevated walkways along the edge of the map, and looking downrange and downhill toward the transport ship. For those who are not the stealthy type, looping the outer perimeter of the map can also provide active cover in the way of having an entire flank covered at all times. Because long-range Star Cards and mid-range blasters are so incredibly useful here, running along the outer perimeter of the map helps your team from being taken out at longer ranges. It also gives you the opportunity to take your opponents out, thus protecting your teammates with an active offense.
Drop Zone
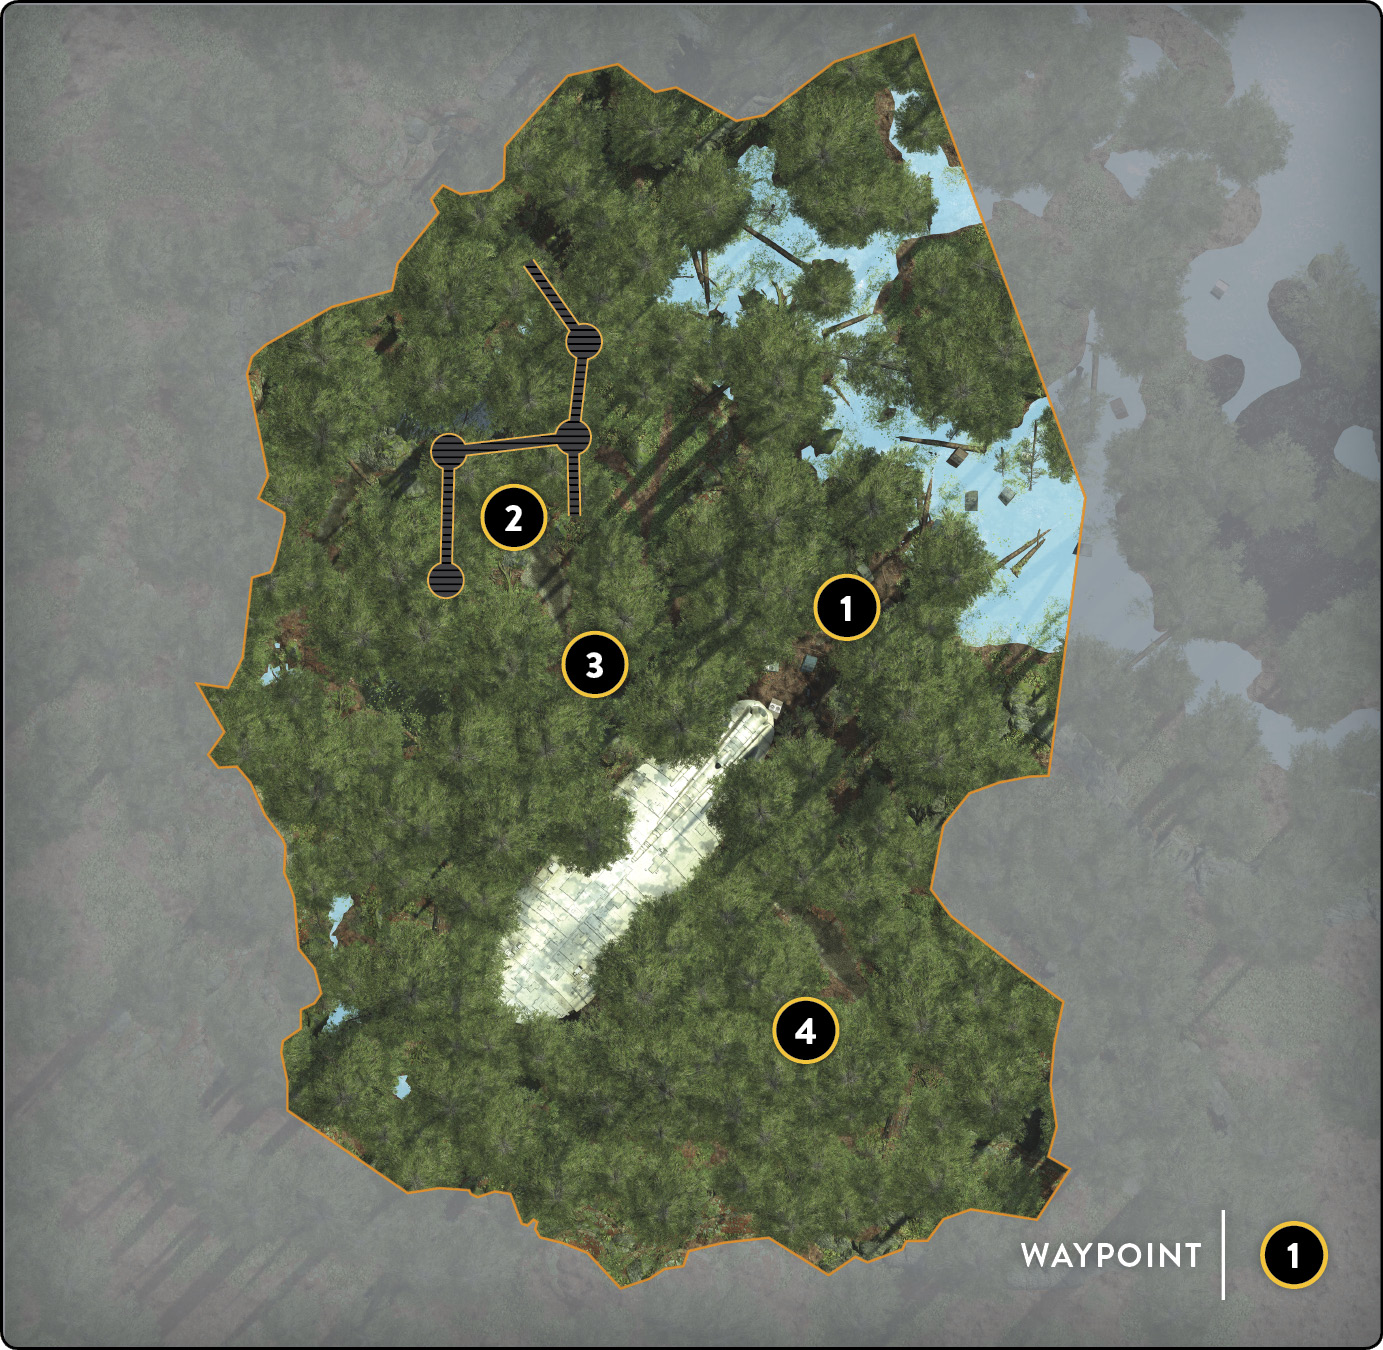
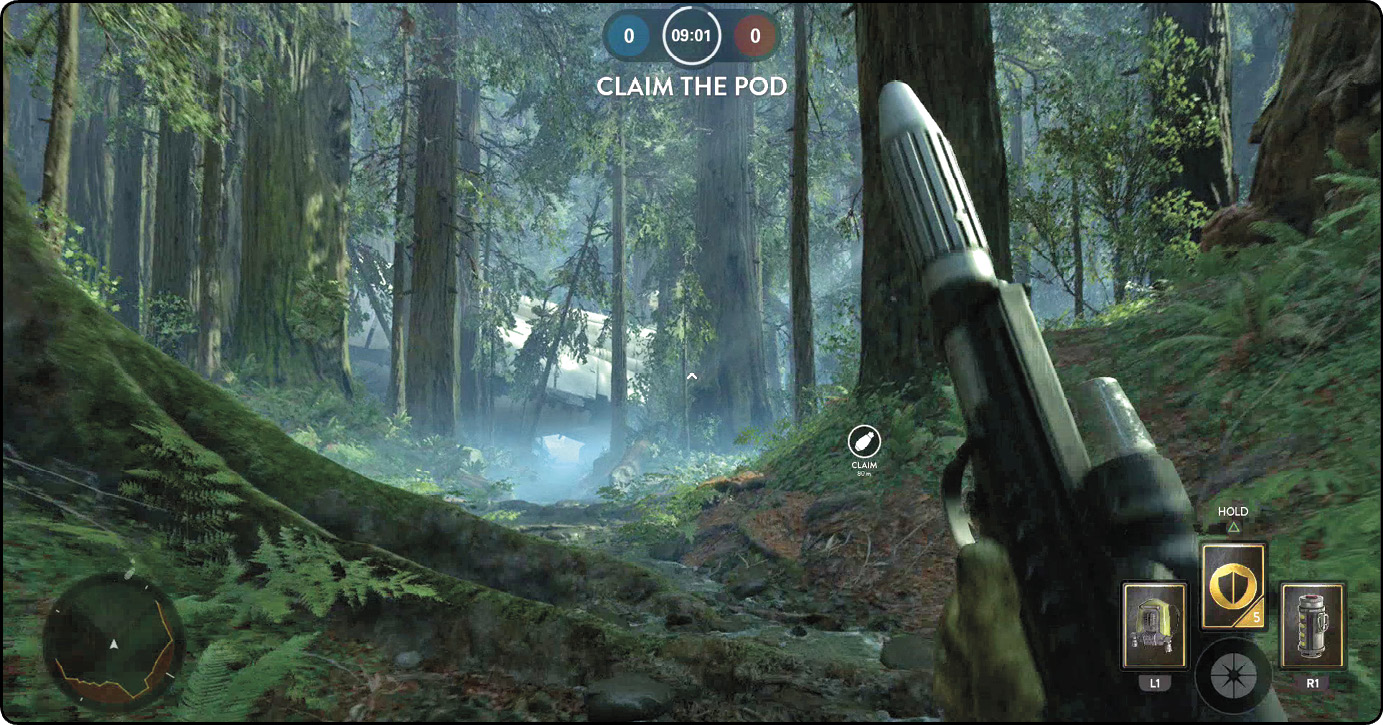
The Swamp Crash Site on Endor has a mostly closed canopy and plenty of objects on the ground that prevent drop pods from falling just anywhere. Luckily, there are still multiple opportunities for the drop pod to land. In fact, because of how dense this map is, it is quite illusionary as to how many locations there actually are.
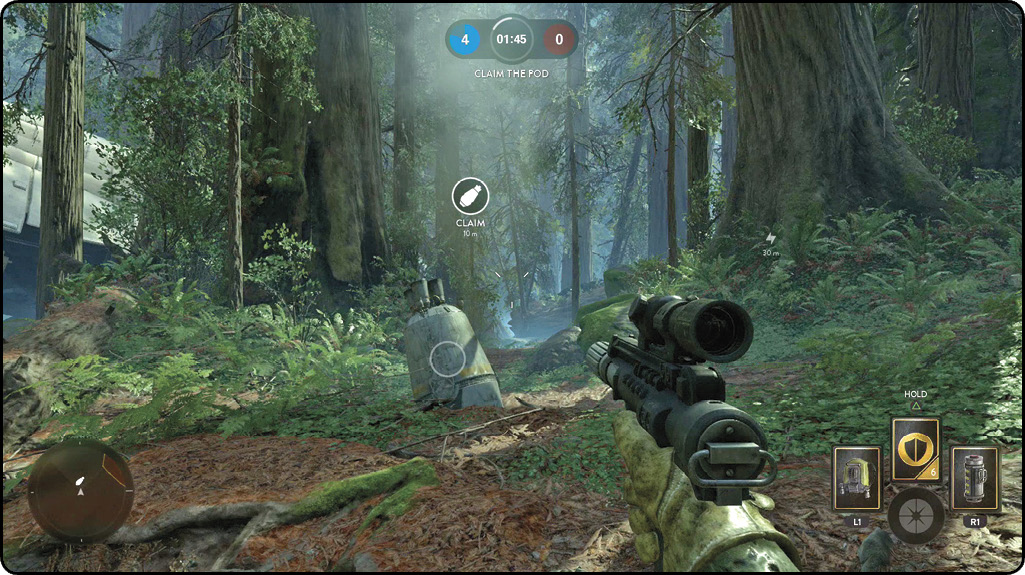
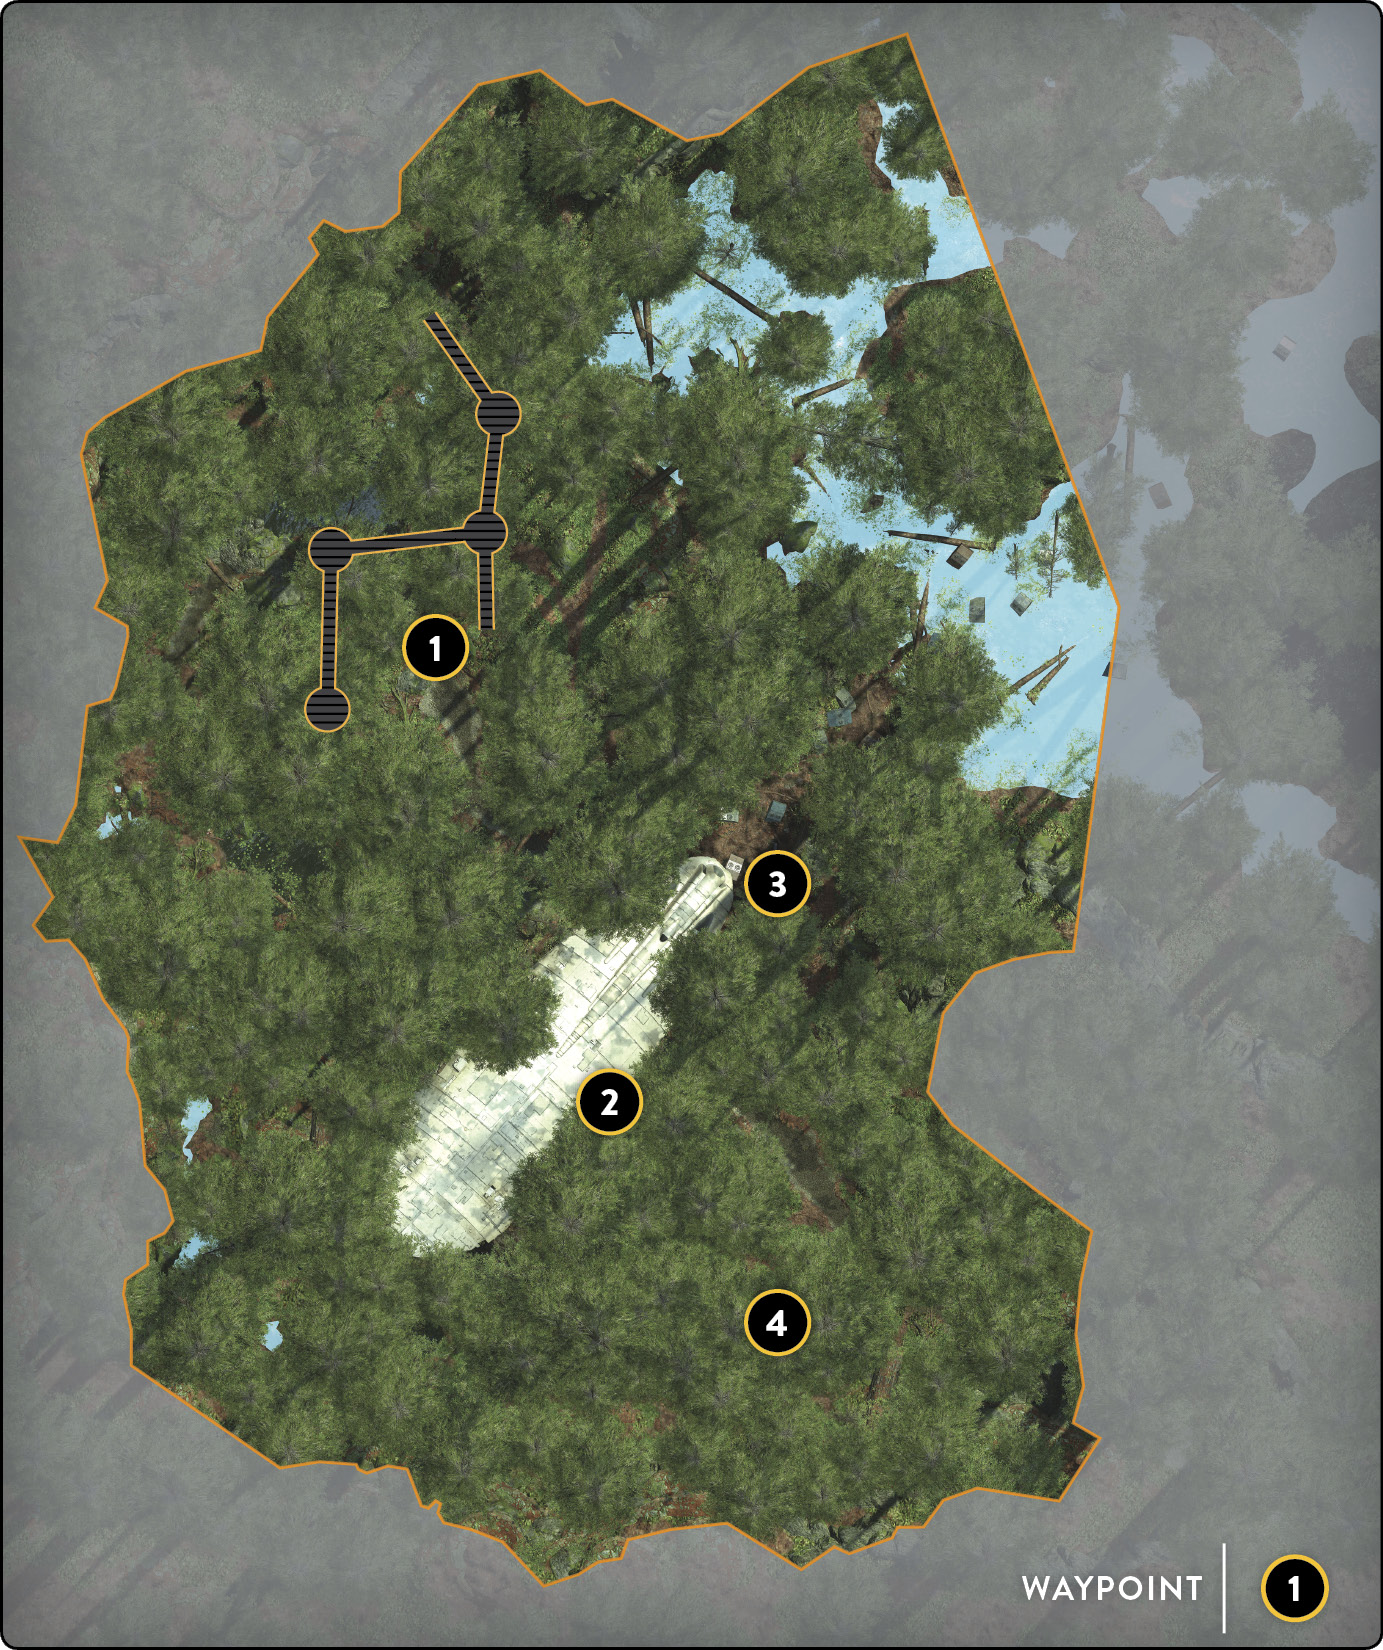
 A drop pod can potentially land almost anywhere around the downed transport ship, but one of the more important spots is near the stern and in the center of a spread of countless pieces of debris and cargo. Because of the large crash, there are about a half-dozen destroyed trees and what appears to be a previous explosion of ship parts and cargo. Each of these items and debris acts as a great resource for cover and tactical advantage. The drop pod lands directly in the middle, leaving it more vulnerable than the perimeter around it. That’s why it is important to claim the pod as quickly as possible and escape to go find cover. Cover this drop pod from a short distance instead of immediately next to it. This helps you stay hidden and avoid opponents taking you out with long-range weapons.
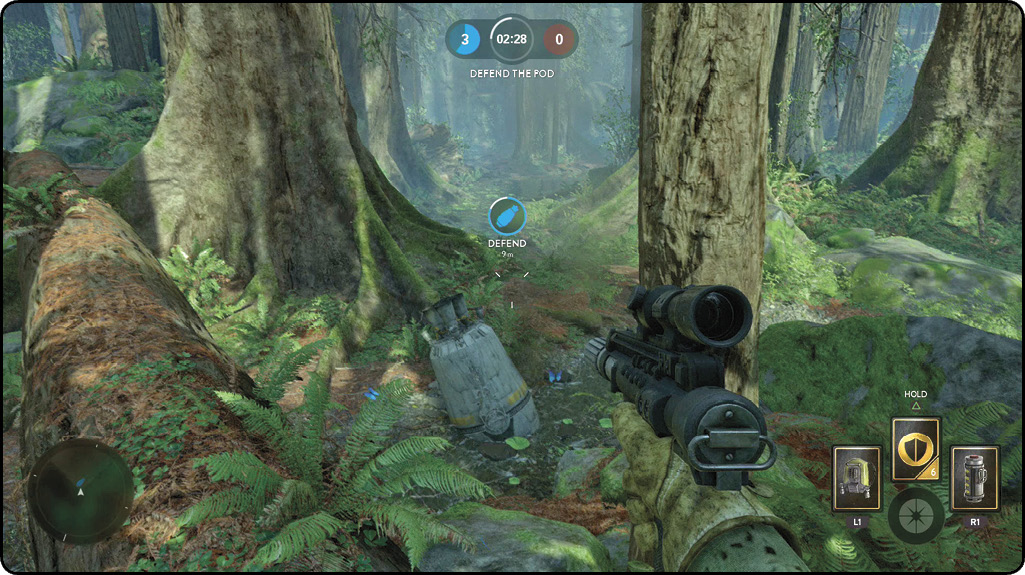
 The next location is in the middle of a small creek that has developed into a waterfall. The waterfall is not very big and can be easily traversed, but one of the Ewok bridge tree structures surrounds it. The structures that are built high in the trees make this place extremely dangerous, mostly for attackers. The main goal of securing this area should be taking control of the tree bridge because it has the ultimate overwatch on the drop pod location. The drop pod usually lands symmetrically between the trees and directly in the center of the creek, making for another extremely vulnerable location. Take over the high ground to eliminate the vulnerability, and own this section of the map to collect your loot.
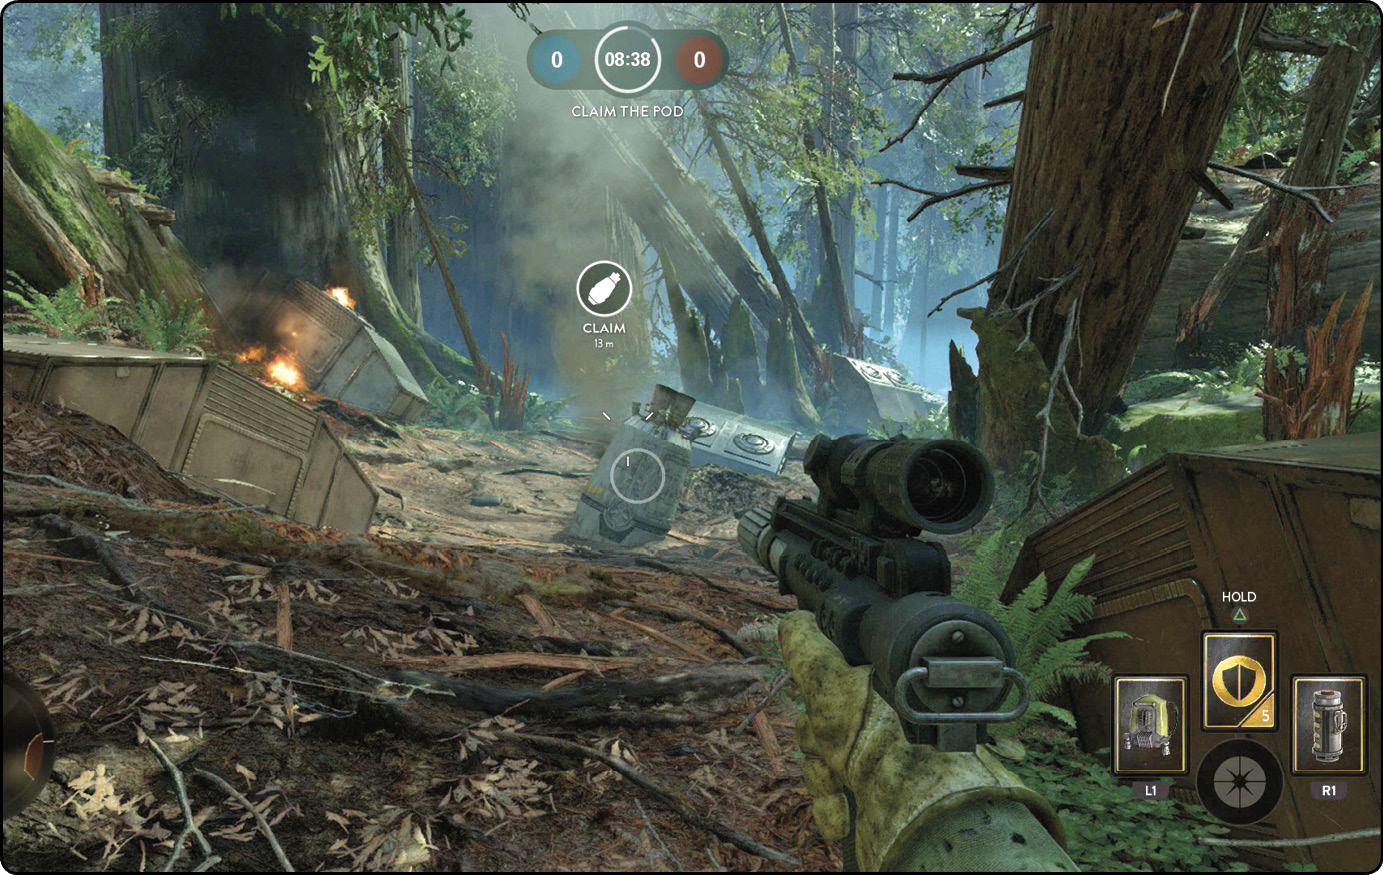
 Between the last location and the ship is the possibility for another drop pod. Though it would be incredibly fortunate for a pod to drop immediately after the tree bridge area, you shouldn’t count on it. The next location is directly outside the pathway that leads underneath the transport ship and extremely close to the center of the map. Naturally, significant foot traffic leads that way. The drop pod for the current location also drops straight in the middle of the creek. You might want to stay close to the pod; there is not much cover around that isn’t in the middle of a popular pathway for all the troopers on the battlefield. The difference between this area and the last is that a large fallen tree nearby can act as a blind spot for any enemies coming from the transport ship proper. To optimally control this location, use the ledges and the brush to hide your approach and your defense. If you know that an adversary is attempting to take back the drop pod, walk over the fallen tree to give yourself an elevated advantage.
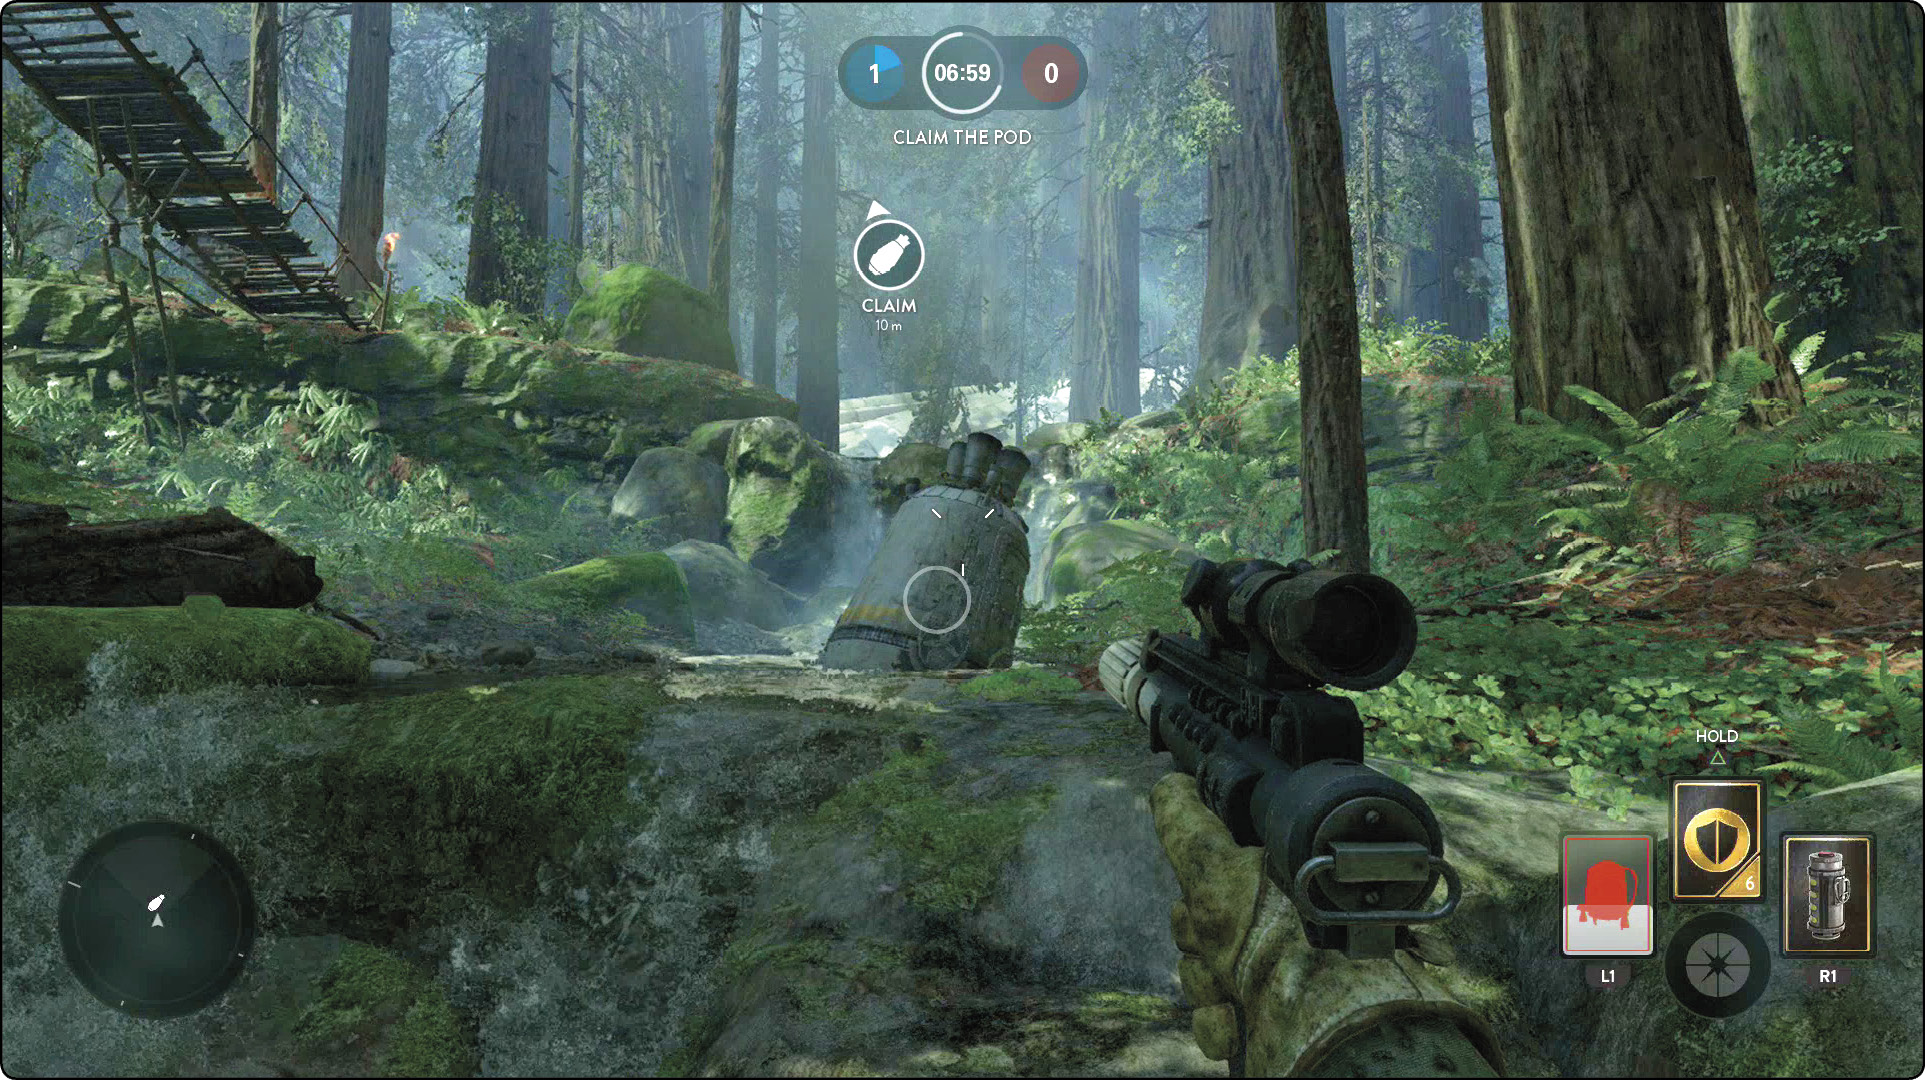
 On the opposite side of the ship, the terrain has a few drastic elevation changes. On the high side, a large clearing follows along the creek. This clearing has great possibility for drop pod locations, but they all can be defended from the edge of the clearing and in the brush. Take advantage of the large trees in this area because there isn’t much else to hide behind. The popular location for the pod to land in is the intersection of several paths, presenting a great opportunity for you to use a Squad Shield. You can protect yourself and a few teammates while you take control of the pod and collect any additional power-ups you might find. Beware of the hill on the other side of the creek, though. While it is a tight space, it can hide a trooper or two waiting to make the jump during your most vulnerable moment.
Droid Run
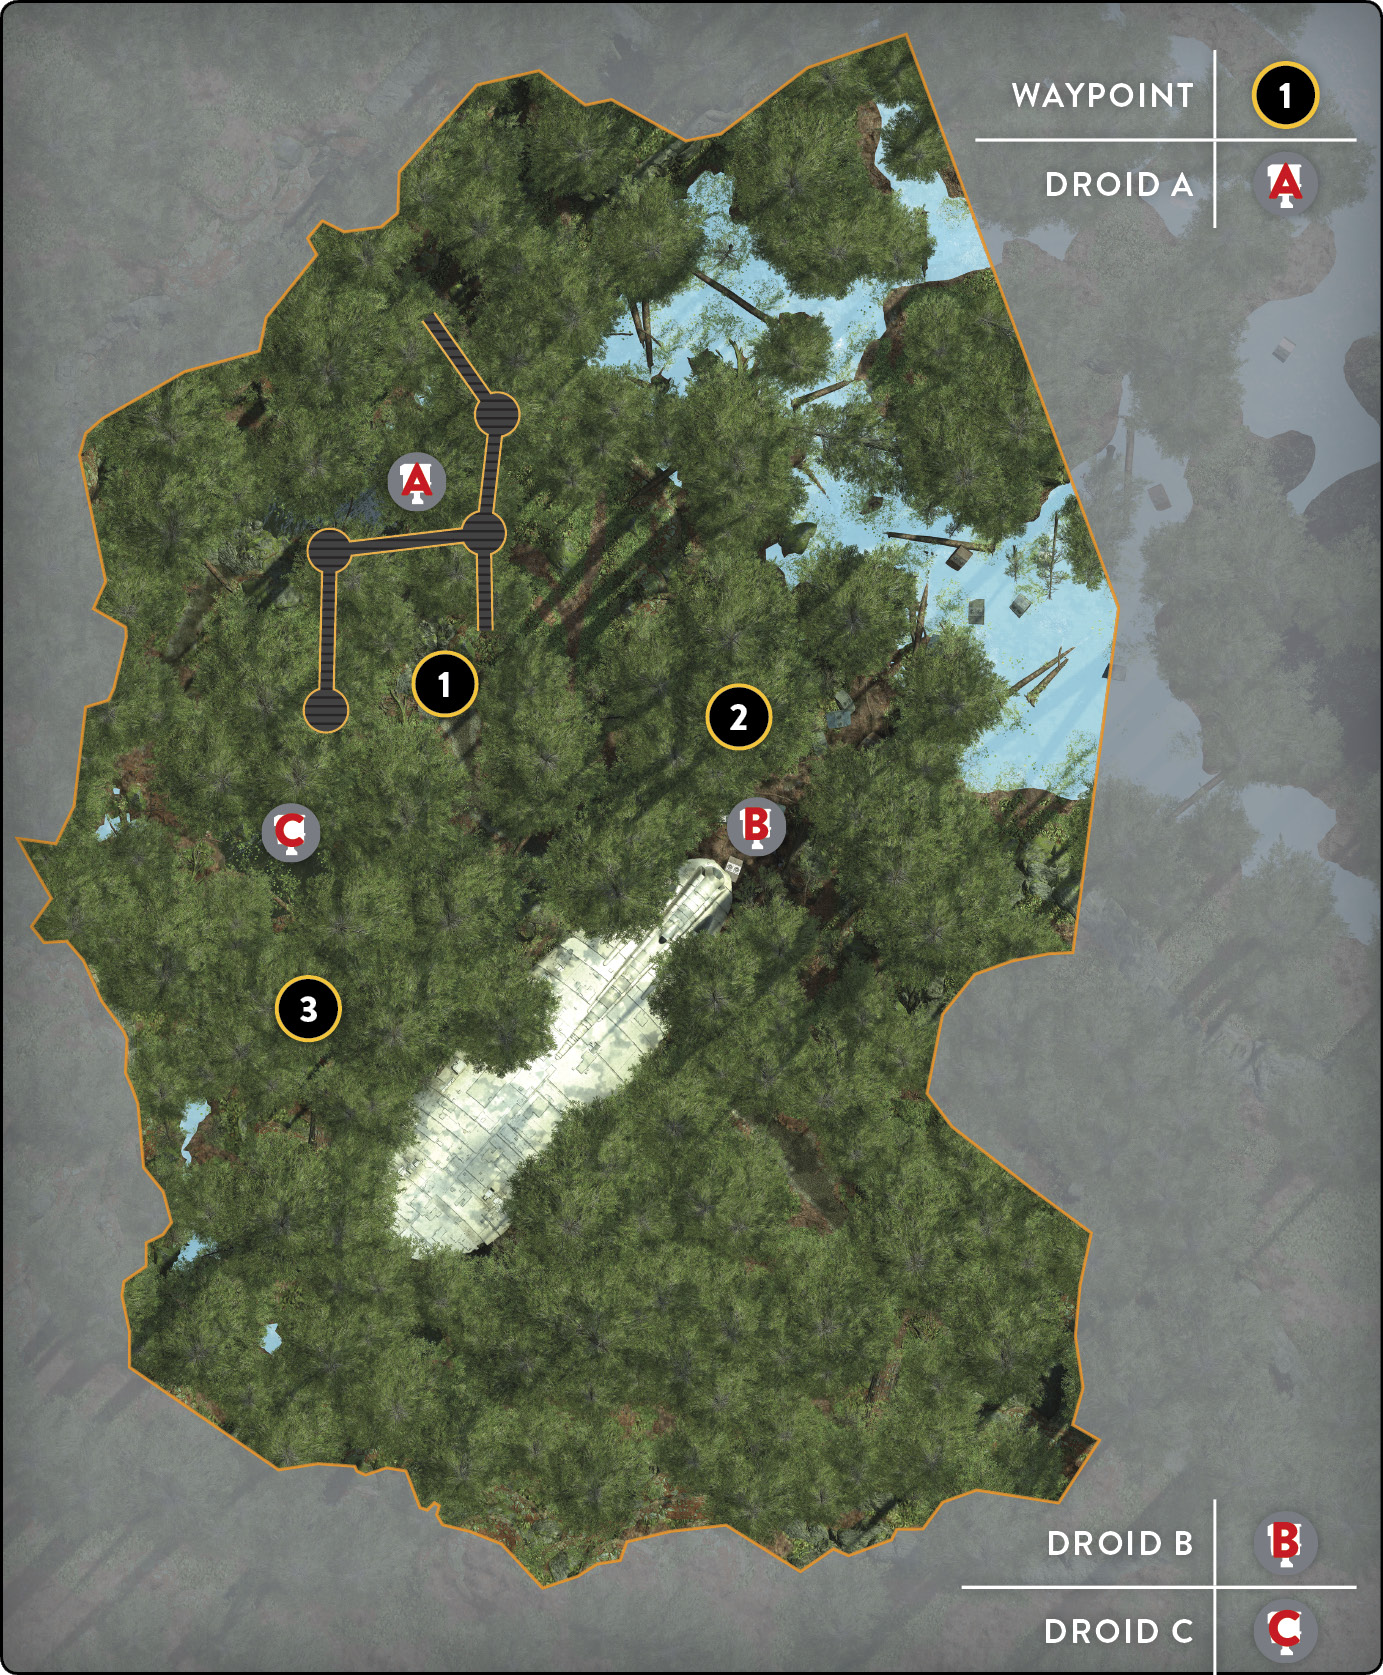
 As with all versions of Droid Run, you must find three capturable droids. They are stationed in three semi-symmetrical locations all over the Swamp Crash Site. The first of the three is appropriately labeled “A,” and like the rest, it is a Power Droid. The map is slightly oriented on a hill, and as you move down the creek, you are also moving downhill. This “A” droid is located at the bottom of the hill and likes to roam along the creek in between the trees. The best time to begin your capture attempt is when it’s at the lowest point on the hill and hidden behind some of the larger trees. The droid also likes to roam beneath the Ewok tree bridges, which makes for a great spot to watch over the entire area. Take control of the droid, and head through the high ground for the most optimal defense. An Infantry Turret can help you on one of the bridges by firing while the Power Droid is in your blind spot.
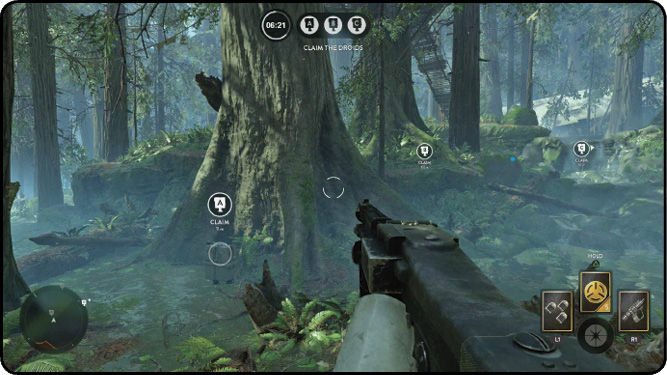
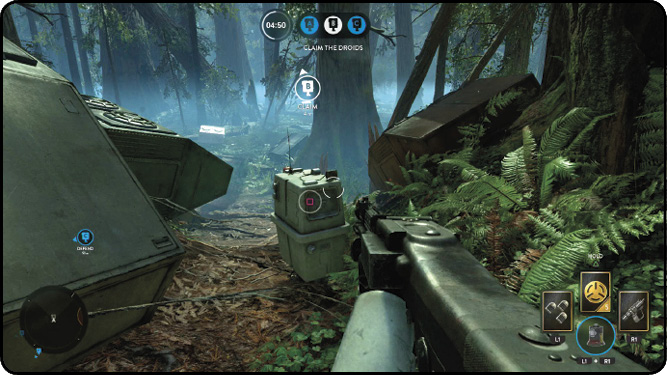
 The next droid that you can capture here is in a slightly narrower spot that does not allow for much defense other than the two entryways into the location. Fortunately, this means that once you’ve captured the droid, it takes a minimal defensive team to defend it. Any more, and it might actually hurt the offense that your team needs for other droids. The “B” Power Droid is located between two sets of large cargo crates. One of the best ways to defend this location is using a Pulse Cannon from down the hill. There are a few sightlines to the droid as it roams up and down the pathway between the crates, making for a great use of long-range blasters and assets.
 “C,” the final Power Droid, is actually located in the swamp at the top of the hill, which is the most challenging area of operations in the Swamp Crash Site. The difficulty increases here because the swamp acts as one giant kill box simply due to a lowered elevation and how it performs as a focal point to its surroundings. Unfortunately, once you’ve captured this droid, it takes a great deal of skilled shooting to defend it from anyone coming in and attempting to take it from you. You must be able to hide and ensure that the enemy does not find you before going after the droid. This location is key for holding the advantage on the map because it can act as a central area for friendlies to deploy. Copious natural cover surrounds the swamp, and the more allies present, the less likely the enemy is going to have a clear chance to capture the droid.
Hero Hunt
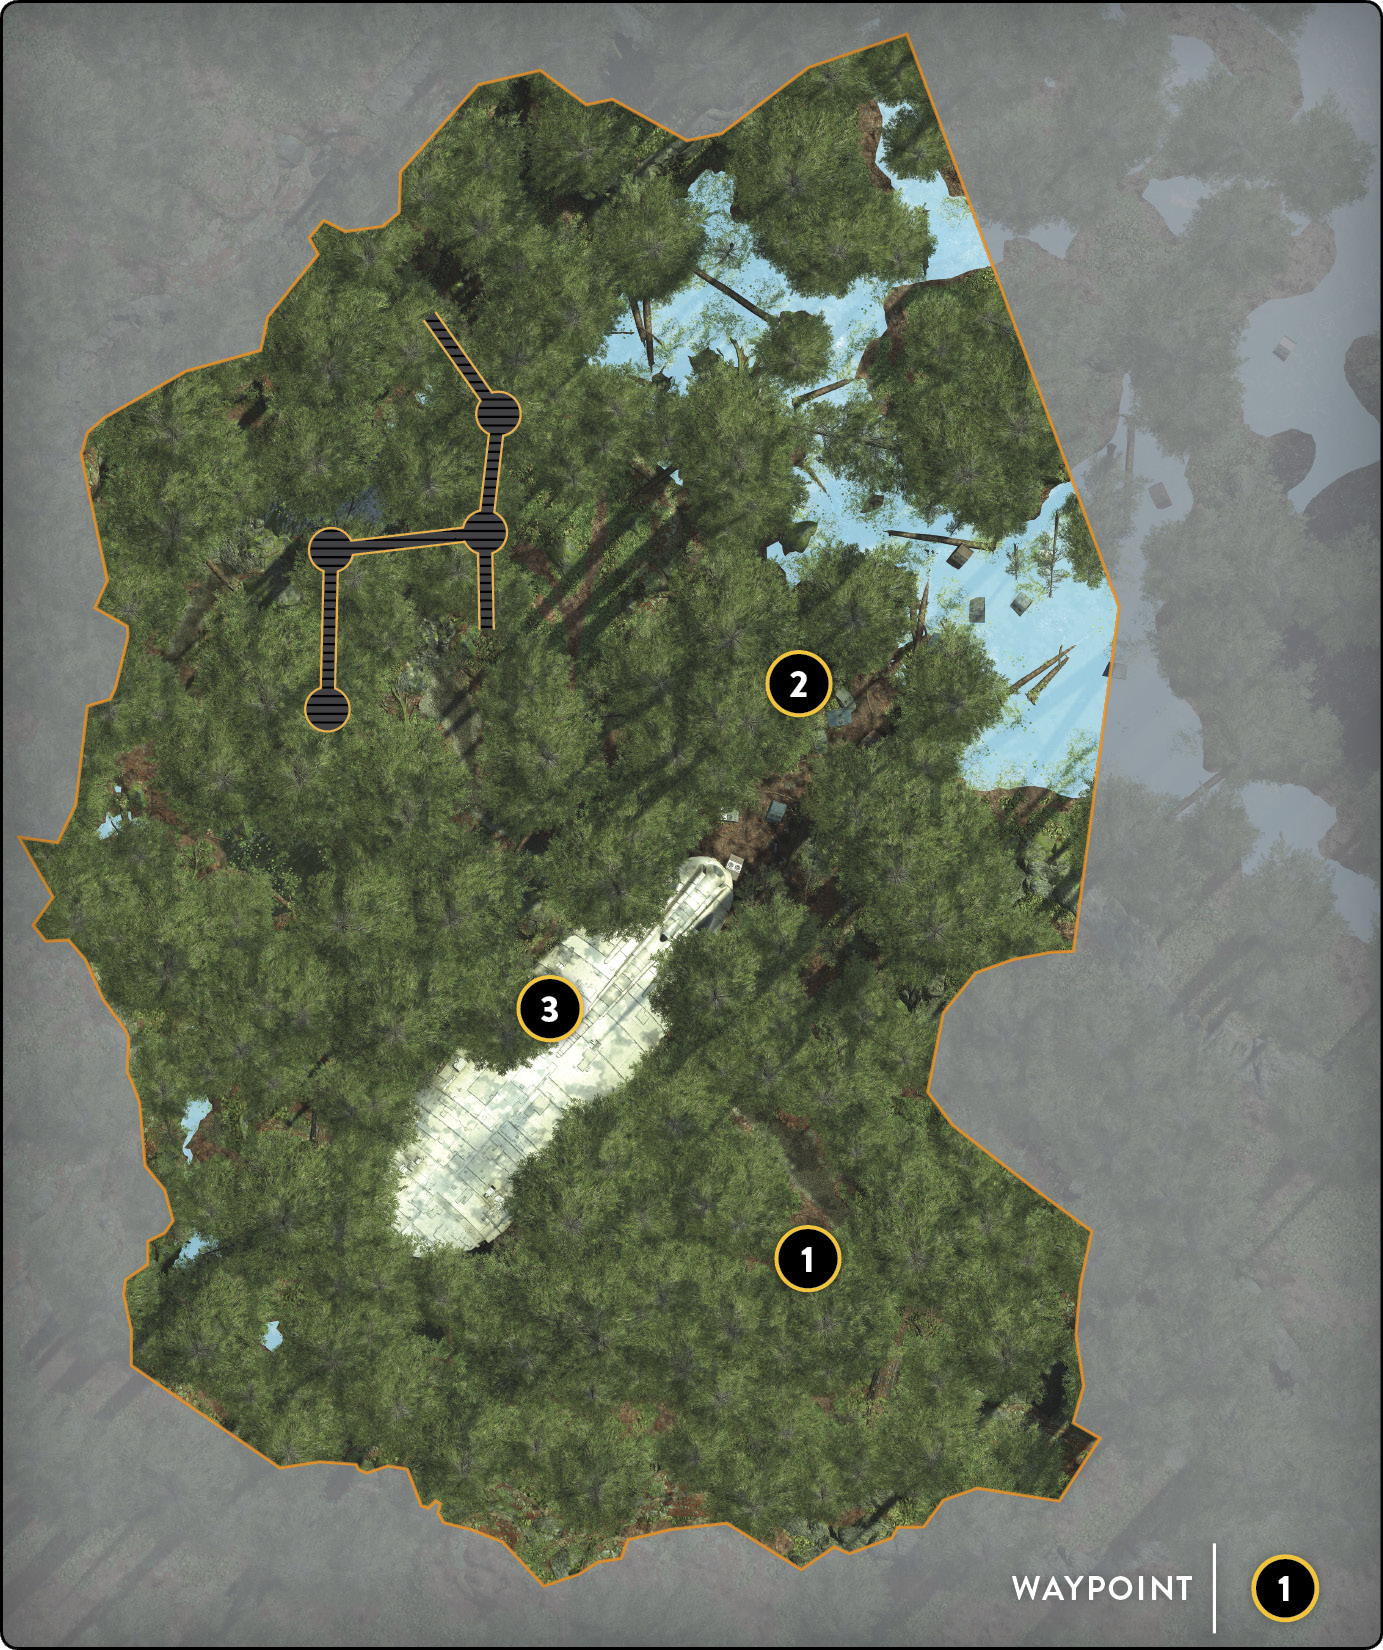
 Hero Hunt on Endor is one of the two planets where the heroes are actually villains: you are hunting down Darth Vader, Emperor Palpatine, and Boba Fett. There are very specific ways to deal with and counter these villains while playing on Swamp Crash Site because most of the map appeals to a select number of play styles. Swamp Crash Site is mostly an open-air map that lends well to ranged attacks and requires close-range combat to be lured into very specific parts of the map.
 Darth Vader has a bit of trouble when fighting on this map simply because he is a melee character who requires closed spaces for optimal effectiveness. The best place for Darth Vader to fight in is underneath the transport ship in the middle of the map because of the corridor’s narrowness. The same goes for the area near the wreckage of the large cargo containers. When hunting Vader, the best weaponry to equip is high-powered mid-range blasters that allow you to keep your distance while being able to escape from his lightsaber at will. A Jump Pack gives you the quick option of escaping if you are caught in a pinch.
 Whenever you are hunting down Emperor Palpatine, you don’t want to bunch up with the rest of your friendly hunters because of his Chain Lightning ability. Minimize the Emperor’s effective damage by keeping your distance between each other, and take him down from all ranges. Even though Palpatine does not have significant range on his Force Lightning, there are many chances where you definitely want to be up close and personal with him. While he is distracted by one of your teammates, use the CA-87 on him to take away a large chunk of health, giving him little chance to be able to defend from you. Beware of his Saber Defense ability, though. As soon as you see it go up, stop firing immediately to allow your team to gather on his flank. The main tactic for defeating Emperor Palpatine here is ensuring that he is always out in the open. Use the trees and natural cover to keep yourself protected from his lightning while you overwhelm his position before he can escape.
 Boba Fett is by far the most dangerous villain in the Swamp Crash Site because he can get anywhere as soon as he wants. Boba Fett’s jetpack can take him to the Ewok bridgeways, granting the element of the high ground while also letting him escape before any troopers have the chance to even get close. Boba Fett’s biggest weakness is that his blaster becomes a little less powerful and accurate at long ranges. This means that if he does take the high ground, having long-range assets and blasters equipped gives the hunters slightly more of an advantage over the villain. Whenever possible, use the Pulse Cannon and the Cycler Rifle.
Heroes Vs. Villains
Playing Heroes Vs. Villains in the Swamp Crash Site on Endor leaves tactical advantages to a select few characters. However, all characters have their own weaknesses, and because of this map’s layout, such weaknesses may differ from any other map where this mode can be played. Some of the stronger characters for this map are Han Solo, Boba Fett, and Princess Leia, while Darth Vader, Luke Skywalker, and Emperor Palpatine may be left at quite the disadvantage.
 This map lends well to both Boba Fett and Han Solo because their specialties are mostly ranged abilities that allow them to take enemies down without being in the range of their lightsabers or lightning abilities. Han’s Lucky Shot and Boba’s Wrist Rocket cannot be deflected, so when they use both the high ground and long sightlines, these two characters can be virtually untouchable. However, because they are strongest on this map, know that they must individually counter each other to protect the rest of their team.
 The next two most effective characters in the Swamp Crash Site are Princess Leia and Emperor Palpatine. They are designed to both support their fellow teammates and deal with mid-range foes. Leia and Palpatine should always stick to their fellow troopers, as they act as bodyguards and can protect them. Leia and Palpatine can then return the favor by using Enhanced Squad Shield or by taking down an entire squad of troopers with Chain Lightning. If a hero or villain decides to come and attack either of these two, the entire squad of troopers alongside Leia’s or Palpatine’s own firepower should be able to handle it.
 Finally, there are the two melee characters, father and son, Darth Vader and Luke Skywalker. Although these two have been labeled as the least advantaged on Swamp Crash Site, they are still two of the strongest characters in the game. If players who are comfortable with these two characters are controlling them, they can be extremely dangerous, even here. Playing Luke or Vader means that you must be tactical and diligent as you move around the map. Because of the range capabilities in this locale, always pick your battles with prejudice. If there is a hero at mid or long range, don’t use Saber Throw to attempt to take him or her down. Odds are that unless your opponent is almost downed, you will put yourself at a major disadvantage. The same tactic generally applies to Luke, as well. Follow your enemy or attempt to cut off their current path. If you can catch your opponent by surprise, no character in the game can take on either of these lightsaber-wielders head-on at close range.