STAR WARS™ Battlefront™ Guide Multiplayer Game Modes Locations Sullust
Sulphur Fields
Blast
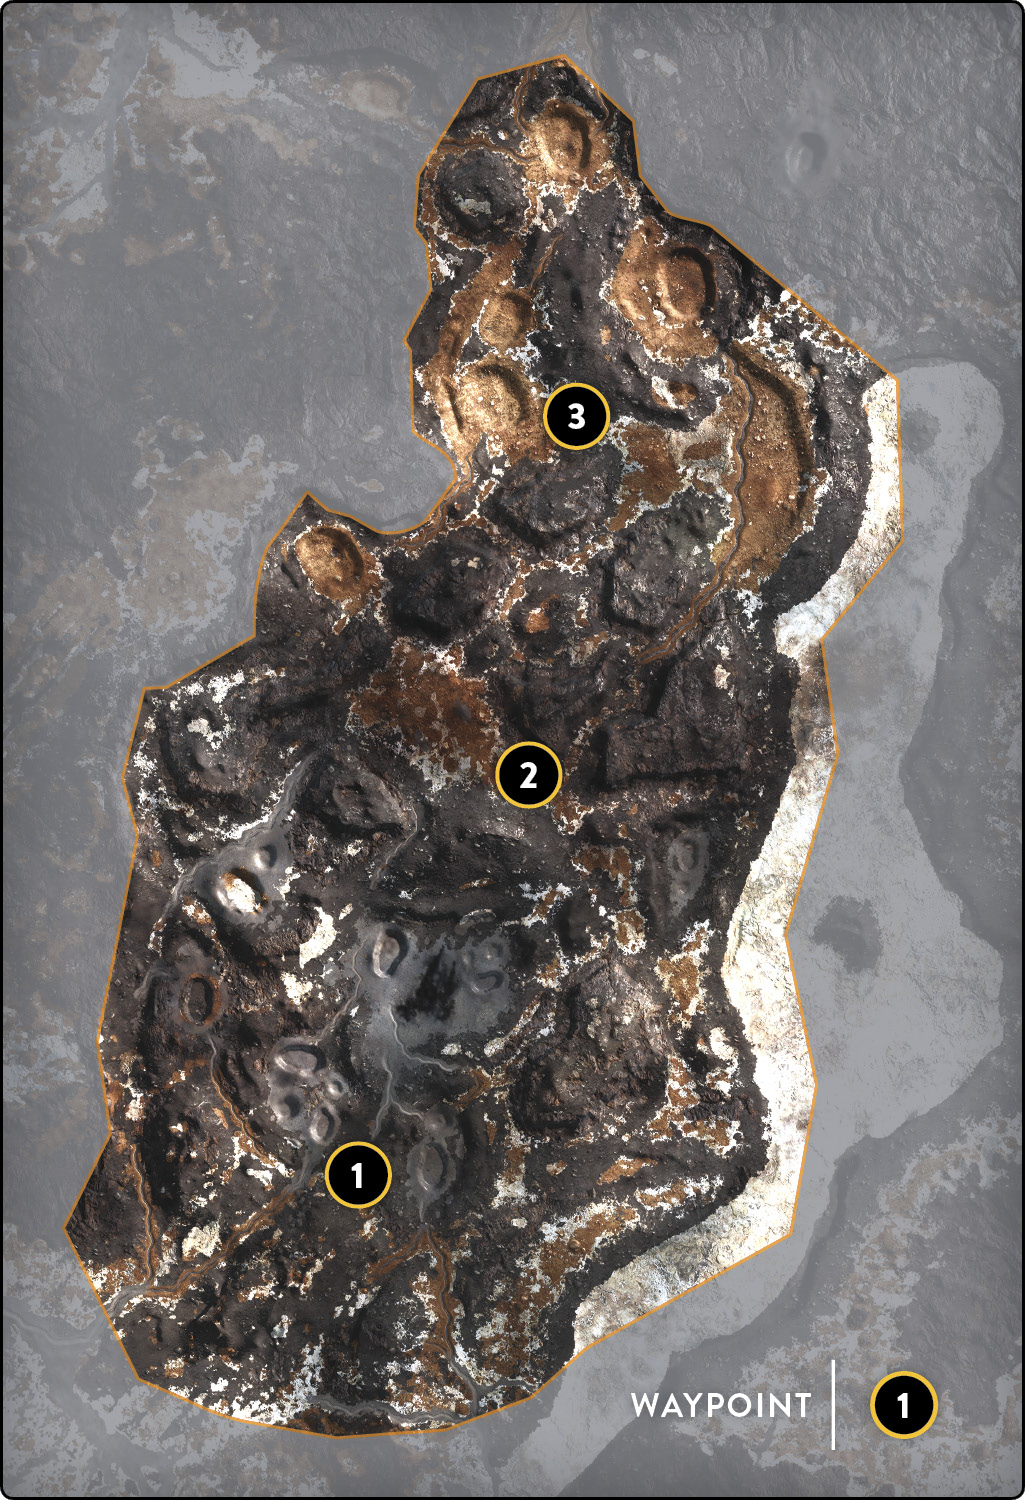
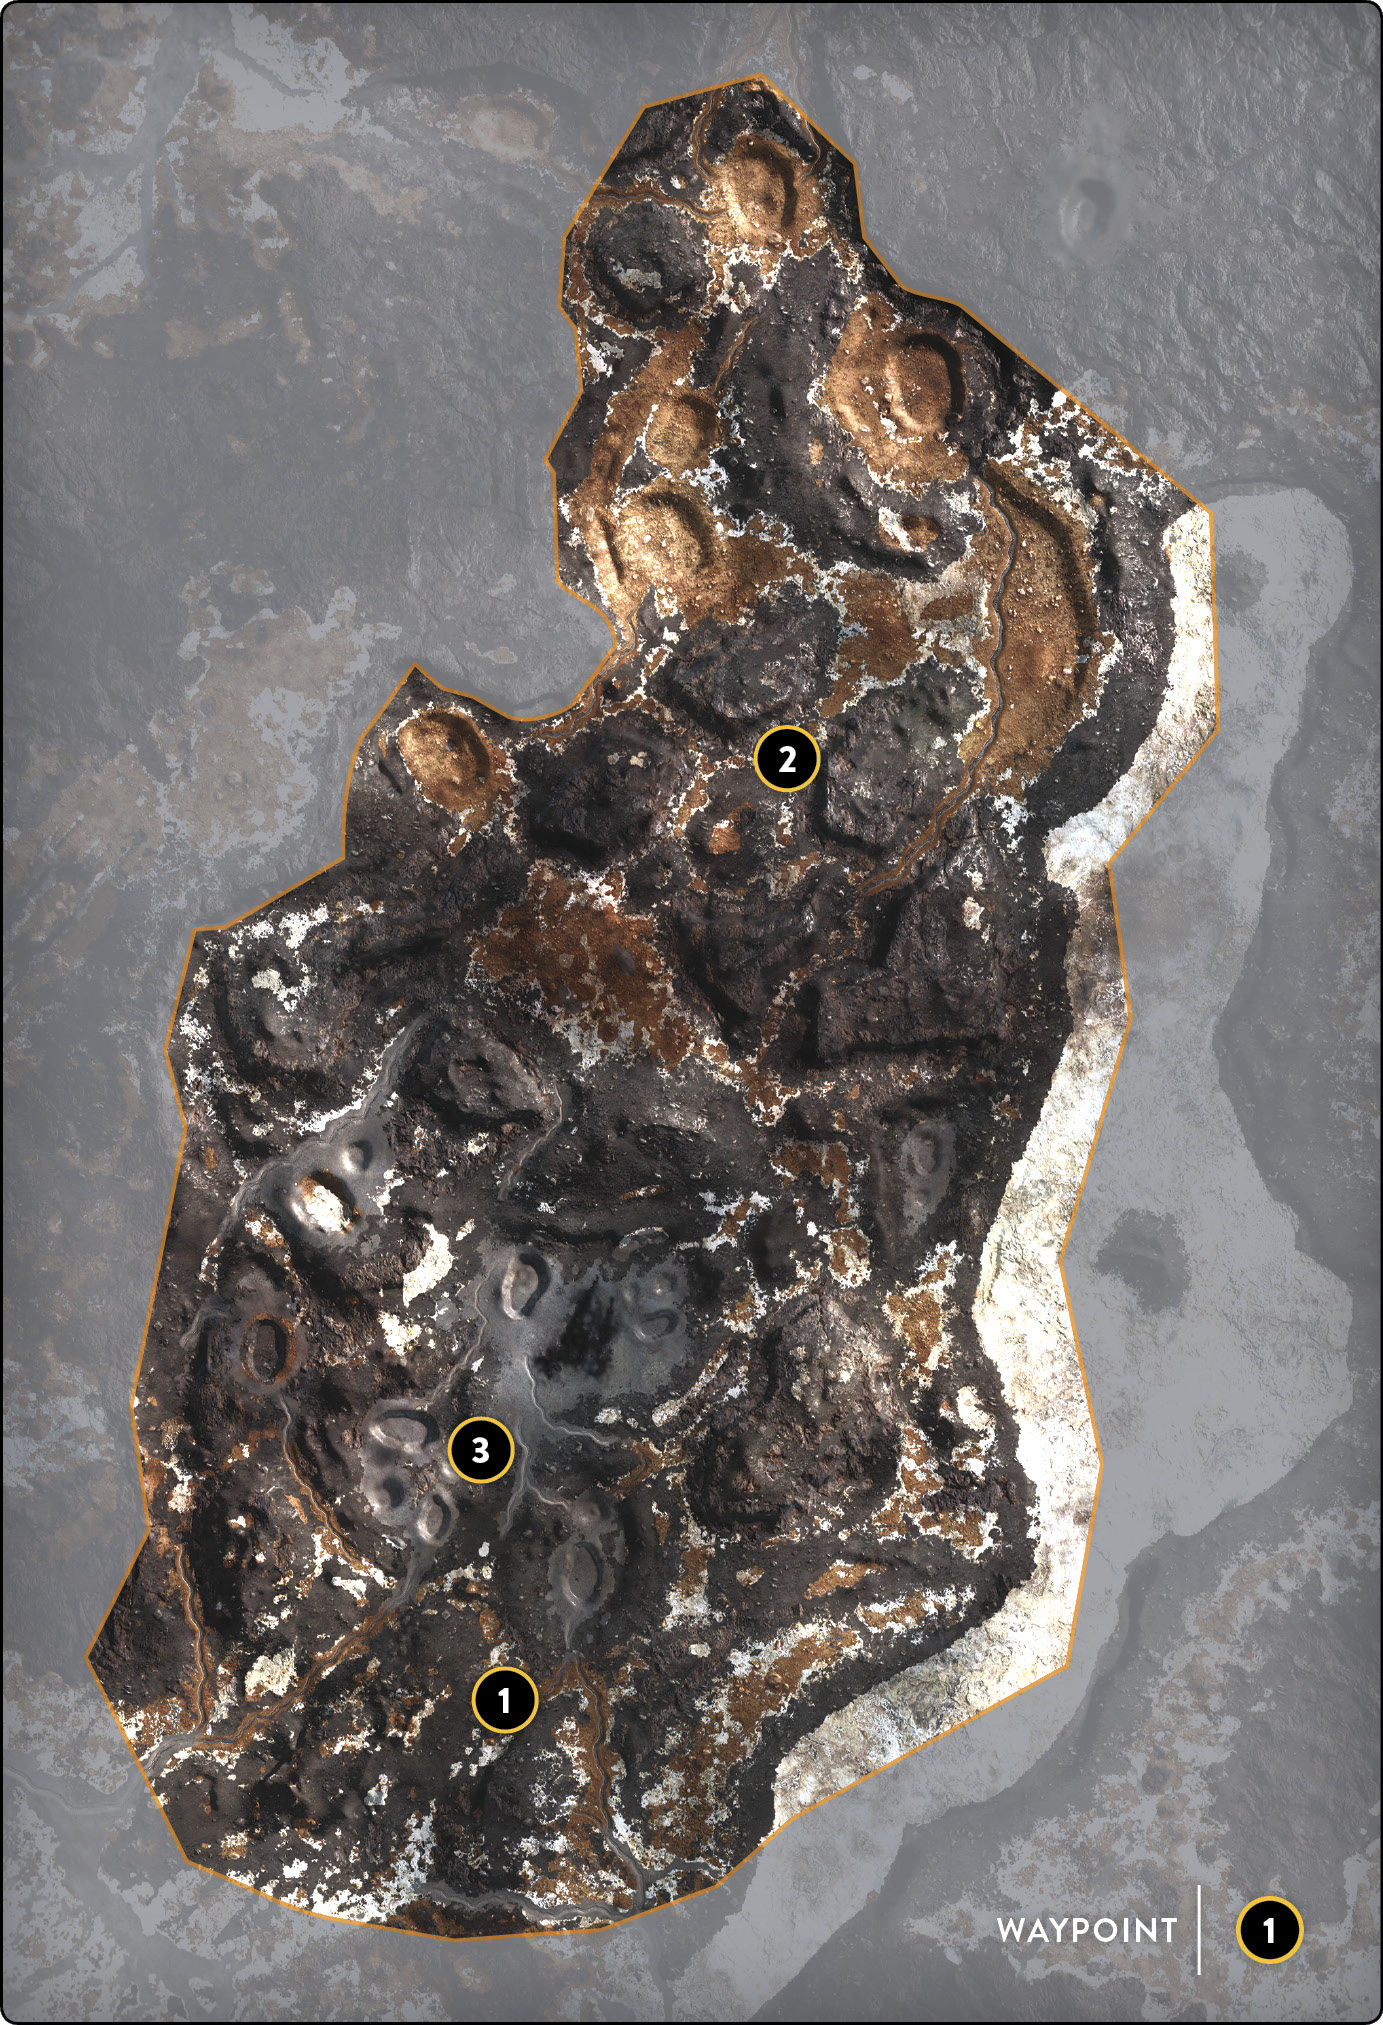
The SoroSuum Centroplex is split into three sections only separated by a level of elevation, but it also contains several terraneous objects that require a bit of finesse when you’re attempting to outmaneuver your opponent. Some of the most useful Asset Star Cards to carry in your hand while playing Blast in the Sulphur Fields are Barrage and Bowcaster. Barrage helps you hide in the blind spots of some hills and launch explosives in the general area where you might have your enemy pinned down. Bowcaster is best used in the compressing areas of the map where two or three routes become one and when partners or parties come together, creating the perfect group shot.
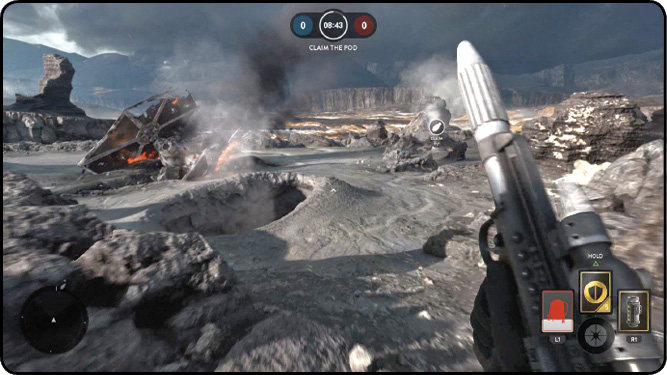
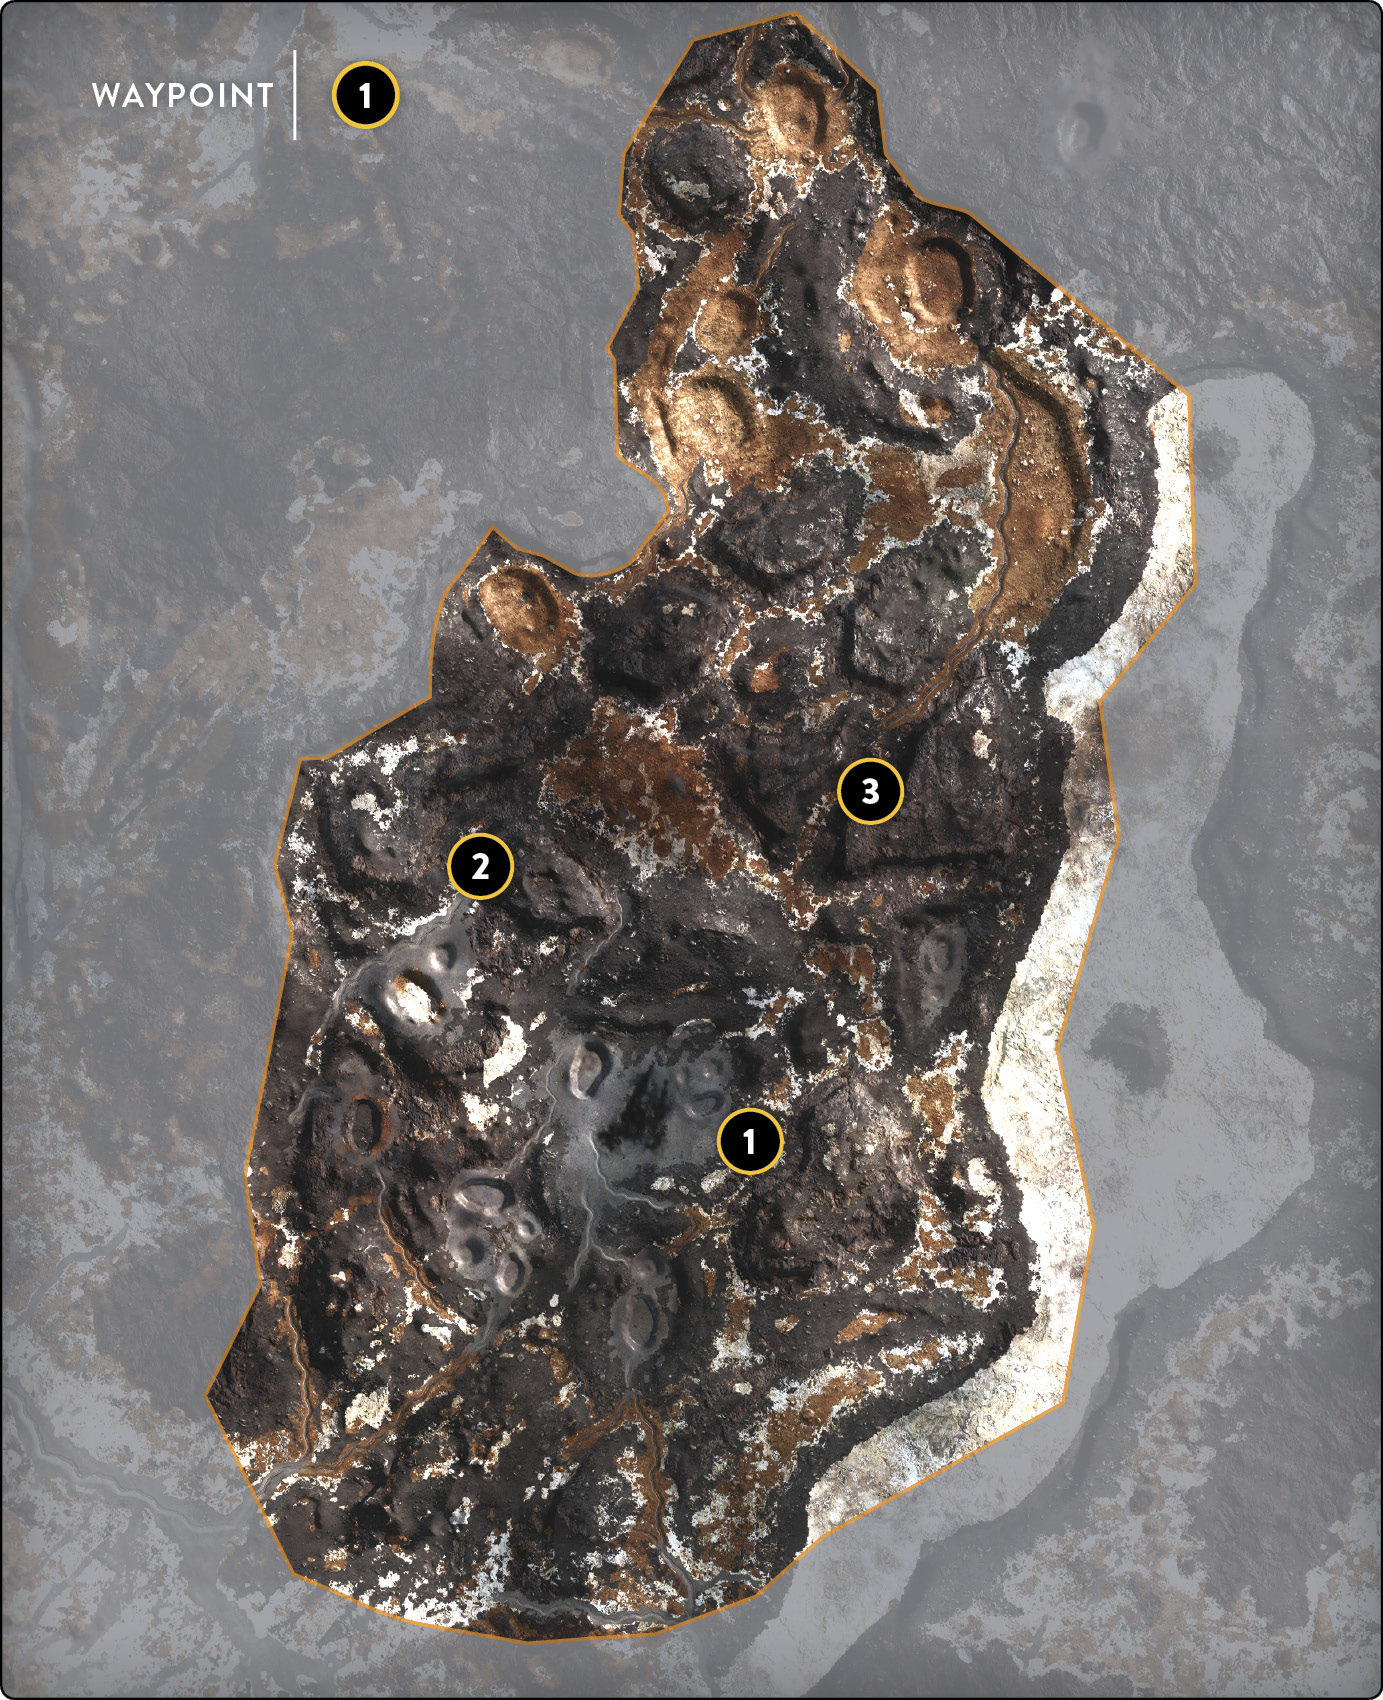
 The first area of the Sulphur Fields is the outer rim of the map that borders the map in the direction heading out toward the cliff. This specific area is the most open area of the map and allows for more mid-range firefights. Out here, you can find a crashed TIE fighter that makes for excellent cover and a great object to conceal your approach. Pay attention to the small, dry rivers, and watch your step in the outer rim. Most of the sulphur deposits are in this area, but they are a little smaller here and sometimes harder to see when you are focused on enemies at range.
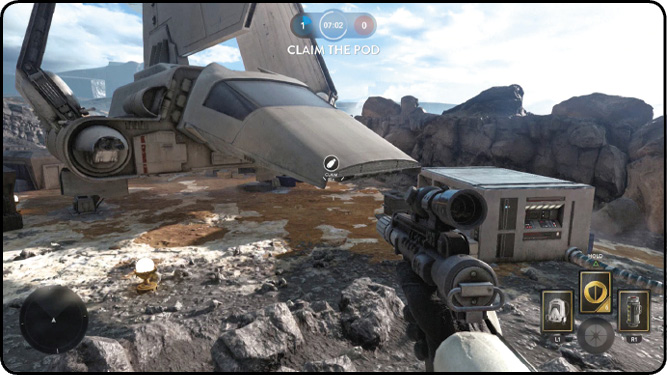
 The next area of importance in the Sulphur Fields is a small, flat area where the Imperial transport ship has landed. This staging area for Imperial forces is the center of the action and is where some of the more explosive ordnance is used. If you have a Jump Pack, you can get on the hull of the Imperial transport, which gives you a generally wide field of view and can let you know where the majority of the enemy forces are coming from. Don’t stay on the ship’s hull too long, though, as this spot is easily given away if you are obviously peeking your body over the top. Behind the ship are a few cargo containers that border the ship, which creates a couple layers to the main transition walkway. Use the containers to ambush foes as they come by and take them by surprise. As they try to cross to the other side, your adversaries may not even be paying attention to the fact that someone might be waiting for them.
 The final location on the map is just over the hill that the Imperial transport has landed on. This place is interesting because the outer rim and the staging area connect here, making each spot highly accessible from any location. There is a second staging area here that contains a few more crates. Another secondary area is also a little more open, though it contains some more terrain obstacles. Along with the rocks placed in spread-out locations, you also have a few of the larger sulphur pits that can damage you if you stand on them too long. This area is not the best place to linger, so try not to get pushed back here for very long.
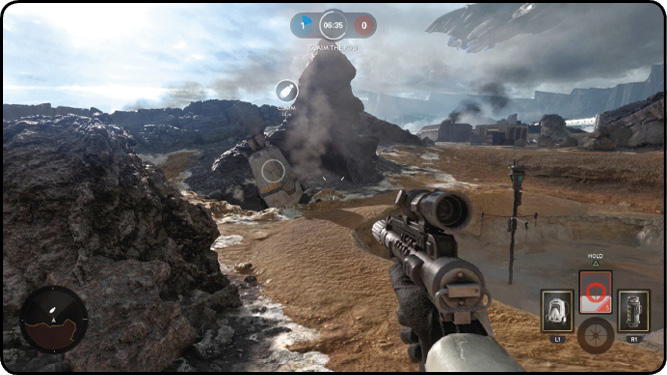
Drop Zone
Drop Zone in the Sulphur Fields is very much a free-for-all when it comes to predicting where the most likely spots for the drop pods will be. If your team can control the outer rim of the map near the cliffside, you will likely have an advantage on the initial jump toward the next fallen drop pod.
 One of the likely spots for a drop pod is far out beyond the Imperial transport ship and in the middle of the small river, where it appears that lava recently may have flowed through it. The river has two small ledges and a few rock formations that are perfect for cover when you are defending the pod. However, they are a tad small, making it very difficult to hide for long before the enemy spots you. Finding an Orbital Strike and firing it in this location can be very effective because of how much overhead cover the area lacks. Avoid getting too close to your teammates out here, as it is easy to become surrounded; when you approach your target, you want to be the group that surrounds them, not the other way around.
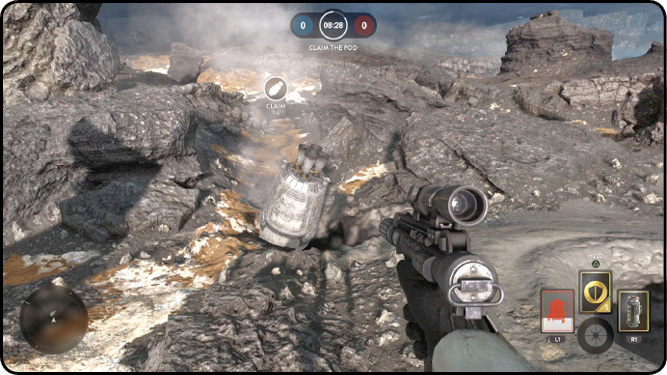
 The next popular drop pod landing zone is located on the other side of the map, near the larger sulphur pits. Here, there is a bit more cover because of larger rock formations and the walls that surround the pits. However, the damaging sulphur beneath your feet limits the amount of places where the enemy will not find you. The best way to defend this location is to push forward and set up camp behind the large cliff in the middle that creates the fork in the path just before the Imperial transport ship. Defend from this location, but watch both sides and straight above you, as your opponent could come from any direction.
 The third key location for these drop pods is again on the outer rim of the map, but this time, it is much closer to the ship. By taking the path that is on the starboard side of the Imperial transport ship, you are led down to another wide area, but this location is easily guarded from the cliffs and ridges above it. The pods that land near here typically land in the shadow of the cliff. This creates a great opportunity for you to use the cliff as overwatch, or even use it as a piece of cover to hide under from any foes who may be attacking you from above.
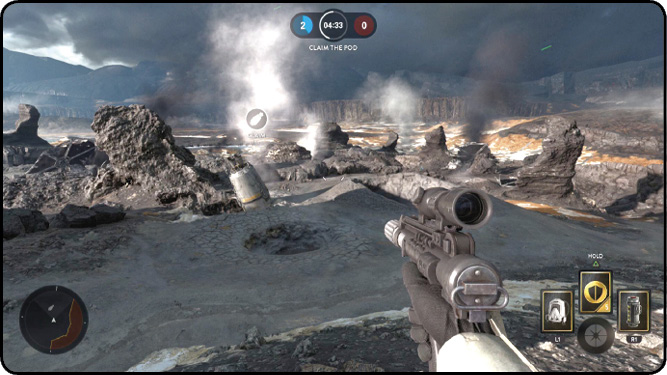
Droid Run
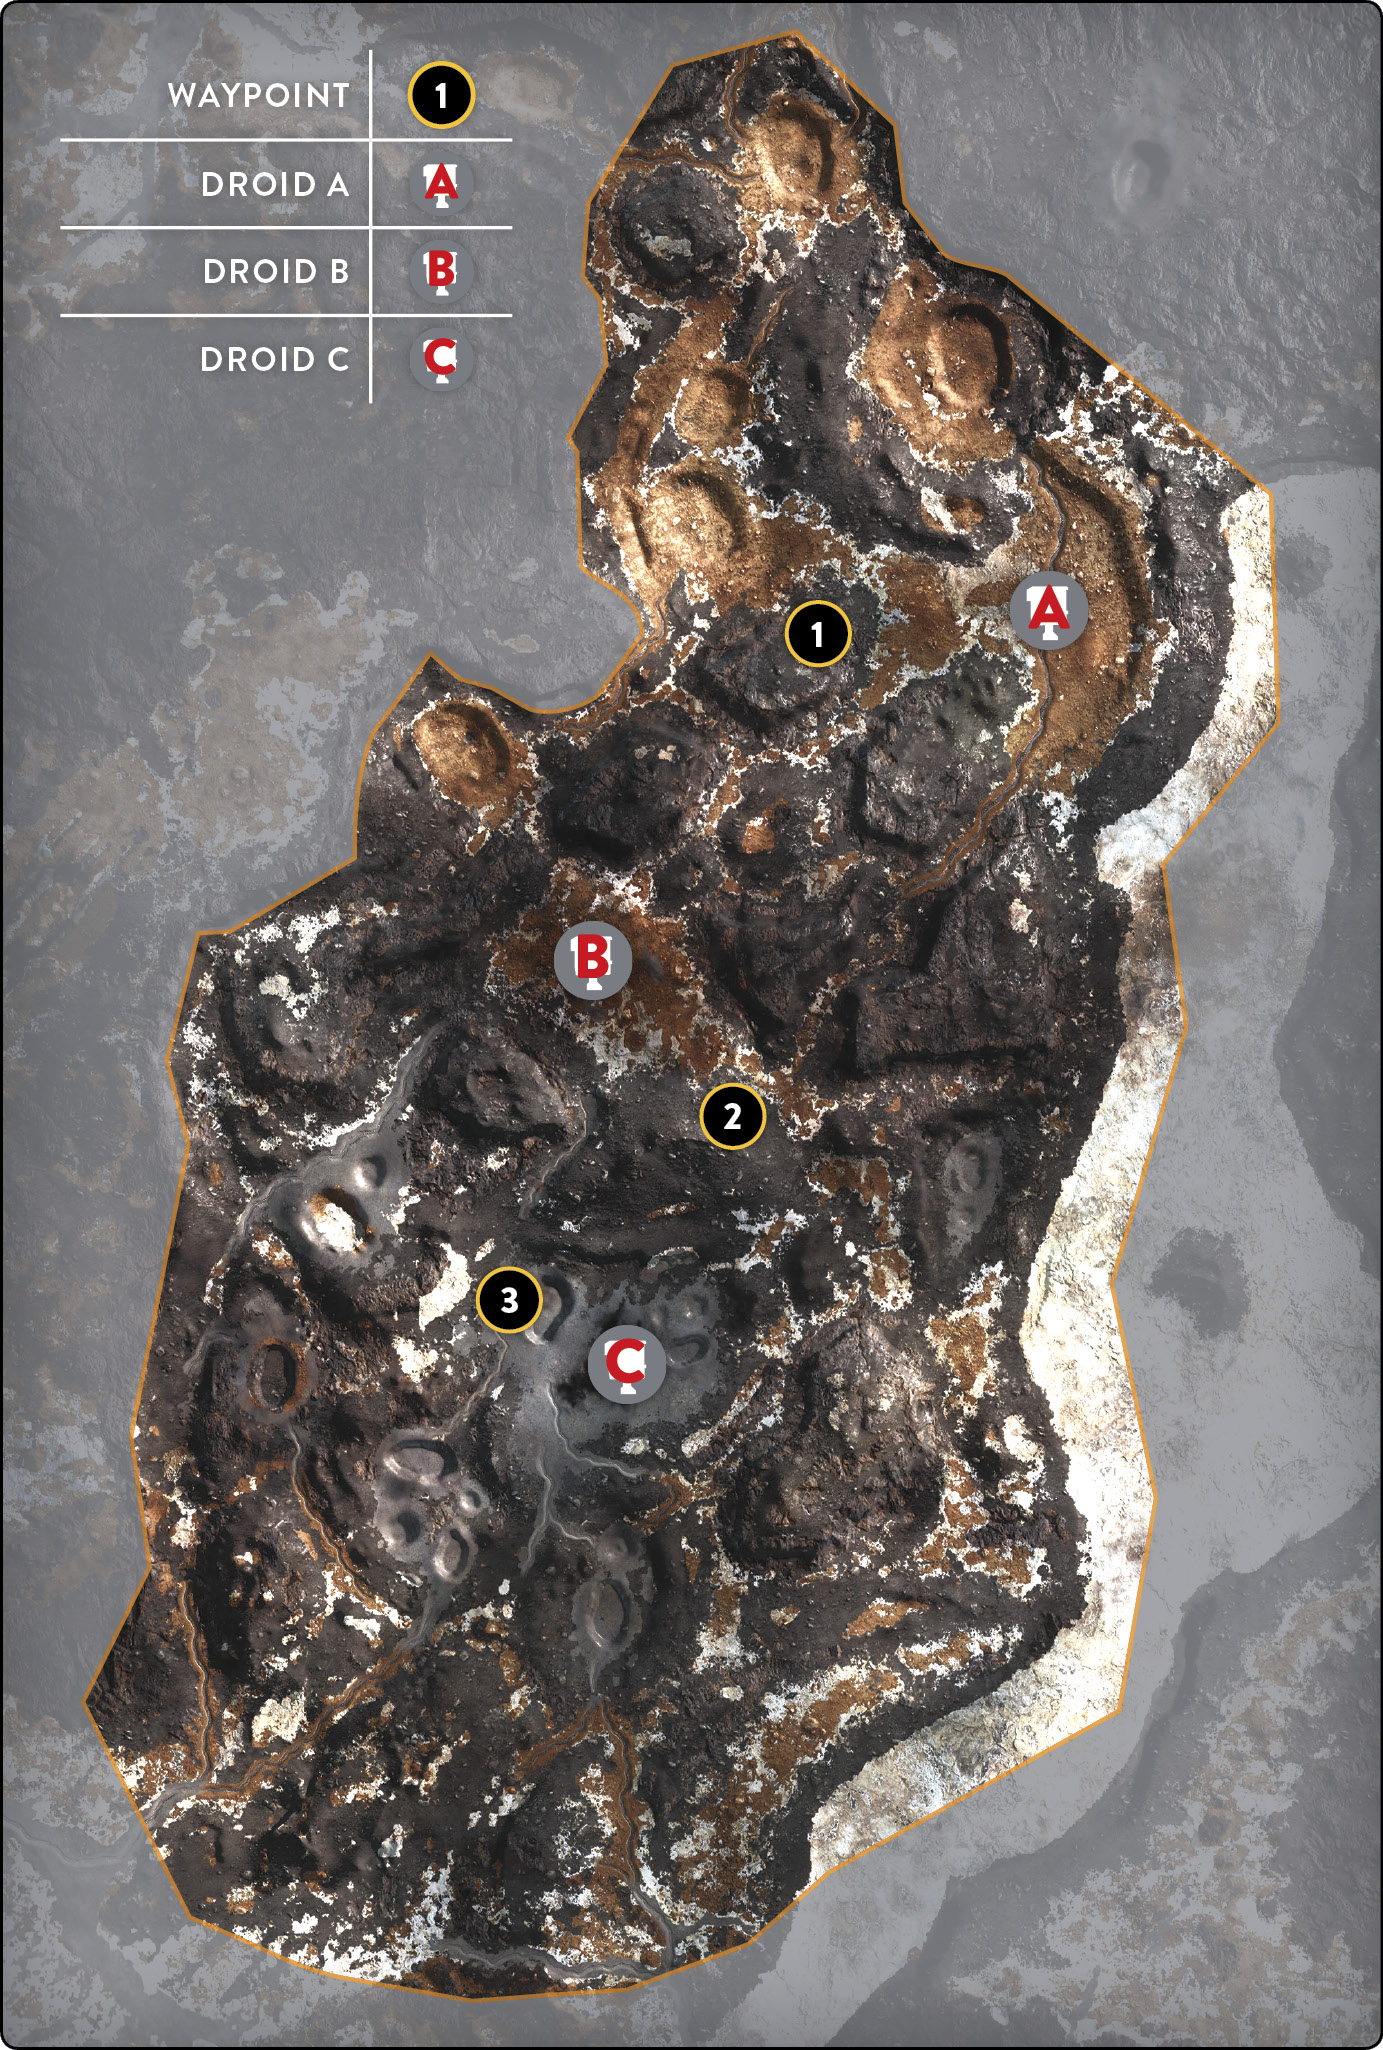
 Droid Run in the Sulphur Fields is much more like a map/mode combo where anything can and will happen. he structure of the Sulphur Fields allows you to quickly get to any part of the map from anywhere else. The progression in this version of Droid Run does not go in a sequential order. Either side can potentially control the “A” and “C” droids, but the combination of who controls what changes rather frequently. The “A” Power Droid roams around the secondary staging area that is away from the Imperial transport ship and off near the sulphur pits. You can either defend this droid from the cliff on the hill or use the cargo crates that are being staged here. Using Star Cards like Contact Grenade and Pulse Cannon can really benefit you. Being able to lob a grenade at the droid itself to ensure that no one is attempting to take it is a quick way of staying protected while also guarding your territory. The Pulse Cannon gives you a little more reach, which allows you to watch the droid from afar.
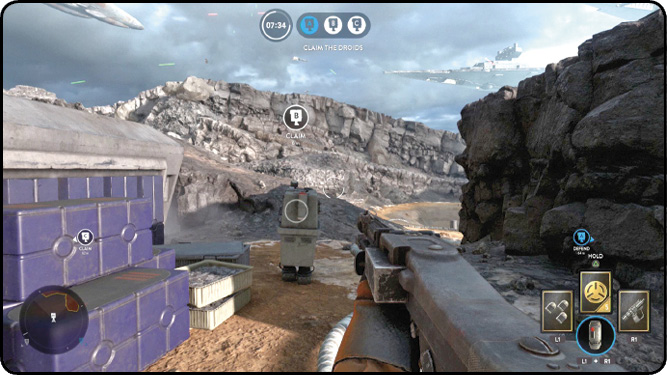
 The “B” droid has claimed the flat landing area where the Imperial transport ship is stationed and the Empire has staged a few of its cargo crates. The amount of objects that are up on this flat piece provides an incredible amount of cover, but take note that this location has the most foot traffic. This makes the place a nightmare while you wait for the droid to walk to a safer area. At certain points, the droid may be on the side of the “A” droid, the “C” droid, or the side of the cliff that is open to all sorts of mayhem. The important lesson is not worrying about where the droid is when you attempt to take it. Just claim it, and claim it as fast as you can. Defending this droid takes an incredible amount of stamina and quick cool-down speed. Use the necessary abilities and shoot straight—one wrong move can take you out of the area very quickly.
 Finally, the “C” droid does not roam very far but has no problem with being out in the wide open area. This droid roams around the area of the crashed TIE fighter. You won’t have much cover to use, but the large TIE fighter and the cliff both provide an incredible tactical advantage. Because of its position, the droid can be spotted from a great distance away, making a long-range defense perfectly viable. You can also use the large rock next to it for a great perch that lets you grab a quick glance at whoever is attempting to take it. Avoid staying on any high surfaces out in the open in this location, as it is suicide. Still, it is a great tactic to use for quick potshots without your enemy knowing exactly where the fire is coming from immediately.
Hero Hunt
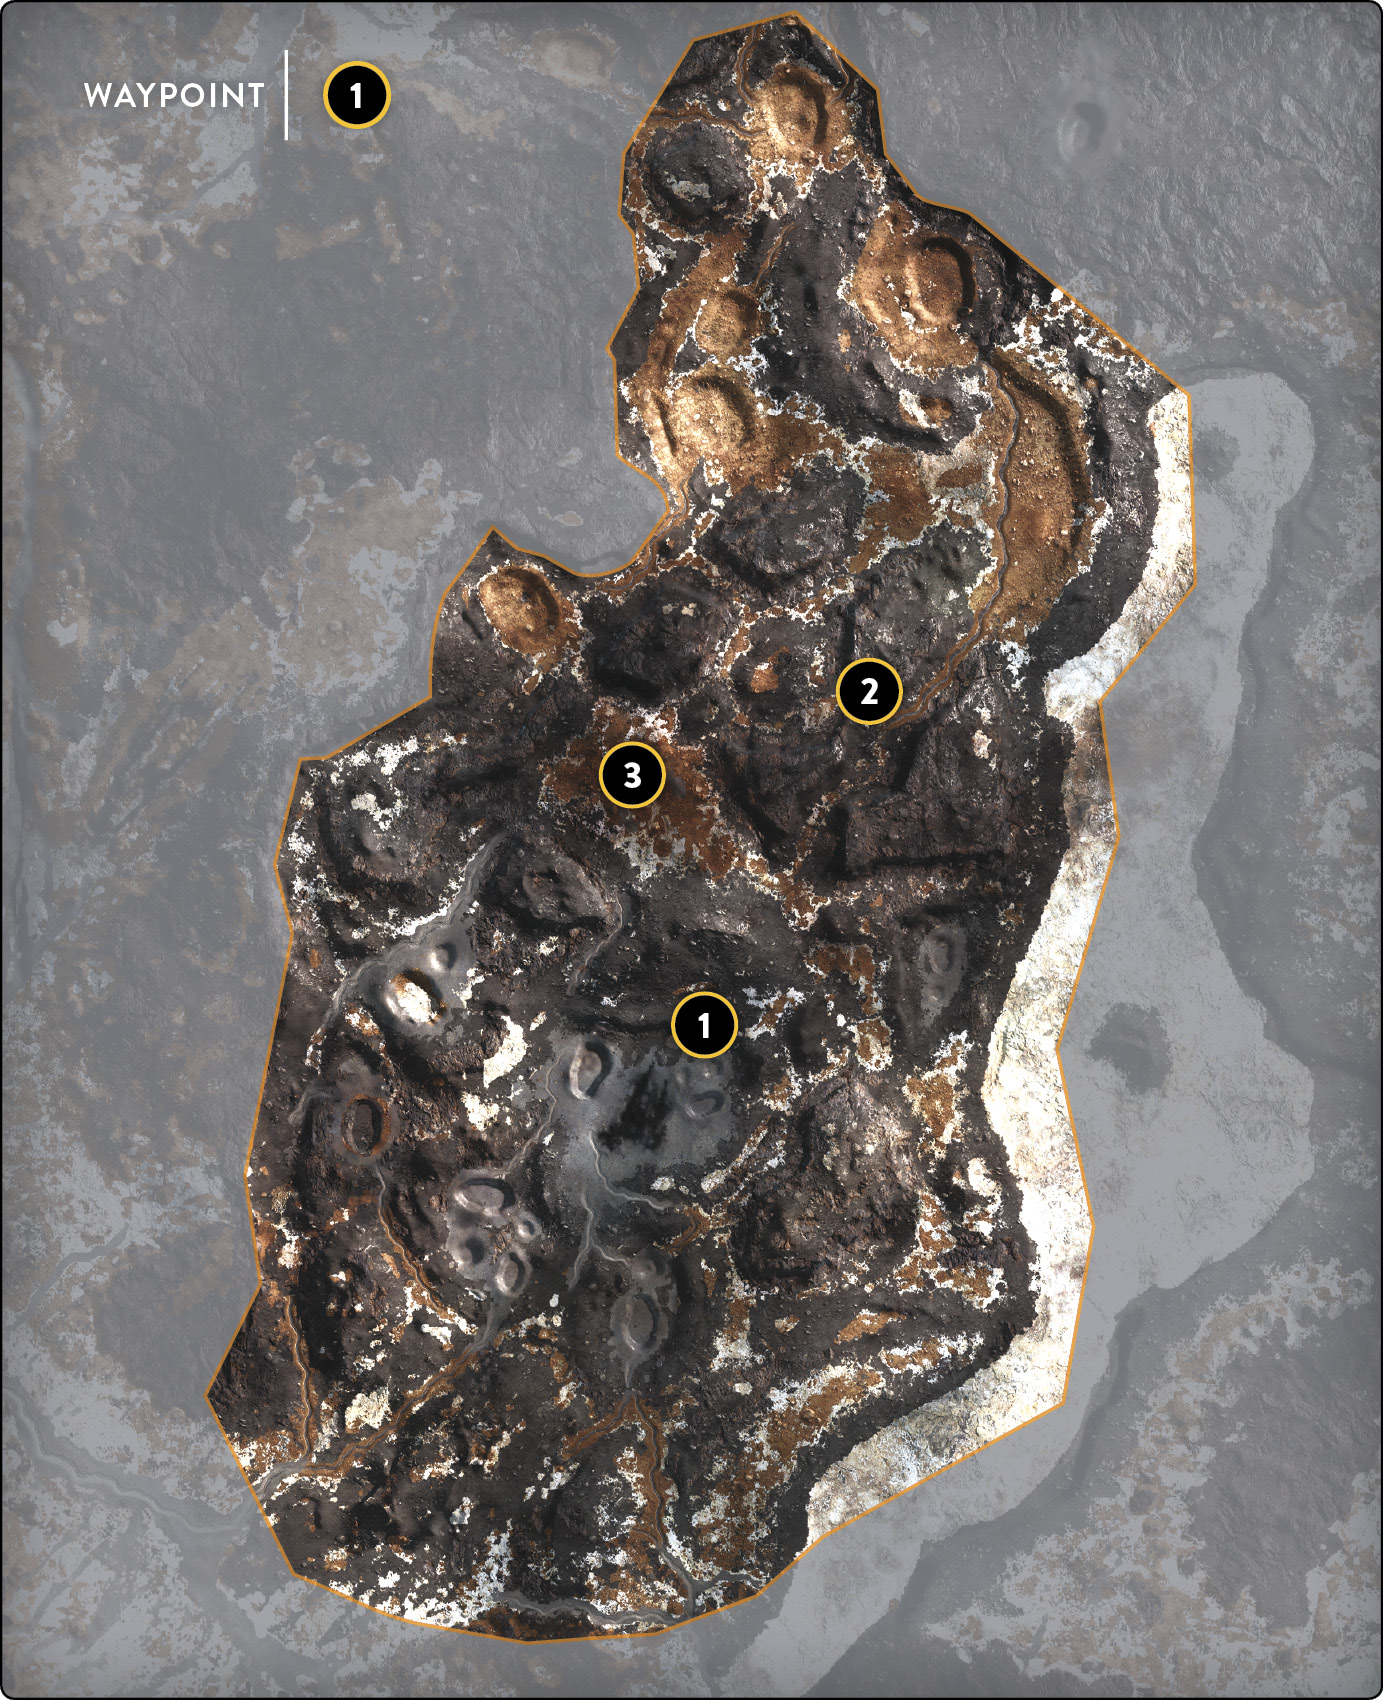
The planet of Sullust is primarily controlled by the Empire. Along with many other planets in this situation, the locals are not pleased by this and are now on the hunt for the villains who lead this army. As with all parts of Sullust, whenever Hero Hunt is being played, there will be villains who are controlled and hunted down. In the Sulphur Fields, you are hunting Darth Vader, Boba Fett, and Emperor Palpatine. By far the most challenging villain to kill here is Boba Fett, so let’s start with him.
 Fett is highly mobile and can travel to any part of the Sulphur Fields extremely quickly, making him almost unstoppable unless you play to his weaknesses. It is nearly impossible to sneak up on Boba Fett, as the player who is controlling him will most likely use the jetpack whenever possible. Because of this, you should equip high-powered mid-range blasters that allow you to keep your distance while still being able to deal major damage to him. But be very careful while using this tactic, because Boba is also equipped with a high-powered blaster rifle and can fire back. However, the range on his blaster is not the farthest, so using Star Cards like Pulse Cannon and Cycler Rifle can give you an advantage—especially because he does not have a lightsaber to deflect bolts back at you.
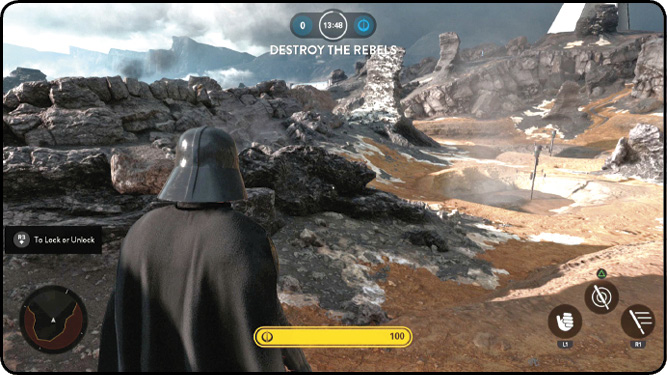
 Keeping a long distance works with Boba Fett, but it may get a little trickier with Darth Vader and Emperor Palpatine. Even though Palpatine does not have a lightsaber, both Palpatine and Vader can deflect bolts and shoot them right back at you, potentially killing you if you are not careful. Dealing with these two is best completed by using mid-range tactics and lobbing explosives at them. Both characters have long-range attacks or abilities that allow them to get closer to you or attack you from their particular distance, but there is a long cool-down on their abilities, leaving you the advantage. Don’t worry about these moves too much; even though they will kill you if you’re caught, enough objects and uneven terrain in the area make it a little easier to avoid them.
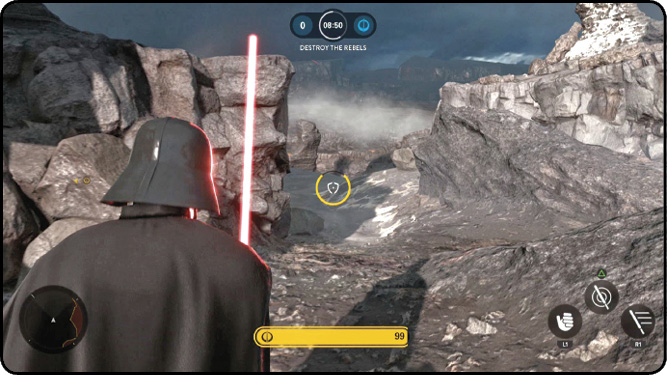
 Proximity mines and Smart Rockets are your best bets when hunting down the Sith Lord and his apprentice. Neither one of them has very fast movement speed, making it much easier for you to hit them. Forcing the villains to move around is also advantageous to the hunters because they want to gather your entire team into one collected area. Preventing them from doing that is what helps your team take down the enemy as quickly as possible.
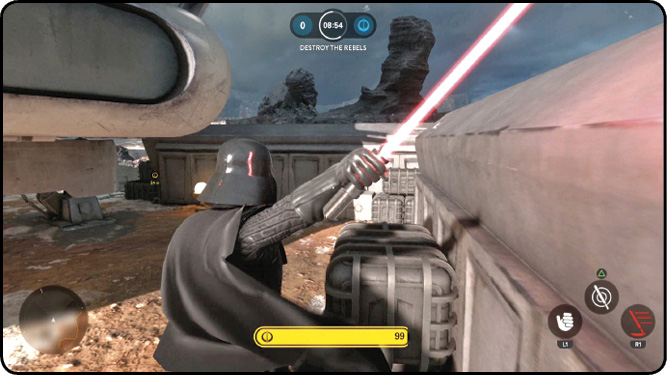
Heroes Vs. Villains
Heroes Vs. Villains in the Sulphur Fields lends extremely well to some of the ranged characters like Boba Fett, Han Solo, and Leia Organa. Playing these characters can give you an advantage over the other hero characters, but it won’t automatically win the game. On this map, the weaker characters are some of the strongest characters in the game.
 When you’re playing characters like Boba Fett, you can scan the entire battlefield looking for the enemy. Being able to point out where opponents are and communicate that to your team gives you the tactical advantage. It’s up to you how you organize your team in the attack, but the fact that you can see adversaries before they see you is a great plus.
 Han Solo and Princess Leia both have powerful blasters and protective abilities that give them the upper hand against Darth Vader and Emperor Palpatine. Han can use Lucky Shot from a distance and wait for it to cool down before the enemy can get to him, which gives him a bonus health advantage when the close combat fight begins. However, with Han’s speed, you may be able to keep his distance as long as you don’t back up into a corner. Leia must recruit the assistance of her troopers and use their combined blaster power to deal enough damage. However, being able to protect them from Force Lightning and (more importantly) Chain Lightning helps significantly with allowing her to set up deadly ambushes.
 All three of the remaining characters (Luke Skywalker, Darth Vader, and Emperor Palpatine) have a slight disadvantage when playing on the Sulphur Fields, but they are still completely capable of dominating each match. Because of Luke’s and Vader’s Saber Deflect and Palpatine’s deflect ability, they can stay protected if they are caught out in the open. When you are caught, do your best to make it back to cover; you are toast as soon as your ability runs out of energy.