STAR WARS™ Battlefront™ Guide Missions Battles
Overview
Players: Solo Play, Online Versus against Partner, Local Versus in Splitscreen
Objective: Eliminate opponents and collect their dropped tokens to score in a one-on-one battle against friends or AI—first to 100 points wins.
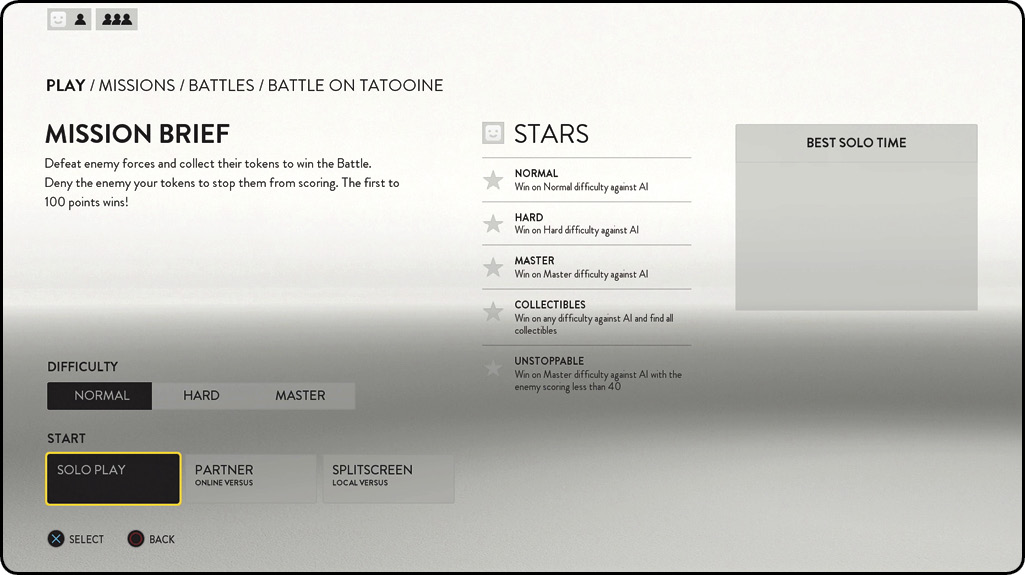
How to get Stars
| Name | Condition |
|---|---|
| Normal | Win on Normal difficulty against AI. |
| Hard | Win on Hard difficulty against AI. |
| Master | Win on Master difficulty against AI. |
| Collectibles | Win on any difficulty against AI and find all collectibles. |
| Unstoppable | Win on Master difficulty against AI with the enemy scoring less than 40 points. |
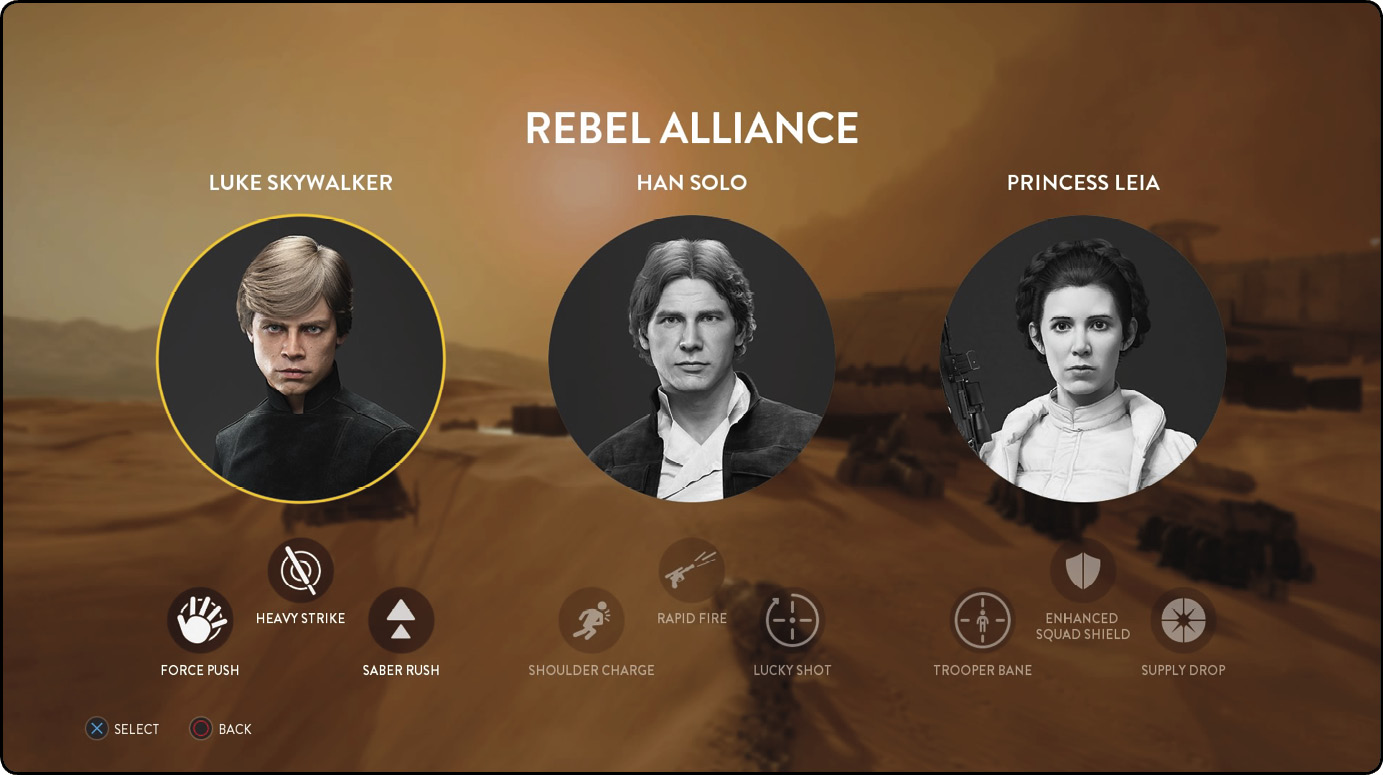
Battle mode gives you a chance to go one-on-one against your friends or the computer. Select your faction (either Rebel Alliance or Galactic Empire), and then get ready to slaughter the opposing side. To score points, pick up the tokens that downed opponents drop.
At the same time, collect tokens from your own team to deny points for the enemy. Infantry troops are added to each side to assist, though you can disable this by turning off Friendly AI Soldiers at the Faction Selection screen—making it a true head-to-head match. The first team to reach 100 points wins the game.
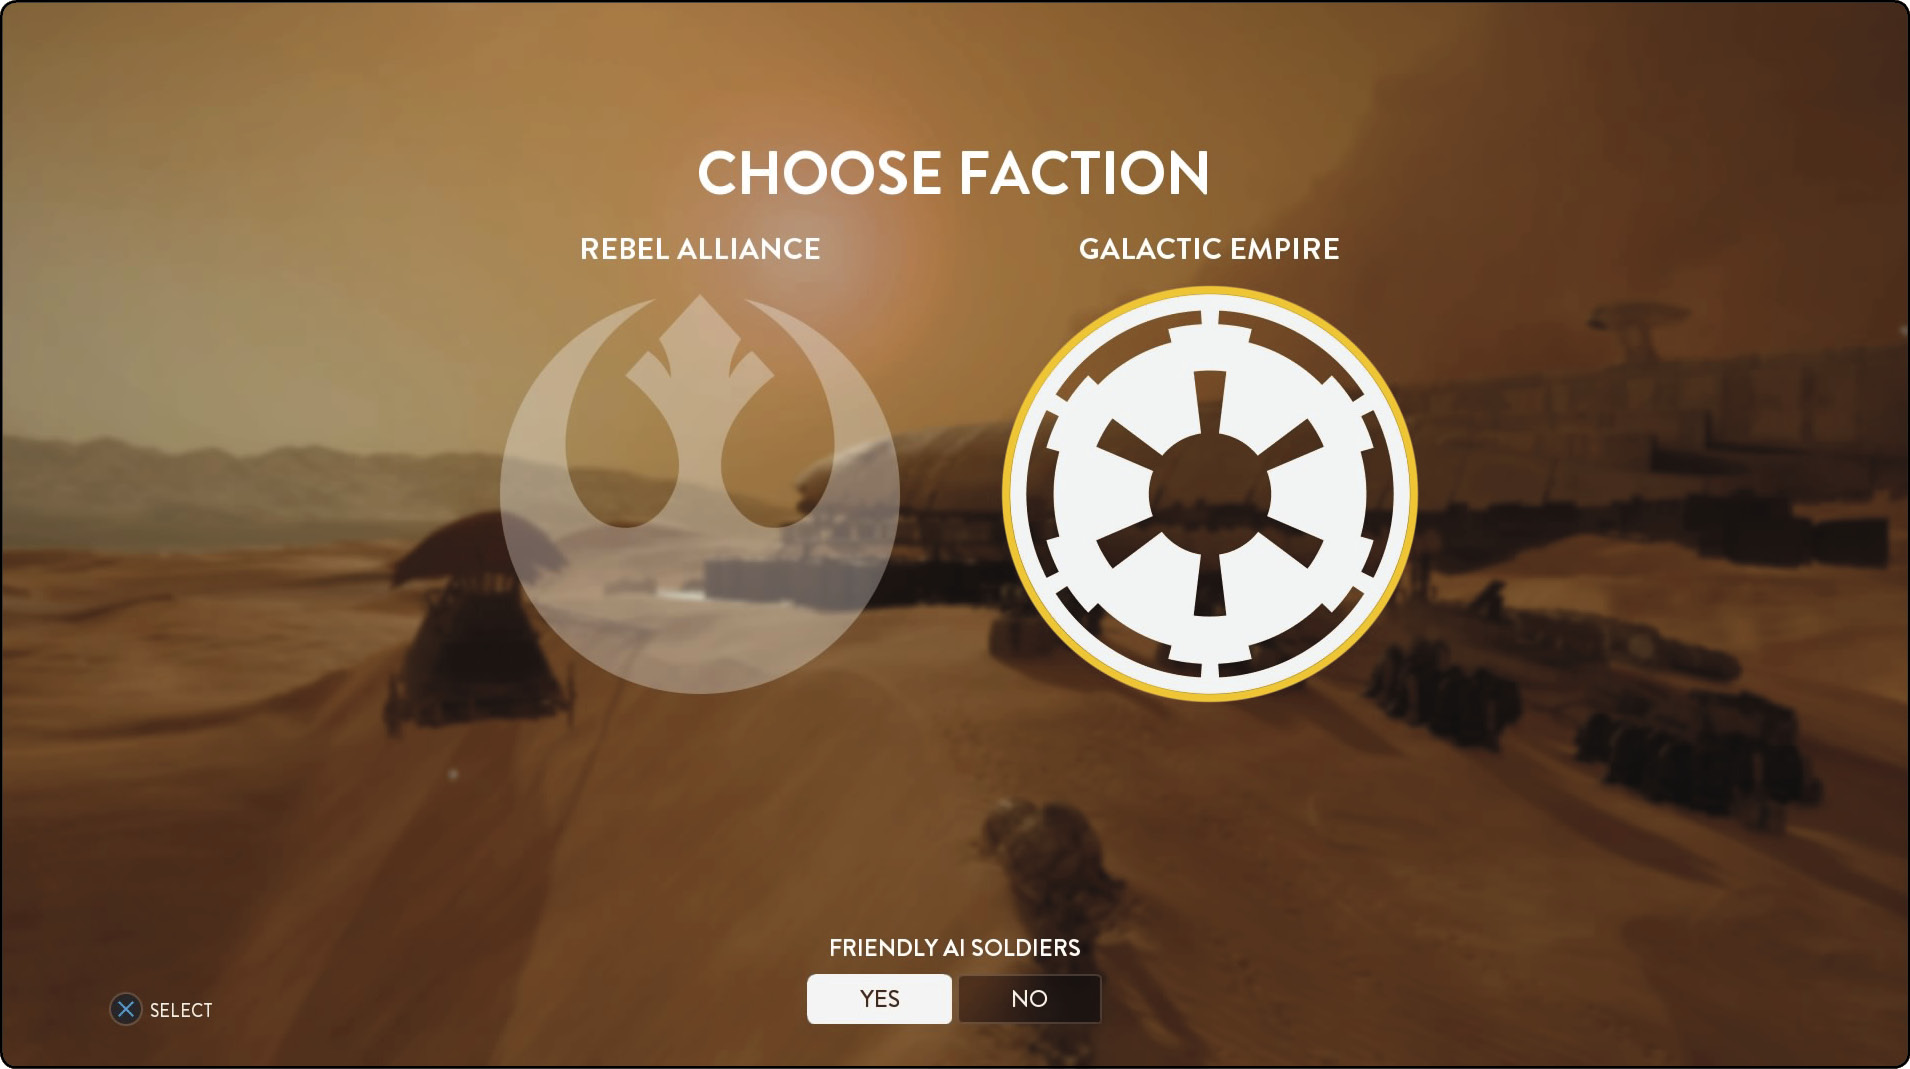
Regular battles pit Rebel infantry against Imperial troopers. Hero Battles allow you to massacre hordes of soldiers as one of six heroes: Luke Skywalker, Han Solo, Princess Leia, Darth Vader, Emperor Palpatine, or Boba Fett.
Hero Battles
Hero Battles are played in the same manner as regular battles, except that any human players choose a hero to use. The first side to 100 points wins the match. Just like regular battles, you can choose to enable or disable Friendly AI Soldiers. All computer bots, whether friend or foe, are played by the same selection of infantry as in normal battle mode. There are no power-ups or Charge pick-ups in Hero Battles. Instead, hero health pick-ups appear at specific locations, allowing you to heal when injured. Remember that heroes cannot use turrets.
Difficulty
Select between three difficulties when beginning a Battle game: Normal, Hard, and Master. As the difficulty increases, opponents become tougher to take down, inflict more damage, and are quicker to react. Enemy composition is slightly different on Normal than higher settings. Refer to the charts in the AI Opposition section later in this chapter for information about when enemies are introduced to the game.
Weapon Selection
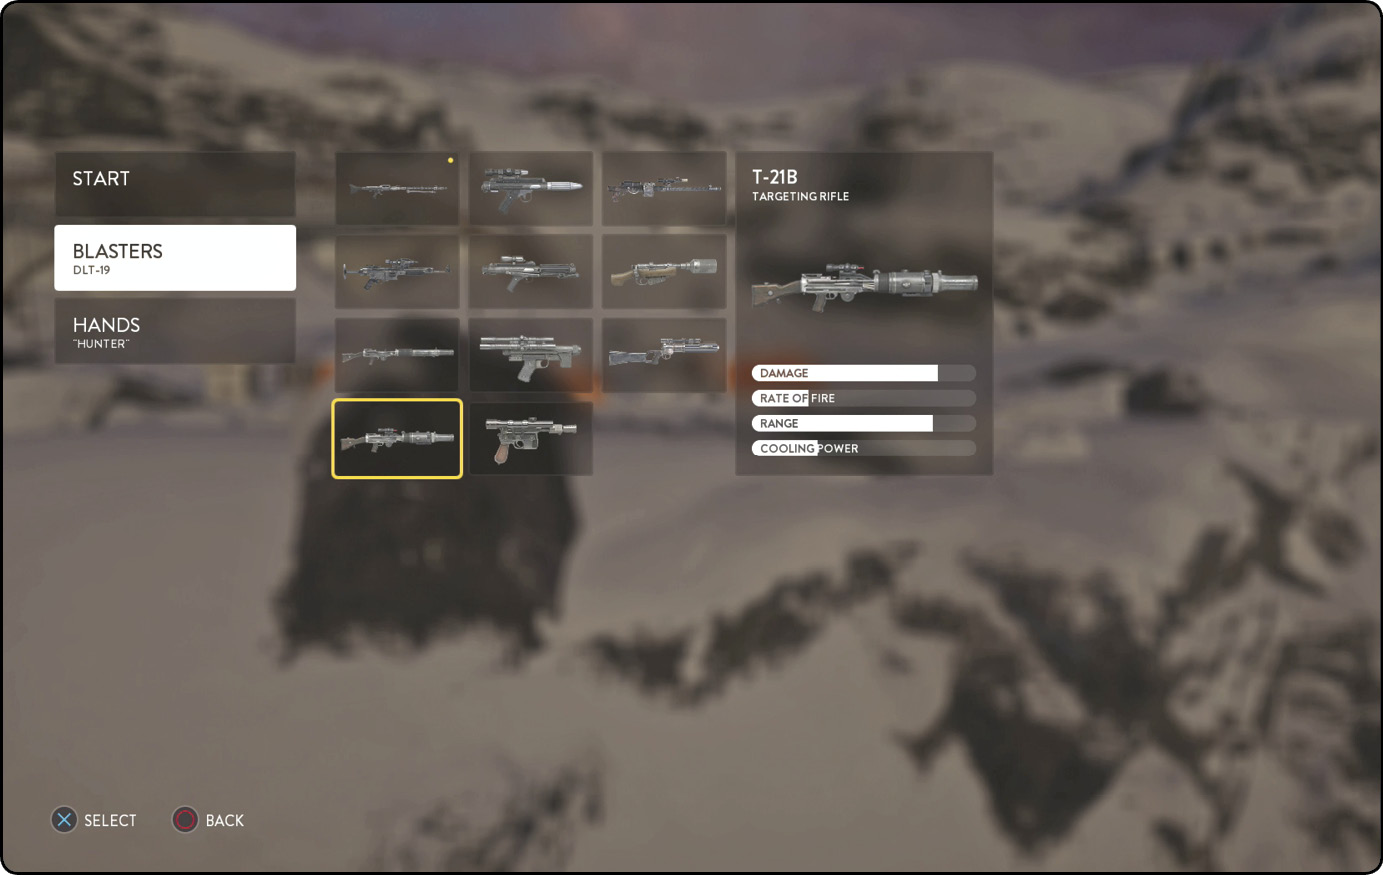
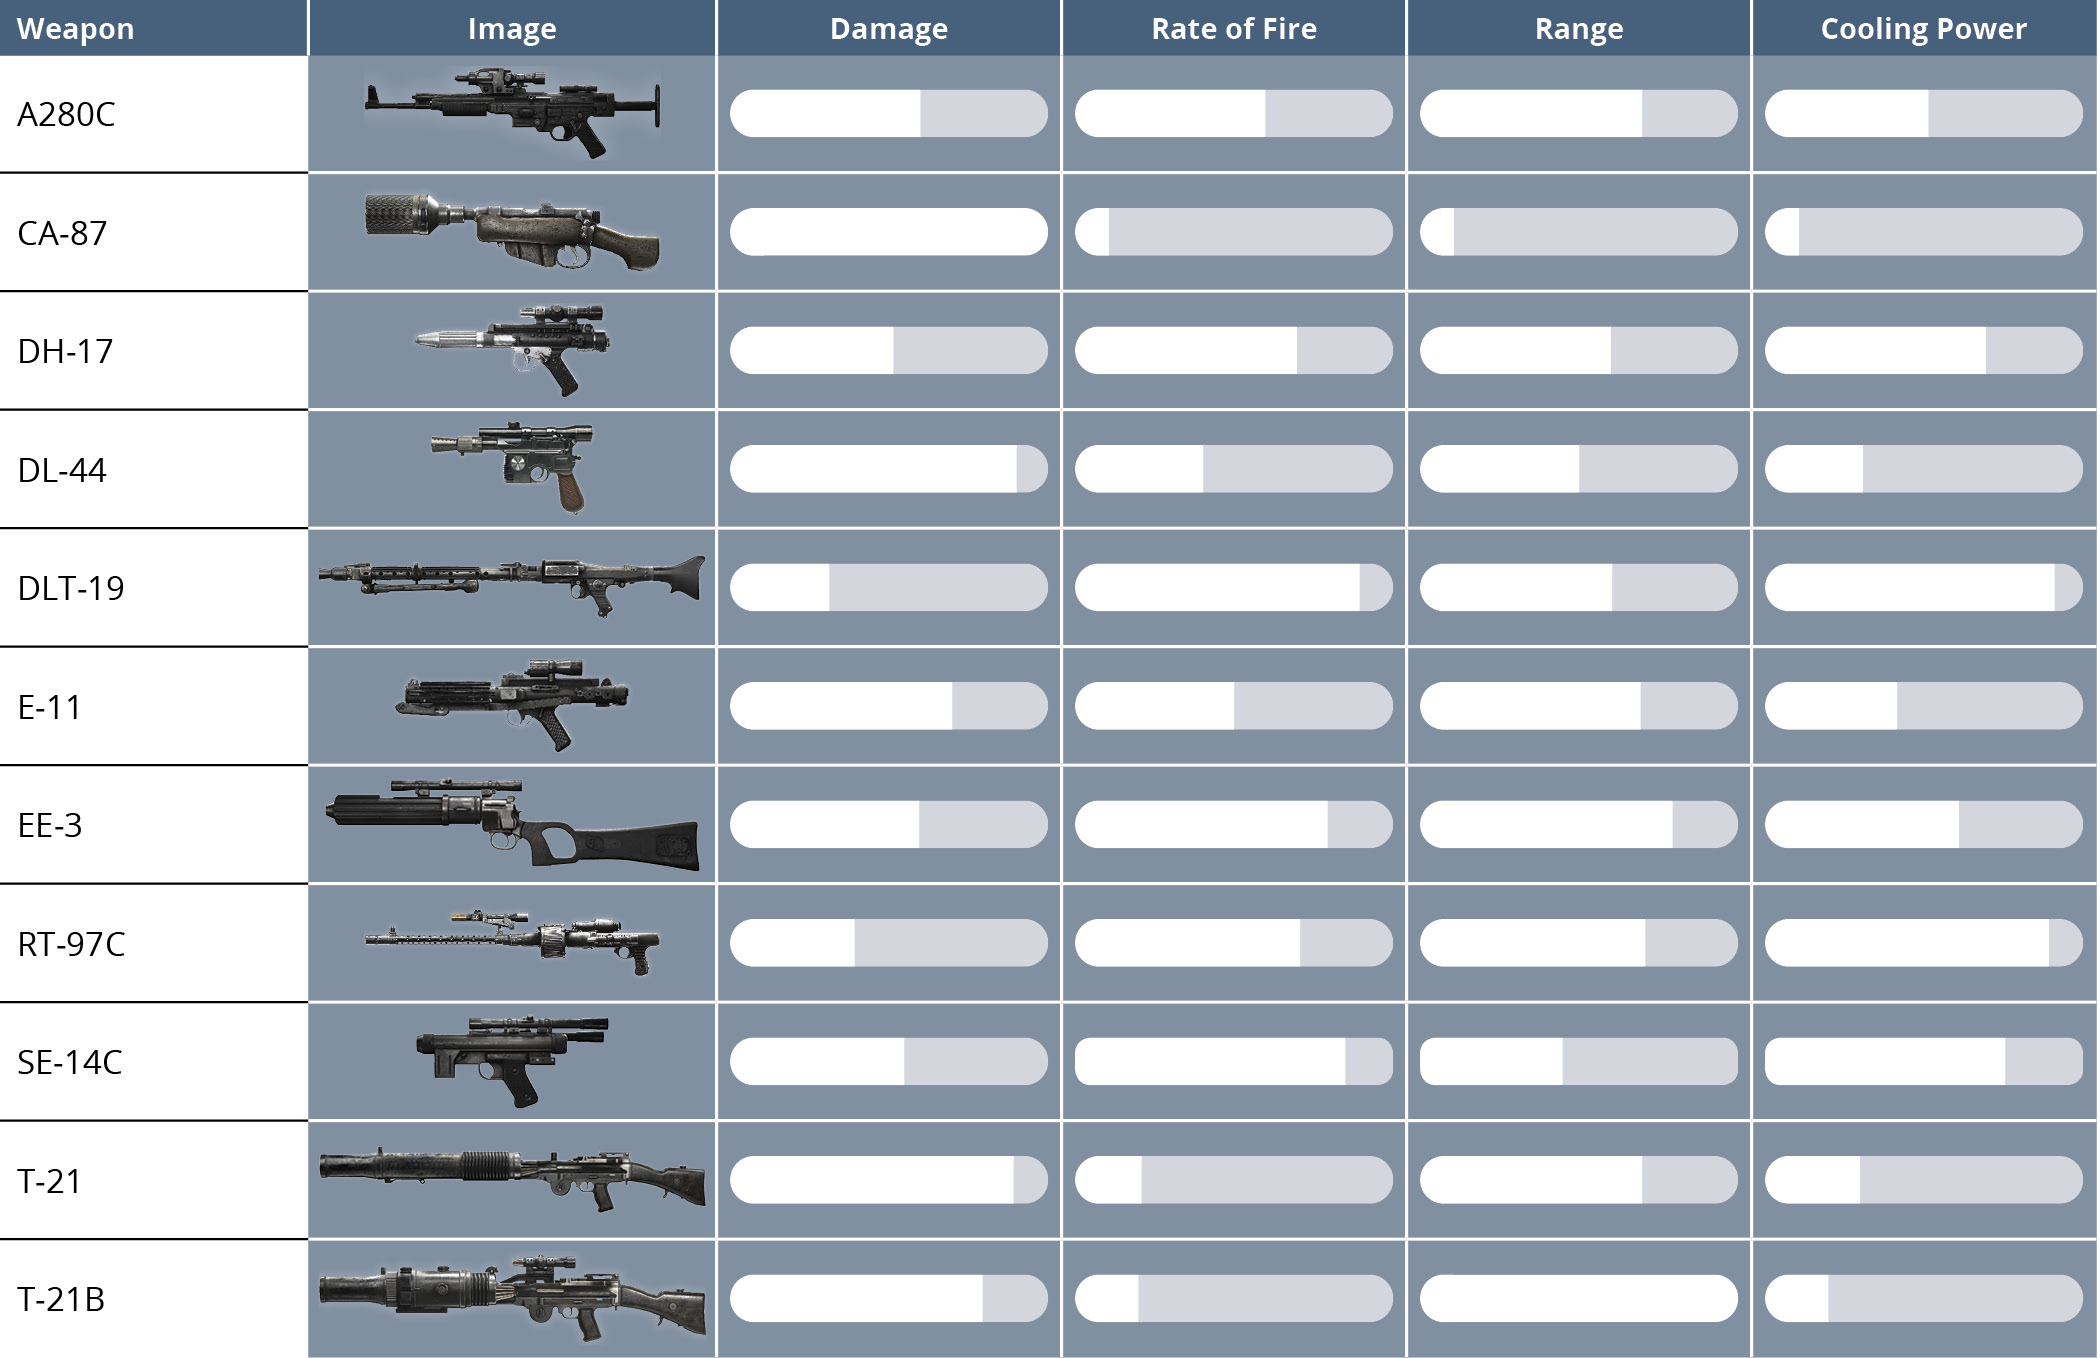
When you are selecting between the 11 blasters, consider the type of environment where the fighting will take place. If longer lines of sight are available against the incoming forces, pick a long-range rifle. If you are fighting inside narrow corridors, then go with a higher rate of fire or damage. Just keep in mind that you cannot score without collecting the dropped tokens, and there is no one else on your team to do it for you. Sniping can be an effective means of taking down your opponents, but it can be difficult to reach the tokens in time. Note that when you die in a Battle mission, you are not given a chance to change weapons; choose wisely at the start. The following table allows you to quickly compare the stats of each blaster.
Weapon Stats
Star Card Hand Selection
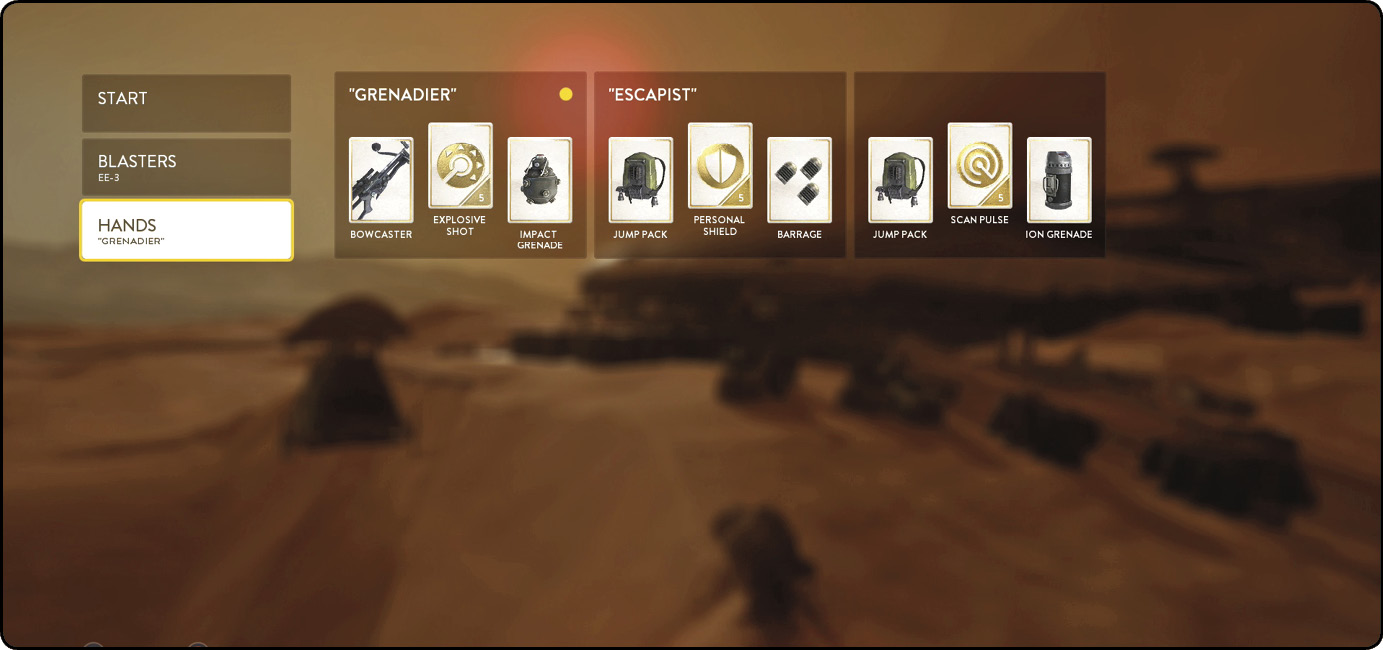
Before starting a Battle mission, you are given the chance to select your Star Card Hand. Each mission presents two unique presets that have been put together exclusively for that map. This allows you to play with Star Cards that you may not have unlocked to that point. If preferred, you may also use your customized Multiplayer Hand. Note that when you die in a Battle mission, you are not given a chance to change Star Card Hands, so choose wisely at the start. The following table briefly describes each Star Card offered in the presets.
Star Card Presets
| Star Card | Image | Description |
|---|---|---|
| Barrage | 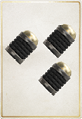 |
Fires three explosive grenades that explode on impact. Great against groups of infantry. |
| Bowcaster | 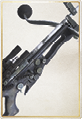 |
Charge-up bolt launcher that fires up to five explosive shots in a horizontal arc. |
| Cooling Cell |  |
Immediately resets Heat on your weapon, allowing for extended use. |
| Cycler Rifle | 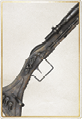 |
The bullet from this rifle penetrates shields and can kill in one shot. Unlike the blasters, this gun suffers from bullet drop, so consider that when firing from distance. Take out jumptroopers immediately with this high-powered weapon. |
| Explosive Shot |  |
Shots temporarily explode on contact. |
| Focus Fire |  |
Activate this ability to greatly increase accuracy. |
| Homing Shot | 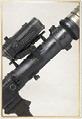 |
Shot that homes in on its target from afar. |
| Impact Grenade | 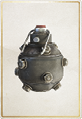 |
This high-powered explosive detonates on impact, so be sure there is distance between you and your target. Use against tougher foes or a small group. |
| Jump Pack | 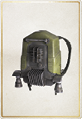 |
Very useful equipment for most locations. It is required to reach many of the collectibles and offers access to otherwise inaccessible locations. It also comes in handy when you must quickly flee a dangerous spot. |
| Personal Shield |  |
Protects you from blaster fire for a short period. Use when overwhelmed or when firing a weapon that requires more time. |
| Pulse Cannon | 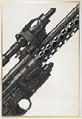 |
Charge up your shots with this rifle for a powerful attack. |
| Scan Pulse |  |
Scans all around you, detecting enemy locations even if they are behind cover. This is an incredibly beneficial Star Card to have in any situation. |
| Thermal Detonator | 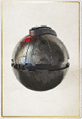 |
A high-damage timed grenade that is extremely effective against groups of infantry. Useless against vehicles. |
HUD
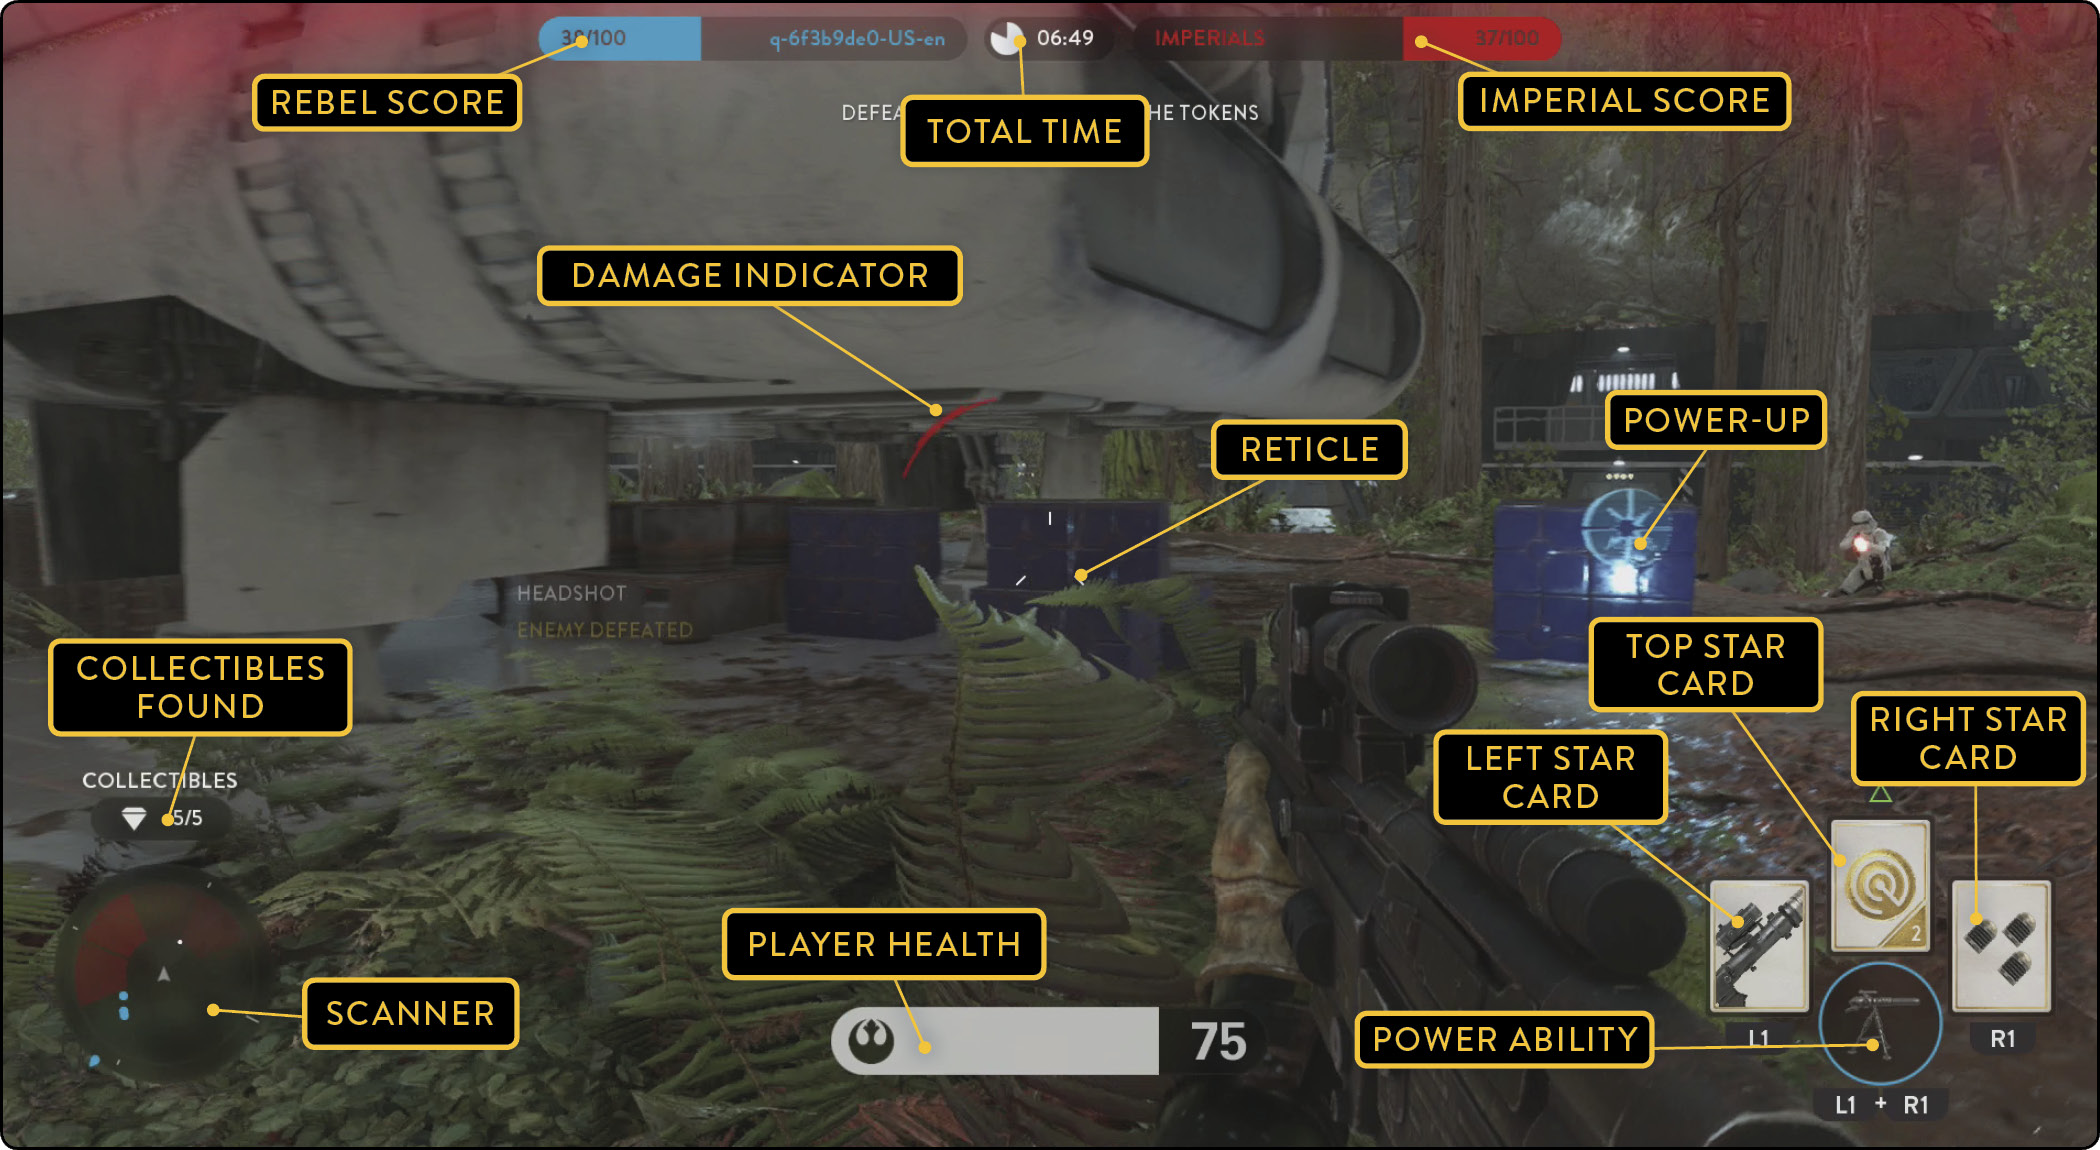
The area around the outside of the HUD displays important information on your current progress. A damage indicator pops up whenever you are hit. Power-ups and pick-ups are shown as they come into range. The score for each side is given at the top of the screen, on each side of the elapsed time. Note that tokens are indicated on the scanner as white dots.
AI Opposition
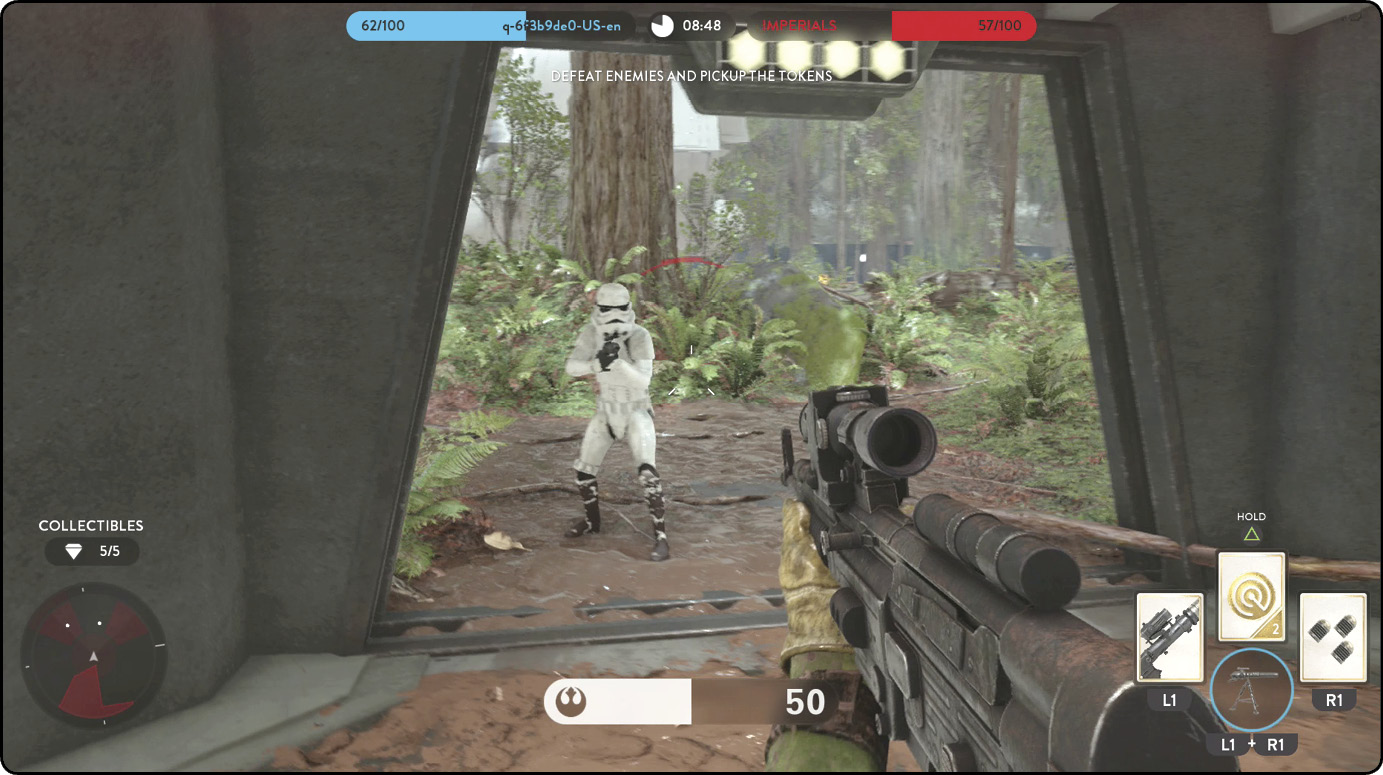
Each team is filled with AI infantry, though you can disable this by turning off Friendly AI Soldiers when selecting your faction. As your score increases, the types of enemies introduced become more challenging. The following tables show how many of each type make up your opposition as your points increase. jumptroopers and heavytroopers are both worth five points, while all other AI gives two points. A human player is worth five points in a normal battle with Friendly AI enabled or 20 points otherwise.
Enemy Composition Based on Player’s Score on Normal Difficulty
| Score | 0 | 10+ | 25+ | 50+ | 70+ | 80+ |
|---|---|---|---|---|---|---|
| AI agents with blaster rifle | 2 | 3 | 2 | 6 | 6 | 8 |
| AI agents with blaster pistol | 2 | 1 | 1 | 0 | 2 | 2 |
| AI agents with sniper rifle | 1 | 2 | 2 | 0 | 2 | 0 |
| AI agents with rocket launcher | 0 | 2 | 2 | 2 | 0 | 0 |
| AI agents with heavy blaster rifle | 0 | 0 | 1 | 1 | 2 | 0 |
| AI agents with Jump Pack | 0 | 0 | 0 | 1 | 0 | 2 |
Enemy Composition Based on Player’s Score on Hard or Master Difficulty
| Score | 0 | 10+ | 25+ | 50+ | 70+ | 80+ |
|---|---|---|---|---|---|---|
| AI agents with blaster rifle | 2 | 5 | 3 | 2 | 2 | 10 |
| AI agents with blaster pistol | 2 | 1 | 1 | 0 | 4 | 0 |
| AI agents with sniper rifle | 1 | 2 | 2 | 2 | 4 | 0 |
| AI agents with rocket launcher | 0 | 2 | 2 | 4 | 0 | 0 |
| AI agents with heavy blaster rifle | 0 | 0 | 2 | 2 | 4 | 0 |
| AI agents with Jump Pack | 0 | 0 | 0 | 2 | 0 | 4 |
The Heroes
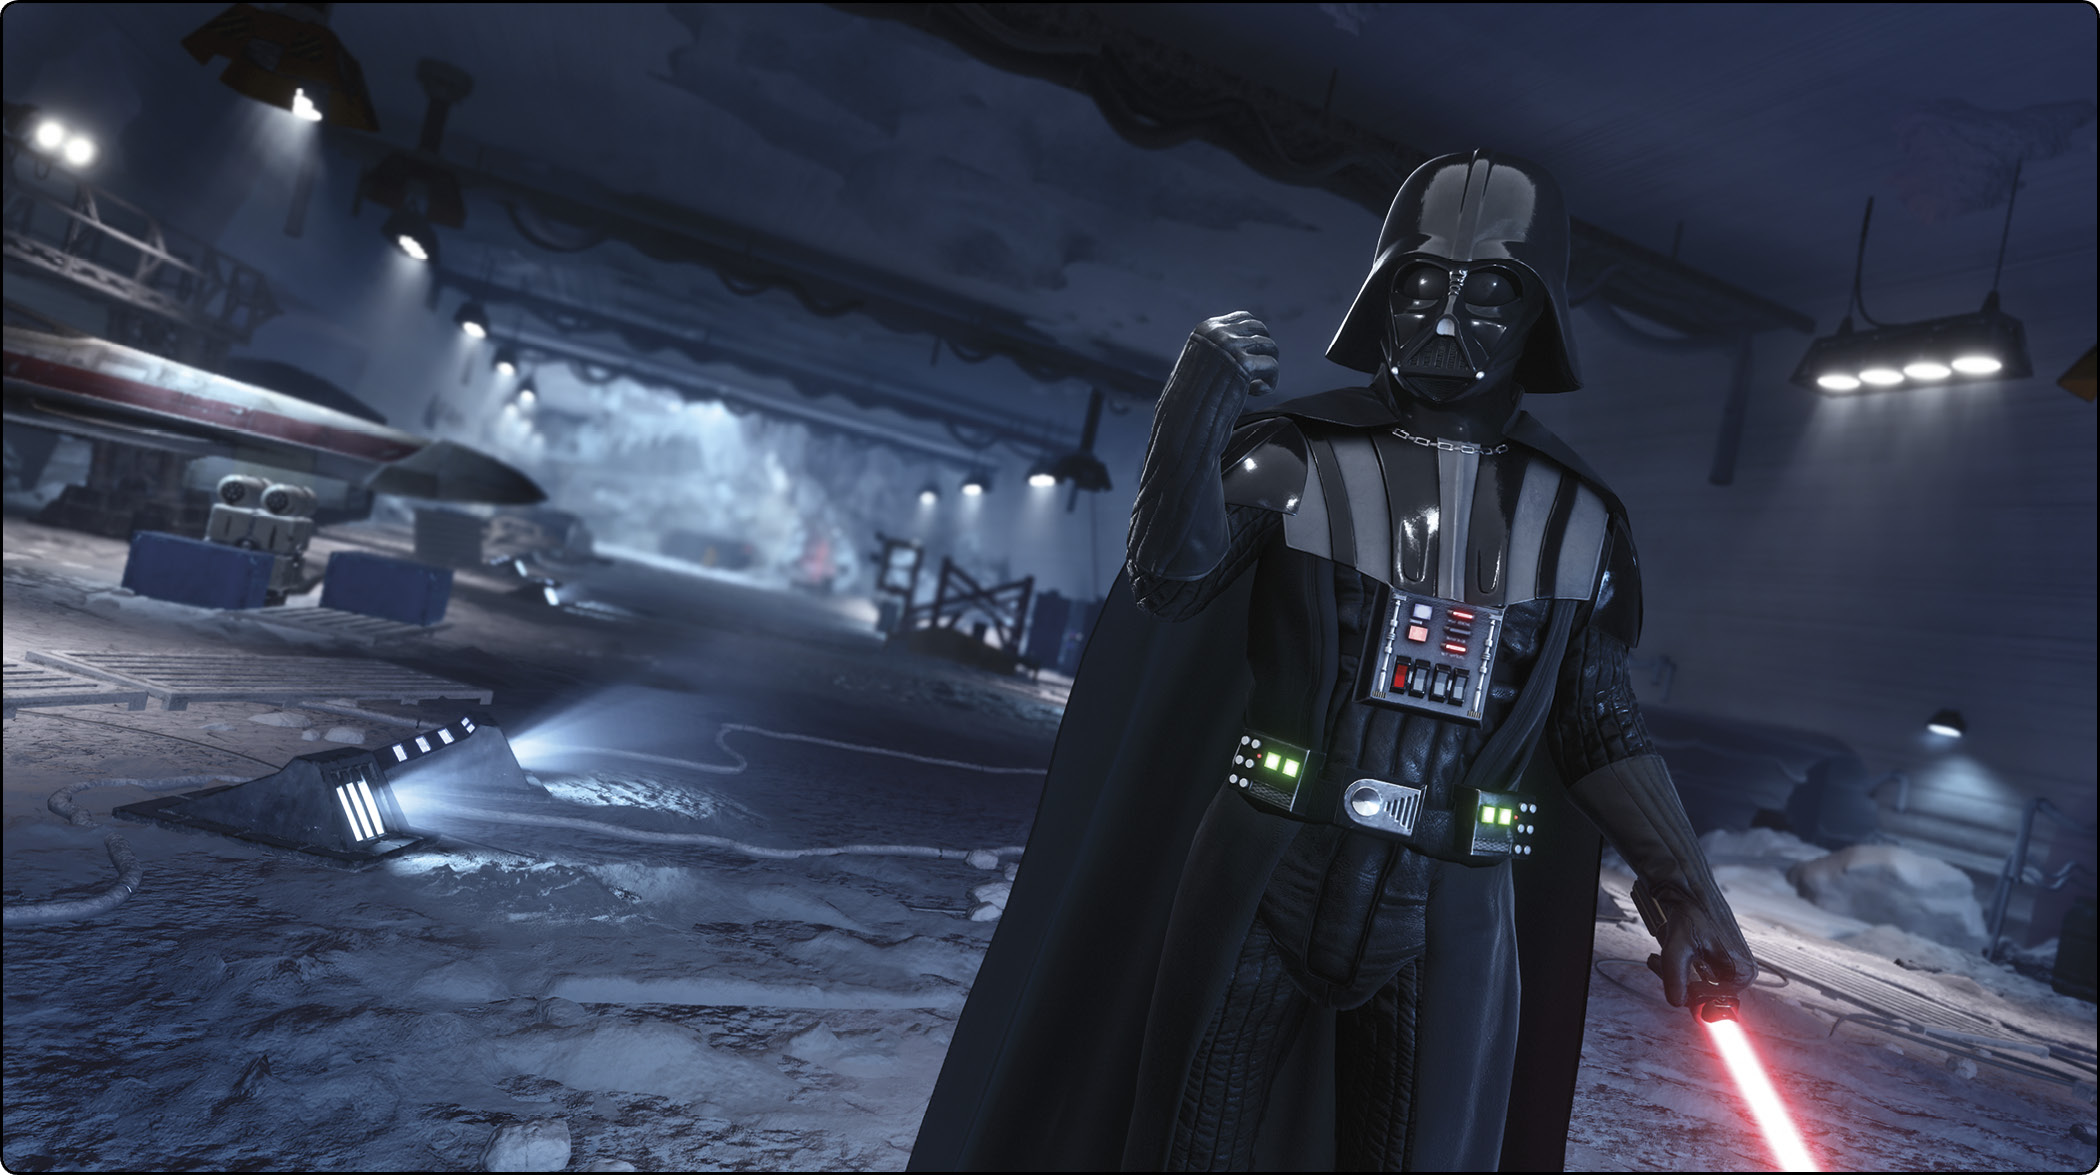
Heroes are extremely powerful, with the ability to obliterate squads of infantry with ease. Some excel at going on the offensive, while others may be better served in a supporting role. Try out all six to find your favorite.
Luke Skywalker Abilities
| Ability Name | Button | Description |
|---|---|---|
| Force Push | Left Card Ability | Push enemies away, causing damage to those knocked down. |
| Heavy Strike | Top Card Ability | Deal a Heavy Strike that is ideal against groups. |
| Saber Rush | Right Card Ability | Leap forward with a strong attack. |
| Saber Defense | Zoom (Hold) | Use the lightsaber to deflect blaster bolts back at the target. Keep your defense up between attacks whenever shots are incoming. |
| Saber Strike | Fire | Strike with the lightsaber. |
Han Solo Abilities
| Ability Name | Button | Description |
|---|---|---|
| Shoulder Charge | Left Card Ability | Put shoulder down for a dash melee attack. |
| Rapid Fire | Top Card Ability | Quickly pull the trigger while rapid fire is active. |
| Lucky Shot | Right Card Ability | Charge up for a strong area of efect attack. This is great against vehicles but doesn’t really help here. |
| Aim | Zoom (Hold) | Use the zoom ability, just like regular soldiers. |
| Modified DL44 | Fire | Fire the blaster pistol. |
Princess Leia Abilities
| Ability Name | Button | Description |
|---|---|---|
| Trooper Bane | Left Card Ability | Perform one-hit kills for a short time. |
| Enhanced Squad Shield | Top Card Ability | Use a stronger squad shield. |
| Supply Drop | Right Card Ability | Spawn a power-up just in front of Leia. This is not much use without other players to take advantage of the item. |
| Aim | Zoom (Hold) | Use the zoom ability, just like regular soldiers. |
| E11 Blaster Rifle | Fire | Fire the blaster rifle. |
Darth Vader Abilities
| Ability Name | Button | Description |
|---|---|---|
| Force Choke | Left Card Ability | Choke current target for an instant kill. |
| Heavy Strike | Top Card Ability | Perform a strong charging group lightsaber attack. Use this against small packs to wipe them out with one swing of your weapon. |
| Saber Throw | Right Card Ability | Throw your lightsaber at distant enemies. You can take out multiple foes with a well-placed toss. Click the Melee Attack button to lock on to your target. |
| Saber Defense | Zoom (Hold) | Use the lightsaber to deflect blaster bolts back at the target. Keep defense up between attacks whenever shots are incoming. |
| Saber Strike | Fire | Strike with the lightsaber. |
Emperor Palpatine Abilities
| Ability Name | Button | Description |
|---|---|---|
| Chain Lightning | Left Card Ability | This powerful, long-range lightning attack chains between nearby enemies. It is highly effective against groups of Rebels. |
| Imperial Resources | Top Card Ability | Spawns a hero health pick-up just in front of Palpatine. Grab one immediately if your health is down, or save it for later. |
| Force Dash | Right Card Ability | Perform a quick, twisting leap to escape cornering or close ground on a target in a hurry. |
| Block | Zoom (Hold) | Use your hands to block blaster shots, greatly reducing damage taken. |
| Force Lightning | Fire | Perform a short-range lightning strike. Hold to continually stream lightning from fingertips. The white meter drains until the ability must recharge. |
Boba Fett Abilities
| Ability Name | Button | Description |
|---|---|---|
| Wrist Rocket | Left Card Ability | Launch a rocket at your foes. Take to the skies, and rain explosives down on unsuspecting soldiers. |
| Flame Thrower | Right Card Ability | Shoot a powerful burst of flame that scorches anyone within range. |
| Jetpack | Zoom | Use a jetpack to ascend into the air. Hold to remain in flight, where you can use all weapons. A meter above the health bar represents remaining fuel. If it gets completely depleted, descend to the ground and allow it to recharge. |
| EE3 Blaster Rifle | Fire | Fire the blaster rifle. Click the Melee Attack button to lock on to your target. |
E-Web Blasters
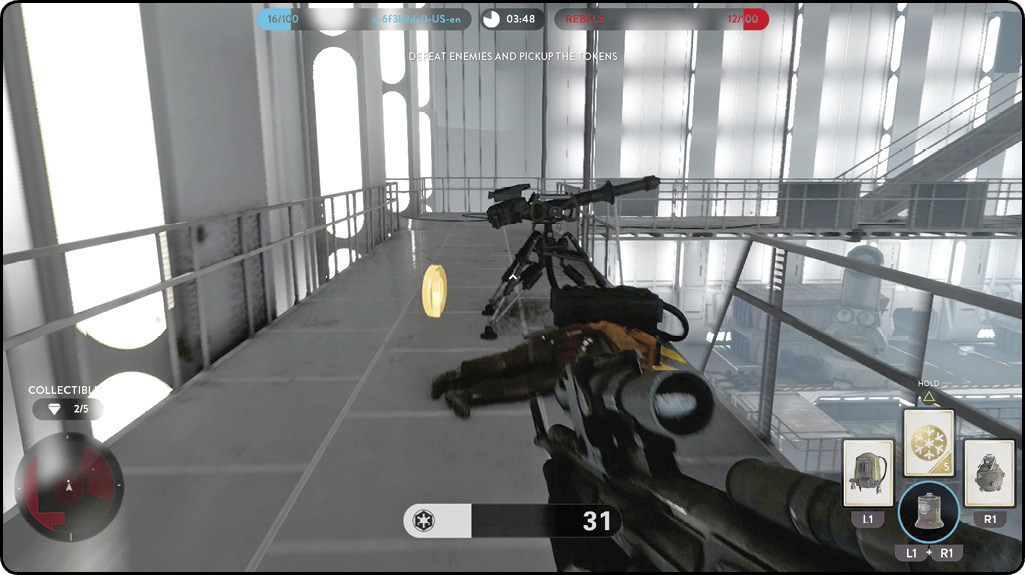
E-Web blasters are found throughout the various locations in Battle mode. These stationary weapons are effective against groups of soldiers, though you are vulnerable to flanking when you use them. Note that these are unusable in Hero Battles because heroes cannot man them.
Collecting Tokens
Point Value for Tokens
| Enemy Type | Points |
|---|---|
| Human player (normal battle without AI/Hero Battle with or without AI) | 20 |
| Human player (normal battle with AI) | 5 |
| Jumptroopers and Heavytroopers | 5 |
| All other AI soldiers | 2 |
When a soldier or hero is killed, a token is dropped from the body. In order to score points, you must collect this item before it disappears or another player gets it. Grabbing a friendly token keeps your opponent from scoring. Rebels drop yellow circles, while the Imperial fighters release squares. A token slowly shrinks until it disappears. On Normal difficulty, this takes 20 seconds; Hard or Master only gives you 10 seconds until it is gone.
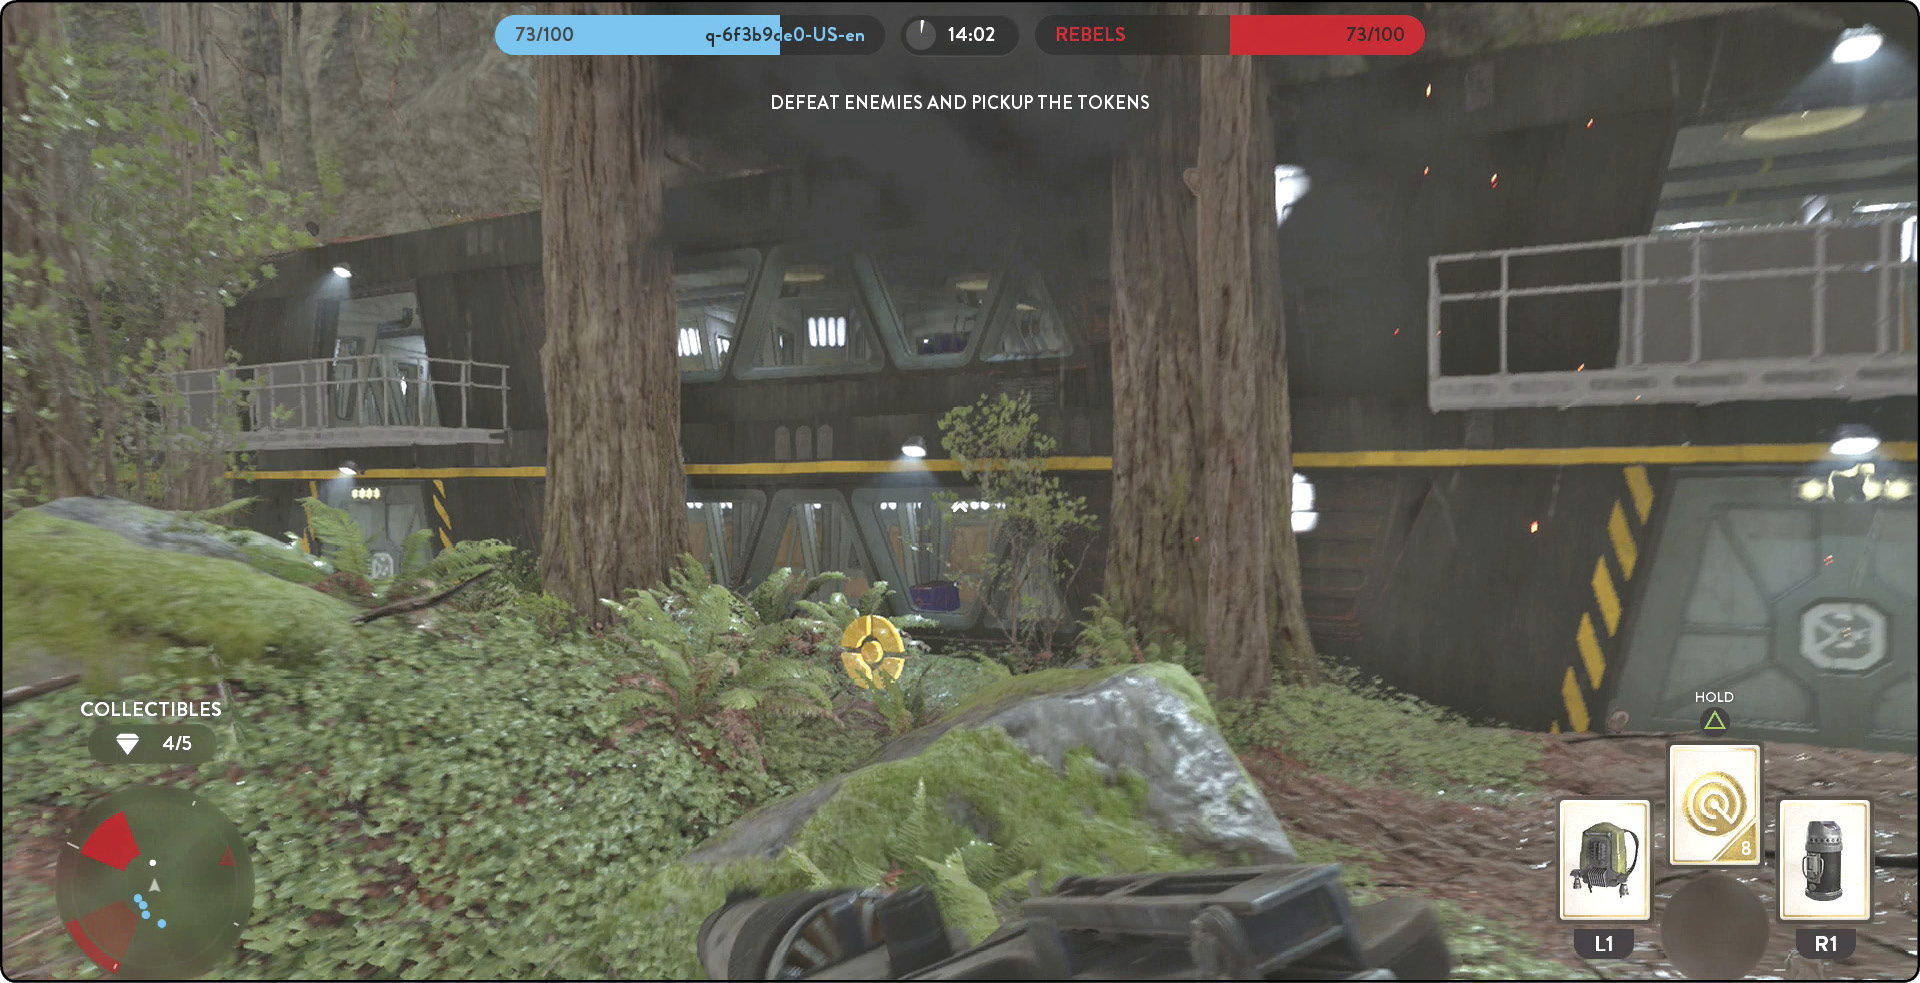
Note that AI players do not actually pick up tokens. Instead, they only score if you are unable to get the token before it disappears. Tokens are shown on the scanner as white dots.
You cannot score if you do not go after the tokens, but sometimes it is wise to stay back and avoid moving into a slaughter. Remember that the closer you take down enemies, the quicker you can pick up the tokens. Keep this in mind when deciding where to take on the opposition.
Power-ups
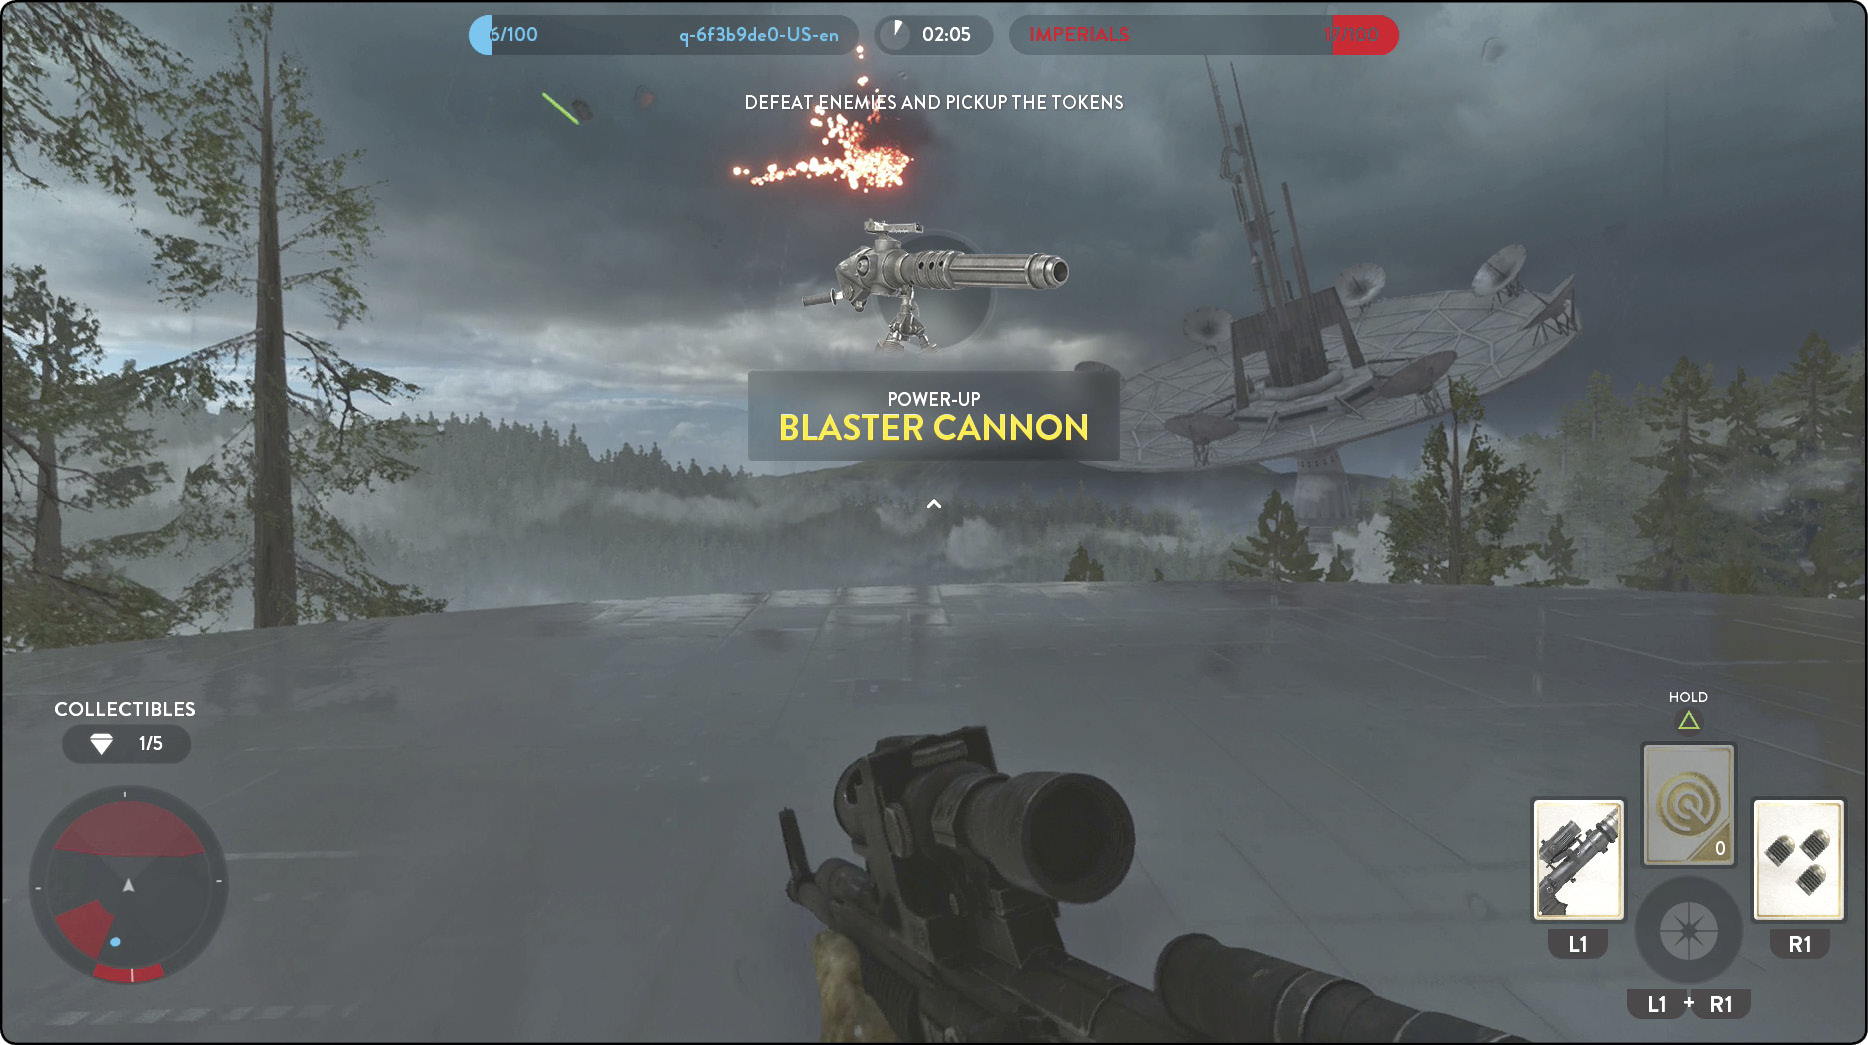
Regular battles offer power-ups, randomly located at specific areas around the four maps. These items respawn after a set amount of time, so it is worth learning these locations well. The following table lists the possible power-ups, along with a brief description.
| Power-up | Image | Description |
|---|---|---|
| Blaster Cannon | 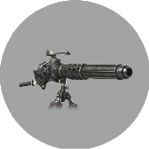 |
Stationary blaster that can be placed anywhere there is space. Operates just like the E-Web blasters. |
| Infantry Turret | 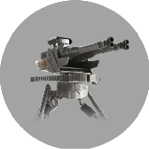 |
Automated defense that targets infantry. It remains active until destroyed. |
| Orbital Strike |  |
An artillery barrage that rains destruction on a chosen outdoor location. Aim your shot until the blue reticle lines up with the desired target, and then fire. An aware enemy has time to move out of the way, though. Great against a mob of soldiers. |
| Proximity Bomb | 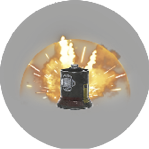 |
Detonates when anyone gets too close. A beeping sound alerts you when one is approached. |
| Smart Rocket | 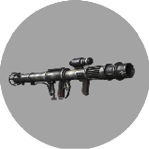 |
This powerful rocket/missile hybrid locks on to vehicles but can also be quick fired against infantry. |
| Squad Shield | 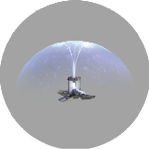 |
Activate this shield to put up a small circular shield for 90 seconds. Anyone inside cannot shoot out, but it does block blasters, explosions, grenades, and Cycler rifles. Friend or foe can destroy the transmitter that projects the shield. |
| Thermal Imploder | 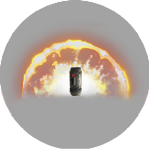 |
An extremely high-damage grenade with a big area of effect. Be careful that you don’t end up in the explosion yourself. |
Charge and Hero Health Pick-ups
In regular battles, Charge pick-ups offer an additional use of your Charged Star Card. Hero health pick-ups spawn around the battlefield in Hero Battles; collect them to recover a small amount of health. These items respawn after a set amount of time, so learn the locations well, as they may become a necessity.
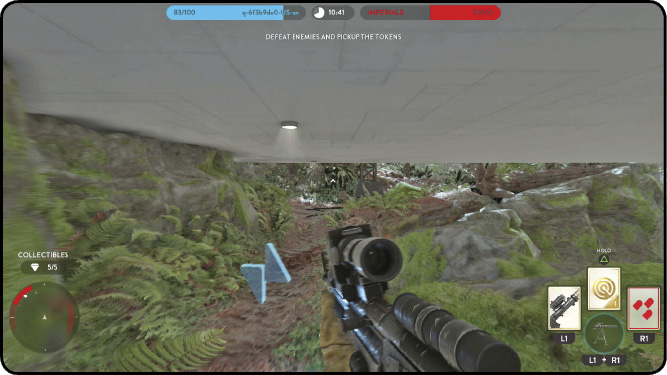
Collectibles
Each battle mission contains five collectibles hidden around the environment. They can be floating against the bright sky, deep in a cave, against a cliff, and even outside map boundaries. Many are located too high for a conventional hop, requiring a Jump Pack or Boba Fett’s jetpack to reach them. Boba Fett is invaluable when you are collectible hunting because he can ascend into the air and get a great aerial view at almost any time. If you plan to spend some time looking for these items, it is best to turn off the Friendly AI option. Otherwise, your opponent may build a decent lead before you are ready to fight. Refer to the following Map sections for all 40 collectible locations.
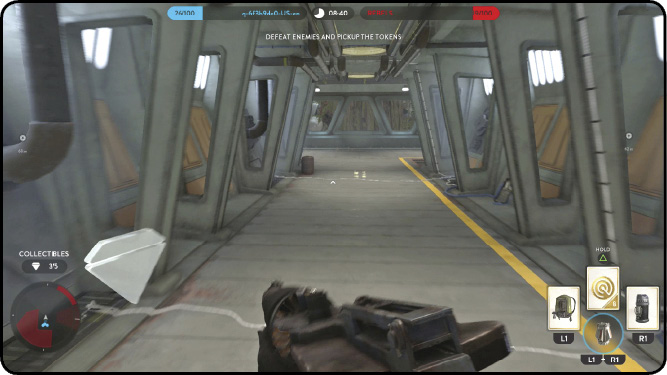
Stars
In Battle mode, 20 stars are up for grabs: five for each of the four maps in both regular and Hero Battles. Winning on Master difficulty against AI, collecting all five collectibles, and limiting your opponent to fewer than 40 points earns all five stars at once. Note that completing a battle on Hard or Master difficulty earns the easier stars, as well.