STAR WARS™ Battlefront™ Guide Missions Survival
Survival on Hoth
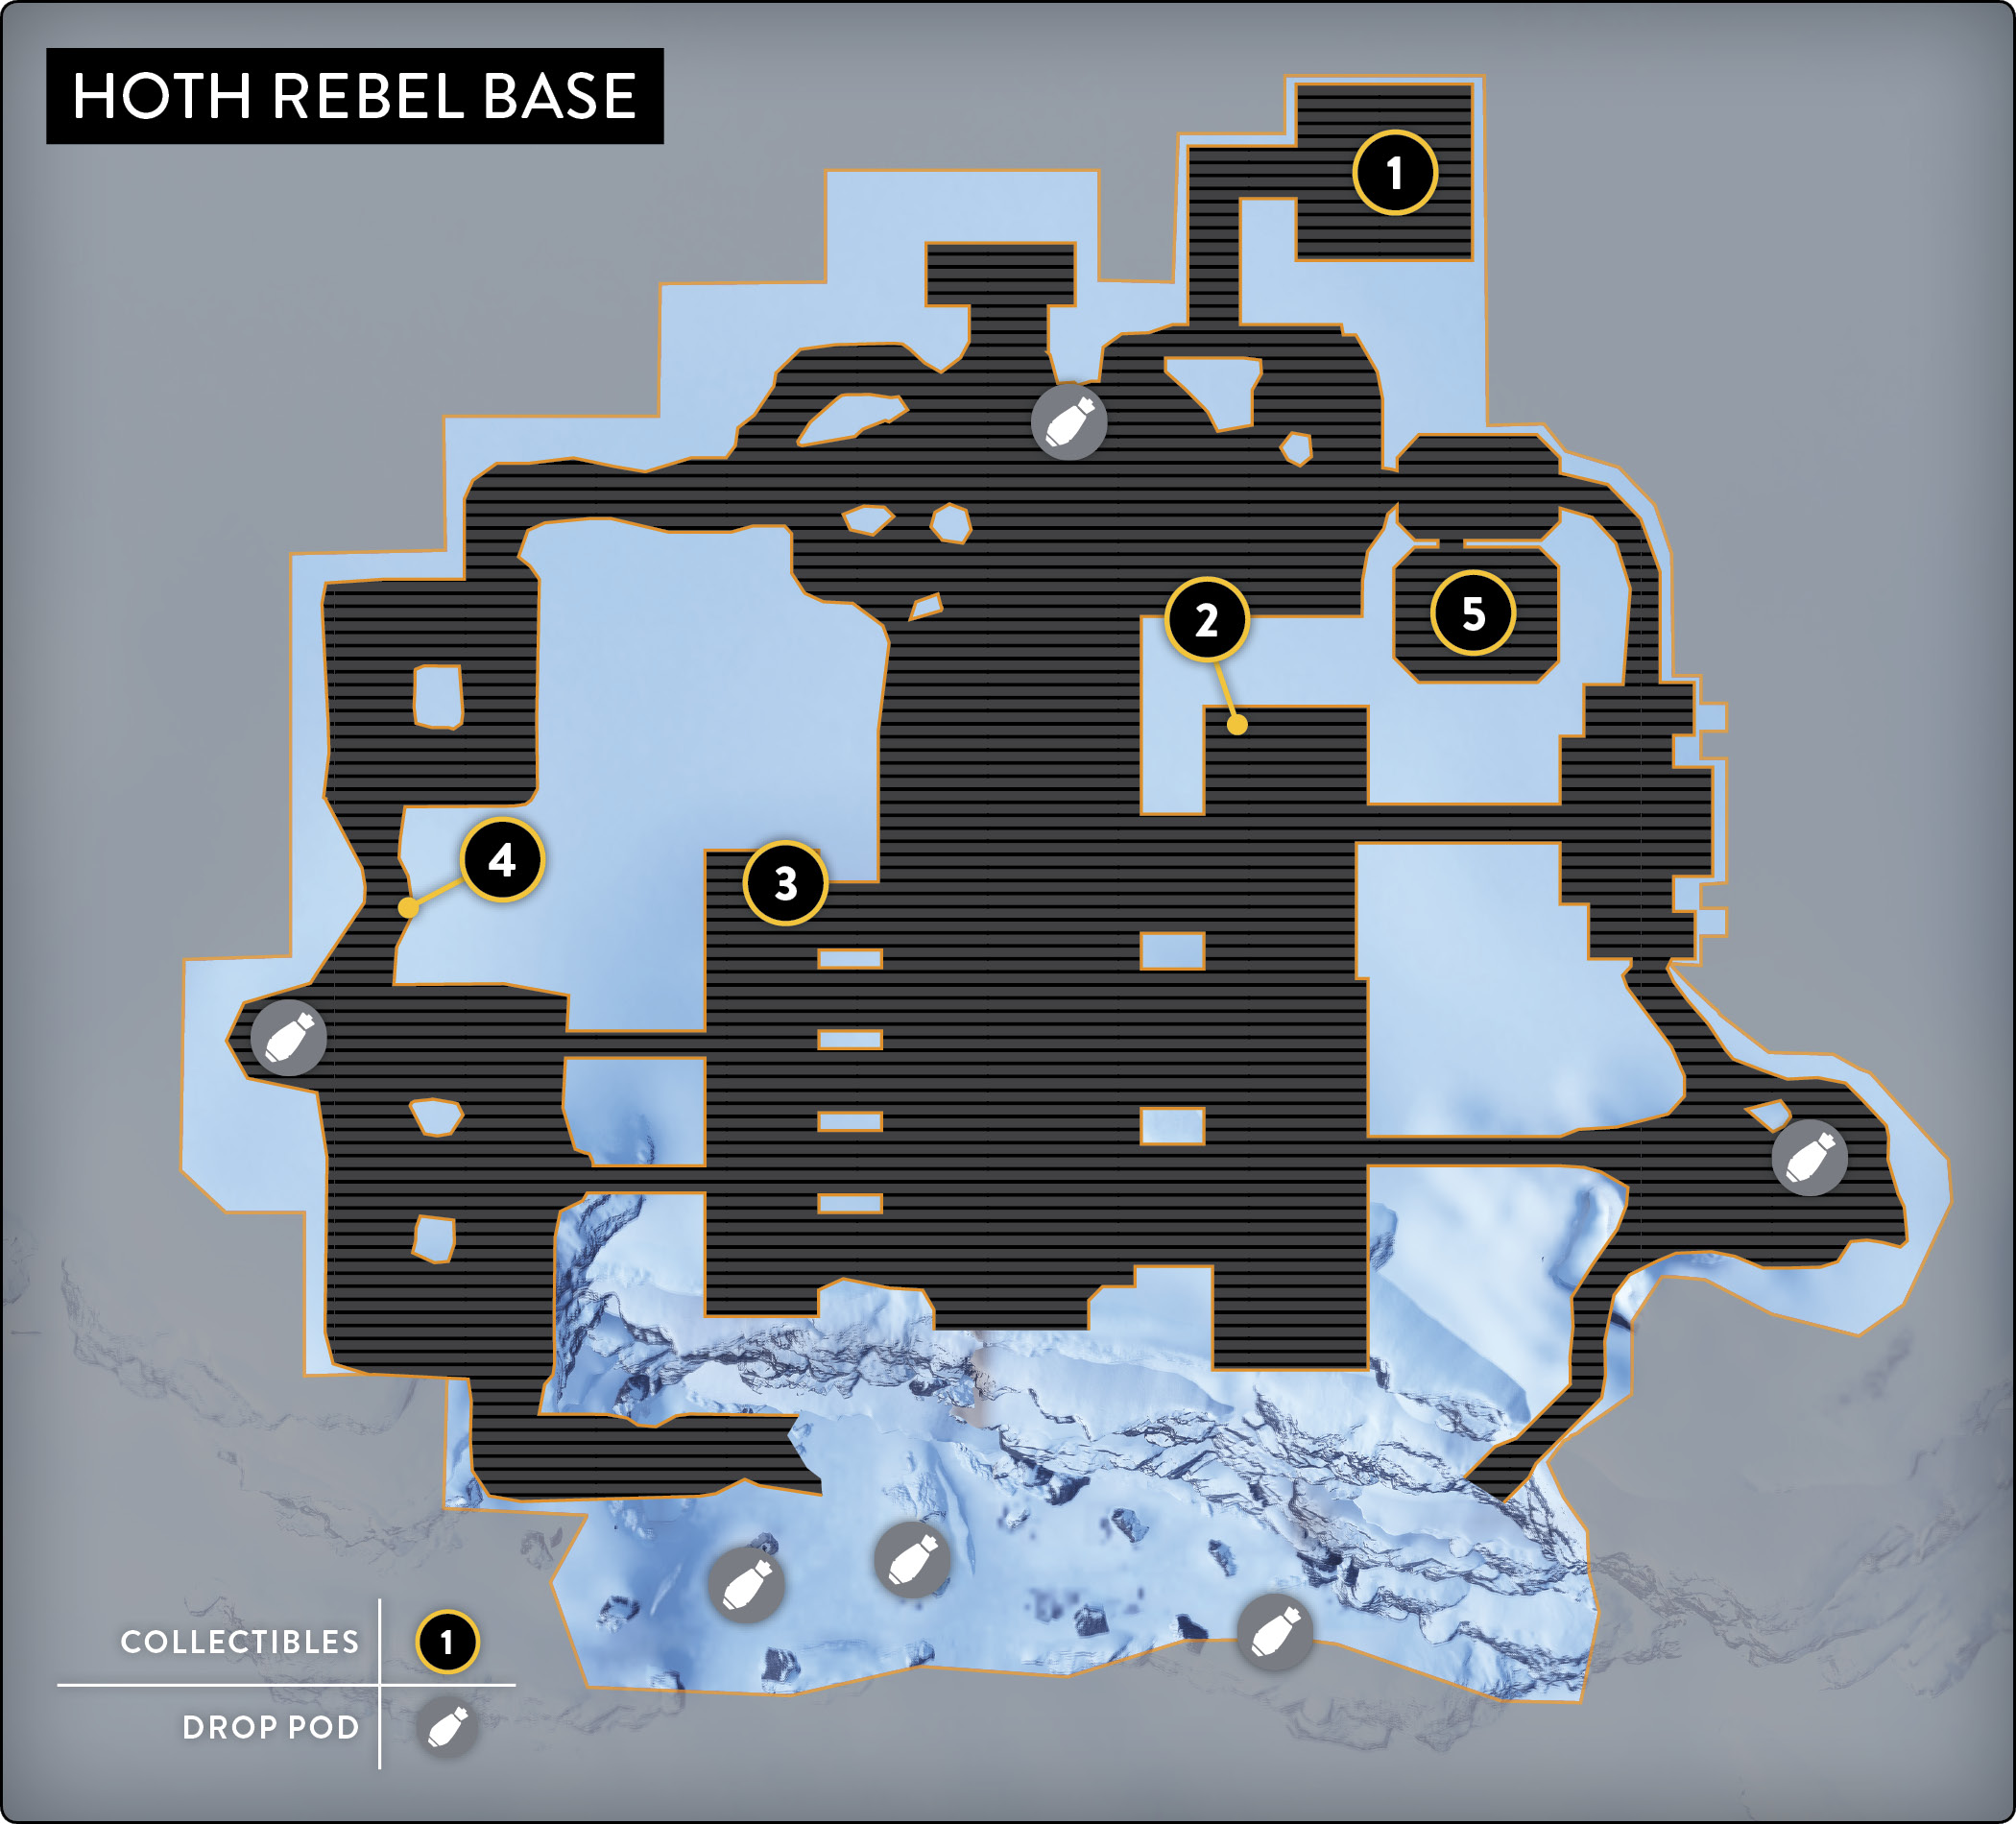
Location: Hoth Rebel Base
Enemy Types: Snowtroopers, Probe Droids, Shocktroopers, Jumptroopers, AT-STs, Shadowtroopers, Scout Troopers
Mission Brief
As Imperial forces seize control over the snow planet of Hoth, the last Rebel ship leaves, with you left behind. Admiral Ackbar soon realizes his mistake and scrambles his best technicians to help you.
Hold out until the Rebels can unlock the Imperial flight codes that are locking the base down, and then use one of the Snowspeeders to escape and reunite with the Rebel fleet.
Trust your instincts, and may the Force be with you.
Star Card Presets
Survivor
Rogue
Collectibles
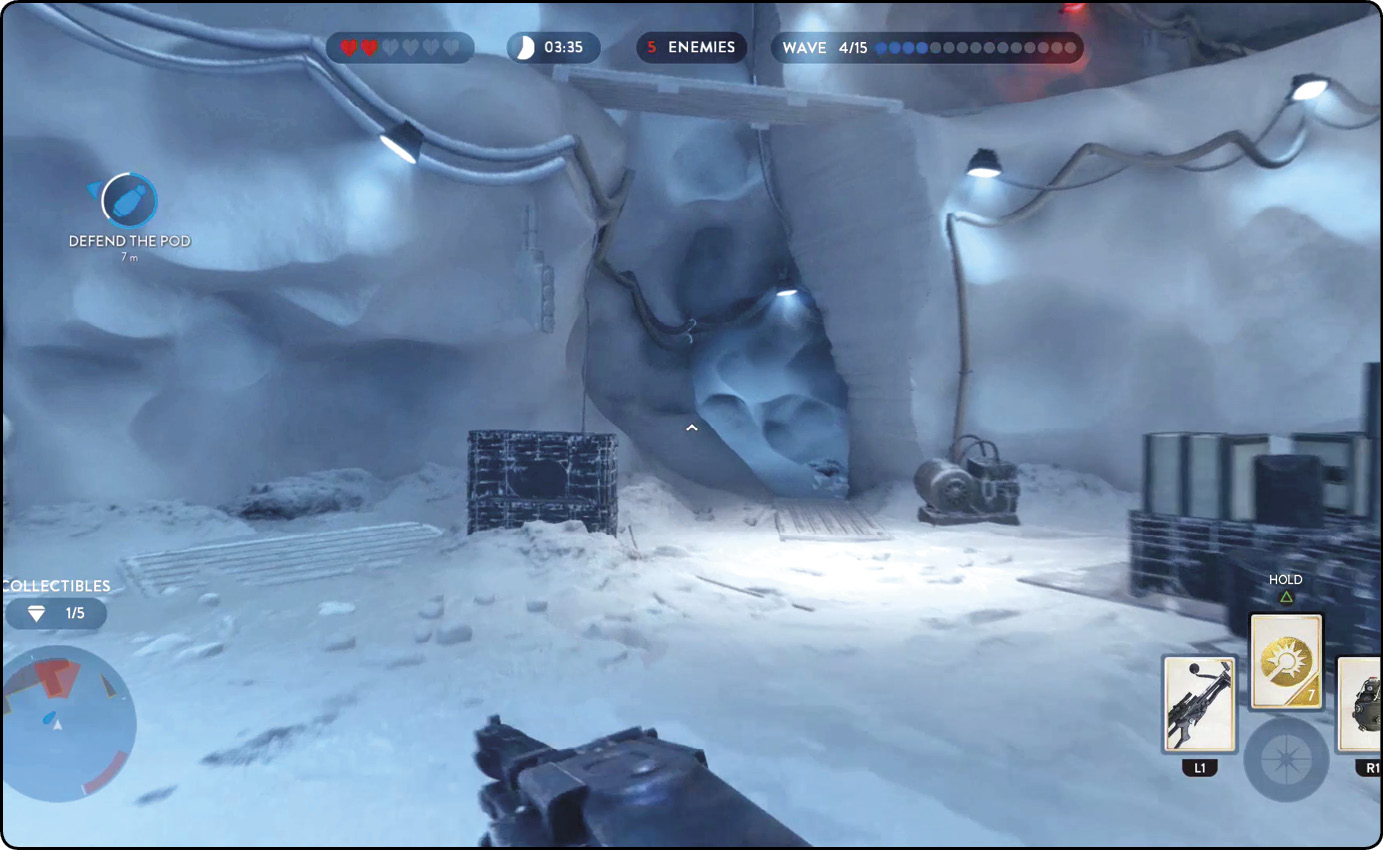
 From the start of the mission, turn around and enter the doorway in the back corner of the hangar. Follow the corridor back to a dead end to find the first collectible.
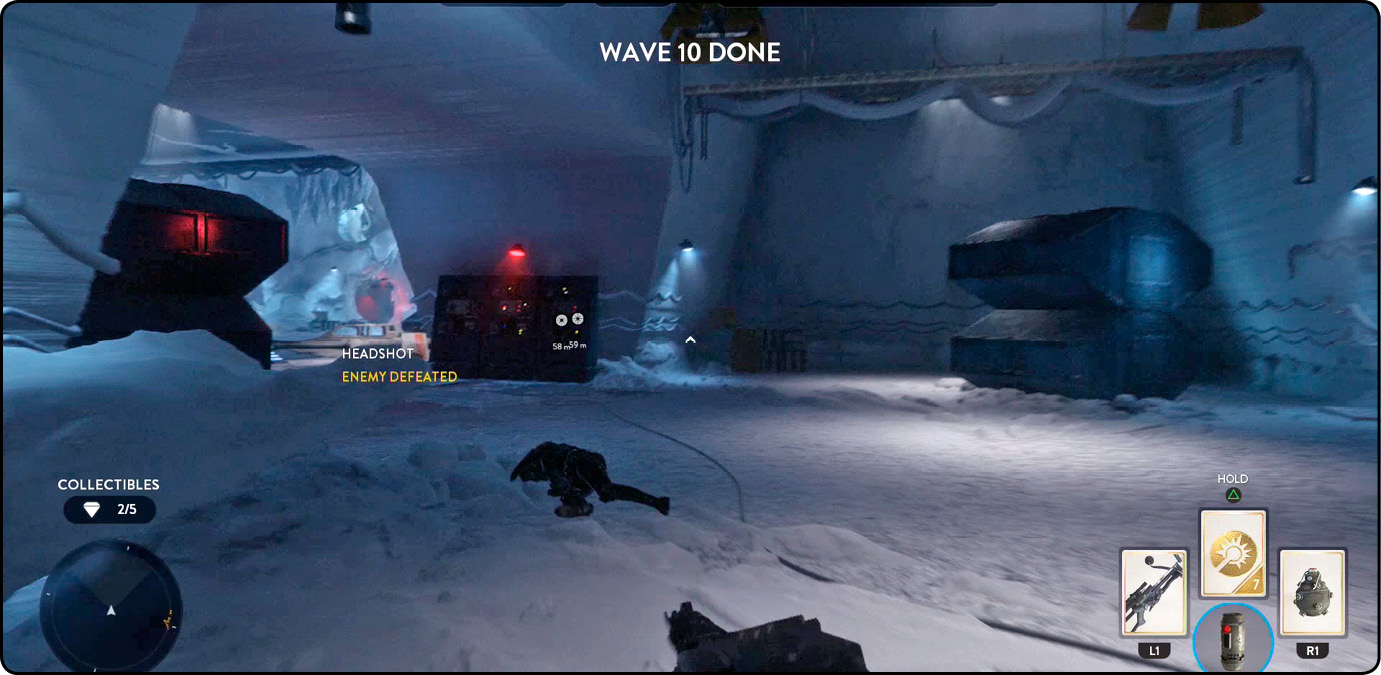
 Enter the hangar through the main doorway, and run past the X-wing. Turn right between the big hexagonal storage containers and the computer. Make a quick left, and search behind the boxes for another collectible.
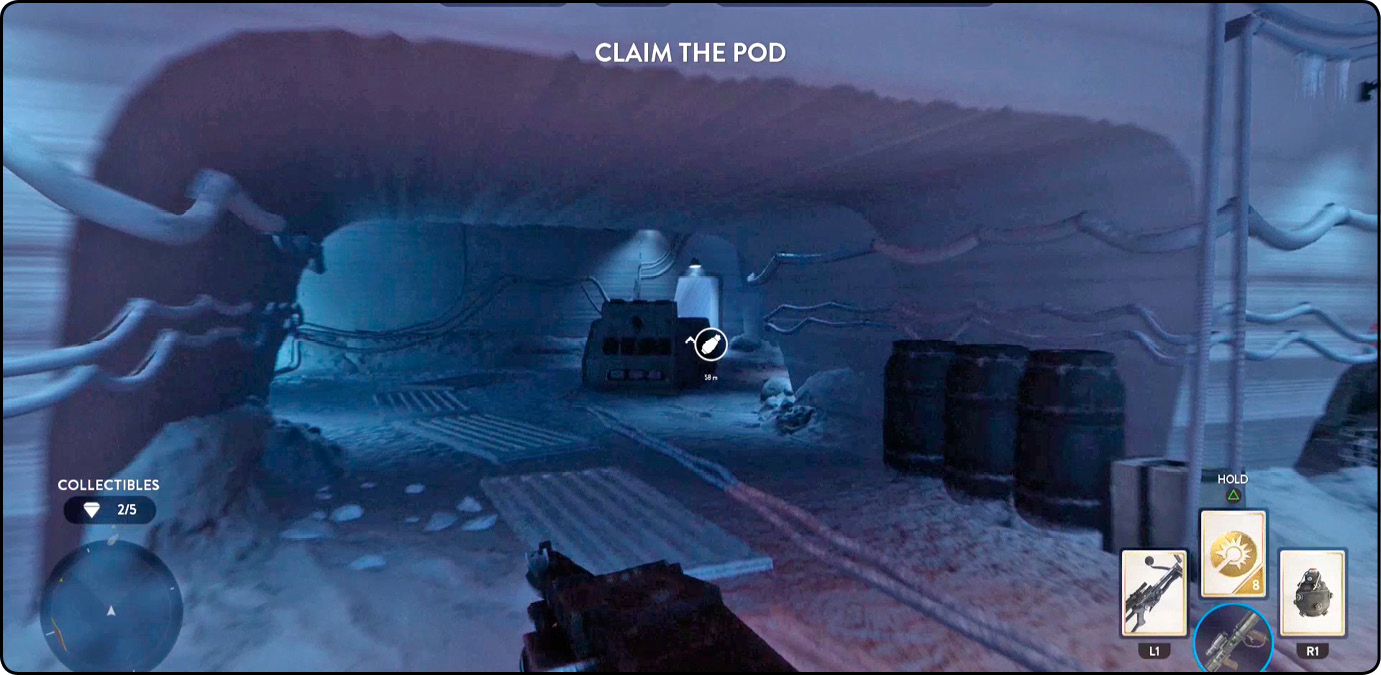
 Inside the hangar, move behind the Snowspeeder and search inside the small personnel transport. The next collectible sits inside.
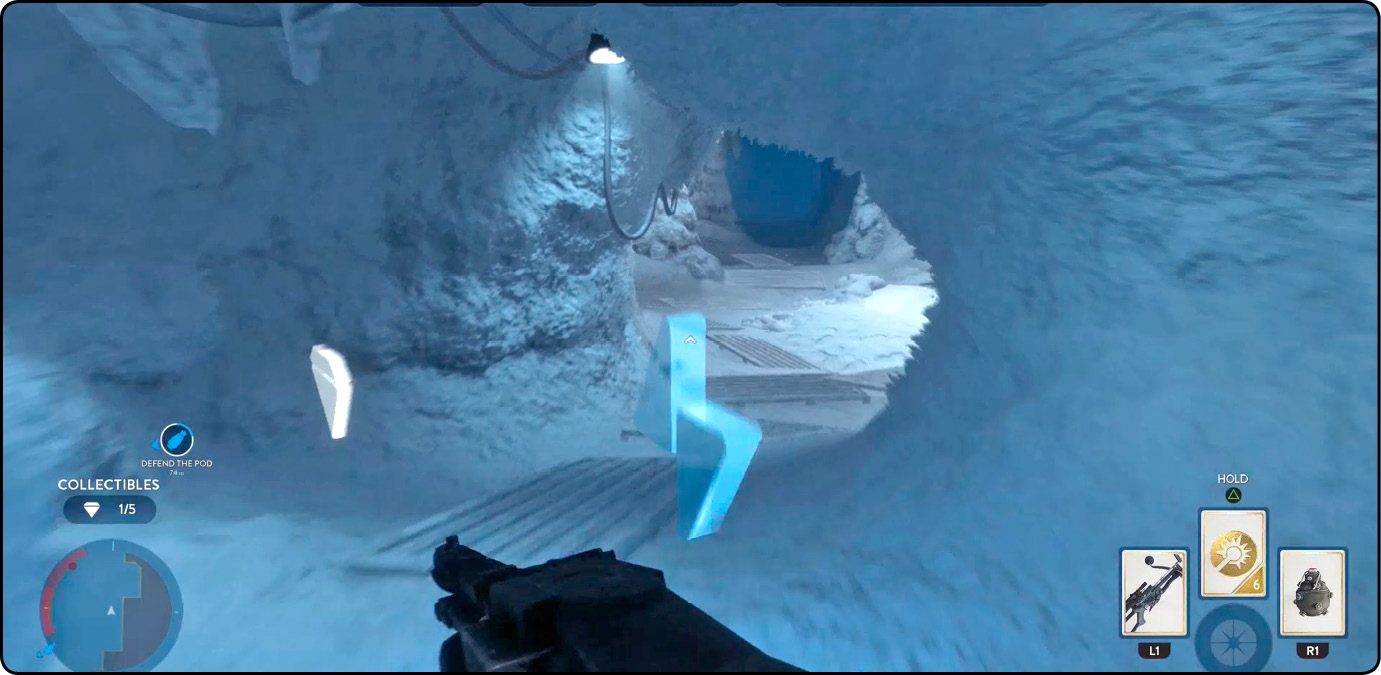
 Enter the corridors on the left side of the hangar. This collectible rests inside the far hallway that runs parallel with the hangar.
 From inside the hangar, head upstairs and enter the right door. Continue into the laboratory on the right to find a collectible.
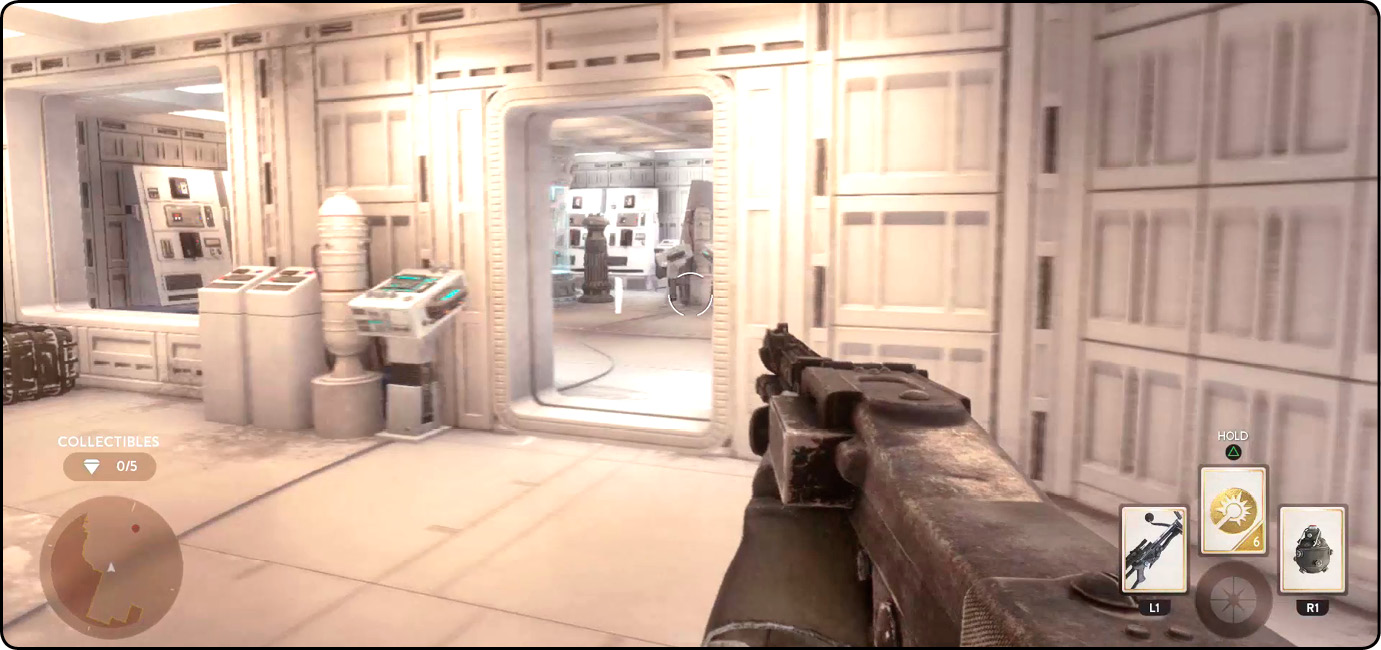
A recently confiscated Rebel base is the setting for Survival on Hoth. A hangar provides long sight lines to the blast doors, along with tight, narrow corridors on each side. These tunnels connect to the main area through multiple doorways and a second-floor laboratory. Take any Orbital Strike power-ups out front, where a small area provides the only outdoor theater.
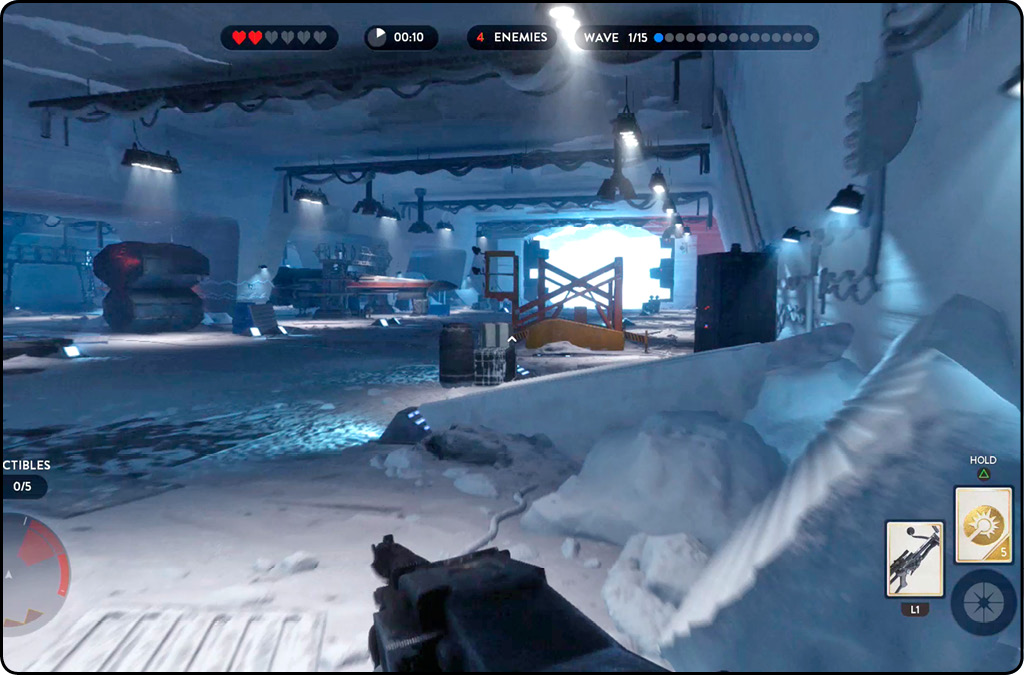
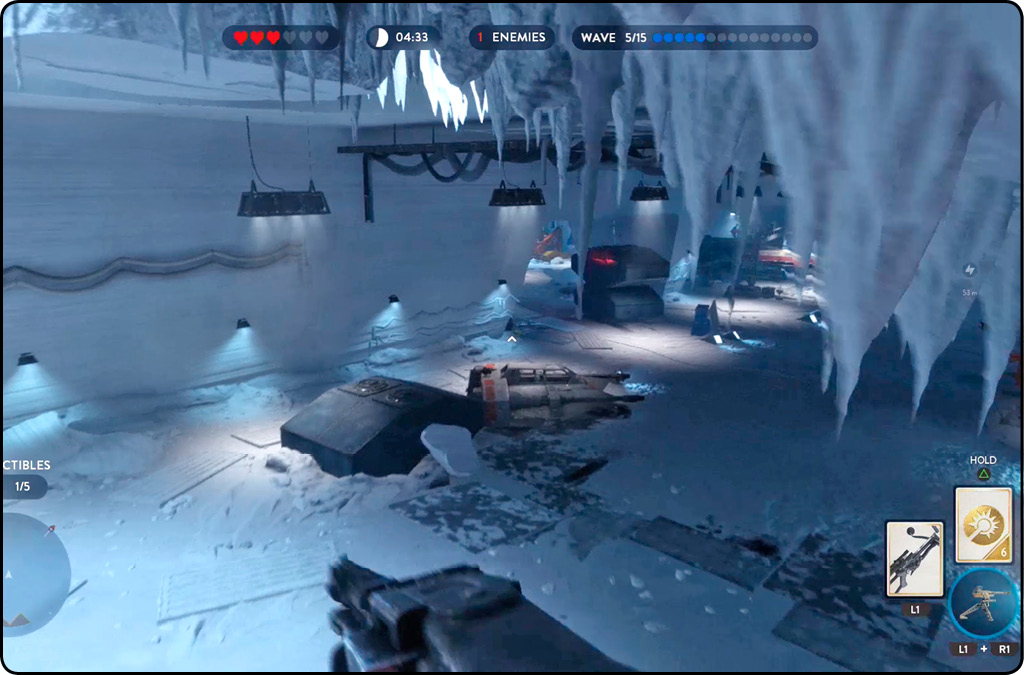
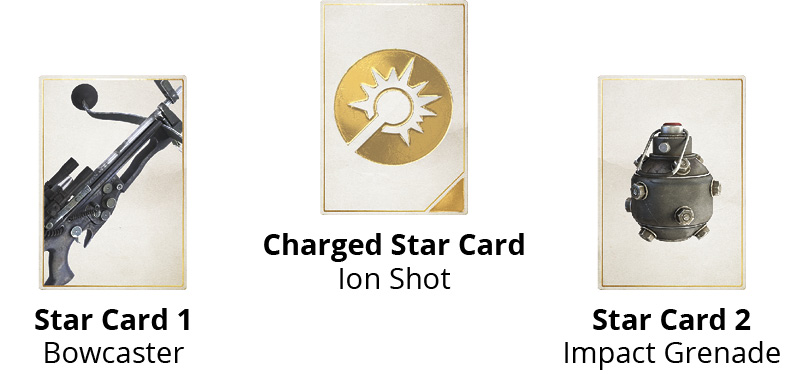
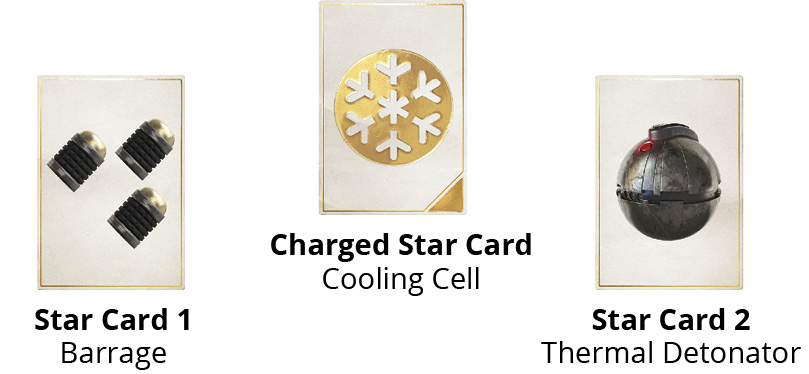
Survivor and Rogue are the two preset Star Card Hands offered up at the start of the mission. Both give formidable firepower with their Star Cards. Survivor includes the Ion Shot Charged Star Card, which is a great help when dealing with the AT-STs. Rogue’s Cooling Cell allows for extended blaster use, but the second loadout definitely has a disadvantage against vehicles.
A raised walkway at the back of the hangar gives the best vantage point as troops enter the structure. Watch out for flanking maneuvers, though, as you are vulnerable from both sides. When you have reduced the opposition to just one or more AT-STs, use this location’s natural cover to pick away at each vehicle’s health. Quickly duck out of sight before one can get a lock on you.
The hangar offers some long sight lines, but otherwise, the base is fairly tight. Choose a high rate-of-fire and damage weapon to win the gun battles inside the narrow snow tunnels. As the Imperial forces pour into these death traps, they line up for easy prey. However, it isn’t always that simple: they often split up and attempt to surround your location. AT-STs cannot follow you into these hallways, so take advantage of them when only vehicles remain. This is also a great time to pick up collectibles and other items that lie around.
With the relatively small map, the five drop pod locations are easily accessible from the central hangar. The escape pods are dropped at two locations outside, in the back of the hangar, and in clearings situated in the middle of the right and left corridors. Just after defeating waves 2, 5, 8, 11, and 14, move toward the middle in anticipation of the pod and its internal goodies.