STAR WARS™ Battlefront™ Guide Multiplayer Game Modes Locations Hoth
Rebel Base
Blast
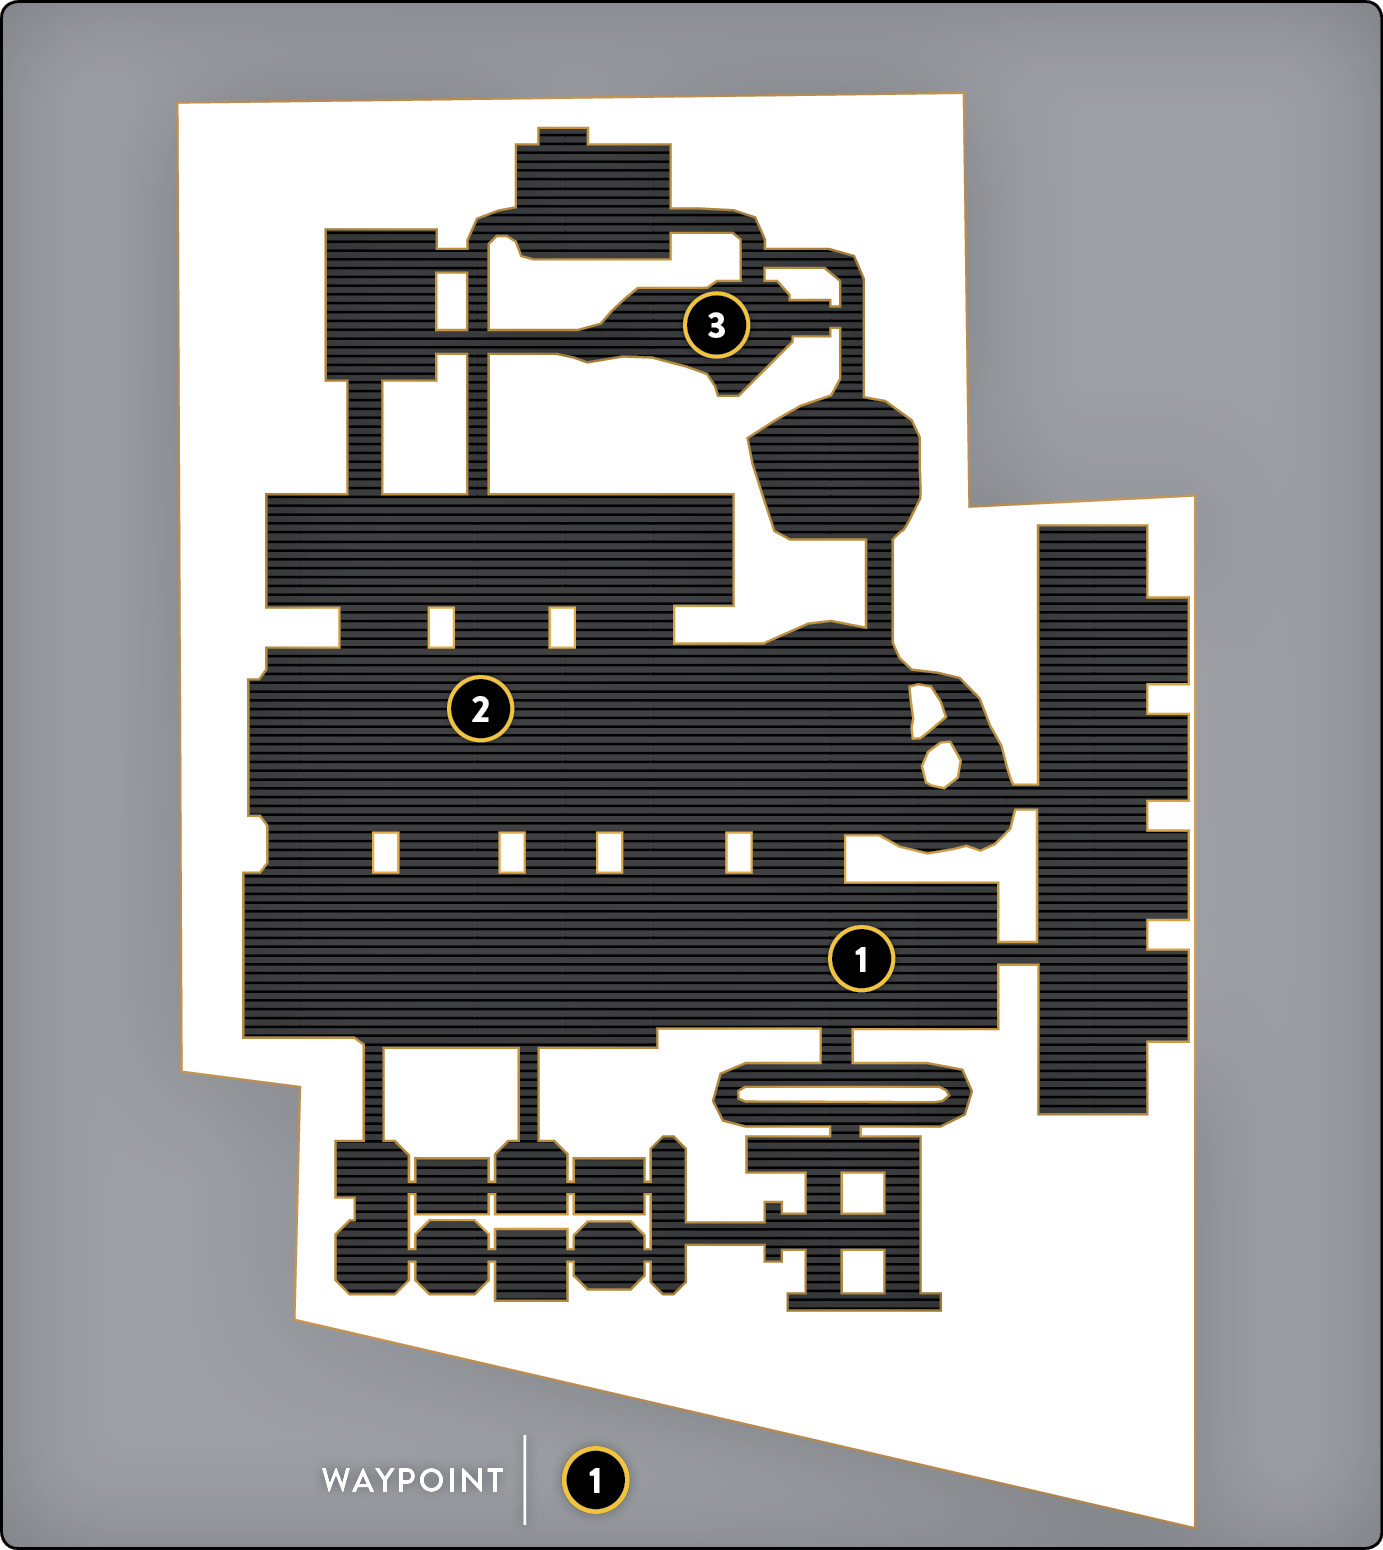
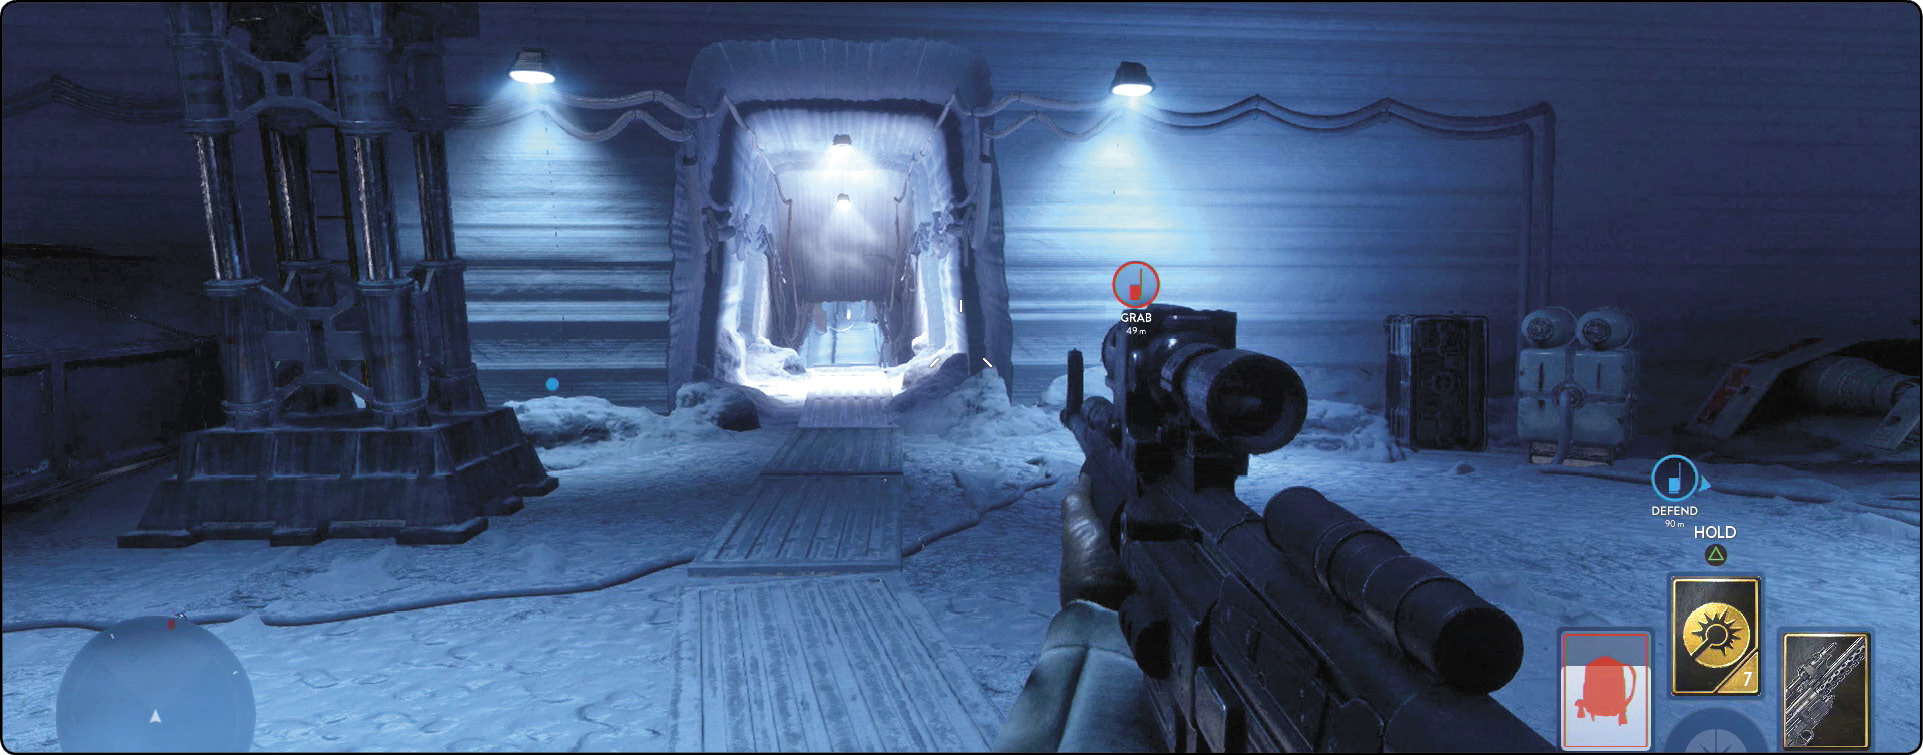
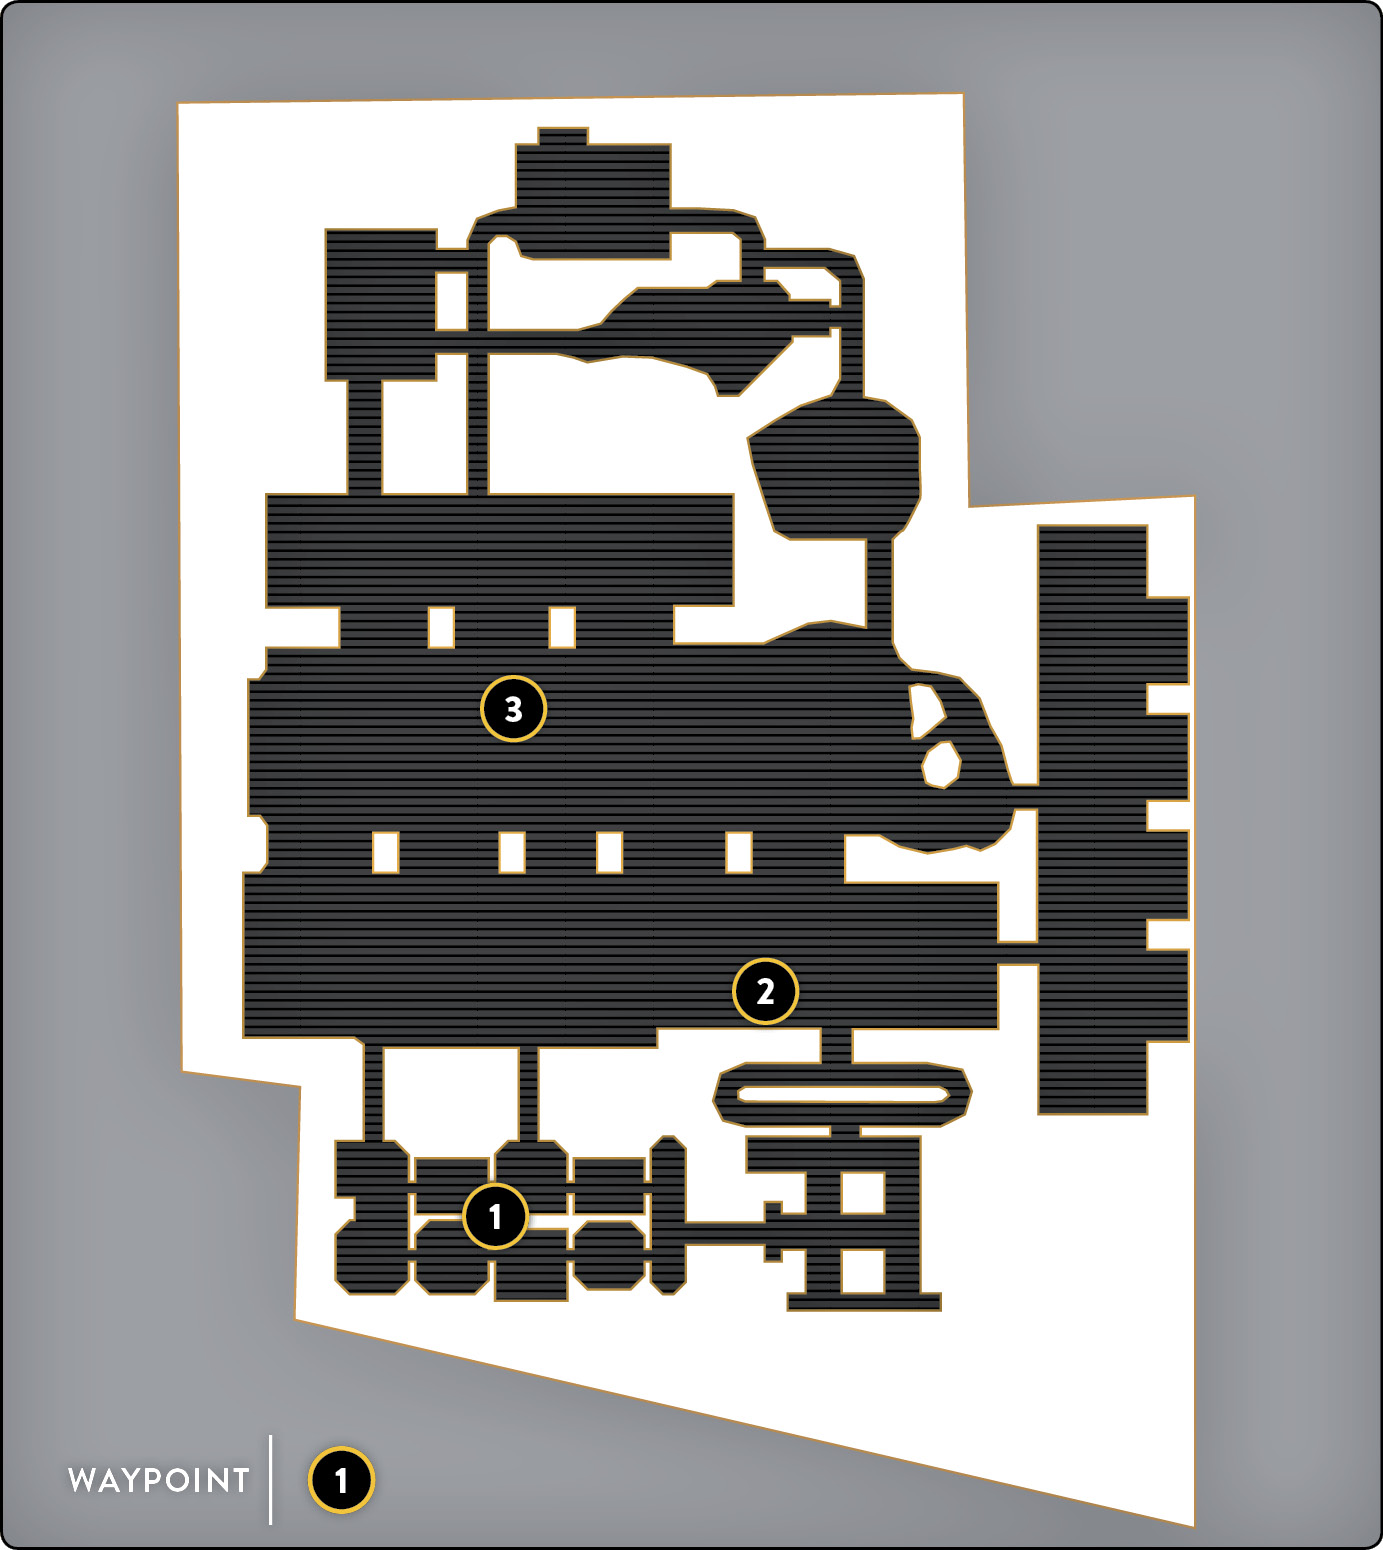
 Playing Blast in the Rebel Base can be utter chaos. The Rebel Base is a complex yet extremely closed-off space with a ton of objects and debris scattered all over the ground floor. Because of how much stuff is actually available in the base, there is a great deal of cover that you can hide behind and use as coverage for movement. With all this cover, you can avoid getting hit by a long-range shooter that you just didn’t see, and make it harder in general for your target to shoot back at you. However, the reason for this map’s chaos in Blast mode is not because it is indoors or small—it’s actually because of how much cover there is.
 The cover in the Rebel Base is vast and lets multiple participants survive in a hot zone, which is precisely why chaos ensues. Thermal Detonators and Thermal Imploders are the deadliest of weapons inside the Rebel Base because anything with a blast radius that you can lob over the short-statured objects is going to get you kills. The objective of this game mode is for your team to rack up the highest amount of kills before your opponent does. This can become difficult when multiple players are located in central hot spots. Some of these central hot spots include areas of the map like the main hangar and the storage facility. Snowspeeders, X-wings, and the Millennium Falcon are all stored inside the main hangar, and these are all incredibly useful objects to use as cover. You can climb atop the Millennium Falcon using a Jump Pack, but be careful. If an enemy spots you up there, you become a very easy target.
 Using weapons like the CA-87 or the DH-17 blasters gives you a great advantage when running and gunning. When you’re running and gunning, use the perimeter of the map and rush through the peripheral rooms (like the med or science bays) as cover from stray fire. However, if you’re the slow, methodical type, blasters like the DLT-19 or the A280C are great for letting you sit back in a covered location and pick your foes off one by one. If you are a slower-moving player, remember that you eventually must move from side to side if you plan to stay alive very long.
Droid Run
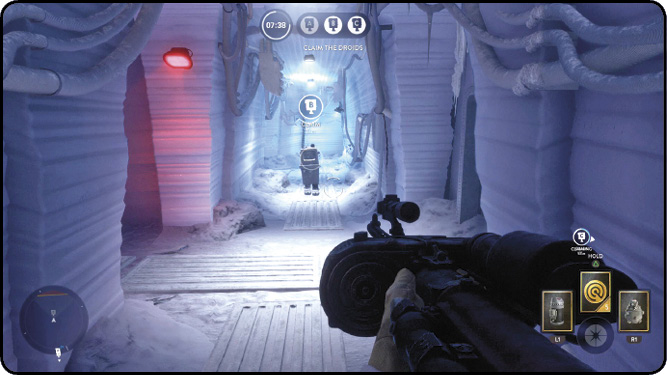
Playing Droid Run in the Rebel Base differs slightly from playing it on any other map, but it is mostly the same. Like Droid Run anywhere else, you want to do whatever it takes to dominate the enemy’s territory by pushing them back to a corner and preventing them from capturing any droids.
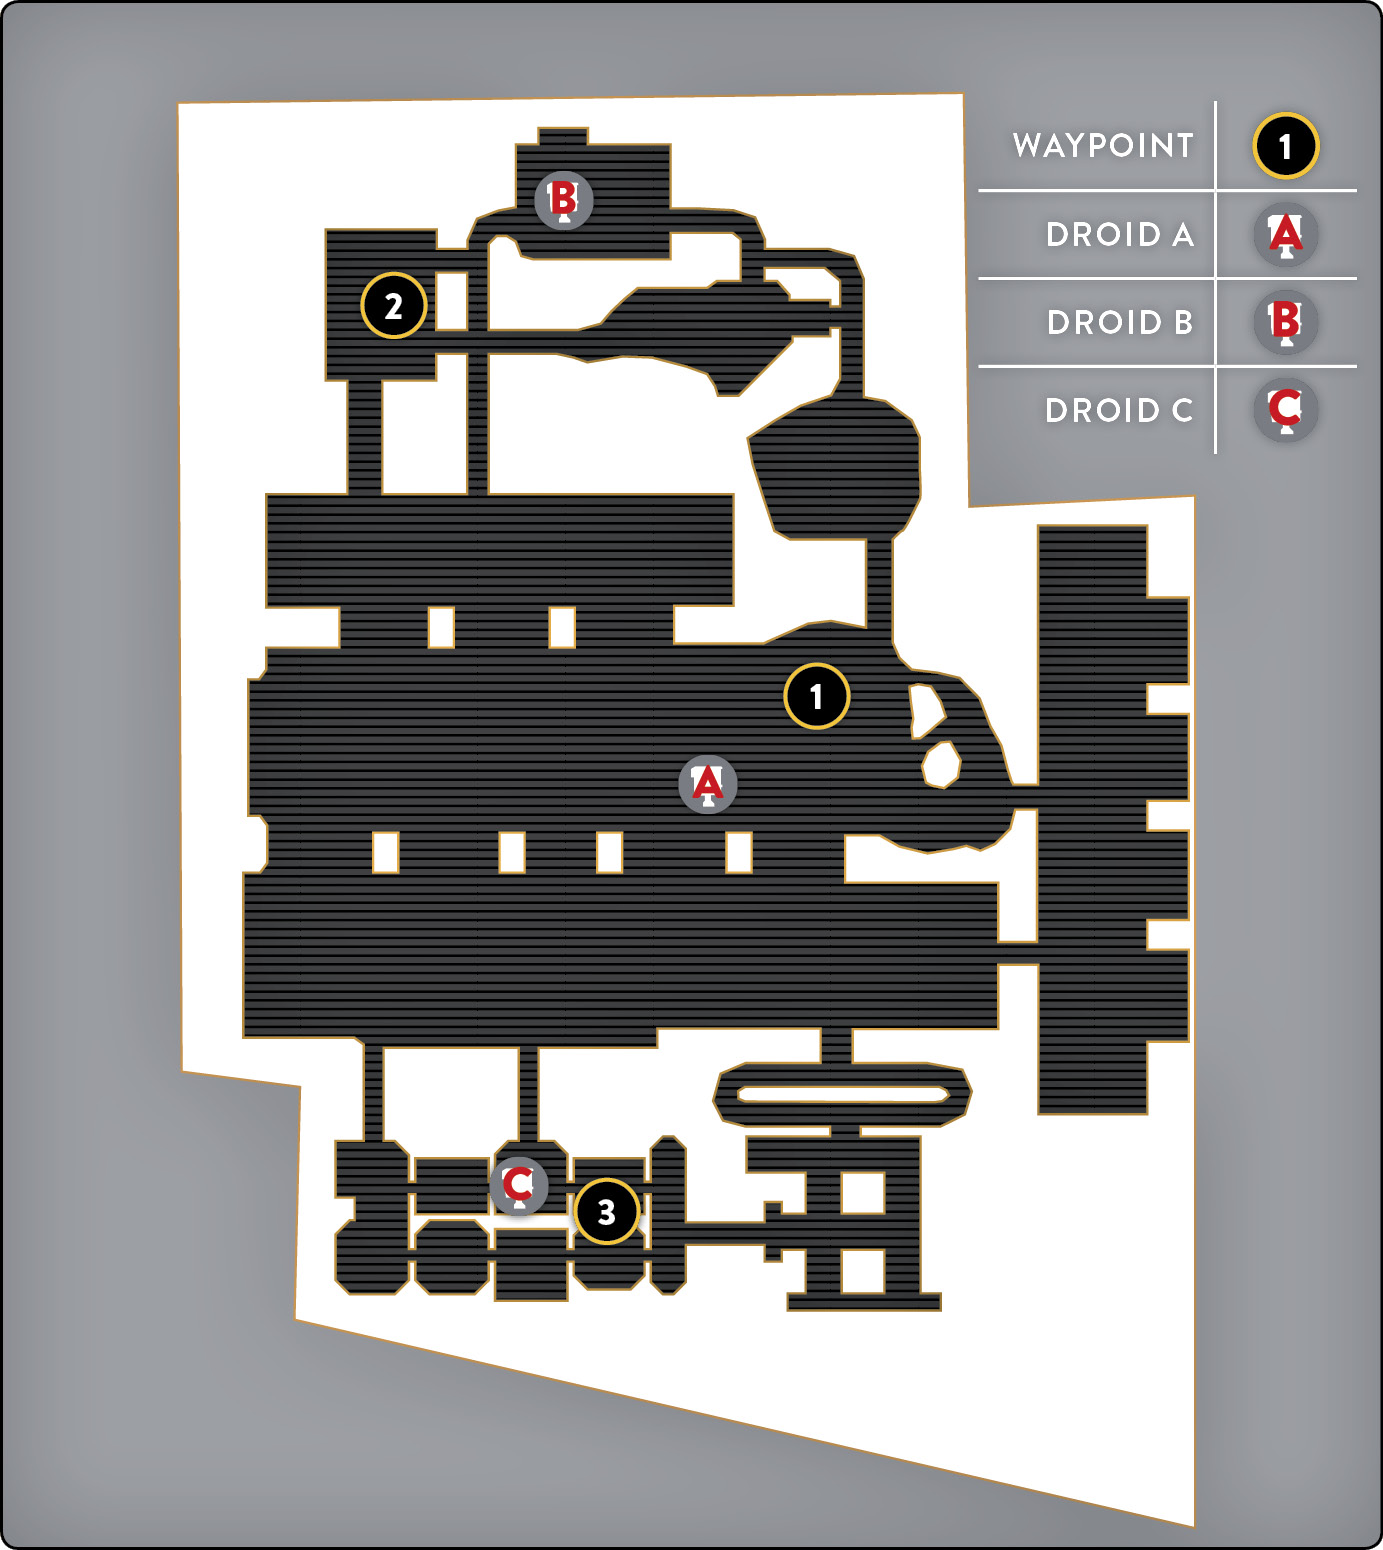
 The first droid, “A,” is located directly in the middle of the base and roams in the walkway between the Millennium Falcon and the X-wing that sits right next to it. The problem with this area is that an enemy can come from almost anywhere, including directly above you. The droid doesn’t always stay in the walkway between those two ships, though. The “A” droid also roams around the X-wing itself, creating more opportunity for you to take the droid at a less vulnerable position. But remember that even if your team is coming from a specific direction, there is always the possibility that the droid will flank you and sometimes deploy in spots you may not expect. Taking this droid is only the first challenge; defending it is the second half of the battle and is just as difficult. Keep your distance from the droid when defending it, but don’t lose sight as it rounds the corner. That may be the best opportunity for your opponent to steal the droid right from under your nose.
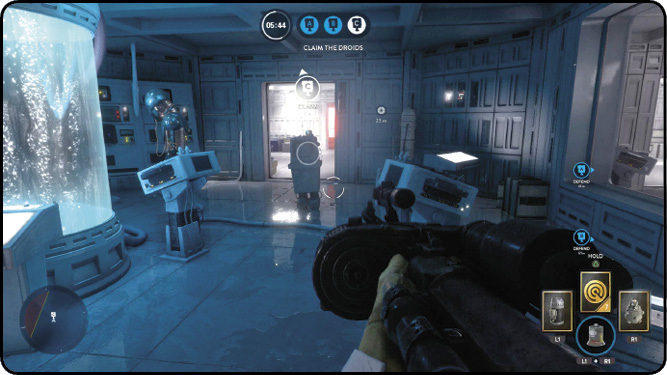
 The next droid is located inside one of the intelligence rooms, which is a much tighter fit for any type of battle that can occur. While the majority of your team is fighting over “A,” there should always be at least one player and his or her partner watching over “B.” Even though the center of the map is chaotic, you can still slip through and hone in on this location, or find your way through the side stairs. With this in mind, it is best to stay hidden yet close to the droid when defending it (as if you have a choice). The droid roams up and down the room, but no matter where it is, you can keep a good bead on it while inside the room and in your favorite spot to start out.
 The final droid is located in the med bay and roams throughout the separate rooms. This droid’s roaming path makes things a tad bit more challenging when you’re defending simply because of the room changes and the way it bypasses a wall or two. You can capture this droid while safely behind a wall next to the doorway just as it passes through. This gives you the ultimate cover: you are on the side that you just cleared to get there and almost fully protected from the other side. The key word there is “almost,” because this area is where Contact Grenades become your worst nightmare. Not knowing that a grenade is even lobbed at your feet before you have the chance to move can be devastating. Take a slightly more active defense with this droid. Move from room to room with it, not letting it out of your sight. If you have a proximity mine, a good place to set it is near the entrance of the farthest room that the droid might roam to, thus slowing down the enemy from overwhelming your position.
Cargo
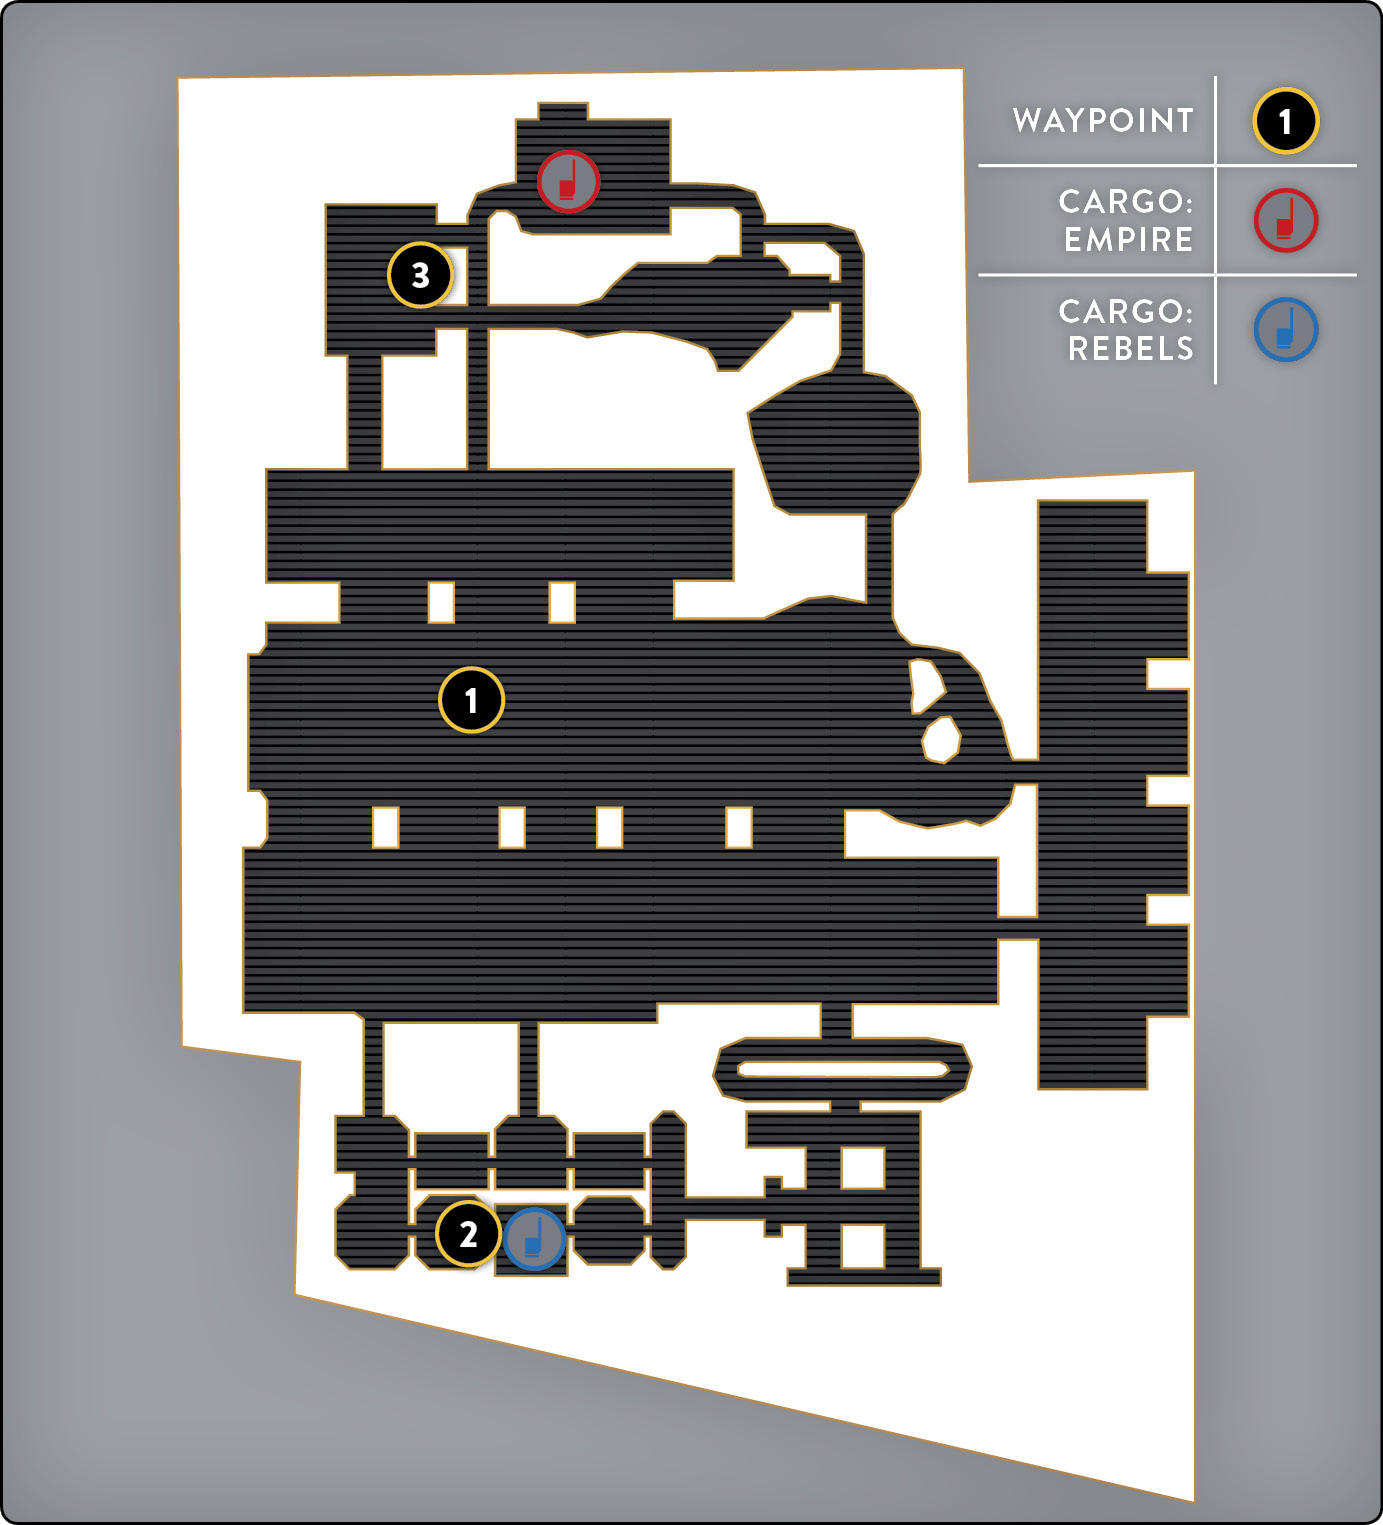
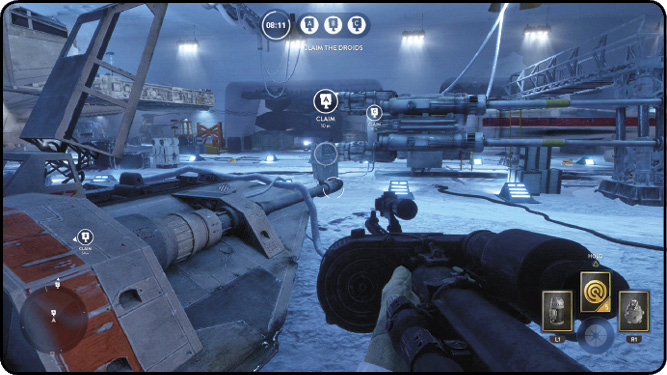
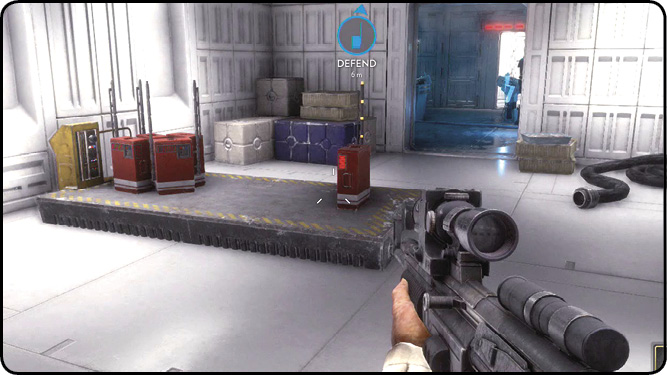
 The Rebel Base is the only area on Hoth where you can play Cargo, which makes for very interesting and even more chaotic gameplay. Just like Droid Run, it is incredibly important that you control the center main hangar of the Rebel Base, which acts as the gateway to both cargo storage locations. Controlling the main hangar allows your team to control the majority of the map, giving you the simple advantage of special dominance. It also forces the opposing team to be significantly more strategic when both attacking and returning to their own base with your cargo, since your team has a lot more space to work with and cut runners off before they pass the midway mark. Unfortunately, once a cargo carrier is past the midway mark, it is incredibly difficult to stop them from that point on.
 The Rebel cargo is located in the back half of the med bay. Be aware that there are two halves to the med bay, and there is a clear divide between them that is difficult to cross unless you go around it. However, a window in the middle warns you if enemies are coming around the corner or if someone is defending in that specific zone, making the window beneficial to both sides. While you return back to the med bay with the cargo, the window can give you away if a stormtrooper is hiding and awaiting your return. If you spot something suspicious, use a Flash Grenade to enter the room, and then take the cargo storage back by force.
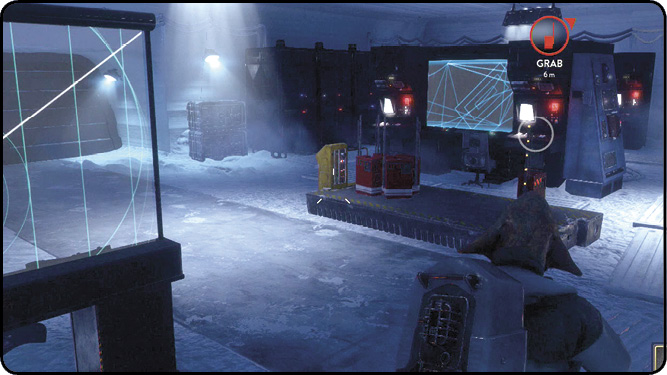
 On the Empire side of the map is the intelligence room, where it is much easier to defend from within the same room as the cargo because of the corners there. Use the machines and objects located throughout the room for cover and to stay hidden from attackers as you ambush them before they take your cargo. When attacking this room and attempting to grab the cargo, know that the room’s orientation allows for a quick “smoke run.” Drop a Smoke Grenade directly on the cargo and run straight through the room as the two entrances line up, making your way out as quickly as possible. This is a risky tactic, but with a little bit of luck, you can successfully snatch the cargo without taking a single hit.
Hero Hunt
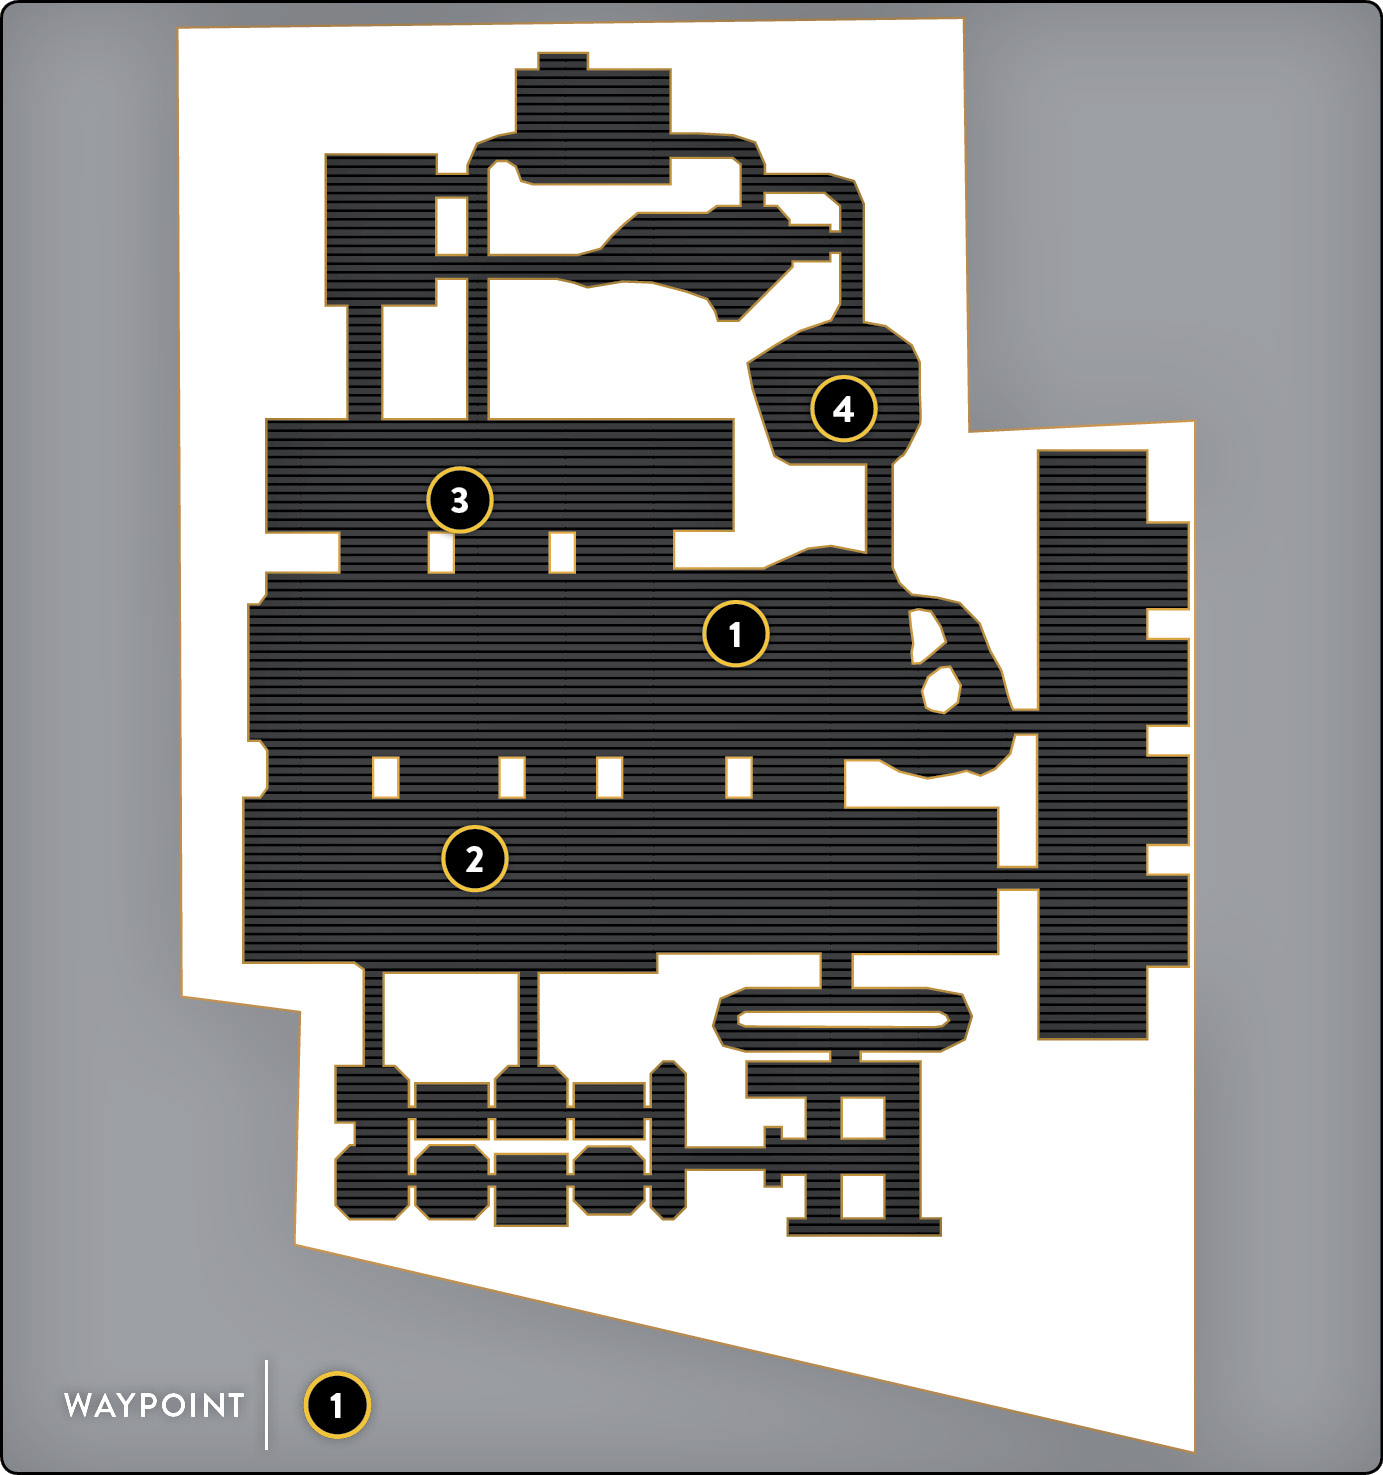
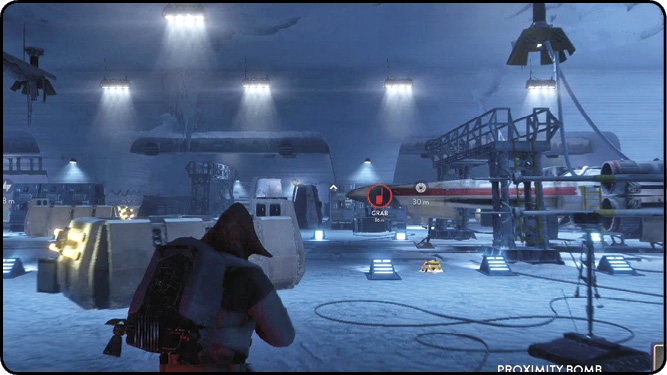
 A great deal like Ice Caves, Rebel Base features mostly close-quarters combat, lending very well to the hero. However, if the snowtrooper hunters can use the main hangar successfully, they can gain the upper hand on the hero character. As the hunters, don’t spend too much time in any of the corridors unless you are setting up an ambush. One look around the corner from a hero, and you won’t last very long.
 From the main hangar, always keep the hero at a distance, and use the objects to place items between you two. This also takes more time because the hero must navigate an extra obstacle in order to get you. Similarly, if you can avoid the enemy and “kite” the hero around the room without him or her damaging you, the rest of your team can deal some damage as you keep the hero distracted.
 Remember that the hangar only works well if you’re facing Leia Organa or Luke Skywalker, even though they are still dangerous there. Using the corridors and smaller rooms to deal with Han Solo often proves to be more beneficial because of his mid-range build. Beware of Han’s Shoulder Rush—stay close to corners to avoid his charge.
 Hunting down Luke Skywalker greatly depends on how much room he has to operate in. Battling in the corridors that only fit two troopers is suicide against Luke because one swipe of his lightsaber can eliminate anyone in his path. The best way to take Skywalker down is to constantly put an object between you and him. This ensures that he can’t Saber Rush you, as you have created a faux long-distance situation.
Heroes Vs. Villains
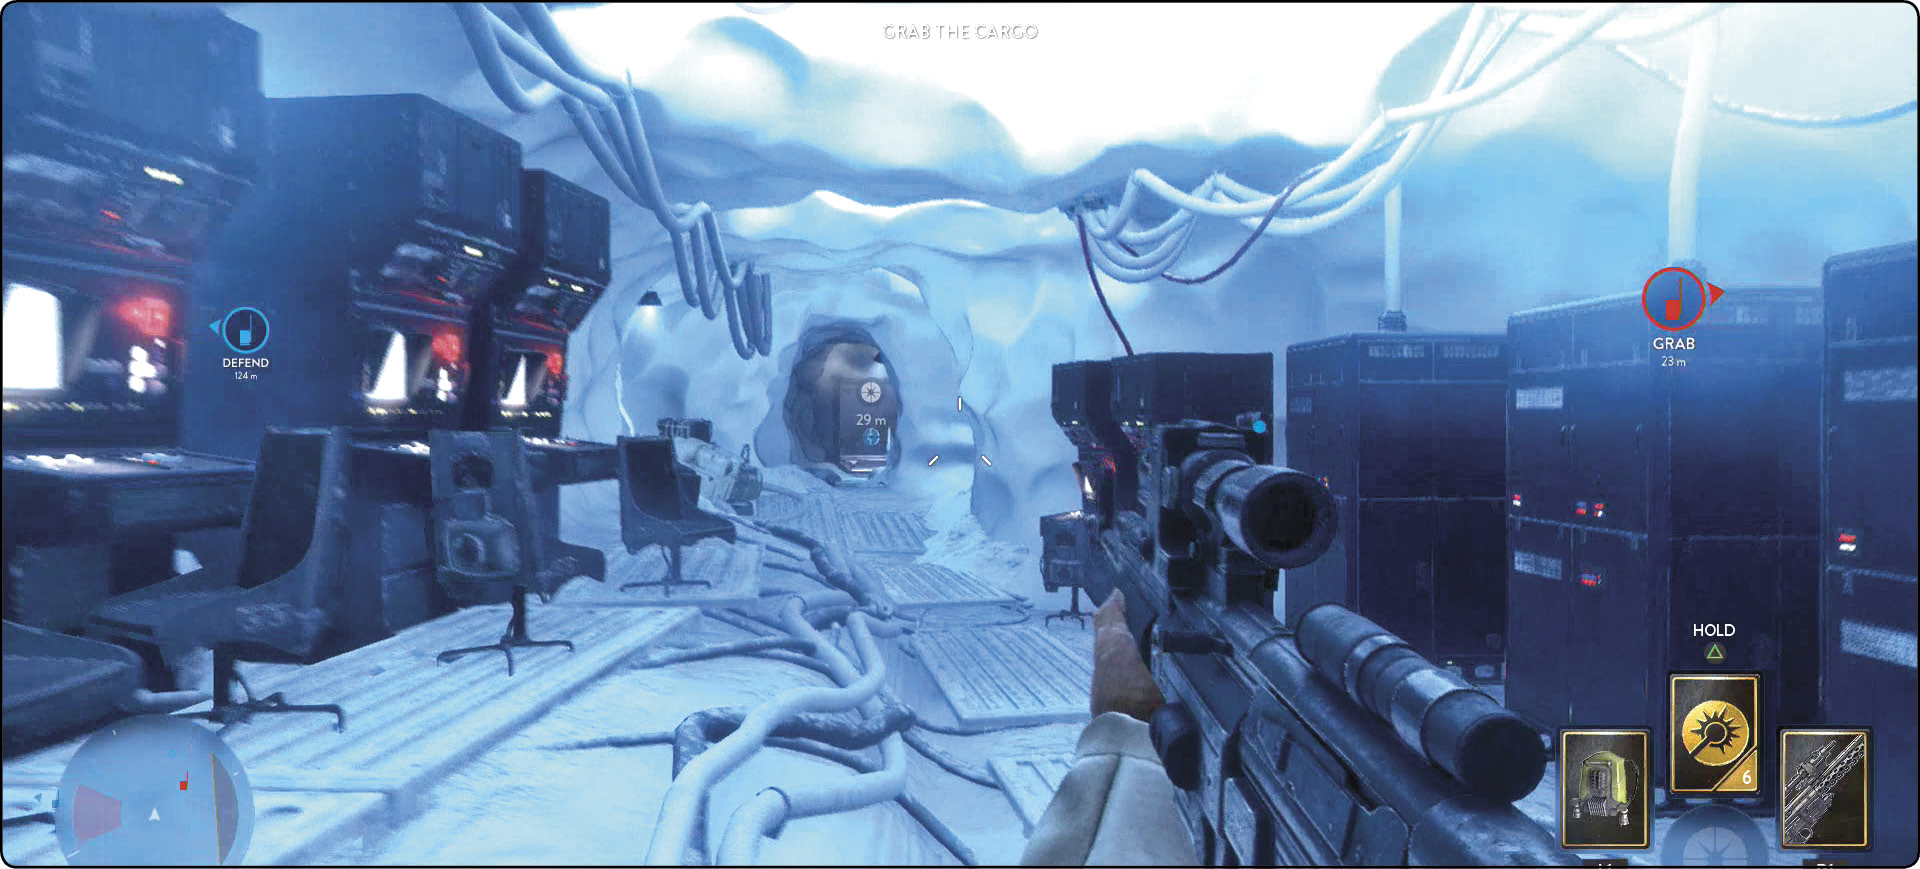
 Like in the Ice Caves, the two most powerful characters to play are Luke Skywalker and Darth Vader. Their melee strength and their ability to kill multiple targets in one swipe are what make the difference in any given match. However, note that in these short-range situations, most pairs of characters can take on Luke or Vader with minimal resistance. They do still require a little room to escape, and they won’t have any in tight situations.
 Emperor Palpatine and Leia Organa are the two perfect characters to pair up with Darth Vader and Luke Skywalker, respectively. Providing that extra firepower to those two-on-ones or even two-on-two match-ups is extremely useful, especially when Palpatine launches his Chain Lightning. Palpatine also thrives in the main hangar; although he does not have much range with his Force Lightning, he can perform a Force Dash. Force Dash lets Palpatine close any gap that he may have trouble reaching via his Force Lightning, giving him a major advantage when operating in the main hangar.
 Both Boba Fett and Han Solo may have a little trouble on this map while in the close-quarters corridors. However, they both have abilities that perform rather well for avoiding or managing these situations. If he’s caught in a small area, Han can Shoulder Charge through his enemy, giving him access to a way out rather quickly. If Fett is caught in a corner or tight space, he can set his adversary ablaze with Flame Thrower. The unfortunate part about Boba’s main abilities is that his jetpack cannot work while he’s in the smaller rooms. (Perhaps this indicates that it might not be a good idea for him to be there in the first place.) If you must travel the entire map, then by all means do so, but do it quickly and then return to the main hangar where Boba’s blaster and Wrist Rocket will shine.