
STAR WARS™ Battlefront™ Guide Multiplayer Game Modes Locations Hoth
Ice Caves
Blast
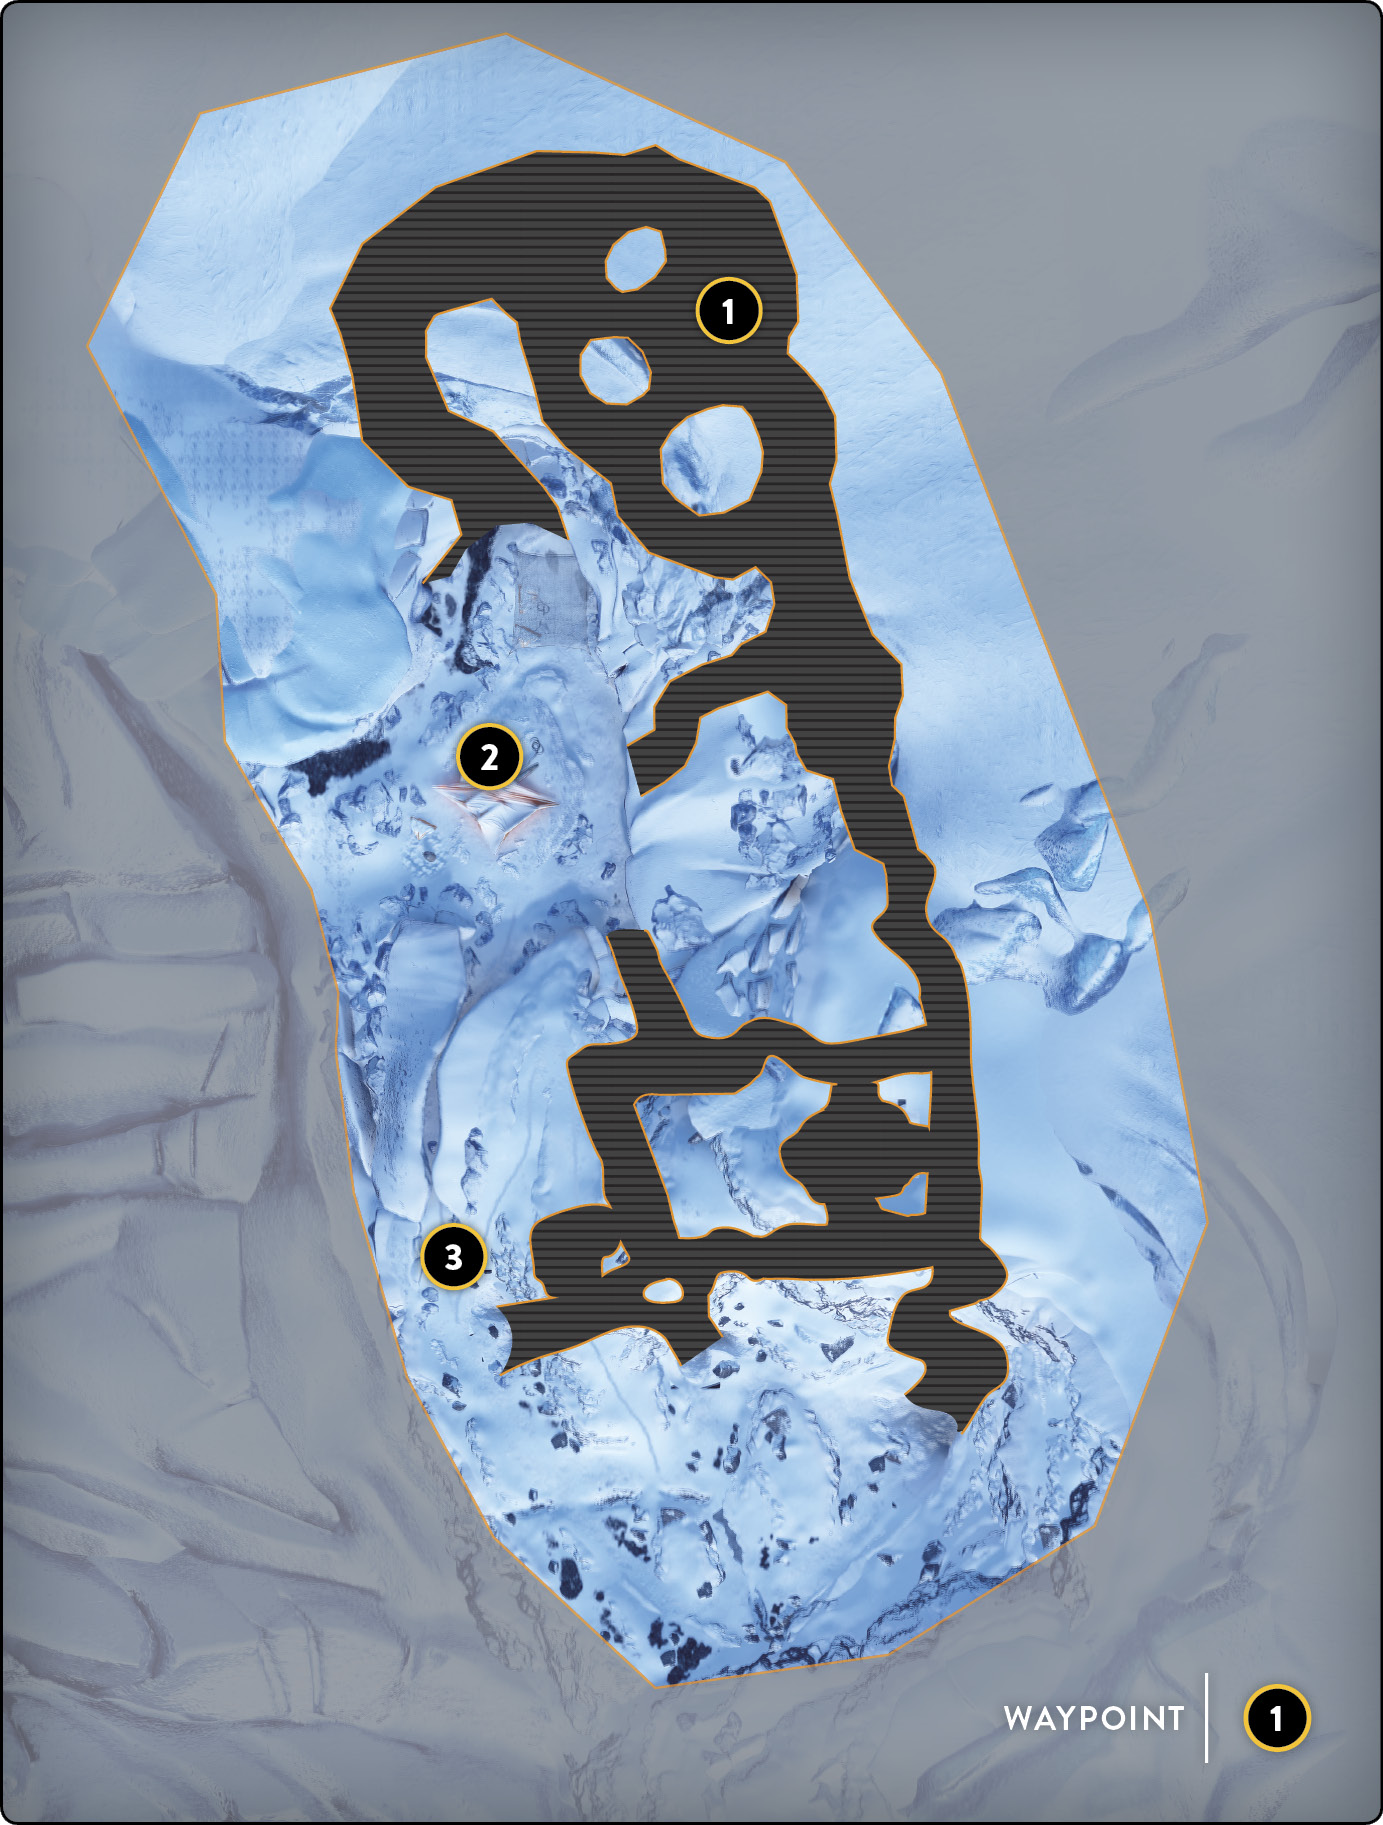
Playing Blast in the Ice Caves is like shooting at the blaster range: the caves are narrow, and troopers don’t have many places to go once inside them. If you chose just one map where you needed to have the right blaster to kill your enemies as efficiently as possible, it would be the Ice Caves. Weapon choice is important because your cover is generally corners and a few objects that Rebel forces may have left there. Other than that, there is not much to hide behind. Stay near the corners, and only move from spot to spot once your blaster is fully cooled down and you are fully focused.
 The caves are a great way to dominate the other team if you and your partner drive your force through them, but any more than two players, and your team could suffer major casualties with one wrong move. Don’t be afraid to retreat if one of you gets taken out. As long as you stay alive, your partner can redeploy on your position, and you can reassert your dominance on any location.
 The caves are not the only area of operations at the Ice Caves on Hoth: there is also a place where an X-wing has landed and is being stored. This area is large enough to store another X-wing, essentially dictating that multiple players are going to be located in this area because of its layout. Although there is plenty of cover out here, avoid getting pushed up against the cliff because there might be no escape.
 You can find another open area just through the tiny narrow canyon adjacent to the X-wing storage location. Here, you have a few options. This is a decent place to post up and garrison with a few teammates, as there are several entrances that might require more defenders than just you and your partner. You can also use this to find a place to flee once you are alert to the action. Finally, you can use the hill that leads you to the top of the narrow canyon and get a height advantage on the two open areas. The tiny canyon is far narrower than you might guess, so while it is a shortcut from place to place, be sure that it’s safe before you enter. It is quite easy for you to get stuck and ambushed when you’re inside.
Drop Zone
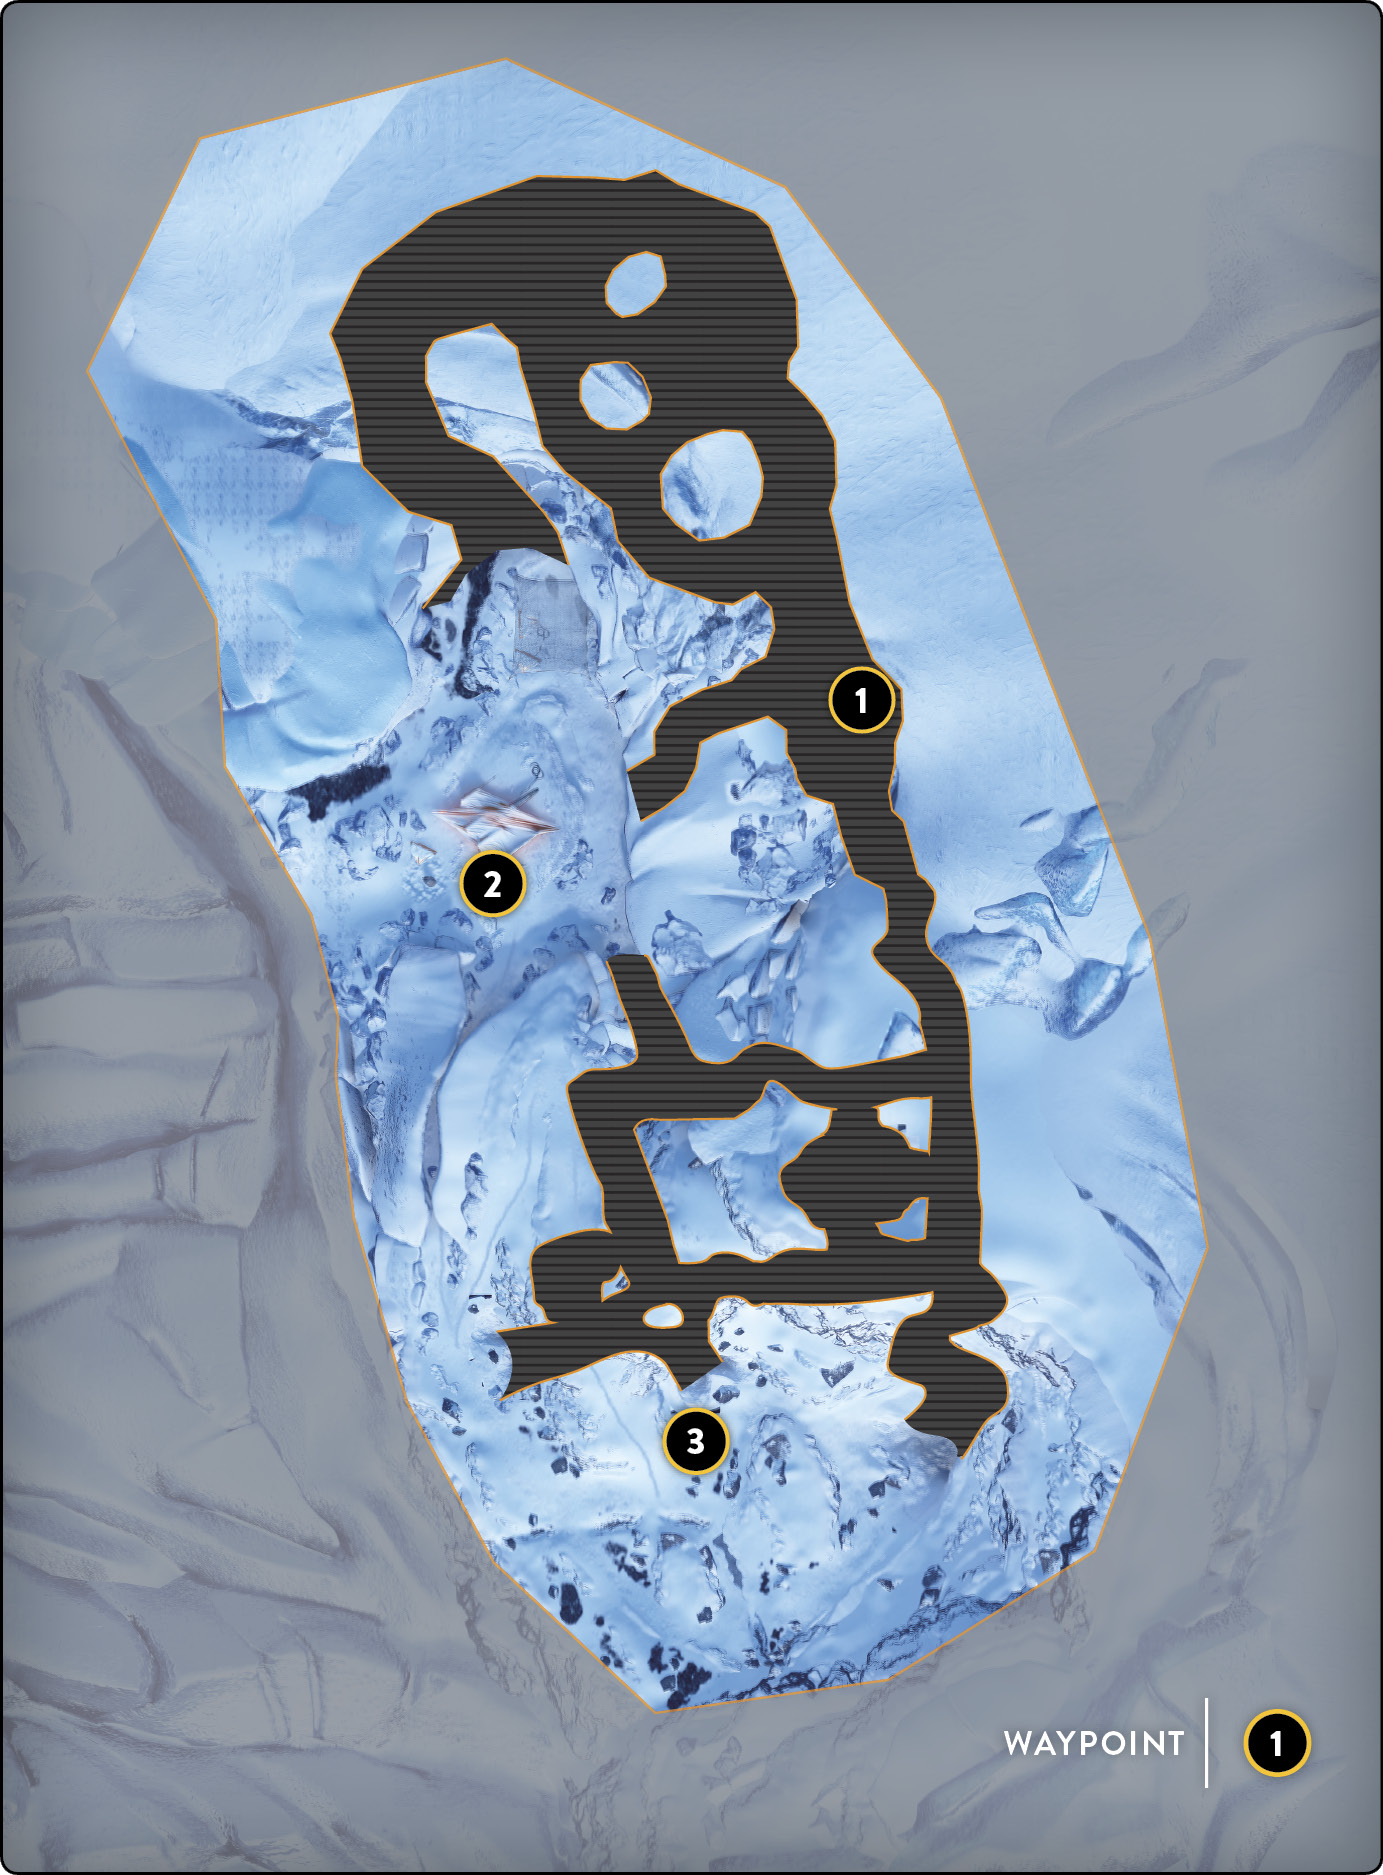
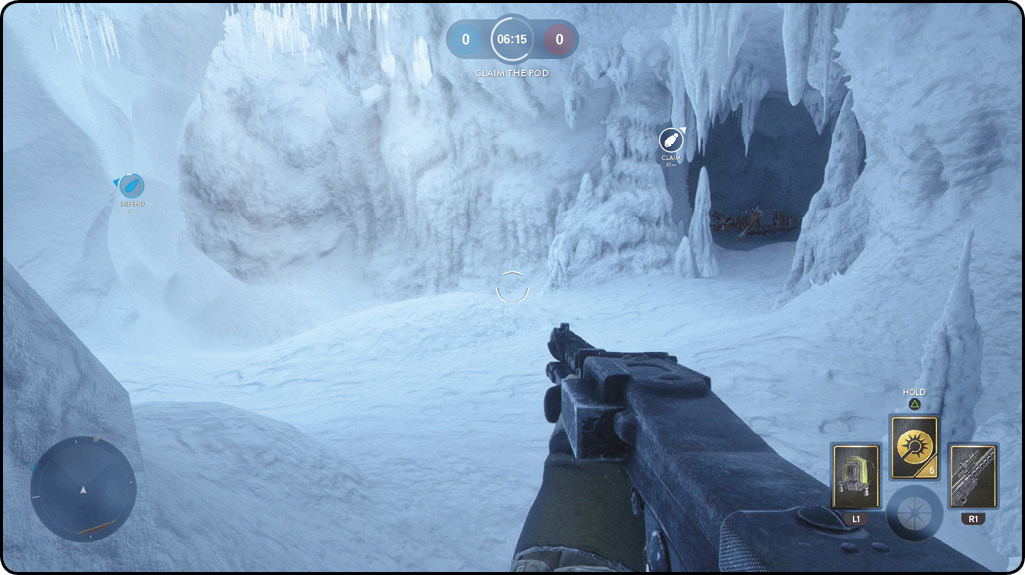
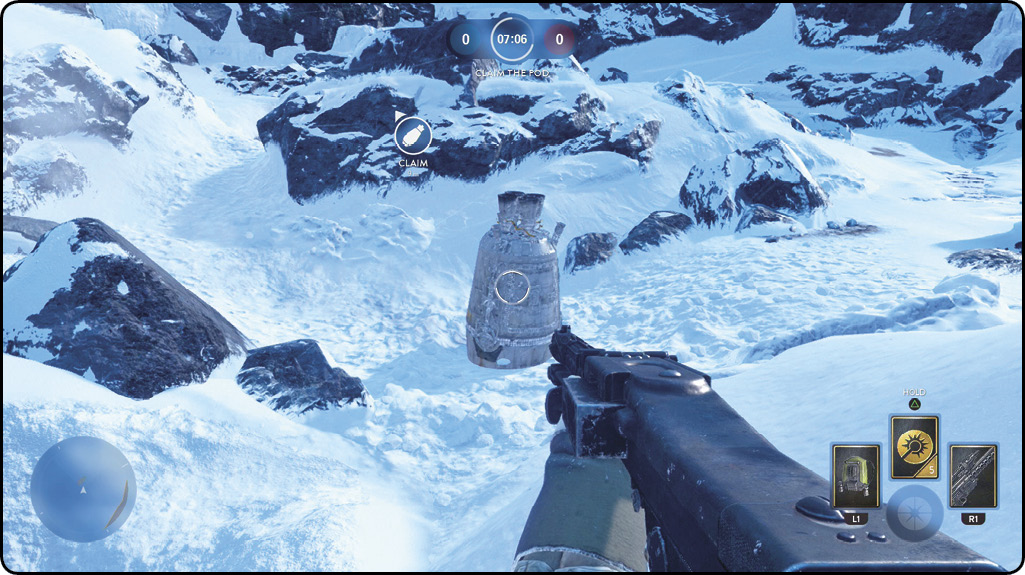
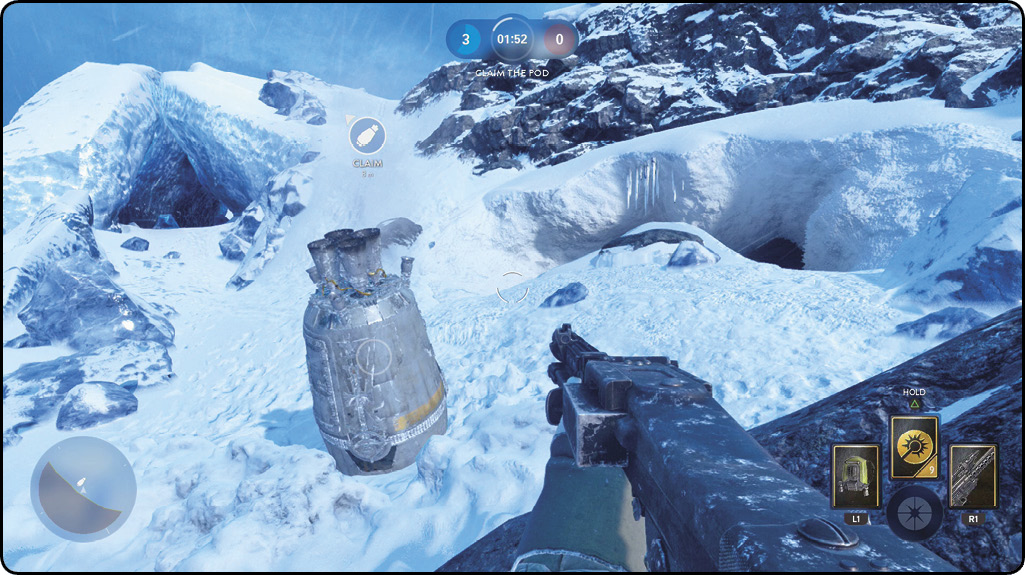
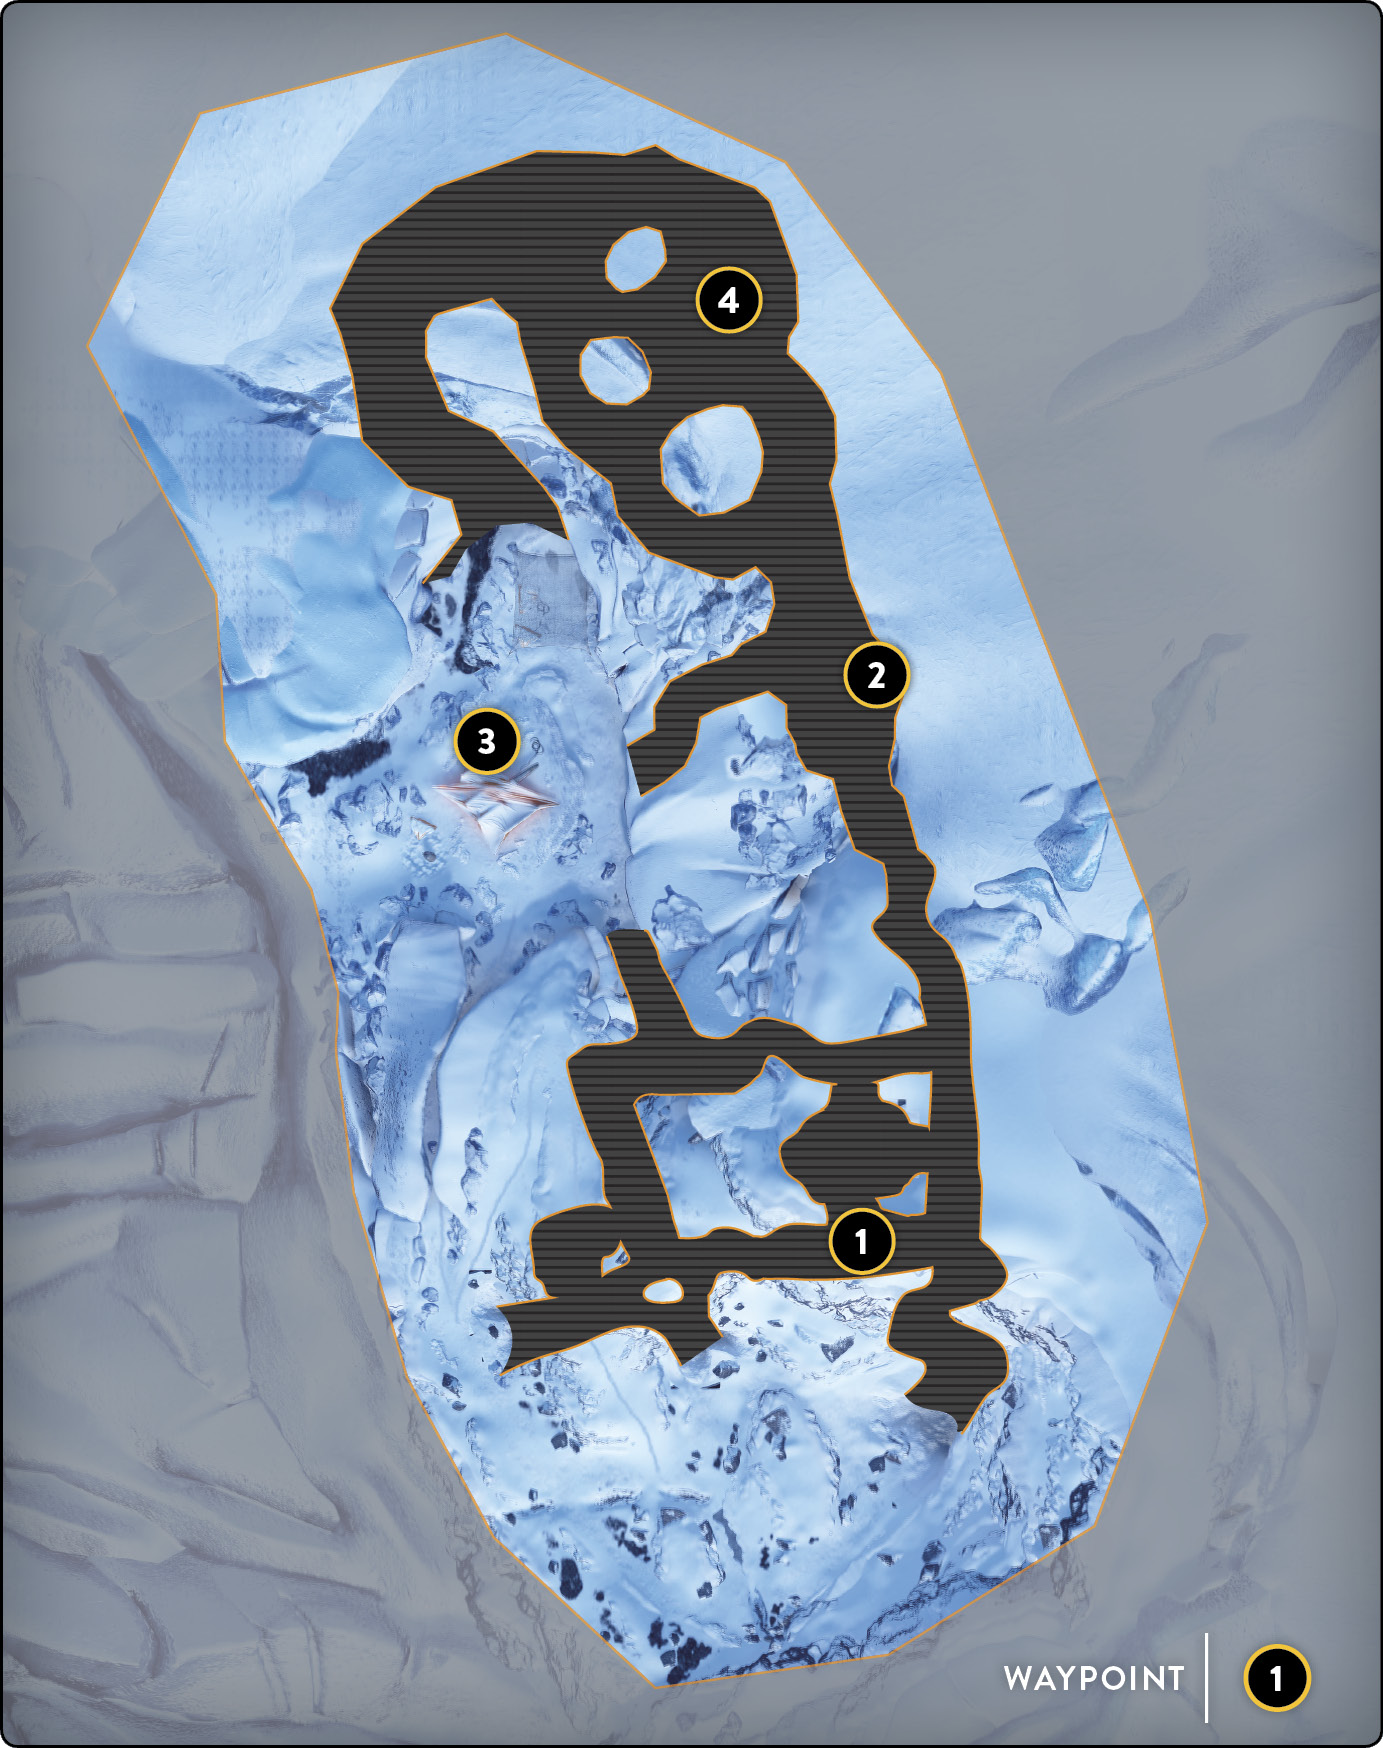
 There are not many locations that are viable for a drop pod to land, but there are more spots than you might expect. One of these areas is found inside the caves, through one of the small openings in the top of the cave. Like a few others, this location has a three-way intersection, which leaves the challenge of both narrow corridors in the caves and the need to cover all three paths while you’re attempting to capture the pod. Because of the caves’ complexity, the best way to defend an interior pod after you have initiated the capture sequence is beyond the immediate location and around corners in the caves. These places give you longer sightlines and the ability to retreat if things get too hot.
 Drop pods typically drop outside, at least more often than not. However, the pods still tend to drop near cave entrances. For that reason, defending from inside a cave and stopping anyone from leaving to grab the pod provides great assistance to the players guarding the immediate vicinity. Those in the immediate area should encamp some distance away from the pod and watch it from behind cover.
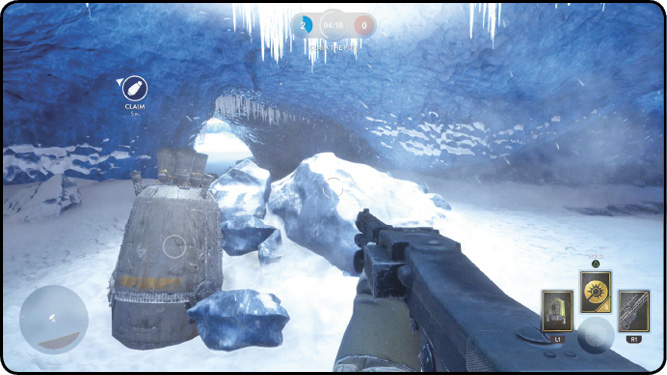
 Setting up permanent defenses (or at least long-lasting defenses) outside is not a waste once the pod you are capturing has been captured completely. More pods will drop outside, and it’s not impossible for the next pod to drop in almost the same exact area. It won’t literally drop in the same place, but it could drop nearby, leaving little room required for adjustments.
Droid Run
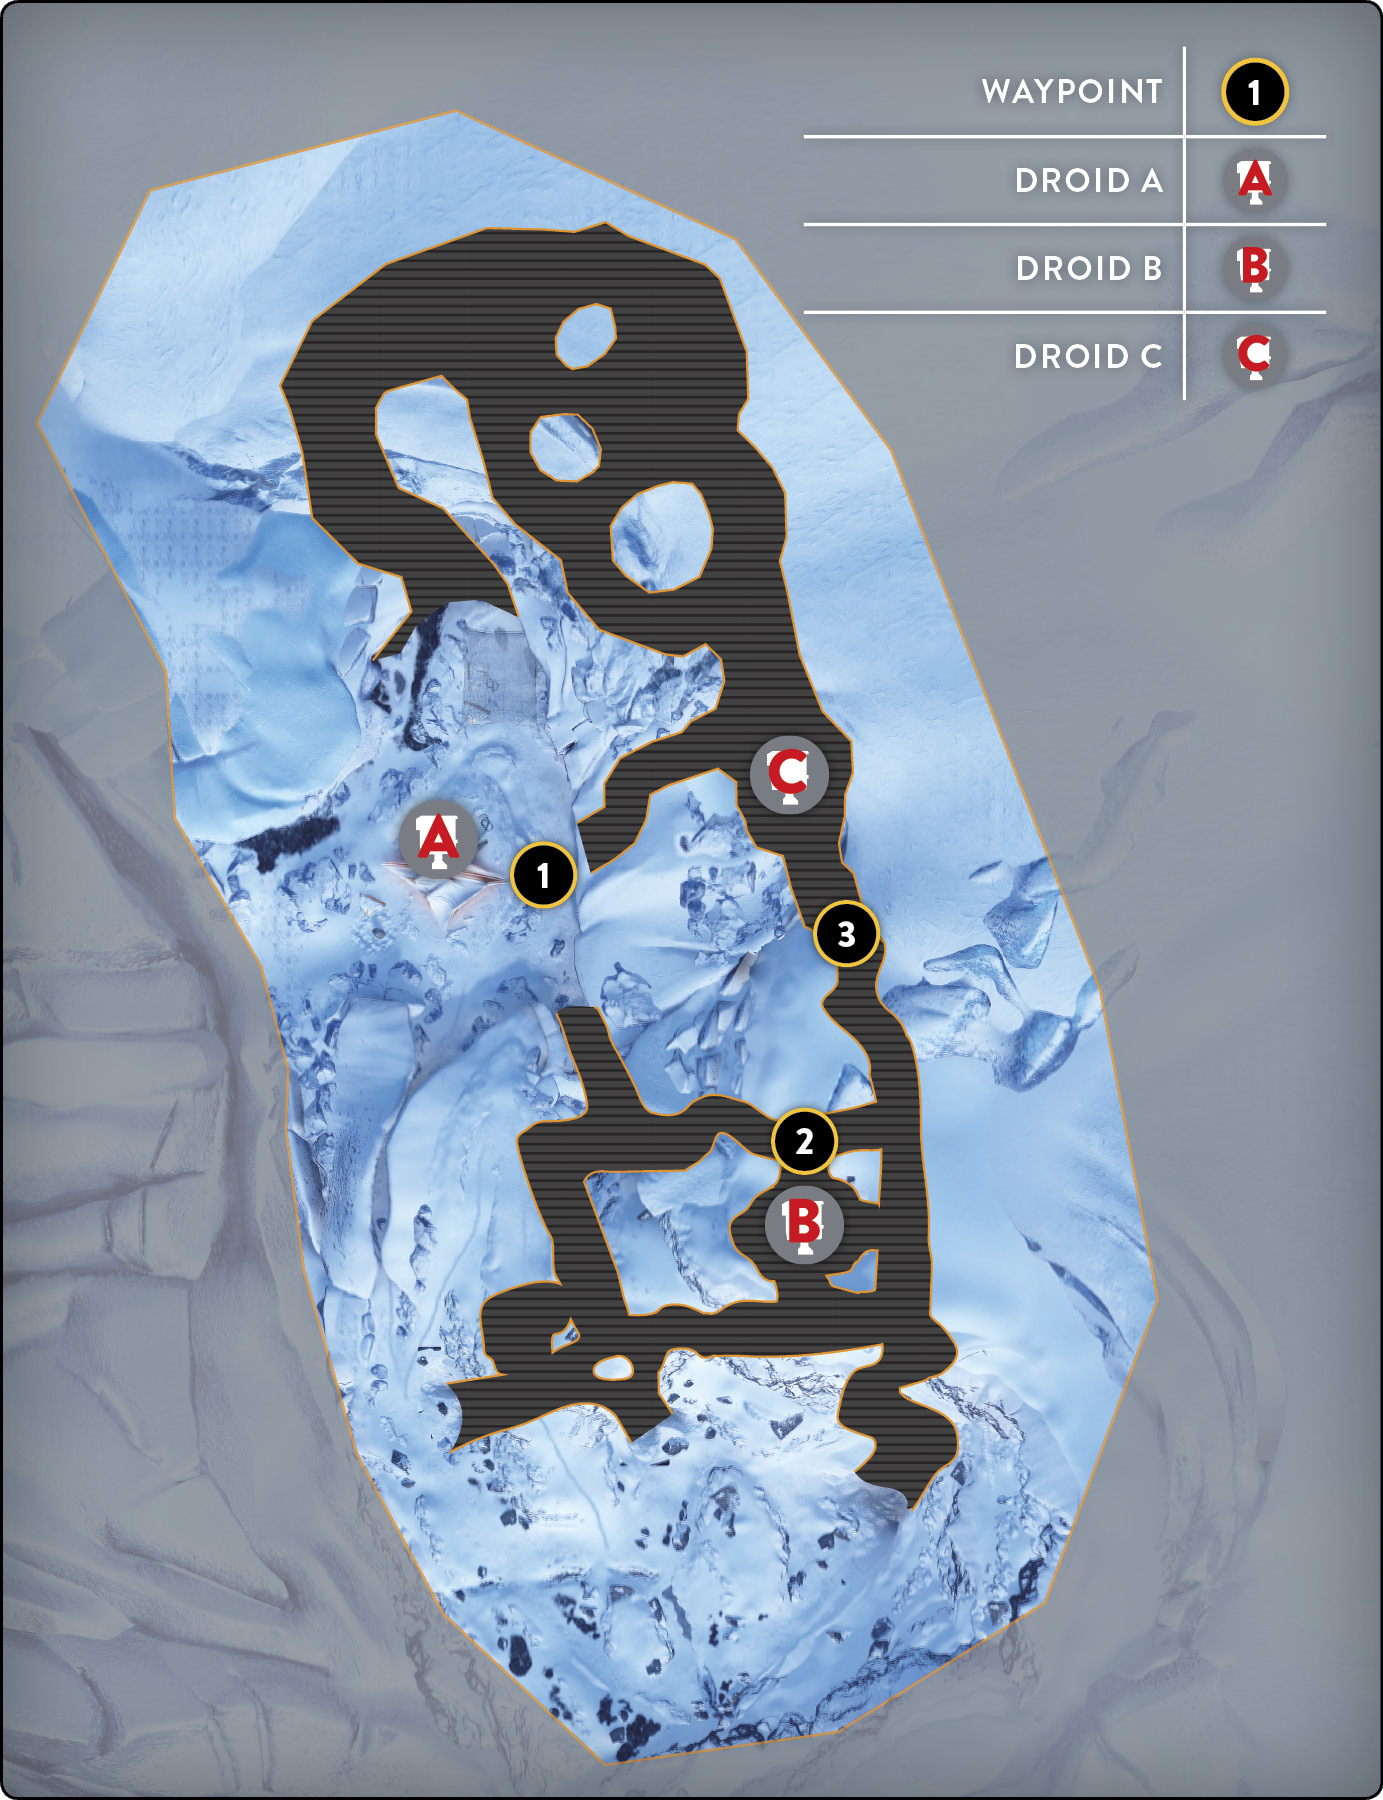
In the Ice Caves, you win Droid Run by controlling checkpoints. The caves are quite narrow, and the droids tend to roam either outside the caves or in the caves’ bigger areas. Controlling these chokepoints means that group numbers are rendered meaningless. Whenever possible, set up turrets and Blaster Cannons to defend your stronghold.
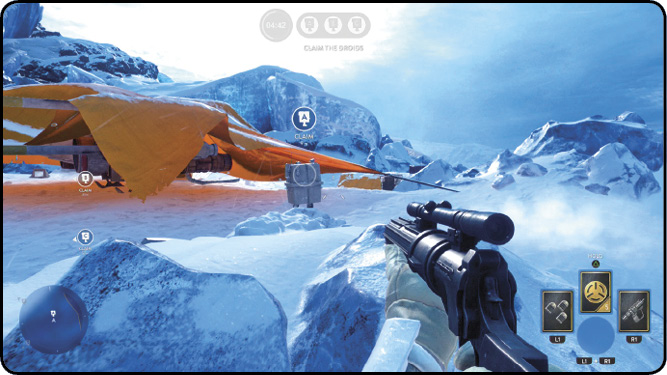
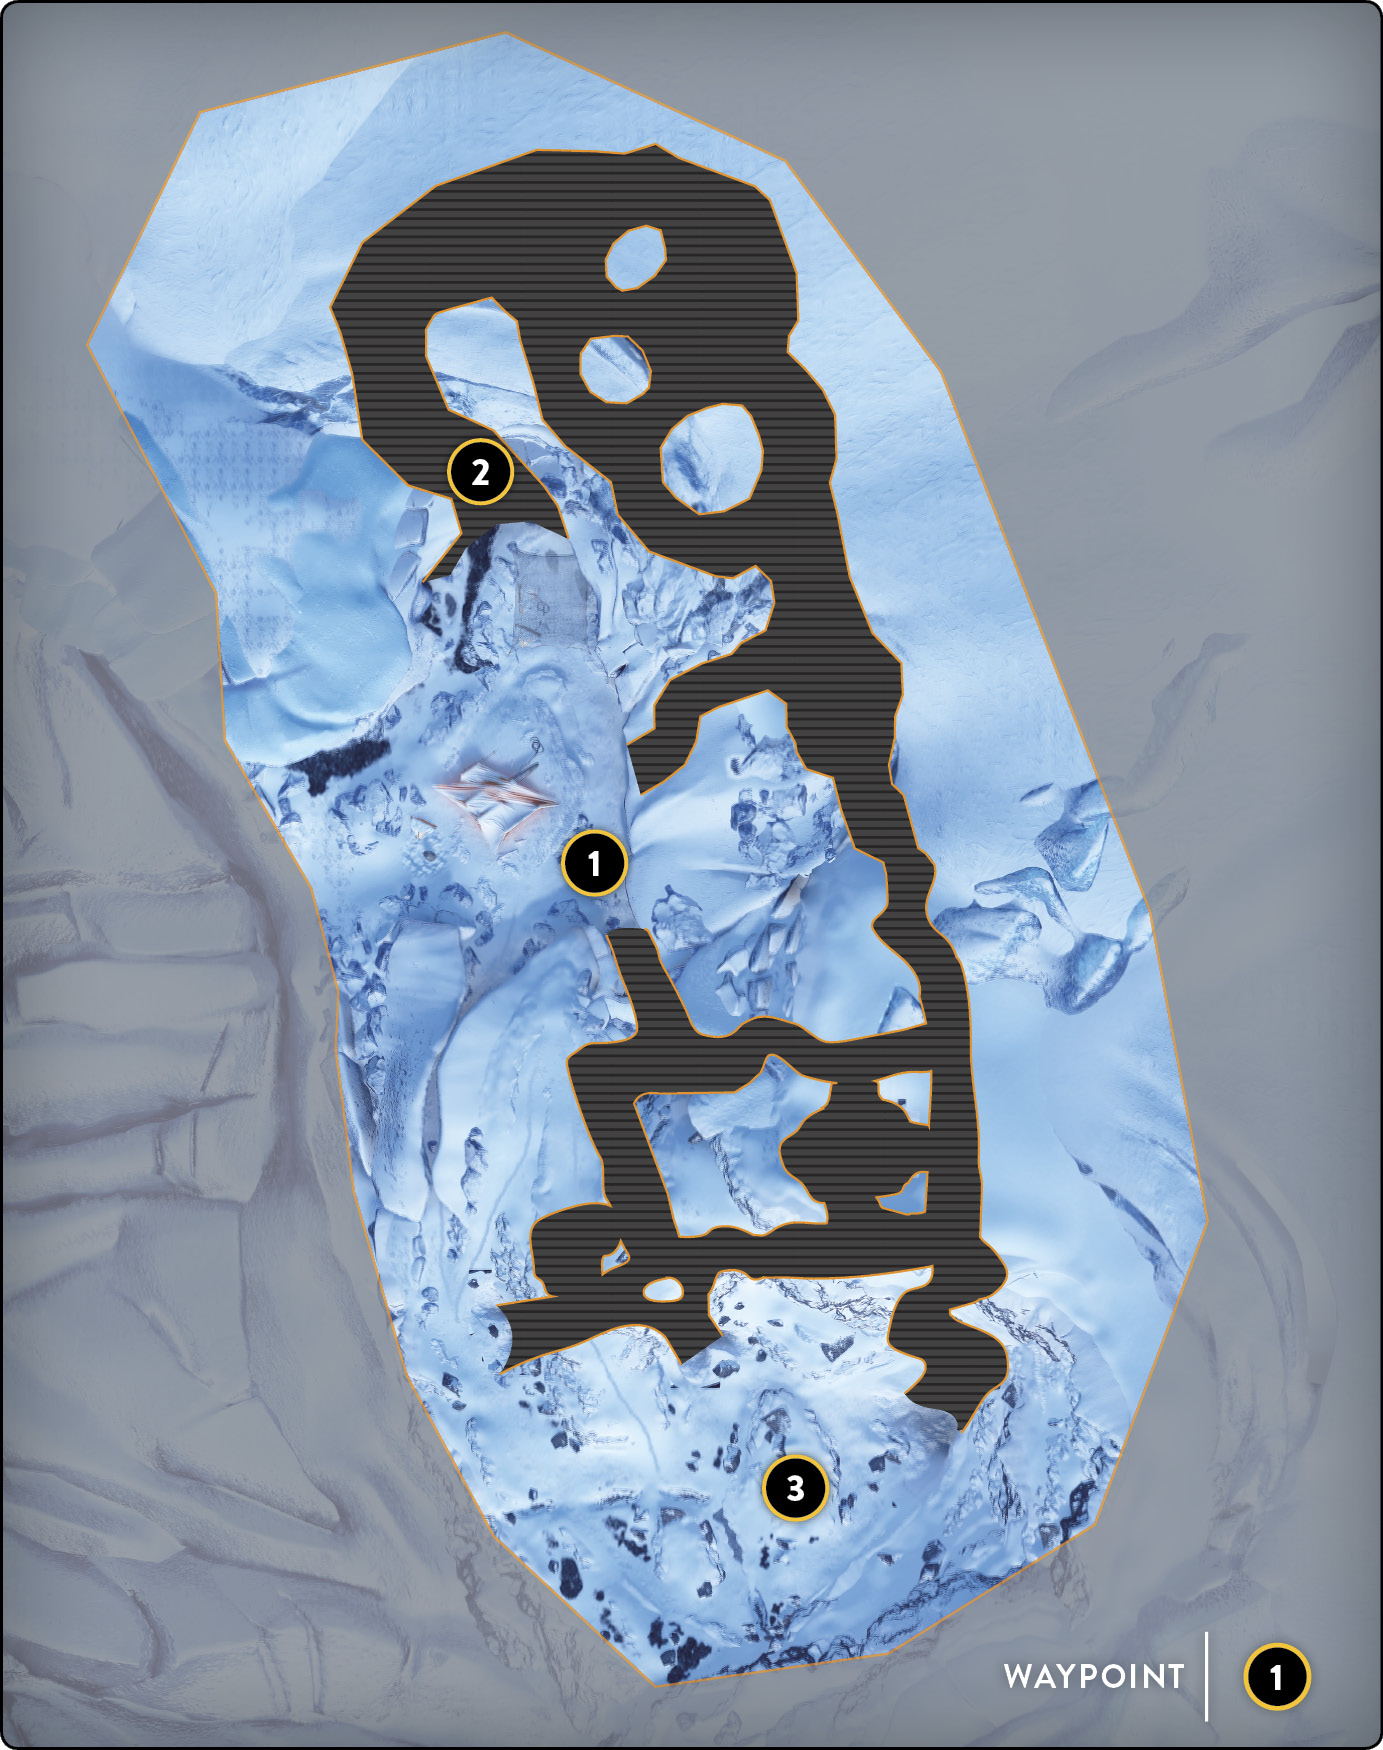
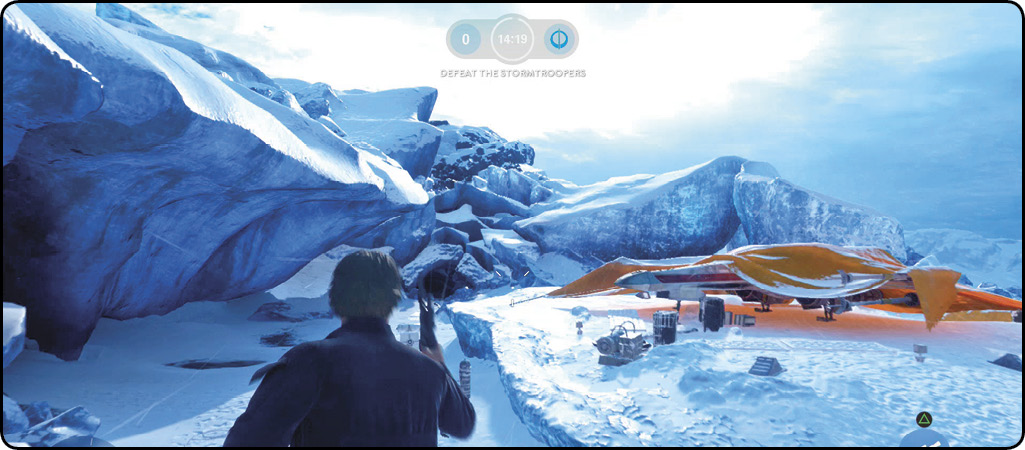
 The first droid likes to roam around the covered X-wing outside the caves near the cliff. Fortunately, no matter where this droid roams, it’s usually in a safe spot. The best way to surprise an enemy hanging around the X-wing is actually to use the Jump Pack and fly directly over the X-wing, hopefully catching your foe by surprise. Use the entire area around the X-wing (including the nooks and crannies around the cave entrances) to hide and use as cover while protecting this droid. You won’t be able to get any more space anywhere on the map than right here.
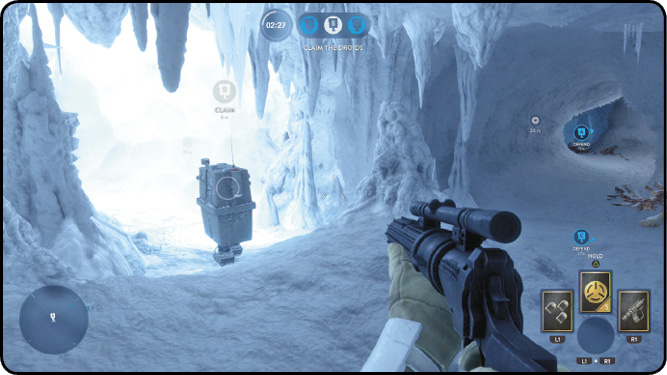
 The second controllable droid in the Ice Caves is located in a much more complex area than the other two droids. Instead of being positioned at an intersection between three tunnels,this droid roams through the smaller crevasses and complex tunnel system. This makes for a slightly more difficult capture and is why this is one of the more important droids to acquire. Because of how little space there is, you might want to stay directly on top of the droid for the best defense. Avoid getting too far away from the capture area, as it is quite easy for an enemy to come in and swipe the droid from your control. However, as long as you have an eye on the droid, it is also easy to defend it.
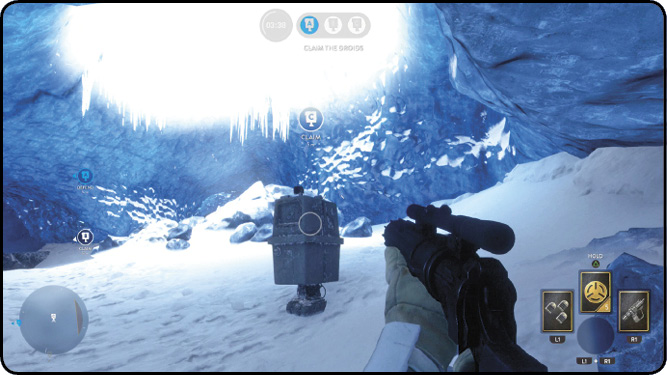
 The final droid in the Ice Caves, labeled “C,” is located under one of the bigger ceiling holes inside the caves. Since it is under this larger hole, you have quite a bit more space to work with. This area is also an intersection, with a few different entrances you must worry about. You can put the Squad Shield and Infantry Turrets to good use, although things may get a bit hectic. Use the partner system to stay close to your squad, and keep the area populated. Don’t lose the control that is vital to your success.
Hero Hunt
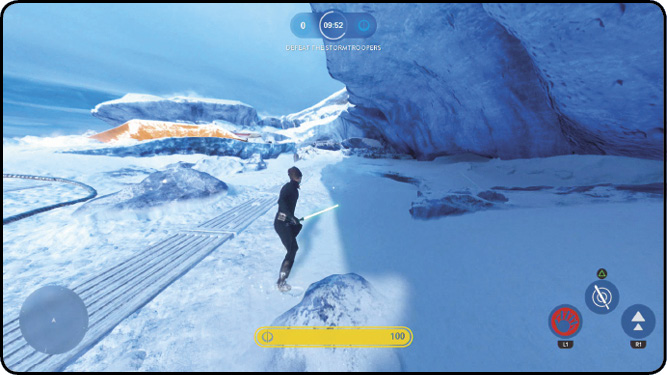
 When you play Hero Hunt in the Ice Caves, the first thing to consider is who exactly is the most dangerous hero you will face in this location. On Hoth, the heroes that you are hunting down are Luke, Han, and Leia. Because of the way the Ice Caves are constructed, all of the heroes tend to shine here. However, one hero really stands out: Luke Skywalker dominates the battleground with his heavy blows and melee combat. If you’re stuck in the caves with Skywalker, you might as well head back out. The only ways to defeat Luke are to back out and bring him outside, or to close him in and force him to fight on both sides. However, getting too close on either side to Luke means your certain death, so don’t close in too far.
 The second most dangerous hero in the Ice Caves is Han Solo. Even though Han specializes in medium-distance fighting, watch out for his Shoulder Charge that can take out anyone who gets in his way. That being said, players typically want to get in close while playing as Han Solo, which is good for you as the hunter. Han has a powerful Lucky Shot and can fire his blaster pistol extremely rapidly, but it is incredibly inaccurate up close. If your opponent decides to come in close, take advantage of this and get in tight, overwhelming your target with a barrage of blaster fire.
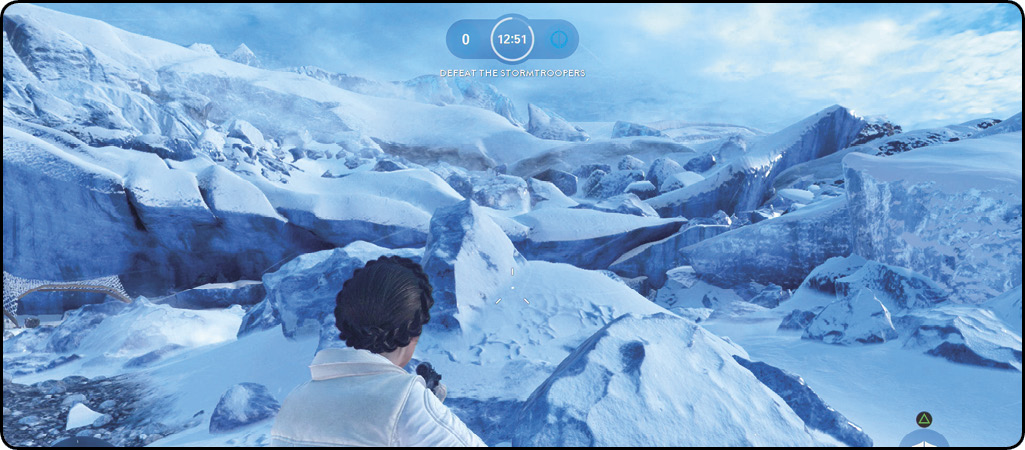
 Finally, the last challenge is handling Leia Organa and her incredibly defensive capabilities. Princess Leia has an Enhanced Squad Shield that normally is used for shielding multiple people. However, with the Enhanced Squad Shield, the player controlling Leia can make the battlefield focused wherever Leia wants. There are corners and corridors all over this map, and if a situation gives her the advantage, she can drop the shield and create a one-on-one or one-on-two situation where she has a good chance of winning. With Trooper Bane letting her shoot through the shield, Leia Organa can drop the shield, kill a couple enemies as they charge her, and outlast the remaining troopers who make it into the confined area that she has created.
Heroes Vs. Villains
Ice Caves is mostly made for close-quarters combat. Even though this map lends well to every hero against normal troopers, some heroes and villains are a much better match than others.
 Because of the tight corners and caves, most situations won’t allow for Han Solo to better Darth Vader. If the player controlling Han has a two-on-one situation available, that’s the best time to strike—unless Han can catch Vader outside and keep the foe at a distance while firing Lucky Shot at his feet.
 Obviously, melee characters like Luke Skywalker and Darth Vader thrive in this close-quarters environment, but be wary of Emperor Palpatine’s Chain Lightning against multiple enemies who cannot escape the confines of the Ice Caves. The rule of thumb is to run away from these three hero characters and try to round corners as often as possible to avoid Luke’s Saber Rush or Vader’s Saber Throw.
 When you’re playing as Boba Fett, your best course of action is using the limited high grounds, such as the top of the X-wing or the tip of the narrow canyon outside. These high places might be the only areas that Boba can quickly access when no one else can. However, they only stay safe for a short amount of time, and there are not many of these locations. If you’re caught in a tight situation, use Flame Thrower to deal some quick damage to anyone around Boba, hopefully causing the foe to give him some distance as he escapes to get a better angle.
 Leia Organa is the trickiest of characters on this map. Because she can dictate her own battlefield, Leia does great against troopers, but her defense against hero characters is a little weak. Like Han, if you’re playing as Leia, you also want to do your best to stay outdoors. At the very least, keep your distance from the enemies and try not to close the gap (if there is one). Trooper Bane may not kill a hero opponent in one shot like it does with troopers, but it does inflict a great deal of damage. This gives Leia a possible upper hand at the beginning of a duel.