
STAR WARS™ Battlefront™ Guide Multiplayer Game Modes
Blast
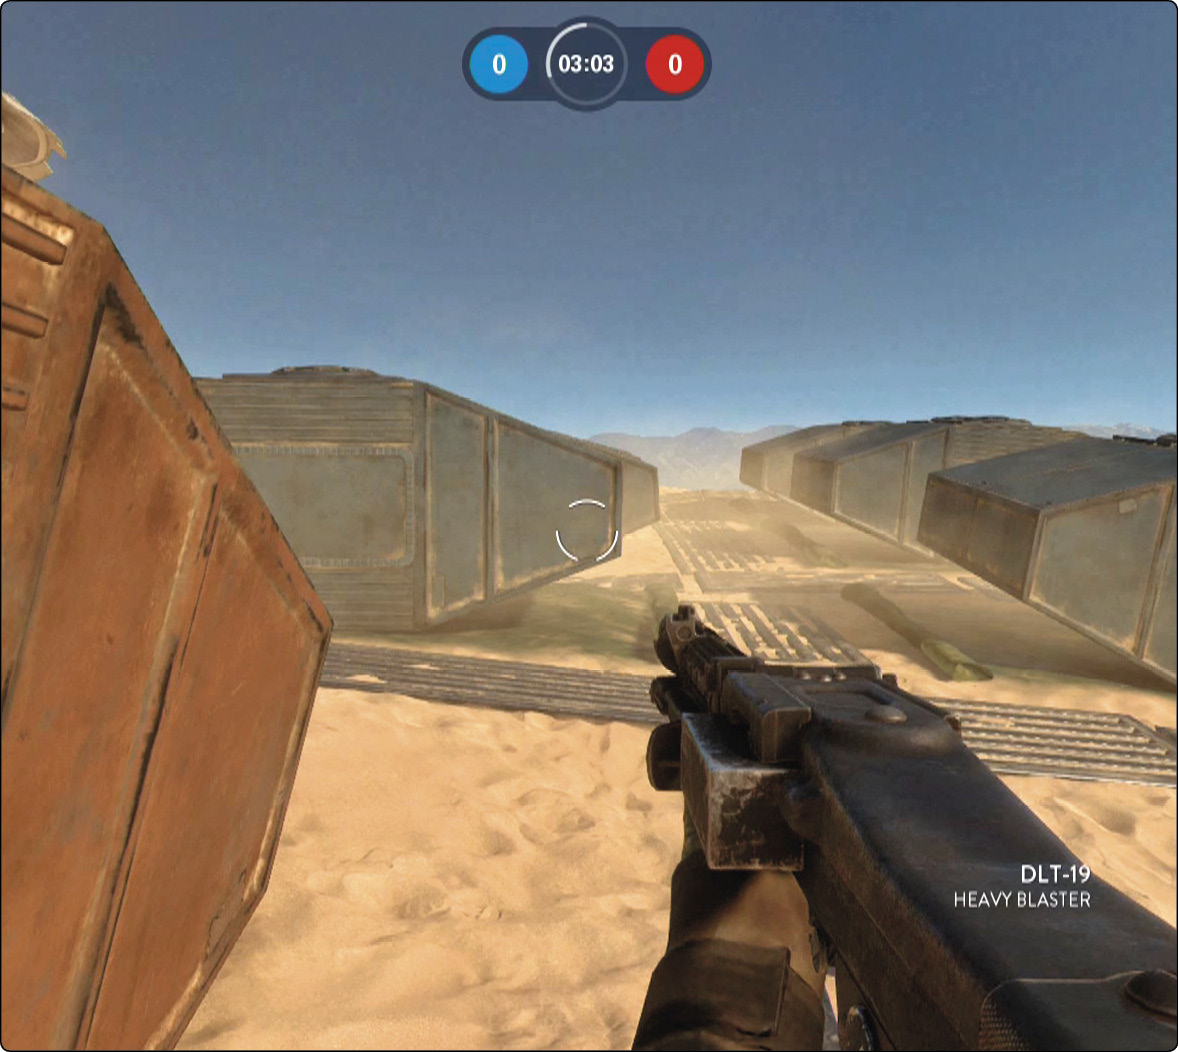
Blast is a classic battle to the death without objectives. The first team to score 100 points or score the most kills at the end of the time limit wins.
Objectives
Defeat the enemy.
The side that takes out the most enemies wins.
Overview
In Blast, you are faced with no outside problems besides navigating the terrain and battling your enemies head to head. The biggest challenge in playing Blast is choosing your loadout and which Star Cards you should bring with you. Each map is very different, making the decision between changing Star Cards a strategic one. Take your time, and choose wisely. The first team to reach 100 points or the side with the highest score by the end of the time limit is the winner. Keep this in mind before rushing into places you where are most definitely not going to succeed.
Blast Tactics
Use the partner system to its fullest and stick with your partner as often as possible. There is no greater strength then having a wingman by your side when charging into any situation. Because you can deploy on your partner, stay aware of his or her health. If your partner goes down, you might want to take cover. If you take cover long enough and your partner deploys back where you’re located, you have another chance to take the position you had just attempted.
Picking your blaster is one of the more important choices you must make before the match starts. Every map is a little different, which makes this decision incredibly tactical. Locations like the Imperial Station on Endor or the Rebel Base on Hoth may require short-range weapons like the CA-87 and SE-14C to take down your opponents. In the bigger locations like Jawa Refuge or the Sulphur Fields, you should use blasters like the T-21 to fire at long range without losing too much accuracy and deal a high amount of damage per bolt.
Your blaster is incredibly important, but it must be accompanied by Star Cards, including Asset, Charge, and Trait Cards. The Explosive Shot Charged Star Card is normally a great default choice when you can’t think of any other card that might benefit you more. This card carries a set amount of charges until you purchase more or collect some on the battlefield. It also charges your blaster bolts with explosive AOE damage that is great for outnumbered situations where you can’t shoot two enemies at once. Don’t forget about using the Jump Pack or Personal Shield to even out an unfair battle.
Use cover whenever possible, as there is some on every map. Cover can not only be an incredible asset but might also make a difference by helping you win a match based on a single death or kill.