STAR WARS™ Battlefront™ Guide Missions Survival
Overview

Number of Players: Solo Play, Online Partner Co-op, Local Splitscreen Co-op
Objective: Defeat 15 waves of increasingly more difficult Imperial forces.
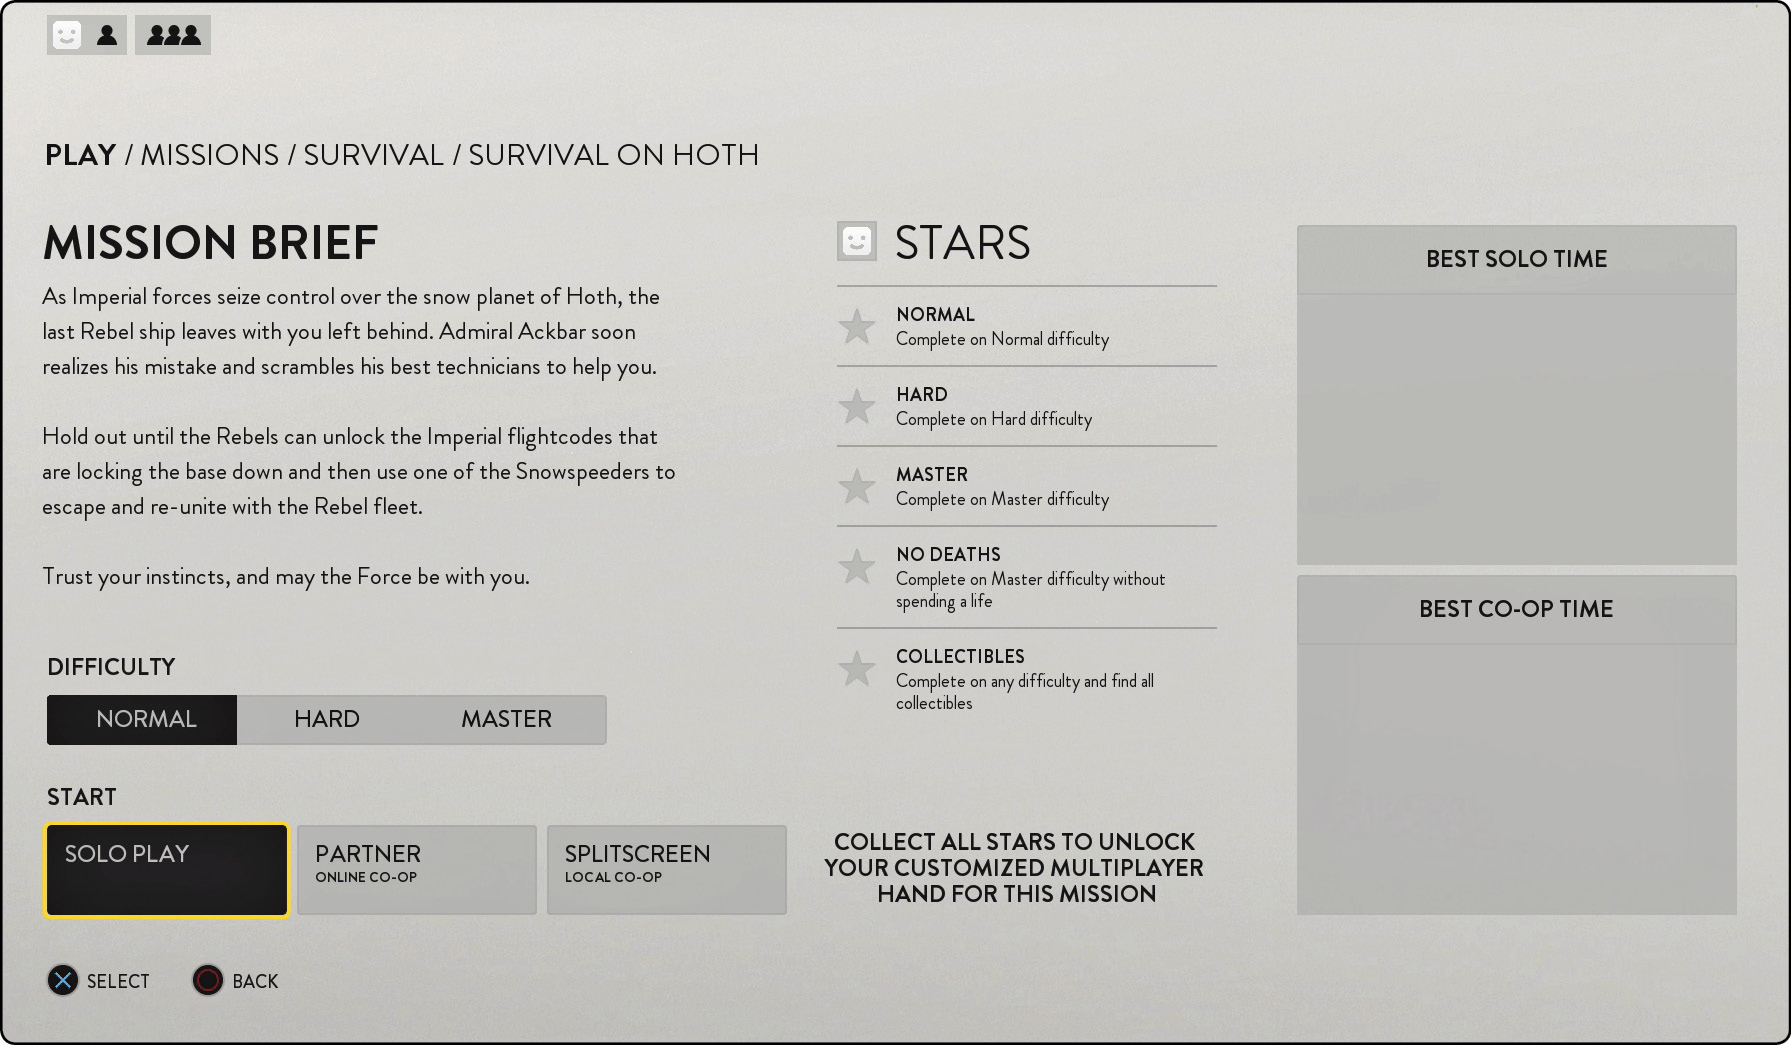
How to get Stars
| Name | Condition |
|---|---|
| Normal | Complete on Normal difficulty. |
| Hard | Complete on Hard difficulty. |
| Master | Complete on Master difficulty. |
| No Deaths | Complete on Master difficulty without spending a life. |
| Collectibles | Complete on any difficulty and find all collectibles. |
Item Drops
| Item | Available after waves… |
|---|---|
| Drop Pod | 2, 5, 8, 11, 14 |
| Life Pick-up | 3, 6, 9, 12 |
| Charge Pick-up | 1, 4, 7, 10, 13 |
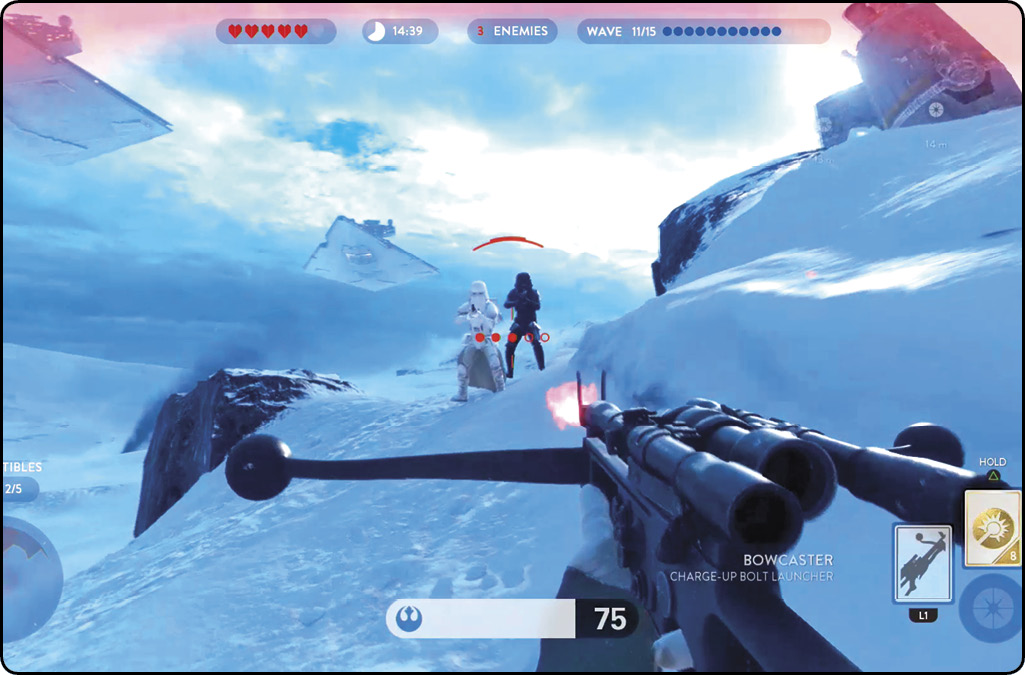
Survival mode pits one or two players against waves of Imperial troopers, Probe Droids, and AT-STs. To complete the mission, you must defeat 15 increasingly challenging waves of enemies. The action takes place across four maps, one for each planet.
Your objective is to simply survive while eliminating all Imperial forces. After a wave is complete, a timer counts down to another set of enemies, which gradually becomes tougher as the mission goes on. This gives you time to collect items and set up for the next onslaught.
Difficulty
There are three difficulties in Survival: Normal, Hard, and Master. As the difficulty increases, enemies become stronger and tougher to take down. Normal has a separate enemy composition than Hard and Master. Adversaries are introduced gradually, and the easier the difficulty is, the more time you have to react to the incoming threats.
Weapon Selection
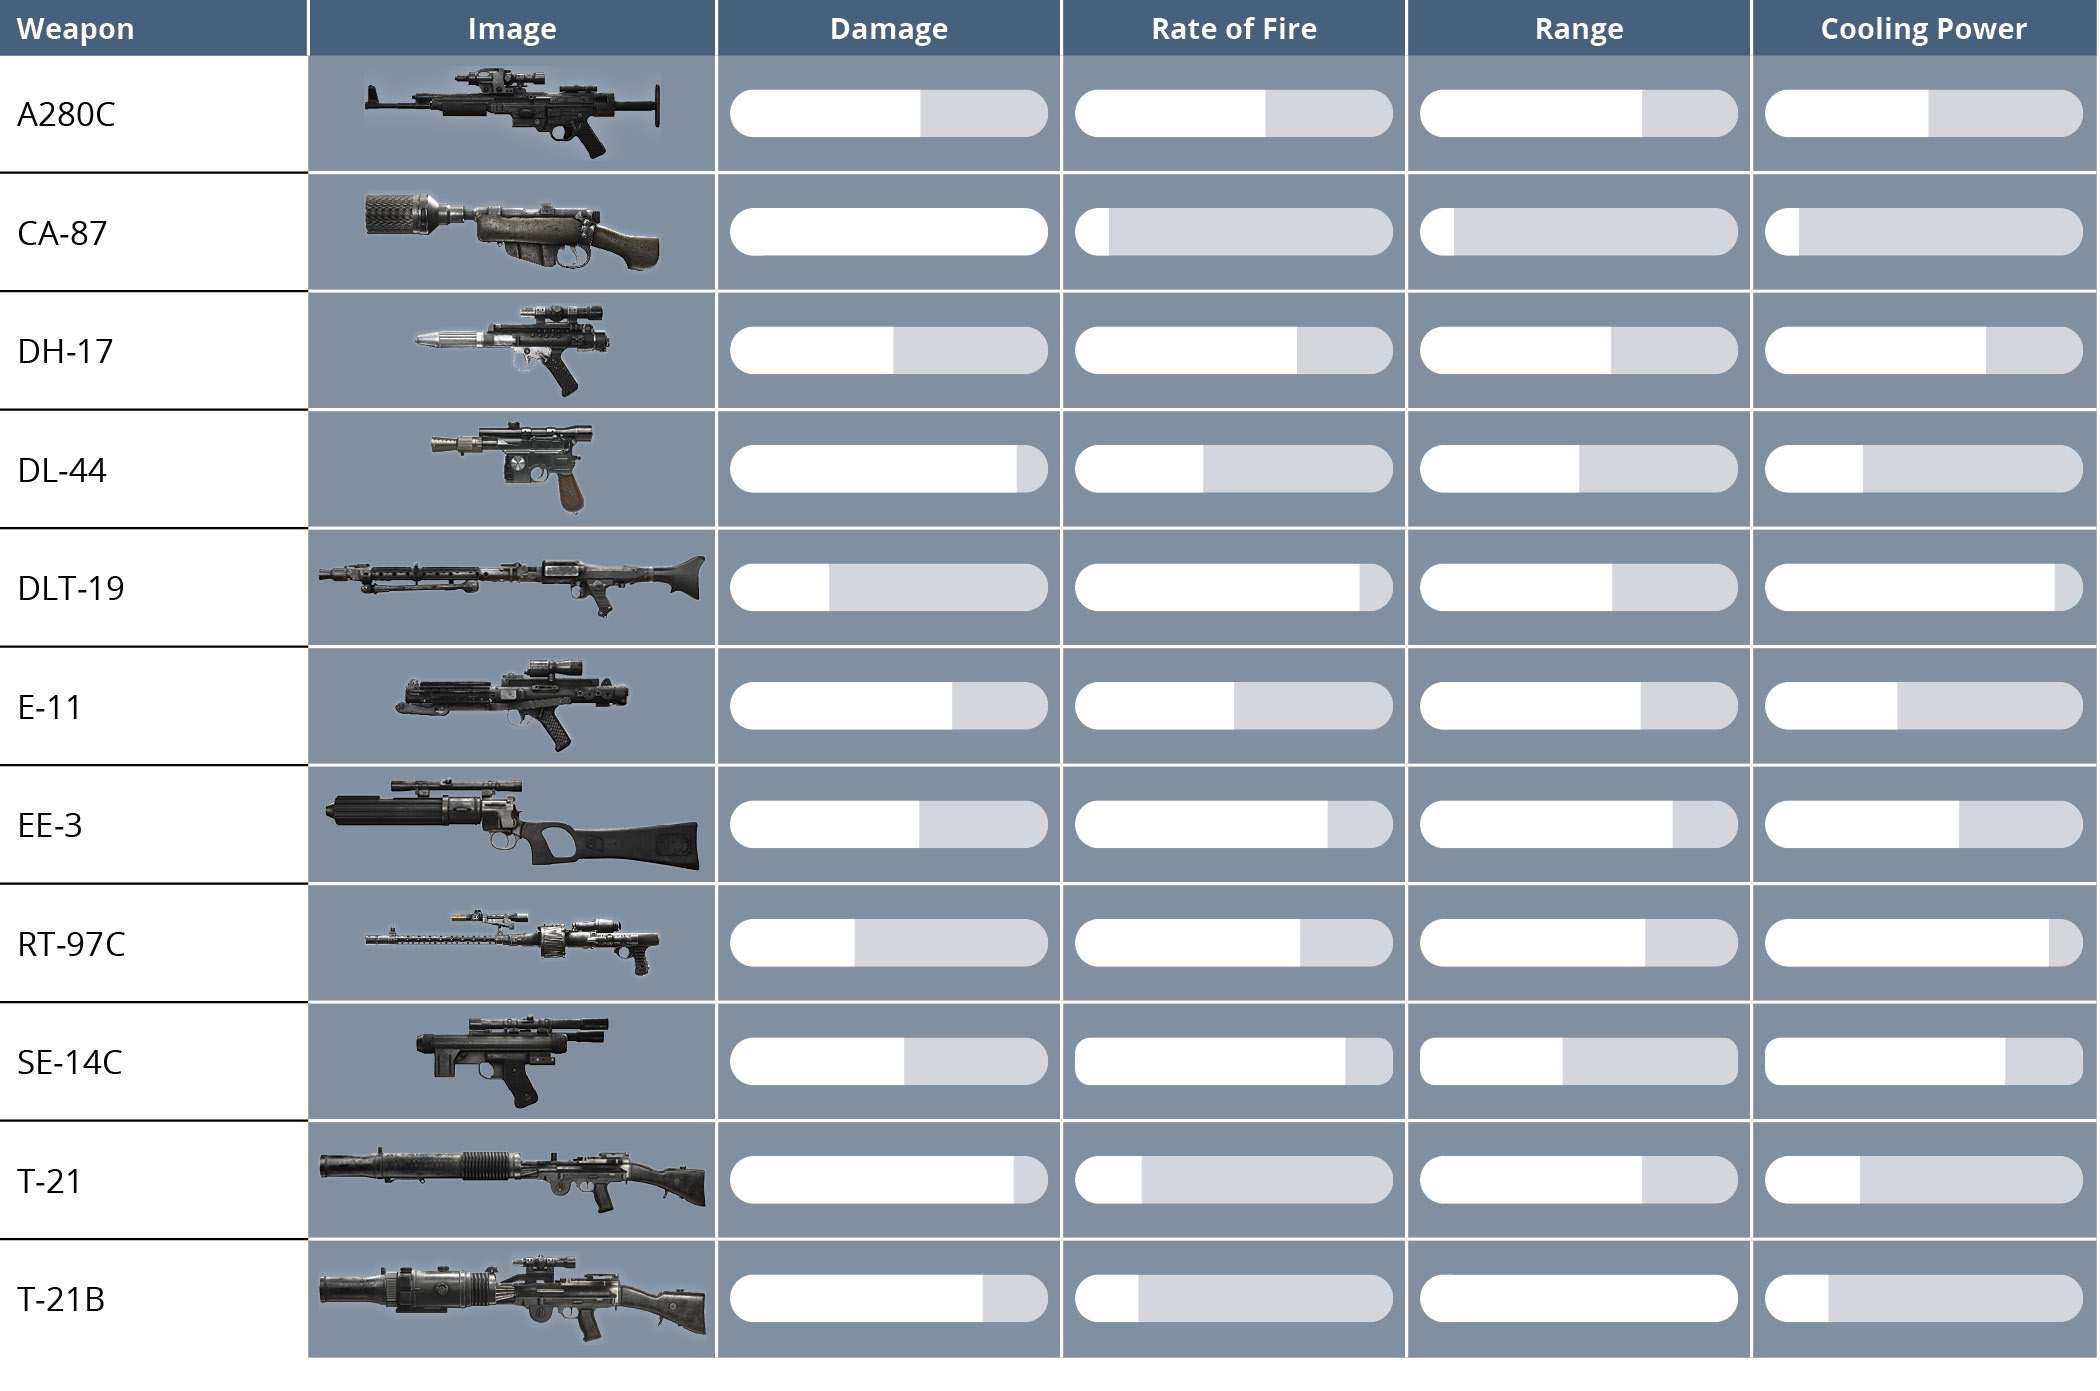
When selecting between the 11 blasters, consider the type of environment where the fighting will take place. If longer lines of sight are available against the incoming forces, pick a long-range rifle. If taking the action inside the narrow corridors, then go with a higher rate of fire or damage. The following table allows you to quickly compare the stats of each blaster.
Weapon Stats
Star Card Hand Selection
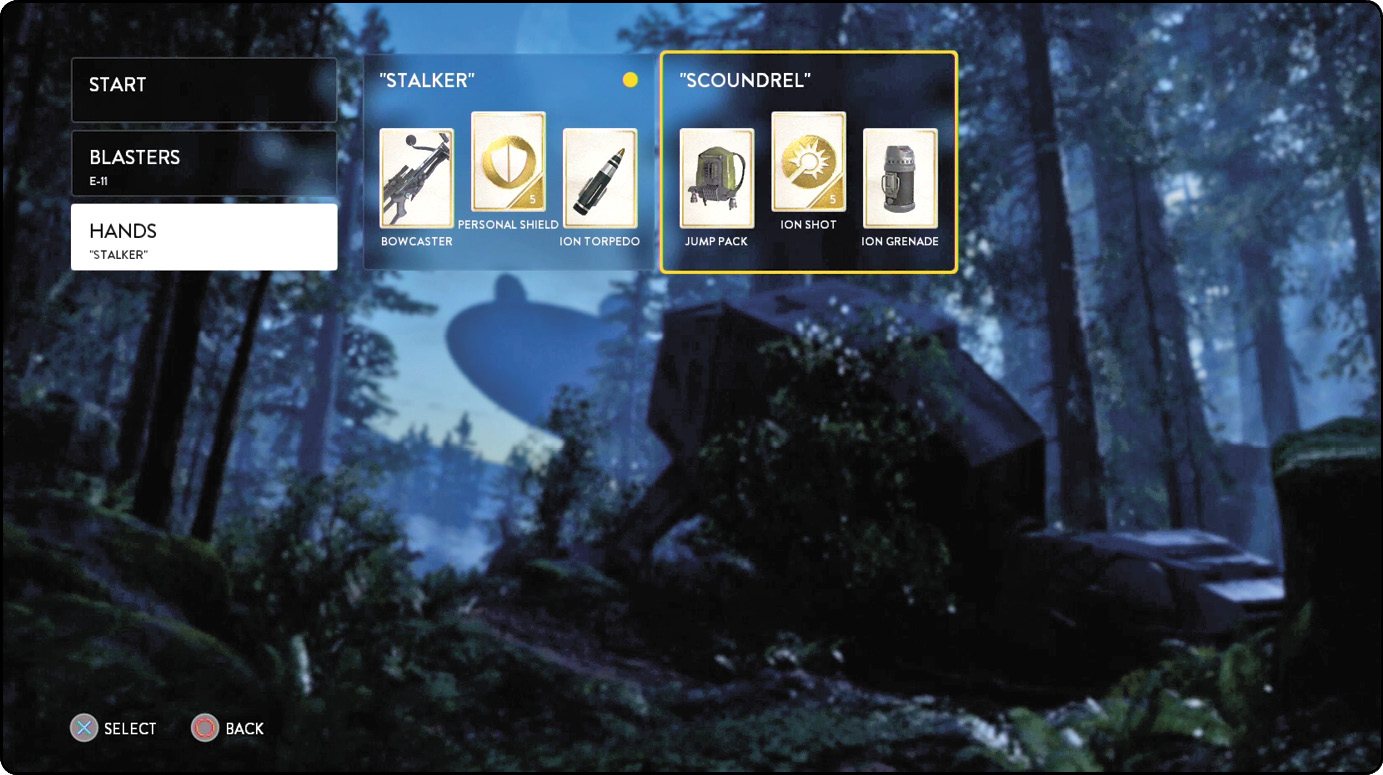
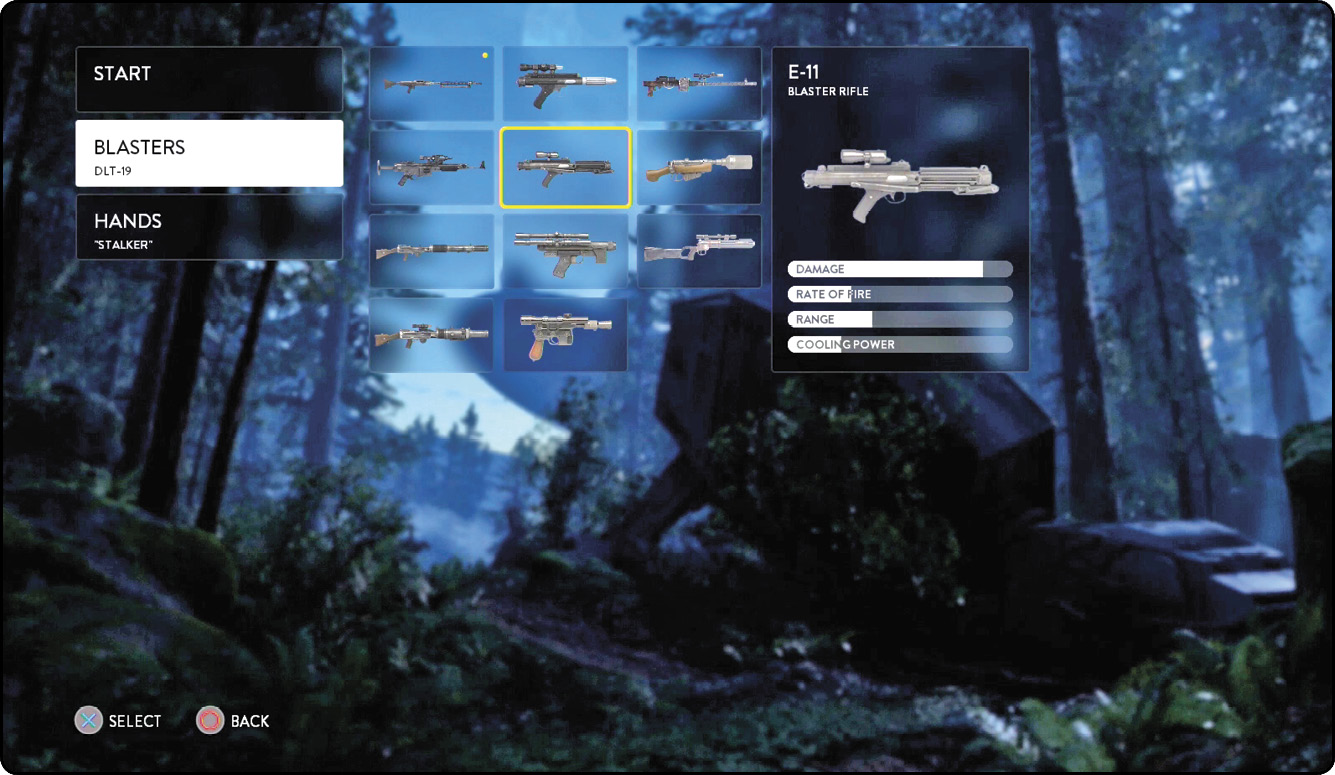
Before starting a Survival mission, you are allowed to select between two preset Star Card Hands. These hands, made up of the usual two Star Cards and a Charged Star Card, offer up two alternate ways to load out your character. Earn all five stars for a mission to unlock your customized Multiplayer Hand for that mission. This allows you to use any Star Cards that you have unlocked through Multiplayer. The following table briefly describes each Star Card offered in the presets.
Star Card Presets
| Star Card | Image | Description |
|---|---|---|
| Barrage |
|
Fires three explosive grenades that explode on impact. Great against groups of infantry. |
| Bowcaster |
|
Charge-up bolt launcher that fires up to five explosive shots in a horizontal arc. Use against Imperial forces as they charge your location, especially if they are lined up side-by-side. |
| Cooling Cell |

|
Immediately resets Heat on your weapon, allowing for extended use. |
| Cycler Rifle |
|
The bullet from this rifle penetrates shields and can kill in one shot. Unlike the blasters, this gun suffers from bullet drop, so consider that when firing from distance. Take out jumptroopers immediately with this high-powered weapon. |
| Focus Fire |

|
Activate this ability to greatly increase accuracy. |
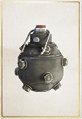
| Impact Grenade |
|
This high-powered explosive detonates on impact, so be sure there is distance between you and your target. Use against tougher foes or a small group. |
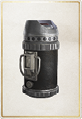
| Ion Grenade |
|
Explosive that offers an Ion, anti-vehicle detonation. Aim carefully against AT-STs and Probe Droids for maximum damage. |
| Ion Shot |

|
Activate this Charged Star Card for a few seconds of Ion shots, which is great for machinery like the AT-ST. |
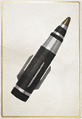
| Ion Torpedo |
|
Locks on to Probe Droids and vehicles. This is the best option against the TIE fighters of Sullust since they can be locked on. |
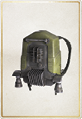
| Jump Pack |
|
Very useful equipment for most locations. It is required to reach many of the collectibles and offers access to otherwise inaccessible locations. It also comes in handy when you must quickly flee a dangerous spot. |
| Personal Shield |

|
Protects you from blaster fire for a short period. Use when overwhelmed or when firing a weapon that requires more time. |
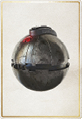
| Thermal Detonator |
|
A high-damage timed grenade that is extremely effective against groups of infantry. Useless against vehicles. |
HUD
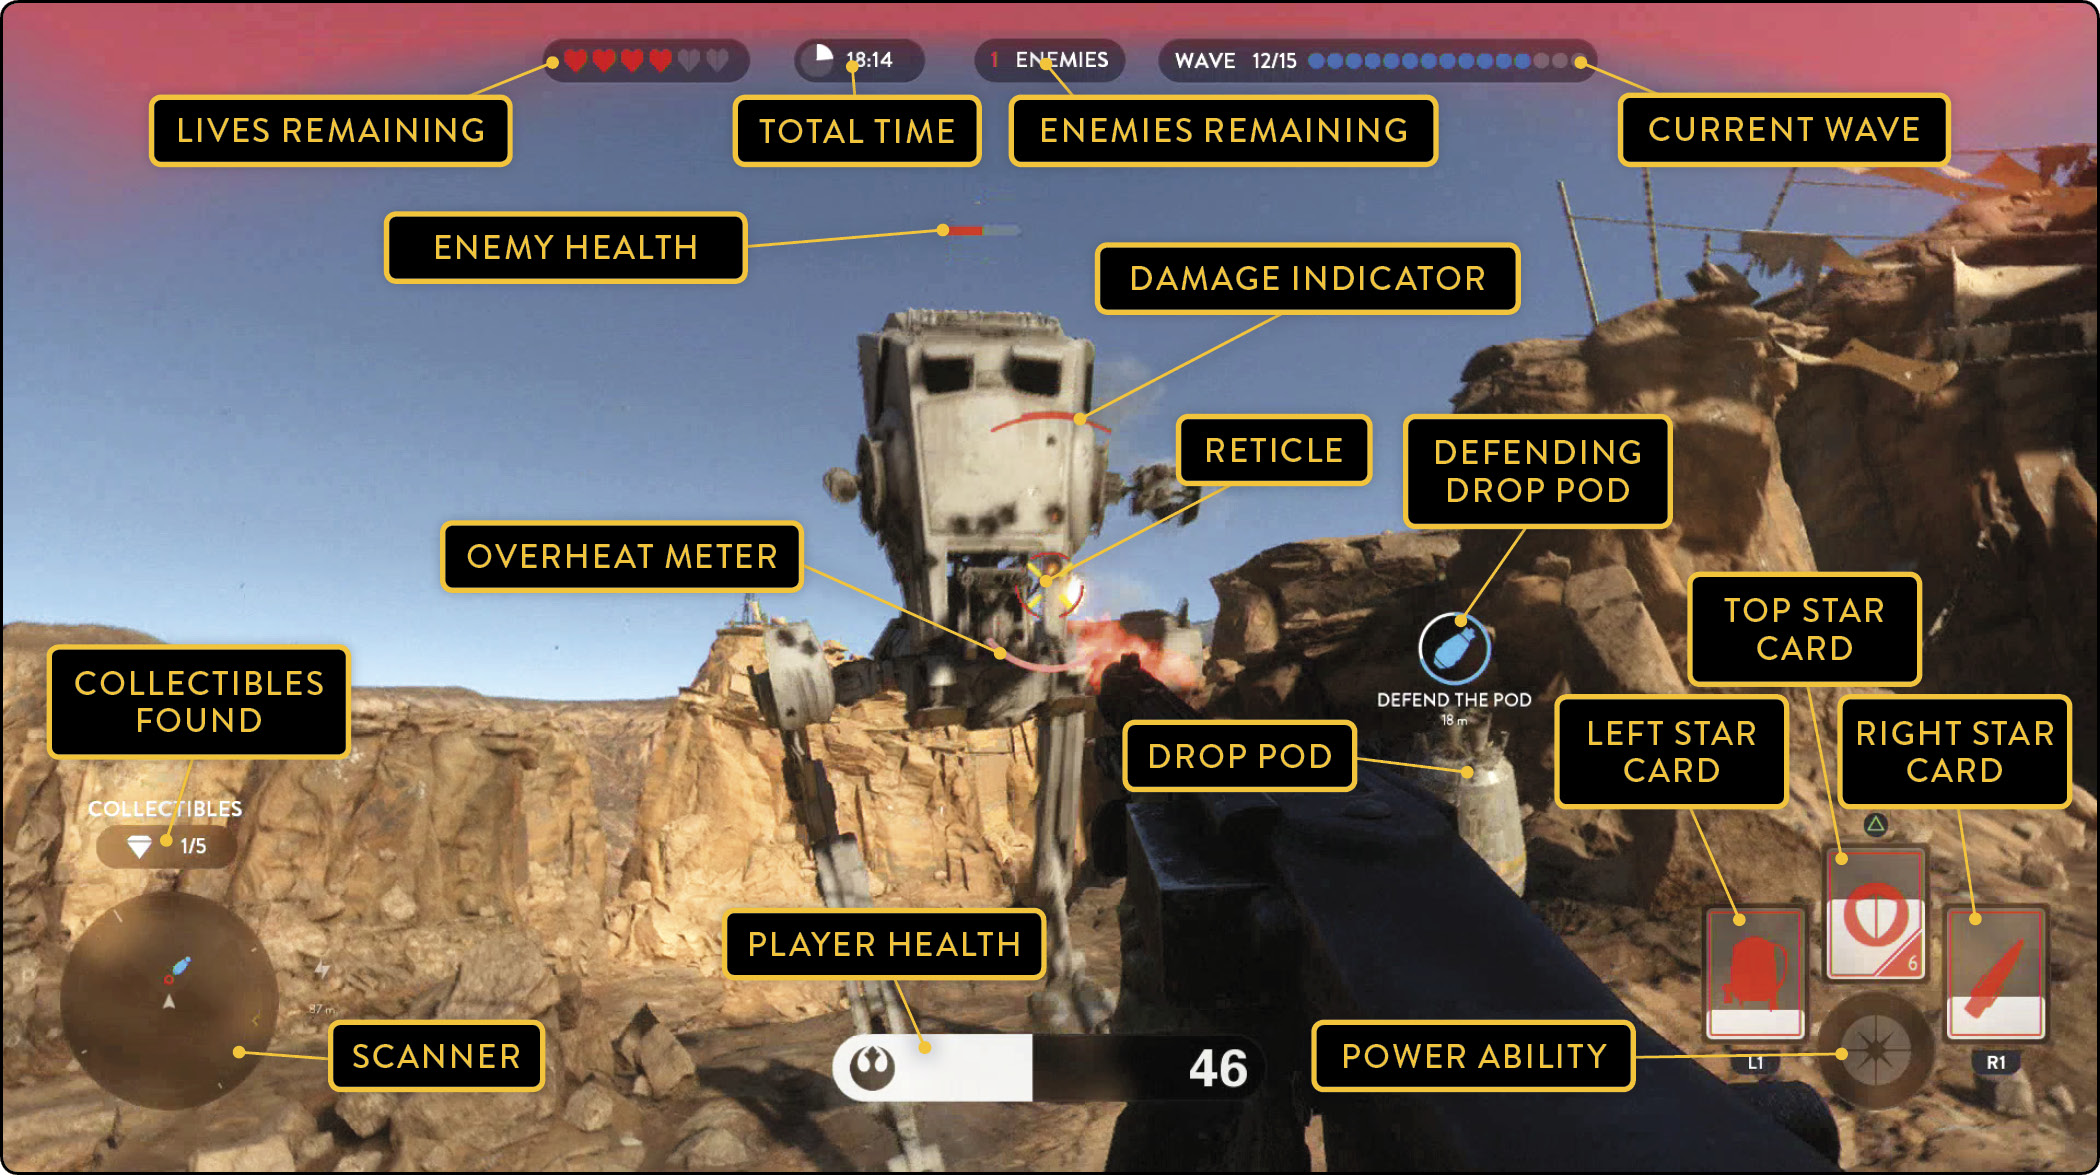
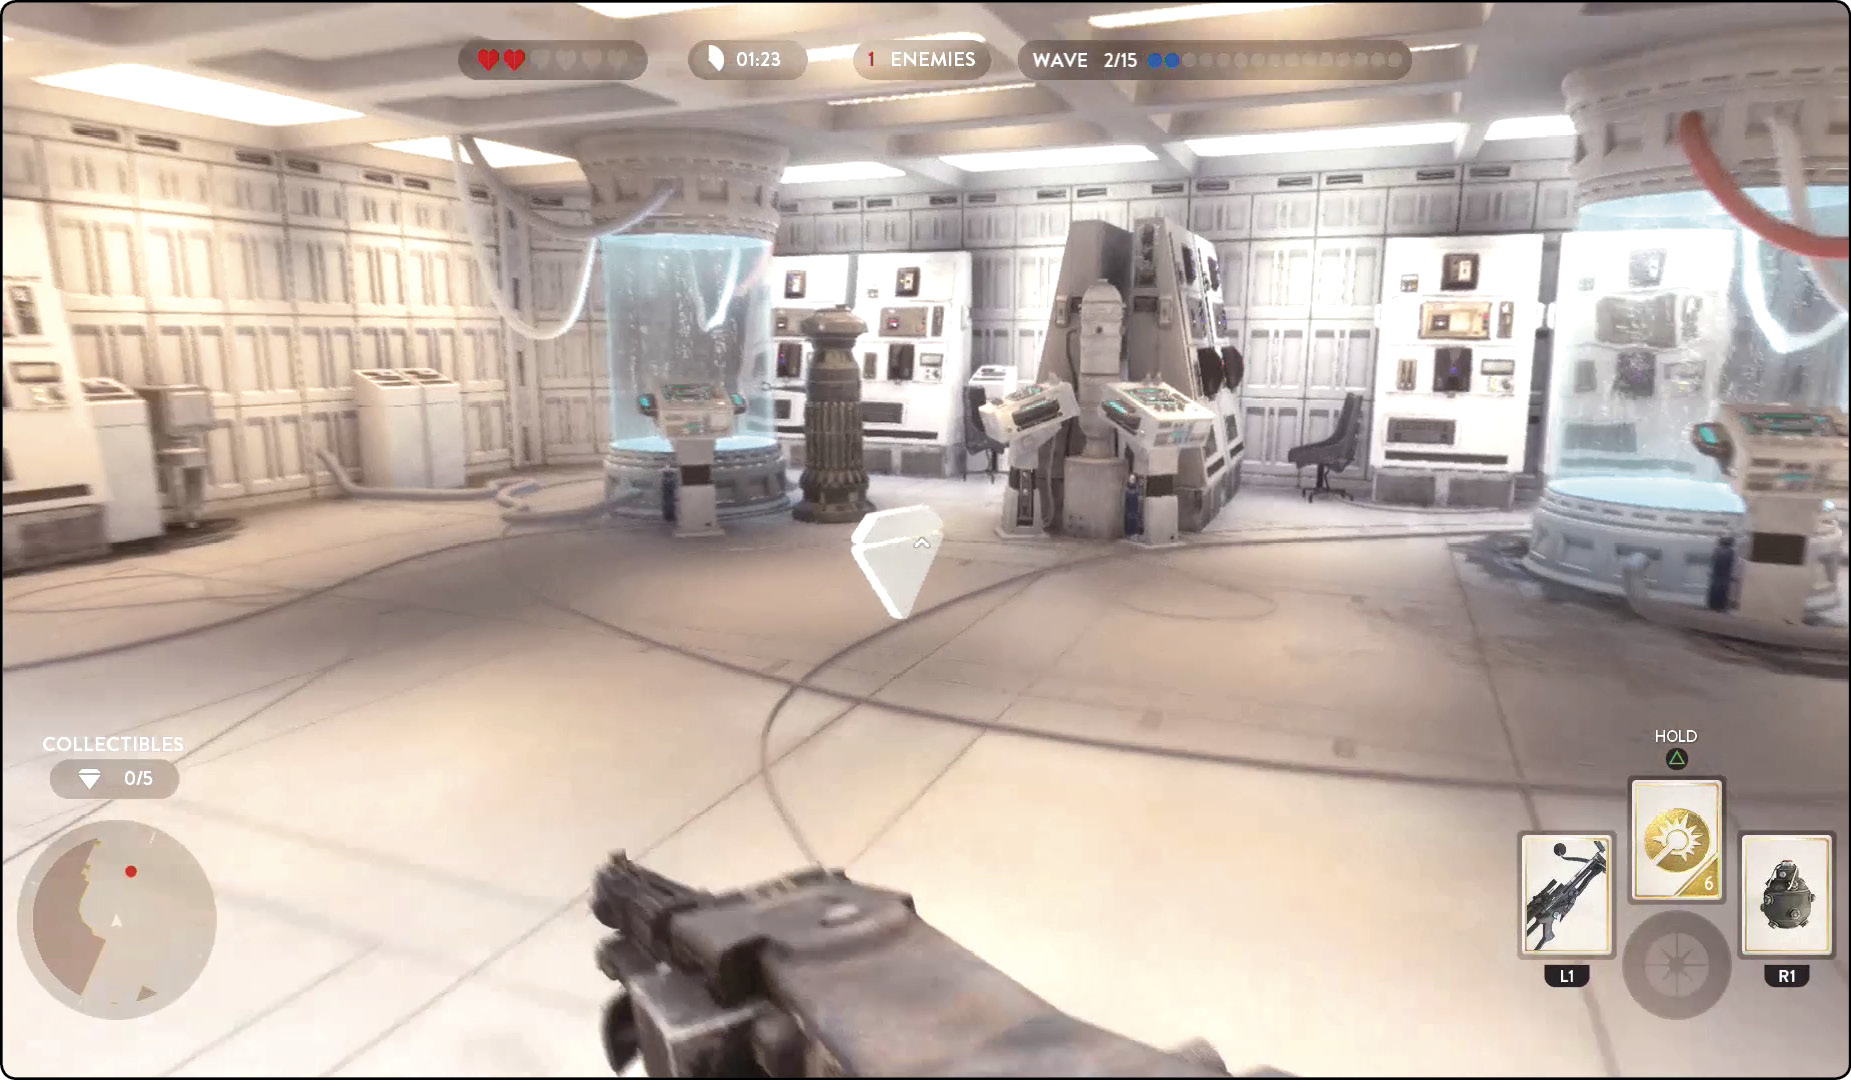
The area around the outside of your HUD displays important information on your current progress. A damage indicator pops up whenever you are hit. Drop pods and available power-ups are shown as they come into range. This image points out the most important aspects of your HUD in a Survival mission.
Lives
You begin a Survival mission with two lives, as represented by the hearts at the top of the HUD. When you die, you must spend a life to return to the action at the point where you were taken out. Before resuming the mission, you can select a new weapon and hand (if desired). Life pick-ups become available at certain points during a mission, with the ability to have a maximum of six lives in reserve. Note that one star requires you to complete Master difficulty without spending a life. Also, be aware that the lives are shared when you play Co-op or Splitscreen.
Admiral Ackbar

Pay to attention to the ramblings of Admiral Ackbar. He warns when enemies are nearby, when a drop pod is incoming, and when new Imperial forces are added. Use his information to plan ahead. Certain situations may require you to move to an alternate location or go after a power-up that has been left behind.
Imperial Forces
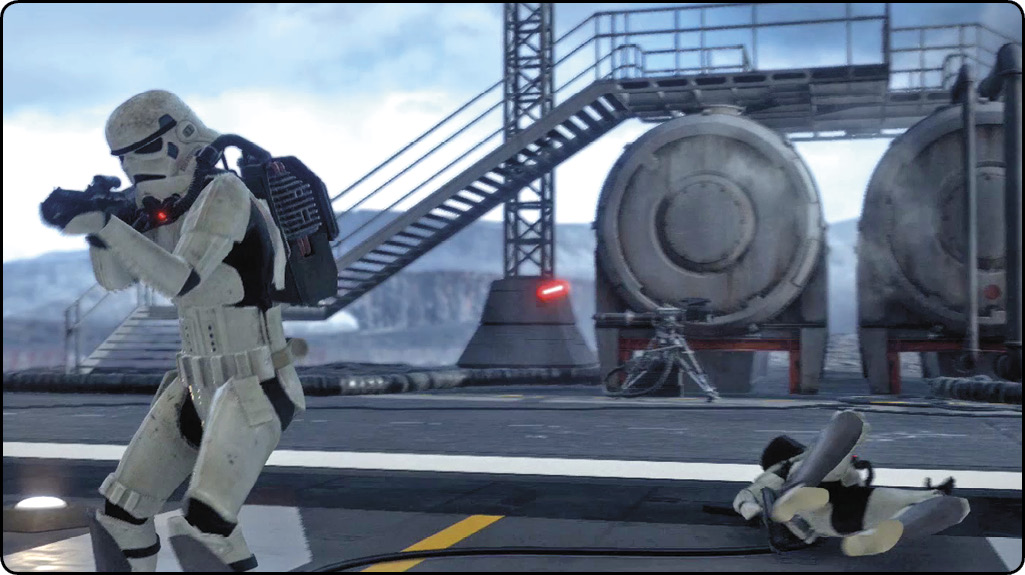
No matter the scenario, Imperial forces move toward your location for 15 waves of intense action. As you progress through the mission, tougher enemies are introduced in bigger numbers, making the rounds increasingly more challenging. Once a wave is complete, a timer counts down toward the next, and the wave indicator moves up one. The number of enemies remaining in a wave is shown in the top-center of your heads-up display. It is indicated as 10+ when there are 10 foes or more, and 5+ when five to nine opponents remain. Otherwise, the exact number of enemies is given. There are nine types of adversaries in all, each with its own unique weaponry and tactics. The enemies you face at each wave changes depending on the locale and difficulty chosen.
Troopers
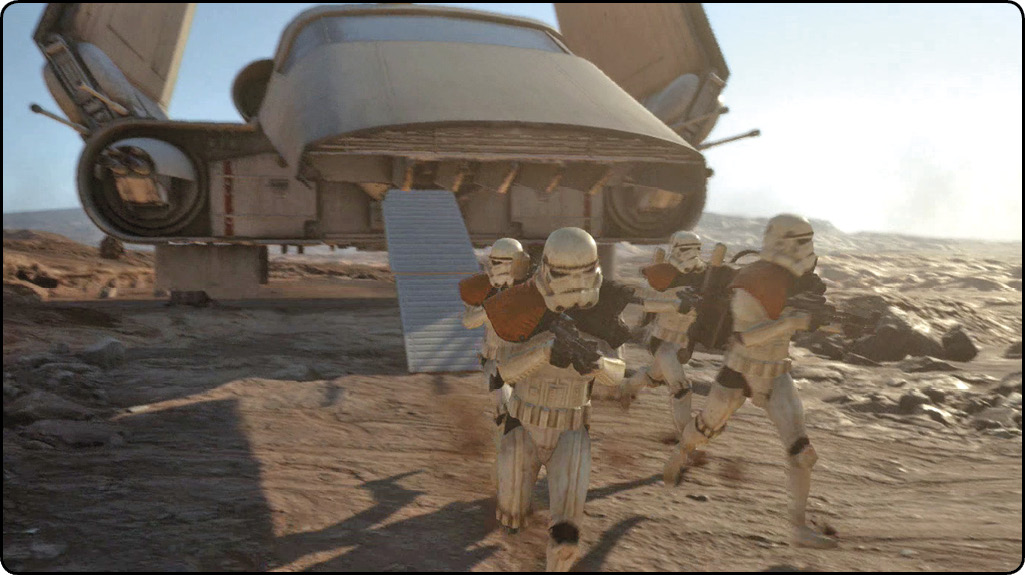
There are six types of troopers who attack during a Survival mission. From stormtroopers and snowtrooopers to shadowtroopers and scout troopers, the full gamut of ground forces tests your mettle. The following table lists these enemy types, along with the equipment they carry and a short note for each.
| Enemy Type | Weapon(s)/Ability | Note |
|---|---|---|
| Stormtroopers / Snowtroopers | E-11 Blaster Rifle | Easily taken out with one shot. Not much of a threat, except in high numbers. |
| Stormtroopers with Smart Rockets | Smart Rocket | Just like stormtroopers but carry Smart Rockets, which means they fight from a distance. |
| Shocktroopers | DLT-19 Heavy Blaster | With a powerful weapon and tough armor, they require serious firepower to take down. As Imperial forces approach your position, focus fire on these troops. Use cover to minimize damage from their Heavy Blasters. |
| Jumptroopers | RT-97C Heavy Blaster, Personal Shield, Jet Pack | Cannot use Personal Shield and jet pack at the same time. Wait for one to rise into the air, and quickly take them out. They can become a nuisance if not dispatched quickly. |
| Shadowtrooper | T-21 Heavy Blaster and Flash Grenade | Not quite as tough as shocktroopers, but they still hold their ground. Their powerful heavy blaster can take you down quickly. Kill them before they get within range or from behind cover. Watch out for the Flash Grenade, which disorients you and makes you vulnerable. |
| Scout Trooper (Sniper) | A280C Heavy Blaster and Smoke Grenade (Blaster pistol at close range) | They fight from distance and frequently sidestep your shots. They use a Smoke Grenade to obscure your vision, switching to a blaster pistol when approached. |
Probe Droids
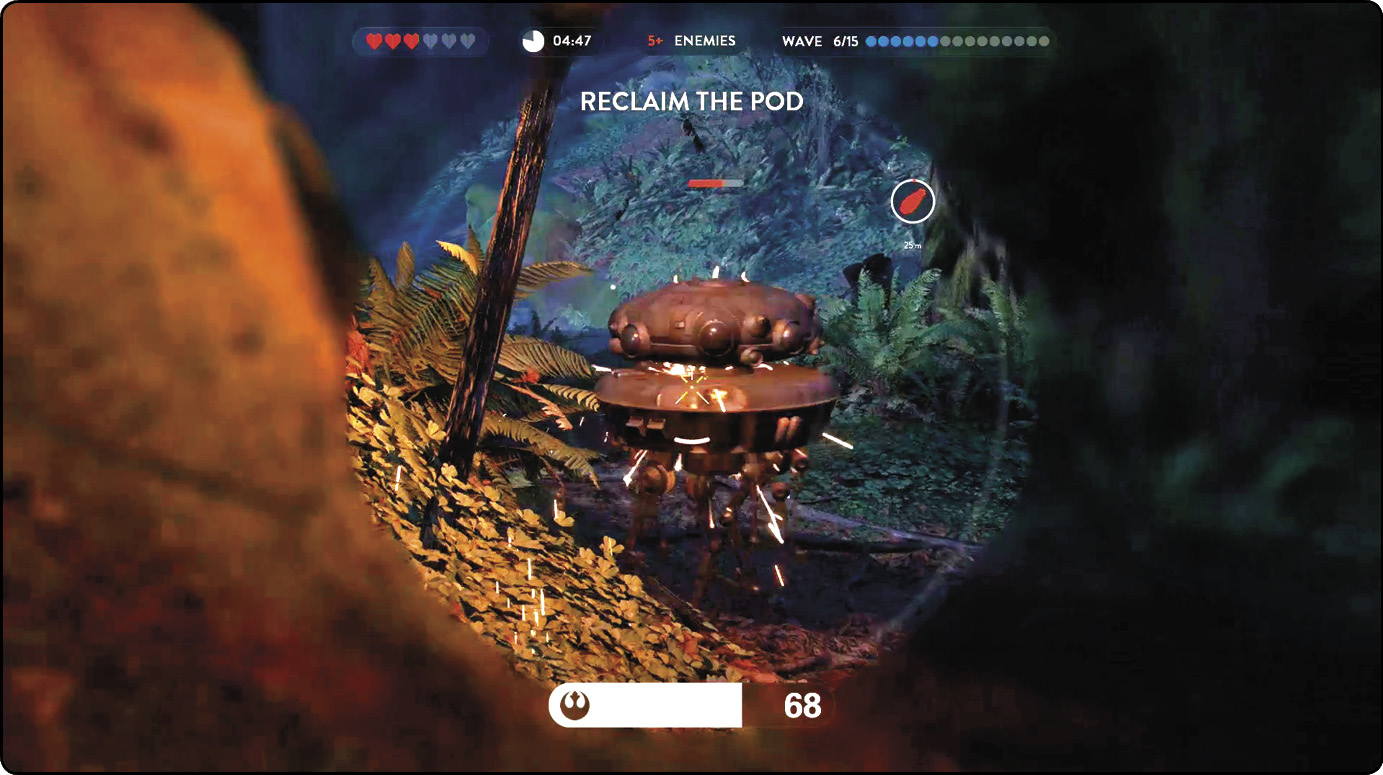
The Viper Probe Droids are usually introduced in the early waves of a Survival mission. The recon droid gets fairly close and fires a weak blaster at the Rebels. These droids are extremely susceptible to Ion damage and explode when defeated. The resulting detonation can eliminate nearby enemies. Ion grenades are great for taking out a duo of droids. Blasters are relatively weak against these foes, but they eventually go down.
AT-STs
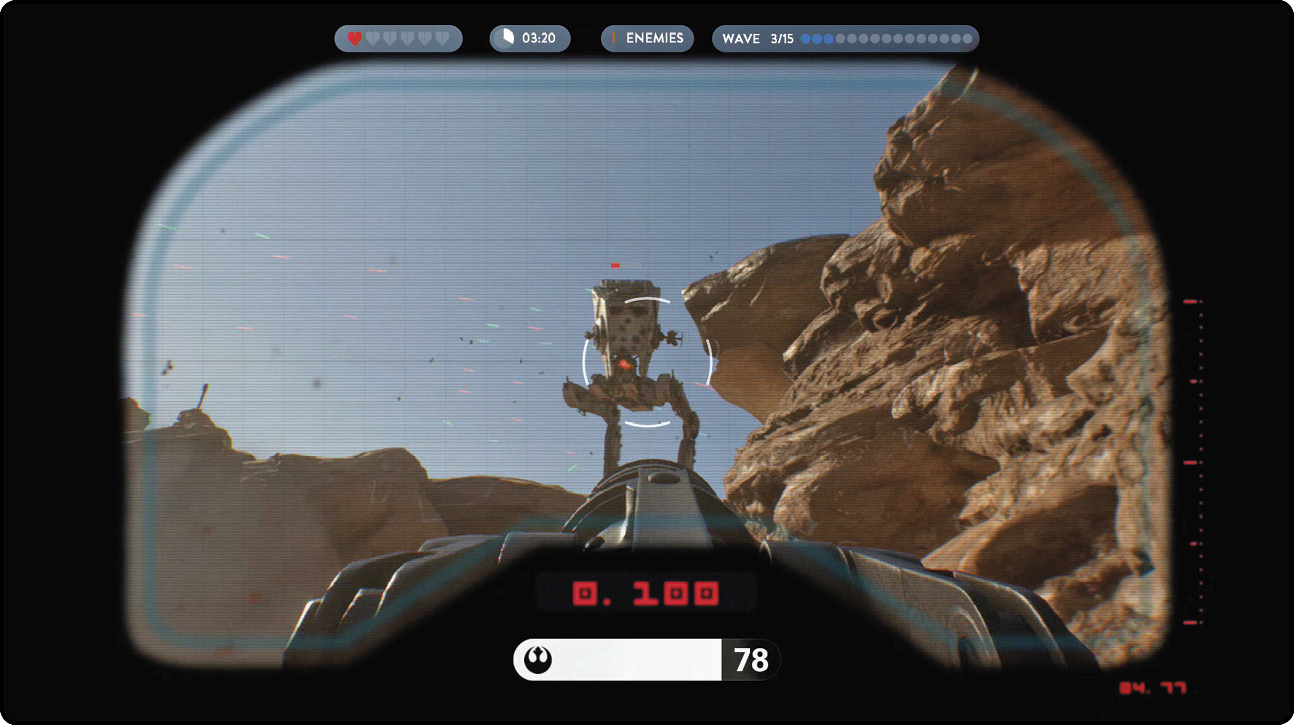
Keep an eye and ear out for incoming AT-STs. Admiral Ackbar always makes it a point to announce their arrival in your area. They are extremely tough to defeat and can take you out with ease. However, the bipedal machines cannot enter many areas, such as the tight corridors of Hoth or treetop villages of Endor. Use this to your advantage, and weed out the foot soldiers first. Then, you can concentrate your firepower on the big targets. Ion weapons, such as the Ion Grenade, Ion Shot, Ion Torpedo, and Vehicle Turret, are especially effective against them.
AT-STs typically make a solo appearance at first, but later waves may introduce two or three at a time. Never try to directly take on more than one, and be ready to flee the scene if you begin taking too much damage. The Jump Pack is great for putting quick distance between you and the enemy.
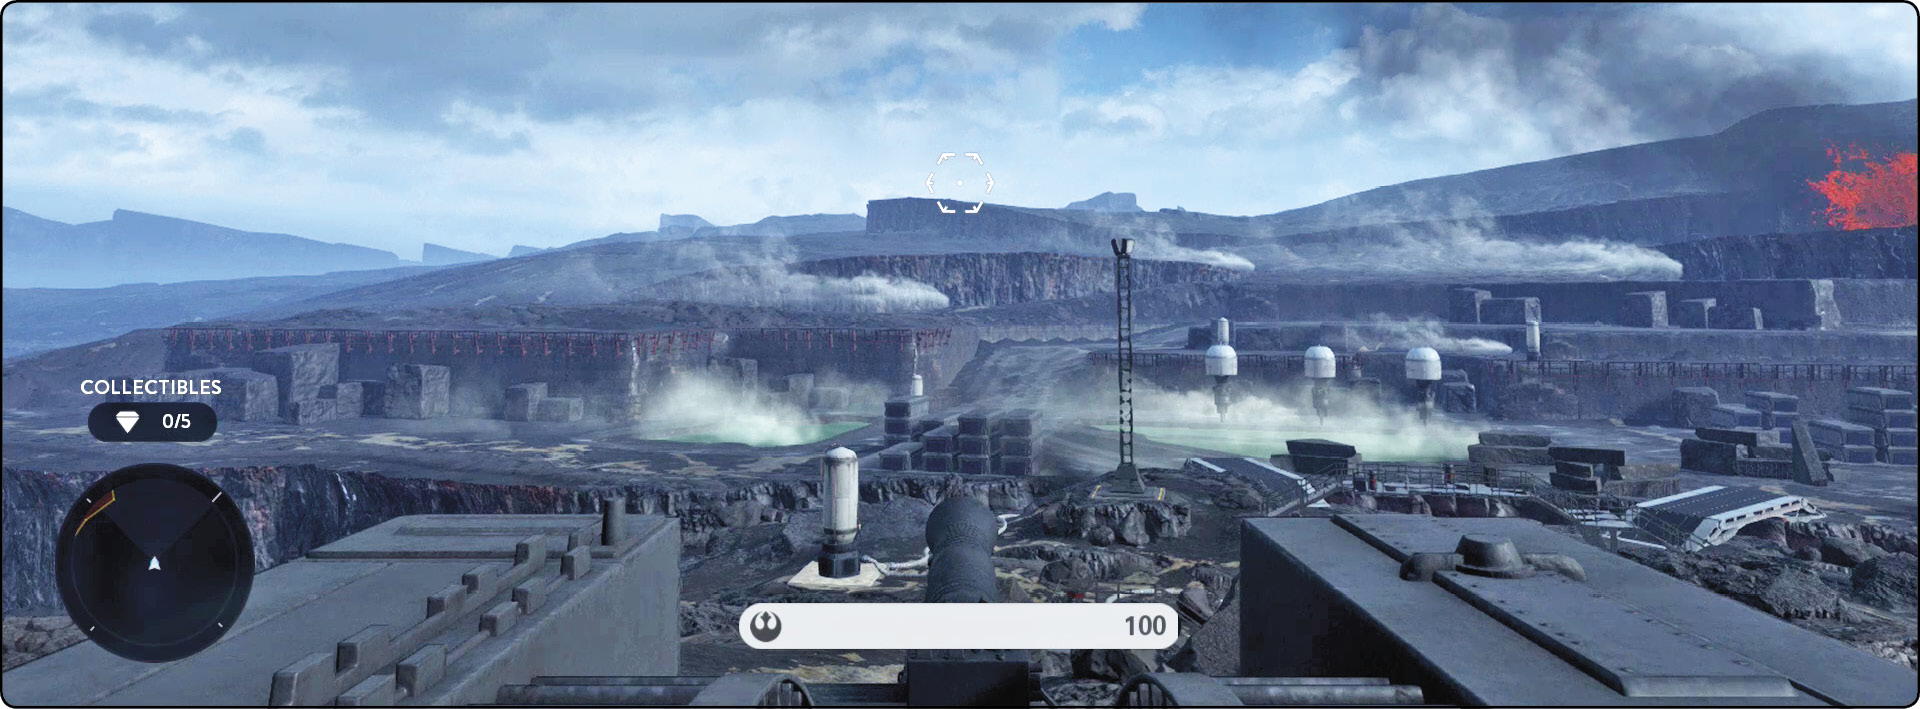
On Sullust, two turbolasers sit just outside of the hangar. These turrets fire powerful energy bursts that are extremely effective against AT-STs, but you must get them when they are within range of the turret. The guns have limited movement and have trouble reaching foes in certain areas.
TIE Fighters
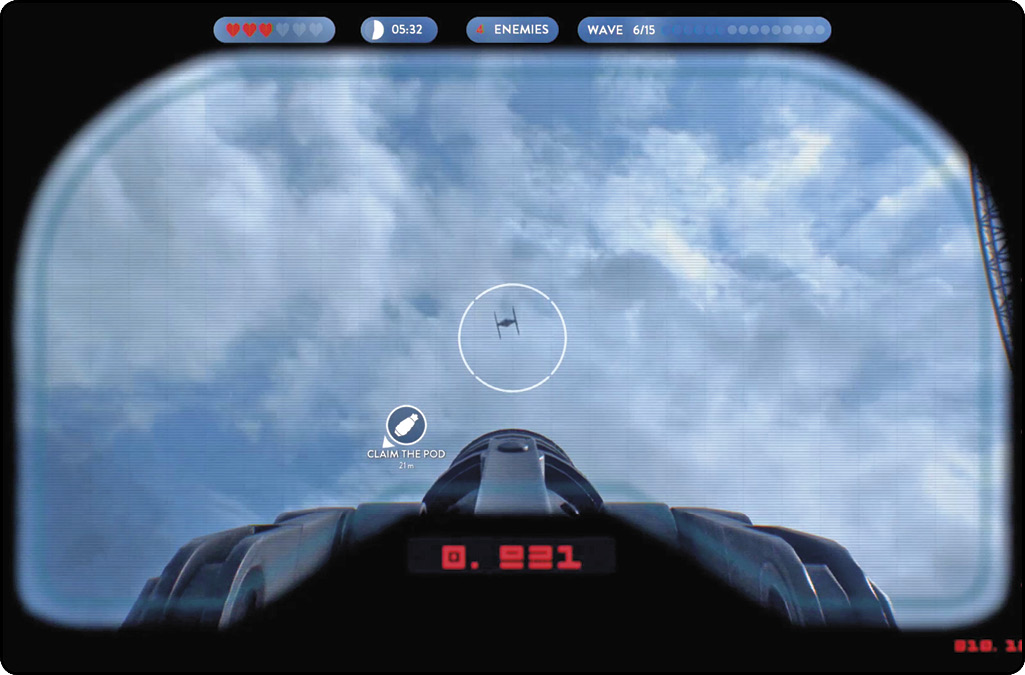
In Survival on Sullust, TIE fighters are introduced to the fray. Ion weapons are most effective against these vehicles. Equip the Ion Torpedo Star Card to gain the ability to lock on to the flying machines. Turbolasers also work very well against them.
E-Web Blasters and Turbolasers
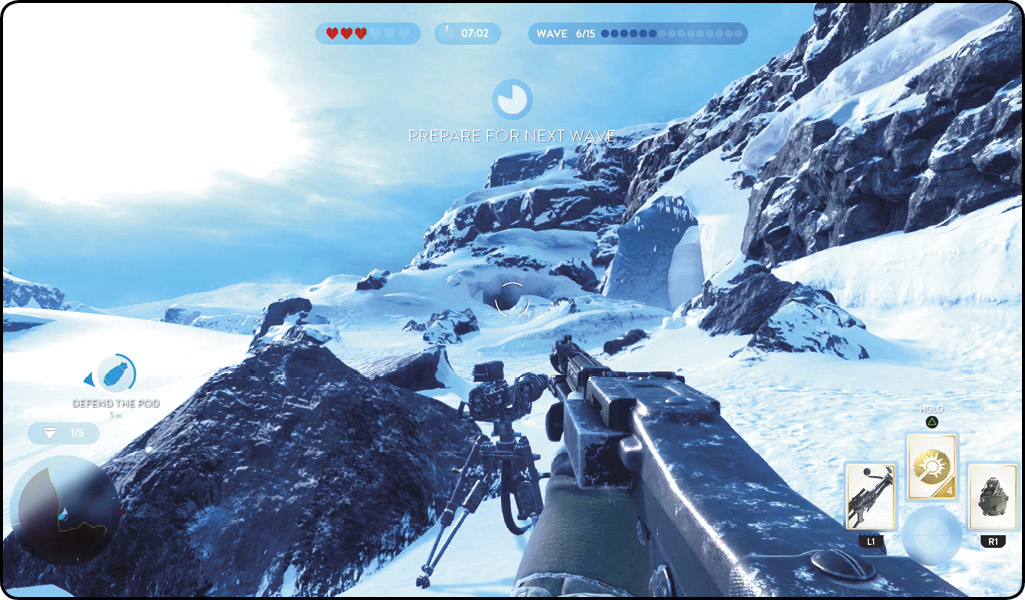
There are plenty of items to help the Rebels out, including turrets that have been placed in various positions around the four maps. The most popular is the E-Web stationary blaster, which is very effective against a big group of troopers. Watch your flank when operating the weapon, as you are vulnerable from the sides and rear. Although the turret has a shield, it does not stand up too long against enemy weapon fire.
In Survival on Sullust, two turbolaser turrets sit just outside the hangar. These are heavy, anti-vehicle laser cannons that work very well against AT-STs and TIE fighters. Fire ahead of the flying vehicles to take them down. Waiting until they fly straight out or toward your locations makes shooting them down much easier.
Drop Pods
Five times throughout each mission, Admiral Ackbar sends over some help for the Rebels. These escape pods turned treasure chests are dropped after waves 2, 5, 8, 11, and 14. Appearing on the map as soon as they crash down, the drop pods are vital to survival. There are five possible locations on each map, but you don’t know in what order they will appear. Each pod contains three random power-ups, but you must first claim it, which takes some time to achieve.
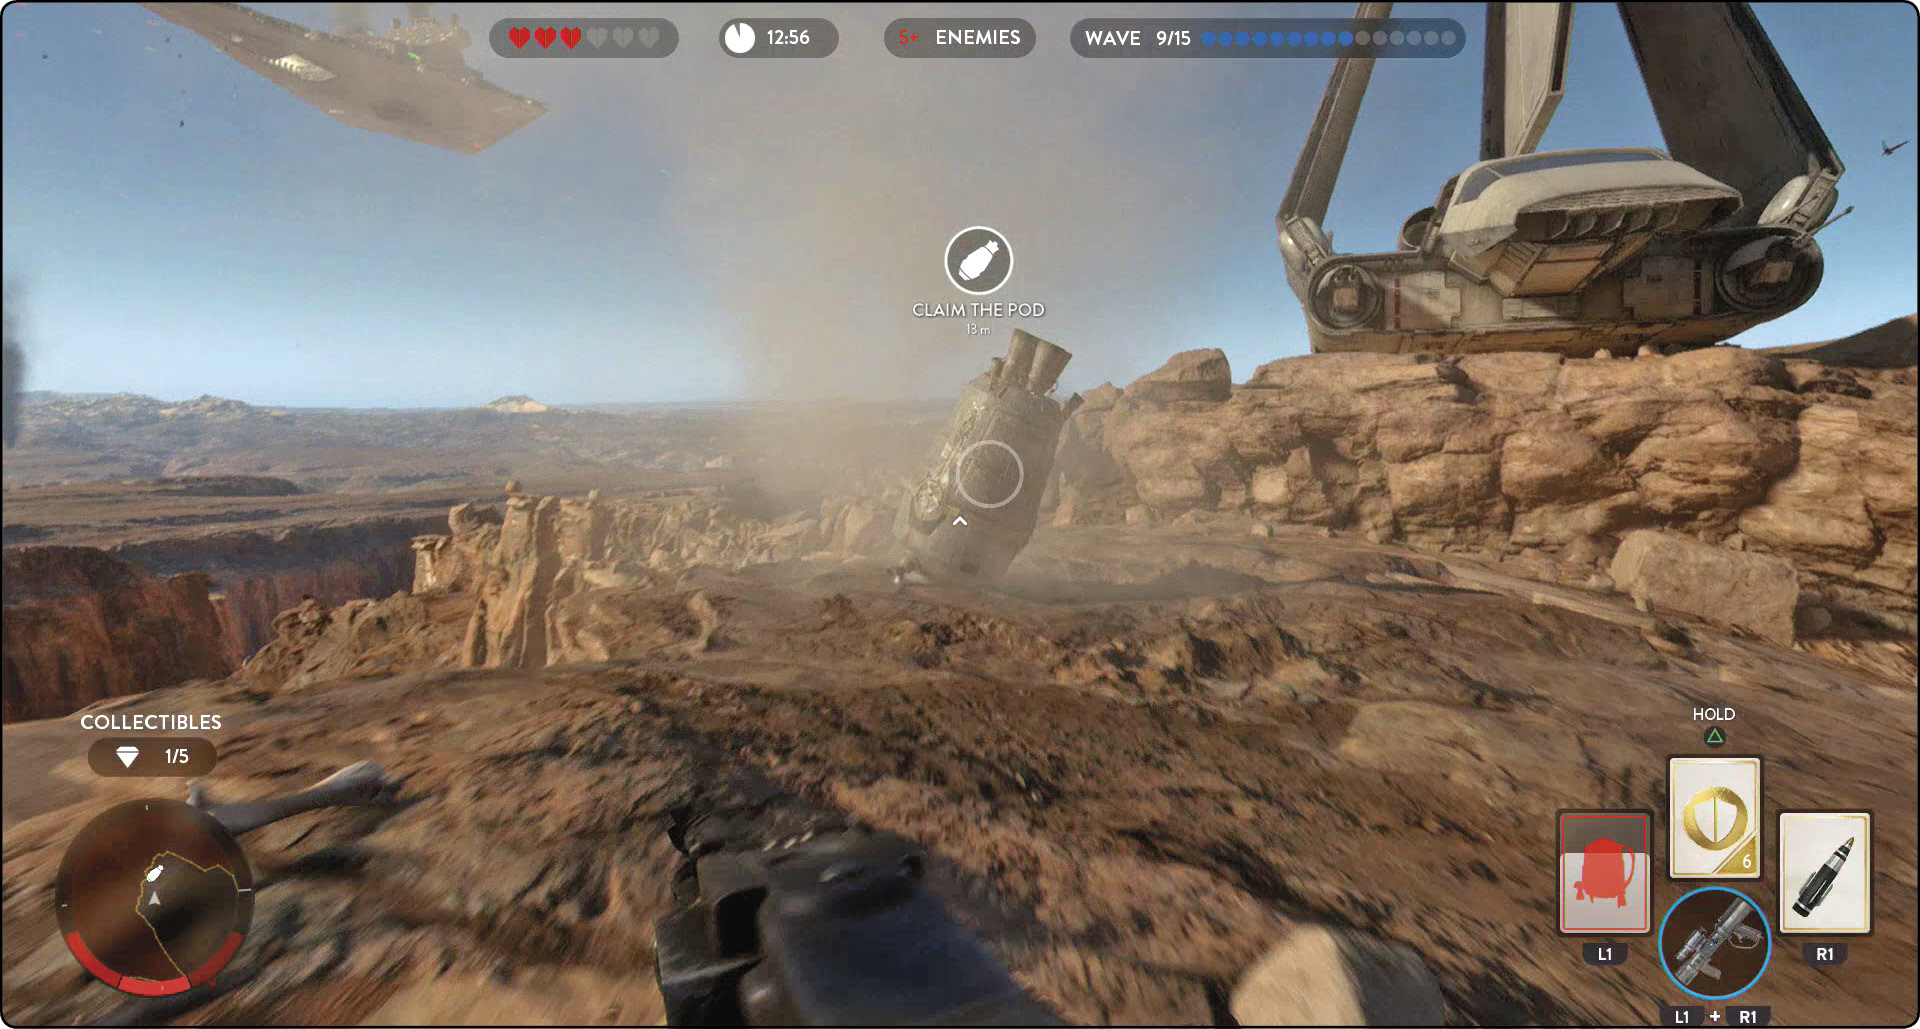
To claim a drop pod, walk up to it and hold down the Use button until the pod icon turns blue. Now the circle outline around the icon turns blue, acting as a timer. After 40 uninterrupted seconds, the pod is claimed, and three power-ups pop out from the open door. An enemy may attempt to claim the pod during the 40-second timer. If he is successful, the icon turns red, and the timer resets. If you do not return to the pod and reclaim it before the red circle is complete, it is destroyed.
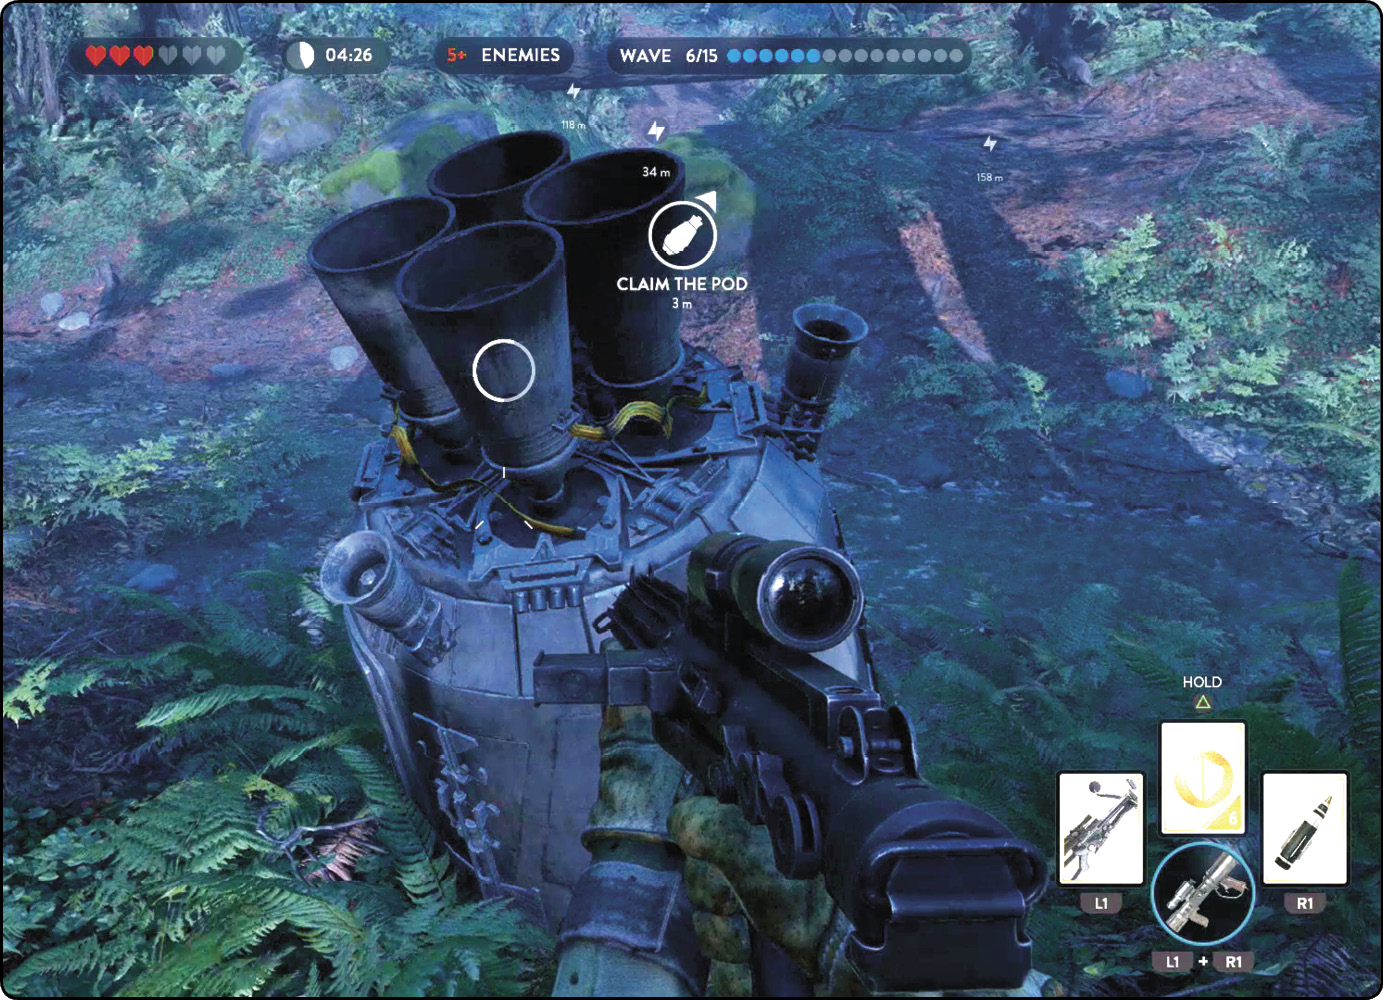
Things to note about the drop pods:
An enemy will not claim a drop pod until you have started the process of claiming it yourself. Therefore, it is sometimes best to save it for later when fewer enemies can get between you and the loot.
Once a pod has been successfully claimed, the power-ups pop out and remain there until you have collected them or the mission ends. This means that you can save the power-ups for the later, tougher waves. When playing a two-player game, communicate with your partner whenever you decide to go after a power-up.
Only troopers can claim a pod, so if Probe Droids or AT-STs are all that remain, there is no threat to your resources.
Power-Ups
Most power-ups available in other modes of Star Wars Battlefront can appear from inside the drop pod. The following table lists the possible power-ups, along with a brief description.
| Power-up | Description |
|---|---|
| Blaster Cannon | Stationary blaster that can be placed anywhere there is space. Operates just like the E-Web blasters. |
| Infantry Turret | Automated defense that targets infantry. It remains active until destroyed. |
| Orbital Strike | An artillery barrage that rains destruction on a chosen outdoor location. Aim your shot until the blue reticule lines up with the desired target, and then fire. An aware enemy has time to move out of the way, though. Great against a mob of soldiers. |
| Proximity Bomb | Drop the bomb near objectives or any location you want protected. It detonates when an enemy gets too close. A beeping sound alerts you when one is approached. |
| Smart Rocket | This powerful rocket/missile hybrid locks on to vehicles but can also be quickly fired against infantry. |
| Squad Shield | Activate this shield to put up a small circular shield for 90 seconds. Anyone inside cannot shoot out, but it does block blasters, explosions, and grenades. Friend or foe can destroy the transmitter that projects the shield. |
| Thermal Imploder | An extremely high-damage grenade with a big area of effect. Be careful that you don’t end up in the explosion yourself. |
| Vehicle Turret | An automated defense that targets vehicles with Ion shots. It remains active until destroyed. |
Life and Charge Pick-ups
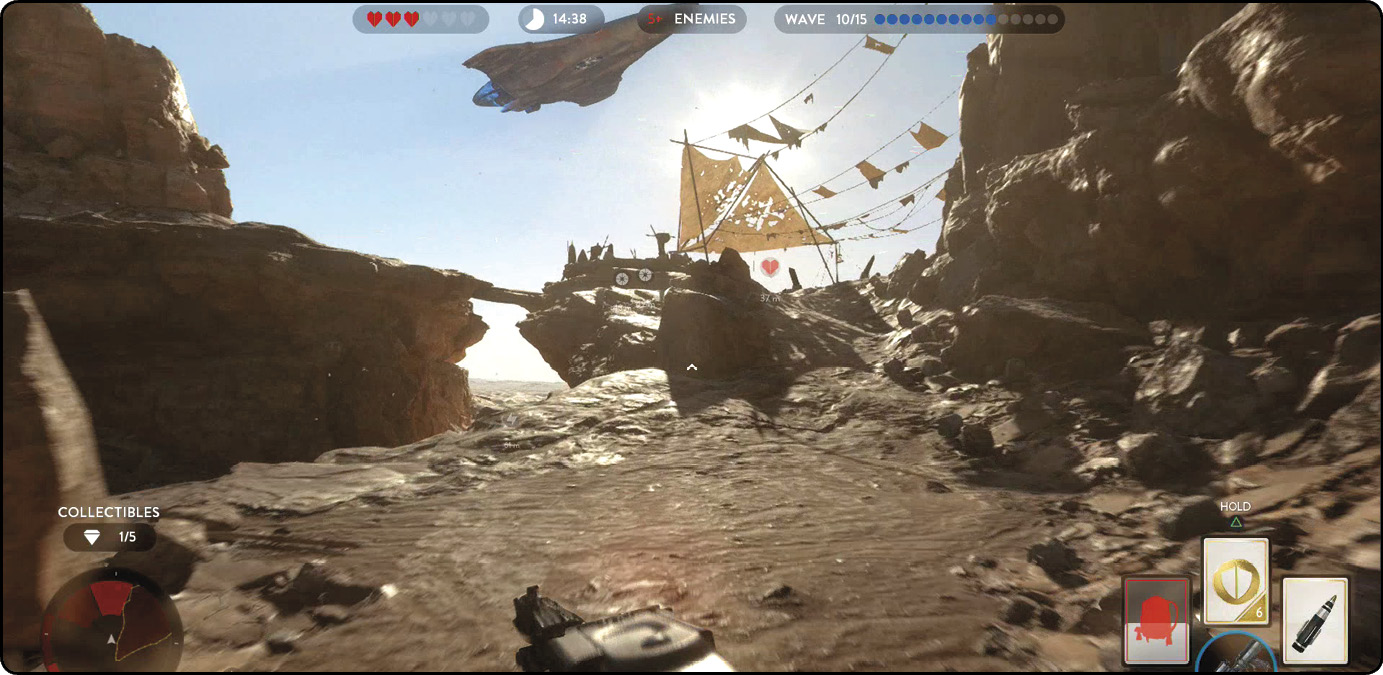
To even the odds a bit, Life and Charge pick-ups drop at various times during your mission. Lives appear after waves 3, 6, 9, and 12. Charge pick-ups appear after waves 1, 4, 7, 10, and 13. A Life pick-up adds an extra life to your reserves, indicated at the top of the HUD. You can carry a maximum of six lives at one time. A Charge pick-up adds a charge to your Charge Star Card, giving you another use of the ability. No worries about collecting all of the Charges, as there is no limit. Once these pick-ups appear on the map, they remain until they are gathered or the mission ends.
General Tips and Strategies
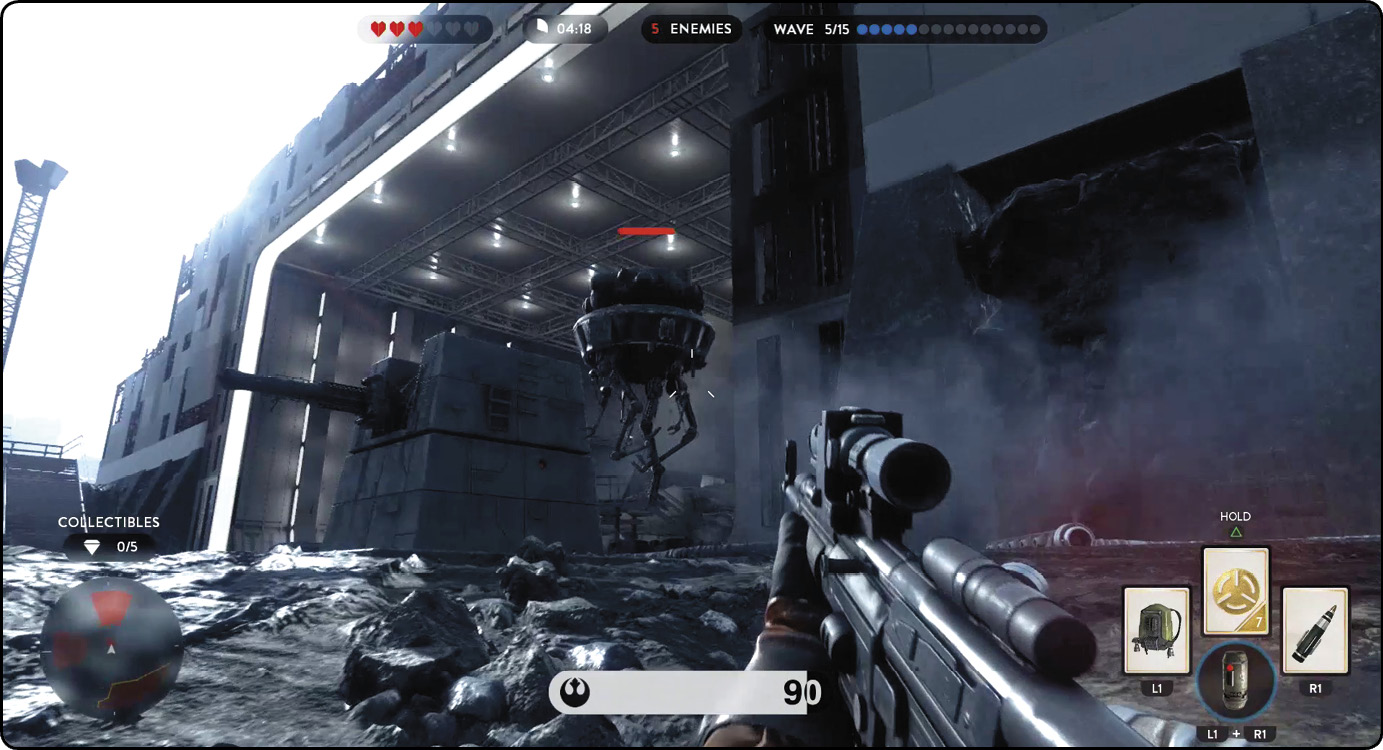
You can employ numerous strategies to defeat the 15 waves of Imperial forces, but success really comes down to the following: execute quick and accurate attacks, flee the action when health starts to get low, and avoid being surrounded. Here are a few more tips that can help in any Survival mission.
Go on the offensive. Check the radar often to get a good idea of where the Imperial forces are coming from. Use this information to go on the offensive, and try to flank their position. With two players, try surrounding their location and bombarding them with weapon fire.
Keep an eye on the radar, and avoid being surrounded. Glance at the radar often to get a good idea of where the Imperial forces are coming from. Avoid getting pinned against a wall with multiple access points for the enemy, as it becomes tougher to escape when surrounded on all sides. Corridors offer up a way to line up incoming adversaries and mow them down, but foes often split up and enter both sides of the hallway.
Location, location, location. When holding your ground against an enemy onslaught, pick your location wisely. Minimize their access points, and use turrets and explosives to assist in your defense. Keep an eye on the number of enemies remaining and the radar so you can continually reassess the situation.
Take advantage of all power-ups, pick-ups, Star Cards, and turrets. Claim drop pods when the opportunity arises to strengthen your arsenal. Use everything at your disposal to defeat the hordes of Imperial forces. Use your blaster on the weaker foes, such as the standard stormtroopers and snowtroopers, while saving your stronger weaponry for the well-armored soldiers, such as the shocktroopers and shadowtroopers. When you have reduced the opposition down to just AT-STs, use the provided cover to avoid direct hits while unloading Ion damage on the vehicle.
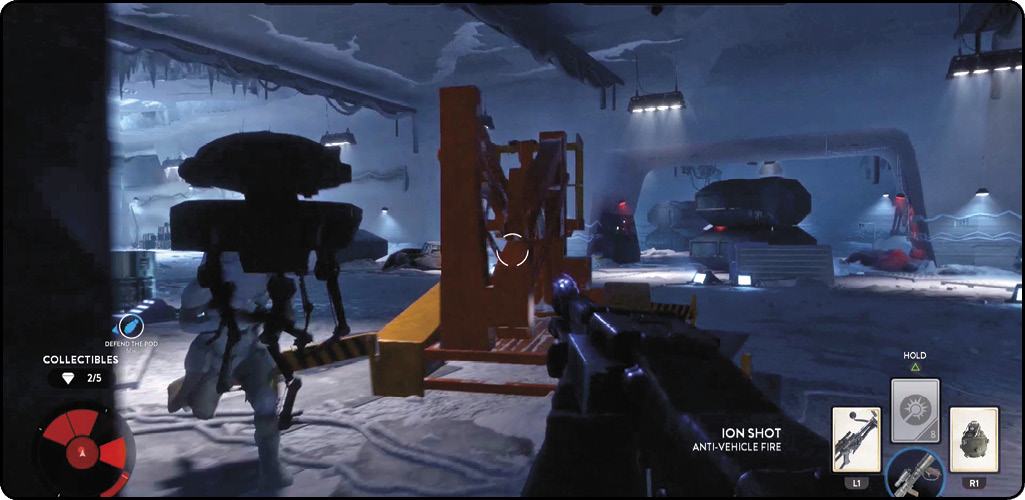
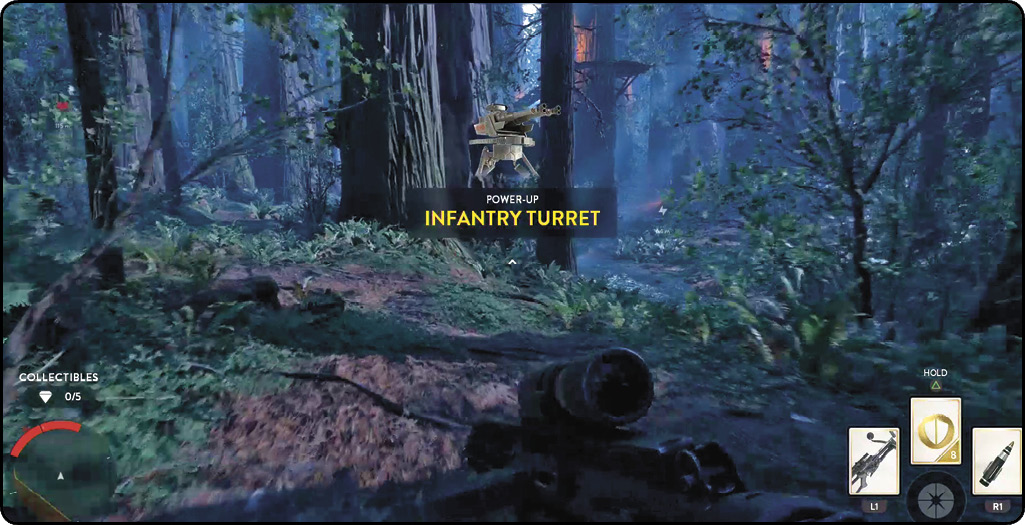
Collectibles
Each Survival mission contains five well-hidden collectibles. These white, diamond-shaped icons can be found anywhere around the environment; they can be floating against the bright sky, deep in a cave, against a cliff, and even outside map boundaries. Many float high in the air and require a Jump Pack to collect them, so keep that in mind when selecting your loadout. Refer to the following Map sections for all 20 locations.
Stars
The five stars listed in the table at the start of this chapter are available for each of the four maps. Completing the mission on Master difficulty without spending a life while picking up all five collectibles earns all five at once. Once five stars have been received, your customized Multiplayer Hand becomes available for that mission.