
STAR WARS™ Battlefront™ Guide Multiplayer Game Modes Locations Tatooine
Dune Sea Exchange
Blast
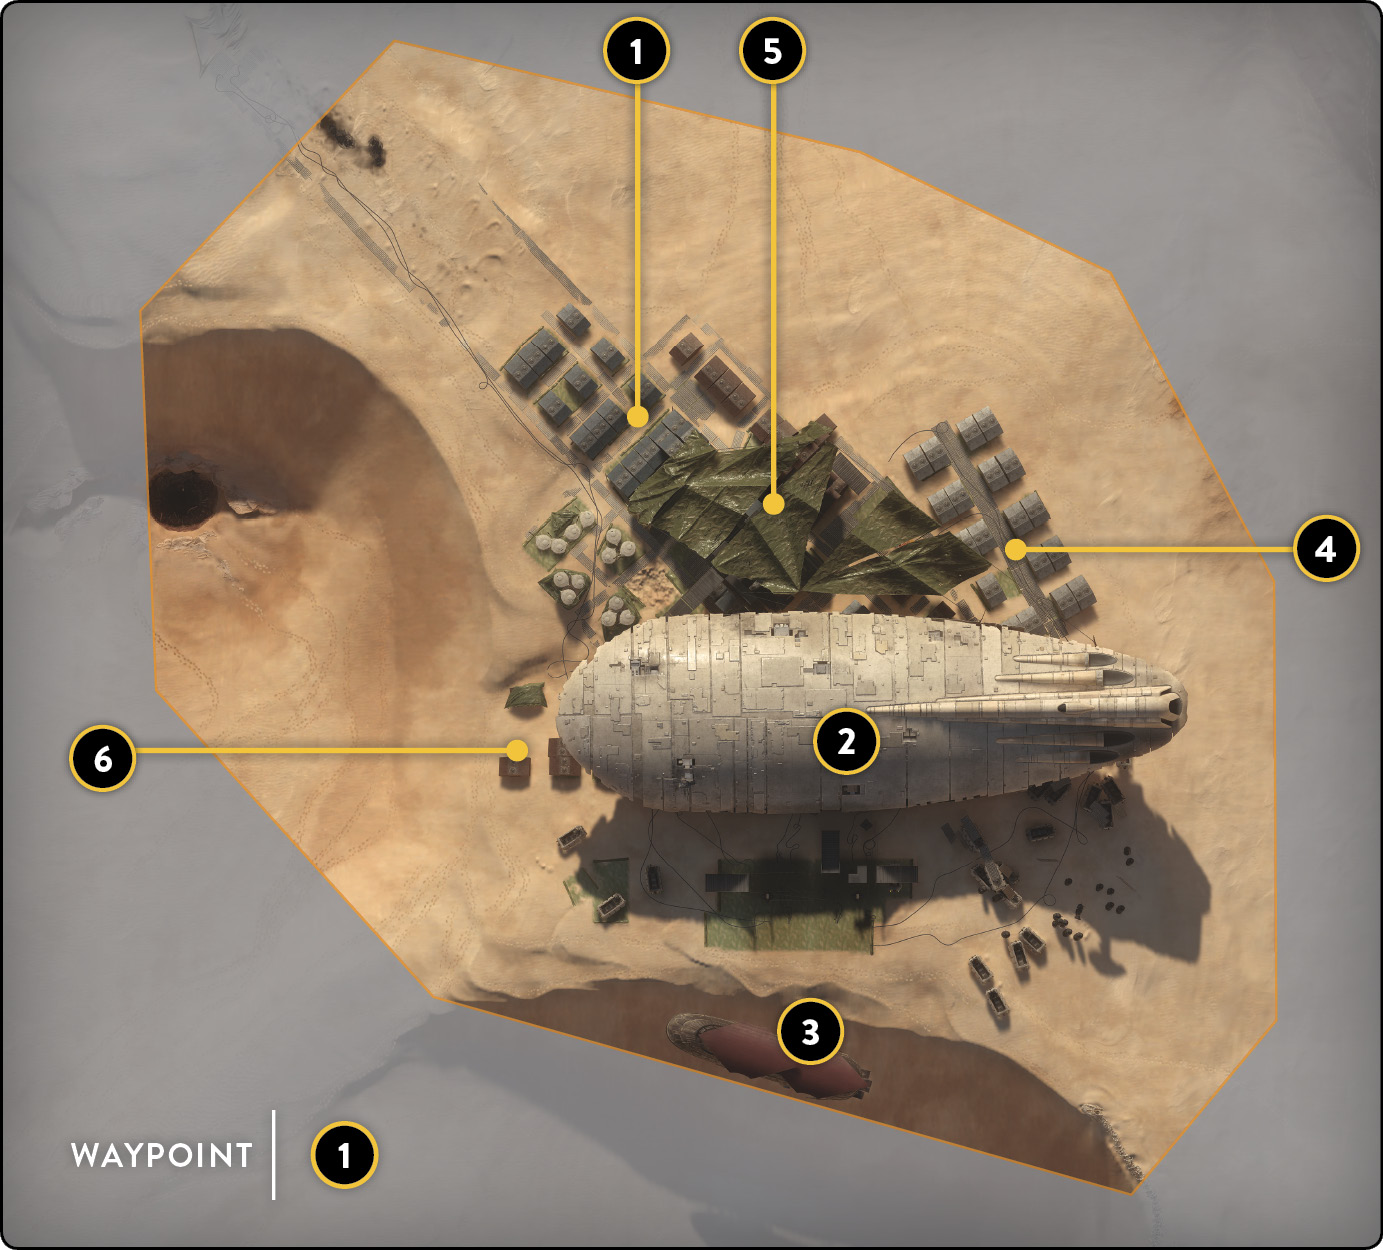
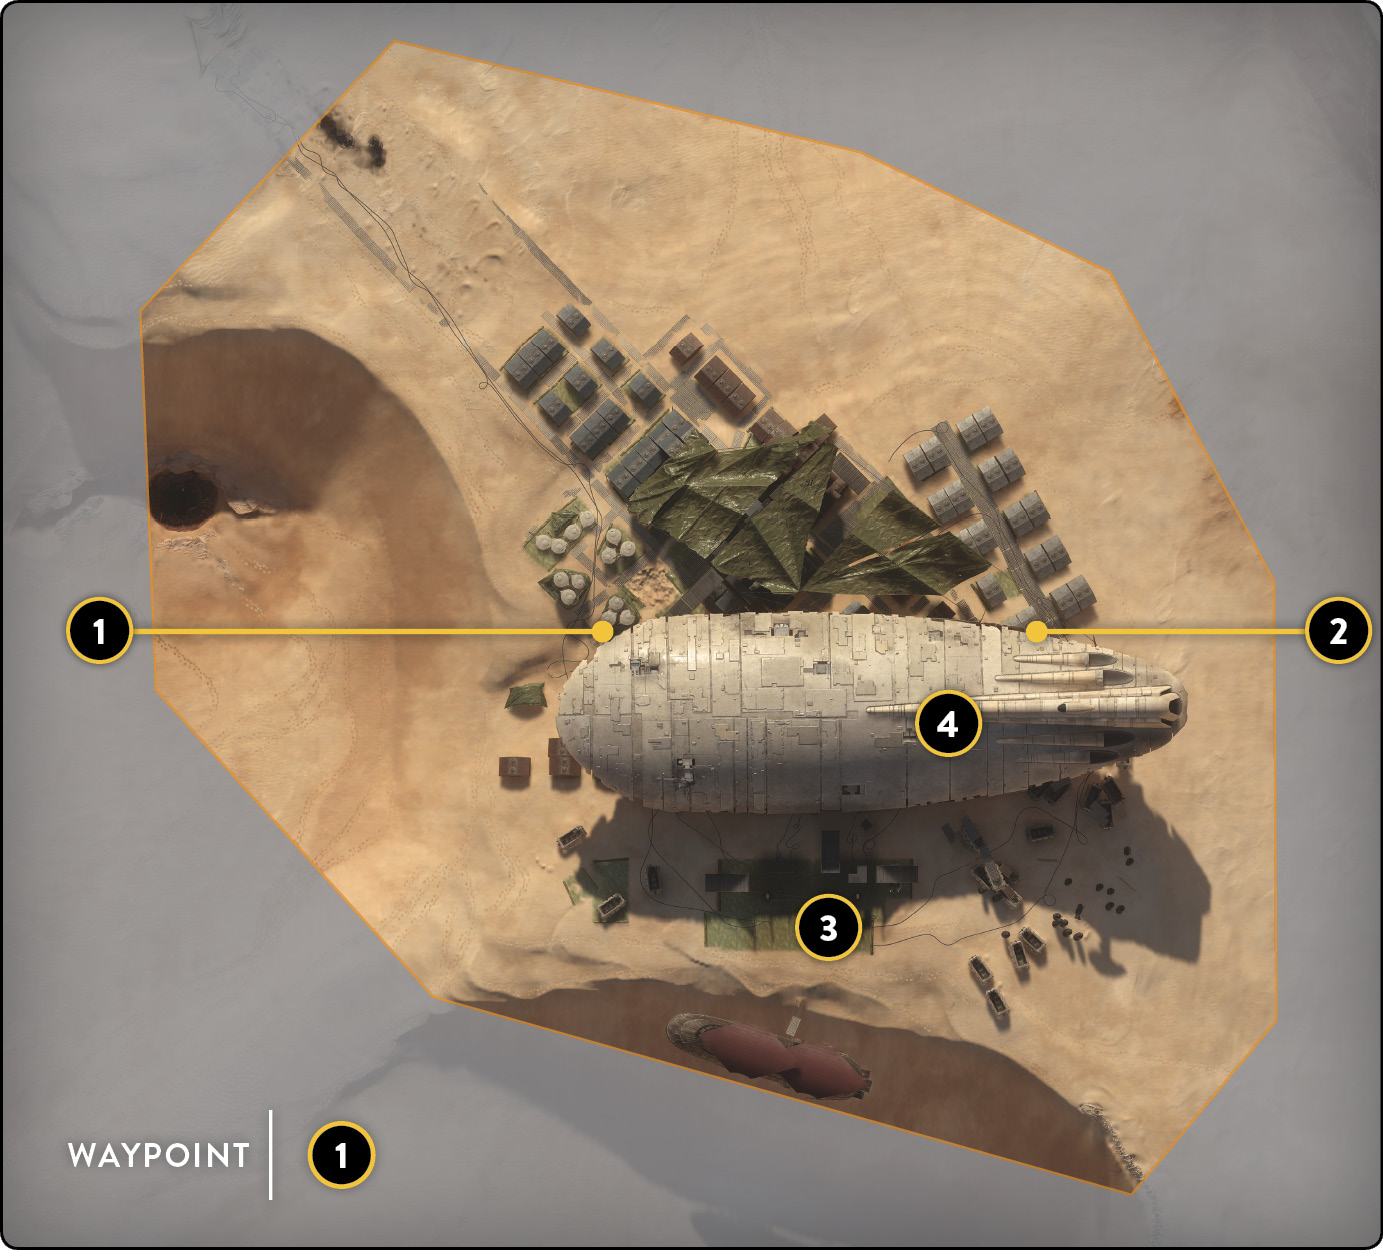
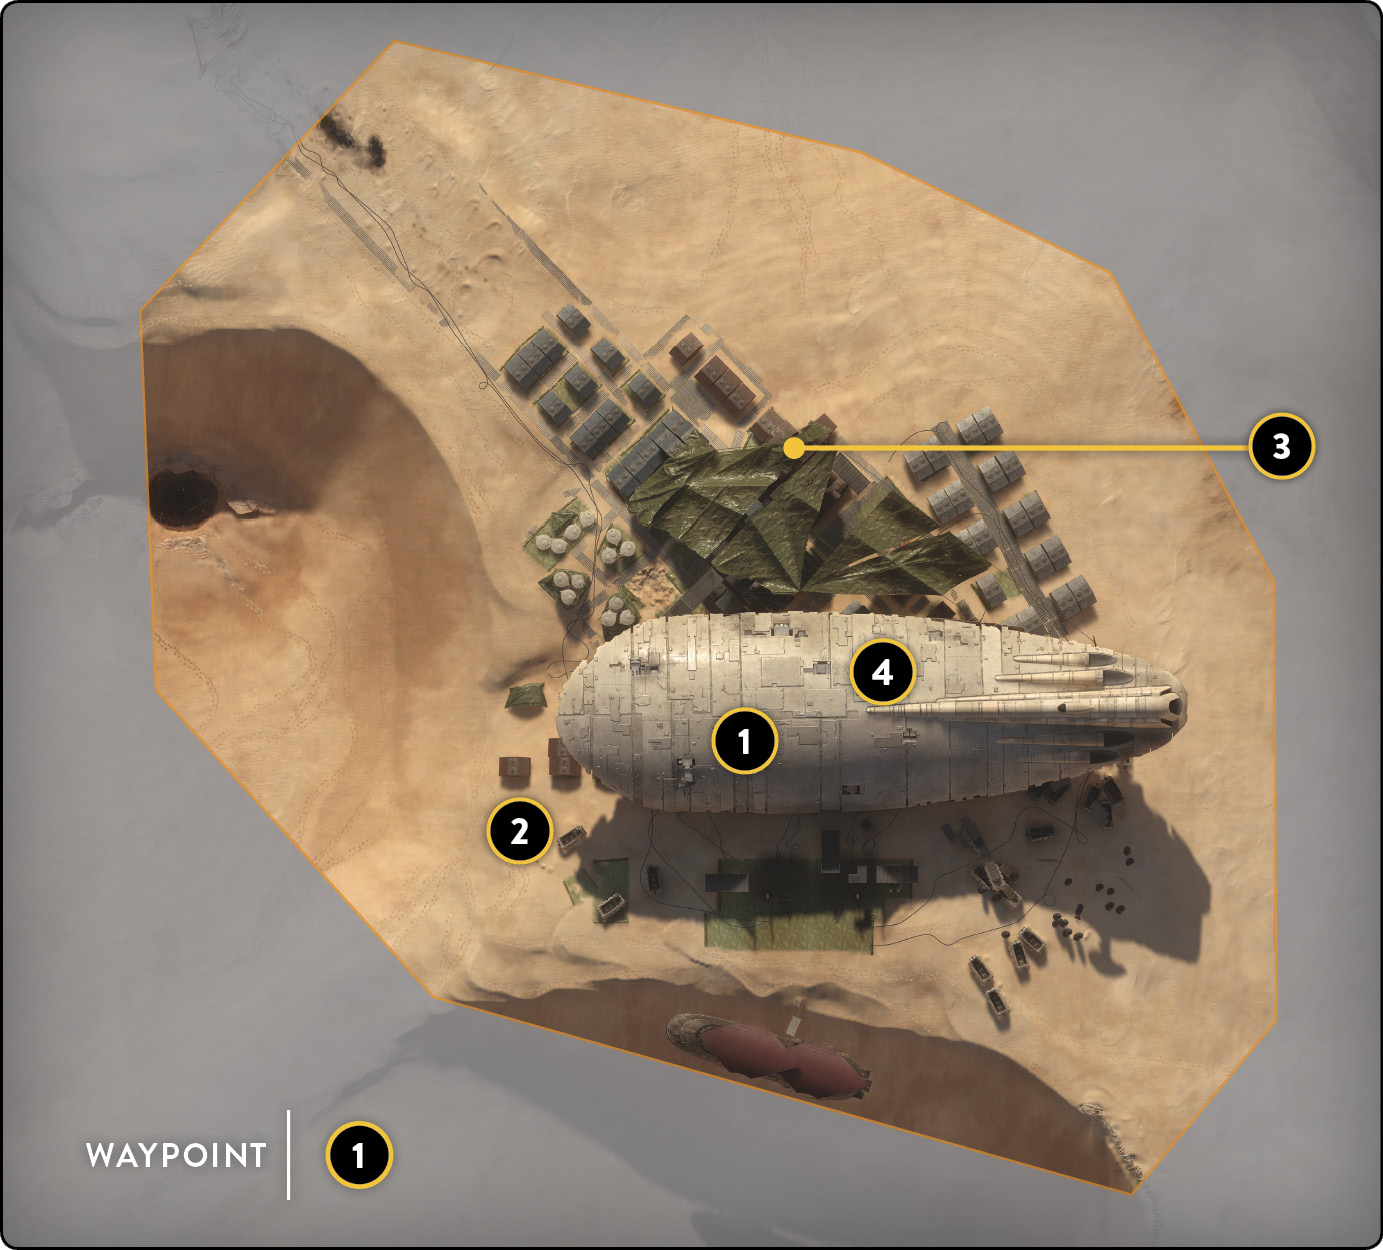
 Playing Blast on Dune Sea Exchange is one big free-for-all in the sense of how open it is. There are several key locations on this map, but it is possible to get a line of sight to any location rather quickly. The transport ship is directly in the center of the map. Surrounding it are the Khetanna sail barge, the sternside cargo crates, the shipping dock, and the bowside cargo crates. All of those locations are almost symmetrically placed around the transport ship, which acts like a centerpiece for the entire map.
 The transport ship in the center has become the structure that provides the most cover, but also the most action. It has a small temporary base set up directly underneath the hull and provides cover for both fighters passing through and those hiding to ambush the aforementioned fighters moving from one end to the other. You can also hide behind a few machines. Although there is not a whole lot of room, these locations do come in handy when you don’t want someone who has no idea you are there to see you. The area under the ship extends the entire length of it, so use this to fire on troops directly on the opposite side of you.
 Looking out to the port side of the transport ship is a Khetanna sail barge that is docked against the clifflike edge of the sand dune. It is attached to the ground via a bridge extending from the ship itself. You can use the barge to get a wide-angle view of the entire starboard side of the transport ship, including some from both the bow and stern. Pay attention to the machines directly next to the Khetanna, as they are tall enough to cover a foe’s approach on your position. The machines are set up in a way that allows you to either move around them or pass in between them. Accordingly, you have a few different options for using them as cover when you move around the map. It’s also important to notice the walkway built directly above these machines, which can likewise give you a great view of this side of the map. However, because it is located at a slightly elevated location and lacks adequate cover, you are a sitting duck if you stay up there too long.
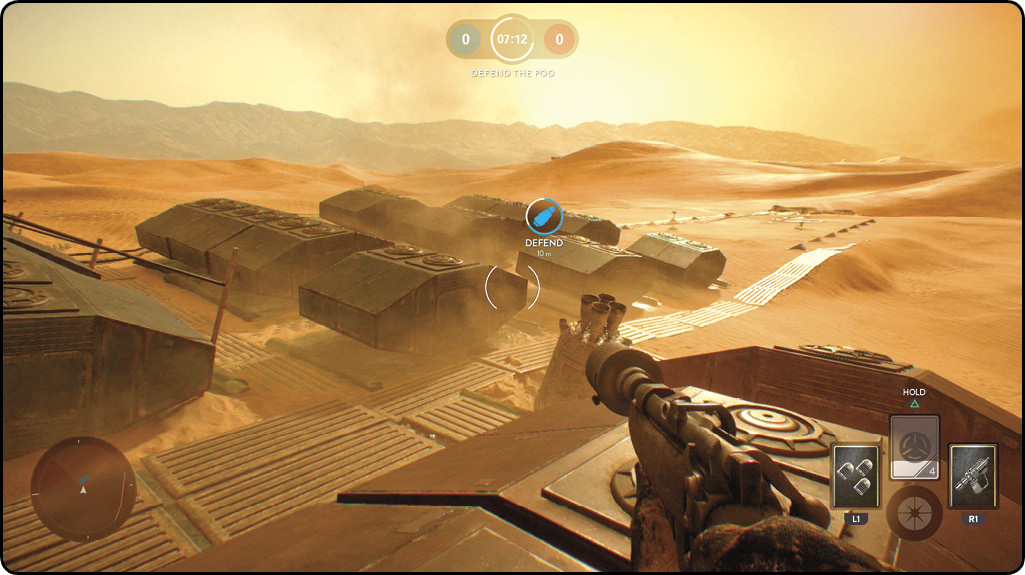
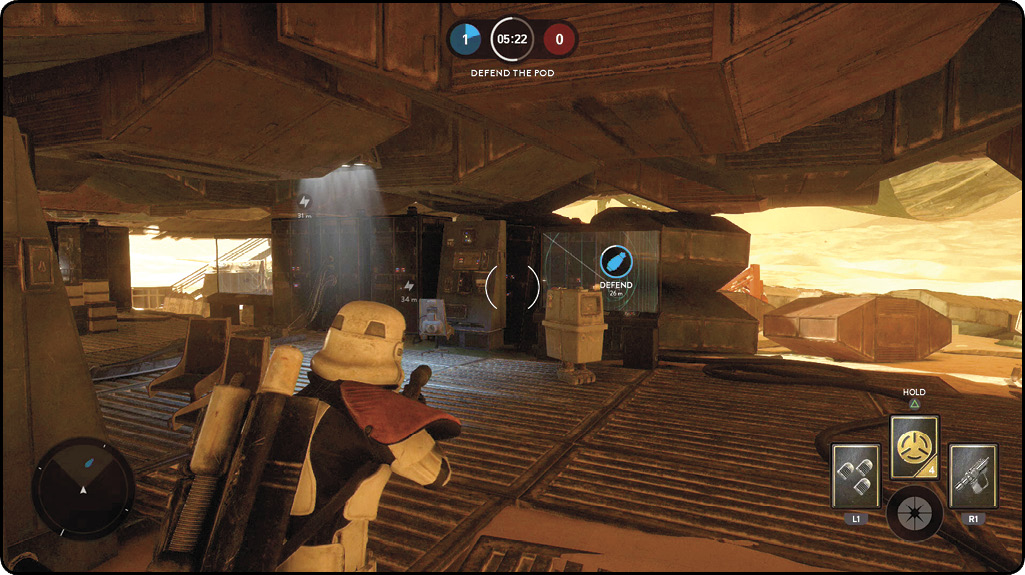
 Moving to the stern of the ship, you can find a collection of large cargo crates. These crates don’t provide for a great amount of cover, but they do conceal your movement because of the slope that they are set on. It may not be a great idea to spend too much time here, and it isn’t very easy to see where the enemy is aside from using your movement detector. Still, if you have no choice, you have plenty of space to use some power-ups there. Try setting up an Infantry Turret or calling in an Orbital Strike outside the perimeter of the cargo crates to at least give you an idea of someone approaching. Hopefully, you can manage a kill or two and give yourself an opportunity to escape, punching a hole in any fortification your opponent might have.
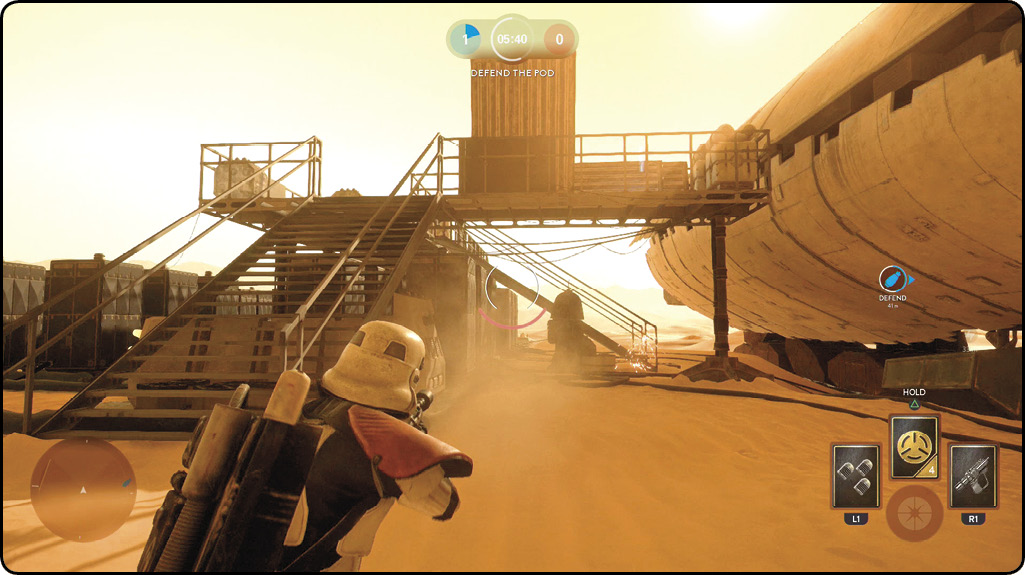
 The shipping dock is the most complex location of the Dune Sea Exchange, as it has a walkway similar to the one near the Khetanna. This walkway can also leave you exposed if you stay up there too long, but there is much more cover just in case you are spotted. Directly below the walkway, you can find a few more machines next to another load of large cargo crates. This area provides the most cover and functions just like a simple maze. Use it for losing an enemy during your blaster’s cool-down or any abilities that may be on a cool-down timer. You can also jump on top of the cargo crates to surprise an opponent directly in your vicinity. However, don’t jump on the crate unless absolutely necessary: a jump reveals your location to more foes than just the one you’re attempting to avoid or sneak up on.
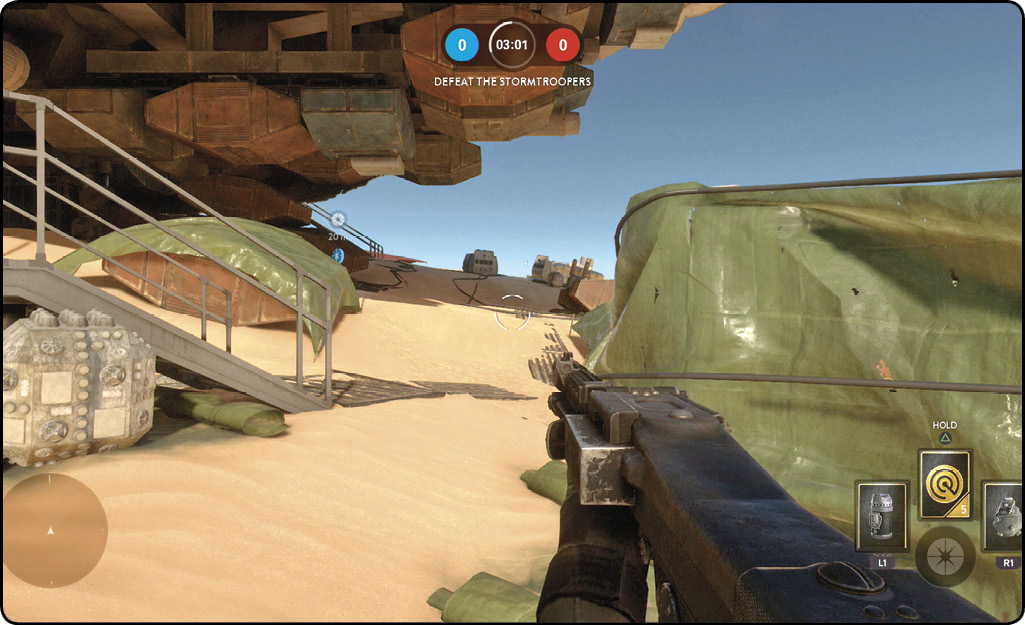
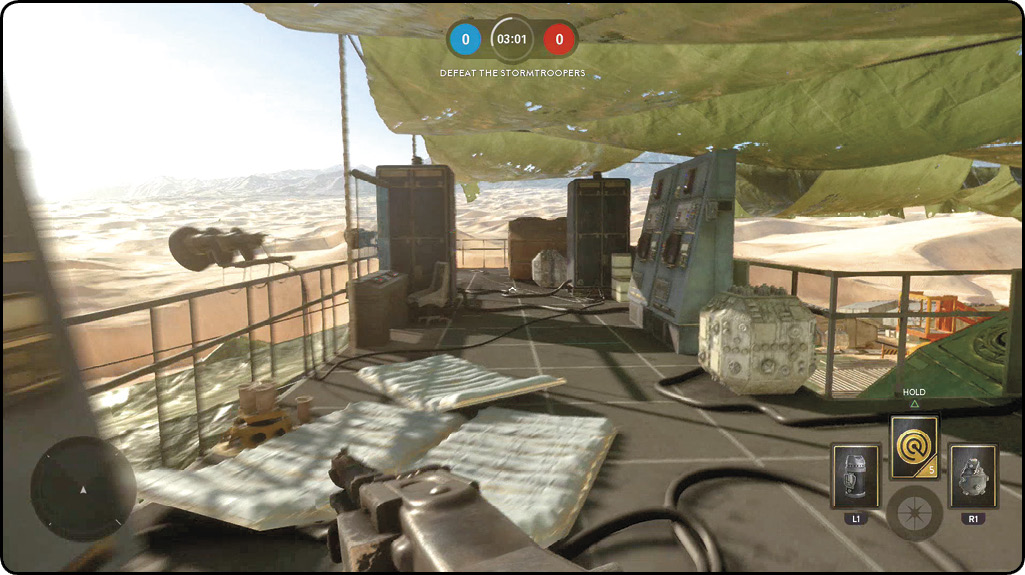
 On the bow (almost directly in front of the ship) is a large load of open supply crates that are slightly different than the cargo placed uniformly in the sand. With less of a structure on this side of the map, you shouldn’t pass between the crates, but you can use them for cover. Note that these supply crates are slightly shorter than the other cargo crates, so crouching is your best way to stay hidden. Use this area to take the longer-range shots: it is located in the most “corner-like” part of the map, and you can see down two ranges and hide after each shot.
Drop Zone
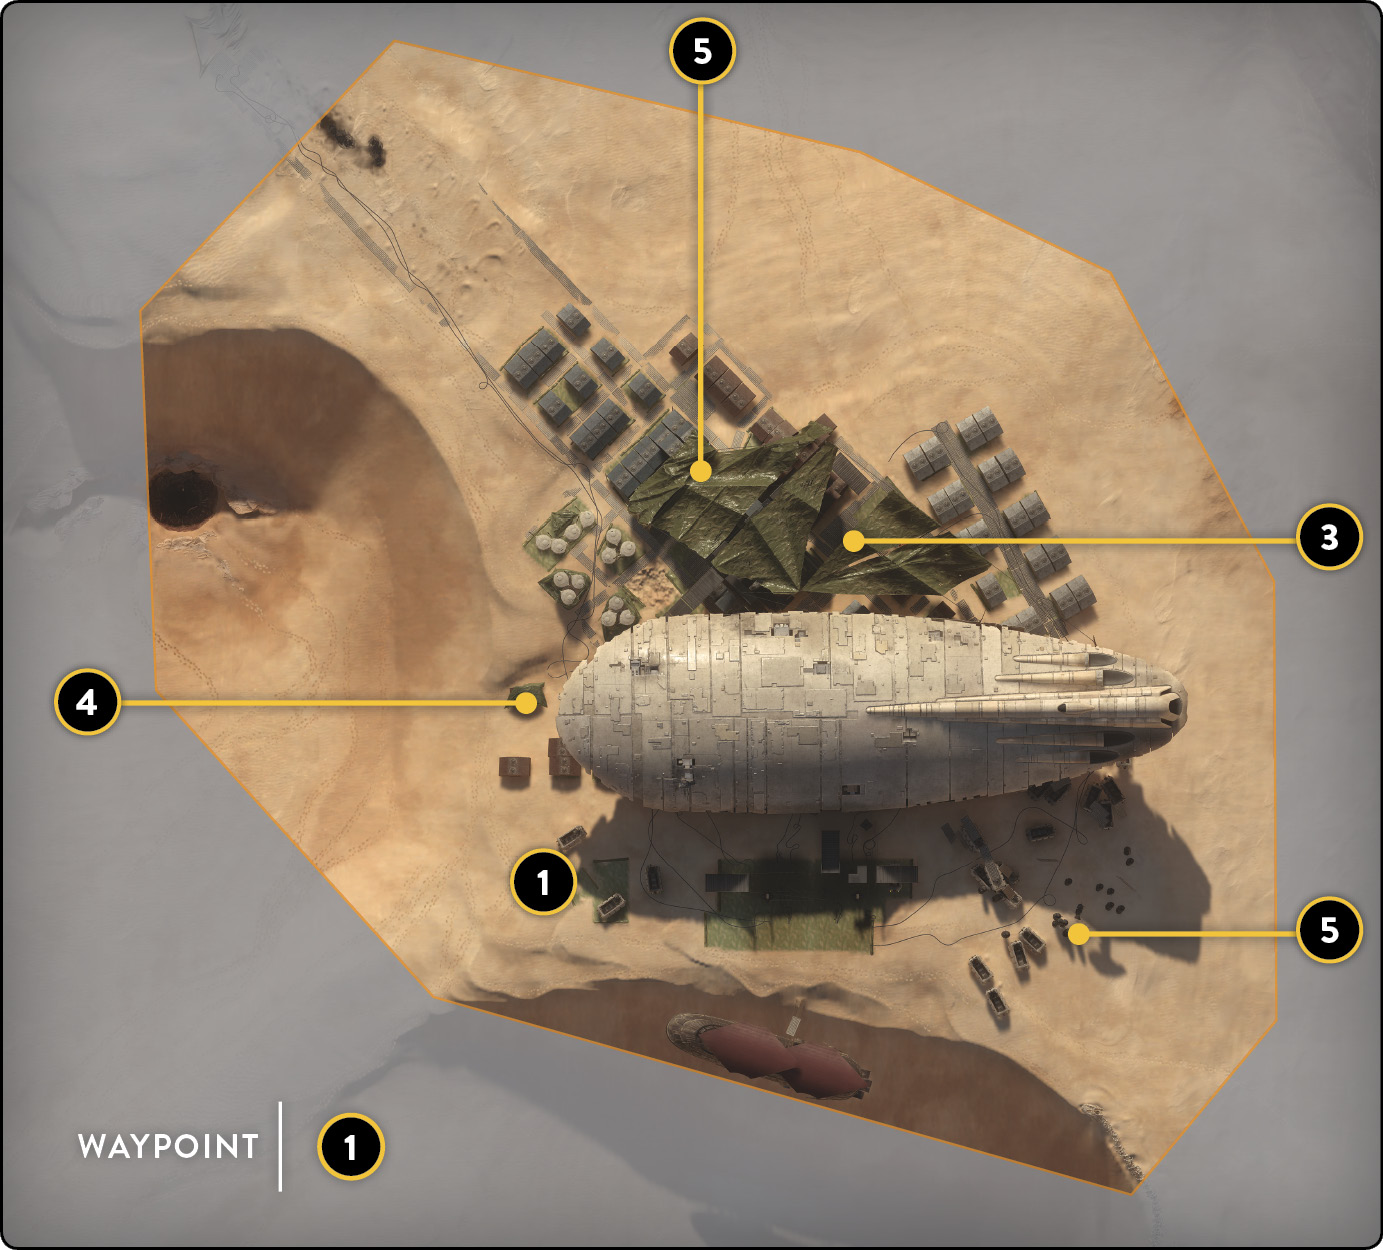
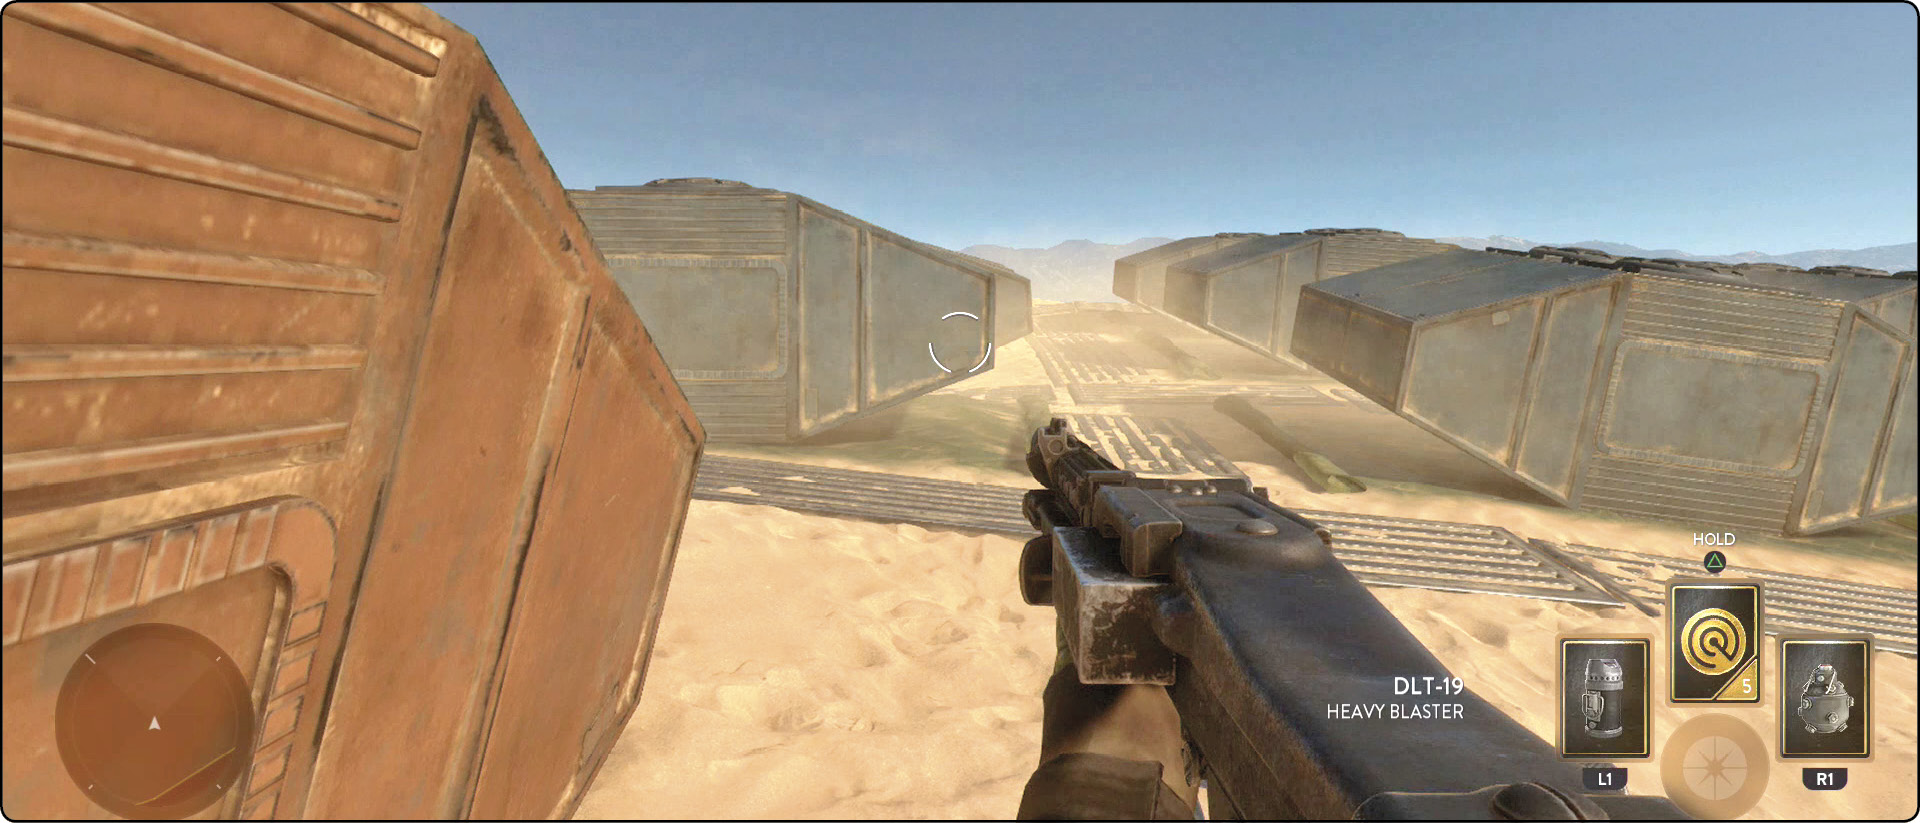
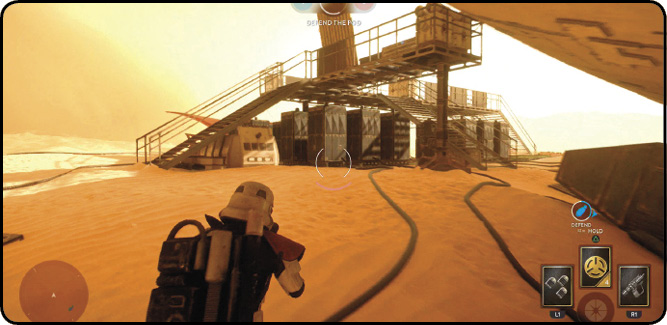
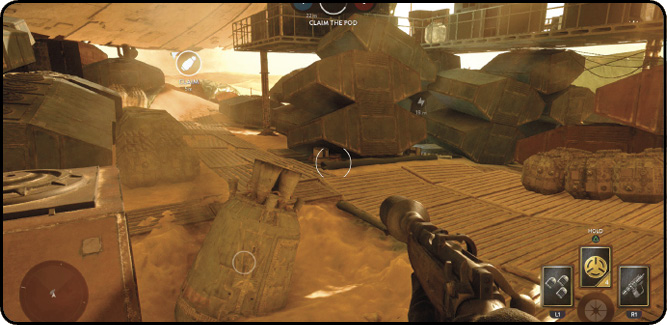
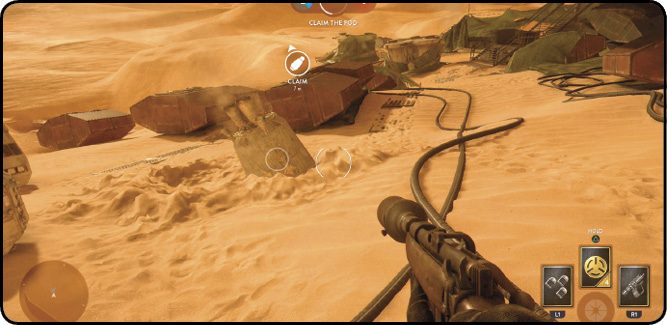
 As one of the more open maps in all of Tatooine, Dune Sea Exchange has multiple locations available where pods can drop. A few locations encourage strategies that match up very well to other possible drop pod positions on the map. Such positions include the cargo crates underneath the secondary transport ship, the control dock, the bow of the main transport ship, and the stern of the ship between the spread of open supply crates.
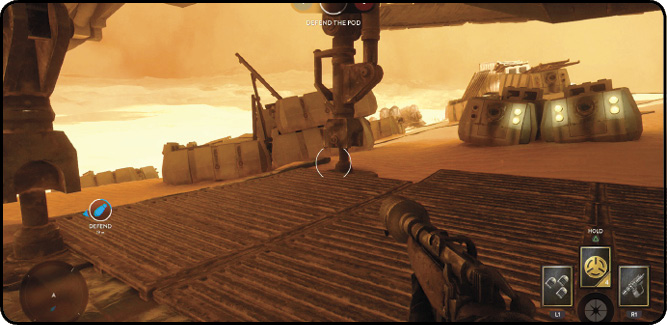
 The cargo crates located to the starboard side of the center transport ship and in between that ship and the barge have little to no cover and are a great place for a Squad Shield. You can use the large cargo crates to take cover from attacking enemy troops, but it’s not the best way to avoid being fired on entirely. As mentioned, the Squad Shield allows you and your team a few more seconds when you attempt to begin the capture sequence. Avoid setting down too many power-ups just to capture one drop pod. Although the entire point of the mode is to capture drop pods, if your team uses every power-up it has, you could be left vulnerable and less powerful when you go for the next drop pod. This area and a couple others lack the structure for you to feel safe and locked down when defending the drop pods. Once you have initiated the capture, your success is not even close to being guaranteed.
 The next key location is not too far from the last one. As you move closer to the center transport ship, you can find a dock with a walkway. This section features two layers that you must stay aware of to avoid getting shot from a place where you just didn’t think to look. Drop pods fall all around this location, and it is helpful to use the walkway to set up an overwatch for your team. Overwatch is key while your teammates go for the capture. You can get a great deal of kills and rack up defense points, in turn bringing your team one step closer to victory. If you find yourself getting picked off from a distance, or if the enemy team has taken over the walkway, try getting in underneath the elevated location. Then, stay out of their sight while you shoot them in the back.
 The spread-out bow of the ship is a great place for using the Jump Pack to get from cover to cover as quickly as possible. Take note of the Khetanna sail barge slightly off to the side of the bow—it provides a great vantage point for sniping attackers. This area requires the largest amount of communication with your teammates because they won’t always be in your line of sight or possibly even near you. Spread out and play to the terrain of the map’s location. Call out enemy positions frequently, giving your team an idea of where to send their blaster bolts and explosives.
 A load of electronic beacons and supply crates is stationed near the stern of the center main transport. Very similar to the cargo crate staging area, this location also lacks a large amount of cover, although there are still objects that you can use. However, unlike the large cargo crates, these blocks of several beacons are tall enough to afford you some cover when moving while standing. You don’t need to crouch, but be careful not to move around too much. Showing up on the enemy’s radar because of excessive movement gives away your position anyway. Toss Impact Grenades toward the drop pod you are trying to capture, as long as you can guarantee that there are no friendlies around. The Impact Grenade has a lower range of explosion but leaves your opponent no time to escape, as they are in the capture timer and are guaranteed to be in close proximity to the drop pod.
Droid Run
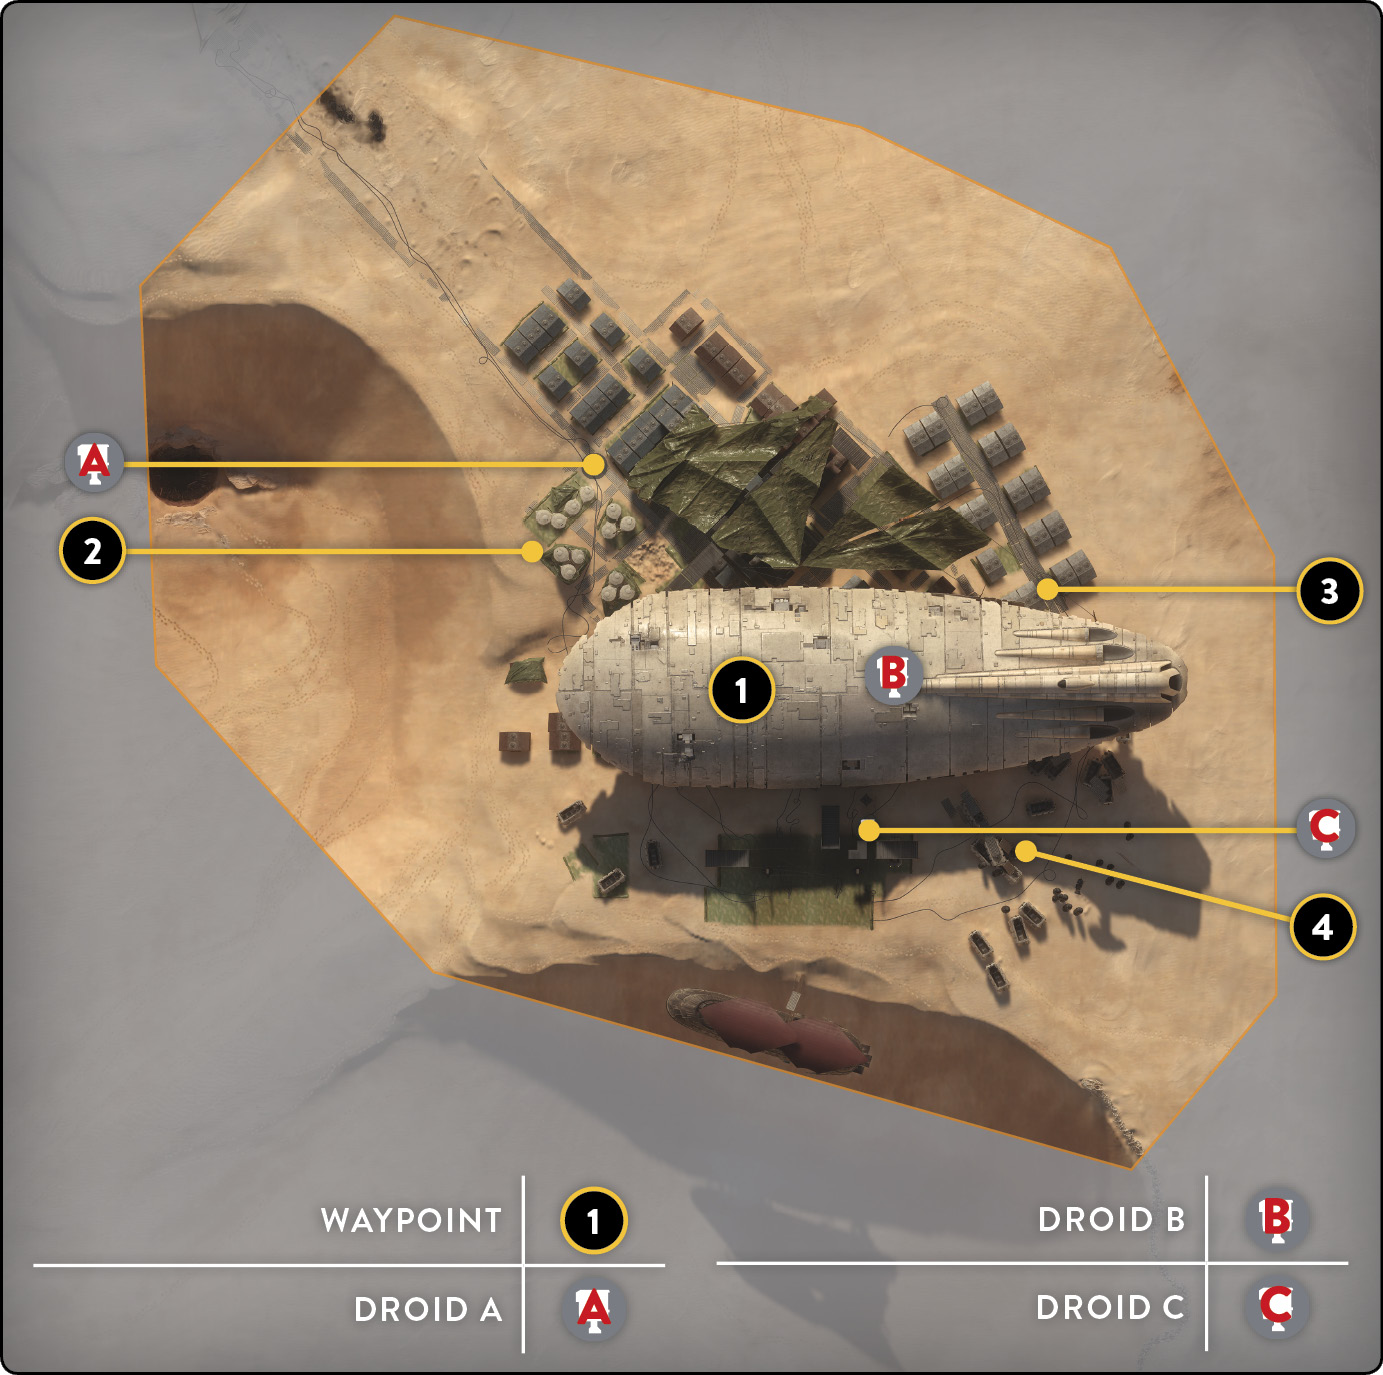
 Droid Run on Dune Sea Exchange is mayhem, especially when two teams fight over the same droid. Because of the map’s layout, there is a natural center of action as the three objective droids roam around the Rebel transport ship. The transport ship acts as a dangerous shortcut to each droid, so move at your own discretion, and avoid danger if you can. Use the outer peripheral objects and structures to stay out of the major line of sight, thus limiting unnecessary deaths while attacking or defending droids and key locations on the map.
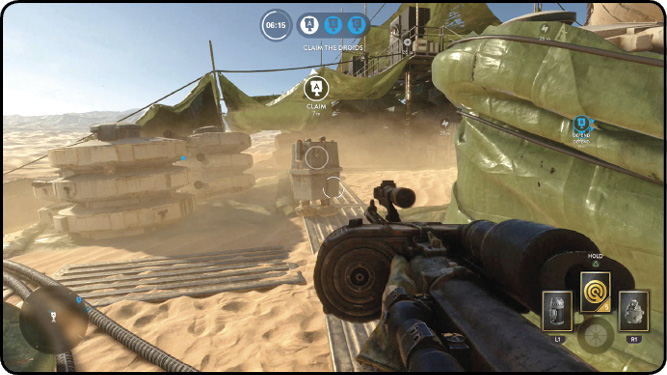
 The “A” droid is located just in front of the bow of the transport ship. It tends to roam in between the turret heads, near the large cargo crates. Try capturing this droid when it is in the center of the turret heads because that provides the most cover for incoming lateral fire. The turret heads are not very tall, so crouch while you capture the droid to avoid being seen. The capture speed is rather fast, so if you see the opportunity, go ahead and take it. Then, escape immediately to find some real cover, as you must now protect the droid from the enemy. This area requires the most defense because it is one of the easier locations to access and see from a distance. There are some tented cover units nearby. You can use them to conceal your location, but keep an eye on the droid so that it is not stolen from under your nose.
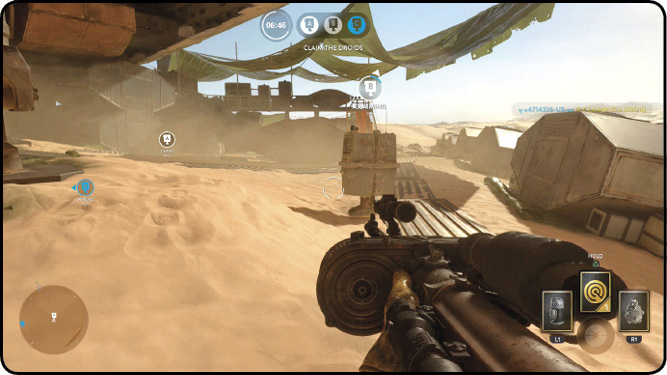
 The next droid that needs capturing is “B,” located on the starboard side of the transport ship. In this capture (and in the “C” droid capture, as well), certain sections of the droid’s roaming path can leave you more exposed than others. The “B” droid roams directly around the walkway that is part of the supply dock, but because of this, it can roam into open territory and leave you exposed to enemies on the other side of the ship. However, there are a few large stacks of cargo crates that more than cover you, and the droid does roam near them. Capture the droid as it moves behind the stacks to be fully protected from an entire side—leaving the chances of being shot from a blind side much less likely.
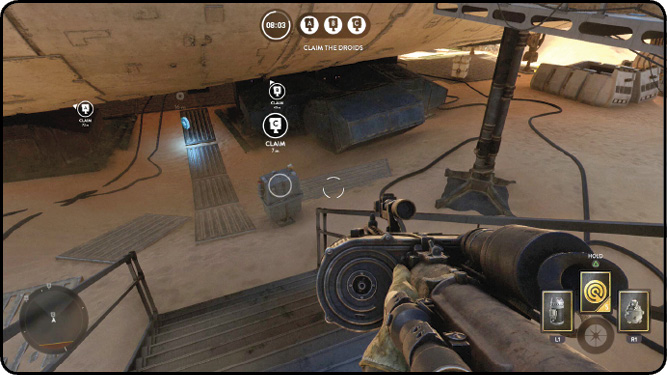
 The “C” droid location on Dune Sea Exchange happens to be on the port side of the center transport ship, and this droid roams the partial length of the ship itself. The area where the power droid roams is important to know and understand because there are safer points than others when you attempt to capture this droid. As the droid begins heading toward the stern of the ship, it becomes a lot more exposed to both the center of the map and most of the starboard side of the ship. It’s best to capture the droid when it is in the most forward section of the ship. This part provides a little more cover than the droid’s other roaming area, but you still aren’t completely protected from most angles. Avoid spending too much time waiting for it to roam. Know that you are exposed when the droid is in the rear section of its walking path, and have your team watch your back.
Hero Hunt
 Like all locations on Tatooine, you play as the Heroes and sandtroopers on Dune Sea Exchange. Dune Sea Exchange is excellent for Hero Hunt because although it may feel quite large, it is actually small compared to most maps. This makes it easier to find the sandtroopers (or the hero, for that matter). As a sandtrooper, you must take the heroes on from all angles and avoid getting caught while clustered up in one area. (That shouldn’t be a problem on this map.) This area feels large because it contains many places that separate into various sections of the map, including large electronic panels, metal walkways, cargo crates, and other debris. Because of the multiple sections, you and your fellow sandtroopers should know how to call them out as quickly as possible so you can take down the enemy hero.
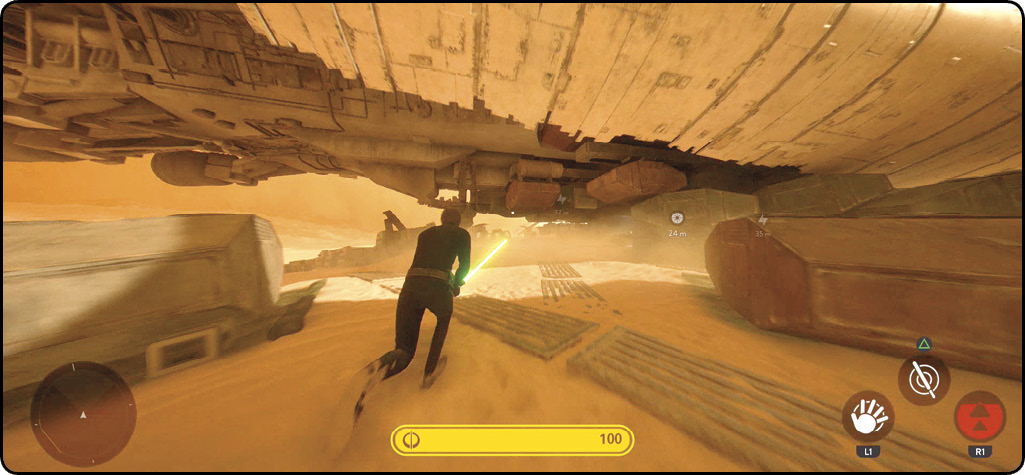
 Playing as Luke Skywalker gives you the ultimate power to loop around most of the obstacles found on Dune Sea Exchange. Get behind the enemy sandtroopers and use the Saber Rush to catch them with a killing blow from quite a far distance. Jump high in the air before employing the Saber Rush to arrive at some locations much more quickly, giving the hunters even less time to set up an ambush or attack. When looking for places to use your Heavy Strike, check out the space underneath the hull of the center transport ship; the enemy has a hard time avoiding this attack.
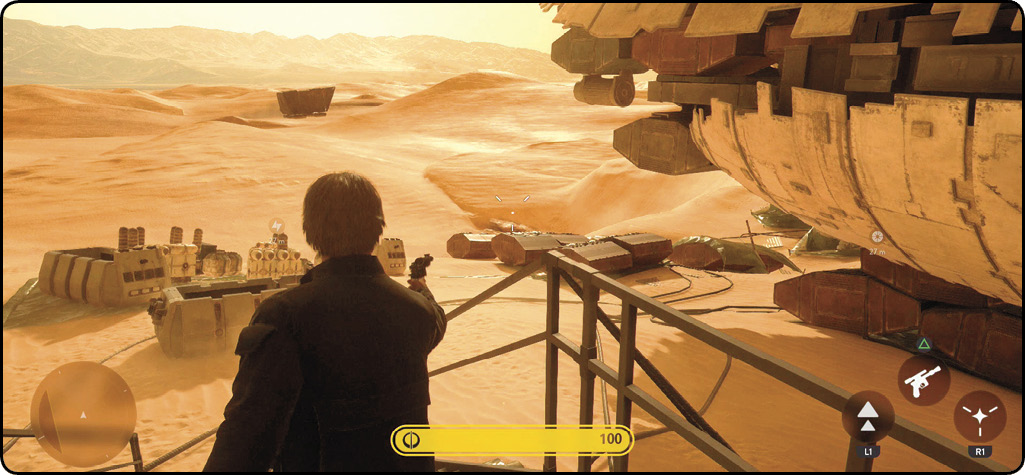
 Han Solo thrives on maps like Dune Sea Exchange. There isn’t as much cover here as on many other maps, but there is more than enough for Han to use while blasting his way through the hunting sandtroopers. Using abilities like Lucky Shot can give you an advantage while playing as Han: these abilities have a high radius of explosive damage, which helps when you’re trying to hit enemies behind cover. Considering that most of the cover on Dune Sea Exchange is shorter than average, shooting Lucky Shot right over the top and hitting the other side of the cover typically damages or even kills adversaries hiding from your fire.
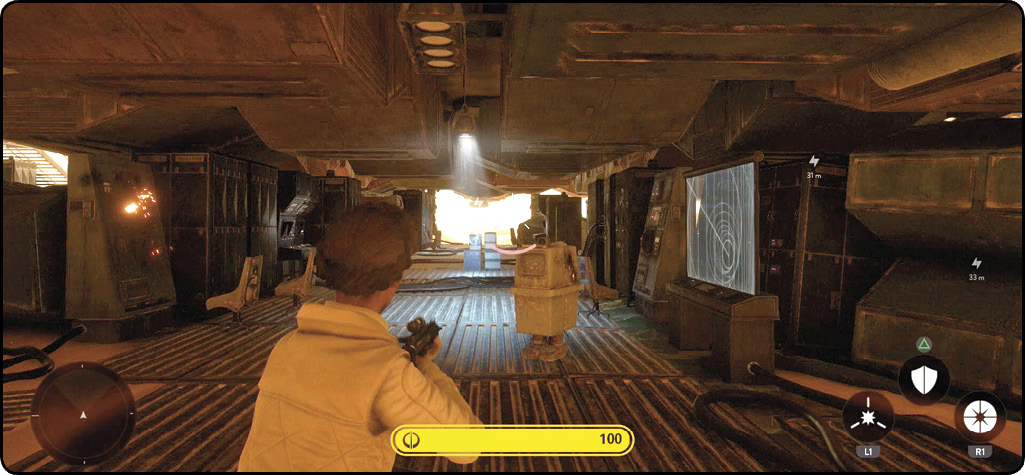
 If you are deployed as Princess Leia, your biggest strength is the use of your Enhanced Squad Shield; where there isn’t much cover, you can make your own. For the most part, you must create as much cover as possible as often as possible. While playing as Leia, you are relative to a stronger trooper and must play as if it were simply a one-trooper-versus-all situation. You have many advantages when it comes to health and damage, so use them, but don’t get carried away. Leia is quite fragile when there are no heroes to support.
Heroes Vs. Villains
 The balanced, open Dune Sea Exchange lends very well to this mode, allowing all the characters to use each of their abilities to its full capacity. For the most part, the heroes use very similar tactics as they would in Hero Hunt. However, there are a few slight differences that might make or break your victory. For instance, when you are playing as Princess Leia, keep in mind that your shield not only grants you more cover, but it is also the best way to counter Boba Fett’s powerful blaster as he launches above you. As Han, you should use Lucky Shot, as it is something that causes a great deal of damage and that enemies can’t deflect. Using Rapid Fire against Darth Vader or Emperor Palpatine can only get you into trouble, though, as they can deflect that high amount of damage right back at Han.
 In this mode, you can play as Darth Vader on Tatooine. Using his Saber Throw is one way to deal with both Han Solo and Princess Leia. It is difficult to kill either hero with Saber Throw, but it inflicts more than enough damage to give you a chance to close the gap between Vader and them, giving yourself the advantage of close quarters. The center underneath the transport ship’s hull is Vader’s most useful area. This location brings in most enemies close, taking away any disadvantages that Vader has at range. Lure your opponent into a tight location like this one, and then use Force Choke or Heavy Strike to take down your adversary with ease.
 Boba Fett is a man to be reckoned with here in the Dune Sea Exchange. On this map, players can perfectly stay at range the entire match if desired and still be effective. Post up in the Khetanna located to the north side of the map, and take advantage of being able to go anywhere within seconds by using your jetpack. Once you have an idea of where the enemies are, you might want to save some jet fuel and let it loose to get the high angle on all of them. If they can’t see where you are right away, you have the advantage of getting a few shots on them before they do see you, and then bugging out before being attacked. Launching Wrist Rocket as your first attack toward any hero gives you quite the advantage when it comes down to damage per second on your opponent. The Flamethrower attached to your forearm may not be quite as useful on this map as your other abilities, but if you’re caught in a pinch, it could get you out of a close-quarters situation against someone like Luke Skywalker.
 When playing as Emperor Palpatine on this map, keep in mind that you have a very powerful deflect ability that comes quite in handy when facing heroes like Han Solo and Princess Leia. As the Emperor, your best strategy is sticking as close as possible to other villains. Because you are close, you can support them by casting Chain Lightning at multiple enemies. This can either cause your opponent to bug out or attempt to close the gap on you, only to be ambushed by your partner standing closeby. Remember to escape or help protect another villain with Force Dash.