STAR WARS™ Battlefront™ Guide Multiplayer Game Modes Locations Sullust
SoroSuub Centroplex
Supremacy
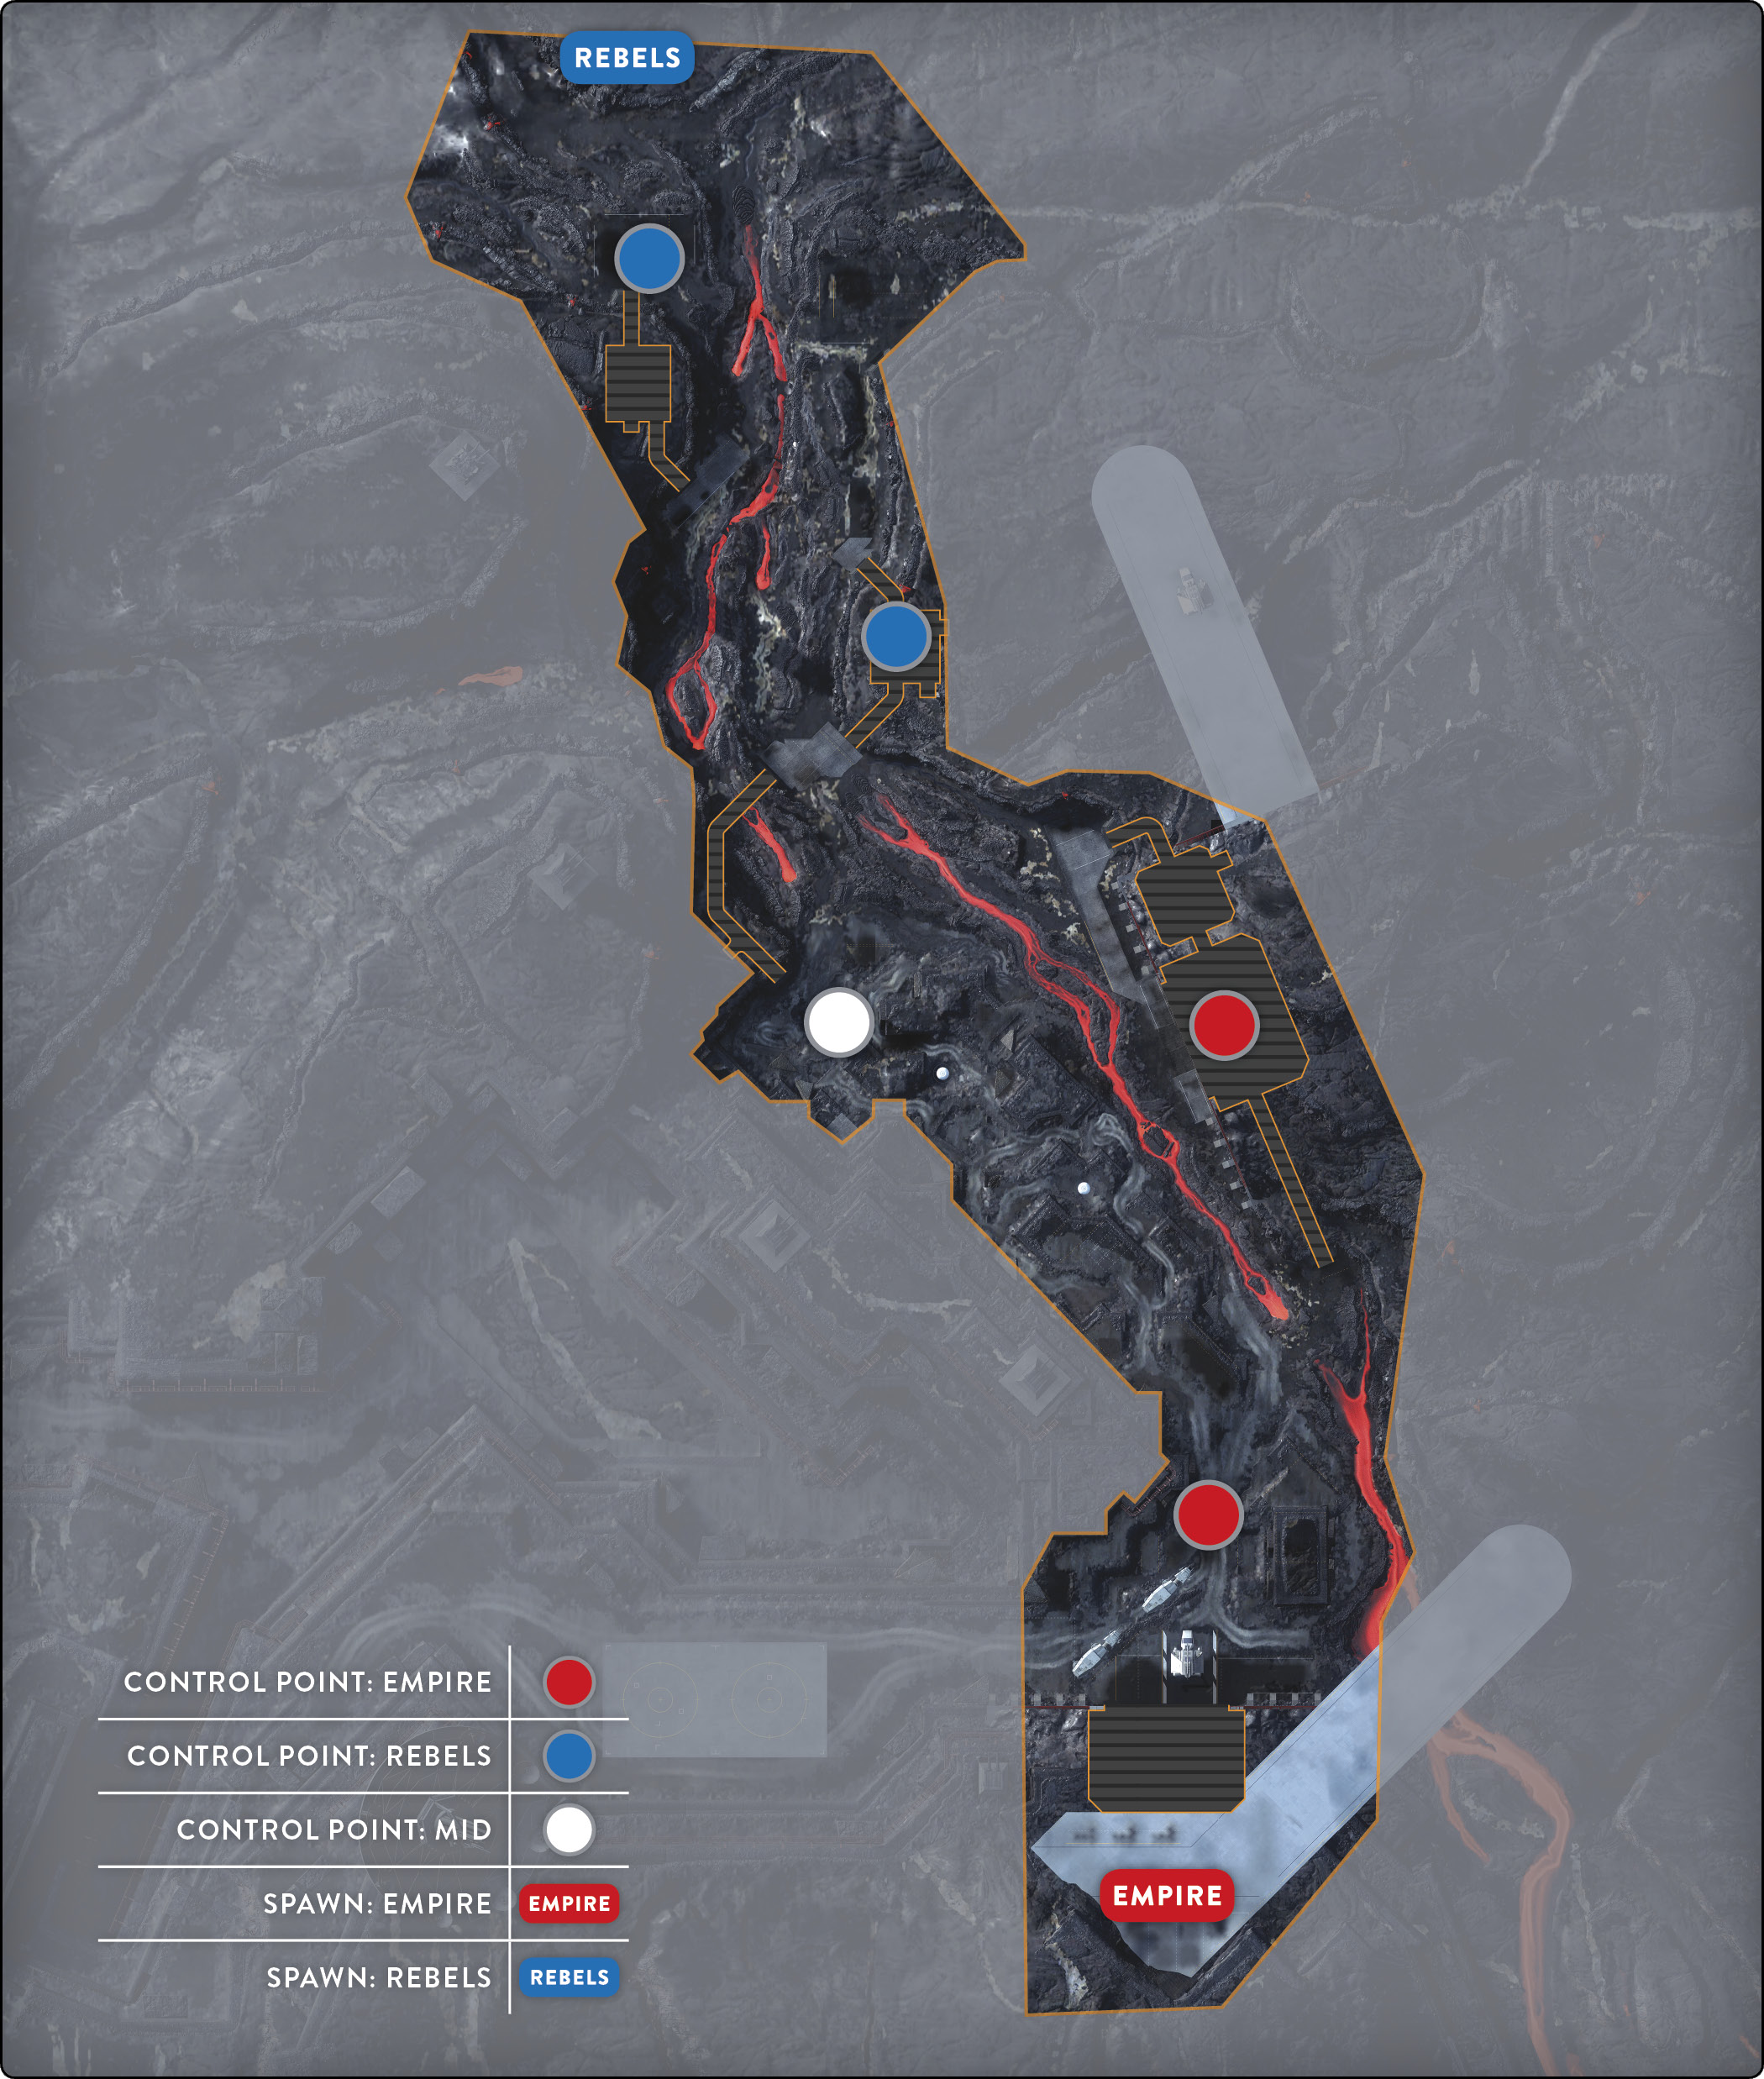
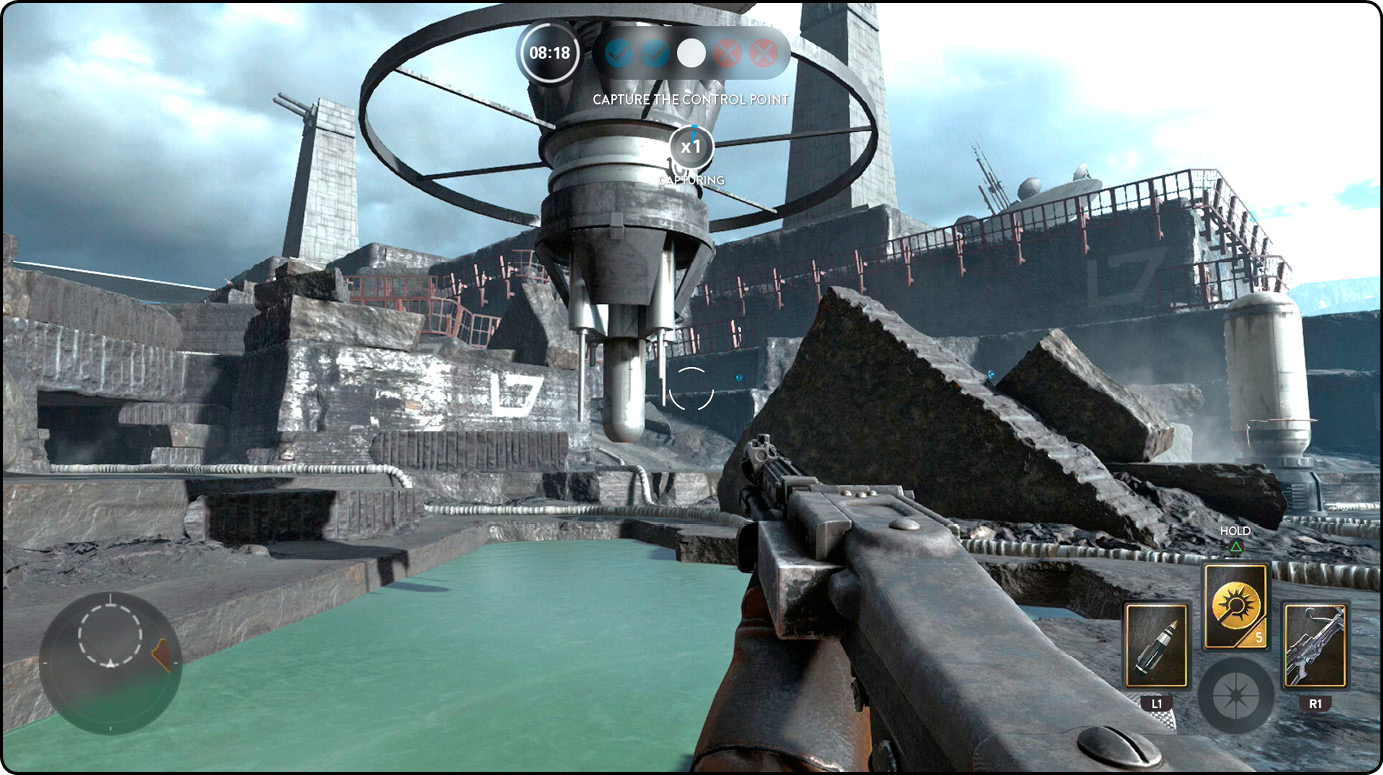
The first location and the only one available to both teams is the center control point, which is located dead center in the middle of the Centroplex. In the center of the control point is a small reservoir of water, which is luckily safe for you to be in. Surrounding the capture point itself are very symmetrical stones and rock formations that have been created from the lava flow that was once there. Fortunately, these formations make great perches and ledges for you to use, granting both a height advantage and cover to protect the point. The area is wide, so fitting all 40 players in this immediate battle zone should be no problem. However, the fight will become chaotic, and you must be aggressive if you want to take this control point for your team.
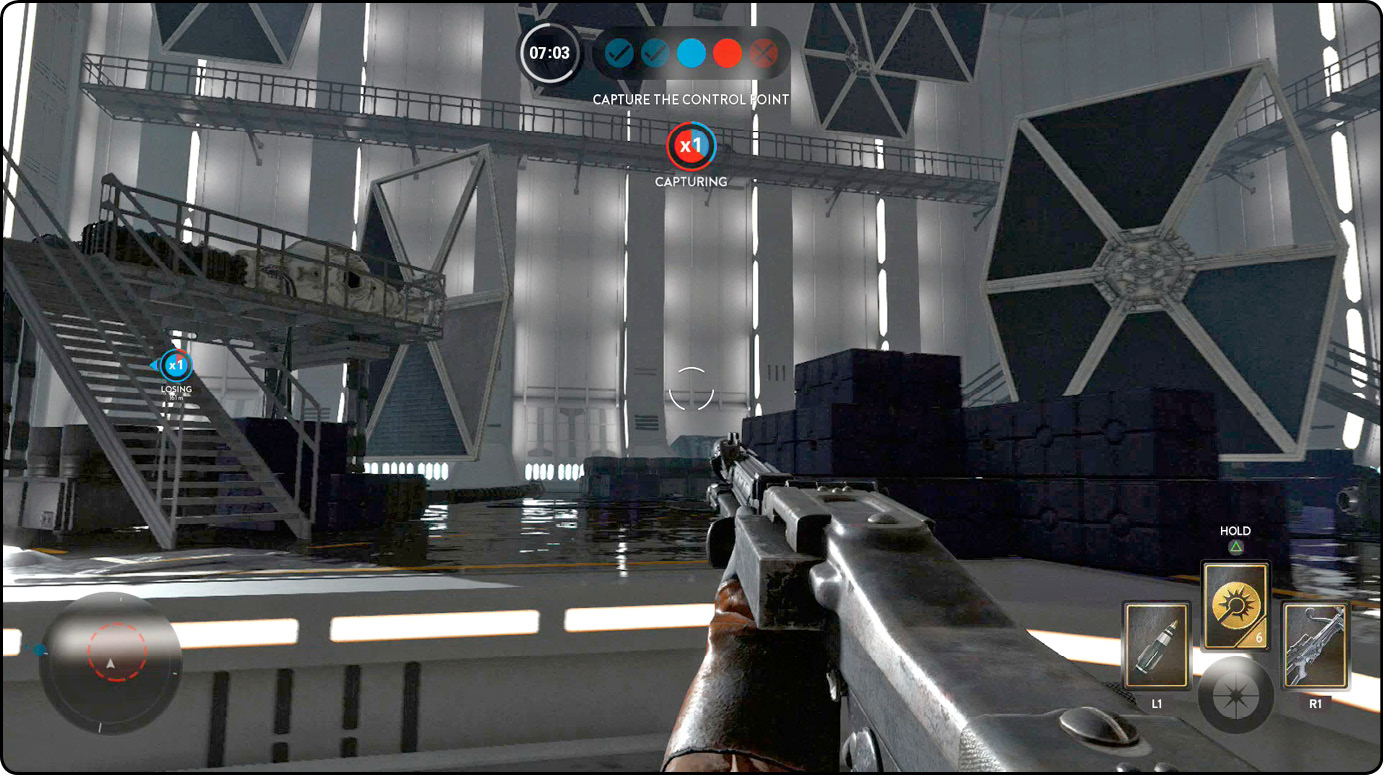
If the Rebels take victory over the first control point, the battle then extends to the Imperial Hangar just across the main stretch that flows through the center of the map. Some very large objects and rock formations stand between you and the Imperial Hangar, so use the Jump Pack (if you have one) to rapidly traverse the land and get to the next point as quickly as possible.
The Imperial Hangar is also quite a spacious area, but aside from the large opening to the hangar, it is mostly contained. Because of the opening in the front of the building, this is one of the most important directions to watch and should be your main priority. Yes, you could possibly be flanked if an enemy snuck in behind you, but that’s part of what makes the front side so important. When defending this area as the Empire, watch out for the corridor located on the Rebel side of the hangar. That is a popular entrance for Rebels to avoid getting shot by your walkers. You can effectively defend the front of the hangar from slightly outside the hangar and the side entrance from the inside—just avoid getting cornered into one location and wiped off the map.
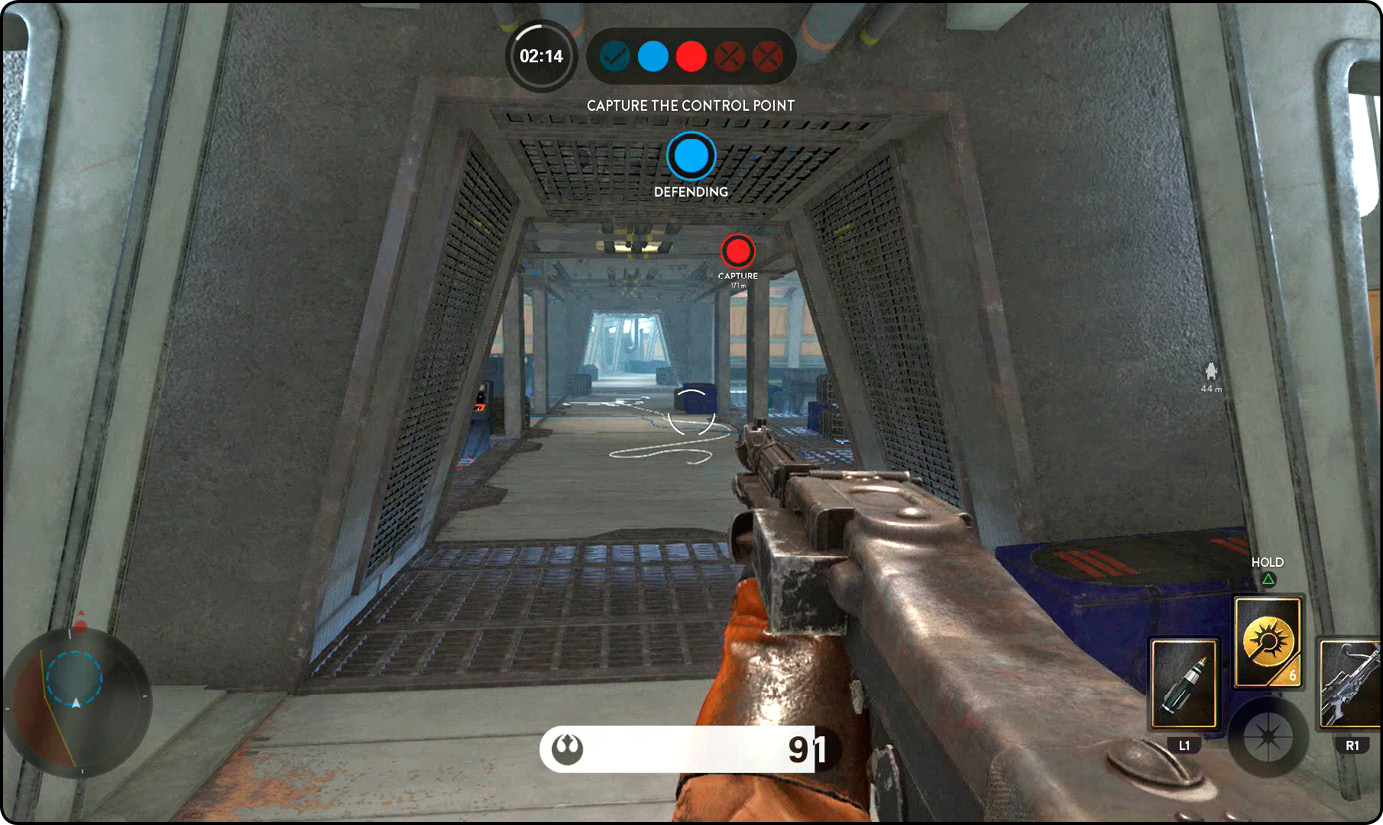
If the Imperials take the first control point, the battle is then extended to the outpost a little farther down the hill. The control point for this outpost is fully interior and uses an intelligence room as the capture location. There are three entrances to this intelligence room: one from the Rebels’ deployment area and two from the Imperials’ side (especially after the Empire has taken the center point). Attacking this point is a bit more difficult than it sounds. Although there are two entrances on the Imperial side, they are still connected to narrow corridors. No matter how you set up, this fight always involves close-quarters combat. Use the computers and cargo crates as cover while setting up Blaster Cannons to both help defend the point and lay waste to anyone hiding inside.
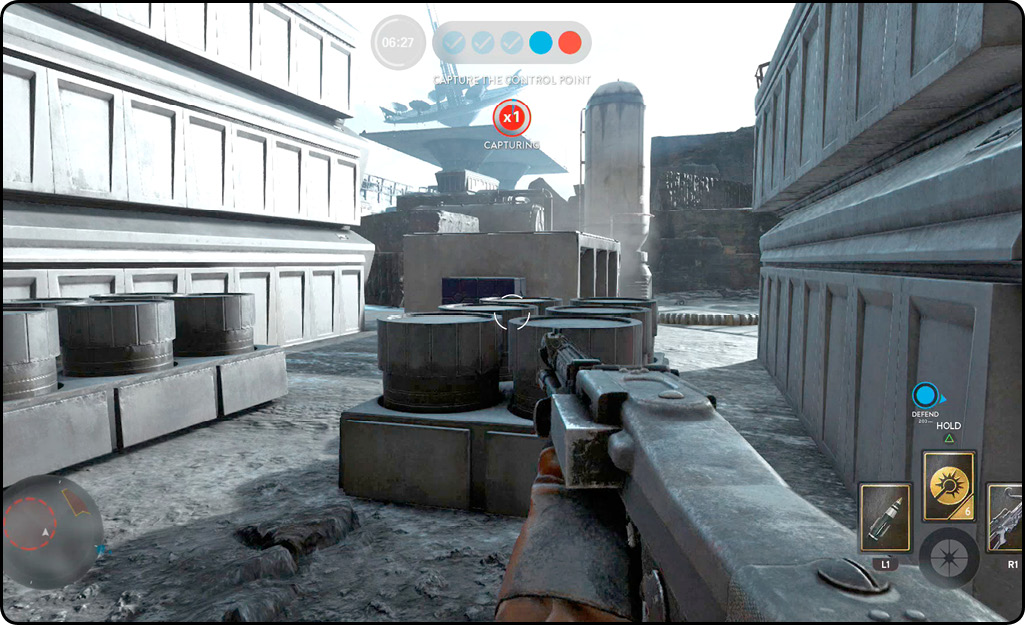
If the Rebels can successfully push the Empire all the way back to their base and final control point, the rest of the match can proceed in one of two ways. The first way is that the Rebel Alliance will dominate and take the final control point within a matter of seconds. In the second way, the fight stays directly on this final stretch of Centroplex for the rest of the time remaining in the match. Both outcomes strongly depend on whether the Imperial magmatroopers can quickly set up effective defenses. To get to the final control point from the last is a simple run up the hill, avoiding walker fire as much as possible. However, once you get there, both attacking and defending this place requires an incredible amount of timing and luck. The control point is at the bottom of a multi-leveled section of the map that features both structures and rock formations. Two large structures stand on either side of the control point, and these act as a great ambush crossfire if you can find your way onto them. Then, you have a large ledge off to the side with three different layers of elevation and a fixed turret to help fend off attackers. Use every level and height advantage that you can to defend this place. The real challenge is that the control point is at the lowest section, and it is quite easy to peer down onto it.
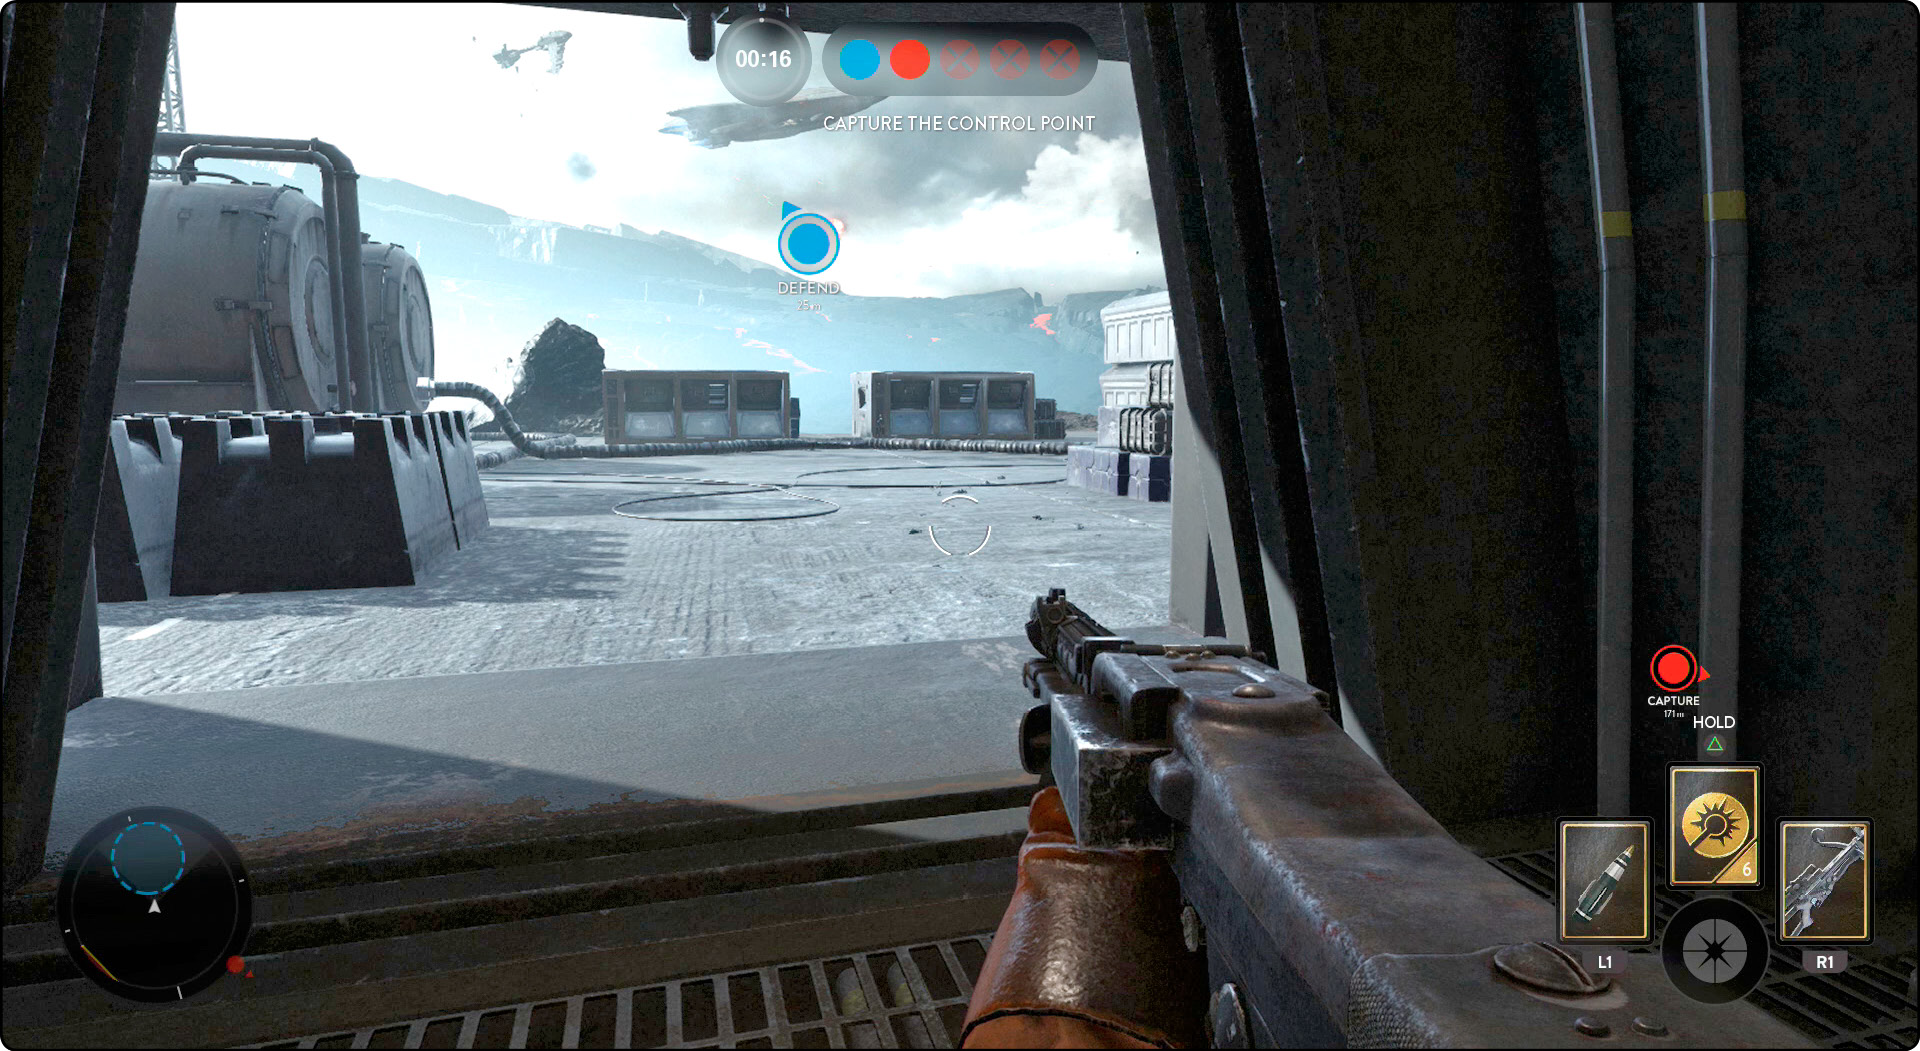
Finally, if the Empire has pushed the Rebels all the way back to their ship, this next control point is all about cover and getting the best angle on your opponent. Unlike the Empire’s final control point, there are not many levels here where you can get height advantages. However, there is a much wider area of operations, which allows for more of a distanced defense and attack style. A number of crates surrounds the control point; use them for cover and concealment. At the same time, there is an outpost that actually leads to the next control point up the hill, making it a great flanking route. This route is rather dangerous because it is incredibly easy for Rebel troopers to get inside the outpost and defend the shortcut from within. Still, it is important to have your allies inside because you don’t want the Rebels using it to get around your troopers and moving to take the next point from your team. Attack this control point head-on to overwhelm the defending force and take it with all of the Empire’s power. Taking things slowly and methodically might make defending the control point significantly easier for the Rebel Alliance.
Walker Assault
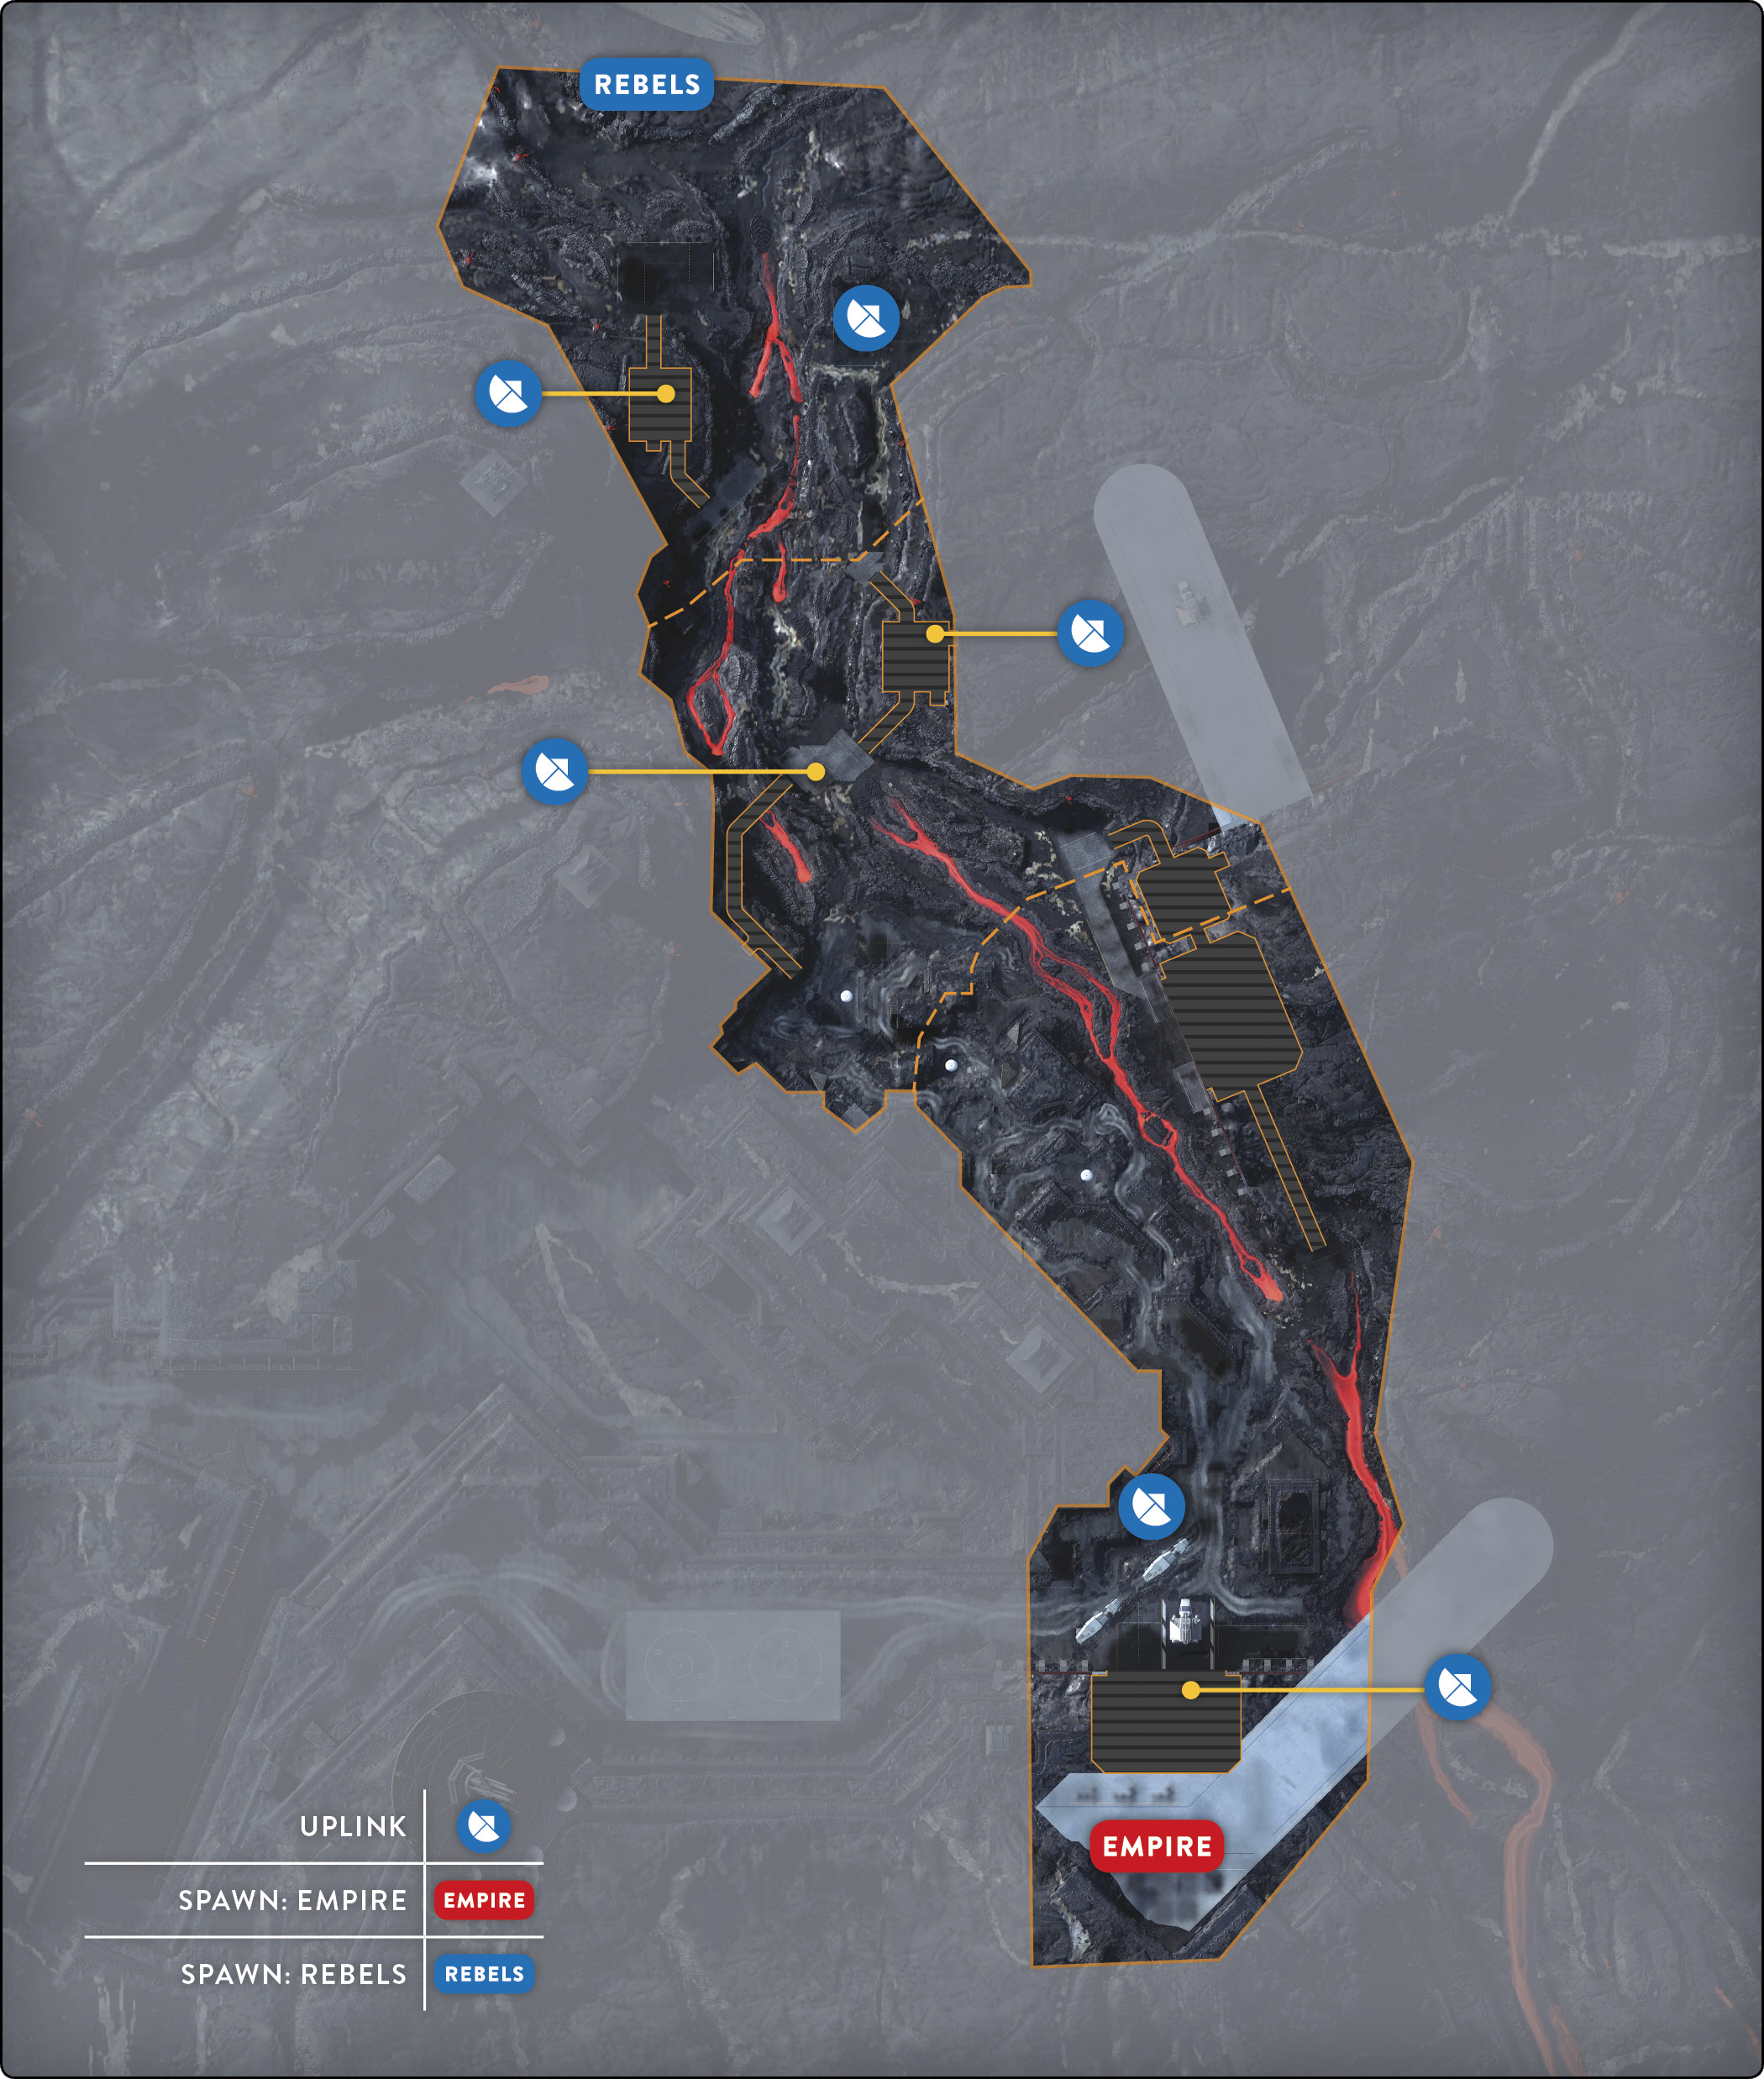
In Walker Assault on SoroSuub Centroplex, there are two walkers that both head through the narrow center stretch moving downhill from their base. The narrow path that the AT-ATs take doesn’t make the world’s difference. But unlike some other maps, the AT-ATs are much closer together here, possibly allowing a more focused attack on both targets for the Rebellion.
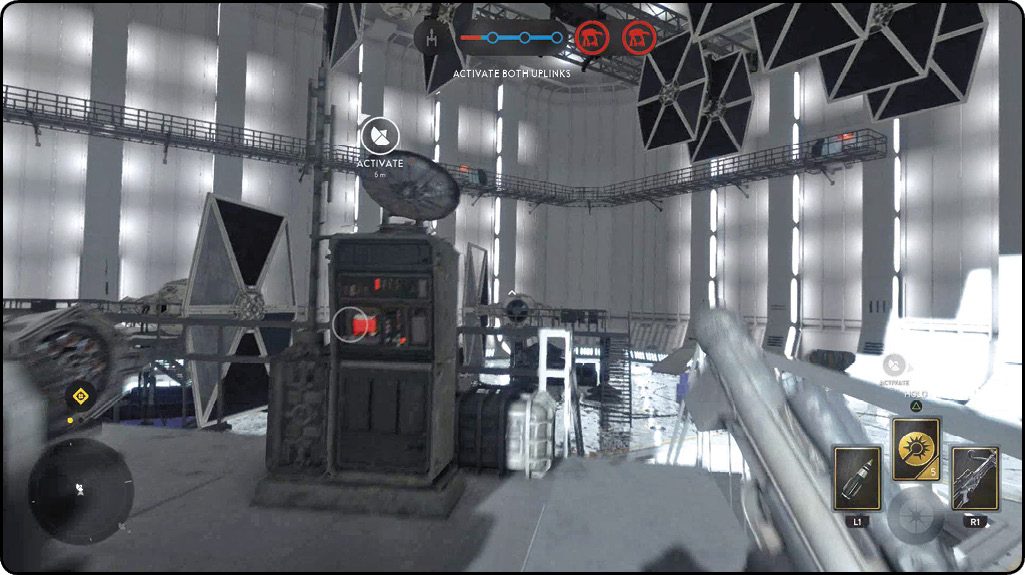
There are two uplink stations, with one on either side of the walkers’ path. The first is inside the Imperial Hangar and up the stairs of the closest TIE fighter dock. Because the uplink is on the dock itself, it is extremely exposed to enemy fire. This makes a great opportunity for you to break out the Squad Shield or to call in Leia Organa to help protect the Rebel troopers trying to activate this uplink. The Empire’s best defense on the first uplink is from down below, and using Jump Packs to access it quickly is completely necessary. Defending the uplink from the exact spot is just as dangerous as it is for the Rebels to activate it.
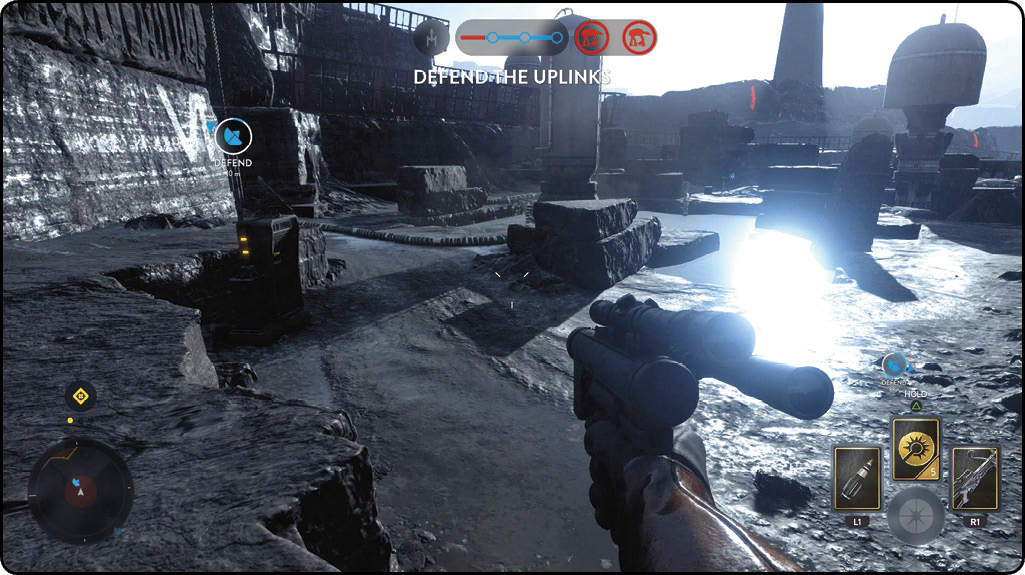
The second uplink in this first phase is located just across the way near the water tanks, on the edge of a very open area. Fortunately for both teams, the uplink is set close to a cliff that leads just a bit farther uphill. This cliff can be useful for the Imperials, as it gives you a great height advantage looking straight down onto the uplink to defend it effectively. Another advantage to this cliff is that it looks over the wide, open area that leads to the uplink from the Rebels’ original location. The best way for the Rebels to handle this is to take this uplink first and as early as possible. It is much easier to take it from the center of the map moving toward the uplink than from head-on. If you can move in without the walkers spotting you, the Rebel forces have a better chance of getting on top of that cliff and controlling it for themselves, making the activation of the uplink that much easier.
Once your Y-wings have come in and you’ve dealt your share of damage to the AT-ATs, it becomes time to move to the second phase, which is typically the phase that makes or breaks your team’s morale. The second set of uplinks is quite a bit different than the first. For example, the first uplink gives a definite advantage for the Rebellion, at least at the start of the phase. The uplink is set up next to a large structure that completely blocks the Empire side and is widely open to the Rebels’ position. This is tactically advantageous to the Rebels at first, but as a minute or two passes, it opens up to a world of heat brought on by the Empire’s vehicles. To stay protected from vehicles, use the outpost that is located immediately next to this uplink, as it can provide cover and safety for you and your teammates. The only downside is if the Empire forces camp that spot and don’t allow you to come back out, you will have to deal with their vehicles in order to succeed.
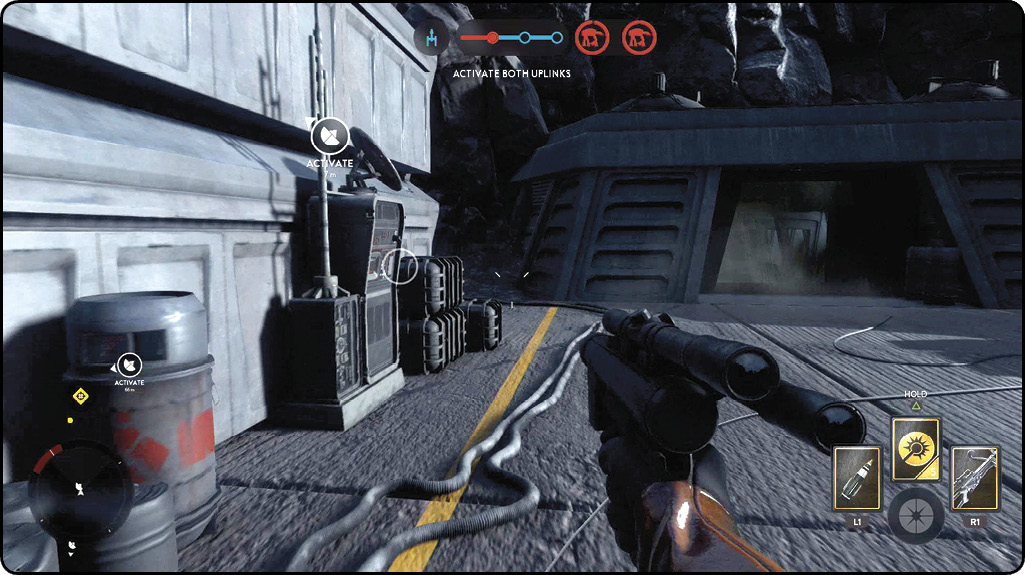
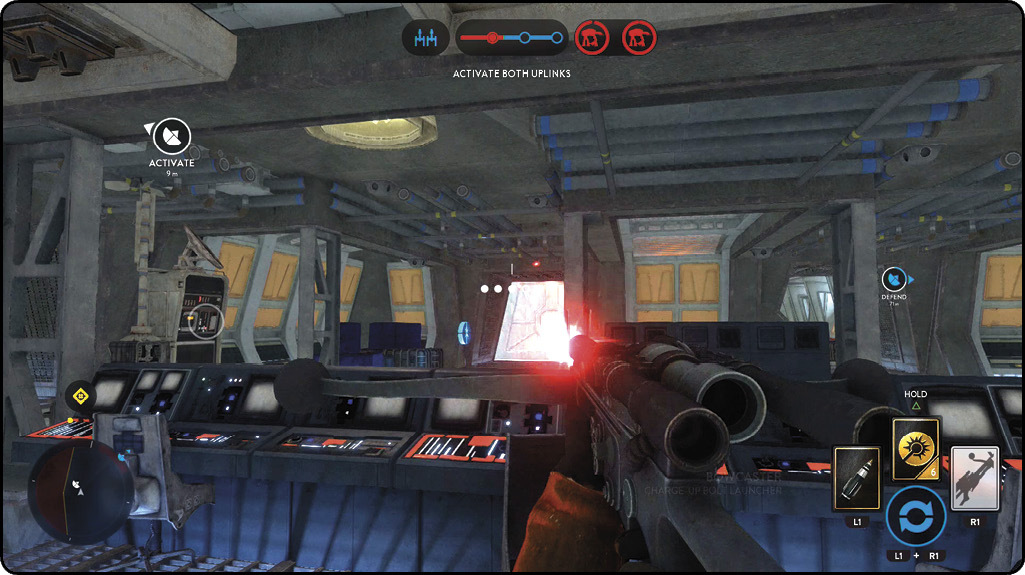
The next uplink in this phase is located inside the outpost on the other side of the middle stretch. While attacking or defending this uplink, don’t fear any vehicles, as they have no effect inside this location. The uplink itself is located in the center back area of the outpost, leaving it directly in the line of crossfire between the three parallel entrances. In this situation, you want to use cover as heavily as possible and peek out only to take potshots at your enemies, keeping them pinned down and out of your territory. Standing out of cover too long here will not only get you killed, but also possibly give away the immediate positions of your fellow teammates. Defend this area with Infantry Turrets and Blaster Cannons to keep the adversary at bay, then power through the walker phase to deal as much damage as possible to the enemy AT-ATs.
The final two uplinks are located both on the exterior and the interior of the mountains. The first is located near the end of the hill and directly outside the leftmost outpost in the dead center of a cargo staging area. There is no great way to defend this location because of how open the format is, but that doesn’t mean it is impossible. The best way to defend or attack this uplink is by communicating with your team to set up a perimeter around the staging area and secure the outside, not letting any troopers in. With this strategy, the problem you encounter is the attack from vehicles. With that said, this is the most vital time for the Rebellion to start getting inside vehicles and blasting some of the walkers down, relieving pressure from your troopers on the ground. You should always have either Ion Grenades or Ion Torpedoes equipped to best take down the AT-ATs, but on this map, it is even more important because of the constant attack from AT-ATs.
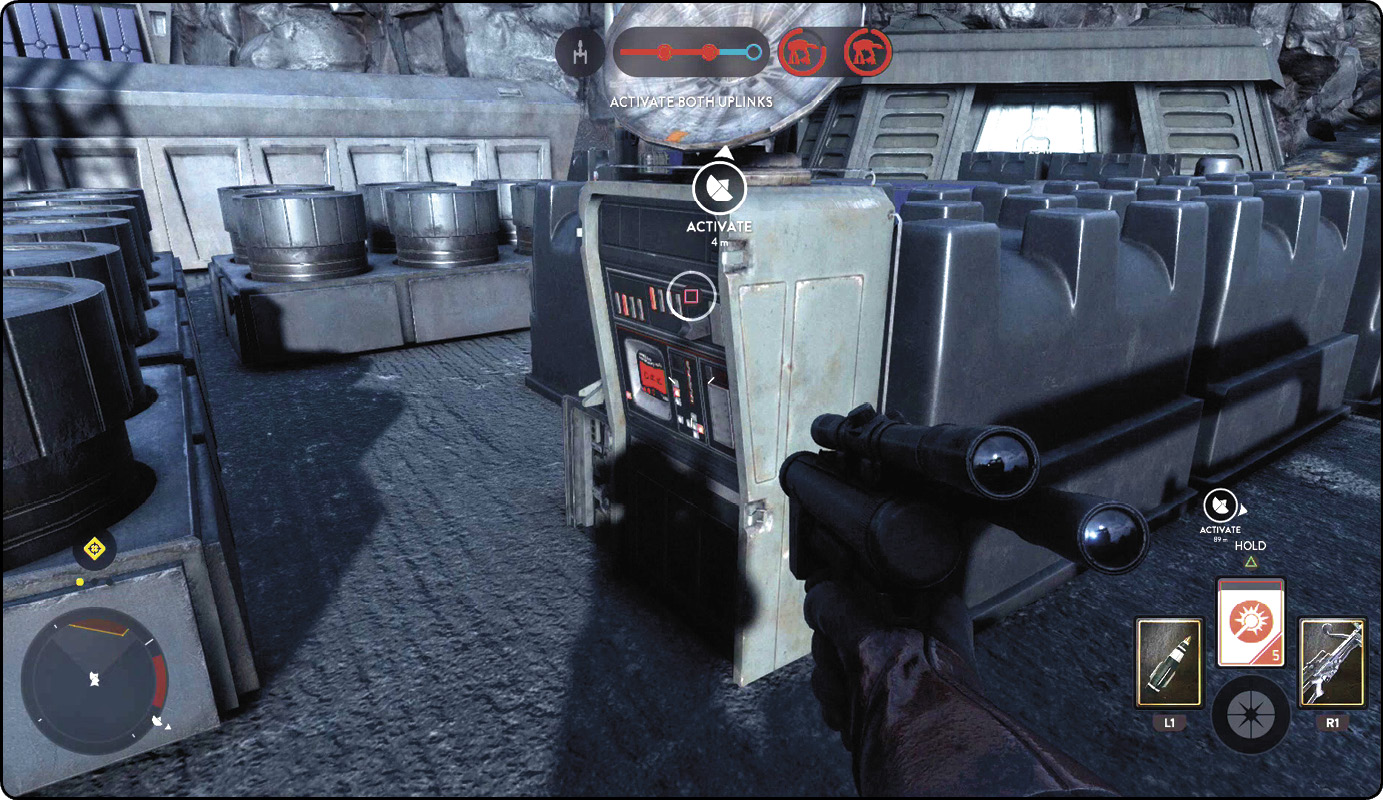
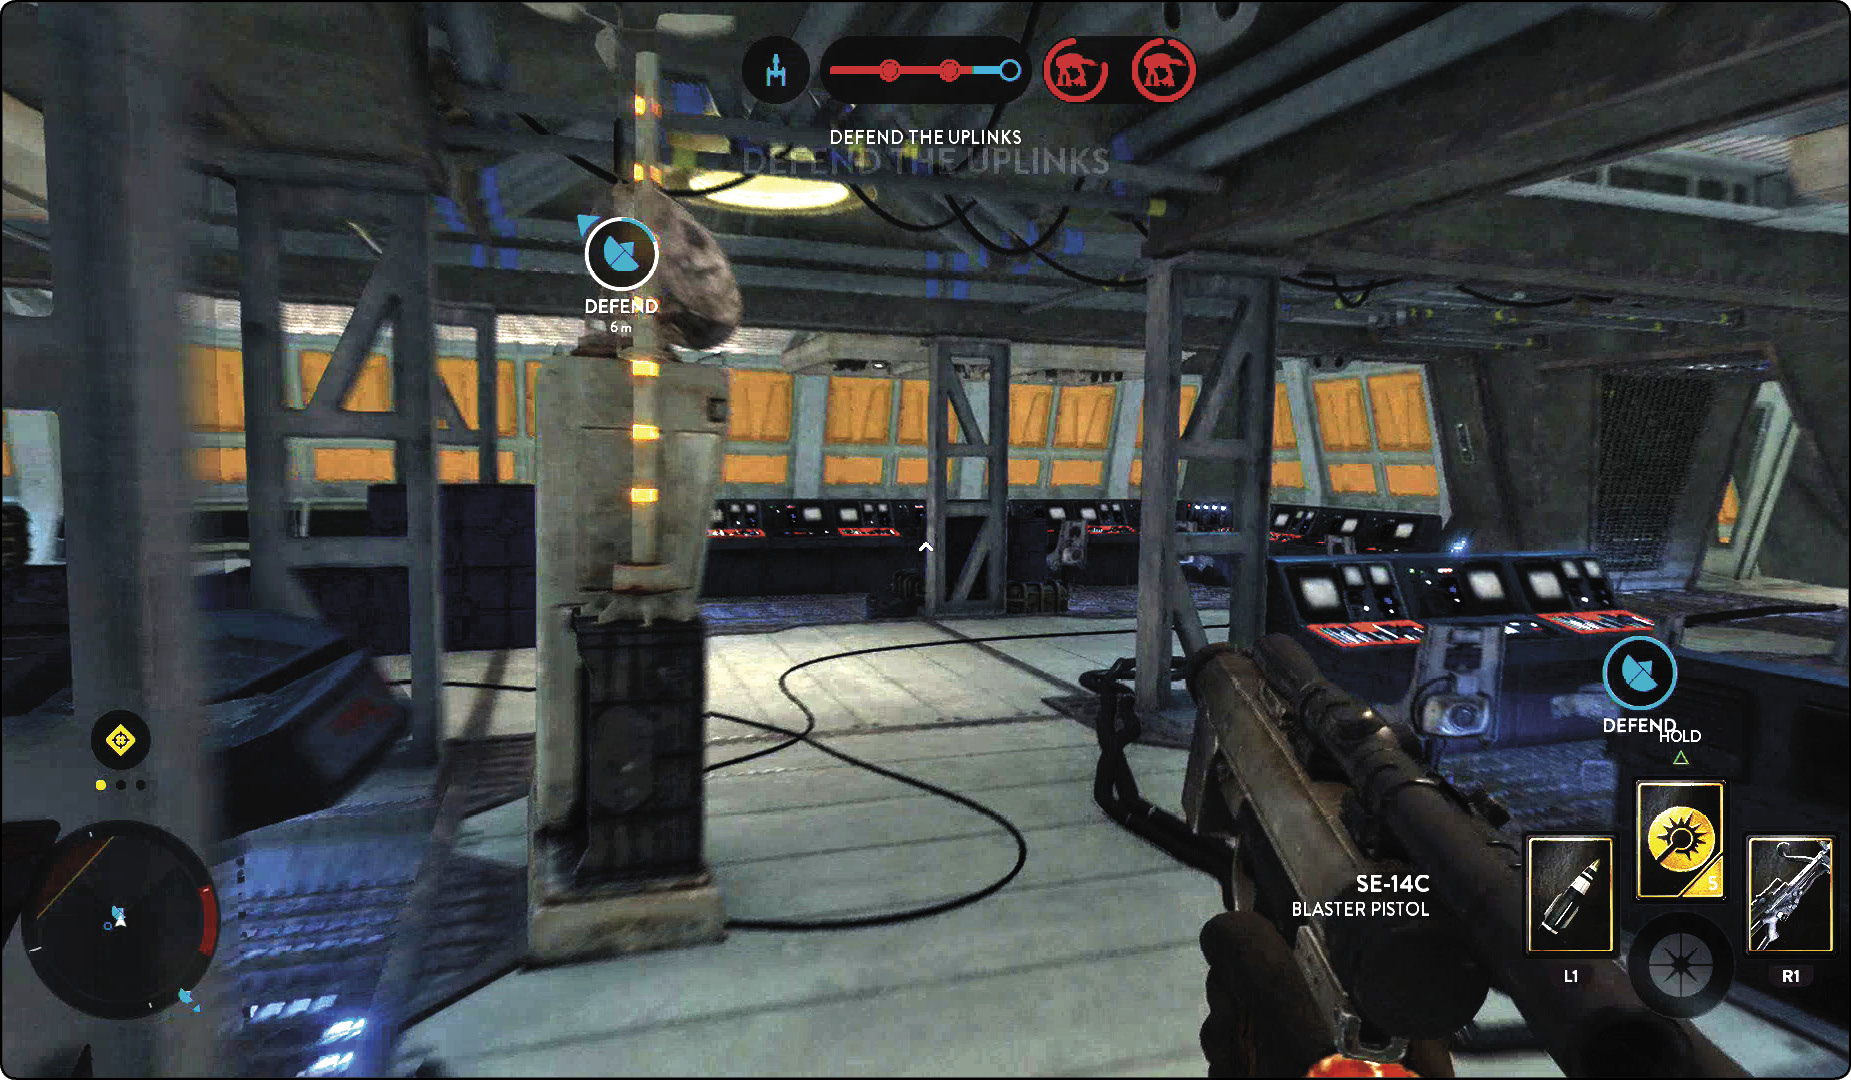
The last and final uplink is just across the way, inside the outpost that leads into the mountain. This uplink is another interior uplink like the one in the second phase, but the difference is that the uplink is now centered in the room. That gives the crossfire of the three entrances an even more specific meaning. This intelligence room has the same layout as the room in the second phase, but everything is flipped, as it is located on the other side of the map. Use the computers as cover, and remember that it is entirely possible for the Empire to sneak up on Rebels from behind. If you’re playing as a Rebel, you won’t know that because there is no door this time to warn you that enemies are on your six.
Fighter Squadron
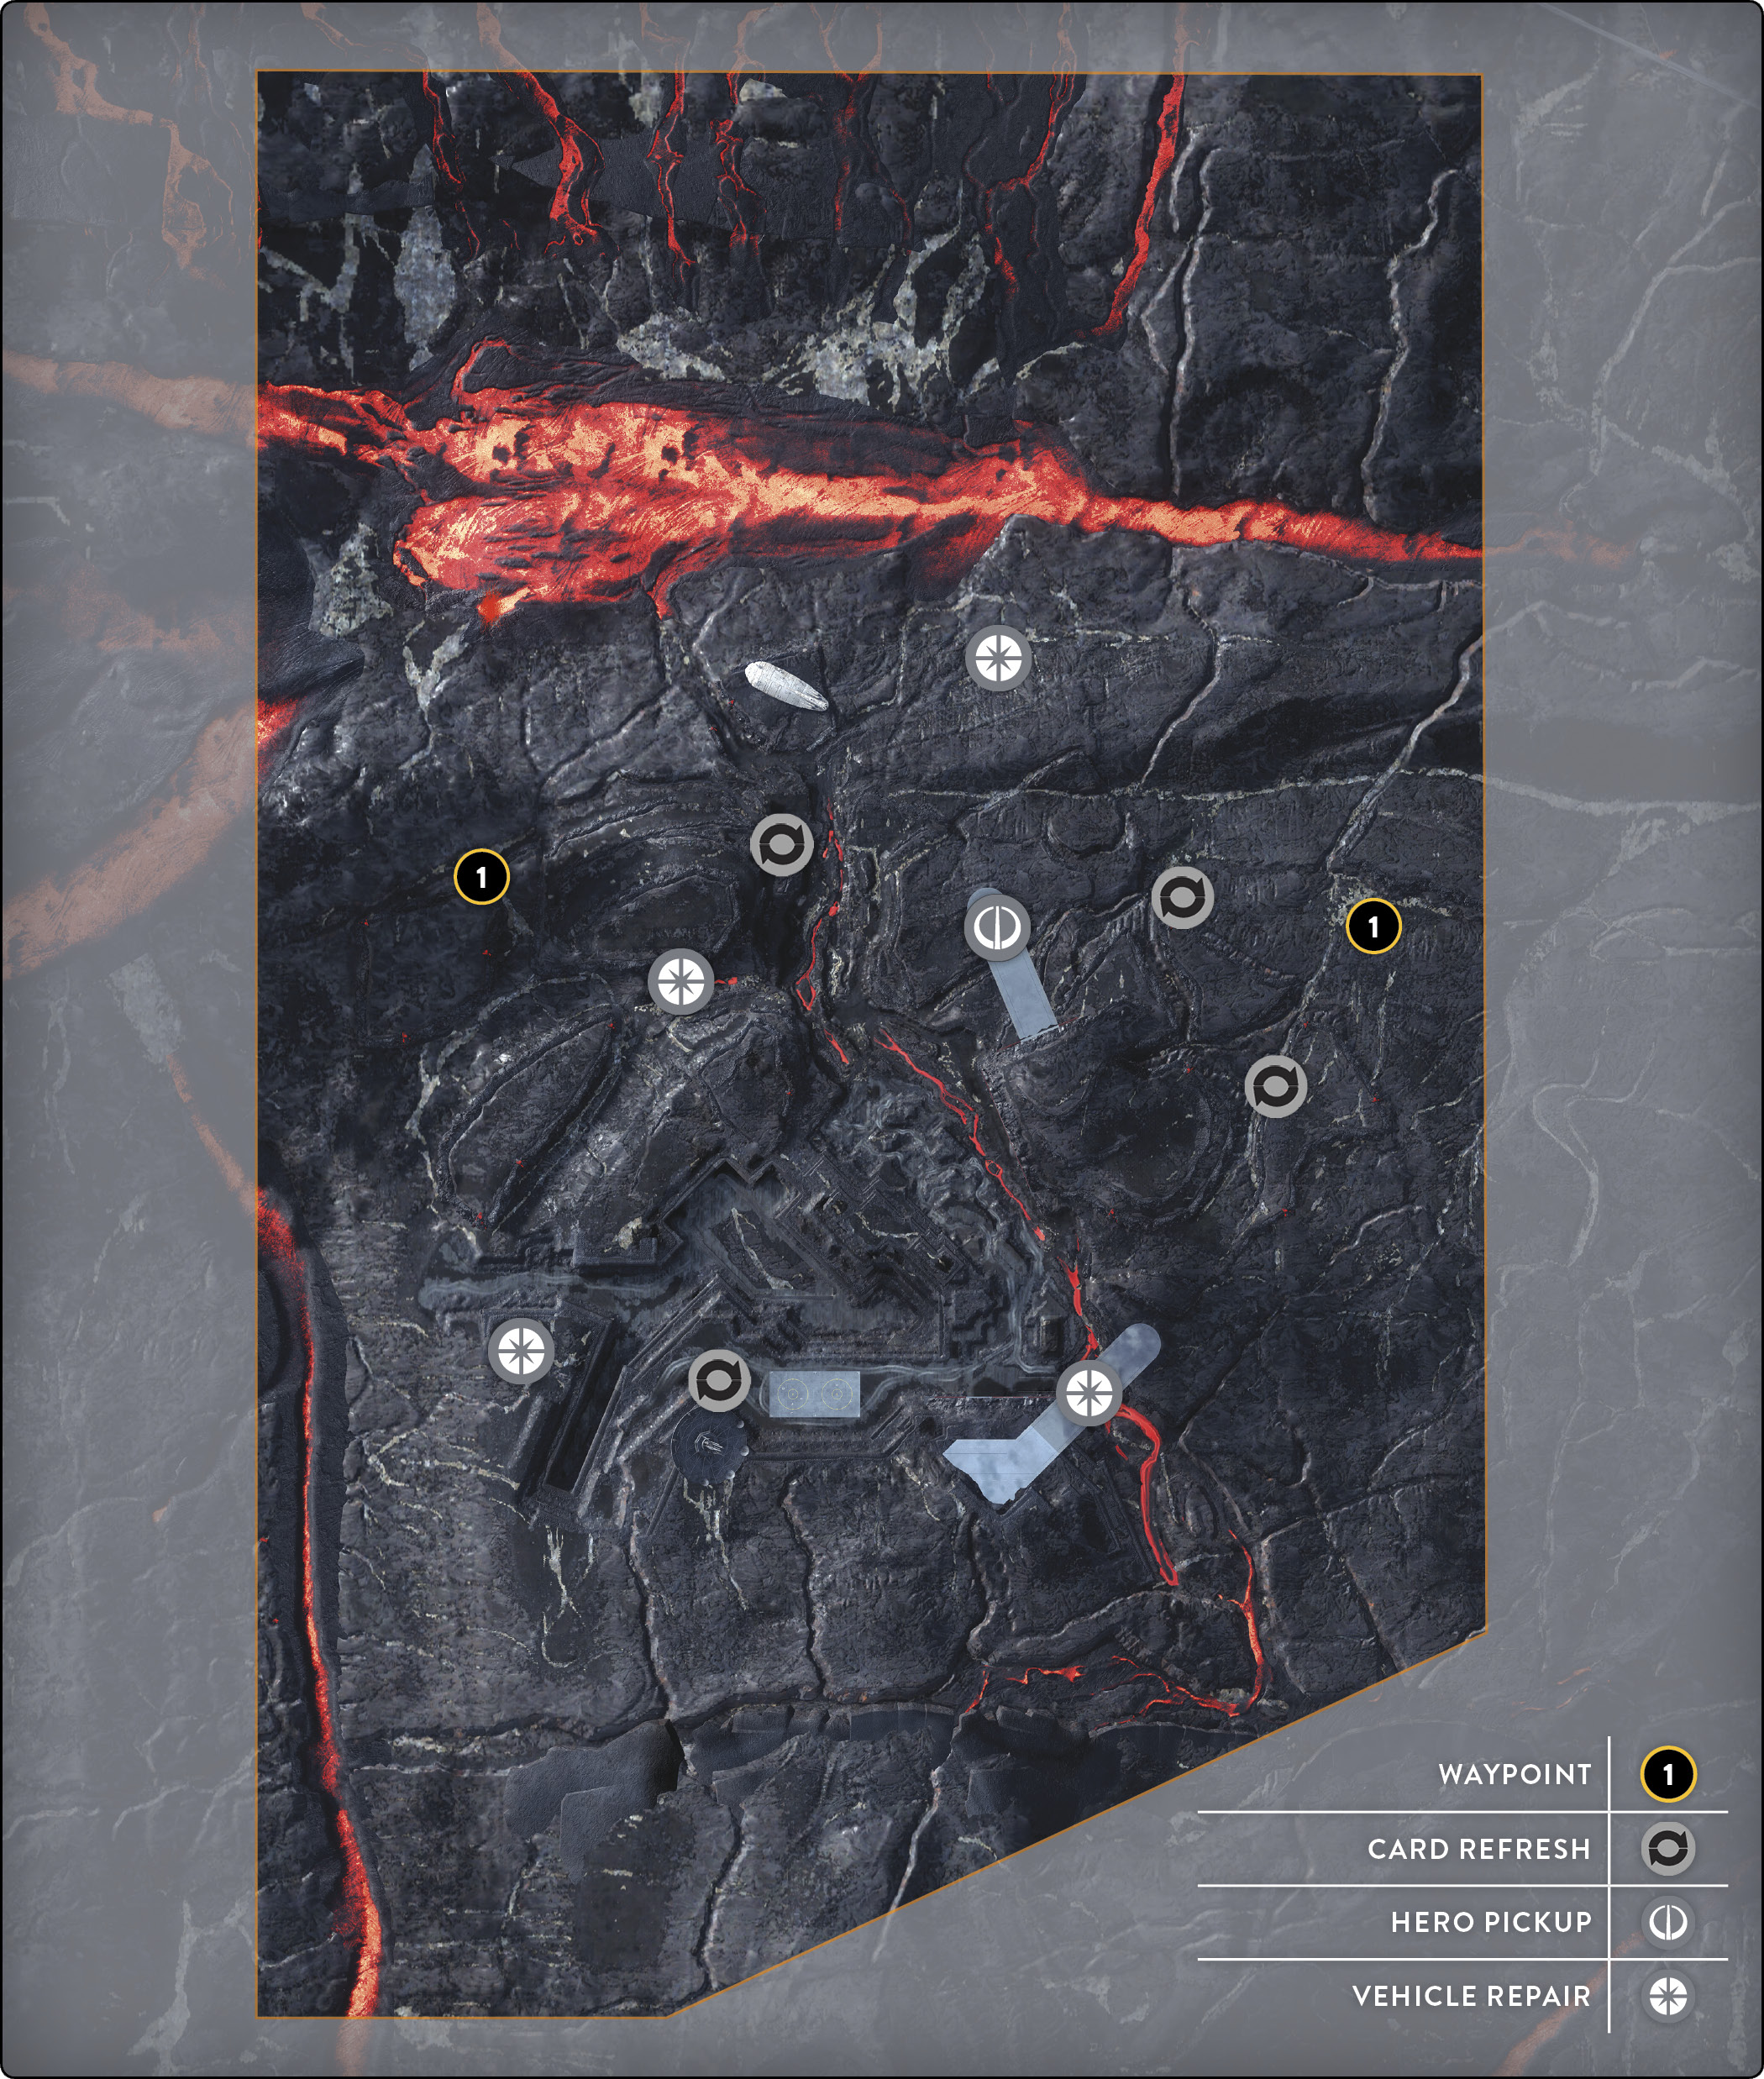
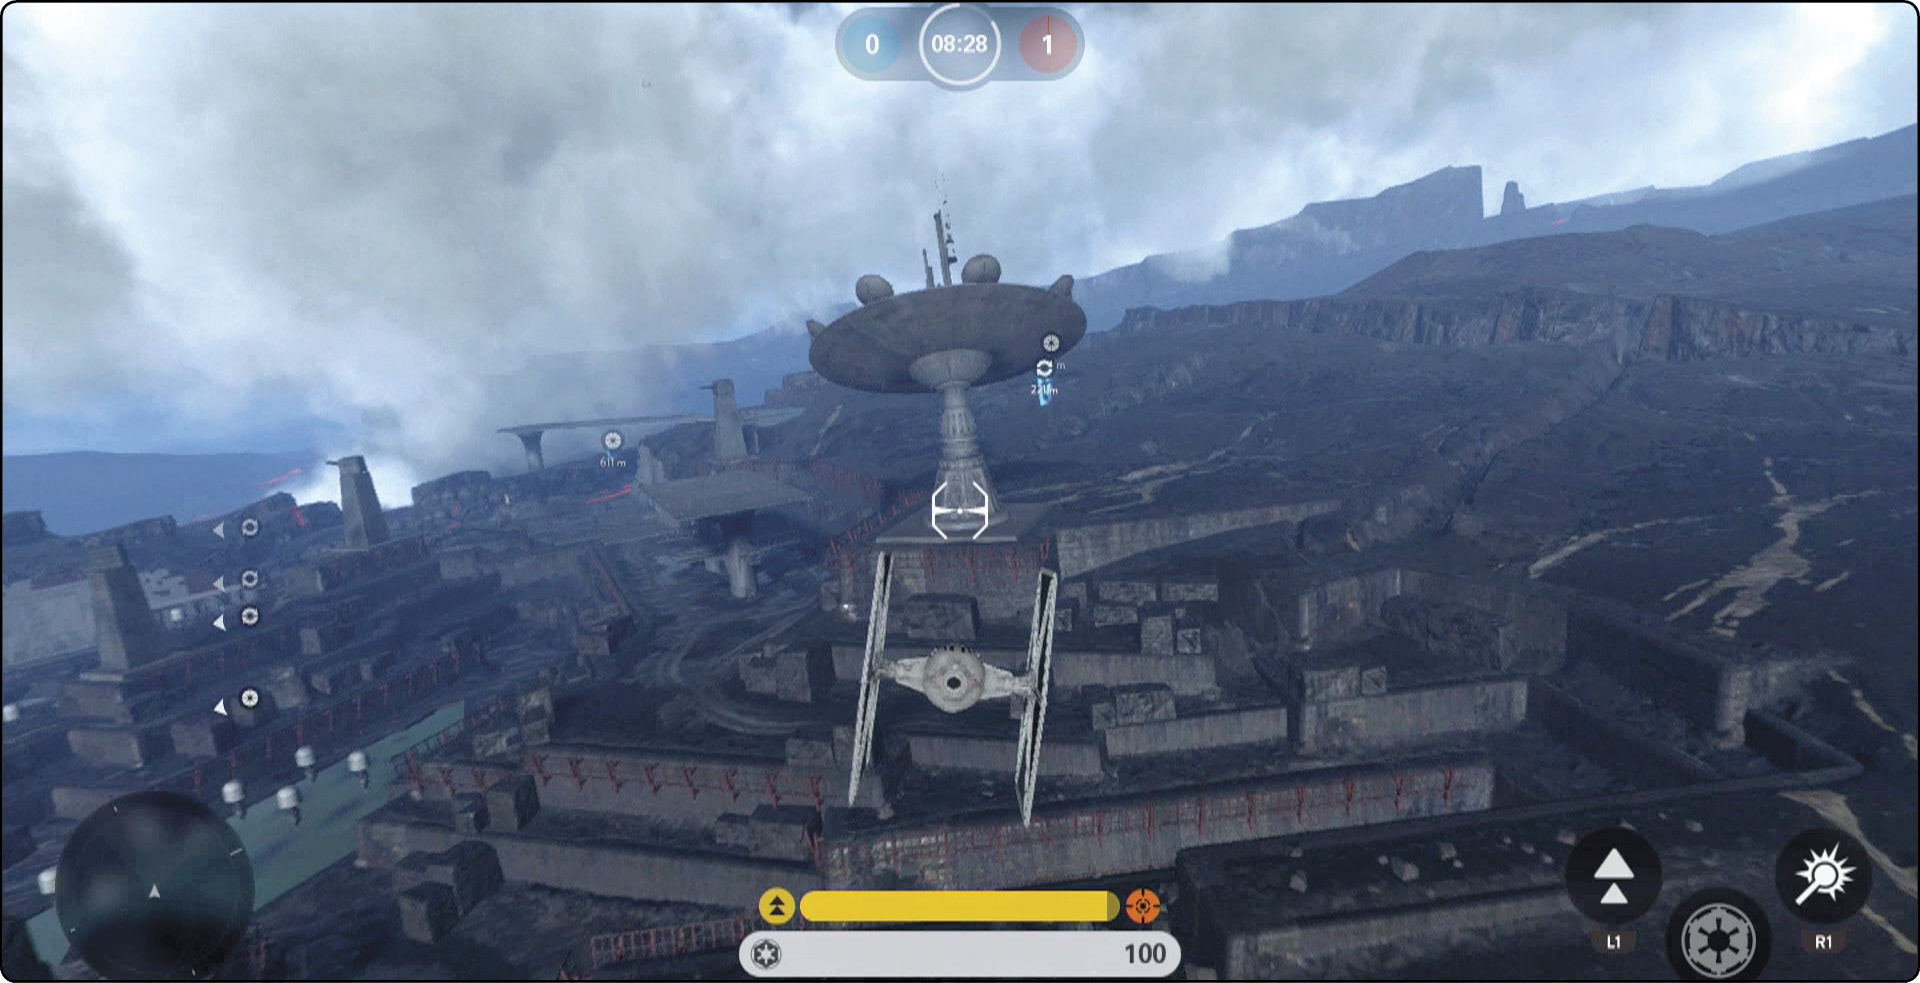
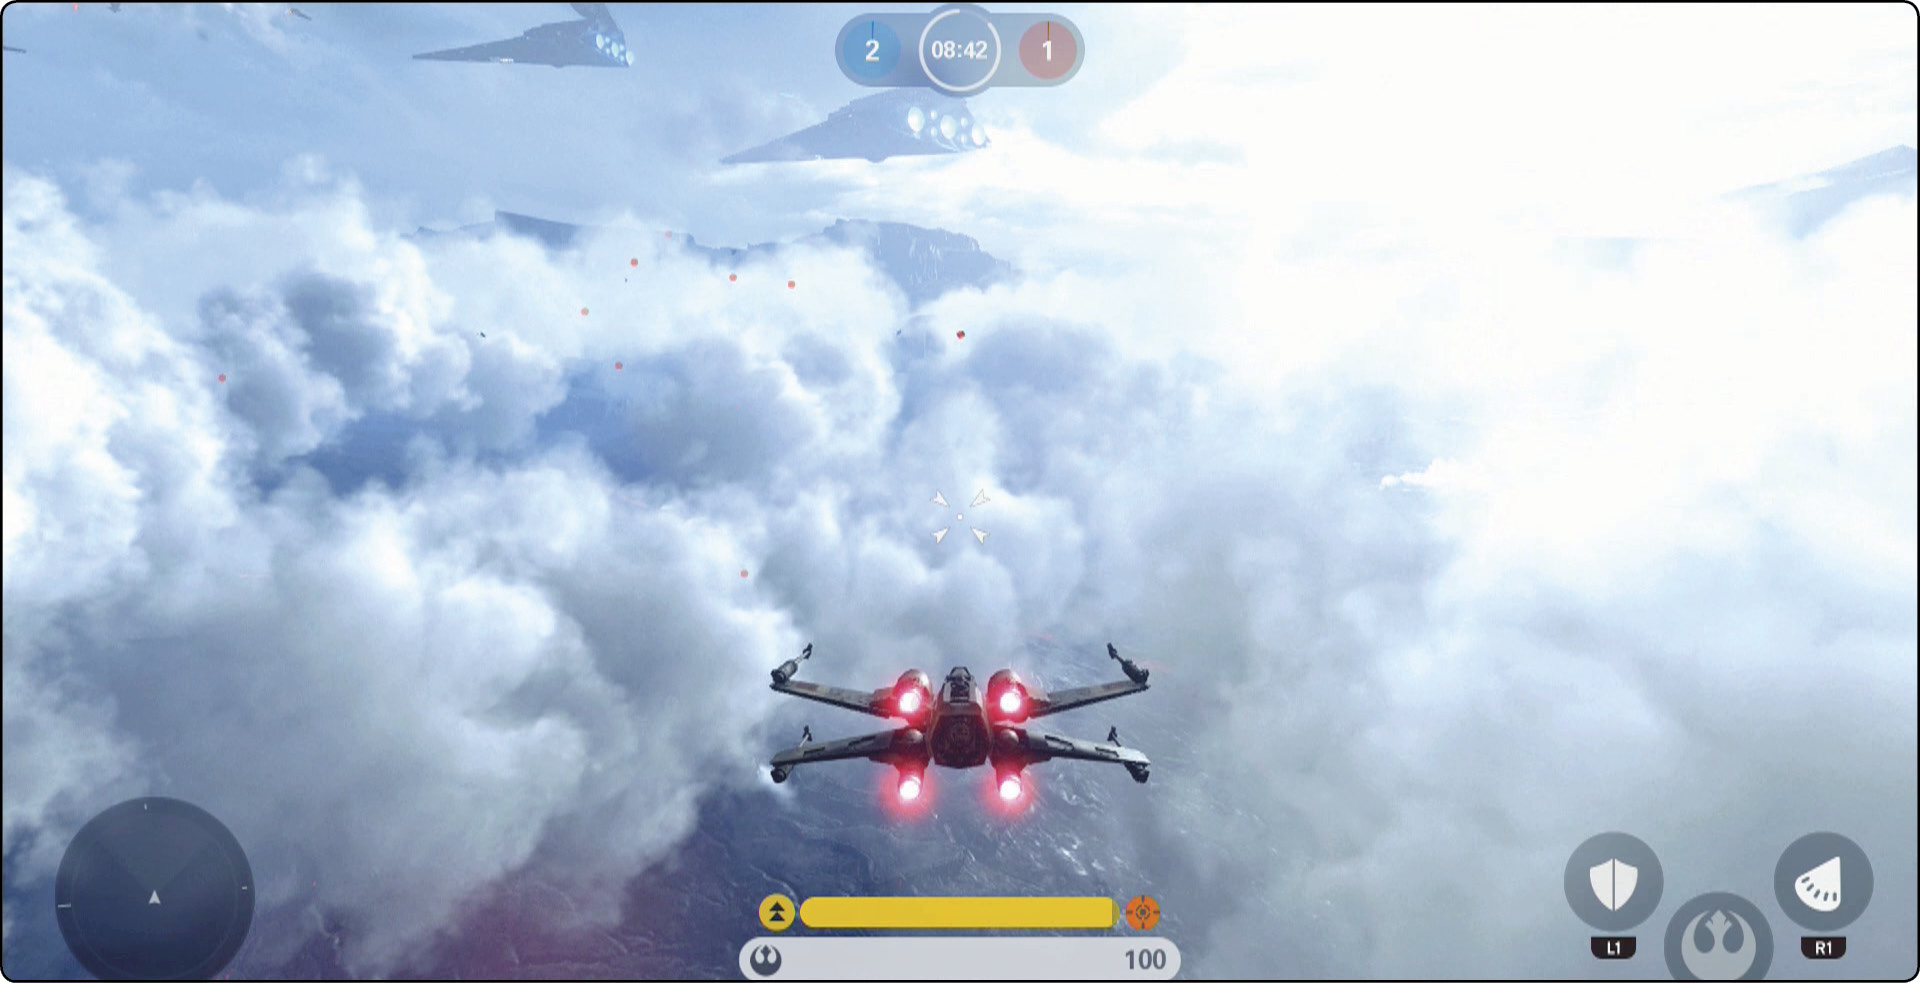
Fighter Squadron on Sullust takes place directly above the lakes and rivers of lava and magma, which creates a large collection of smoke and clouds that blocks your long-range vision. Once you find your bearings and are fully in the battle, you must avoid a plethora of obstacles if you are going to collect any pick-up tokens, whether they be Repair tokens, Refresh tokens, or Hero tokens.
In the air, there isn’t much difference from any other map while playing Fighter Squadron. However, take note of the plumes of smoke. When you’re flying through them, be ready to use your stunt maneuvers to avoid taking fire.
 Throughout the match, several escort instances take place. The direction in which each team’s transport begins its travel across the map is always the same, but the angle that it travels in is subject to change. Pay attention to your HUD when these events begin, and bring as many members of your team as you can to that location. Get there as fast as possible to complete the mission as quickly or efficiently as you can. Since the angle of the transport’s travel changes, the transport could possibly begin inside one of the canyons, making it difficult for you to track and destroy the enemy transport ship.