STAR WARS™ Battlefront™ Guide Multiplayer Game Modes Locations Hoth
Outpost Beta
Supremacy
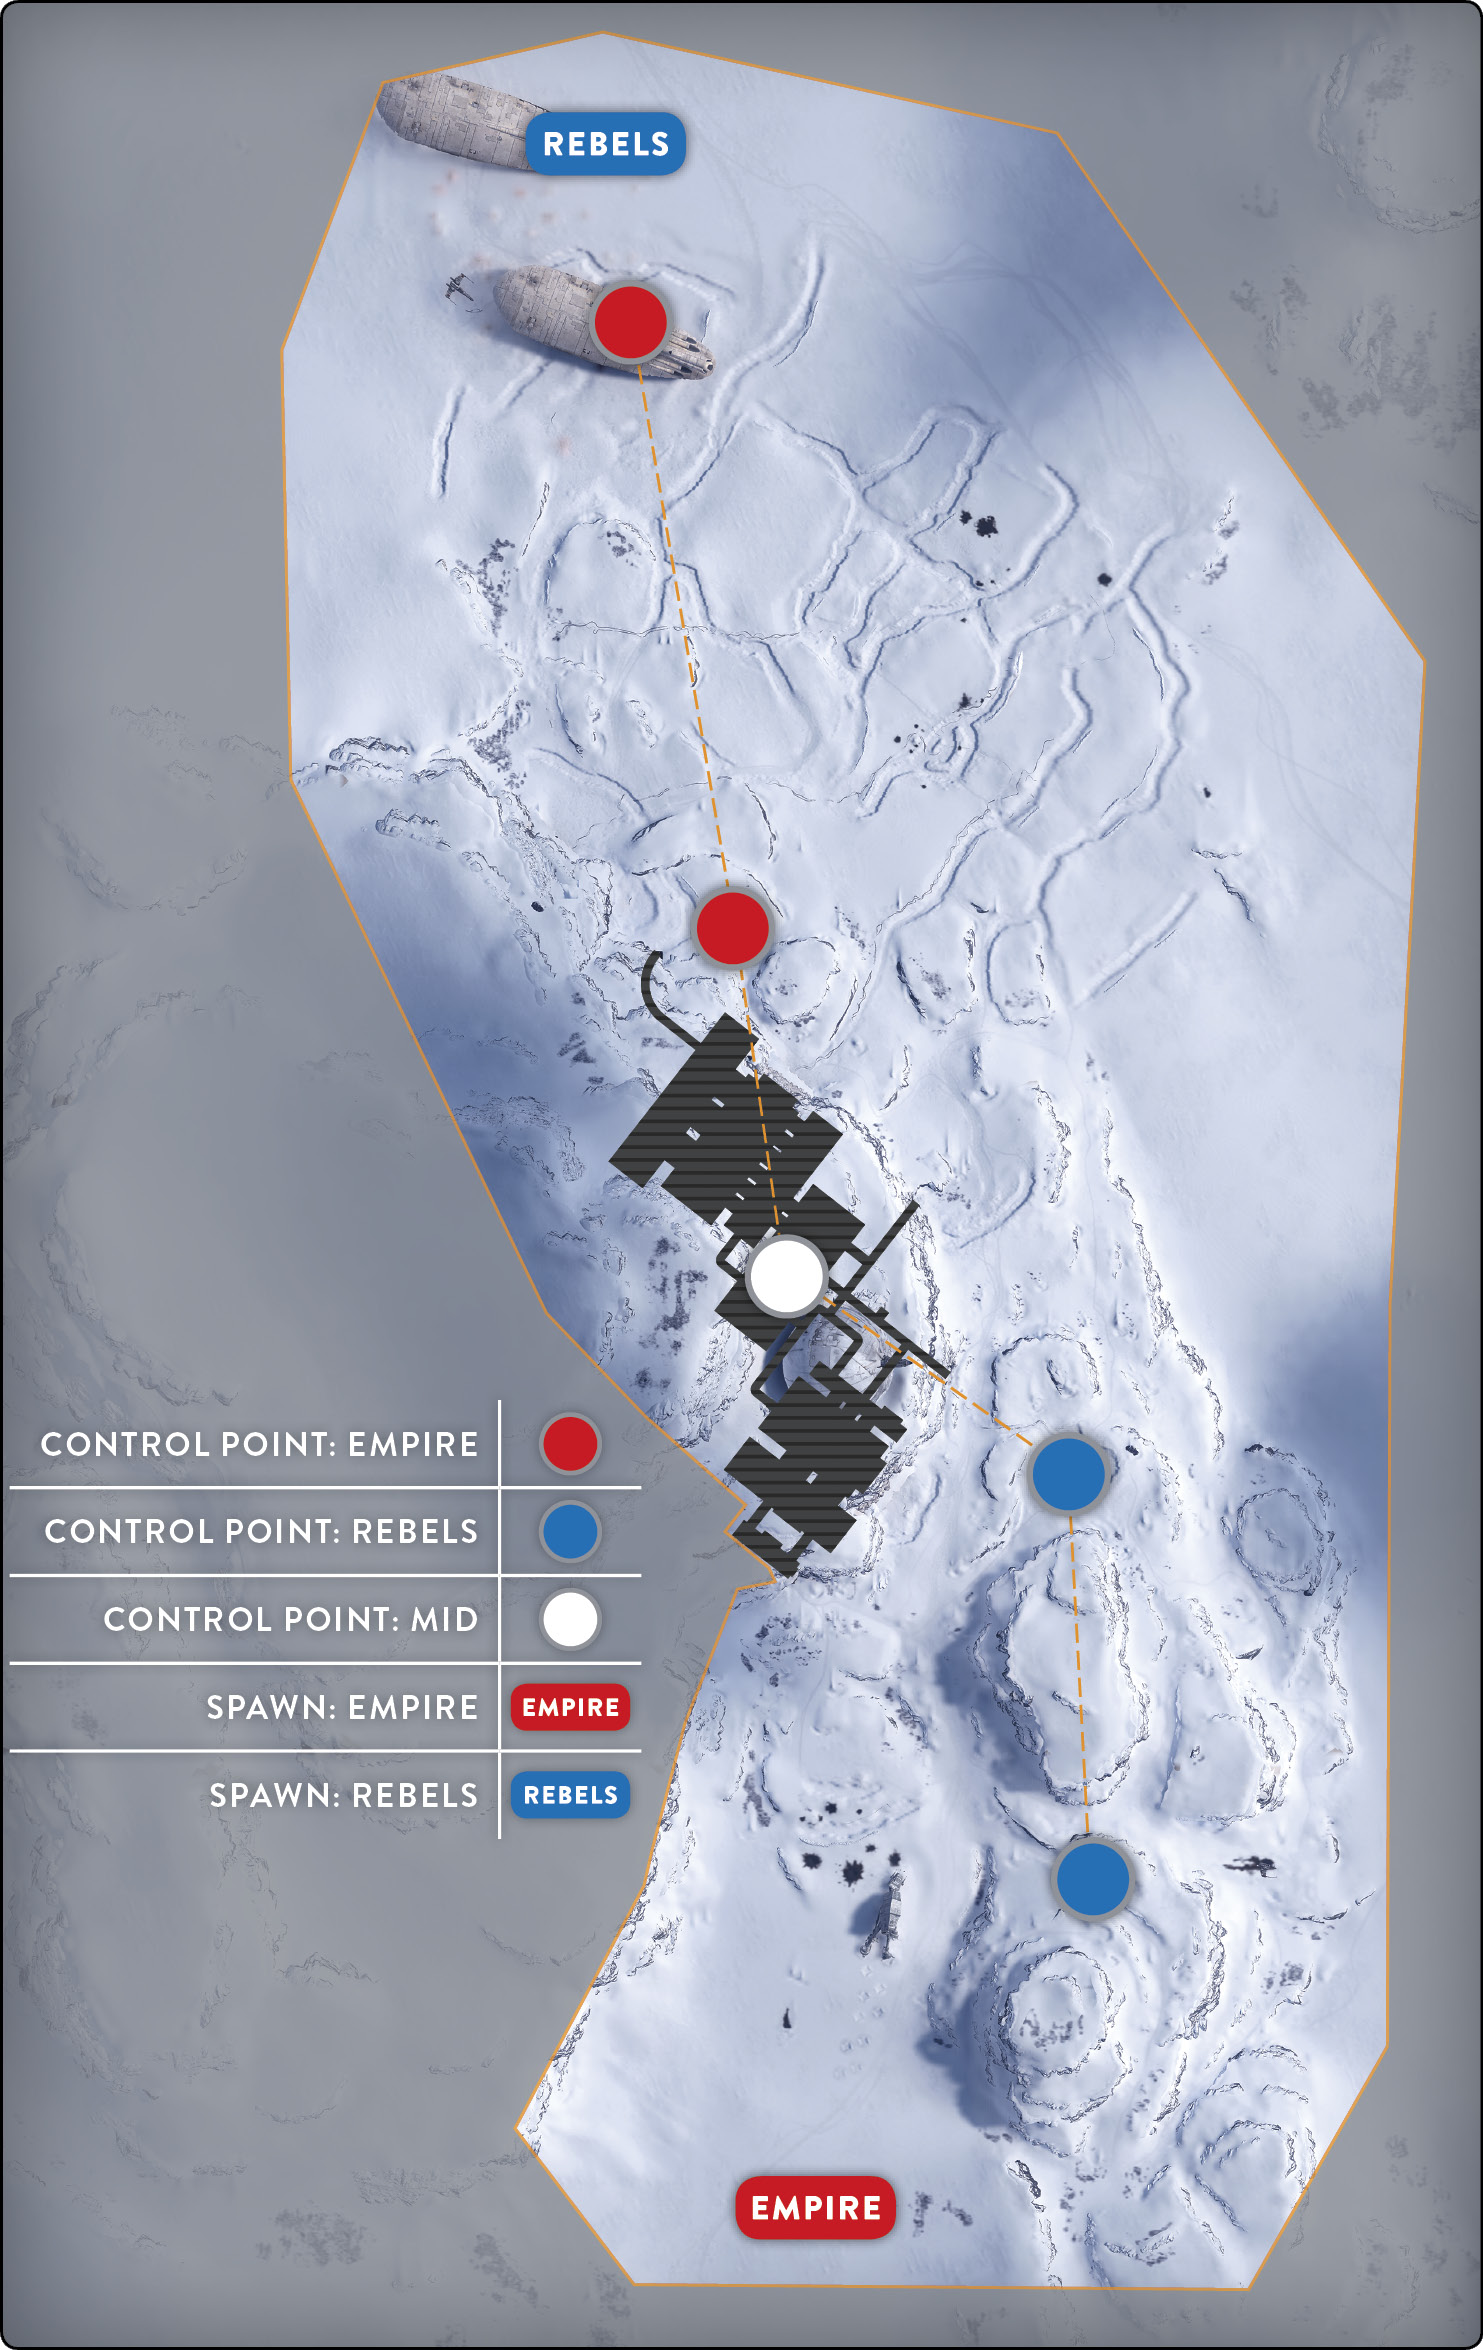
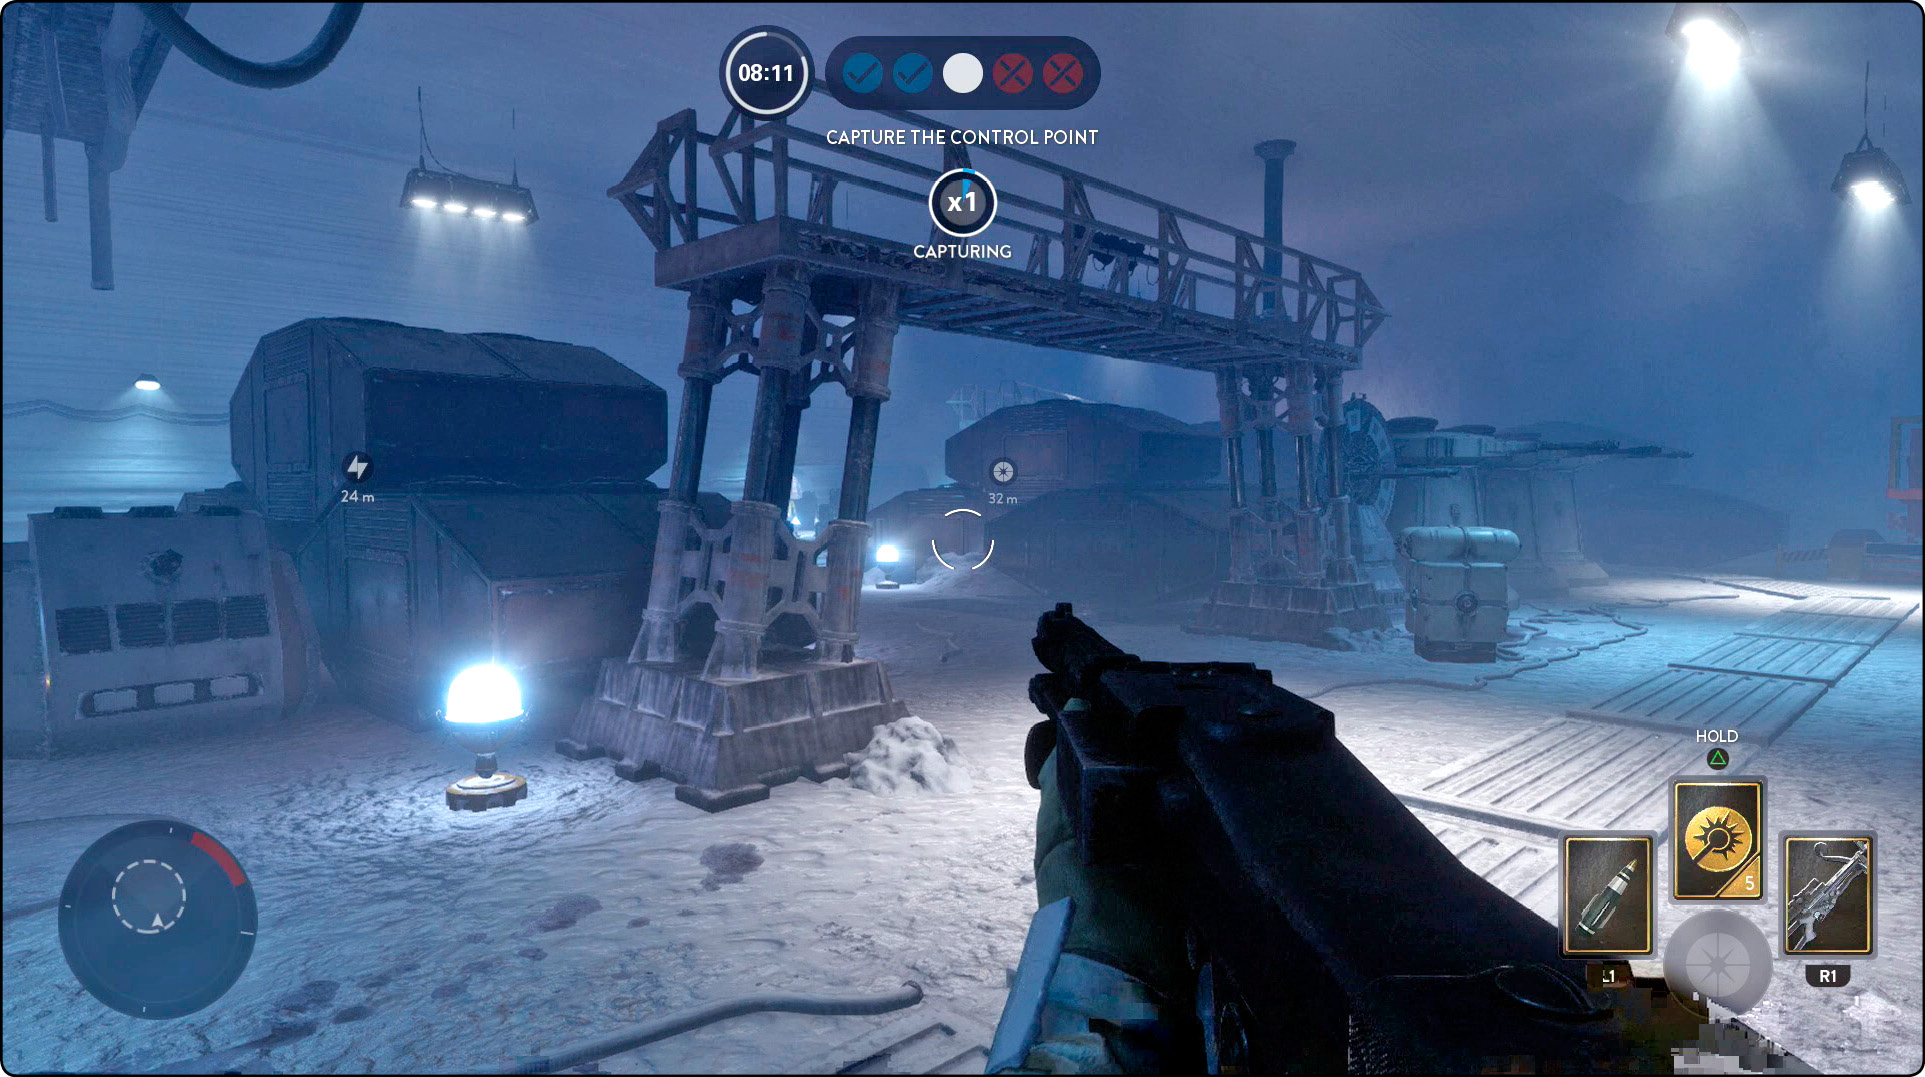
The first control point is located inside the outpost, well within the interior’s confines. This central control point is arguably the most important because not only does it kick off the match in a single direction, but it can dictate the pace of the rest of the match. Additionally, the first control point has many walls. Once you have captured it, it is much easier to defend than attack. Getting here first and as quickly as possible gives your team a huge advantage toward winning the entire match. There are several entrances to this interior control point. However, they are extremely narrow and quickly become chokepoints, rendering the enemy’s numbers meaningless.
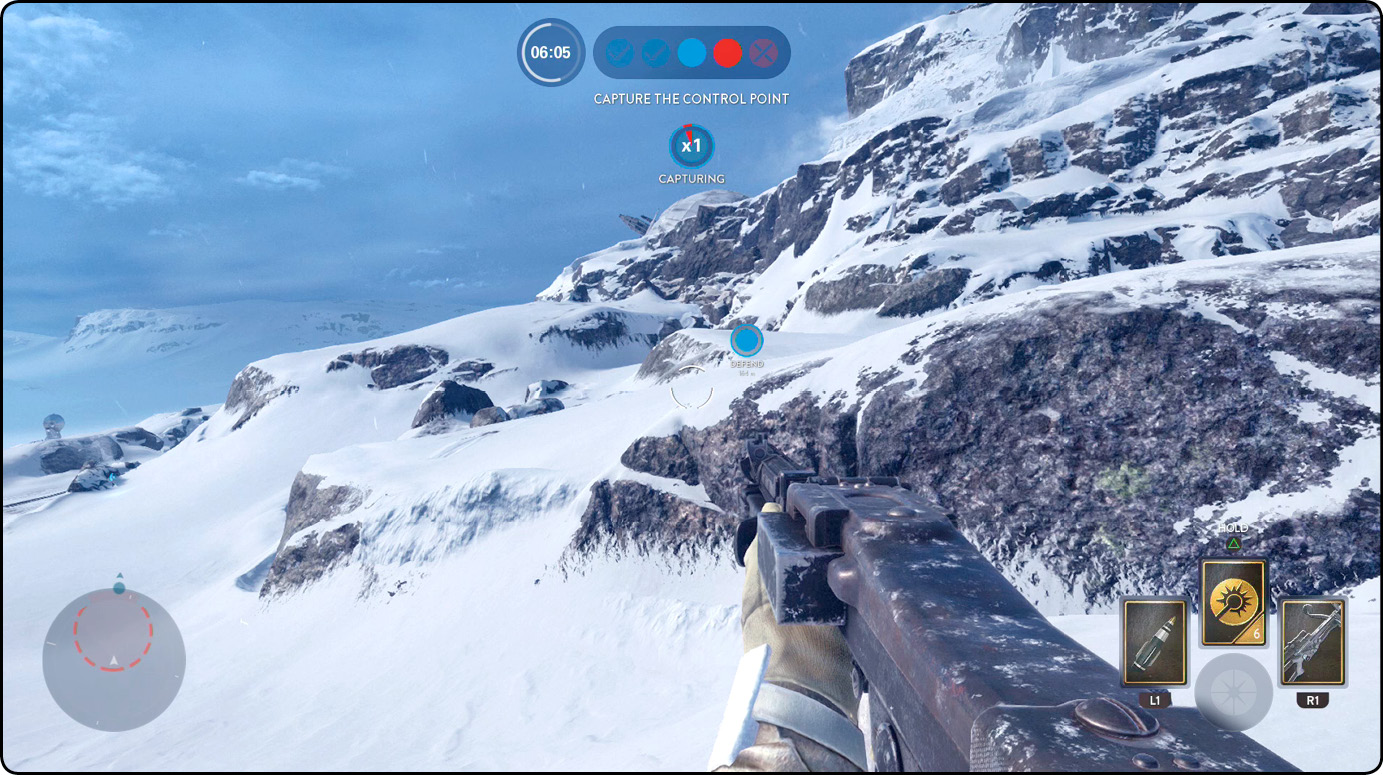
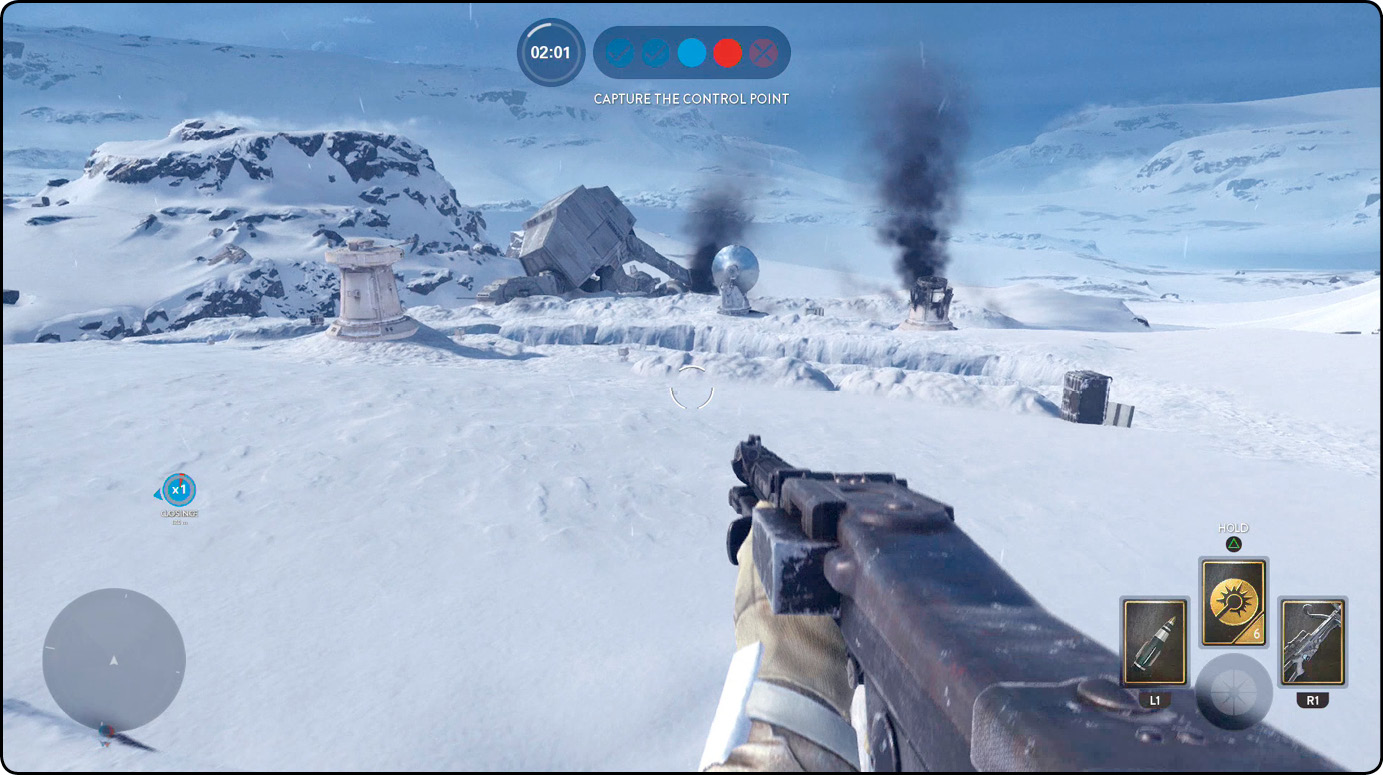
If the Empire captures the first and central control point, they will receive the “push forward” message and initiate that phase. During that phase, the battleground shifts, moving all of the power-ups around and opening up the next control point farther up the outpost. The next control point is located directly outside the side entrance to the outpost, on a patch of snow without much cover. There is not much cover in the control area itself, but there are two different stable turrets closer to the mountain and lined with a short trench. When you’re attempting to either defend or take this control point, this trenched area is key and should be top priority whether your team controls the point proper or not. As long as there is one teammate in the trench, any trooper attempting to capture the area can easily be taken down.
If the Rebels capture the first and central control point, they will receive the “push forward” message. The battle then shifts, turning this point and the area directly outside into the lower area of the outpost. This next location for the Rebels to capture is a little more central to the map’s barriers, creating a lot of room around the capture area (excluding the mountain between the point and the Imperial transport). A trench borders the control point fairly nicely and can be used for close protection of your team as they capture the control point. Drop a Squad Shield on the edge of the peninsula where the control point rests to protect both those capturing and protecting from the trenches. While the space is tight, this technique is extremely effective when there isn’t someone to watch your flank.
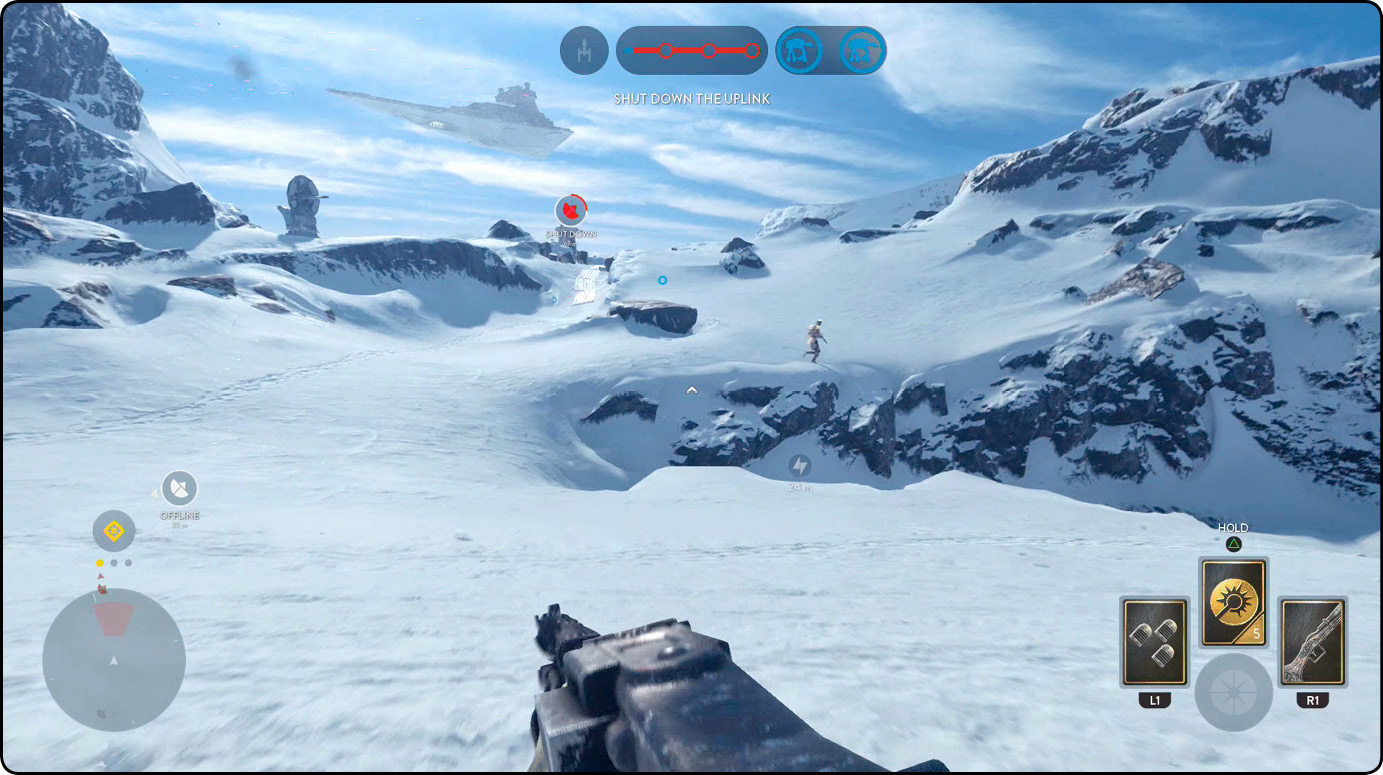
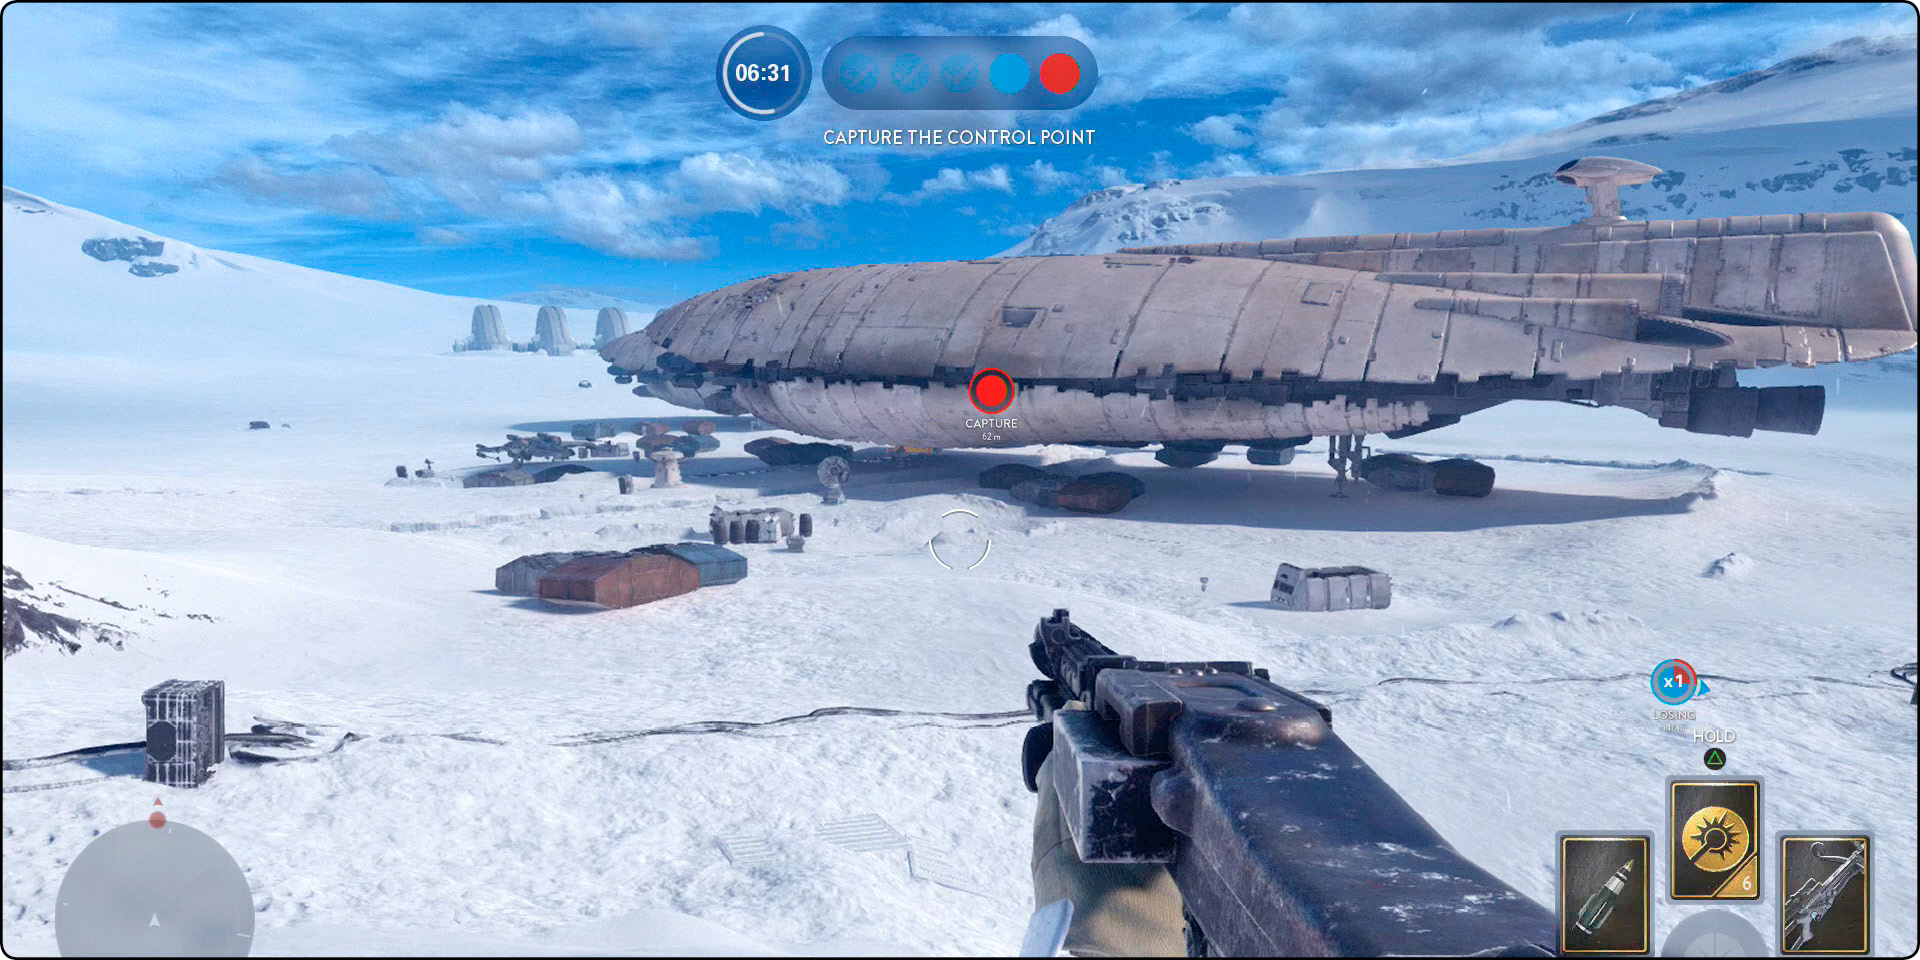
The final control point that the Empire must capture and the Rebels must defend as their last stand to avoid instant defeat is located directly underneath the Rebel transport. The area that is used to capture the point is in between the last point and the ship, meaning that it is in front and adjacent to the trench. A single trench leads directly underneath the transport ship, clear to the other side of it. Rebels should use this trench to defend the point as heavily as possible because it provides close-quarters defense. However, beware of how large the area around the ship actually is. With all of the cargo crates and landed starfighters, the enemy could be hiding around any corner, and flanking this position is definitely possible.
Finally, the control point that determines victory for the Rebel Alliance or defeat for the Empire sits parallel to the crashed AT-AT. This control point is not half as open as the final control point on the Rebel side, but it leaves less opportunity for the Imperials to be able to defend the point from a distance.
Lobbing Thermal and Contact Grenades into this location can clear out a few enemy troopers, lightening the defense while the Rebels come in to take over. In the same vein, there is still a narrow back side that you can use as a flank or a defensive position that is not directly on top of the control point itself. Use angles and sightlines to make this location most useful, and either side can succeed relatively easily.
Walker Assault
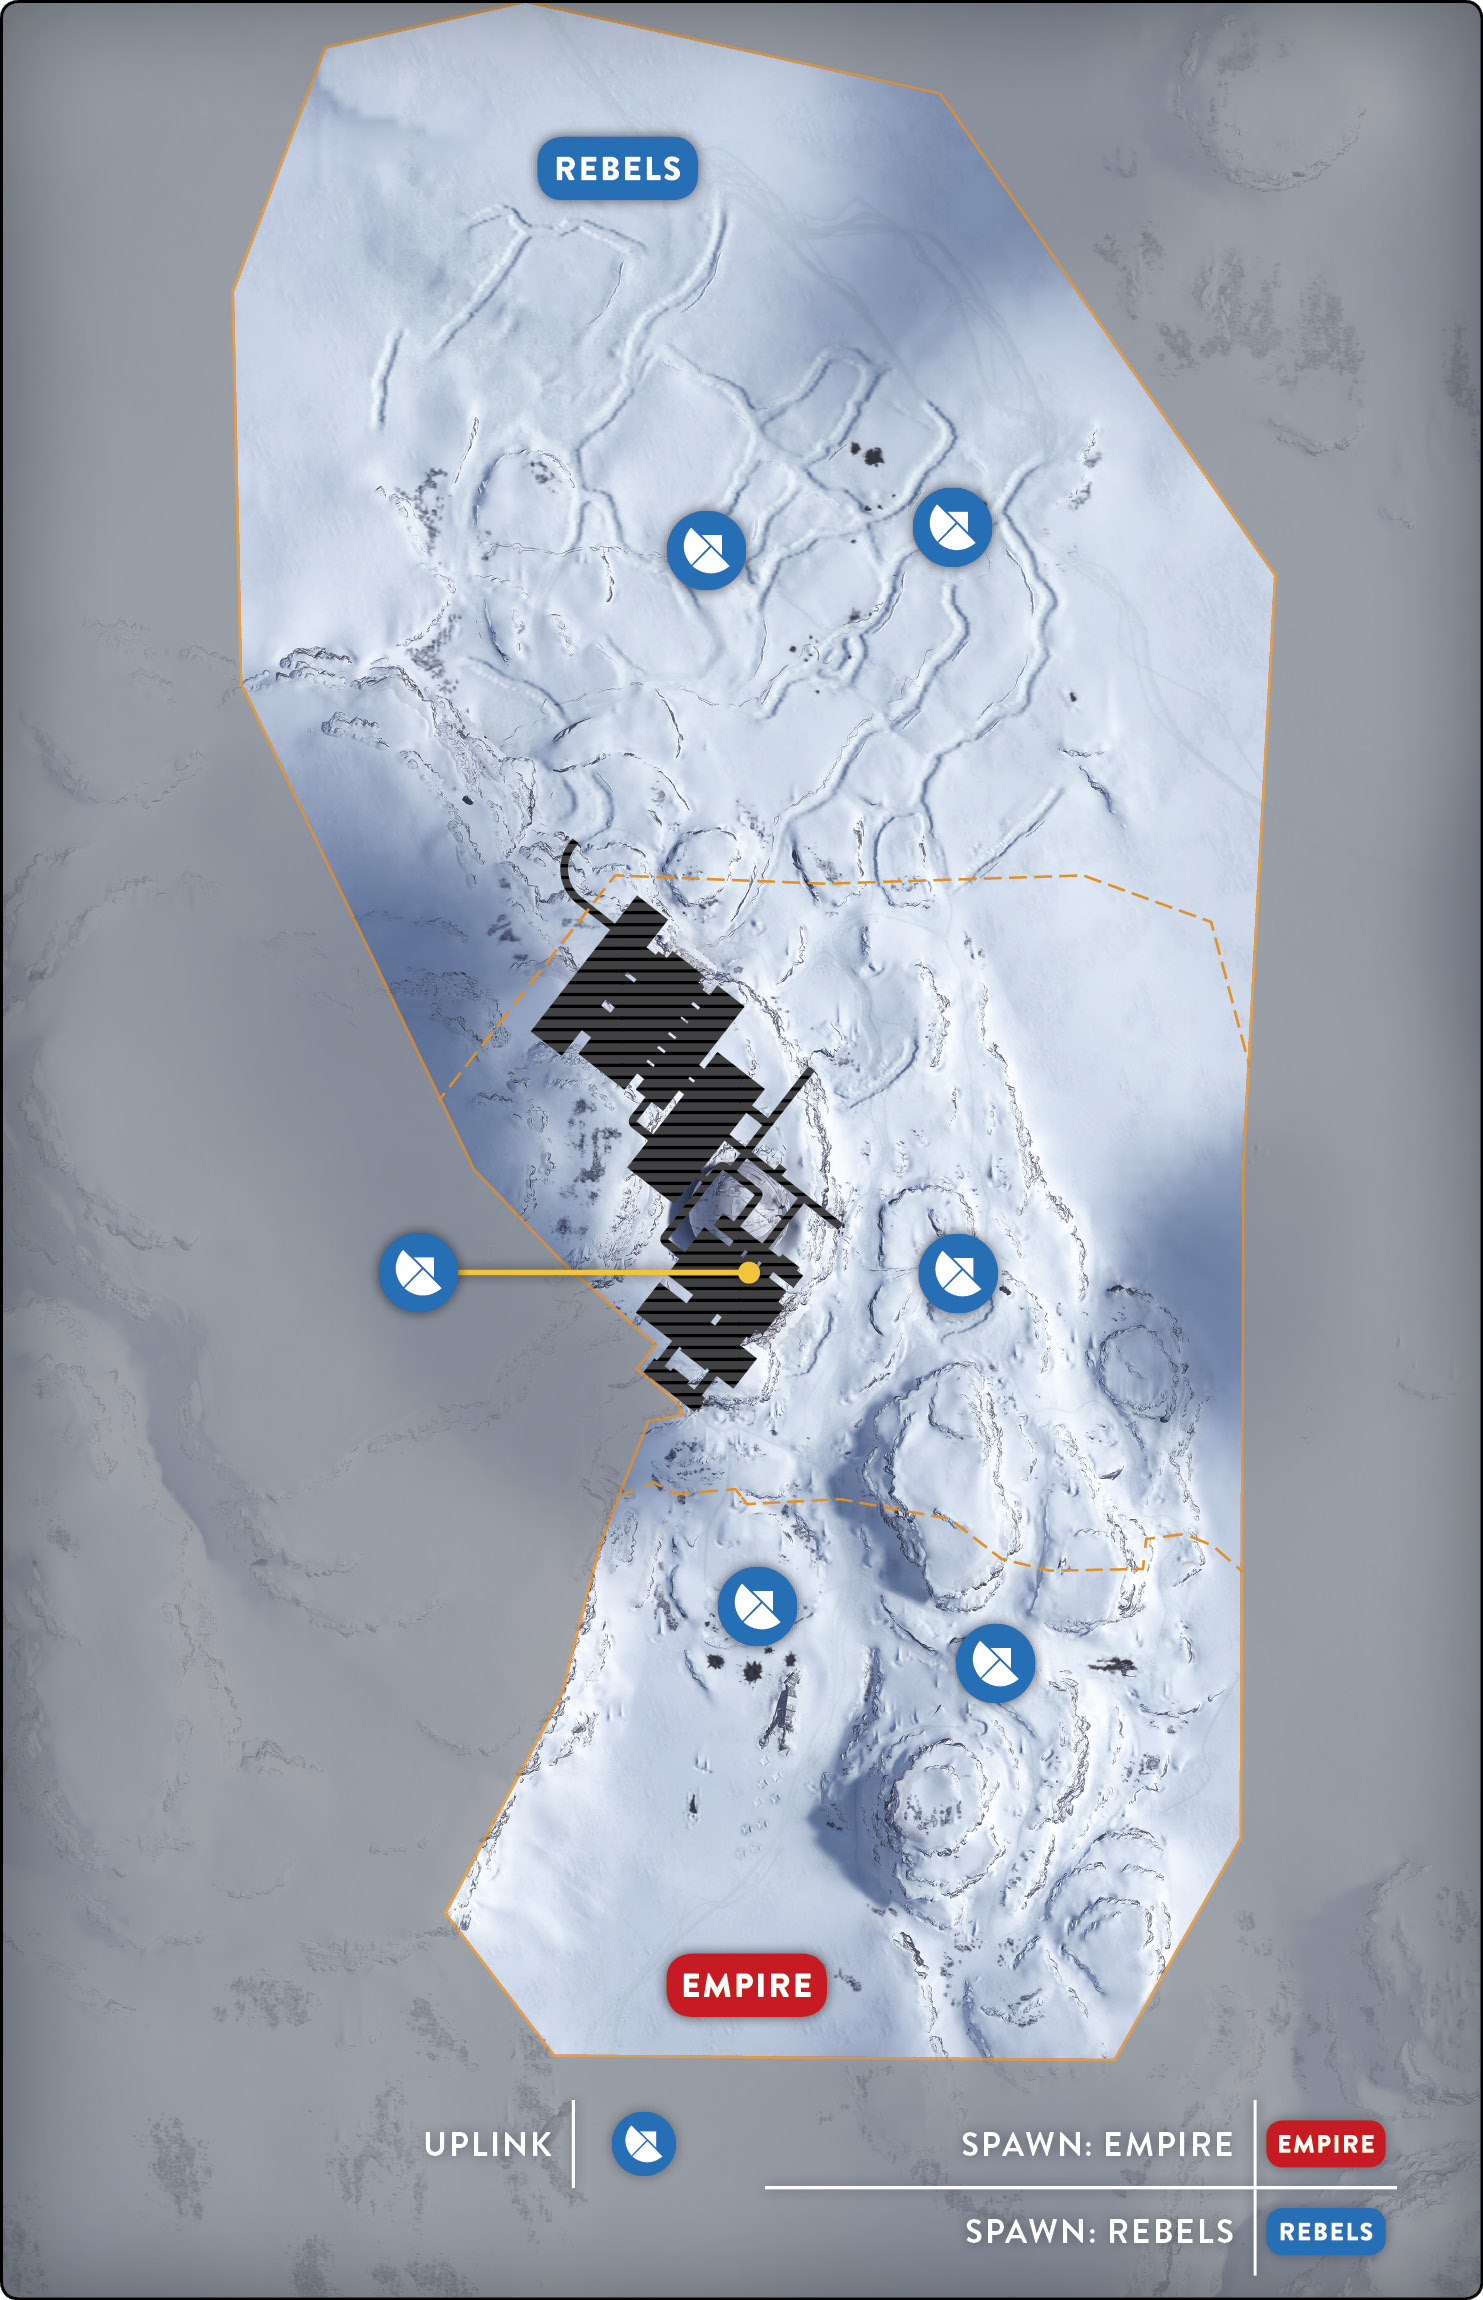
Walker Assault on Hoth takes place in one of the largest areas in Star Wars Battlefront, meaning that almost anything goes in terms of what to use or how to use it. Keep in mind that using short-range weapons are useful in this instance, but only for a brief period. Air vehicles are extremely useful on this map. Use them wisely and don’t waste time, as every boot in the snow makes an incredible difference. There are two AT-AT walkers on Hoth, and even though they eventually walk alongside each other, they start off very far apart. Be aware of this during the first walker phase.
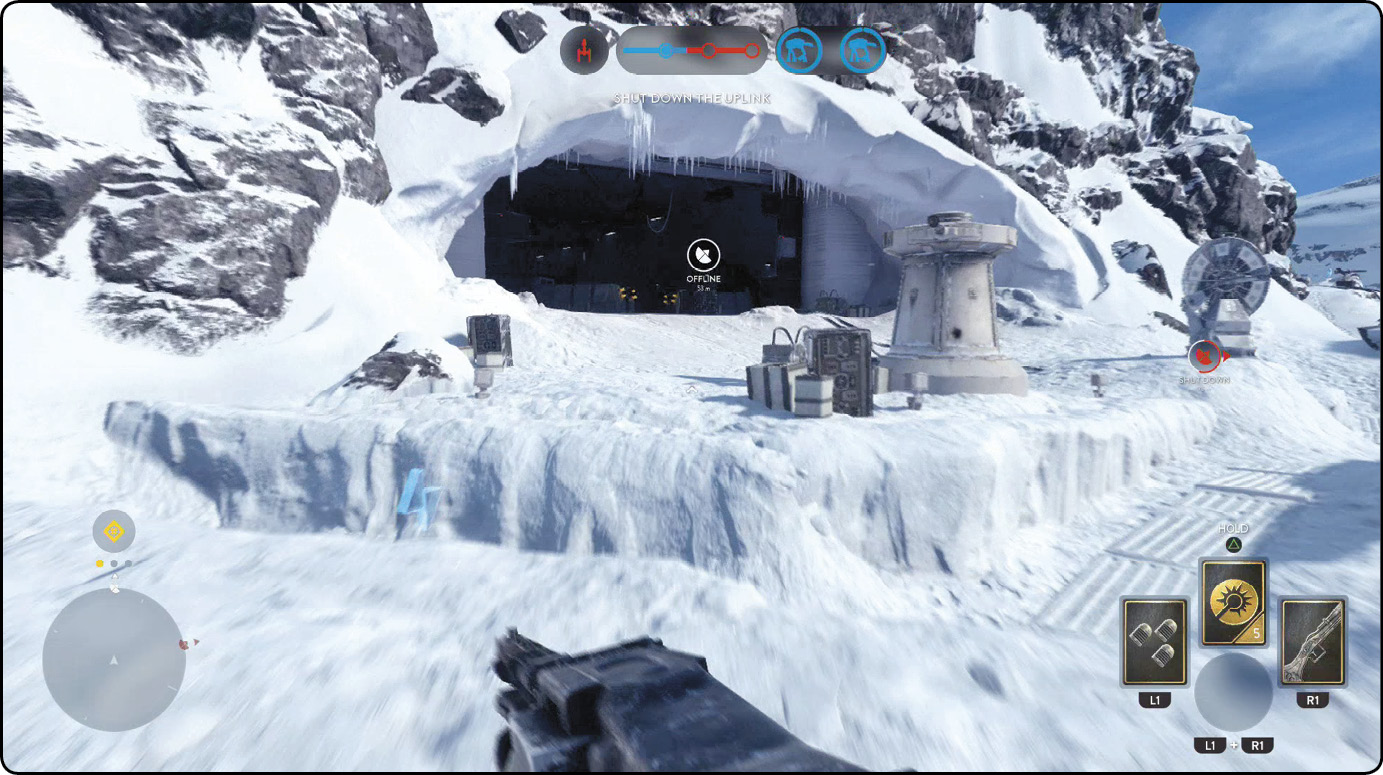
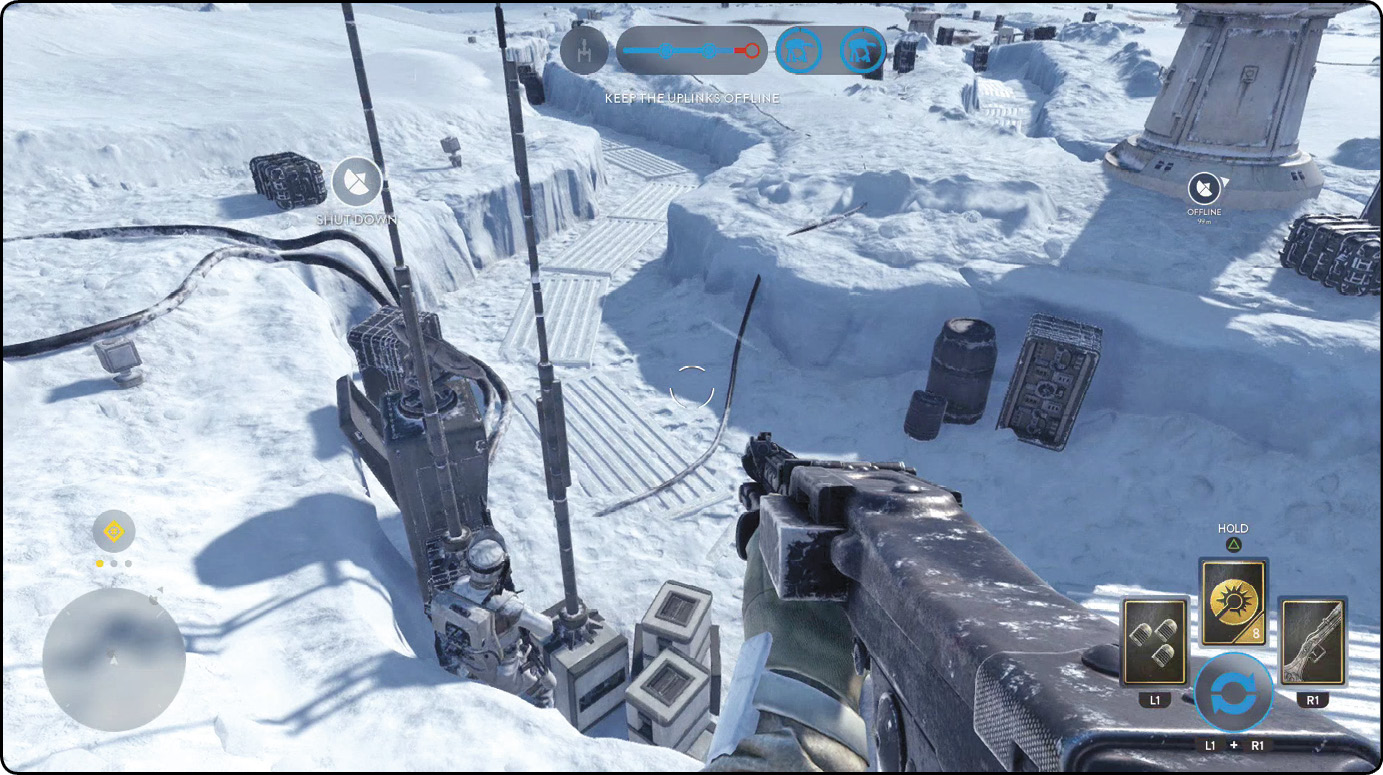
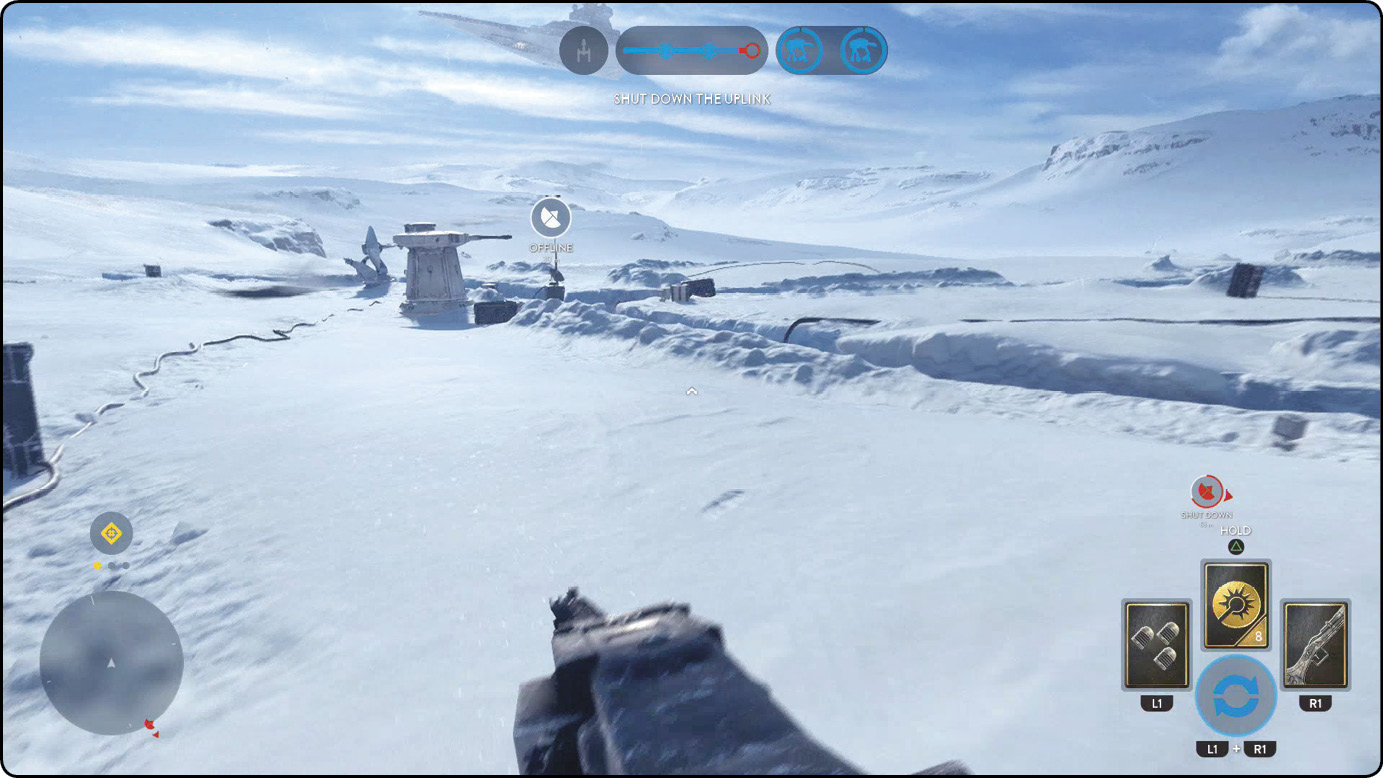
The first uplink that you can activate is parallel to the already downed AT-AT and is surrounded by a single trench and two powerful turrets. The area where this uplink is located appears to be a forward turret camp the Rebels have established to fight against walkers, and it is made to be defended. As the Empire, watch for Rebels hiding inside the trench and awaiting your approach after they have activated the uplink. It is now the Empire’s job to deactivate the uplink and use some of the same tactics. Although the area is very open, Smoke Grenades are quite effective when you’re either activating or deactivating the uplink. Keep in mind that a Thermal Grenade is also effective at killing most of what is in the area that the Smoke Grenade can cover.
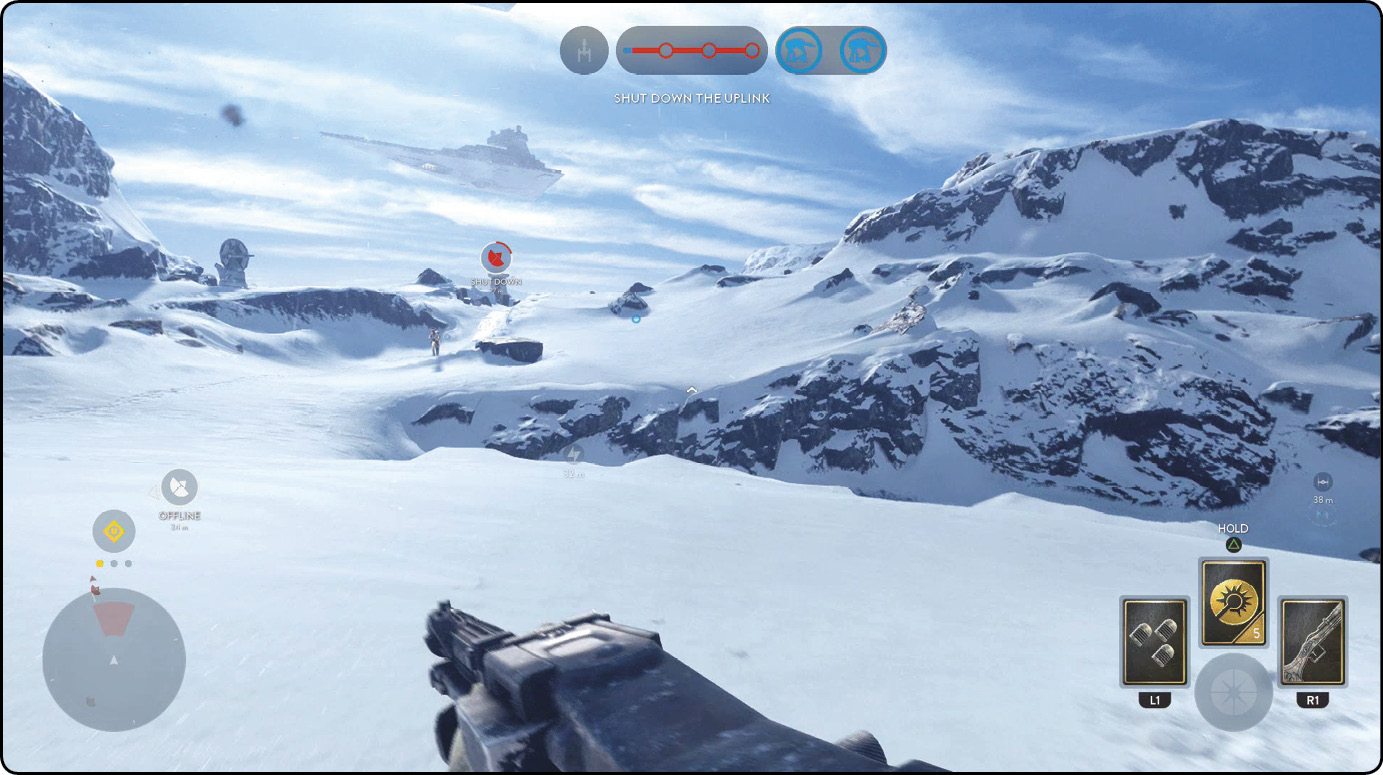
The second uplink in the first area of operations is located just on the other side of the large canyon that the closest AT-AT walks through. This area is very similar to the first except for the fact that it is not located in a narrow, smaller canyon. Instead, the uplink is in a much wider area while still inside the trench that runs through the location. This allows for a little bit of cover while you’re either activating or deactivating the uplink. While you’re operating near this uplink, watch out for the two trenches right next to each other. These trenches allow enemies to approach the uplink undetected if they are careful. Use your radar, or equip the Scout Trait Star Card to stay hidden from their radar.
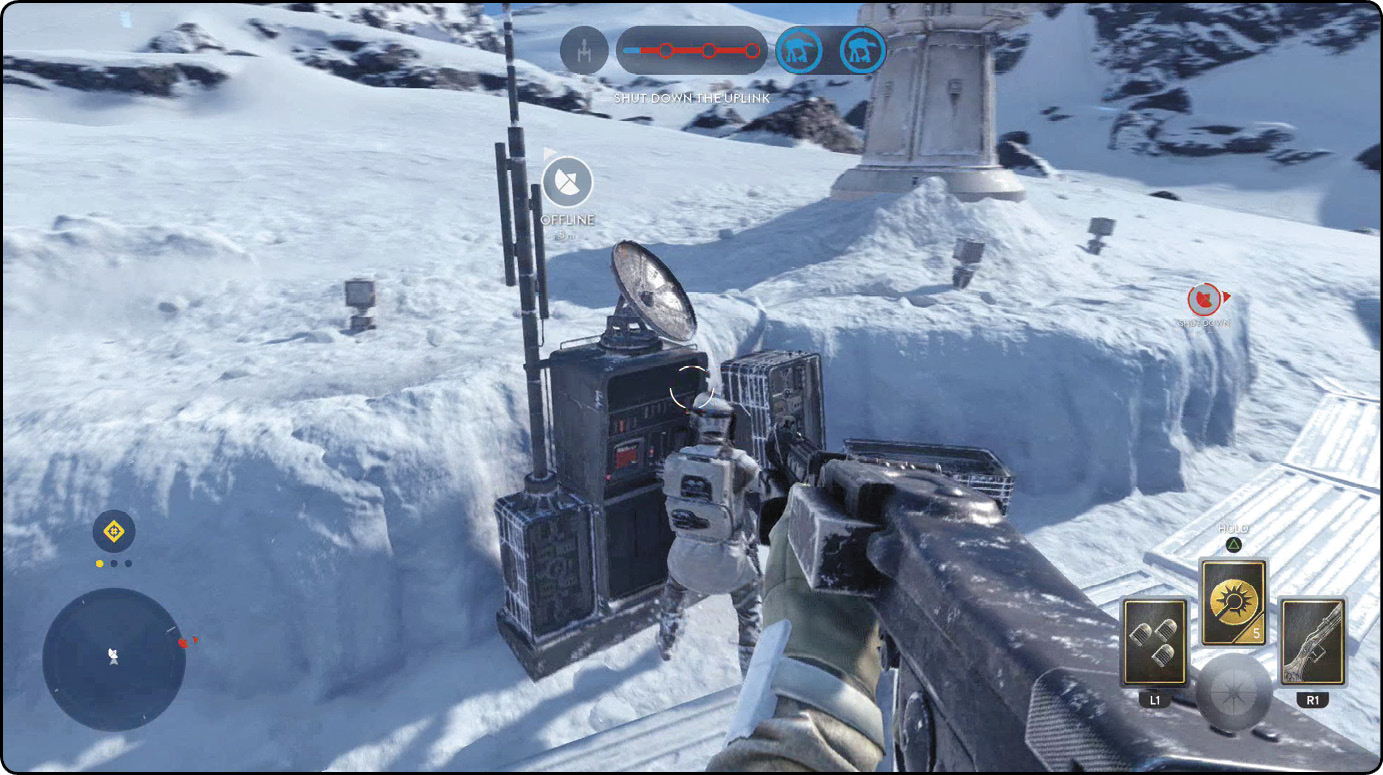
Once the first uplink phase is finished and you have either defended the walkers or dealt as much damage as possible, it becomes time to capture and defend the next two uplinks. The battlefield begins to become a little narrower as the AT-ATs get closer together. As this happens, the uplinks become closer to the center of the map. The first one is located on the ridge of the large cliff in the map’s center. From there, you can see where the farther walker is quite easily now. That poses a challenge for the Rebels, as the AT-ATs fire on troopers if they are in range and in their line of sight. This uplink is not near any trenches. In fact, it is wedged inside a small divot in the snow and exposed to the side the Empire deploys from, creating a bit of a challenge for the Rebels attempting to activate it. Deploy Infantry Turrets and Vehicle Turrets to deter your opponent as you activate the uplink, and then escape to find cover and protect it.
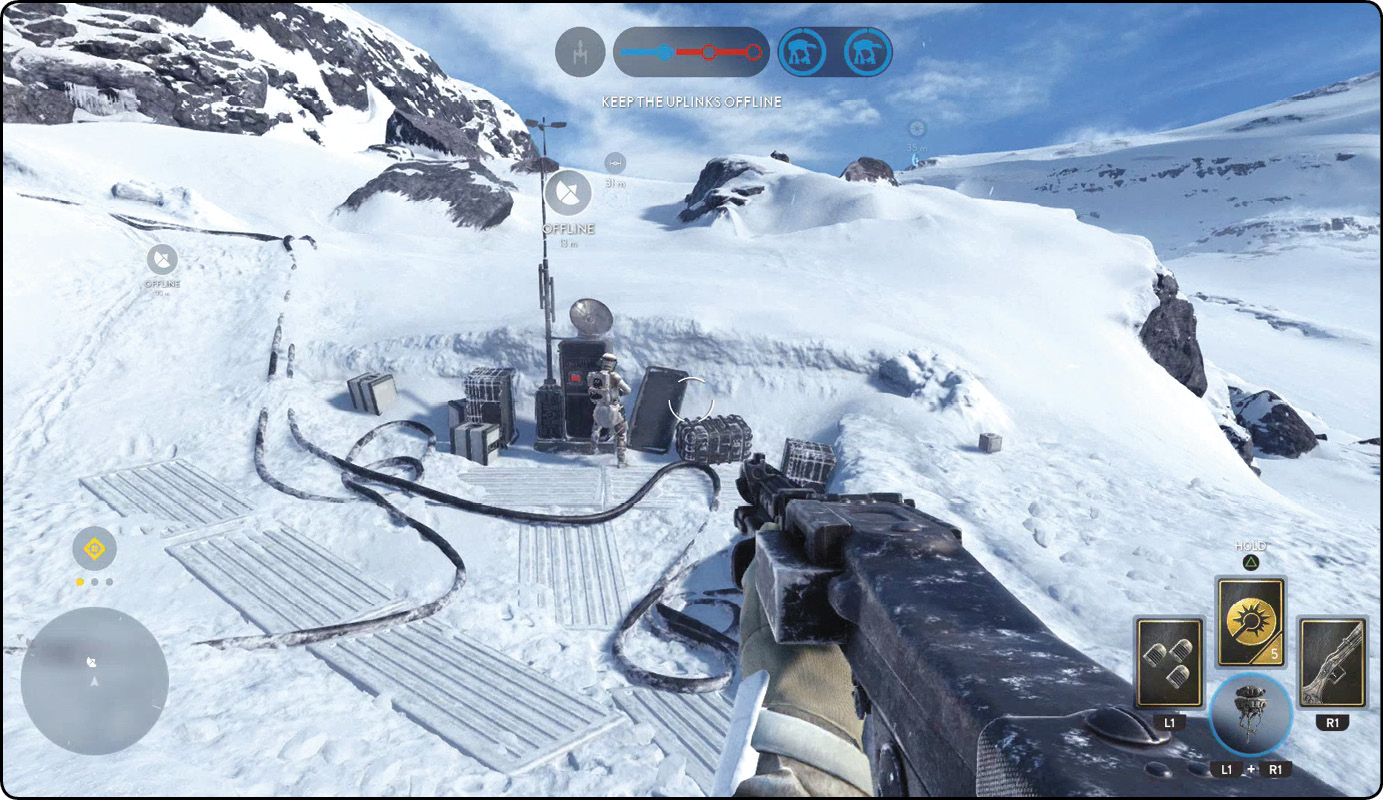
The next uplink is the first uplink that is located indoors, at least technically. The uplink is actually just inside the outpost itself, directly next to the main hangar entrance. This area is easily accessed from outside, but that does not mean it is completely vulnerable. While capturing this uplink may be a little difficult and tricky, defending it is much easier. Again, one of the best methods to cover your exact location while activating or deactivating the uplink is by dropping a Smoke Grenade at the uplink itself, and then completing your action as quickly as possible. Once you have made your move, relocate farther inside the hangar itself, and use the tremendous amount of cover provided. If you’re playing as a Rebel, defending from inside will also protect you from walker fire and Orbital Strikes.
By this time, the walkers should be heavily damaged. Even if they aren’t, though, this third phase of the match is by far the most important. If the walkers have not taken many hits, the Rebels should capture the uplinks for as long as possible. This gives anyone skilled with a Snowspeeder a chance and a good amount of time to use the TOW-cable and take down both walkers the cleaner way.
The last two uplinks are located in the large intricate system of trenches that the AT-ATs must pass to get within range of the shield generator. Surrounded by a great deal of turrets, along with natural and equipment-made cover, this phase lends much better to the Rebel side. But Imperials still have a chance since they can also use the trenches for stealth and cover when approaching the Rebels. Regardless, it is vital for the Empire to drop as much firepower on this trench system as possible, hoping to slow down the Rebel Alliance’s attempt at ruining their plans.
Fighter Squadron
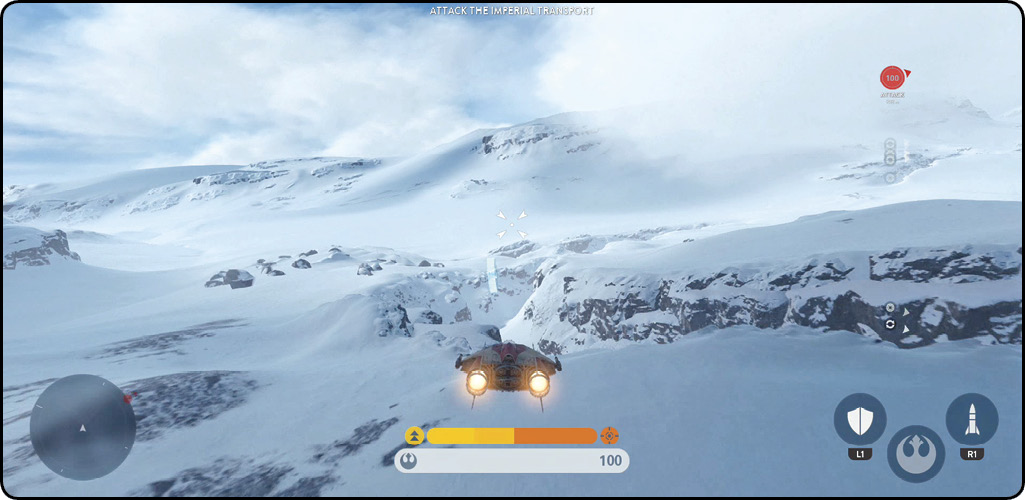
As you fly into the airspace of Outpost Beta on Hoth, one of the first things you notice is the thick clouds of snow that sit directly in the mid-level view. Fortunately, the weather is sunny, and once you are outside of the thick vision block, the air is extremely clear. This is both a burden and a tactical piece of gold. With Fighter Squadron, there is almost always someone on your tail and a target that you want to pursue. Use the clouds to escape your adversaries. If they can’t see you, they can’t hit you with blasters, and torpedoes can’t lock on to anything blocked by cloud cover, either.
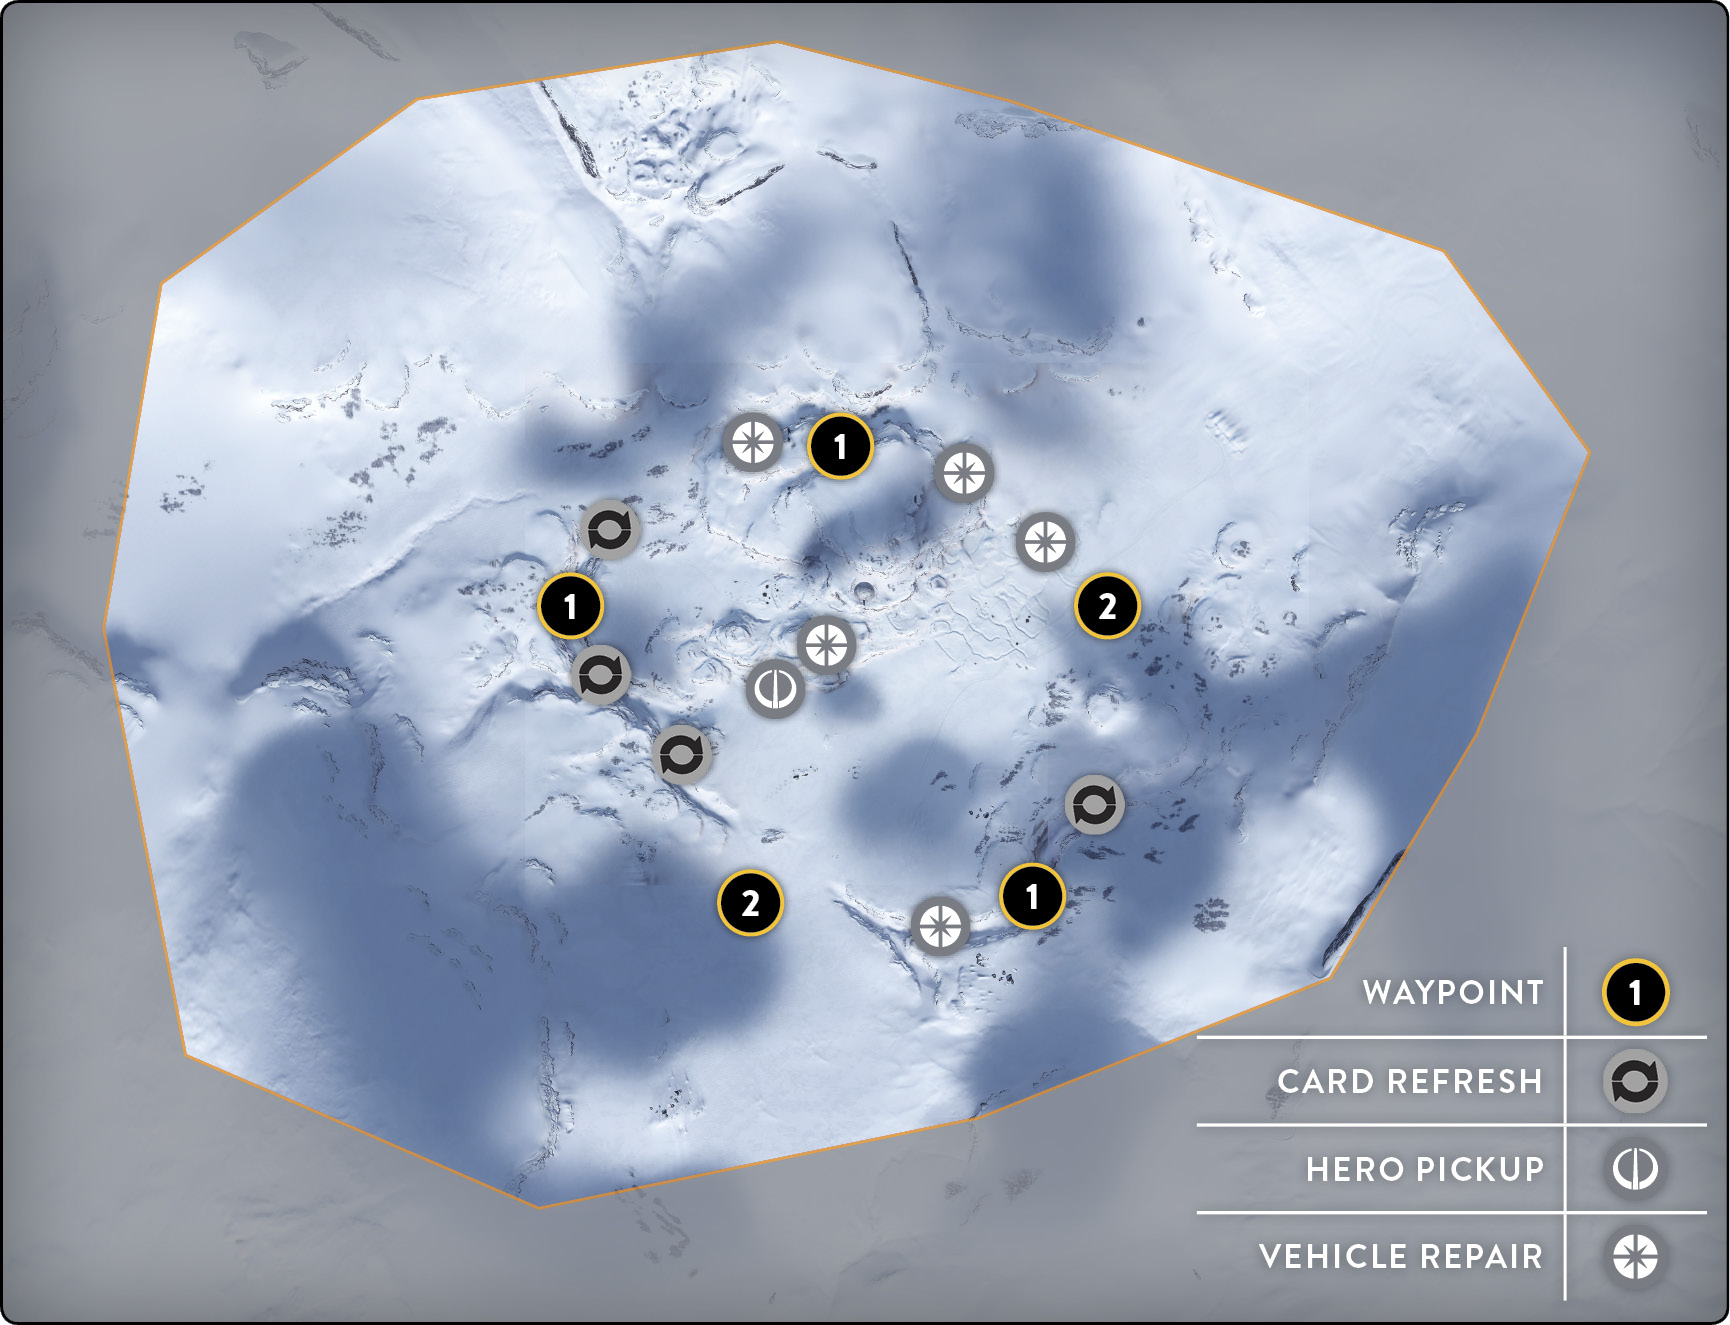
 There are extremely deep (but narrow) canyons all around this map, and they happen to be where the pick-ups are located. Because of this, only the best pilots will thrive while flying close to the surface. The canyons are a great place to repair if you are heavily damaged. They are also helpful for testing your tail’s skills by flying through and seeing if they can keep up. On the other hand, if you are not comfortable piloting your starship just yet, avoid these canyons and do whatever it takes to splash your target before they make their way down there.
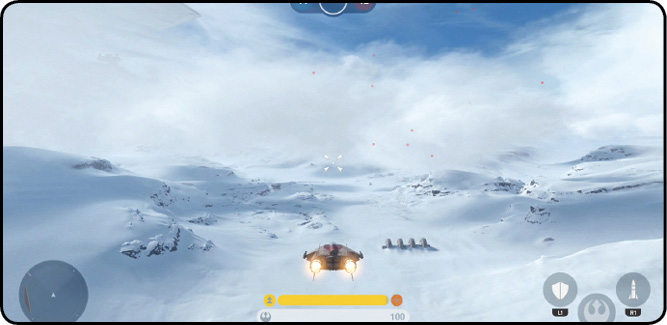
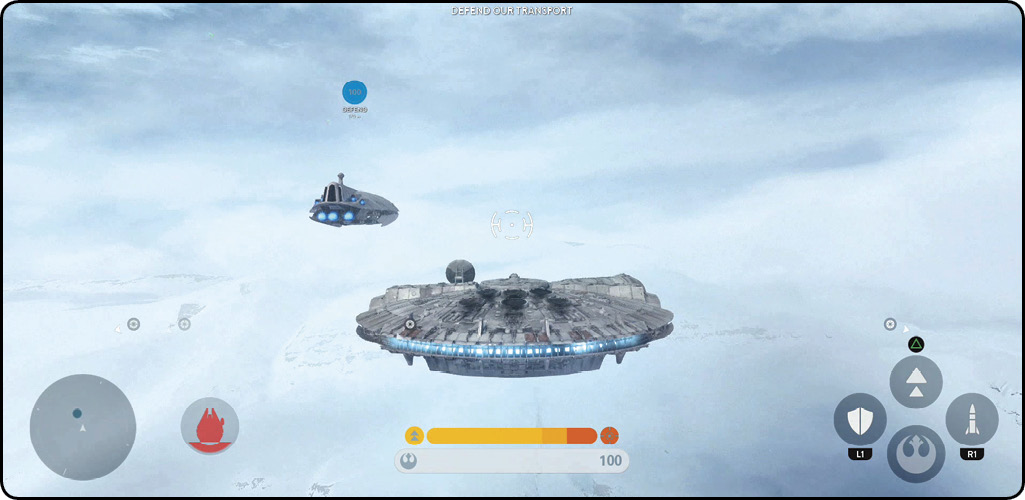
 Fortunately, the transport ships do not travel near the surface too often, which makes things slightly easier to navigate when you’re attempting to either destroy or protect the transports. The downside to the transport ships traveling in the open is that they are accessible to everyone on the battlefield. Many starships will be flying around, creating chaos in your airspace.