
STAR WARS™ Battlefront™ Guide Multiplayer Game Modes
Drop Zone
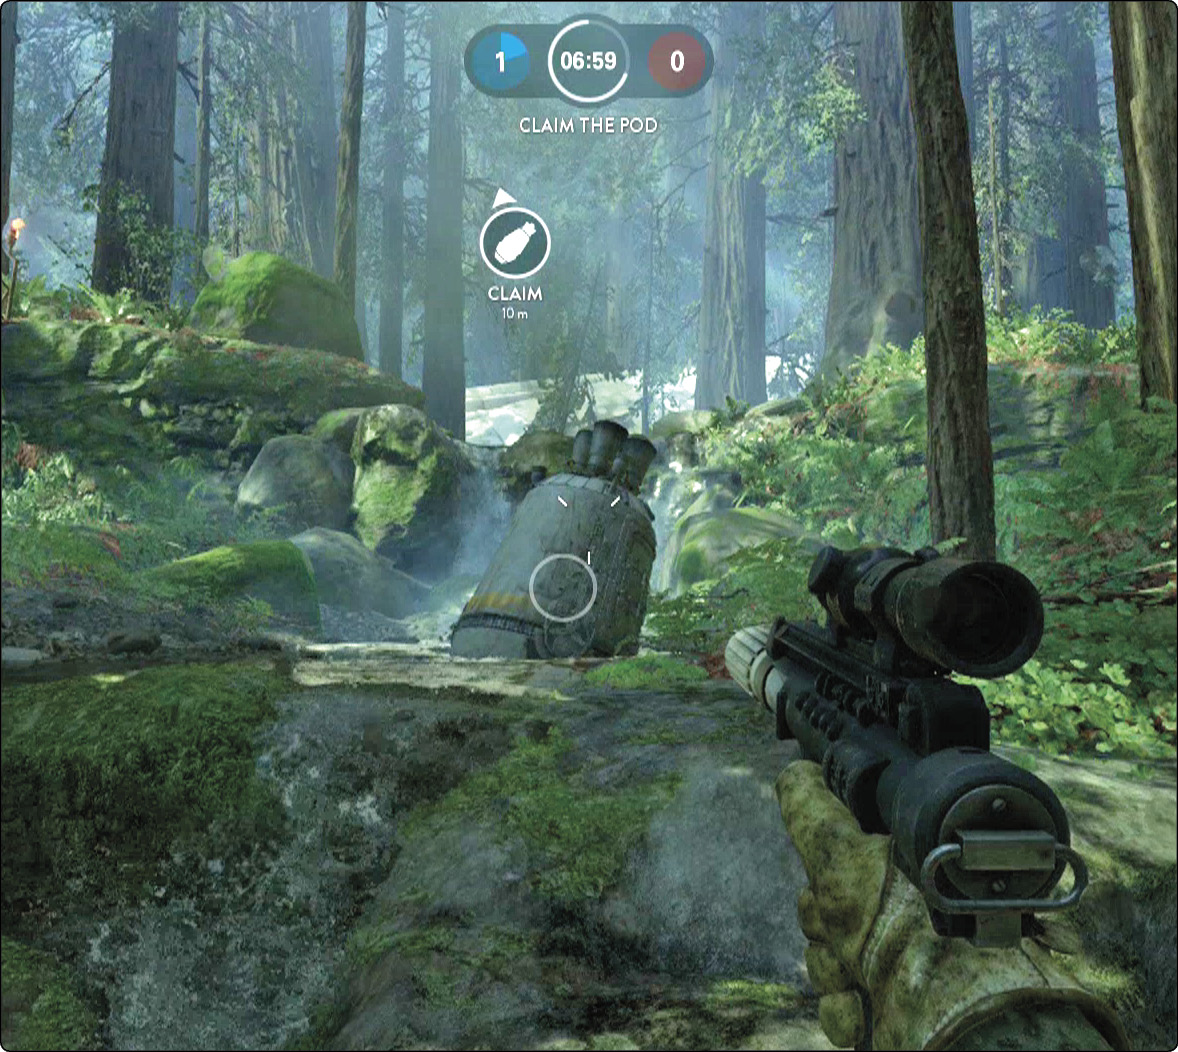
This fast-paced, action-packed mode assigns a single objective: gain control of the drop pods that fall from the sky. Claim a drop pod and earn valuable resources for your team.
Objectives
Activate the drop pod to start claiming it.
Defend the drop pod while it is being claimed.
The side that claims the most drop pods wins.
Overview
Drop Zone is the ultimate test of strength and domination of any one point on any map. The objective for Drop Zone is to take control of a drop pod in a given location. The twist is that the location where these drop pods will actually fall can be virtually anywhere on the maps this mode is playable on, and that area is always random. The best way to play this mode is to always keep moving and never stand still for too long. This technique both keeps you safe from attackers who remember where you were when you killed them and leaves you ready to move when the next pod drops. Once the pod has dropped from the sky, your next move is to actually claim the pod by pressing the Action button directly on it. When you’re capturing, you must wait for a timer, which leaves you vulnerable for a short amount of time. Once that timer is finished, a much longer timer starts (the capture timer). You must protect that drop pod until the timer is fully expired before you can claim the loot that dispenses from it. The goal is to capture five different pods for your team in order to win the match.
Drop Zone Tactics
The drop pod’s randomized location means that you must always stay frosty and keep on your toes; at any moment, the drop pod could be found in any direction. The pods don’t always drop one after the other, either. It’s possible that if a single drop pod is not claimed after a certain amount of time, another will drop, leaving two unclaimed drop pods available at once.
Sometimes the easiest way to capture a pod is to lock down the location it has dropped in before you even attempt to activate it. Communicate with your team, and set up a perimeter around the drop pod before activating it to ensure that you can protect it with full force. However, you should read the situation because sometimes the pressure is so constant that you may not be able to lock down the area first. You might need to constantly filter in friendly reinforcements. Assess what’s happening, as every team is different.
Once a drop pod has been captured, beware that anyone (truly anyone) can claim the loot that has dropped from it. If you are the only one around the captured pod, try picking them up and use every power-up, if only to prevent the enemy from having access to them.
Using Star Cards like the Squad Shield or Personal Shield can give you those extra few seconds of survivability it takes to activate the drop pod for your team. This helps in hot situations and can even turn the tide for your team. If the other team is very close to capturing a pod, your activation will reset the timer.