
STAR WARS™ Battlefront™ Guide Missions Training
Invasion
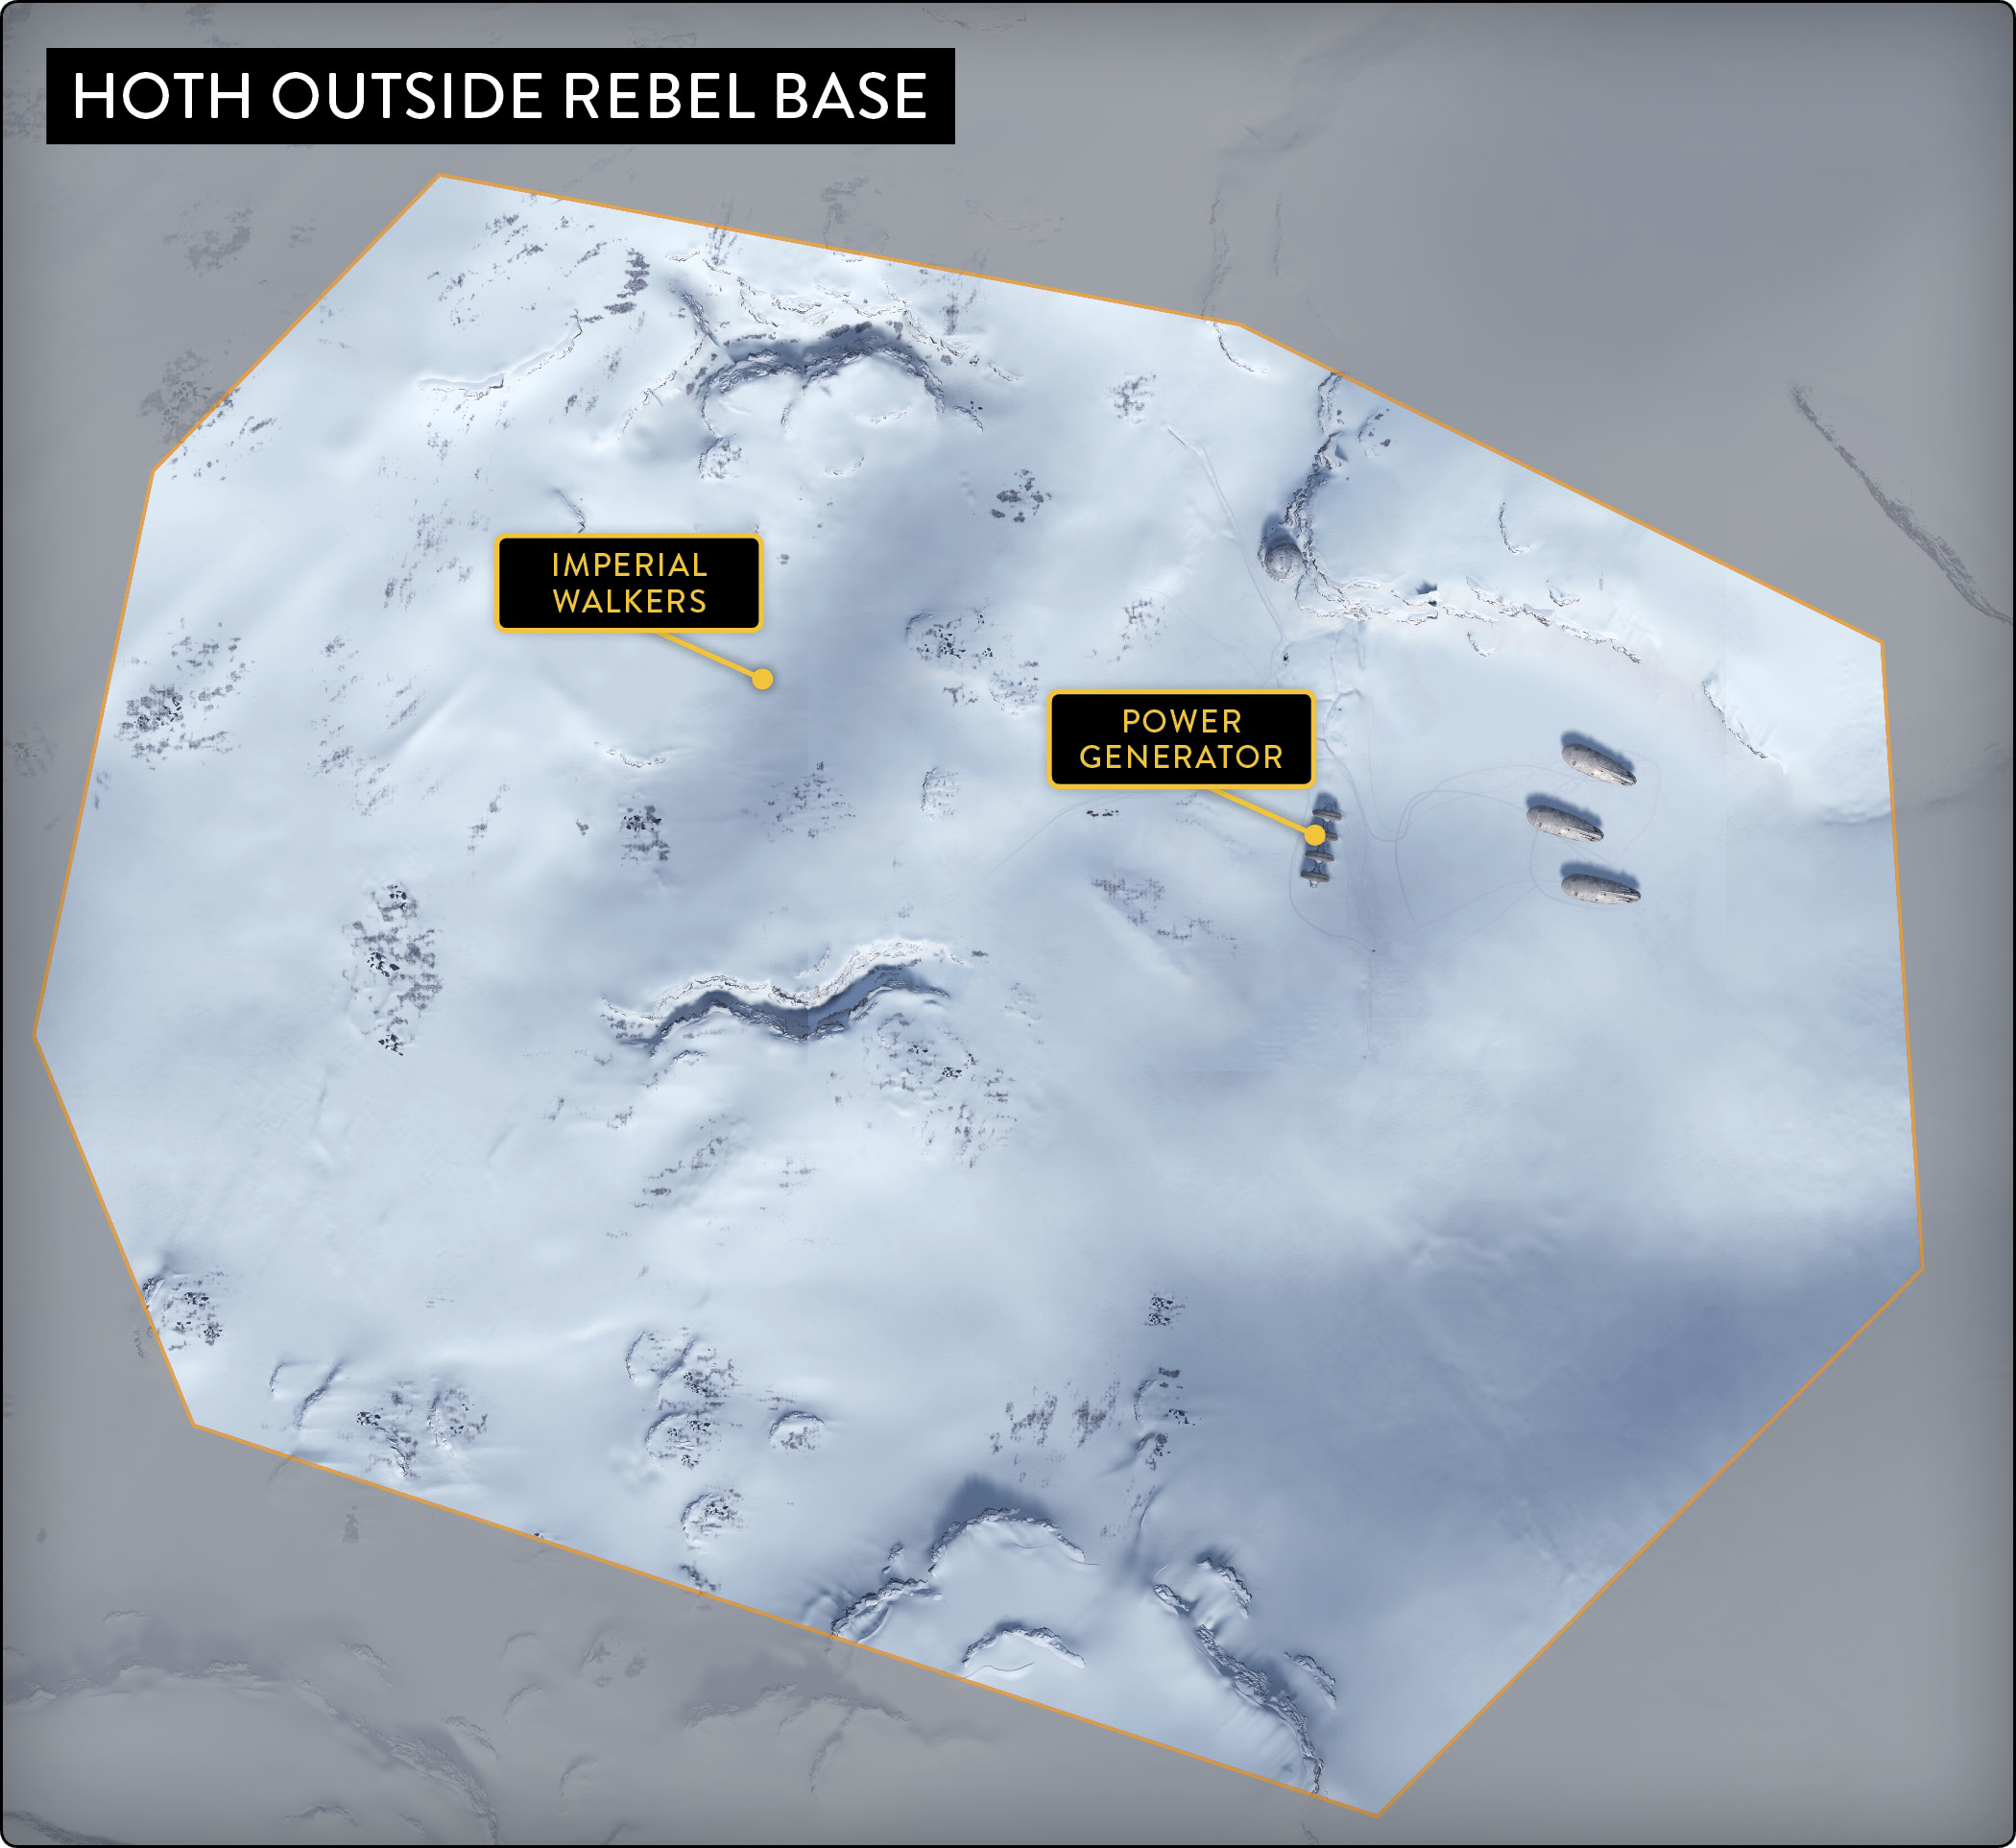
Location: Hoth Outside Rebel Base
Vehicle: Snowspeeder
Opponents: AT-STs, AT-ATs
Difficulty: Medium
Mission Brief
The Empire has discovered a Rebel base, and it must be defended until all transports are away. Protect the power generator at all costs!
How to get Stars
| Name | Condition |
|---|---|
| Job Done | Complete the mission. |
| 8 Min | Complete within eight minutes. |
| Takedown | Complete without failing a TOW-cable takedown. |
At the Hoth Rebel base, Imperial scout walkers march toward the power generator. An evacuation has been ordered, but it takes time to get the three Rebel transports loaded and off the ground. The generator must be protected or the shields will fail, giving the Empire access to the fleeing vessels. The mission is divided into three segments—one for each transport ship.
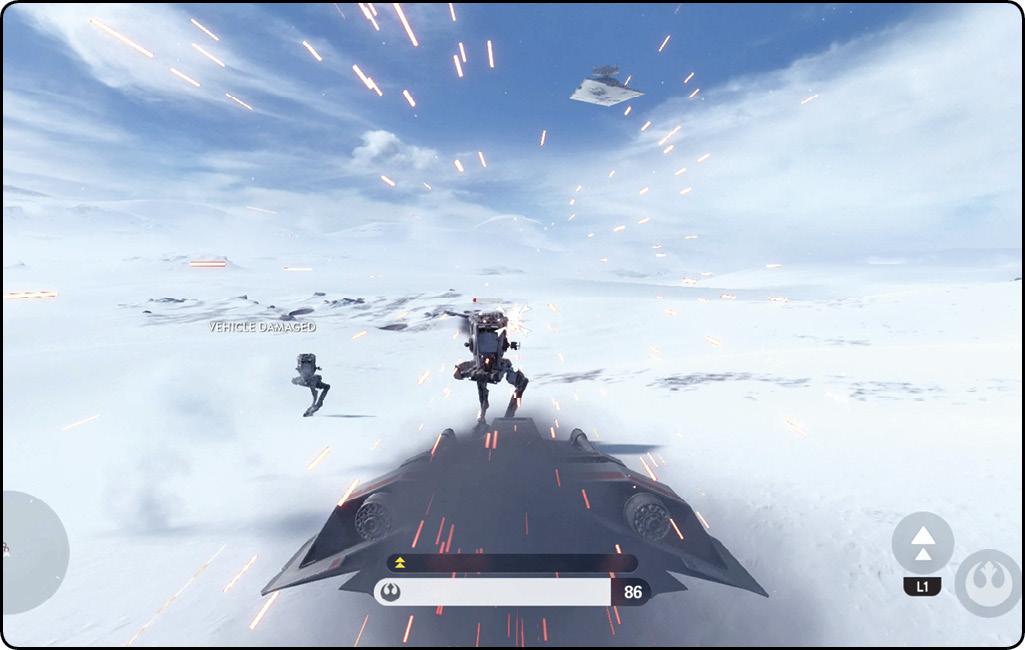
Destroy the AT-STs. Three pairs of AT-STs move toward the generator. Check your scanner, find the two closest to the machine, and head their way. Hit the speed boost to get there quickly, and take them down with your laser cannons. Throughout your strafing runs, jam on the Fire button to cause maximum damage. Use the same tactics to eliminate the other four to continue the mission. Note that a light touch to a badly injured walker may be enough to take it down, but be careful that you don’t commit suicide in the process.
If the Imperial walkers are allowed to get within range of the power generator, they begin attacking. A power generator meter at the top of the HUD shows their progress. If the meter fully depletes, the mission is over.
Piloting the T-47 Airspeeder/Snowspeeder
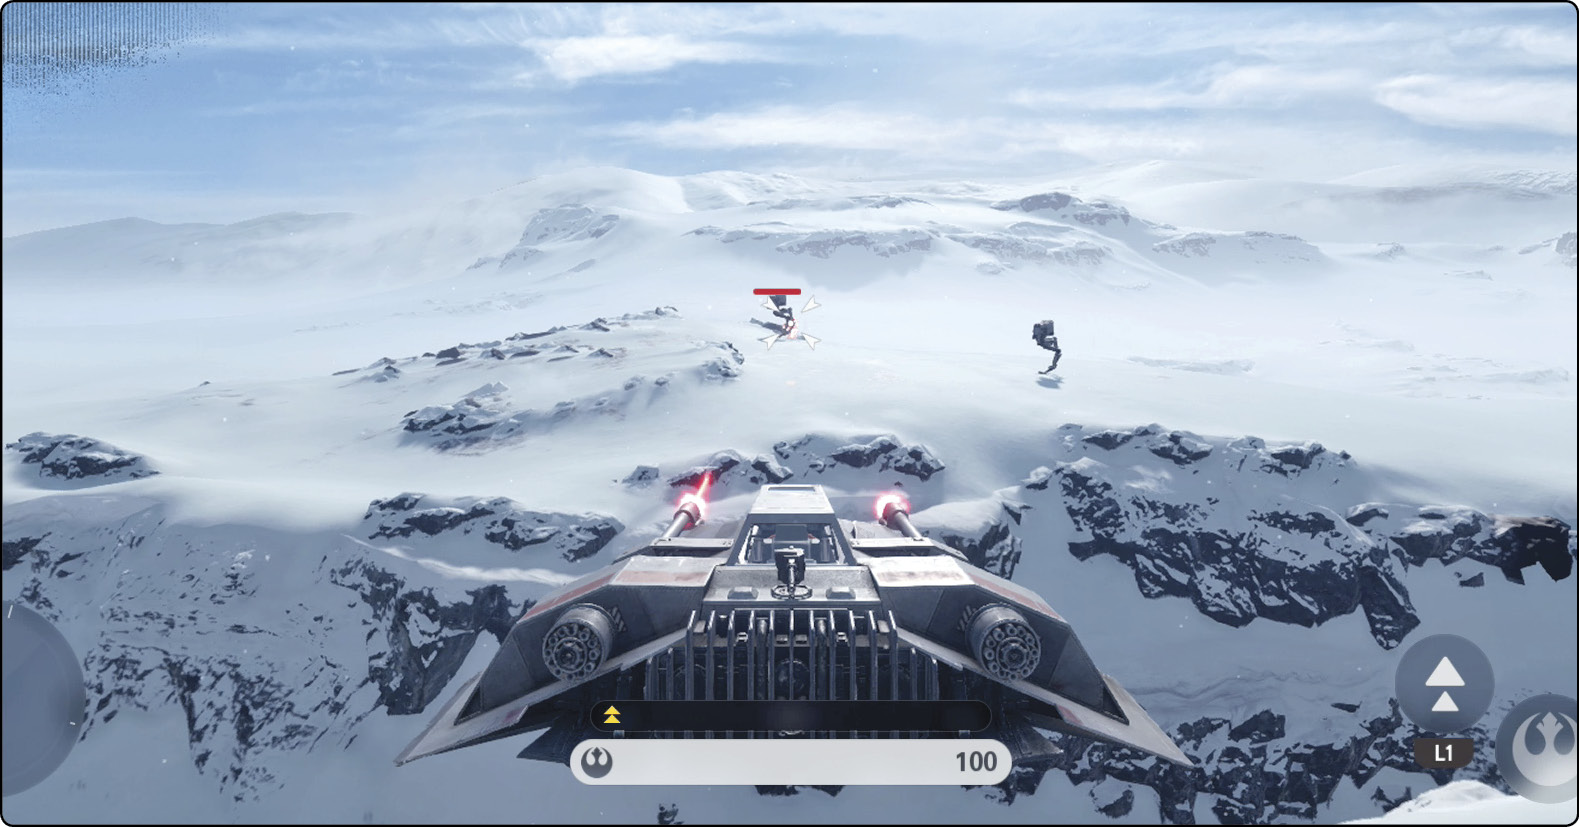
The Snowspeeder is flown in the same manner as the starfighters, except there is no energy distribution. The left stick only acts as the throttle. Going full throttle does not fill the yellow meter all the way; this extra speed is saved for your speed boost ability.
Much like the starfighters, the Snowspeeder has three evasive maneuvers, which you activate by pressing left, up, and right on the d-pad. Left and right cause the ship to bank in those directions, making a really tight 180-degree turn. When you push up, the ship rapidly ascends to a higher altitude before settling back down.
Laser cannons provide the only weaponry for the aircraft, though its TOW-cable can be lethal against an AT-AT. A sensor jammer is available, though it is not necessary in this mission.
| Control | Xbox One | PlayStation 4 |
|---|---|---|
| Throttle | Left Thumbstick | Left Stick |
| Aim | Right Thumbstick | Right Stick |
| Fire | RT | R2 |
| Soft Lock (Hold) | LT | L2 |
| Speed Boost | LB | L1 |
| Sensor Jammer | RB | R1 |
| TOW-Cable | LB + RB | L1 + R1 |
| Evasive Maneuvers | Left/Up/Right on D-Pad | Left/Up/Right on D-Pad |
| 1st/3rd Person (Hold) | Down on D-Pad | Down on D-Pad |
Destroy the AT-AT. Next, a lone AT-AT moves in to attack. This provides an opportunity to teach the basics of taking the walker down with a TOW-cable. Follow the given instructions, and drop it to its knees.
Destroying an AT-AT with the TOW-Cable
The long, unstable legs of the All Terrain Armored Transport provide a quicker way to defeat this behemoth as opposed to firing at its weakened belly. Wrap a long cable around its legs until it falls to the ground.
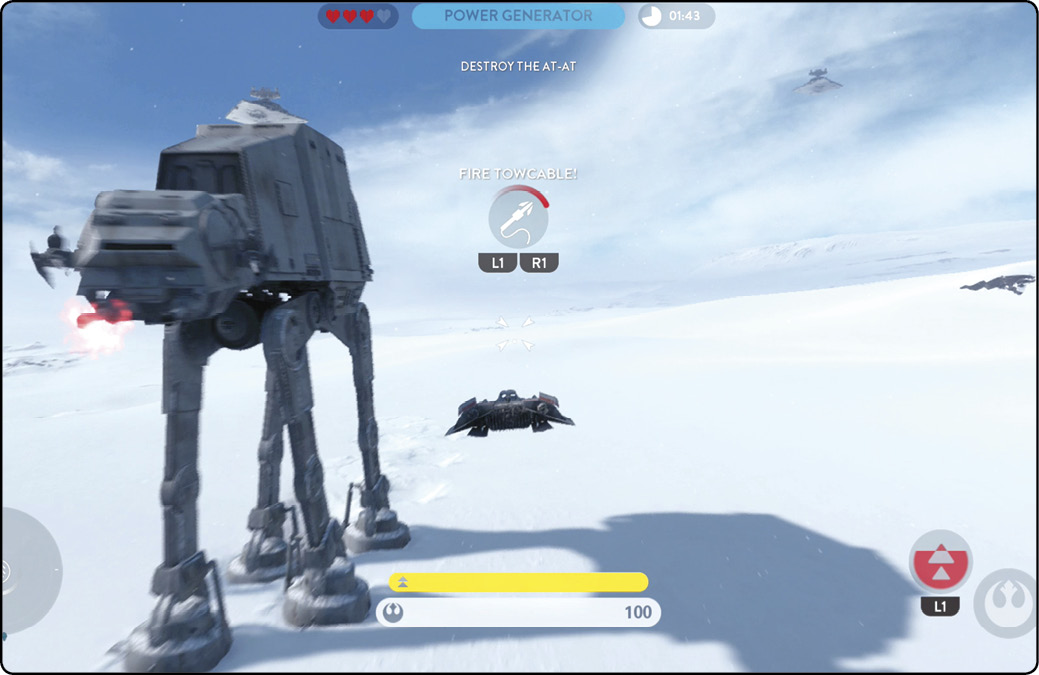
Fly your ship near the AT-AT, and activate the TOW-cable when prompted to do so. This brings up a vertical bar with an Airspeeder icon inside. Press up and down on the right stick to keep the icon inside the bar. As long as the icon remains white, you are fine. It turns red when you are in danger of losing the TOW-cable’s hold, though you do have a little time to recover before it is completely lost.
Four dots appear to the left, which turn blue each time you successfully complete a lap. Whenever one changes color, the vertical bar shrinks until your icon barely fits inside. Make very light adjustments to the stick to keep it in the middle. After the fourth dot, you receive confirmation of your success, and the walker is taken down. Be ready to quickly pull back to avoid flying into the ground.
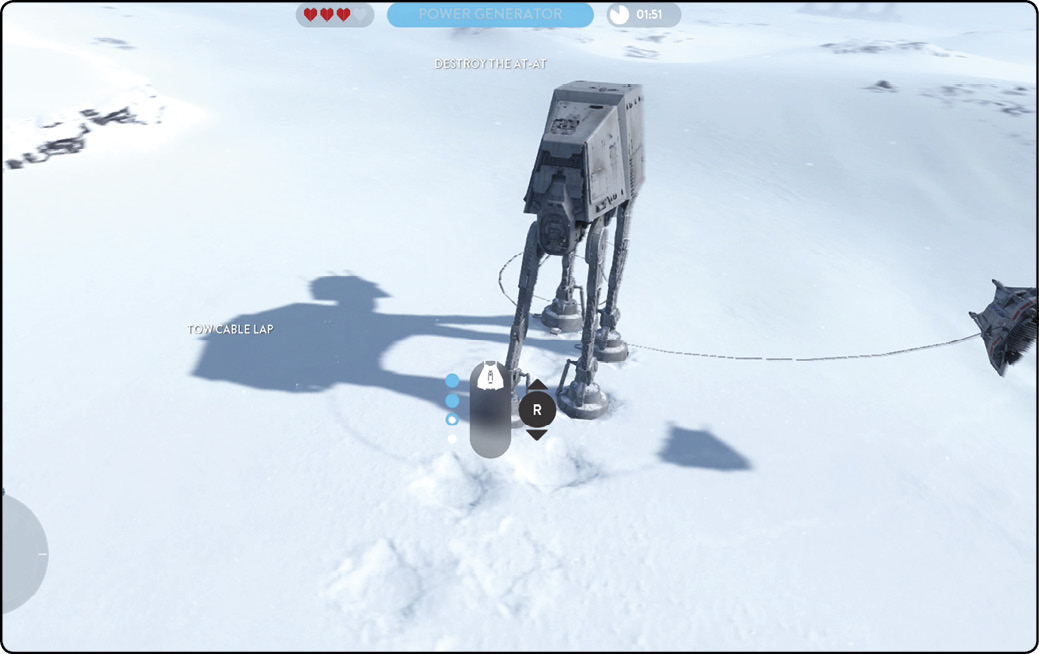
Taking damage can cause the cable to break and make you fail the procedure. At the very least, it can knock you off course, sending you into danger. Quickly bring the icon back into the safe range. Note that weapon fire from any walker can cause this effect. Also, watch out when a walker is located close to a wall or cliff. This makes it extremely tough to fly around it without losing contact. In this location, though, you have no worries because of the open environment.
Destroy the enemy walkers. At this point, two more AT-ATs show up. Take them down in the same manner as before. After you successfully destroy the walkers, the second transport lifts off.
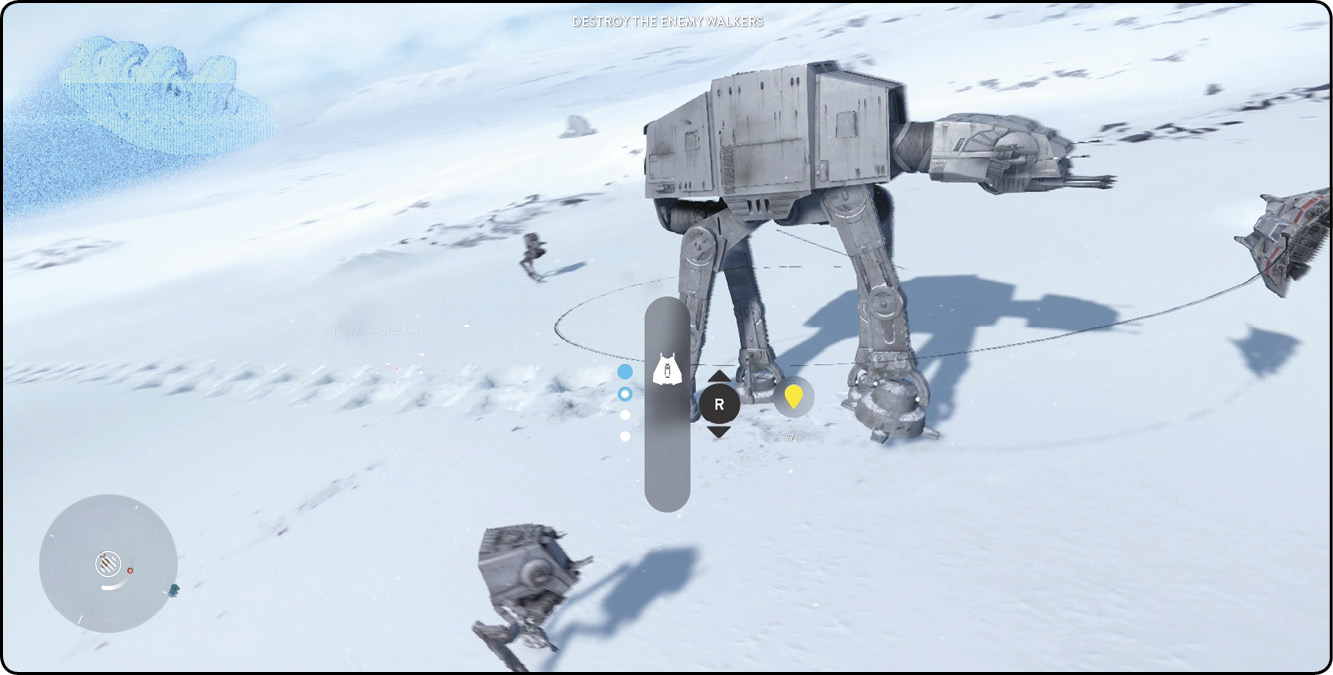
Destroy the enemy walkers. For the final objective, several AT-STs accompany three more AT-ATs. You can destroy these vehicles in any order. Use the laser cannons on the scout walkers, and destroy the transports using your TOW-cable. With this group eliminated, the third and final transport ship escapes.