STAR WARS™ Battlefront™ Guide Multiplayer Game Modes Locations Endor
Forest Moon of Endor
Supremacy
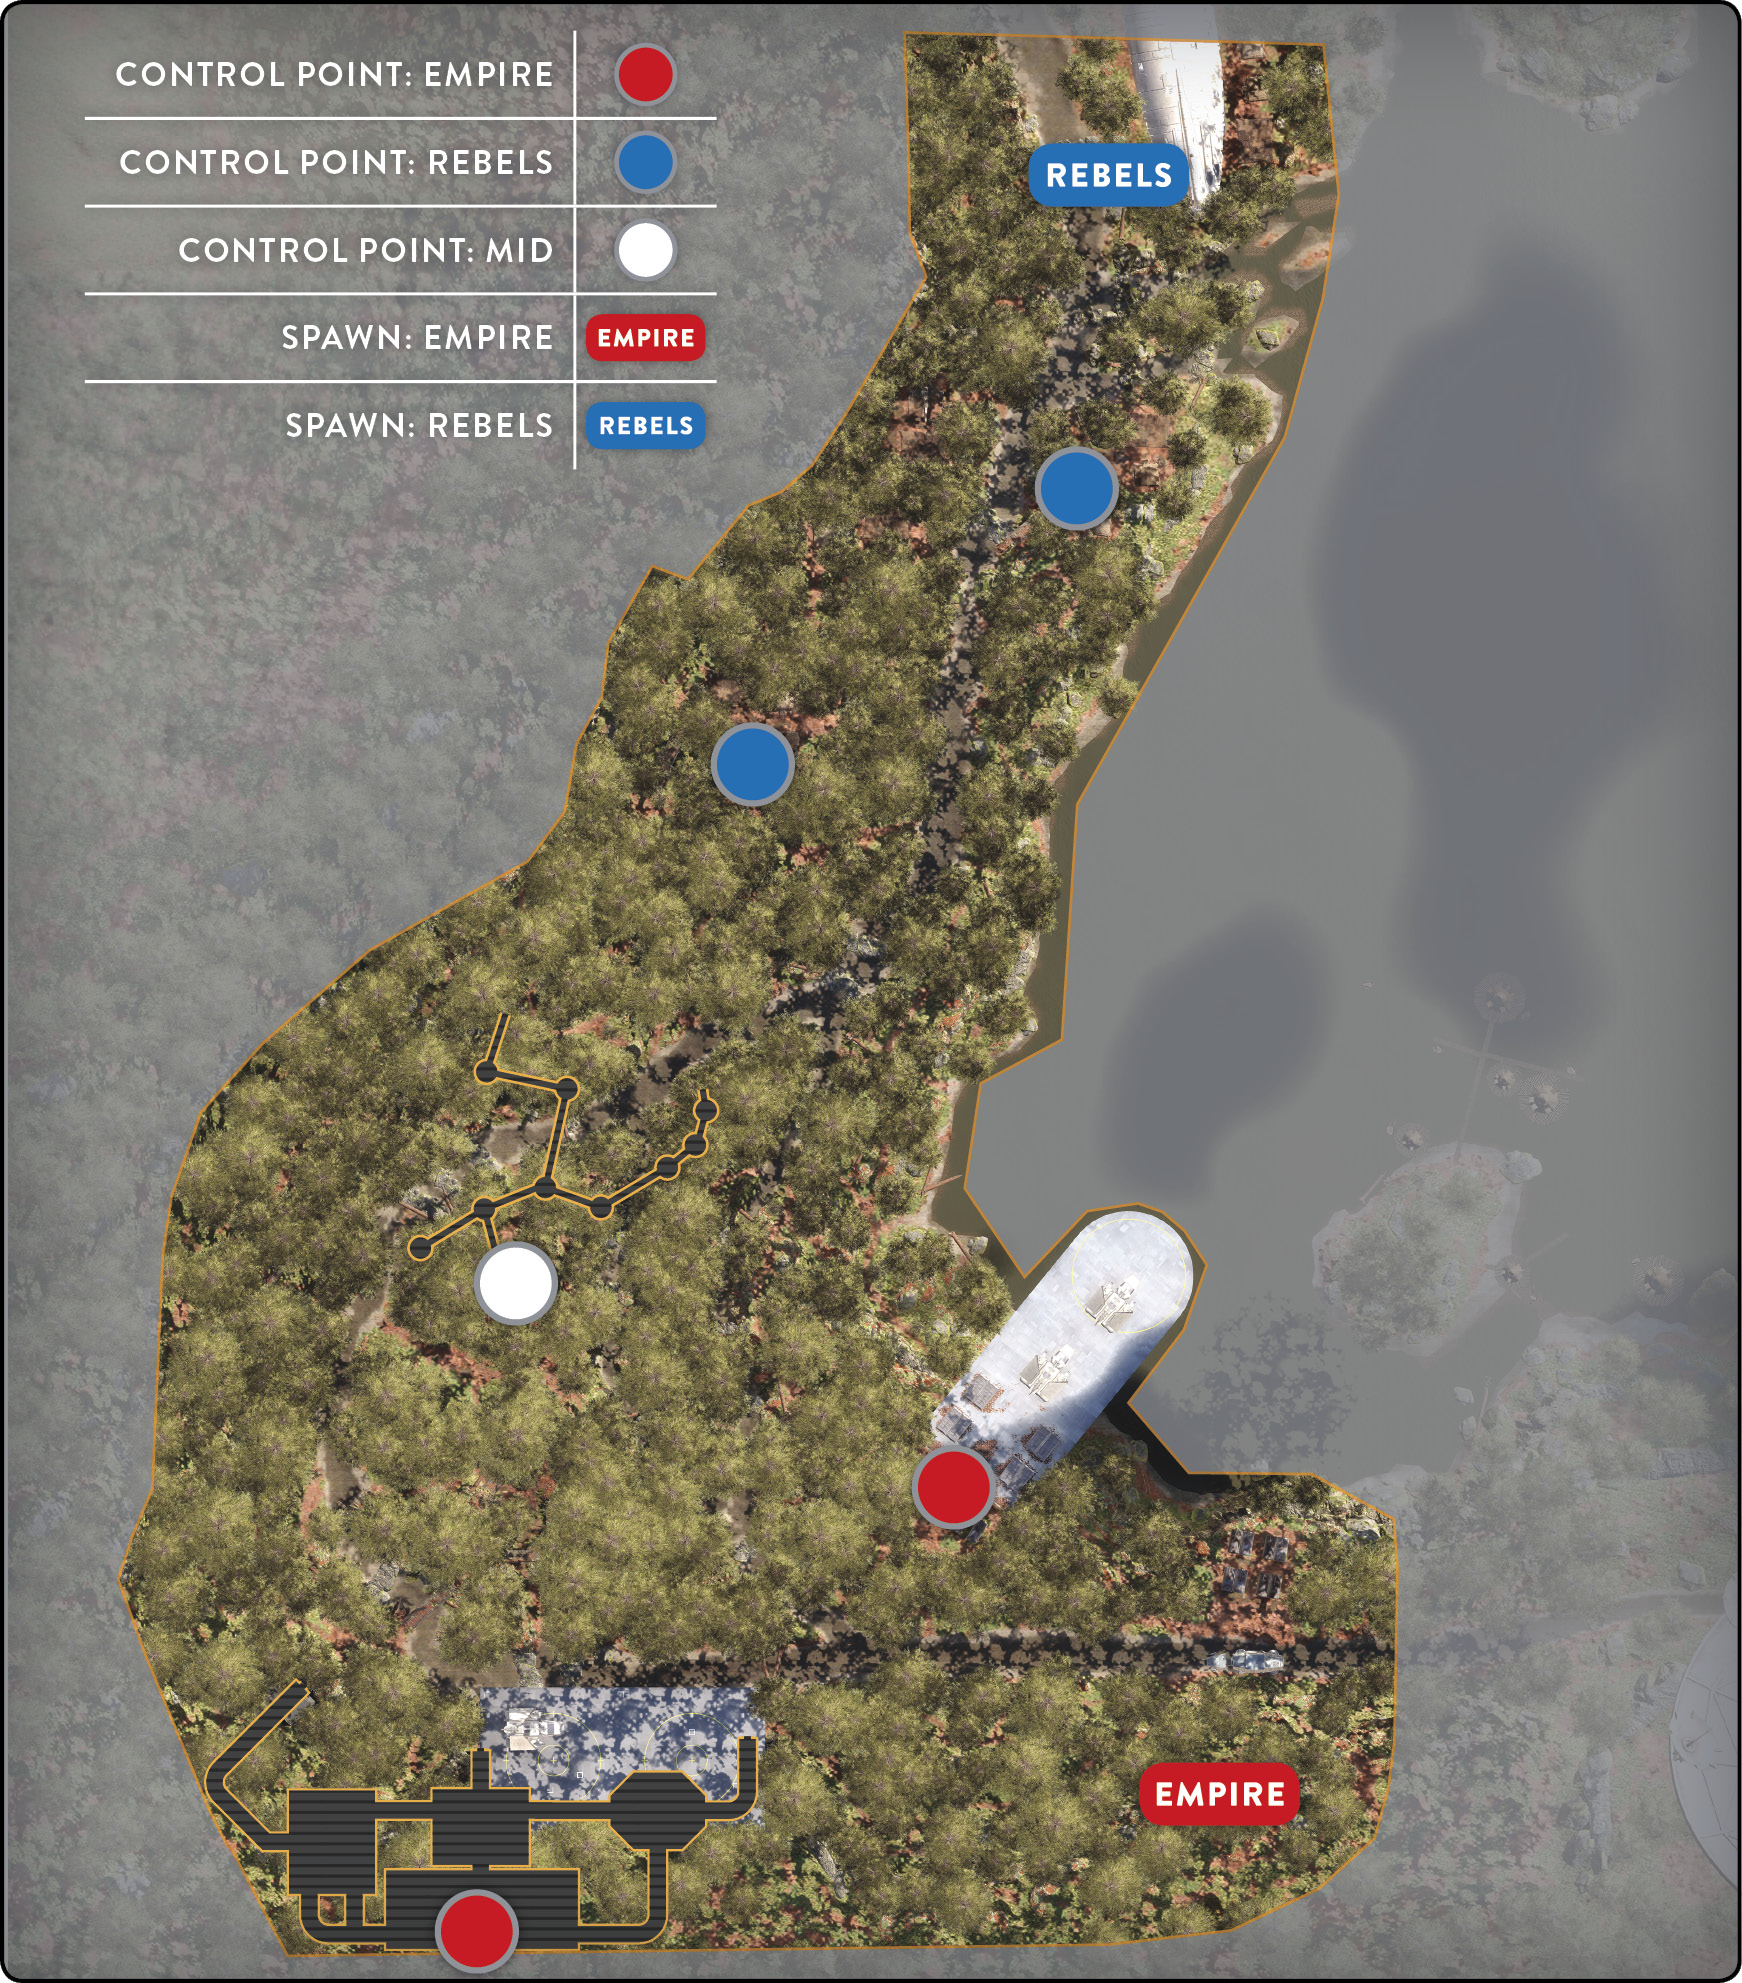
The center of the map and the first control point available for capturing is up in the trees, sitting on top of one of the Ewok-built stairs. Both fortunately and unfortunately, you can capture the control point from multiple elevations as long as you are located inside the capture circle. The fight over this control point can dictate the pace of the match, as the point is contested quite often simply because of its location. One of the most strategic areas from which to take this control point is one of the bridged sections across from the actual control point.
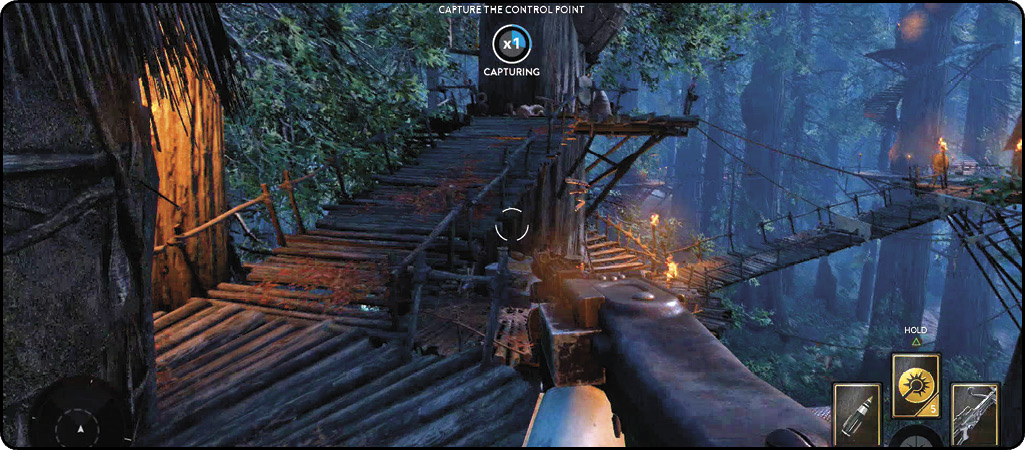
From here, you can defend the location from anyone attempting to contest it while your team tries to take it. This strategy also applies after you have taken the point and must protect it while your team needs to advance onto the next point.
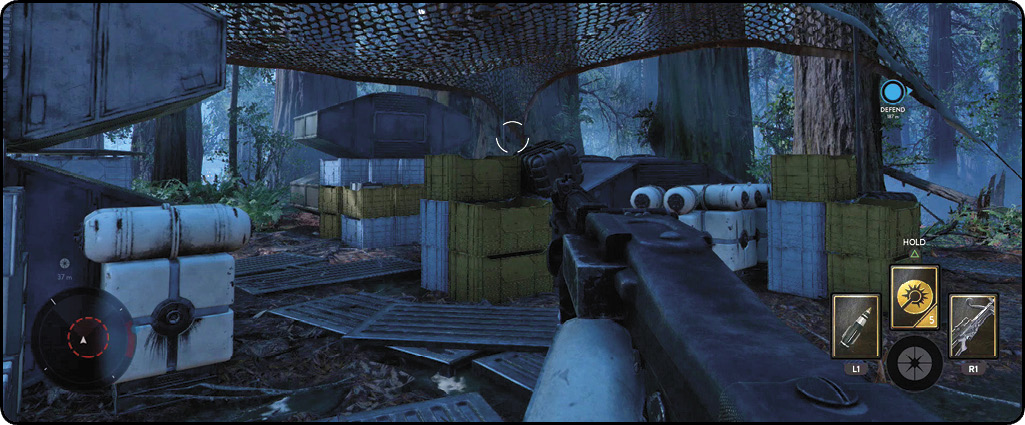
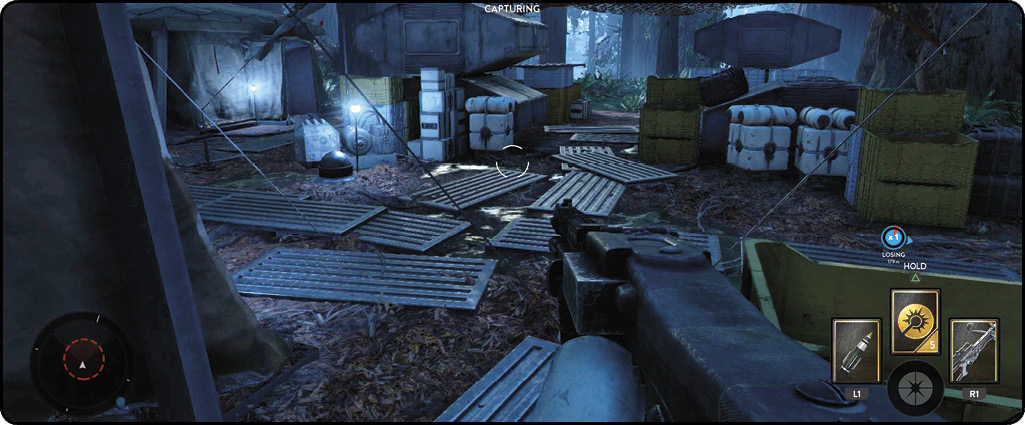
During the Imperials’ first “push forward” phase, be aware of any enemies standing underneath the initial control point. As mentioned previously, the area can be taken from several different locations, most of these are blind. The next area to capture is the forward Rebel camp. Multiple cargo crates and supplies surround this area, leaving plenty of structures available for cover. When attacking this position, keep your eyes on the surrounding forest, as many sightlines lead directly into this location. Popping a Smoke Grenade can protect you from snipers and definitely protects you from the Seeker Shot. One thing to remember during Supremacy on Forest Moon of Endor is to use the structures and crates as camouflage—your stormtrooper gear blends in rather nicely.
Next up is the Rebels’ final stand: another forward camp. This time, it’s located on a shallow cliffside adjacent to the lake. The challenge when attacking this area as an Imperial occurs during the “push forward” phase because there are many places to hide along the way to this final Rebel control point. Rebels should use these hollowed-out trees as major cover and ambush points. But remember that although running through one of them is great for concealing your approach, it is also a easy way to get ambushed upon exiting the tree. When you are defending this location, note that the Rebels want to be pushed forward. Keeping the enemy as far away from the point as possible is what saves your team from defeat. With that being said, it is also important to avoid being flanked around the side that is opposite of the lake. The lake can keep your team somewhat protected because you can see what’s down there, but the forest can help conceal the enemy, making defense a little bit more of a challenge.
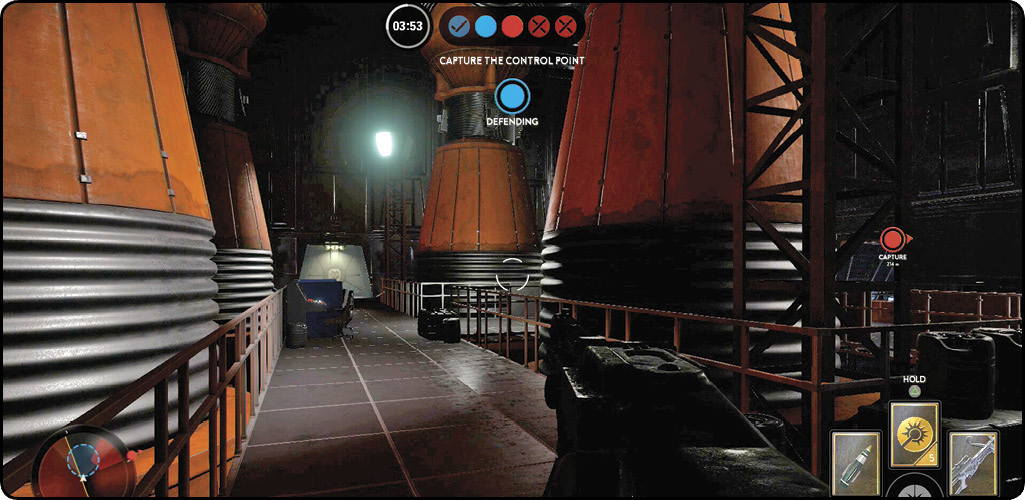
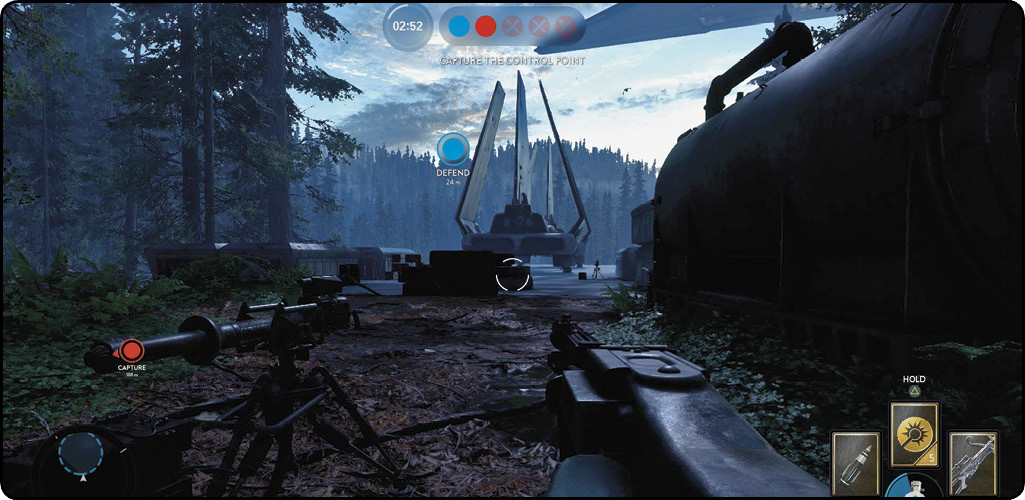
Going the opposite way of the center point happens when the Rebel forces have the advantage and have pushed the Imperials back to their outpost. This next control point is located inside the outpost. Having the control point indoors may seem like an advantage to the defending team, but remember that once you have broken the enemy’s defenses, it becomes just as difficult for them to take it back. Inside the capture area is a turret. This is a very important piece to the map because it points directly at the main entrance, which is where the majority of enemy troops enter from. There are a couple other entrances to stay aware of, however. Use proximity mines and deployable Blaster Cannons to either set up a crossfire or an even more formidable defense system, covering all possibilities into this outpost. It is also beneficial to defend from the outside if there are too many teammates inside. In that situation, if one Rebel gets lucky, your entire squad could be finished in one fell swoop.
Finally, the Rebels have pushed the Imperial forces back to their transport ship. Without a way to successfully flank the enemy, there is not much you can do besides face them head-on. But that’s fine in this situation—the platform where the Imperial transport ship sits is quite open, exposing the Empire’s forces rather easily. Be aware that this area is not as easy as it seems, even with the lack of places to hide. Because this location is so open, it is a prime spot for the use of AT-ST walkers with extremely high firepower and defensive capabilities. Equipping Ion Torpedoes and Ion Grenades is one of the only things that can bring down these walkers without wasting a ton of troops. The AT-ST is not the most maneuverable vehicle, but it can turn its upper body quickly enough to cover its surroundings. Fire your torpedoes and then find cover immediately, since the driver will find you and take you down if he or she spots you.
Walker Assault
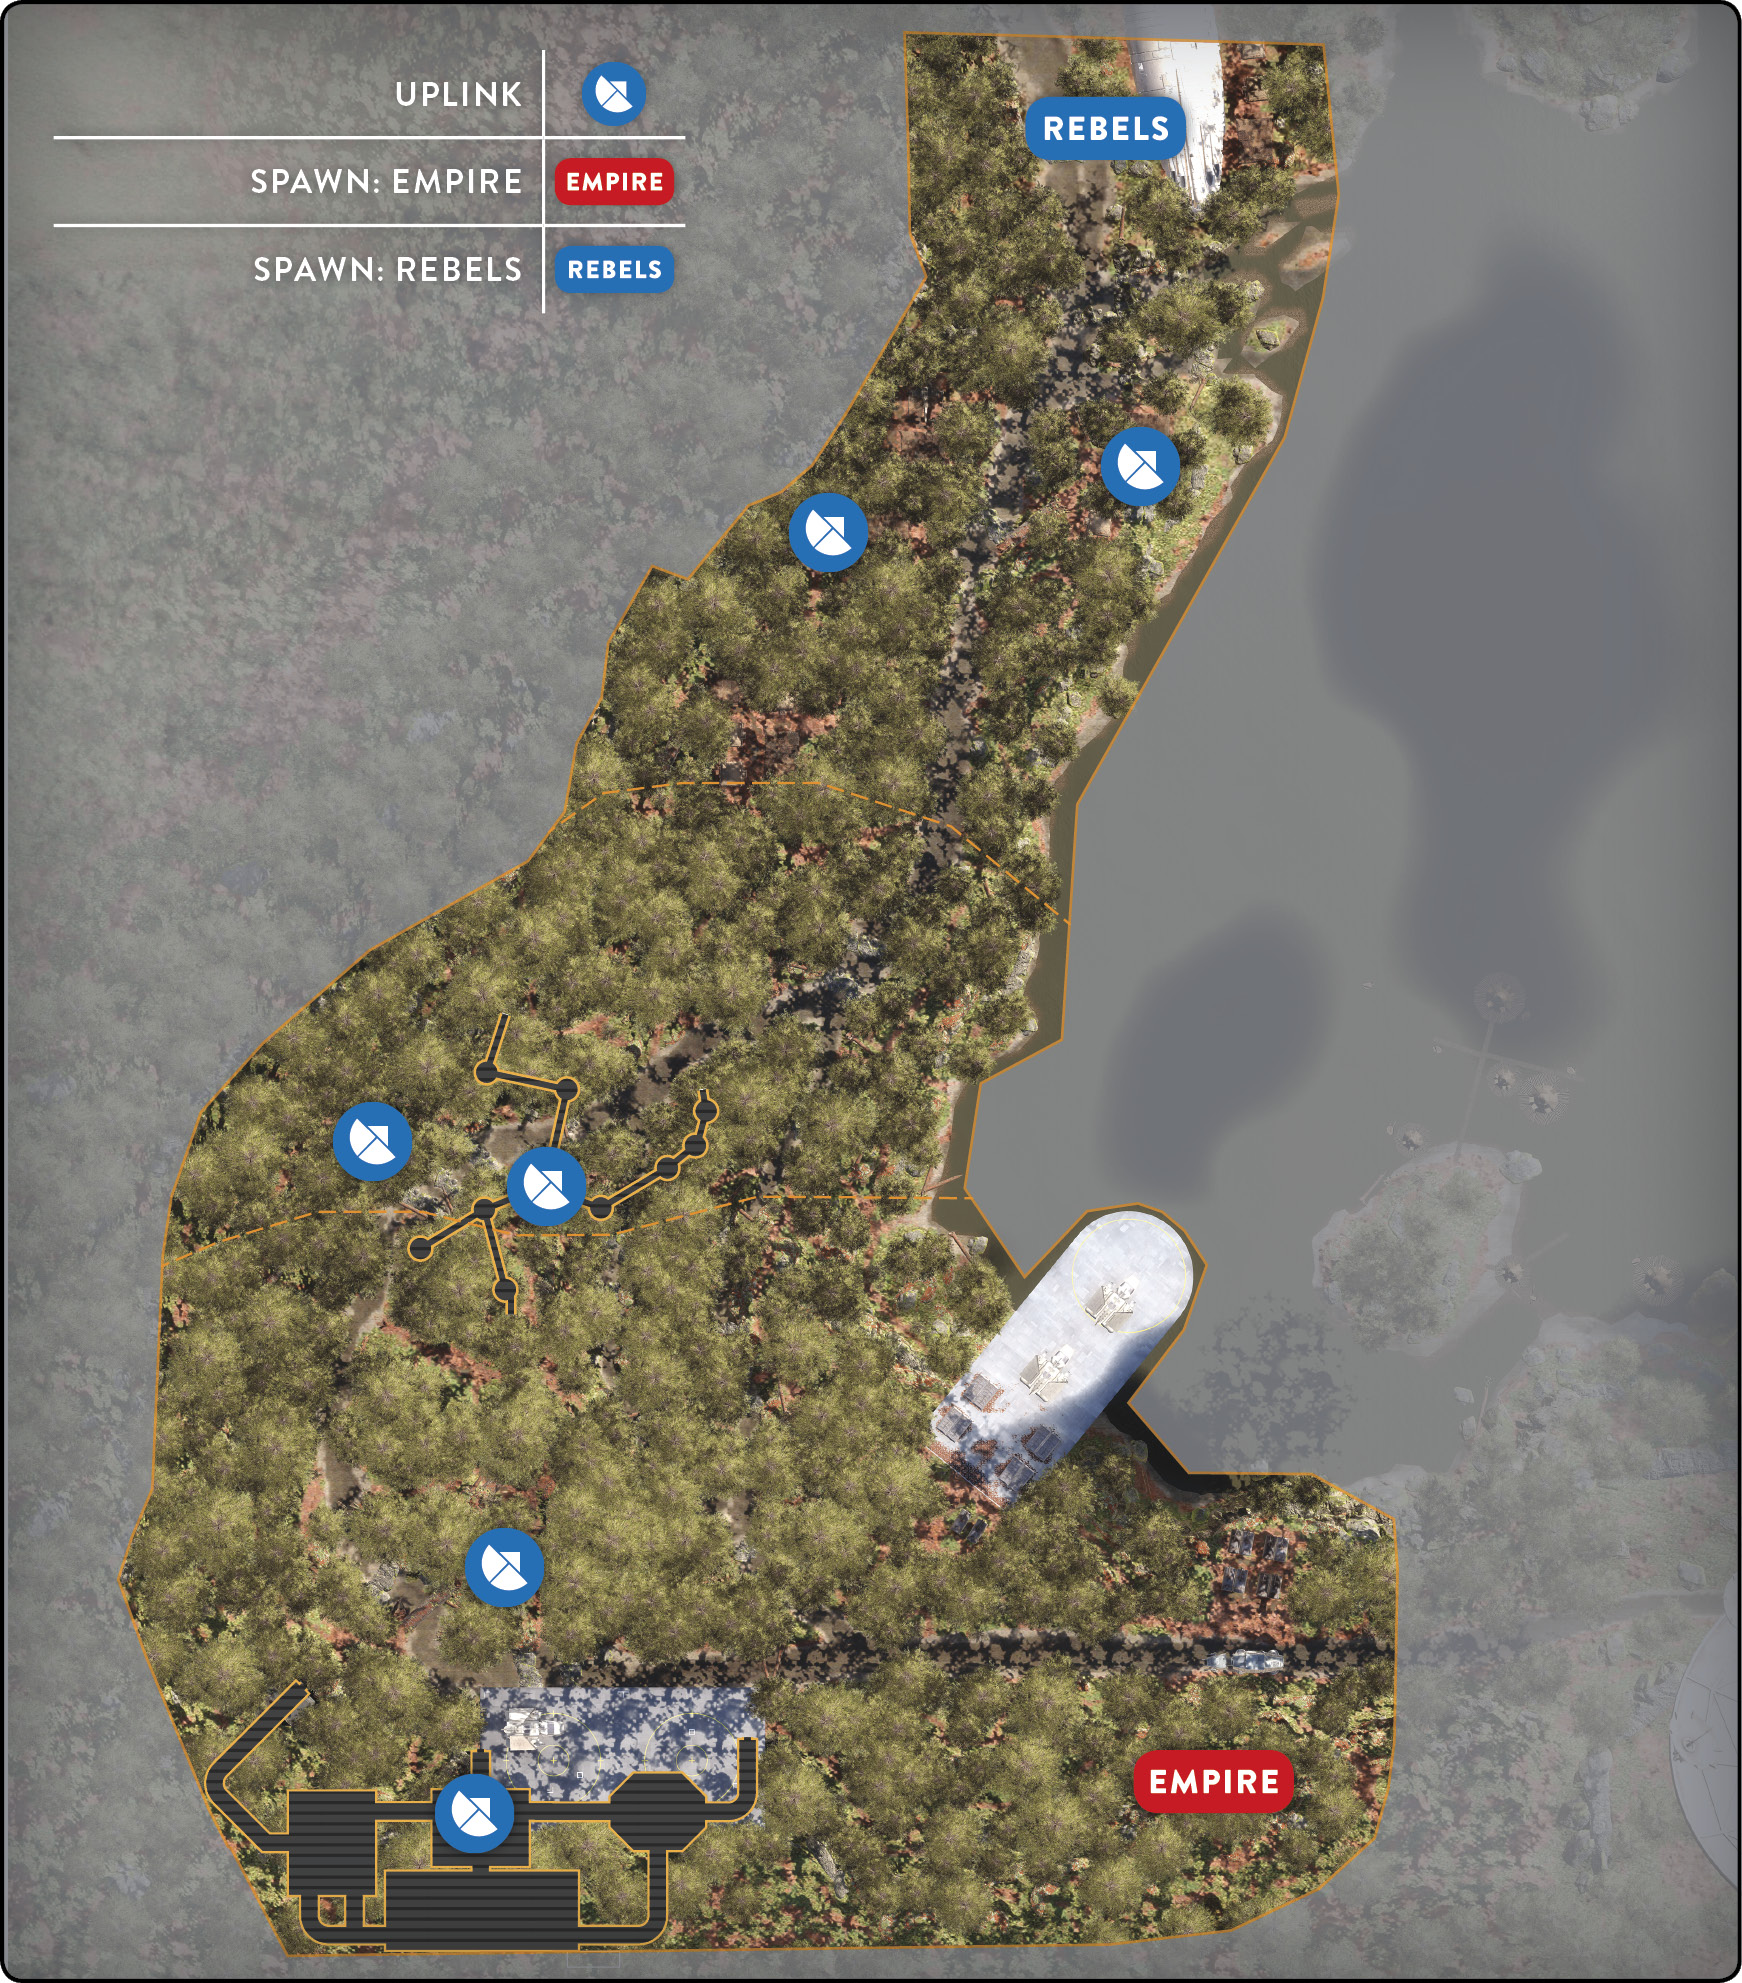
Due to the very dense canopy on this forest planet, there is only one single AT-AT walker when playing Walker Assault on Endor. The large trees provide cover for Rebel forces as they attempt to get close to the walker during its vulnerable phase, but beware of the high-powered blasters mounted on the AT-AT’s turrets. During the first phase of Walker Assault on the Forest Moon of Endor, you can use several bunkers to get from section to section while staying protected from the walker. The Empire troopers also use these bunkers to stop your forces from getting close to their walkers. For the Imperials, the bunkers can come in handy when you’re guessing where the enemy will be, but it is also a good place to simply watch and set up defenses just outside the entrances. When your opponents are inside the bunker, there isn’t much they can do to your mission; it’s when they leave that you have a problem.
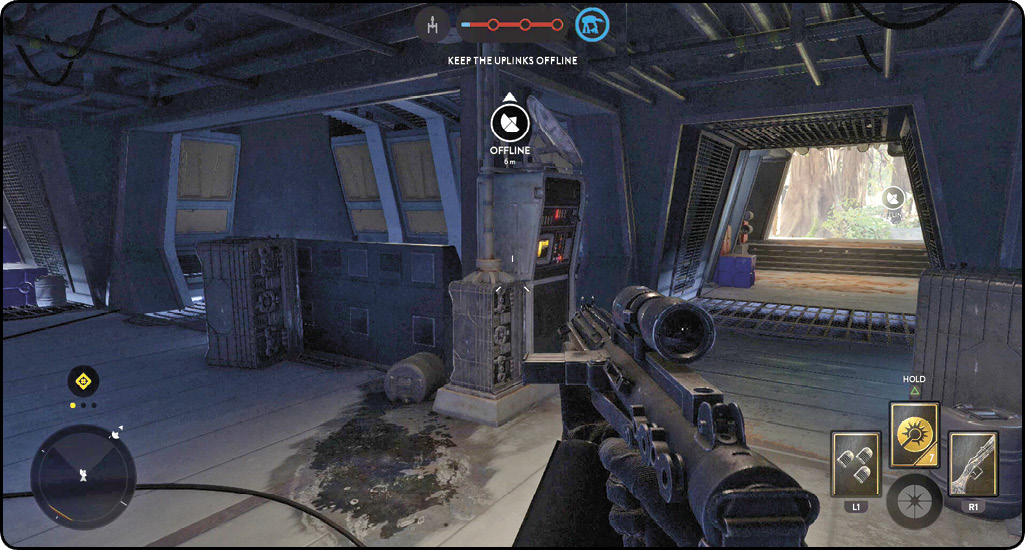
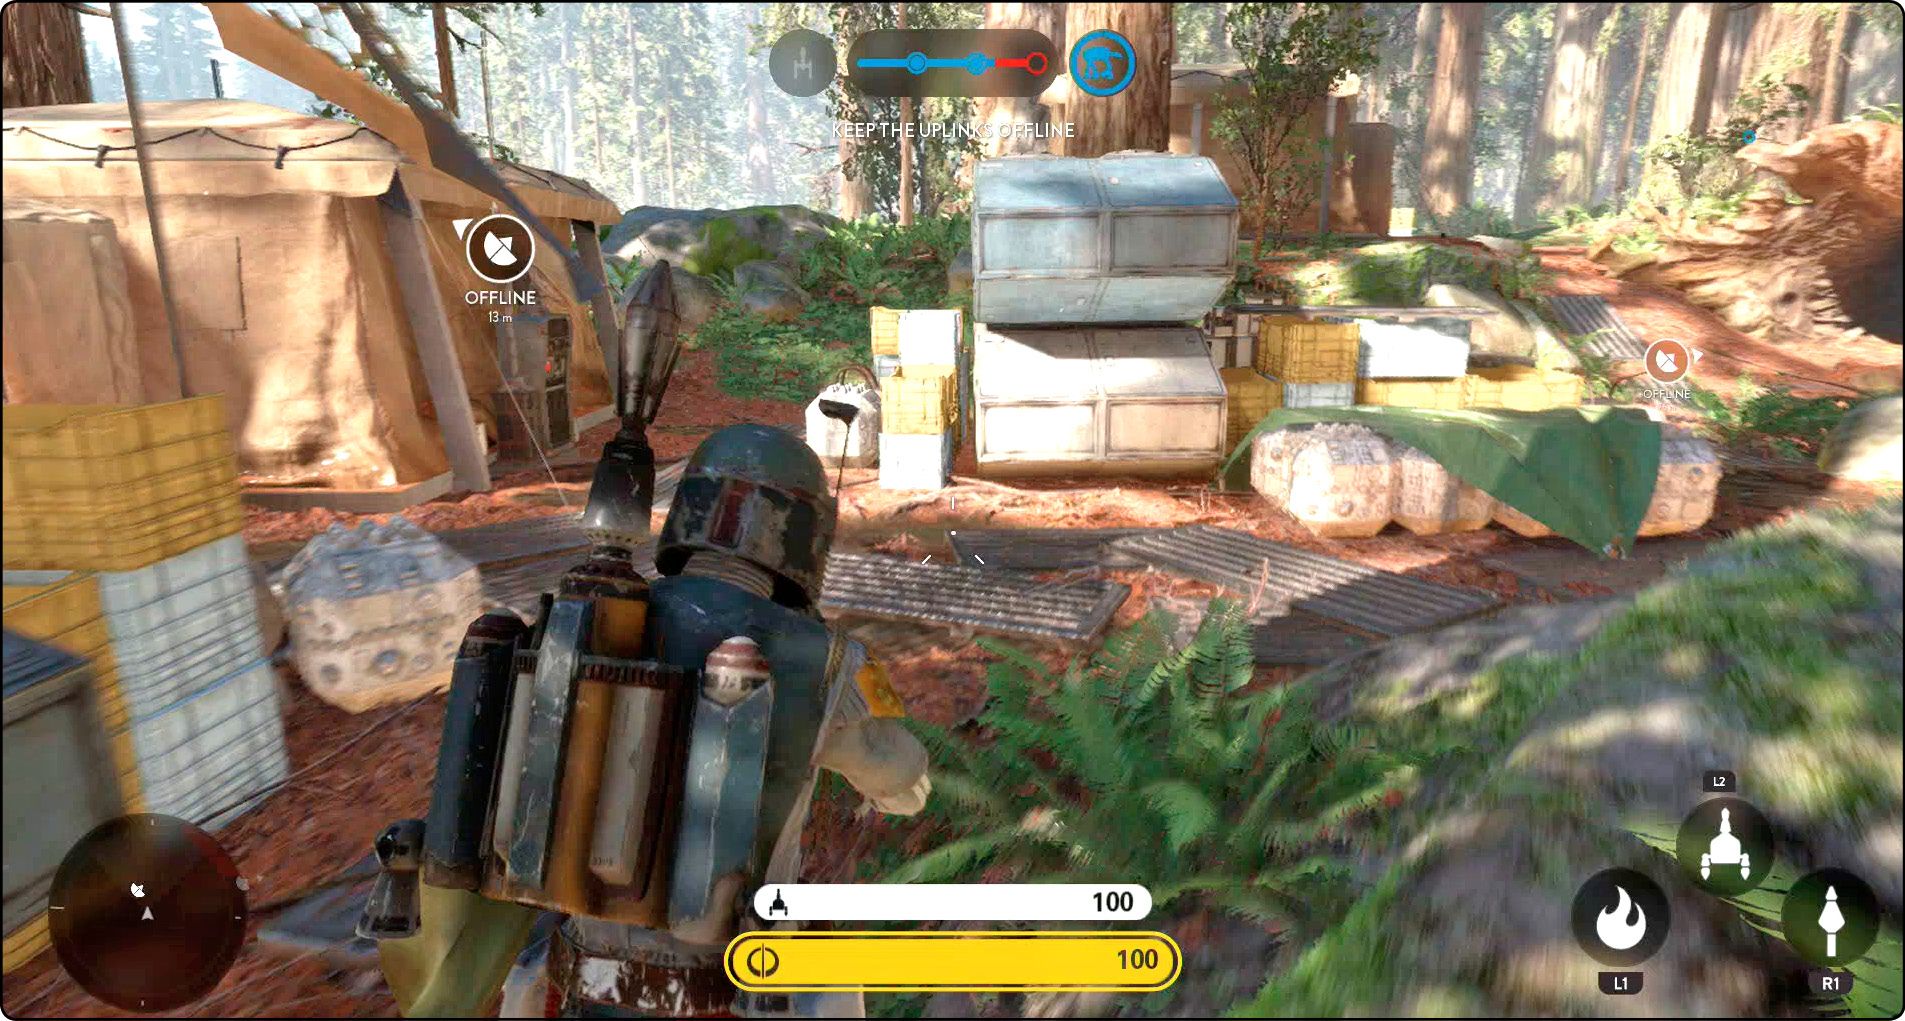
As with all versions of Walker Assault, there are two uplinks that the Rebels must capture in order to temporarily disable walkers (in this case, a single one). The first of two uplinks in the first phase is located in one of the middle bunkers just inside the entrance. There are several ways into this part of the bunker, but the main entrance is very close to the uplink. An effective way to defend this uplink is from the door or hallway closest to your team’s “side” (meaning the side of the map closest to where you deployed from). This strategy gives you the best angle on where the majority of enemy troops come from, but it still leaves you in a slightly vulnerable location. Whenever possible, you should push past the objective and defend in front of the uplink. This technique provides a much tighter chokepoint, and if enemy troops come in through another way, they are not likely to turn your direction until it’s too late.
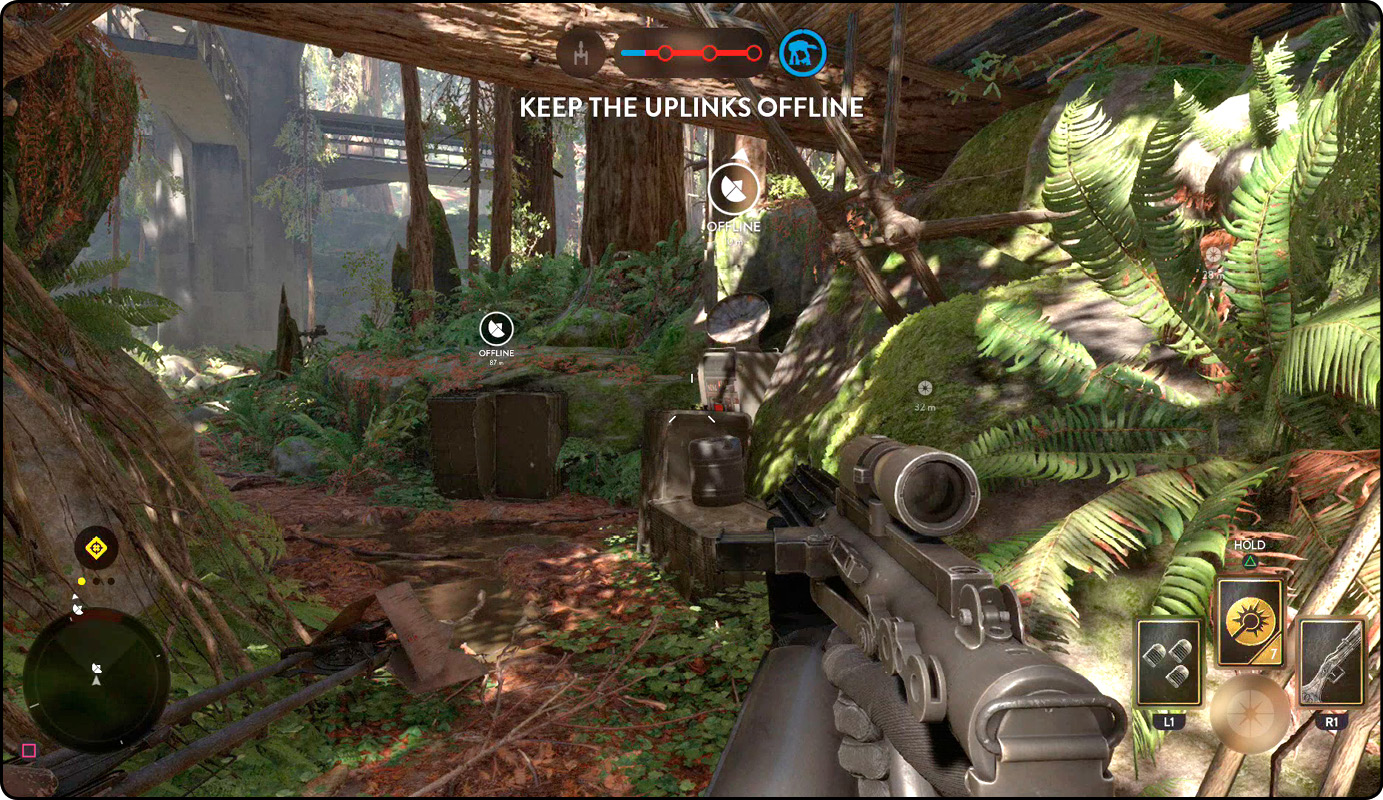
The second uplink in this first phase is located just across the creek from the first, directly under a fallen tree. The second uplink is a lot more vulnerable to attack from vertical angles, but it is much easier to hold once a side has taken control of it. Unfortunately for the Rebels, once the AT-AT gets close to this uplink, it very effectively bombards the location to ensure that forces from either side will not be able to secure this location. It is most effective to activate this uplink early and attempt to hold it as long as possible. It takes your team fewer troops to hold the interior uplink, so with a little teamwork, your team can take over both uplinks early and hold them for the entire first phase.
The second phase in Walker Assault on Endor has a slightly different setup. The indoor opportunities are gone at this point, and long range becomes the friendly tactic (unlike the first phase). The first of the two uplinks is located in between a few very large, thick trees. The trees form a cove-type shelter that looks like it was made for a speeder to drive straight in and take control of the uplink from the Imperial side. Behind this uplink is a tall hill that anyone can climb, although it is a little easier to stay protected when playing as a Rebel because of the exposed side of the hill that the Rebels deploy from. Use the hill for both attack and defense, but remember that Imperials are a little more vulnerable when defending from the hill.
The second uplink in the second phase of this match takes place high above in the trees on one of the Ewok-made wooden platforms. Approach this uplink from a distance by using one of the other stairways to access the high elevation before heading over to the uplink. This may give you a better sight of who might be defending the location before you arrive and get blindsided. The area containing the uplink is quite complex as far as the levels go. Take advantage of this when attacking by checking everything before heading to the uplink; it saves you in the long run.
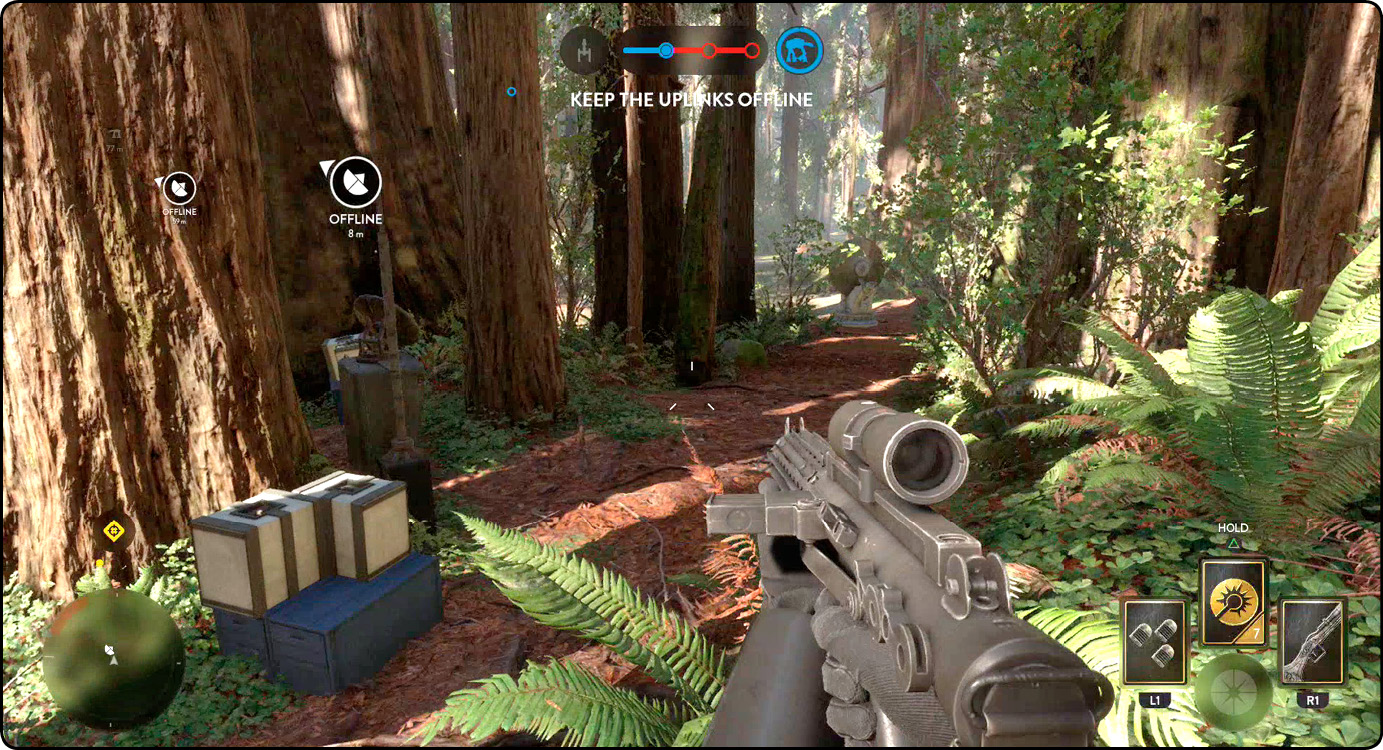
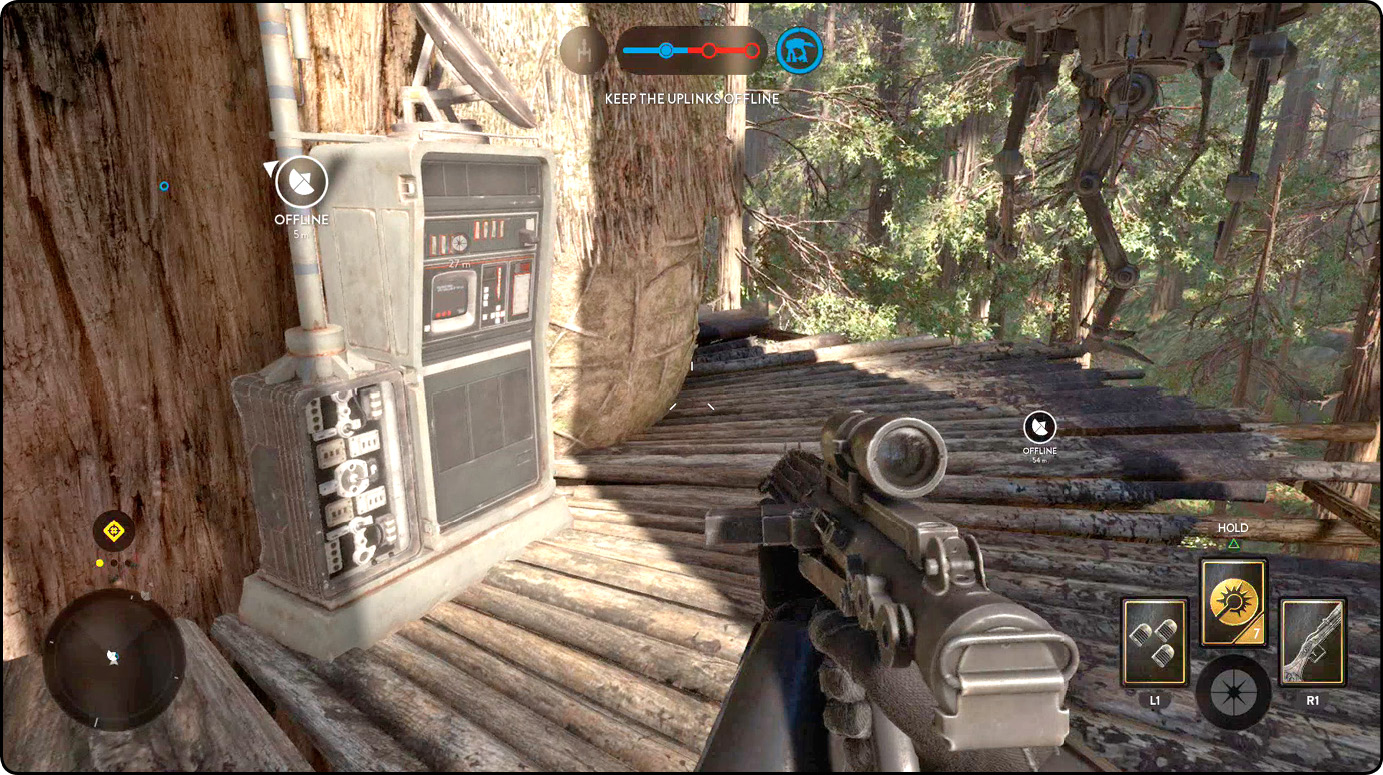
Once the uplink is under your control, take over these areas and levels to gain full dominance. As difficult as it may have been for you to check everything, it will be the same for your opponents, so you should have the advantage of spotting them first.
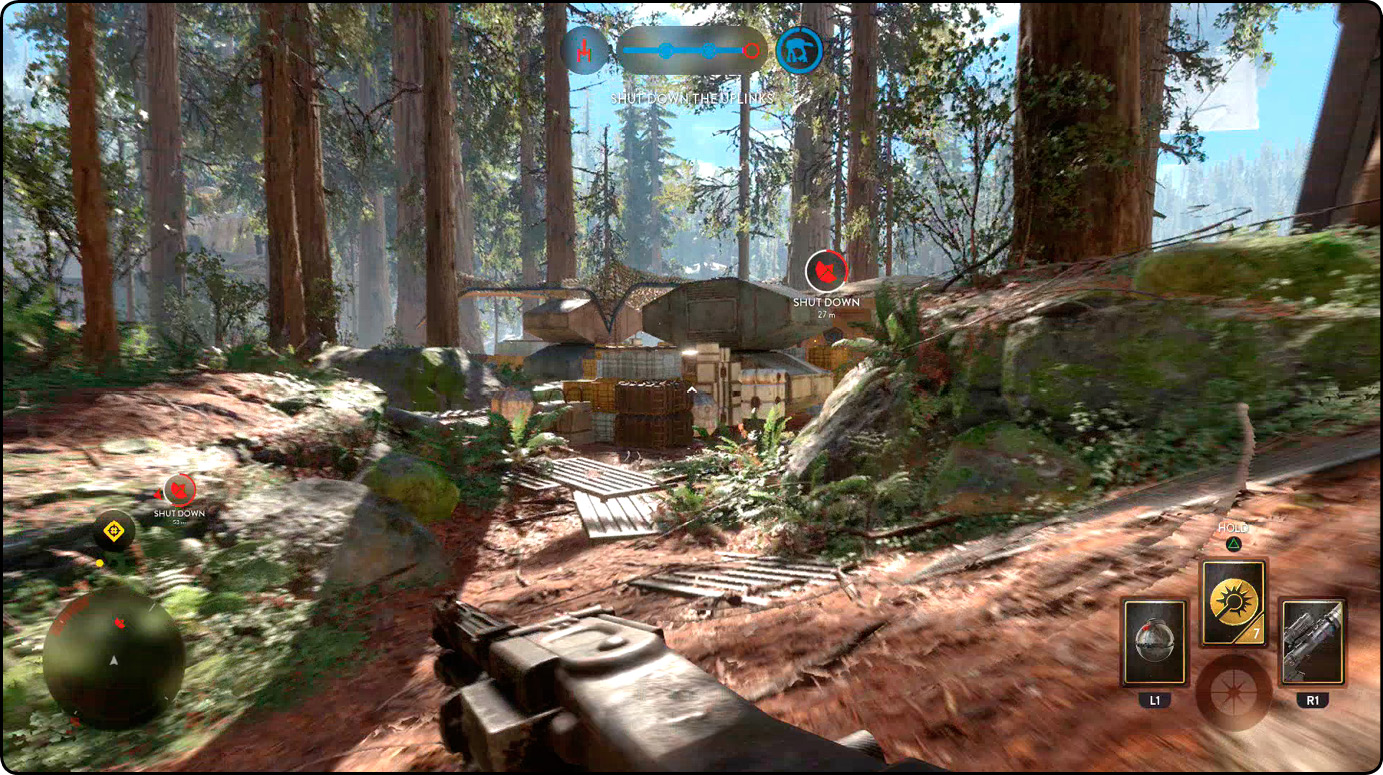
The final phase can be extremely challenging for both sides, and its difficulty solely depends on taking control of the uplink area quickly. Both uplinks during this phase are extremely exposed and sit inside the camps near the Rebel transport ship, which happens to be the target for the Imperial AT-AT walker. Taking control of these uplinks does not guarantee your victory because they are incredibly difficult to defend; this goes for either side. One of the best strategies for the Rebel team is maintaining some space between your hideout and the uplink. There isn’t much cover that can protect you from a Thermal Grenade or two, so keep some distance, and take out any enemies going straight for the uplink.