
STAR WARS™ Battlefront™ Guide Infantry
Blasters
Throughout the galaxy, not all life forms were able to wield a lightsaber. In fact, only a select few gained the knowledge of the Force and could adequately use such a mighty weapon. The most commonly equipped armament is a ranged weapon known as a blaster. Soldiers from both the Rebel Alliance and the Empire use various types of blasters to defend themselves and battle one another.
In Star Wars Battlefront, there are many different blasters to choose from, and choosing the right one that fits your style of play is key when attempting to defeat your enemies. Everyone on your team plays a different role when fighting for victory, but they are all equipped with a blaster. It’s up to you to ensure that you are using the best one for your own tactical advantage. While all blasters fire blaster bolts, no two have the same damage output, rate of fire, range, and cooling power combination. Whether you’re fighting for the Rebel Alliance against those Imperial swine or as a stormtrooper against the traitorous Rebel scum, you have access to all of the blasters you have unlocked. If you find one that works for you, use it whenever possible. However, you should try out each new blaster you unlock—you never know what new techniques you may pick up.
Each and every blaster shoots fairly straight. With any single fired shot, you will more than likely hit wherever your crosshairs are pointing. However, note that the more rapidly you fire your weapon, the less accurate it becomes. To maximize your damage, rattle off short, quick bursts at your foes. When an enemy is at a shorter range (like inside the corridors of Sullust), let those bolts fly. Even though their accuracy may diminish, blasters do not have a great deal of recoil. You can stay accurate enough to take down your opponent without missing too many shots. Pay attention to your Heat gauge, as it is very possible to panic and overheat your blaster. It is best not let your weapon overheat, but if it does, focus and complete the cool-down mini-game to quickly get it back in working condition. Failing this mini-game prolongs your overheat penalty, leaving you vulnerable.
Range is key when selecting your target or deciding whether you’re in the correct position to take down your enemy. Blaster bolts are beams of high-energy particles that do not have enough mass to drop to the ground after you fire them. However, they do begin dissipating after they’ve traveled a certain distance. Even though your bolts won’t have any drop from gravity, the farther away you are from your target, the less damage your blaster will inflict. This is where you must pay attention to your blaster’s range. A blaster with a low range and a high rate of fire will not perform well when you are fighting an enemy with a long-range scoped weapon from 100 meters away. Pick your battles, and choose the blaster that was made for your style of play. That blaster may well save your life, giving your team a better chance at succeeding in any given mission.
DLT-19
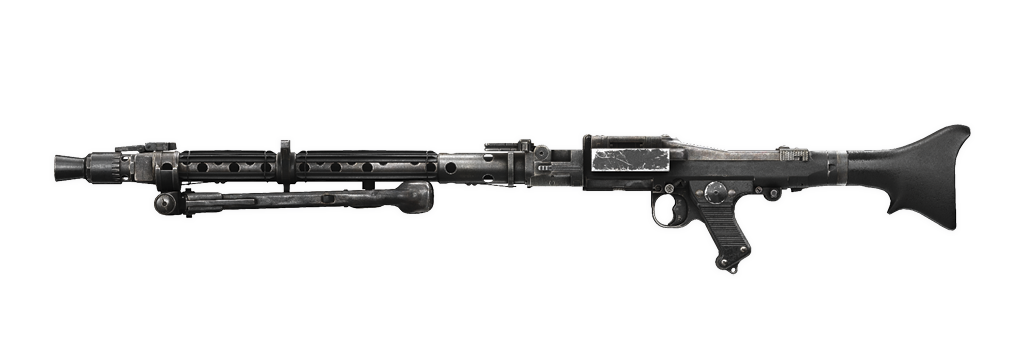
Type: Heavy Blaster
Rank Available: 3
Unlock Price (Credits): 550
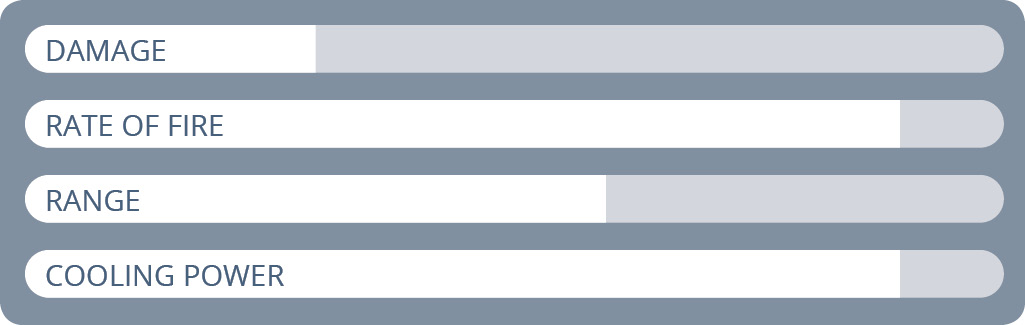
A medium-range blaster, the fully automatic DLT-19 fires downrange at a very high rate of fire. The speed at which it sends blaster bolts compensates for its damage output (which is also what makes it a medium-range weapon). For best results, use the DLT-19 in modes like Supremacy. Even though that mode is objective-based, bringing several troopers close together, the firefights are mostly mid-range fights.
DH-17
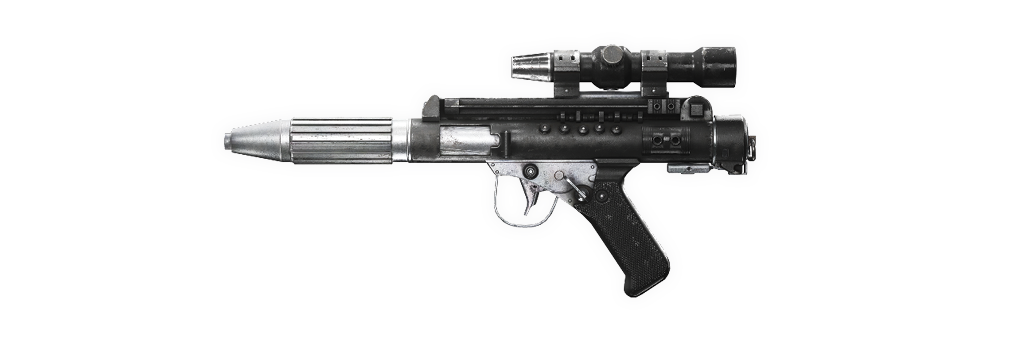
Type: Blaster Pistol
Rank Available: 3
Unlock Price (Credits): 550
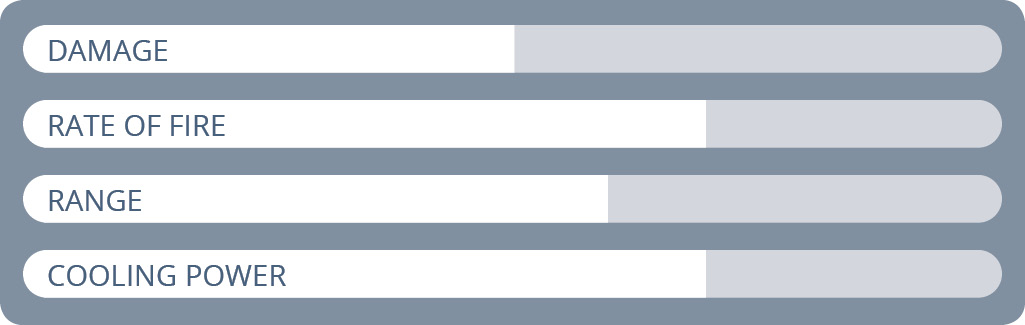
Much like the DLT-19, the DH-17 is fully automatic and performs best at medium range. As a blaster pistol, it fires at a slower rate, but it fortunately puts out a little more damage to balance this out. The requirement for accuracy is a little more stringent because of the lower rate of fire; each burst or blaster bolt must count in order for you to take down your opponent. Overall, the DH-17 is a very well-rounded weapon. Once you have unlocked it, it works very well for any type of player.
RT-97C
Type: Heavy Blaster
Rank Available: 5
Unlock Price (Credits): 1250
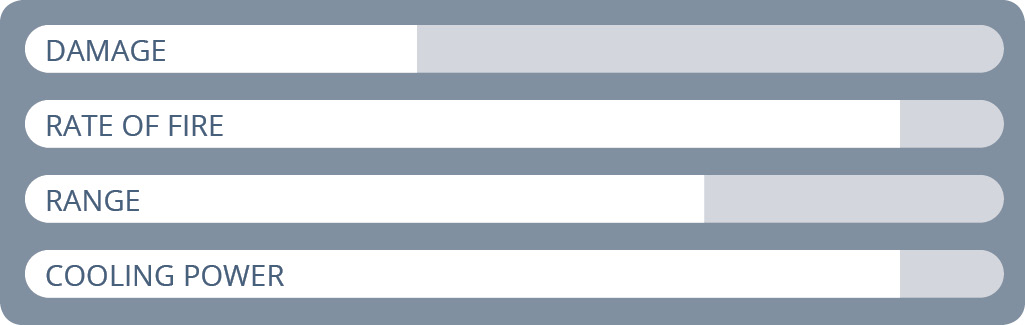
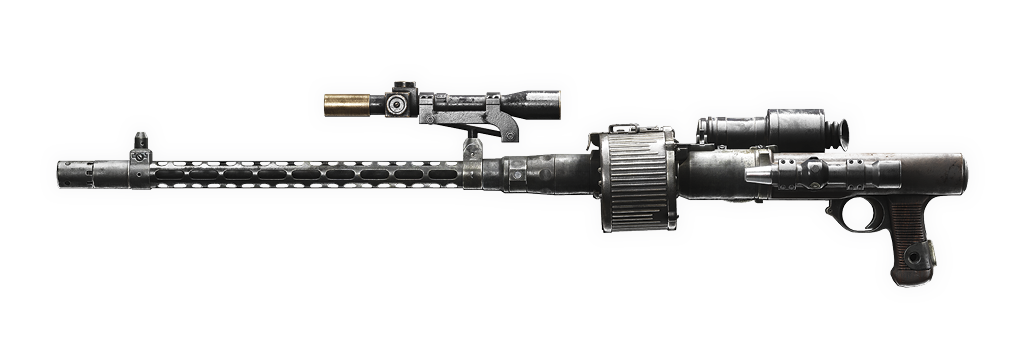
This rapid-firing blaster can deal significant damage to your opponent because of how many bolts it can put out within a short amount of time. The RT-97C can fire for a bit longer than most blasters (especially heavy blasters) without overheating or having to cool down. Bring this blaster into your favorite modes and take down your enemies, as they stand no chance in a hallway or at most ranges on the battlefield.
A280C
Type: Blaster Rifle
Rank Available: 8
Unlock Price (Credits): 1550
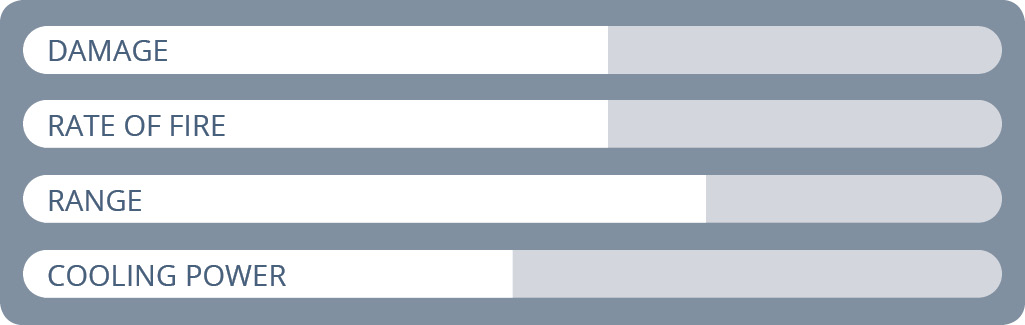
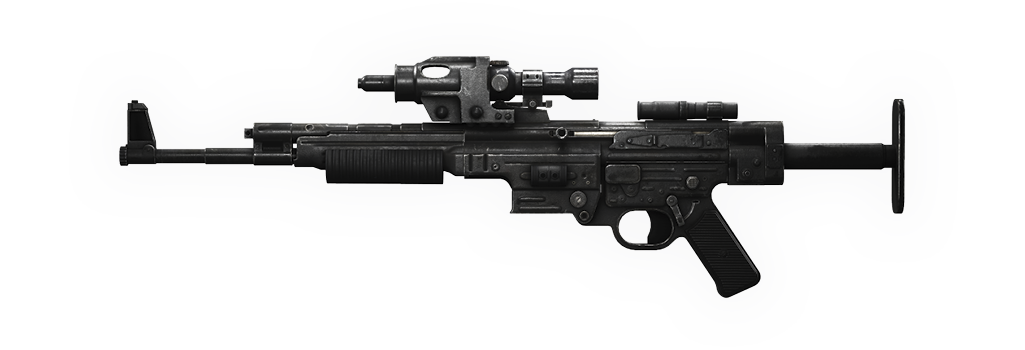
The A280C is a medium-range weapon that has a moderate fire rate and is the blaster that the Rebels begin with as their default starting blaster. Equipped with a mid-range scope, this versatile blaster is effective for all types of players. Taking roughly five seconds to overheat when you hold down the trigger, the A280C leaves you with plenty of time to take down multiple enemies before things get too hot. Because of the low damage on this blaster, you should aim for your enemy’s head. It is important to get the most out of your attack before your target has a chance to retaliate, possibly with a more powerful weapon. Catching your opponents by surprise is your best tactic when equipped with the A280C; give your foes minimal time to locate your position and counter-attack.
E-11
Type: Blaster Rifle
Rank Available: 8
Unlock Price (Credits): 1550
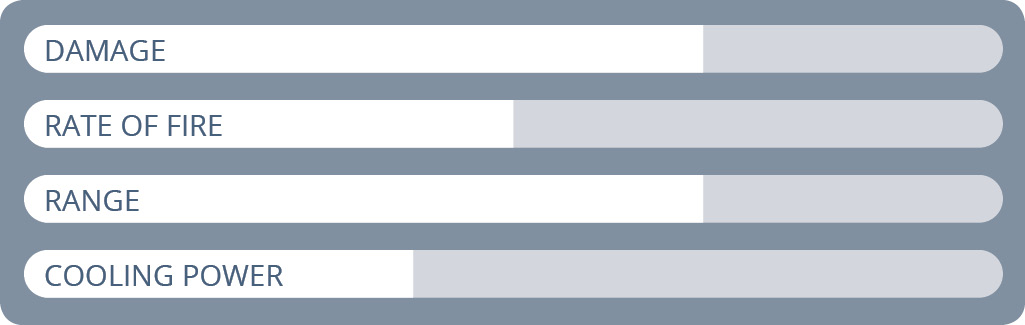
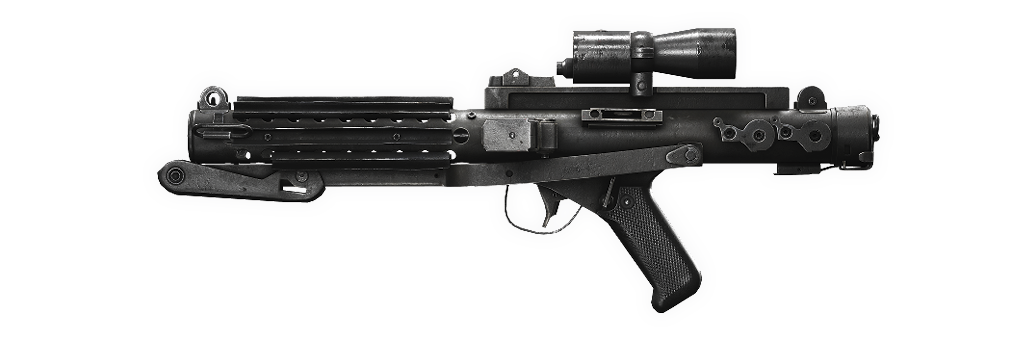
The E-11 Blaster Rifle is the Empire’s starting weapon and consequently is a great weapon for all types of players and shooters. Its rate of fire is relatively slow, but the damage can take down enemies rather quickly, and you’re guaranteed to make contact on the majority of your shots. While this is not the best weapon in modes like Cargo or Drop Zone where situations require “up close and personal” combat, it is still a good weapon to use in the majority of settings.
CA-87
Type: Shock Blaster
Rank Available: 8
Unlock Price (Credits): 1550
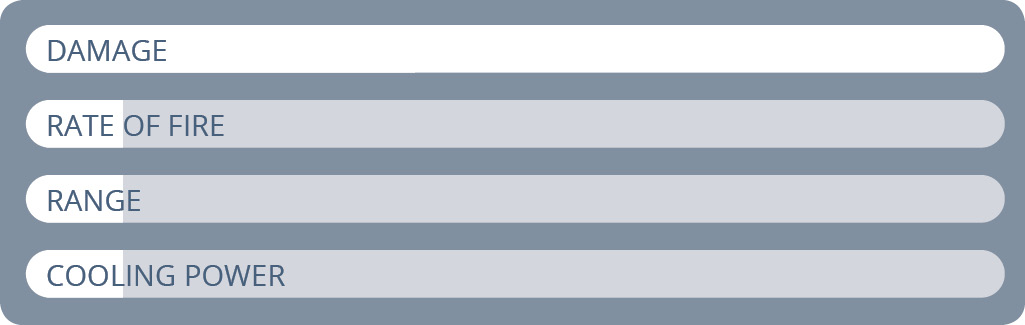
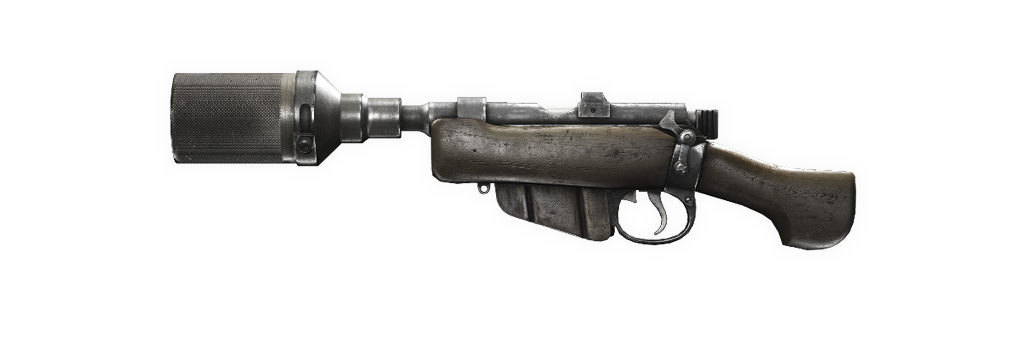
The CA-87 is a very interesting and extremely useful weapon in specific situations and Multiplayer modes. The CA-87, if combined with Ion Shot, becomes the weapon used to subdue the droids in Empire Striked Back. The downside of this blaster is exactly how specific the situations are that make it useful, not to mention that firing just a few shots as rapidly as possible will overhead the blaster rather quickly. The CA-87 is a shock blaster, meaning that it fires like a shotgun. When you are in close proximity to your target, it is highly effective. However, at any other range, you may encounter a major challenge when trying to take down your opponent.
T-21
Type: Heavy Blaster
Rank Available: 10
Unlock Price (Credits): 2500
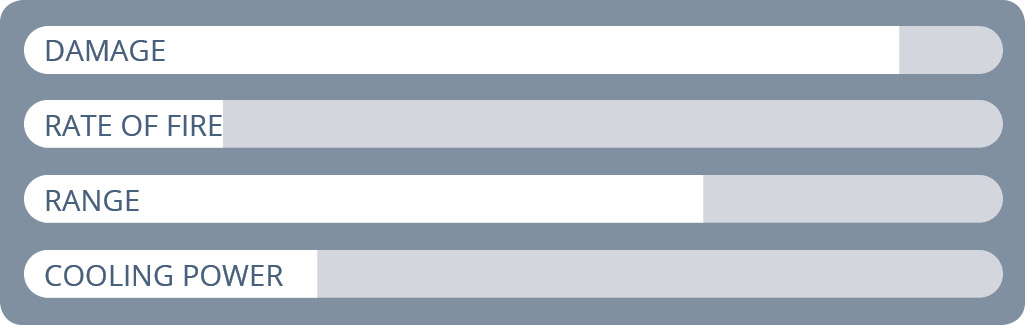
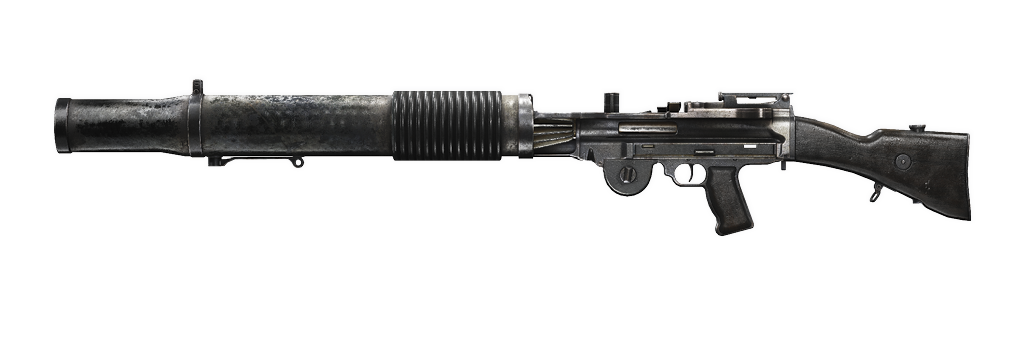
The T-21 Heavy Blaster is an extremely high-powered single-shot weapon. Firing this weapon as fast as it can be fired will overheat the weapon fairly quickly, so take a moment between shots and your cooling system will keep it relatively cool: you must constantly fire it, pulling the trigger repeatedly to heat it up. Firing off three to four shots at a time is a good burst that keeps the gun from ever overheating. The downside is that this weapon is designed for advanced shooters simply because it is a single-shot blaster. Make every shot count, and do your best to hit foes in the head. The better you are at doing this with the T-21, the more elite of a player you will be.
SE-14C
Type: Blaster Pistol
Rank Available: 14
Unlock Price (Credits): 2500
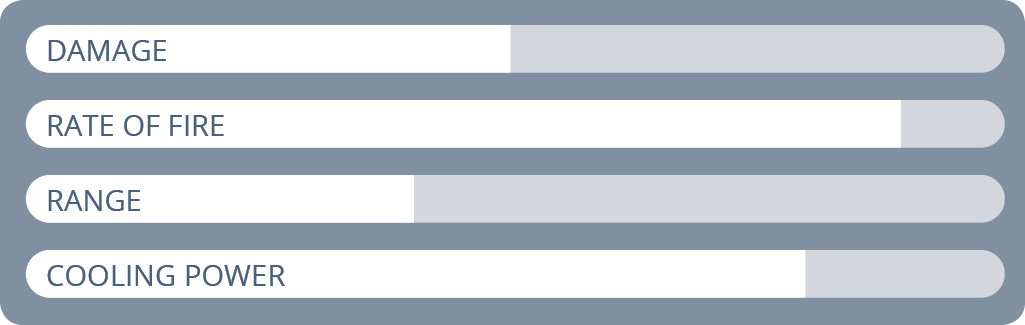
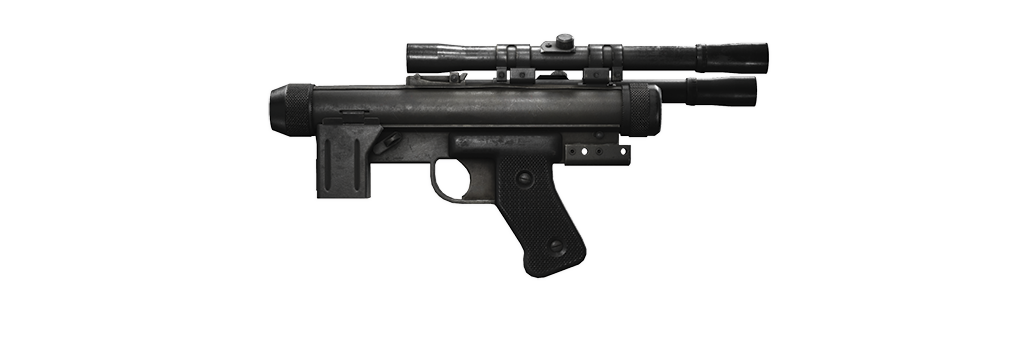
This blaster pistol is another weapon that works best for advanced players. The rate of fire is quite fast, but the damage is a little low. It is also a burst-fire weapon, meaning that it fires a short burst with every pull of the trigger. This helps a little with any overheating problems you may have on the battlefield. Though the burst fire does not teach trigger control, it does allow you to let the blaster cool off between shots. The SE-14C is highly effective if every shot from the burst lands on the target. Without giving your enemies a chance to recover health, hitting them with a few bursts is sure to take them down quickly.
EE-3
Type: Blaster Rifle
Rank Available: 17
Unlock Price (Credits): 2500
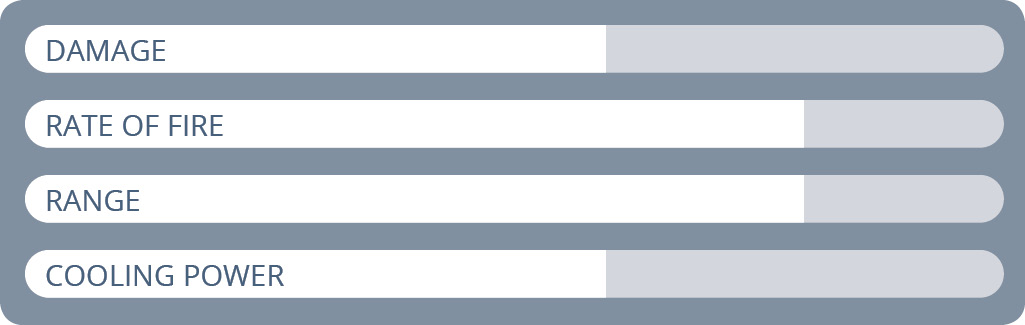
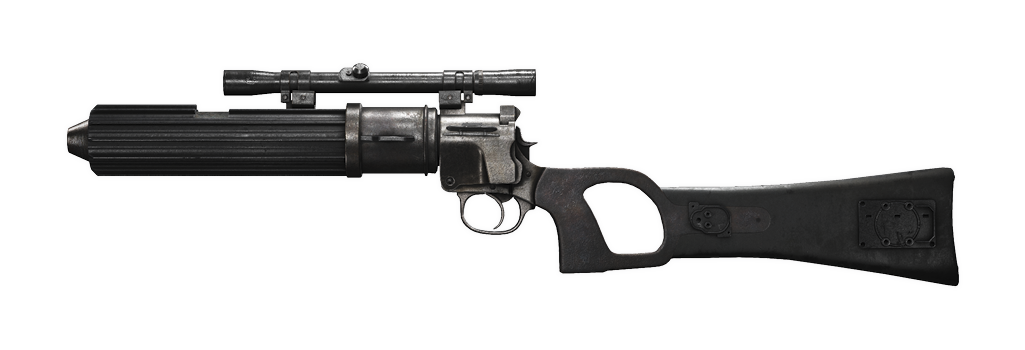
The EE-3 Blaster Rifle might look familiar if you are a fan of the great bounty hunter Boba Fett. This is another blaster that fires in a burst style of a few bolts per pull of the trigger. However, unlike the SE-14C, this one spits out bolts a little faster, giving you less delay between bursts. This is both a strength and a weakness for the EE-3. The quick burst helps you because you have less chance of missing your target on the last bolt in the blast, assuming that the first bolt hits. However, it can hurt you if you are not paying attention to the Heat gauge. Like any fully automatic blaster, the possibility of rapid overheating applies to the EE-3. To make the most out of this blaster rifle, be careful and watch your HUD. Once you have more experience and mastery of the weapon, the EE-3 is one of the most powerful blasters in Star Wars Battlefront.
T-21B
Type: Targeting Rifle
Rank Available: 21
Unlock Price (Credits): 2500
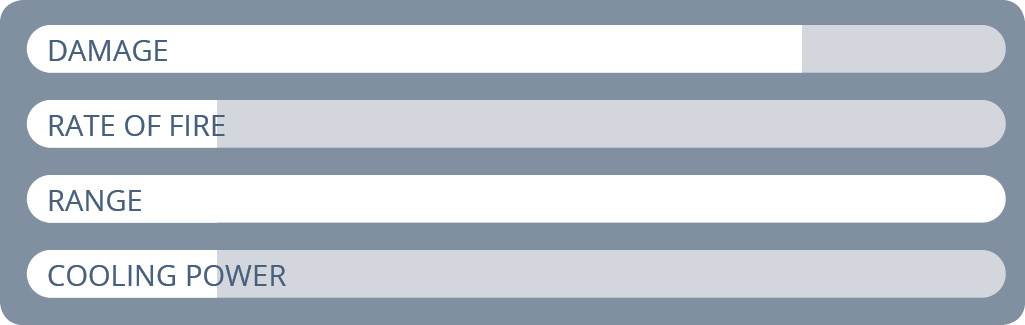
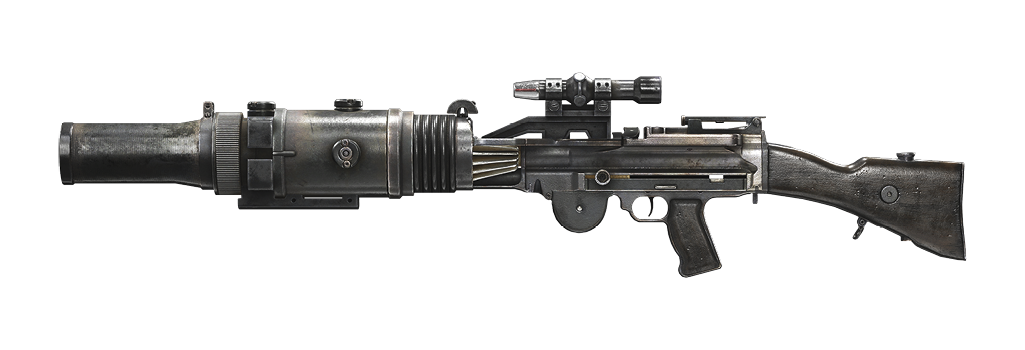
The T-21B Targeting Rifle is extremely effective at long distances because of the accuracy and range that have been built into this blaster. As the longer-ranged version of the T-21, the T-21B is equipped with a scope and an improved sight system that improves its range greatly. With most of the same strengths and weaknesses of the T-21 blaster, you should avoid any short-range, up close battles with your opponents. This blaster is just not made for those situations. If you have chances in modes like Supremacy or Walker Assault to keep your distance and pick off your opponents, this is the best plan of action and keeps you at the highest advantage against enemy forces.
DL-44
Type: Blaster Pistol
Rank Available: 25
Unlock Price (Credits): 2500
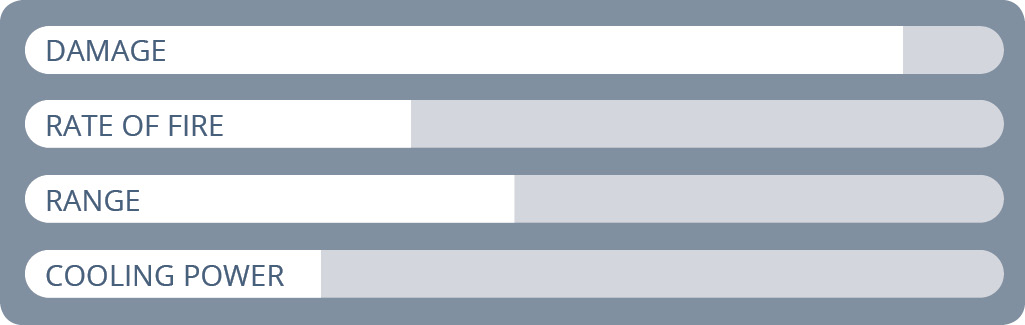
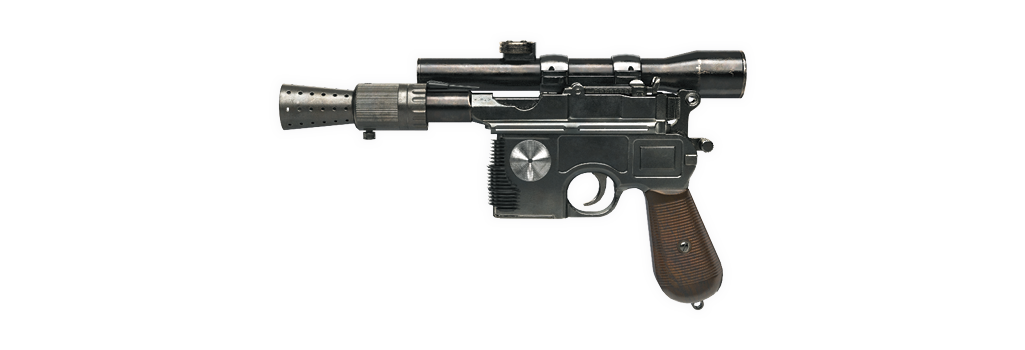
The iconic DL-44 has one of the highest damage stats in the game, allowing you to take down enemies rather quickly, but at range it will drop in damage so stay aware of how far you are before engaging in battle. Equipped with a scope, this rifle does wonders at long range in accuracy but can also demolish your opponent in a close-quarters combat situation. One of only downsides to this weapon is that it is a single-shot blaster that over heats after about 6 shots, which forces you to make every shot count if you want it to be effective. Missing a shot or two in a firefight could really be the difference between winning and losing the battle. Keep the enemy at a medium range for the highest level of success, but know that this weapon can still perform rather nicely in any environment.