STAR WARS™ Battlefront™ Guide Multiplayer Game Modes Locations Sullust
Imperial Hangar
Blast
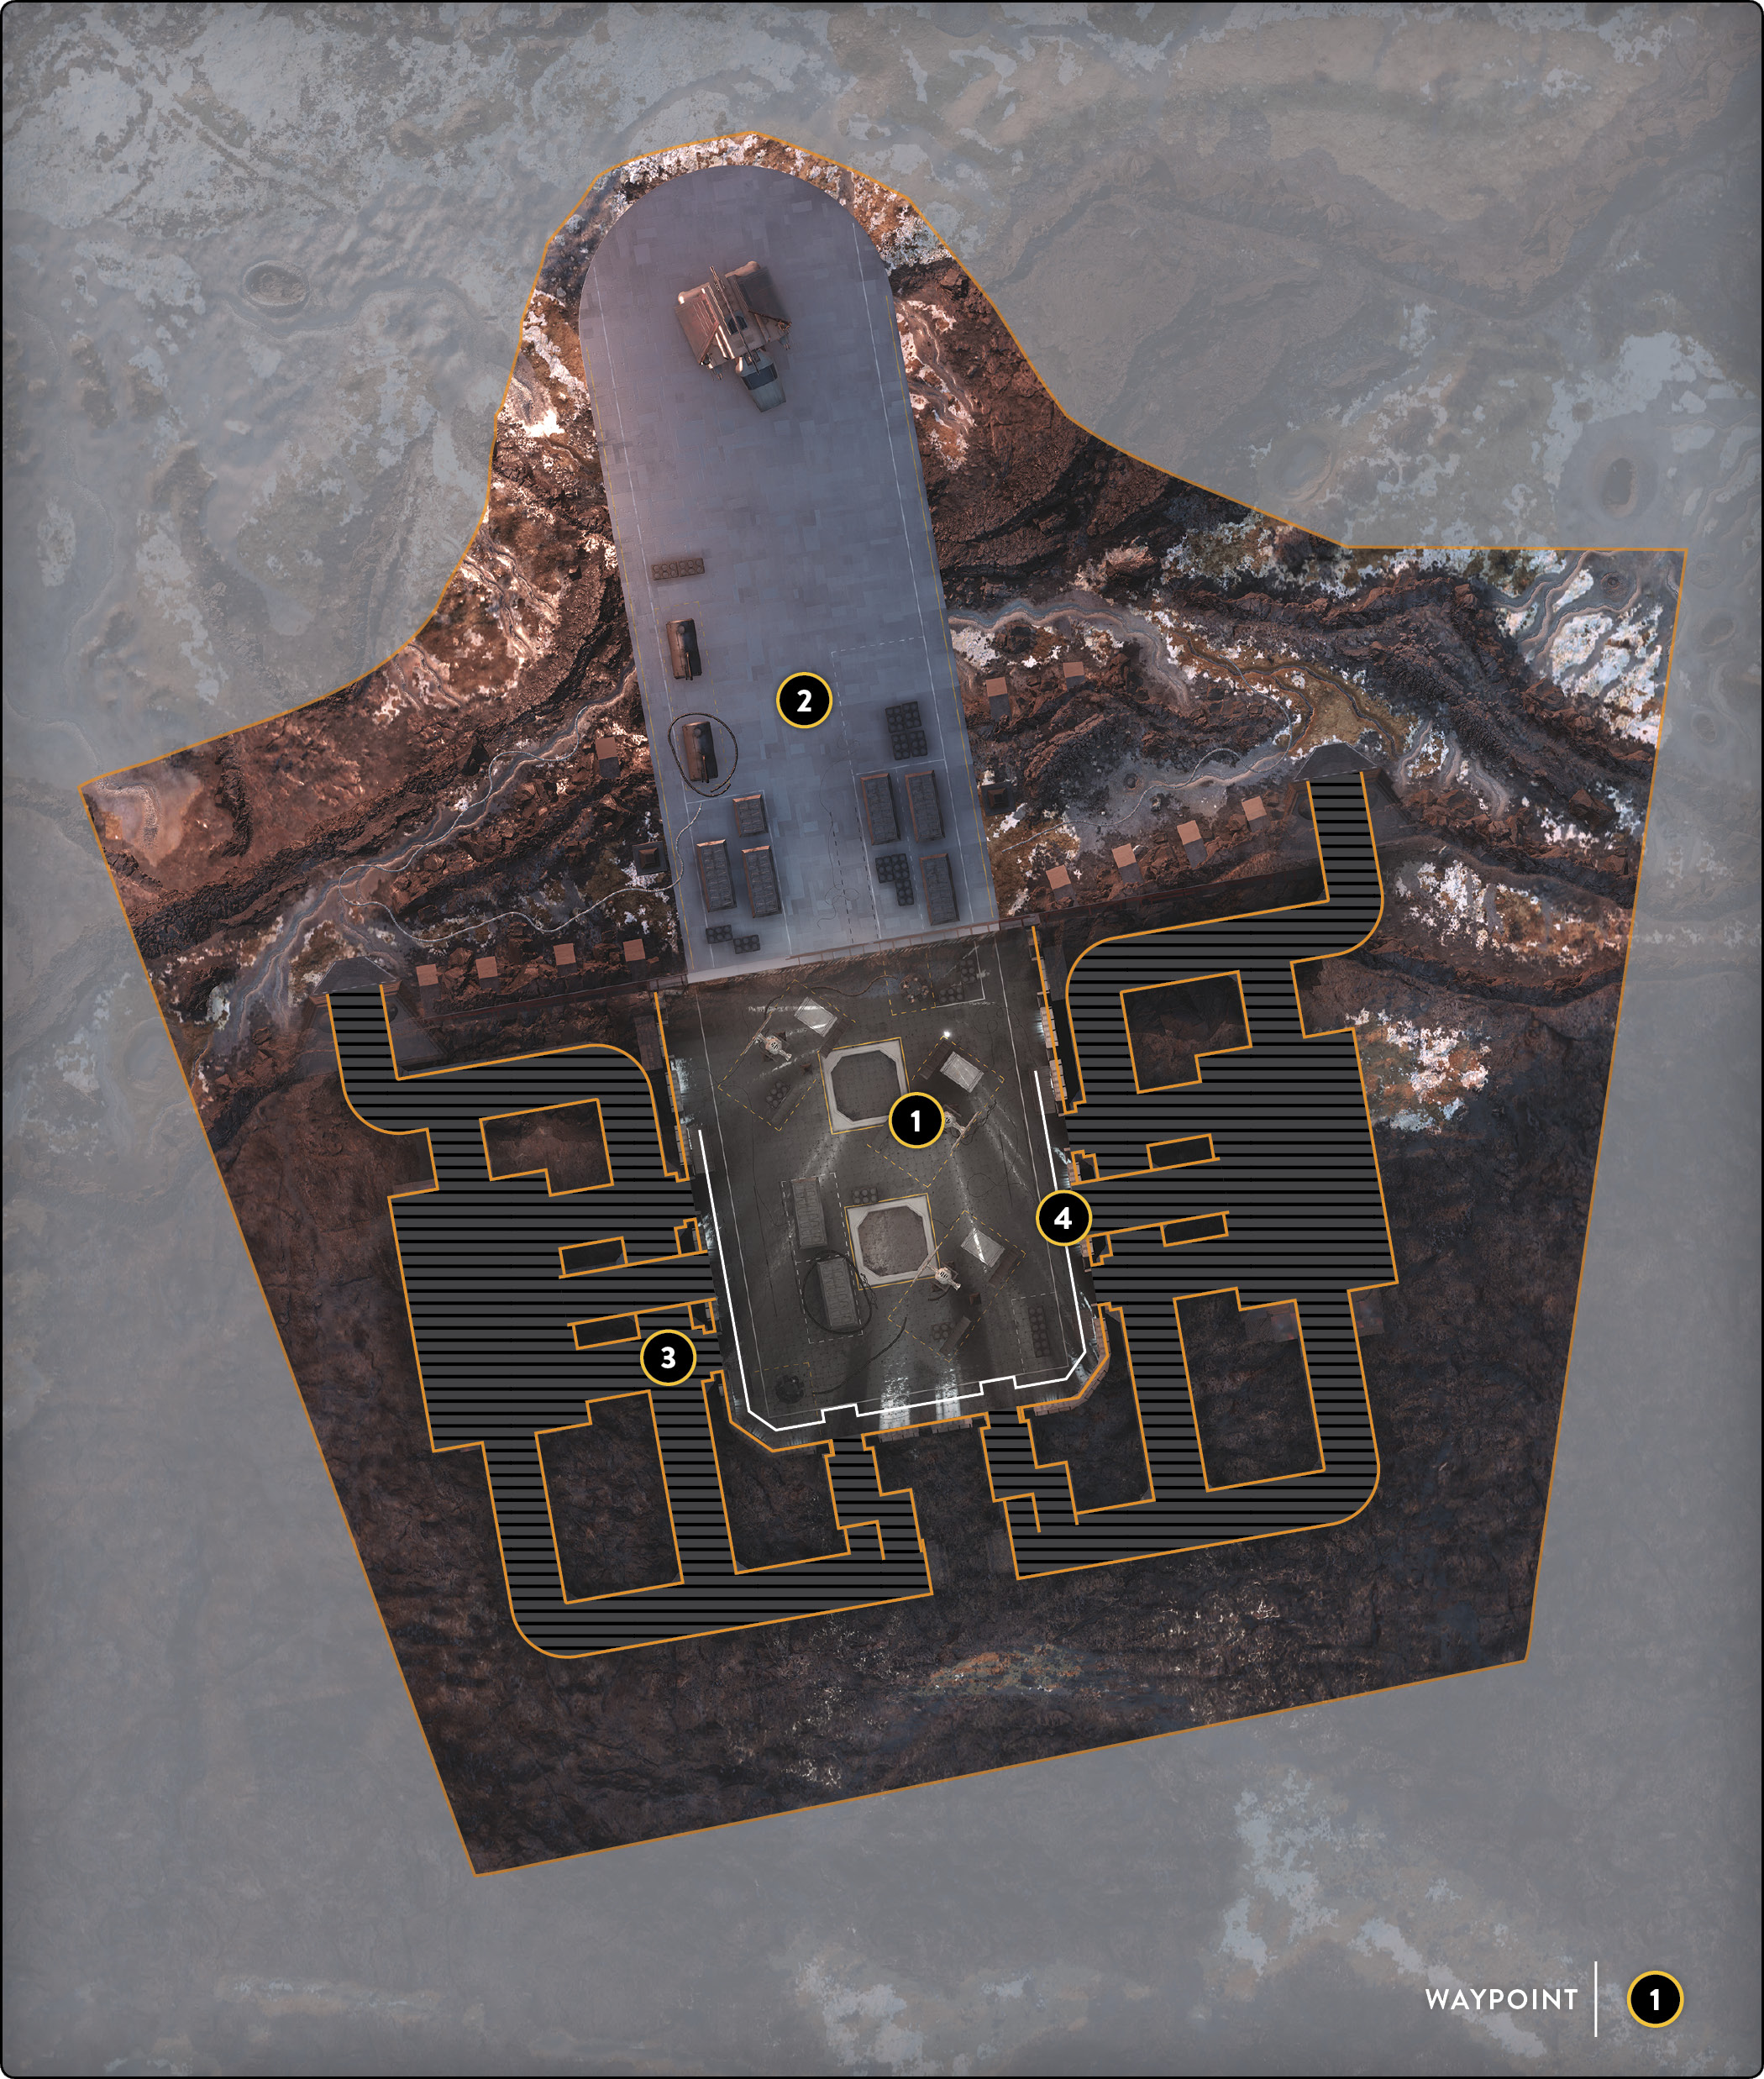
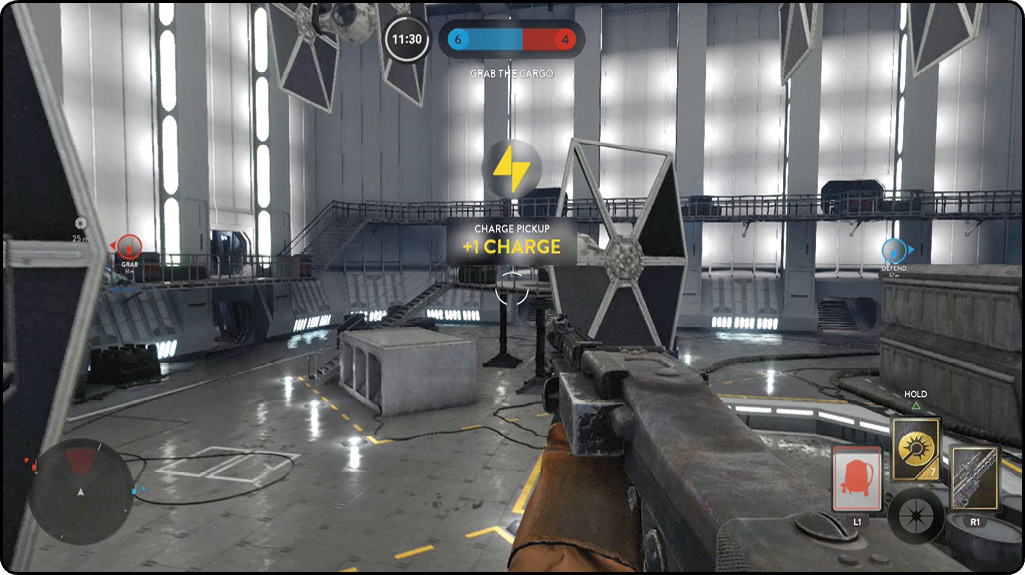
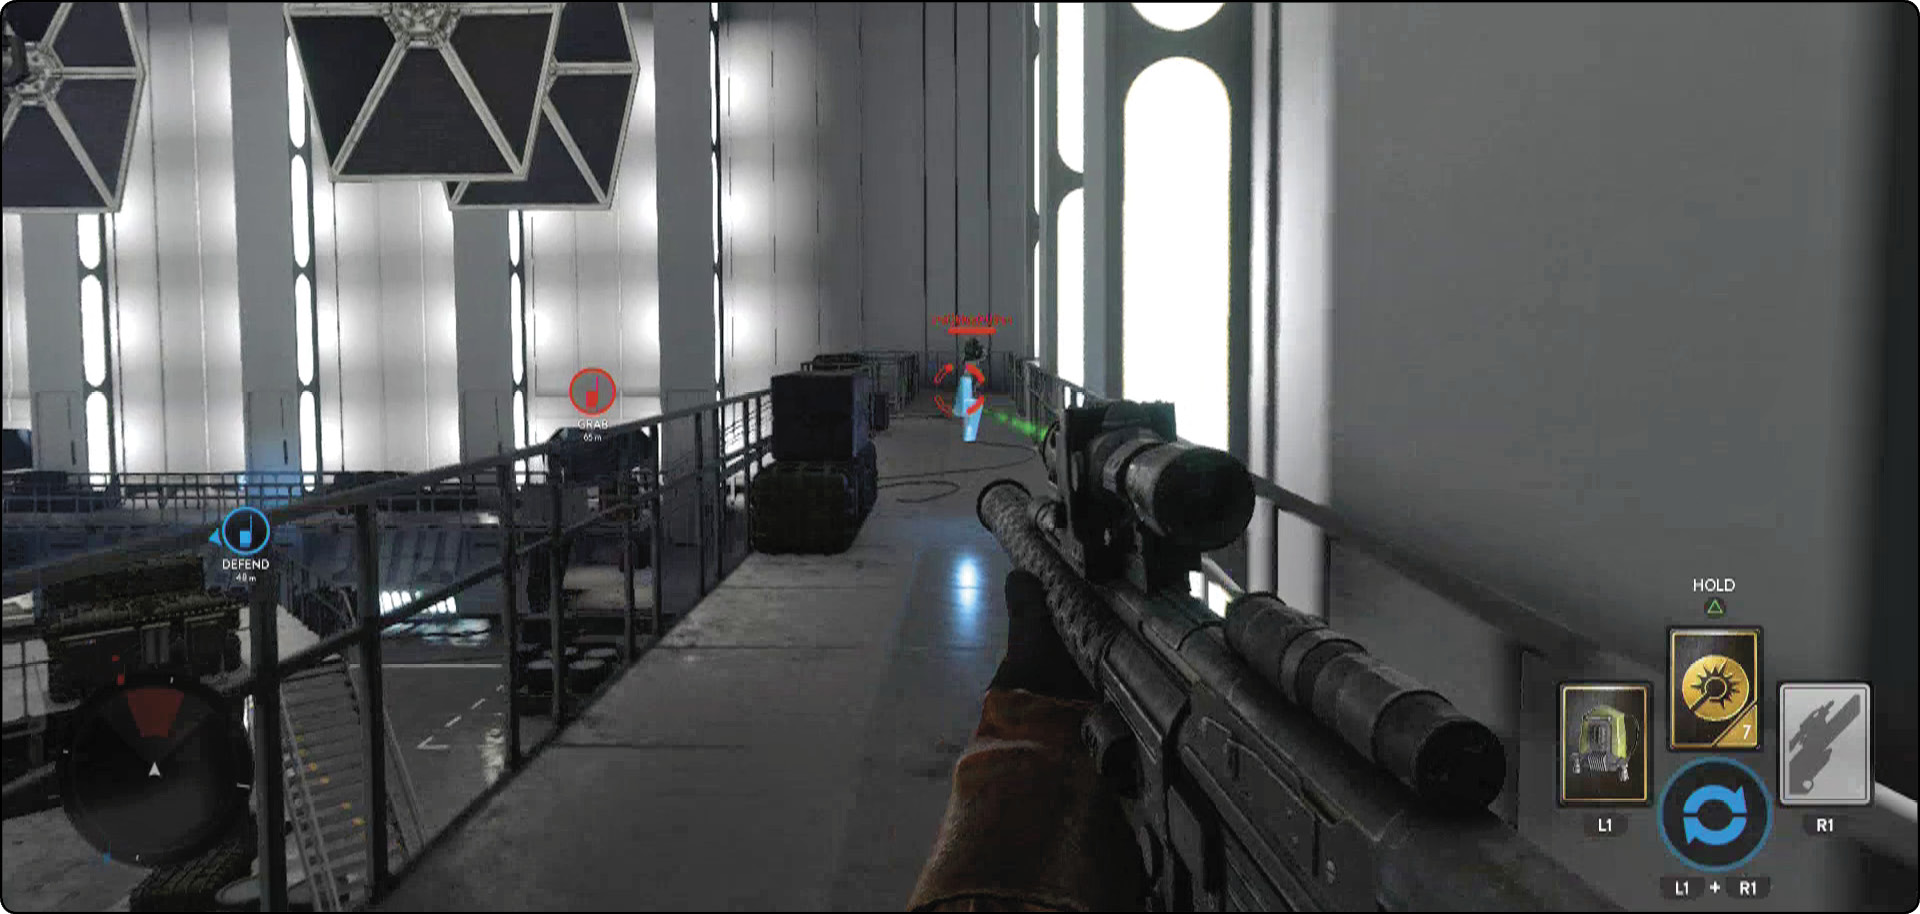
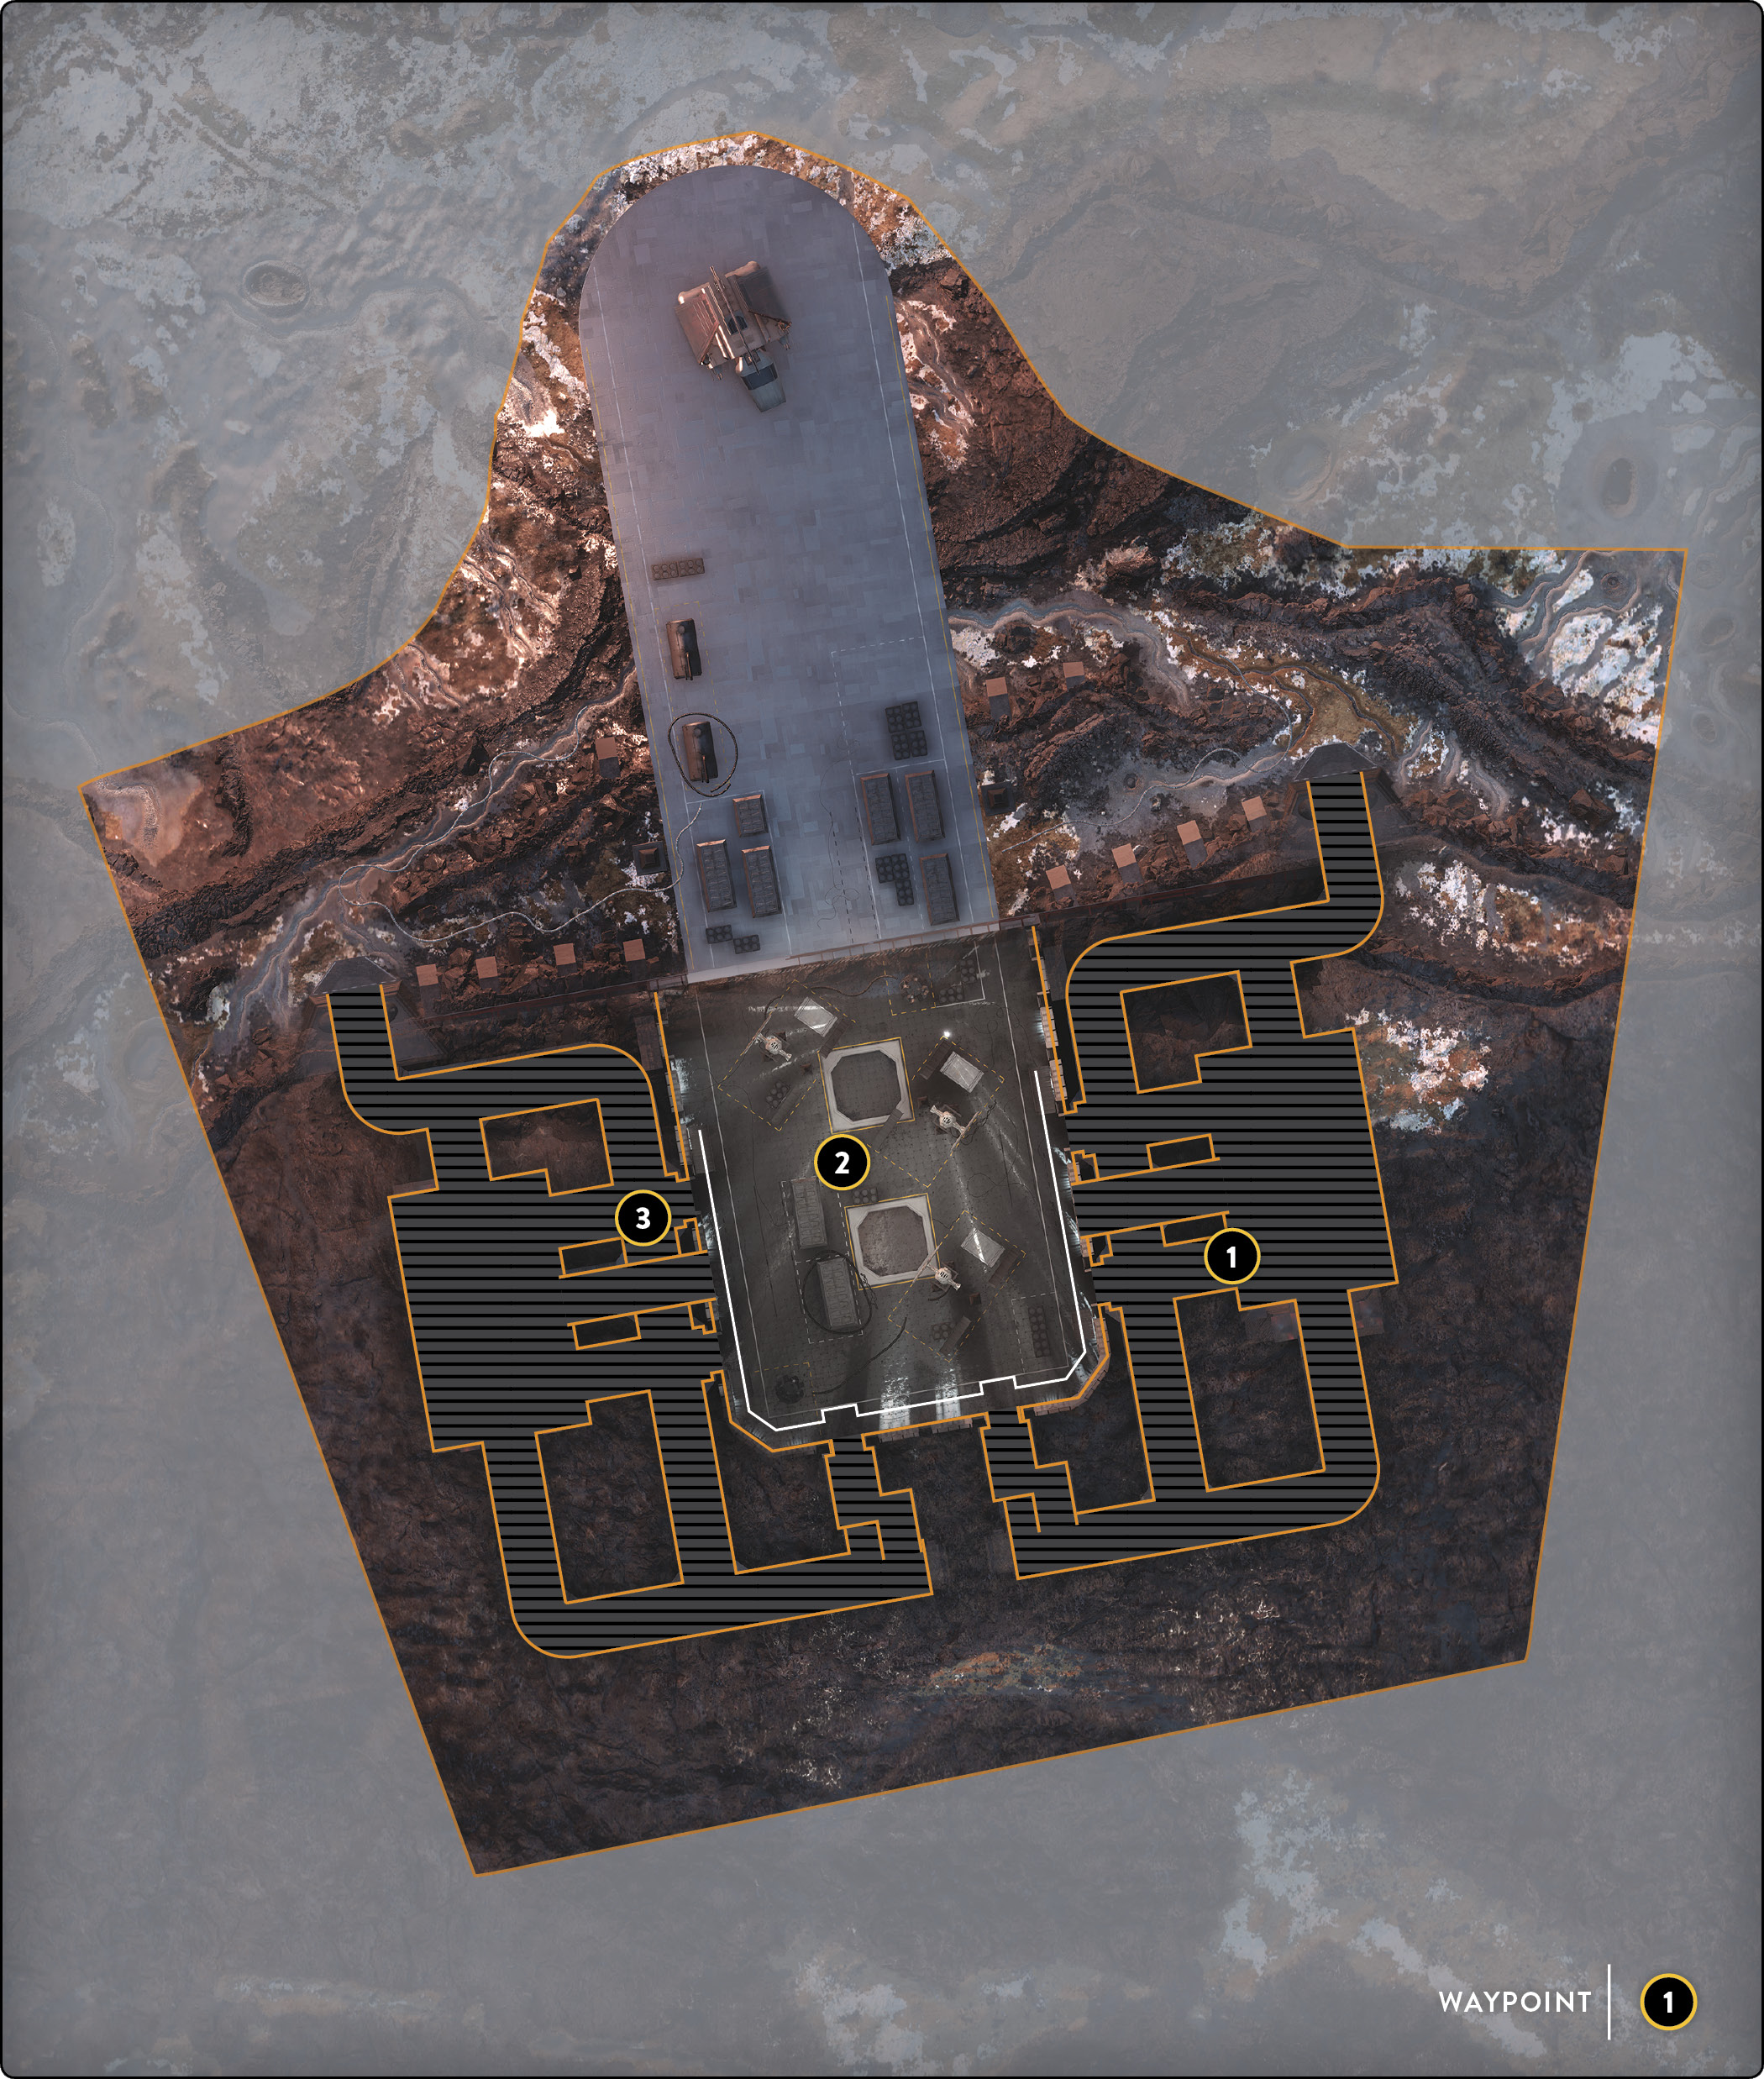
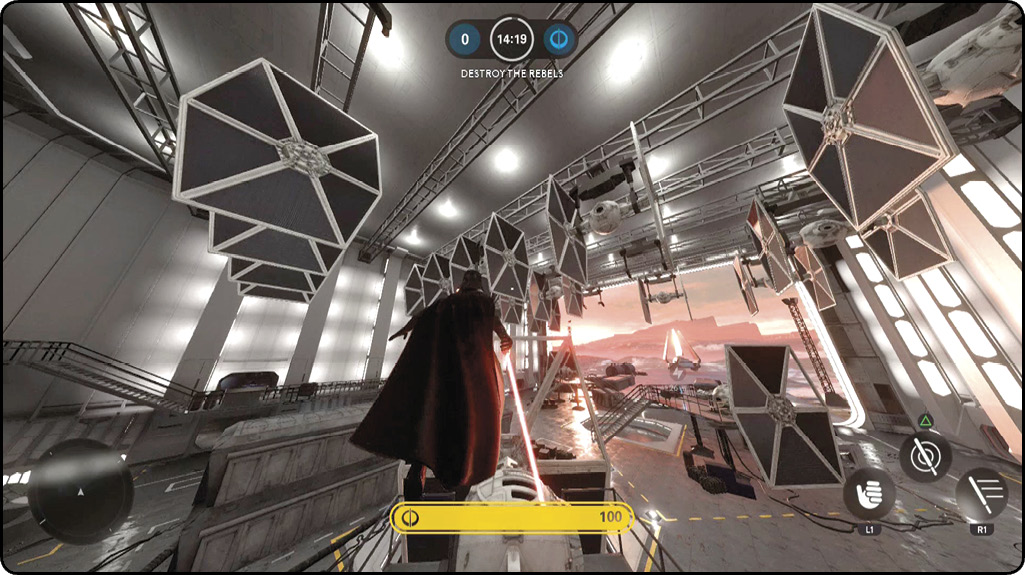
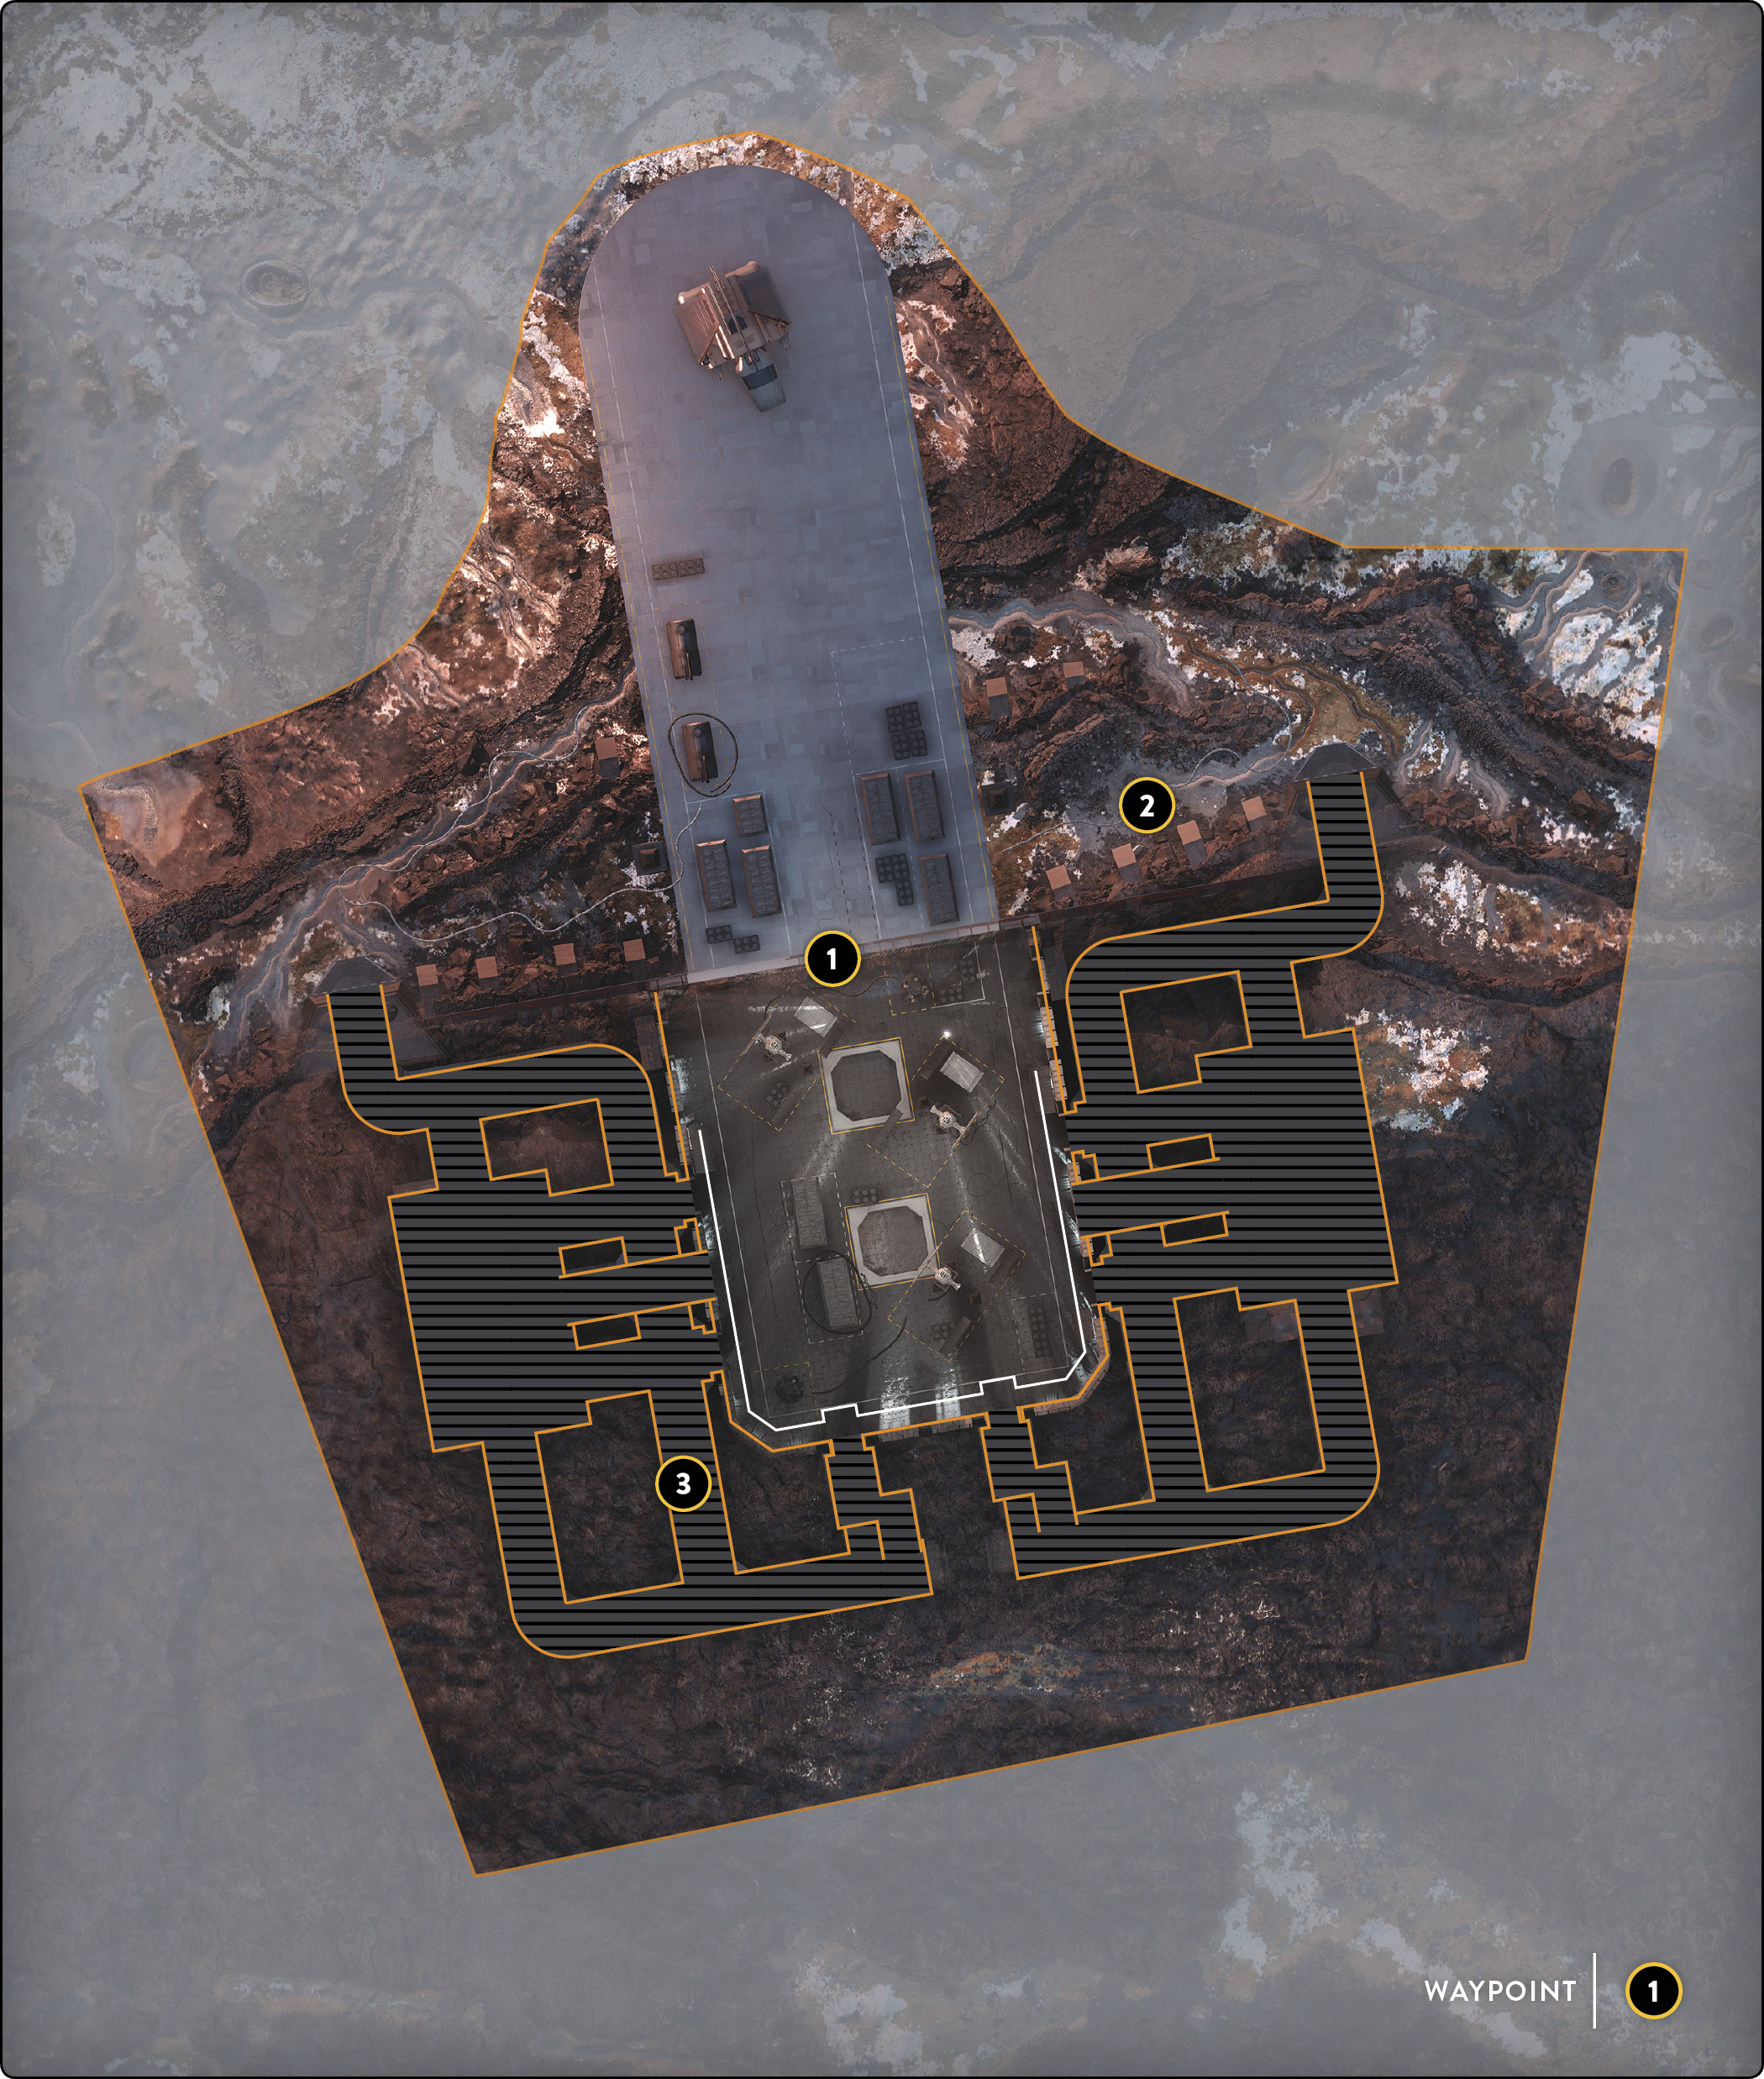
 The Imperial Hangar is one of the smallest maps in Star Wars Battlefront, making it one of the most chaotic maps to play Blast on. The center of the map is one giant hangar with multiple levels on catwalks, TIE fighter docks, and cargo crates. Unlike other missions here in the Imperial Hangar, Blast does not have the giant AT-AT in the center. You can see directly over to the other side from the sides, which creates a few long-range opportunities. Prepare for a great deal of blaster fire in the center of the map, especially inside the hangar itself.
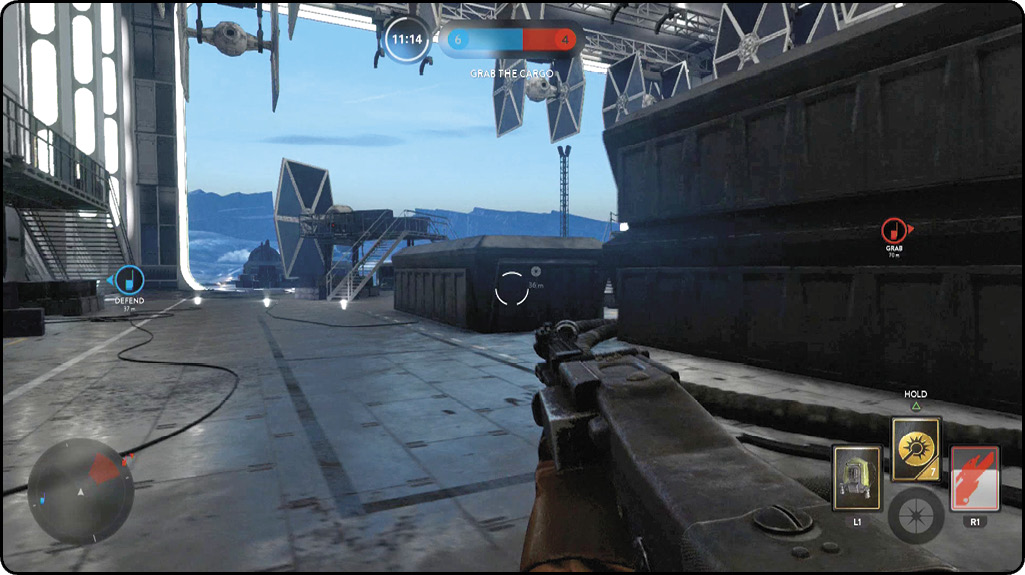
 Also in the center of the map is a large landing pad that extends outside the hangar into the open air. You don’t have anything to really use as major cover besides a few cargo crates, so this area provides a way for you to cross the map without drawing too much attention.
 Due to the hangar’s size, two levels on the interior corridors lead to the two rooms that act as bases and allow each team to assemble its forces. If you are the type to run and gun around the perimeter of most maps, this is the path and environment you want to follow. There might be a lot of resistance from these locations, but it is mostly because players are respawning here. Odds are that you can catch most adversaries off guard, as they are not expecting to find any enemies in their “territory.”
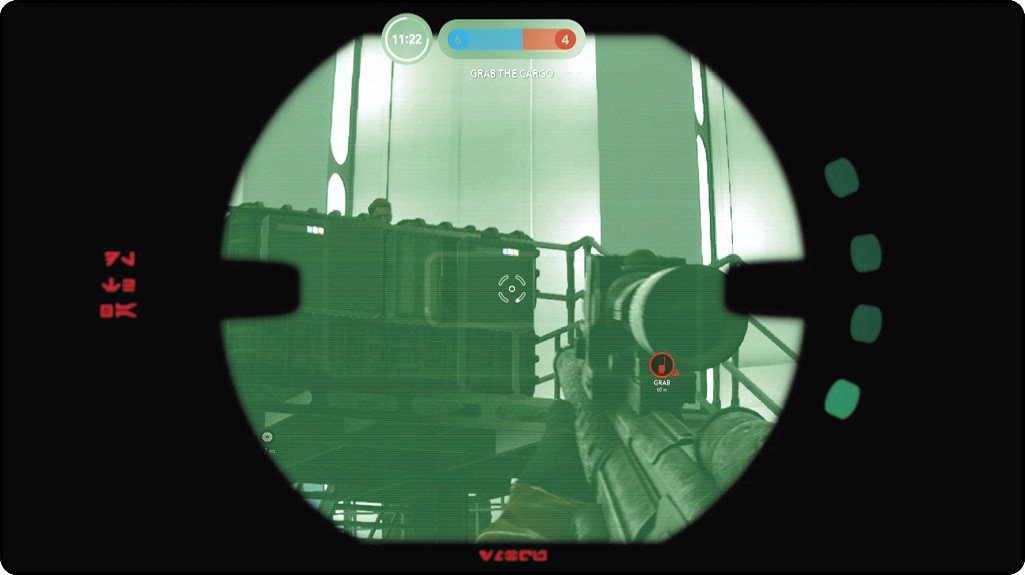
 No matter which strategy you choose, you must select your weapon and Star Card loadout carefully, as this map offers two very different environments that you can work in. Players who decide to bull-rush the middle and test their mettle against the big guns and straight shooters should bring a high-powered mid-range blaster and at least one explosive, possibly paired with a long-range rifle. Players who plan to run the perimeter of the map, wreaking havoc among all those not paying close attention to their surroundings, will find it beneficial to equip a short-range blaster and a Personal Shield Charge Star Card. This allows them to escape from dangerous situations when they encounter way too many stormtroopers than they bargained for.
Cargo
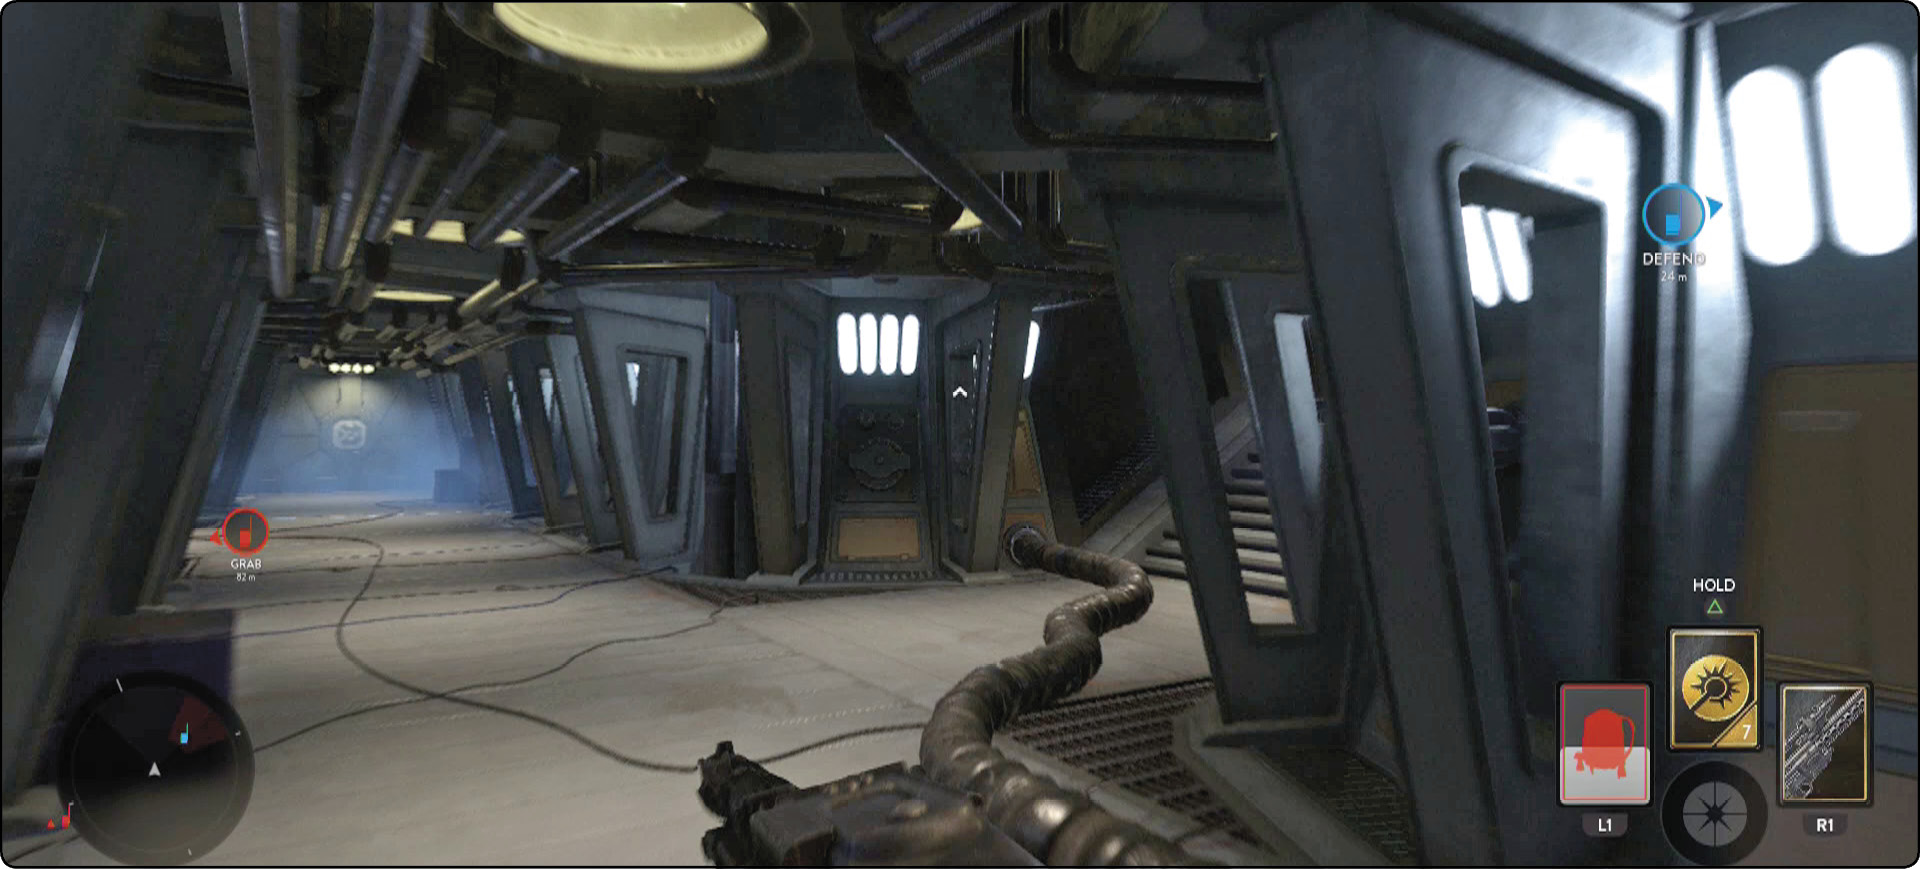
 When you’re playing Cargo in the Imperial Hangar, Jump Packs are extremely useful, but only before you grab the cargo. Being able to jump from end to end and float a great distance from the top floor down to the bottom lets you move down the length of the map within a matter of seconds. The only downside is that when you are carrying the cargo, you cannot use the Jump Pack, as you are far too heavy.
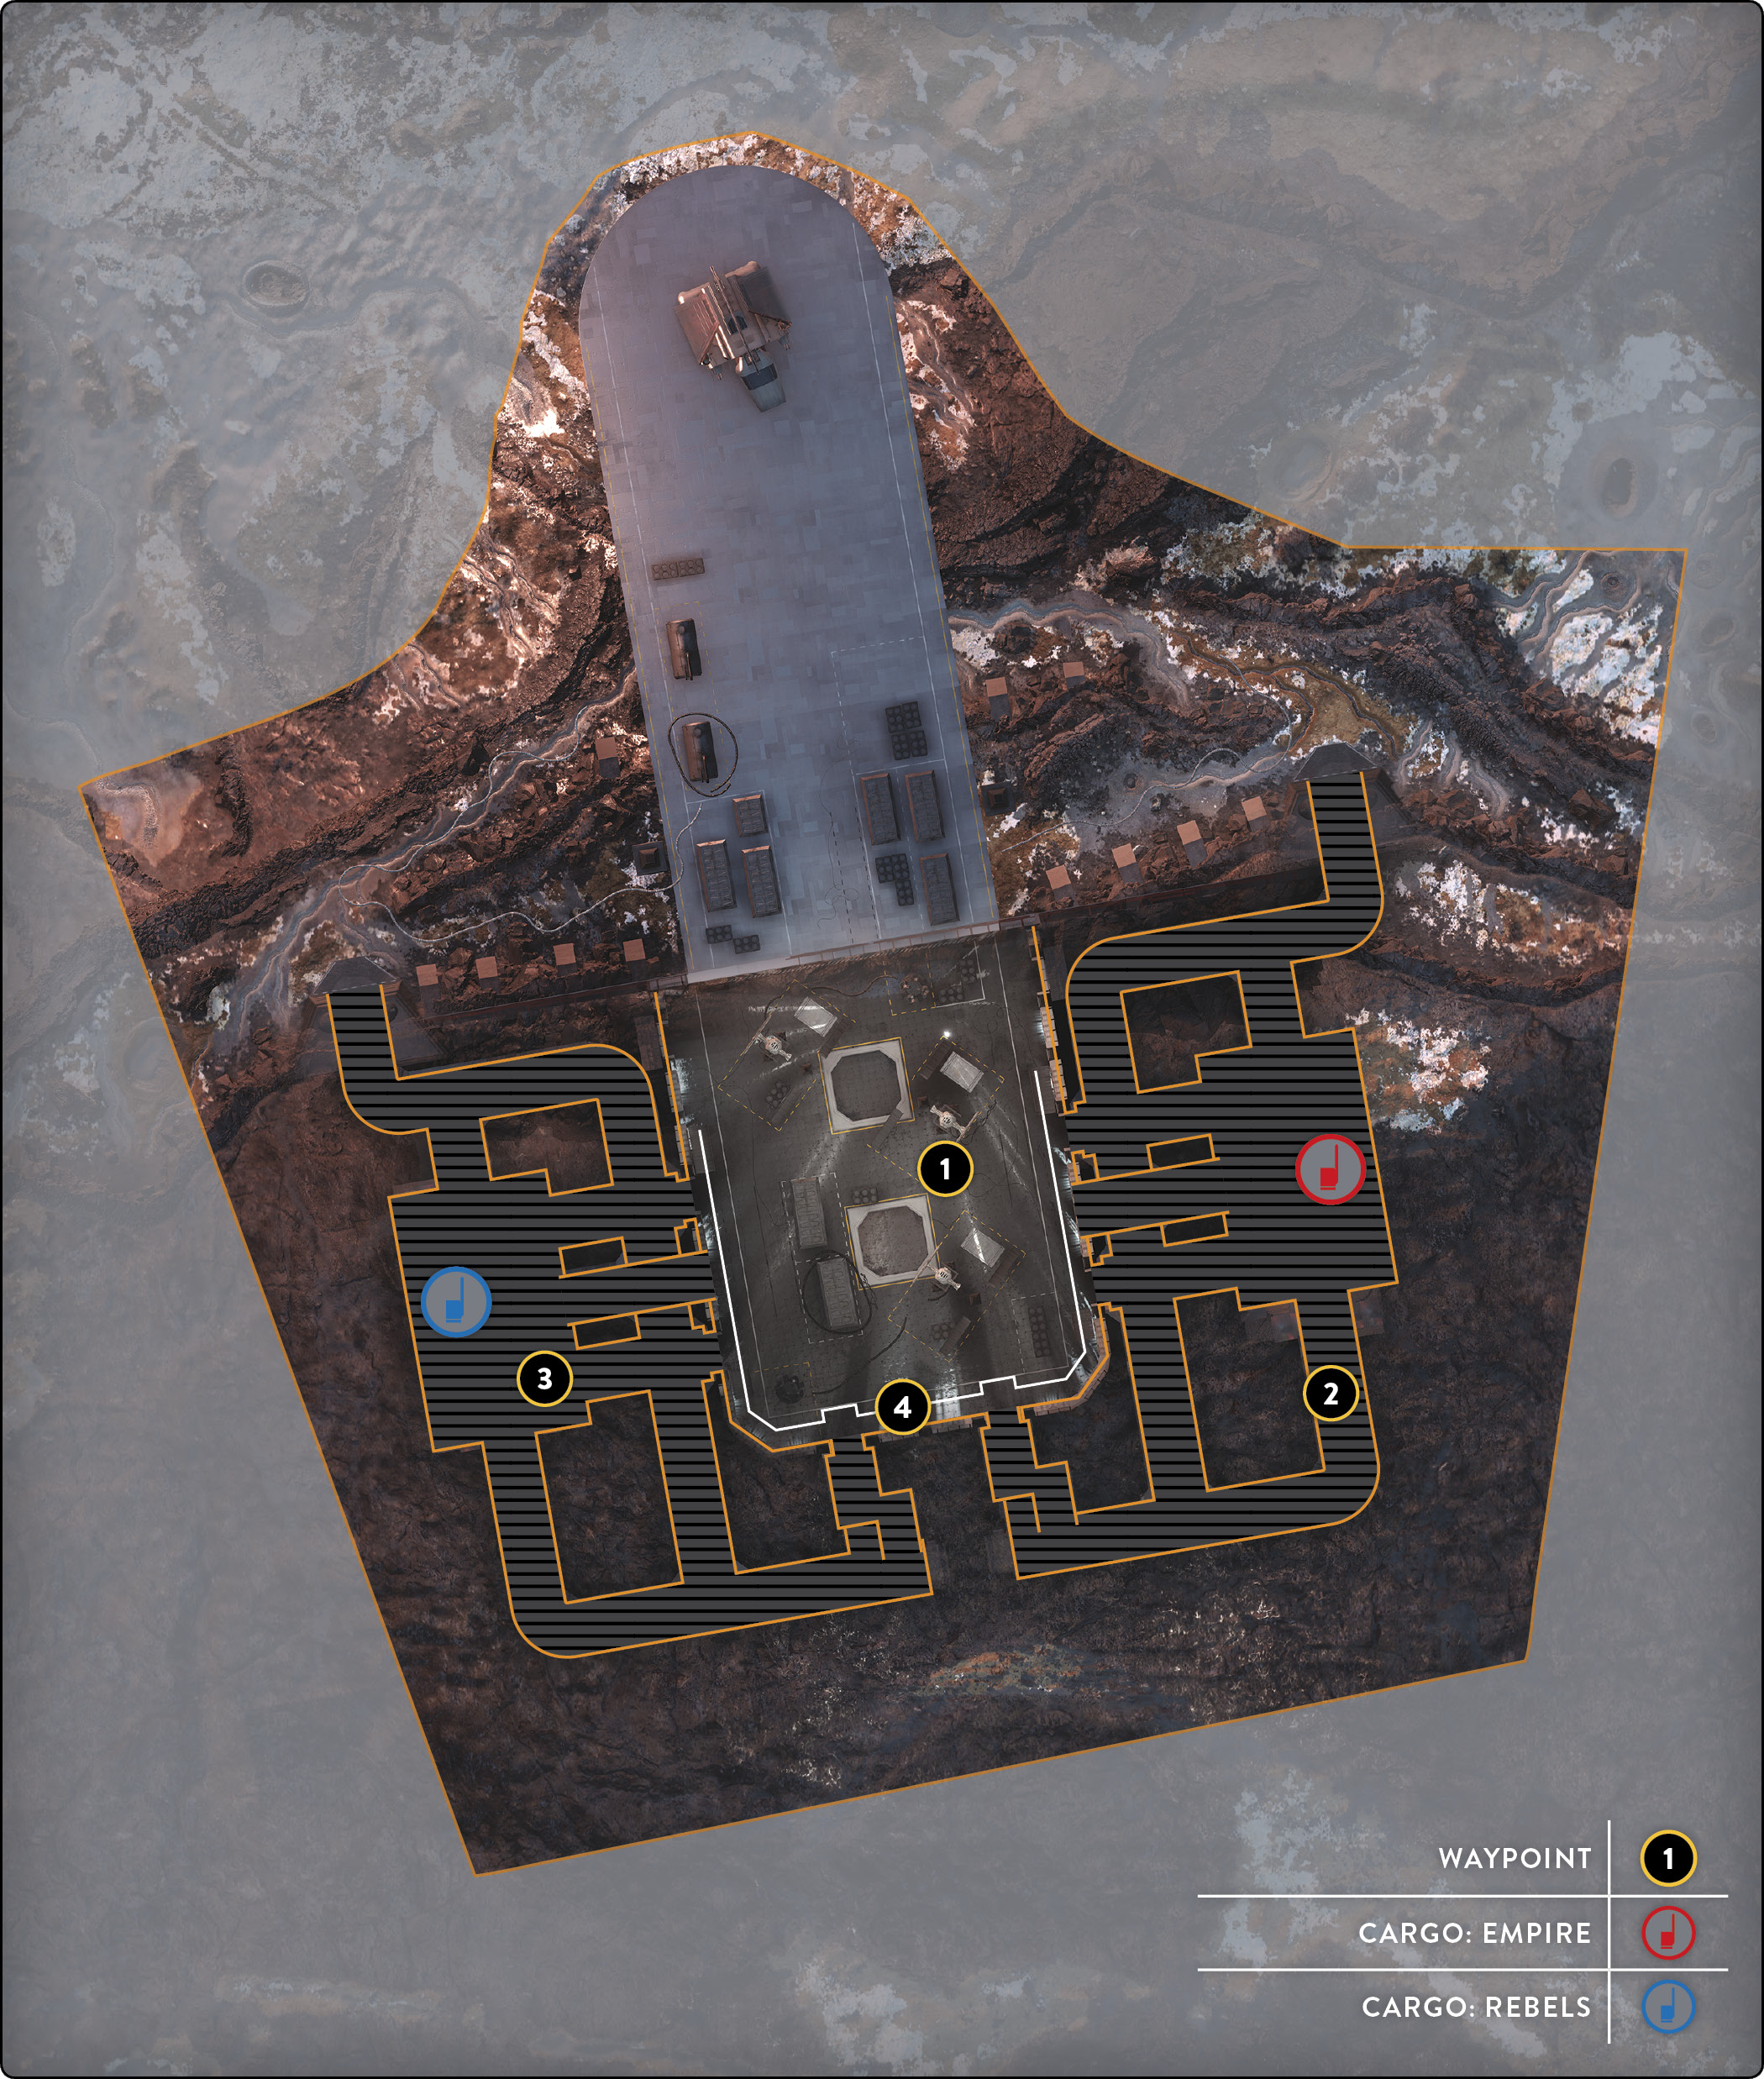
 The two cargo storage areas are located in virtually identical places, making it a little less confusing when you’re trying to figure out which route to take and where it will take you.
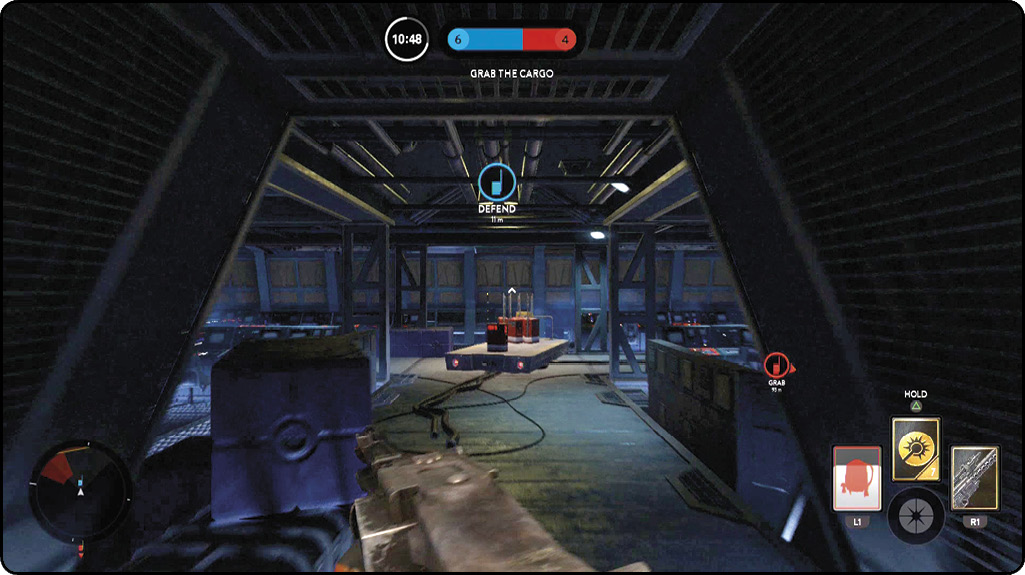
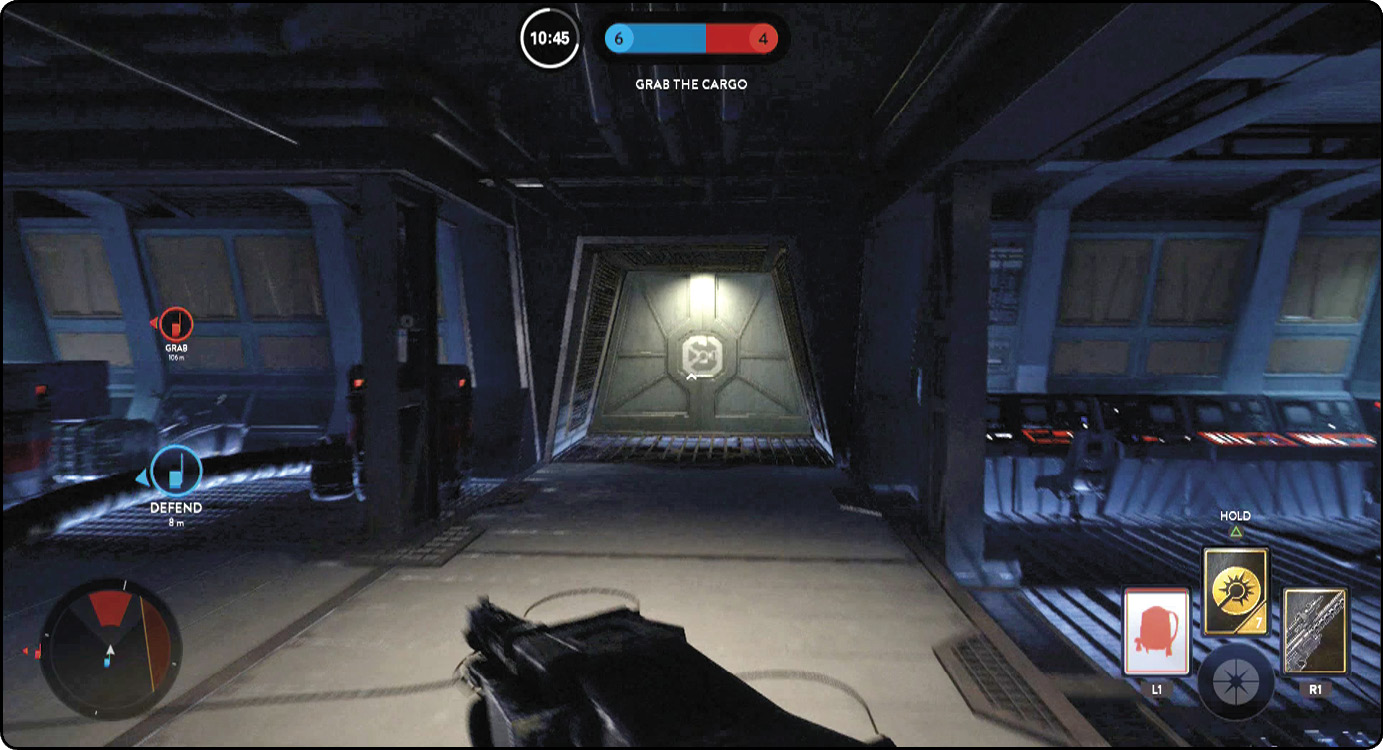
 Each cargo storage is located in the intelligence room relative to your team’s beginning area. There are three entrances to this room: one from the ground floor head-on, one leading to the upper catwalk from the side, and one leading to the ground floor from the side. To protect these areas, use the computers as cover and set up Blaster Cannons to keep the entrances under heavy fire, preventing any opponents aware of their surroundings from setting foot inside.
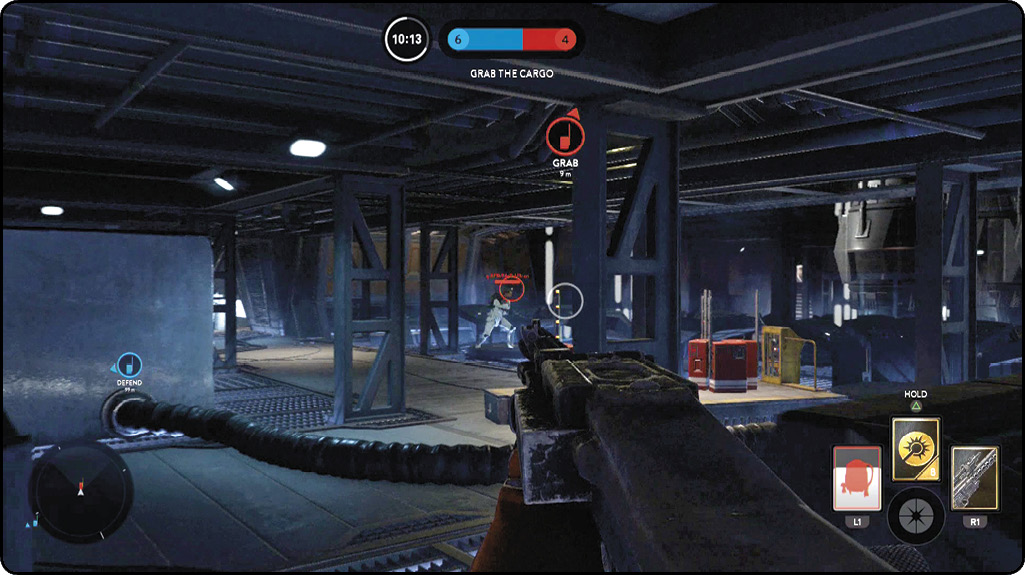
 One of the best ways to escape this area with the enemy’s cargo is by taking the long route around the side entrance that leads to the upper catwalk. It is somewhat dangerous because of the lack of protection and cover, but the amount of time you spend in the hangar itself strongly outweighs the danger you face from taking any other route.
Hero Hunt
Hero Hunt in the Imperial Hangar is quite complicated for both the hunters and the villains that you control on Sullust. Since there is a balance of both close-quarters combat and long-range combat, there is always the matter of positioning for each villain. Hunters, on the other hand, always face the matter of exploiting villains when they’re out of position.
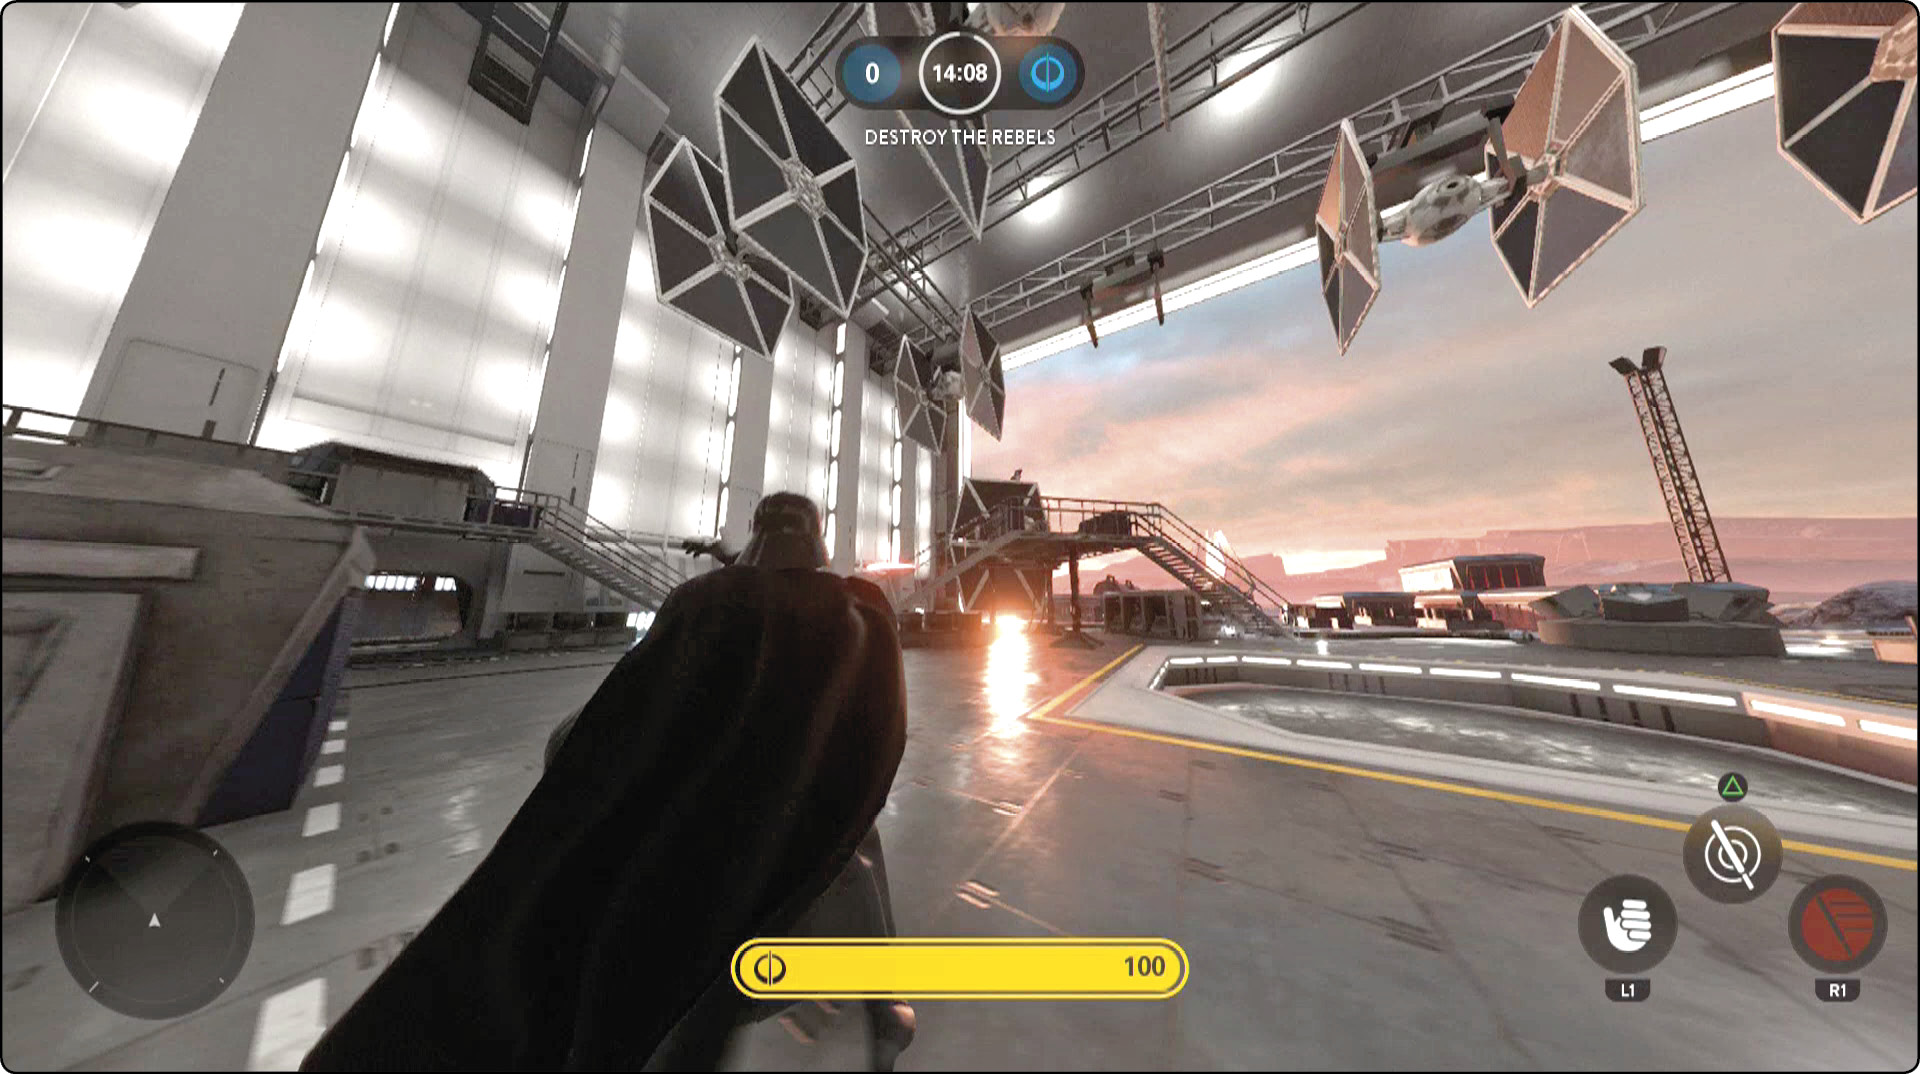
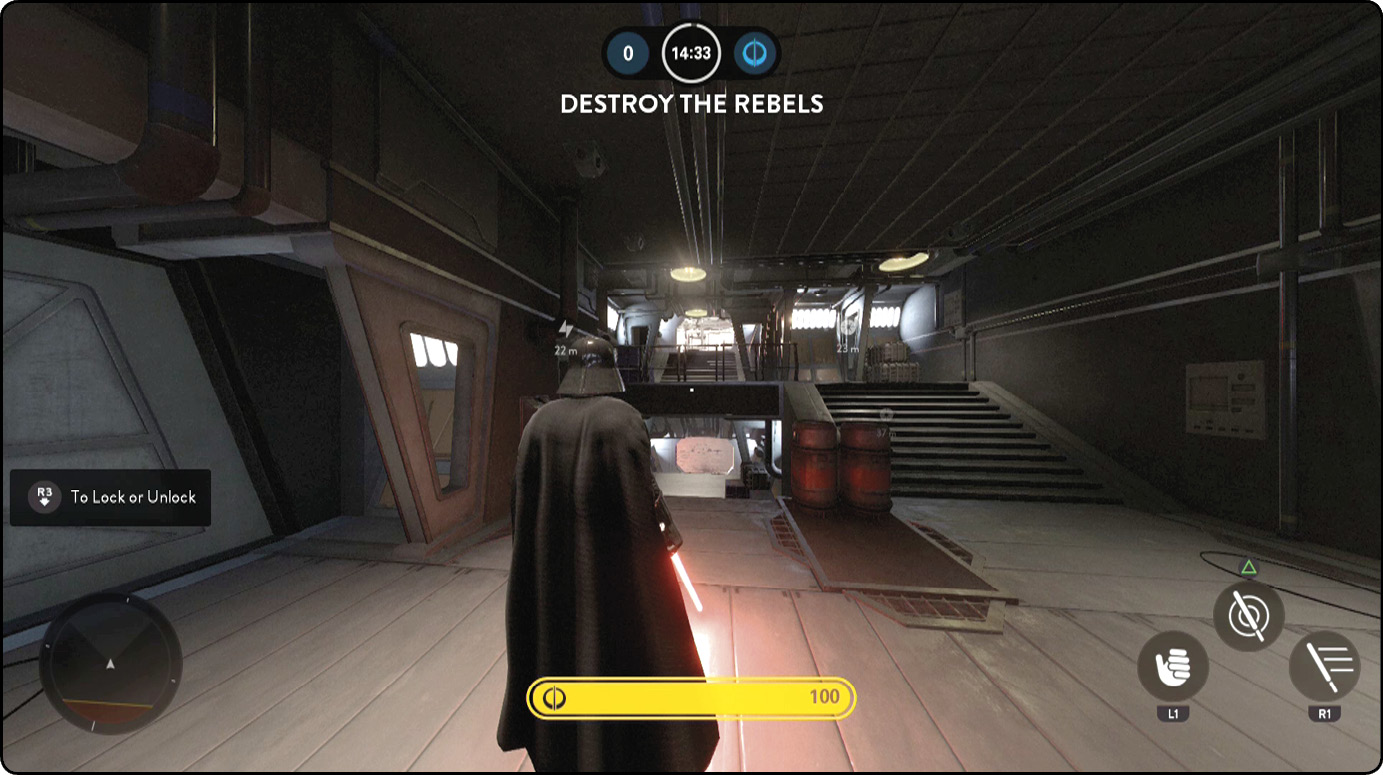
 Darth Vader’s specialty is close-up combat, which makes the intelligence rooms and the small corridors his home. While hunting Vader, you should stay out of these areas until you have a direct bead on him. A player who knows Vader’s strengths will stay in the interior until hunters come get him. Trying to charge him is suicide, but ambushing him and surrounding him can take him down. Keep to the long hallways and take him down from both sides, preventing him from deflecting bolts toward you and your teammates. Stay close to the turns and doorways to avoid his Saber Throw, and be ready to run at a moment’s notice.
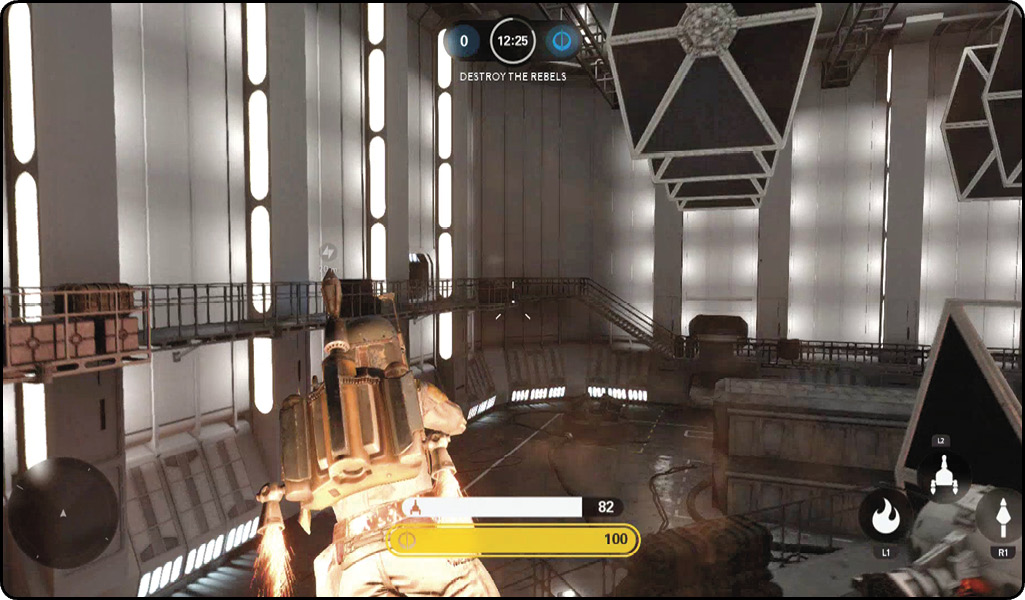
 Boba Fett favors the outside and being able to move around freely without the confines of the corridors. Beware of the open hangar, and stay indoors to best battle him while attempting to get a firing angle on his position. Having your team of hunters take different doorways gives you the better view of the hangar and also spreads Boba’s attention around, making it harder for him to take you out without sustaining a great deal of damage from the surrounding troopers.
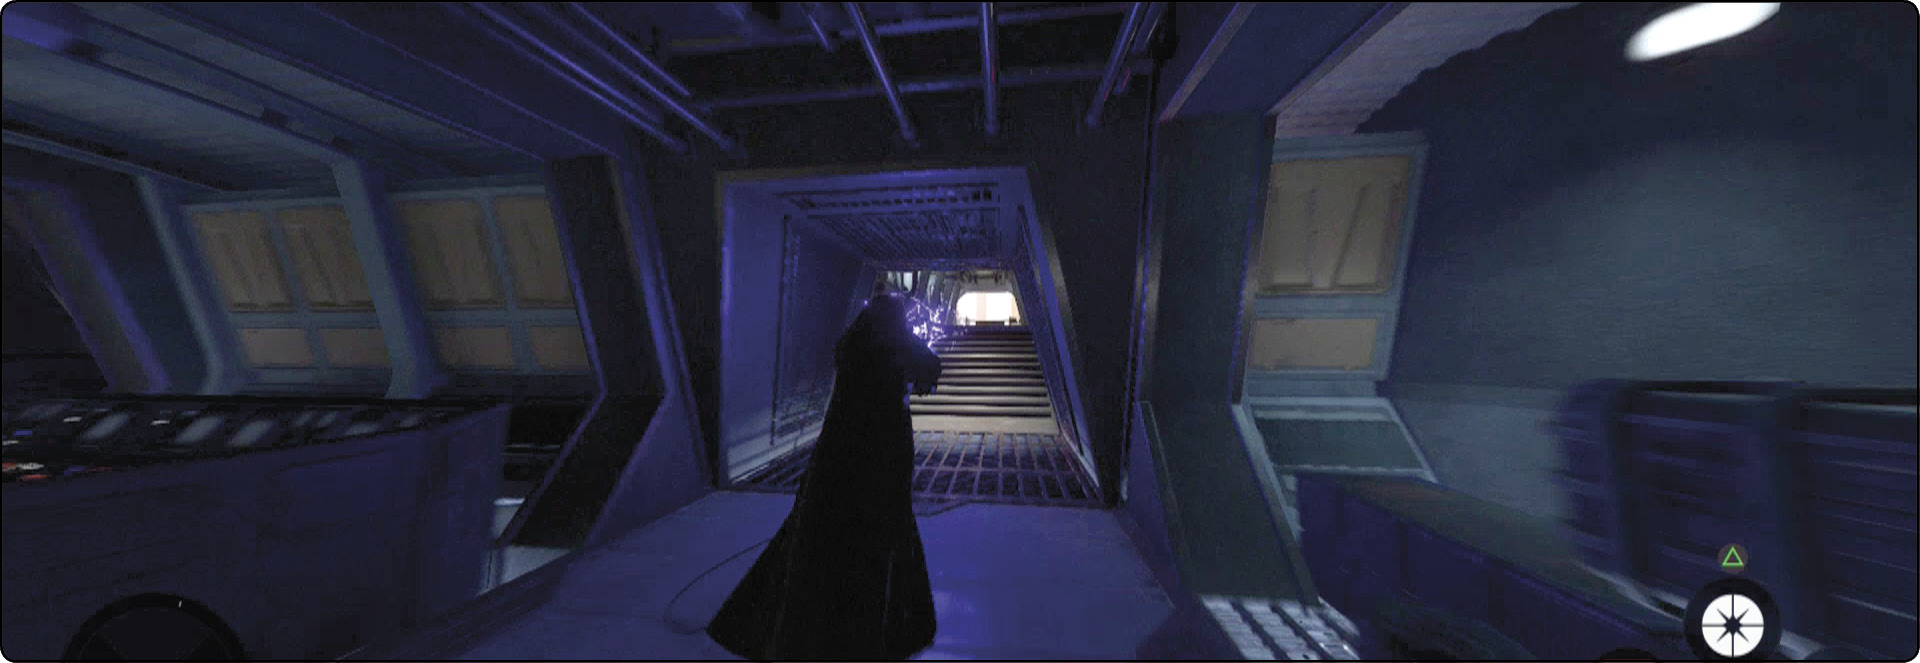
 Finally, you have the great challenge of handling the fearsome Emperor Palpatine and his powerful Force Lightning. The Imperial Hangar is possibly one of Emperor Palpatine’s best maps, as he can travel to any area and can inflict a tremendous amount of damage via all of his abilities. Using Chain Lightning in the narrow corridors can kill an entire squad of troopers, so be careful when you’re traveling inside. When outside, try to always have a bead on his position. With his Force Dash ability, if you don’t know where he is, there is a good chance that he is right on your six, about to toast you.
Heroes Vs. Villians
 The balanced Imperial Hangar lends very well to this mode, allowing all the characters to use each of their abilities to its full capacity. In this mode, you can play as Darth Vader on Sullust. Using his Saber Throw is a good way to deal with both Han Solo and Princess Leia. Although it is difficult to kill either hero with Saber Throw, it inflicts more than enough damage to give you a chance to close the gap between Vader and them, granting the advantage of close quarters. The small corridors on the edges and walls of the large hangar are the most important locations for the Sith Lord. These places bring in most enemies close, taking away any disadvantages that Vader has at range. Lure your opponent into tight locations like these, and then use Force Choke or Heavy Strike to swiftly take down your adversary.
 Boba Fett is a man to be reckoned with anywhere, but he’s especially dangerous in the outdoor areas of the Imperial Hangar. On this map, he can perfectly stay at range for most of the match if desired and still be effective. Post up in the Khetanna on the landing dock located directly outside the main hangar, and take advantage of being able to go anywhere within seconds by using Fett’s jetpack. Once you have an idea of where your enemies are, you might want to save some jet fuel and let it loose to get the high angle on all of them. If they can’t immediately see where you are, you have the advantage of getting a few shots on them before they do see you, and then bugging out before being attacked. Launching Wrist Rocket as your first attack toward any hero gives you quite the advantage when it comes down to damage per second on your opponent. The Flame Thrower attached to Fett’s forearm may not be quite as useful on this map as his other abilities, but if he’s caught in a pinch, it could get him out of a close-quarters situation against someone like Luke Skywalker.
 When playing as Emperor Palpatine on this map, keep in mind that you have a very powerful deflect ability that comes quite in handy when facing heroes like Han Solo and Princess Leia. As the Emperor, your best strategy is staying as close as possible to other villains. Because you are close, you can support them by casting Chain Lightning at multiple opponents. This can either cause your adversary to bug out or attempt to close the gap on you, only to be ambushed by your partner standing closeby. Remember to escape or help protect another villain with Force Dash.