STAR WARS™ Battlefront™ Guide Multiplayer Game Modes Locations Tatooine
Jawa Refuge
Blast
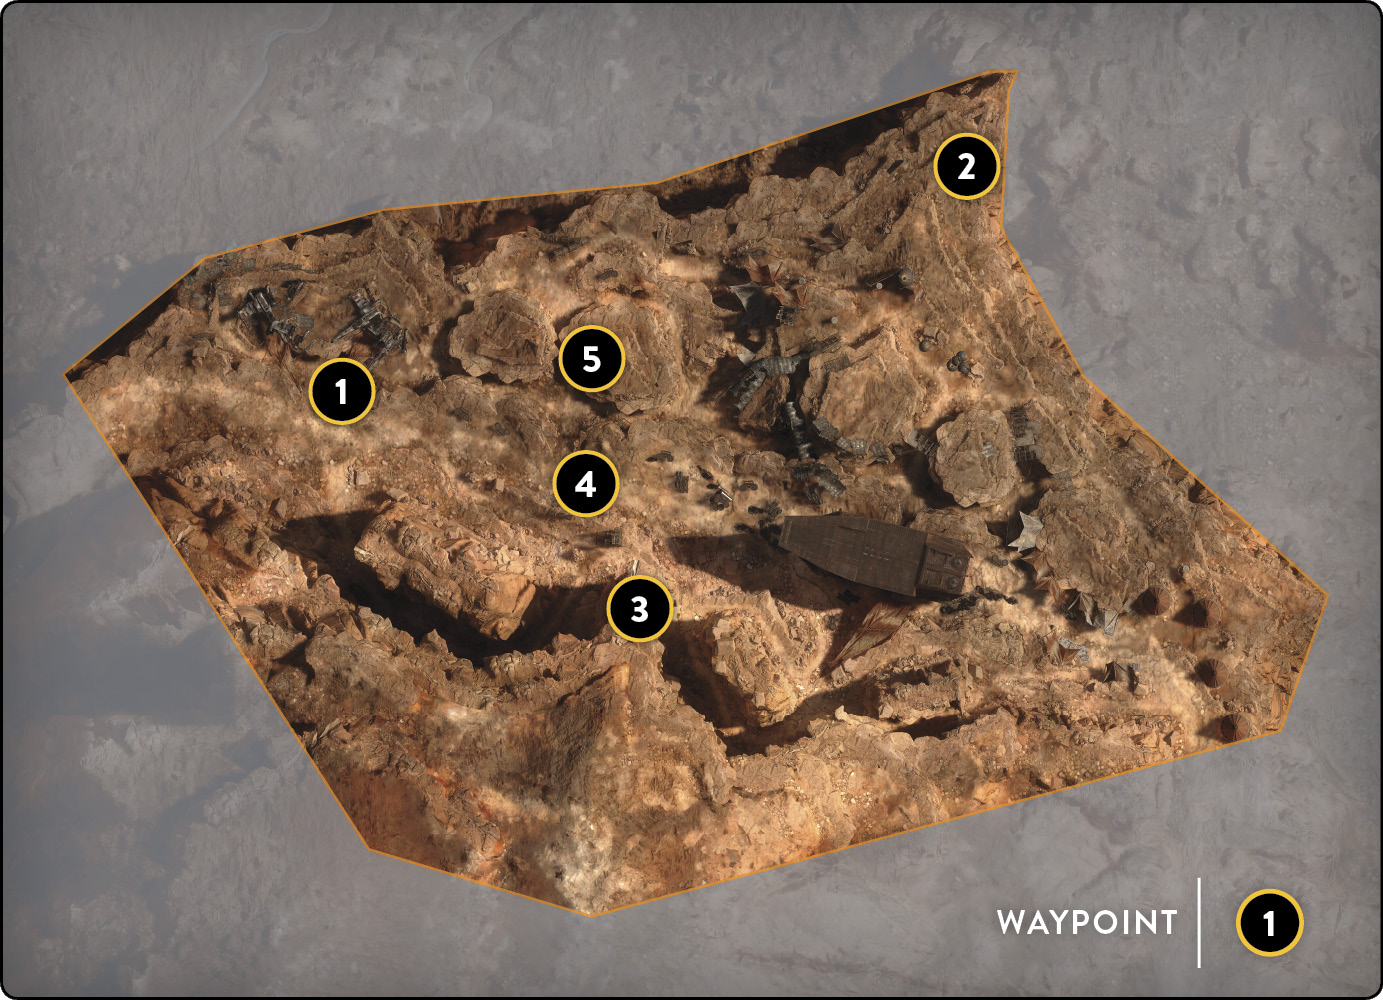
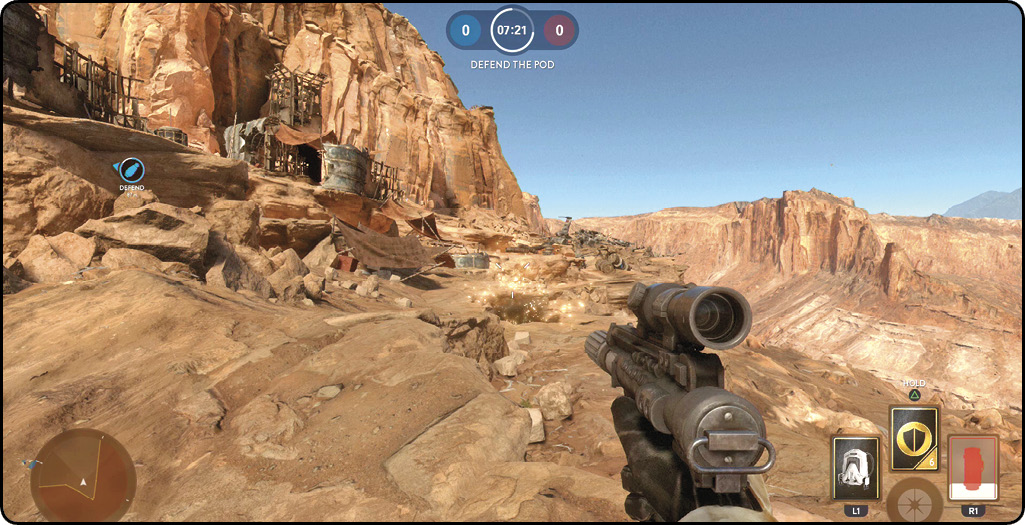
 The Jawa Refuge is not one of the biggest locations in the game, but it has one of the largest amounts of cover and layers that compensates for that. When playing Blast, it is all about keeping your kill/death ratio the best it can possibly be in order to win. To stay alive, use the debris and vertical cover at all times. Make use of the cliffs that look over the shaded areas of the map, as there might be troops traveling underneath you. If you time it correctly, these cliffs can make for the perfect ambush locations. Contrarily, if you spot enemy troops above you, toss a Thermal Grenade or Smoke Grenade to clear them out or get away safely.

 If you’re a long-range player and like to use weapons like the Cycler Rifle or the Pulse Cannon, use the cliff to fire downrange to the other end of the refuge.
The cliffside is quite open; you can post up on a few different levels, so scope those out and make sure not to get counter-sniped. Also, be prepared to evacuate at a moment’s notice. While you can see all the way down one side, the cliffside is still wide open, making you an easy target for anyone who knows you’re there.
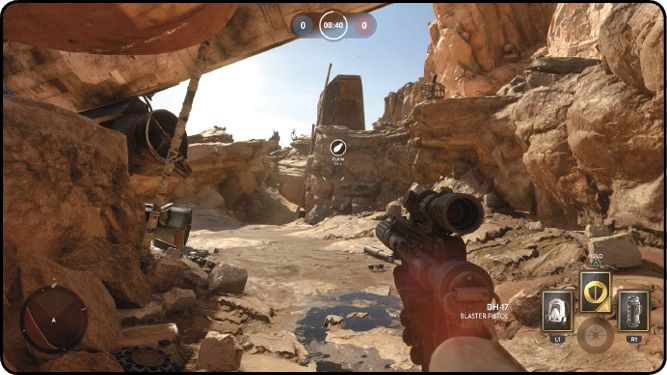
 Because of how complex the Jawa Refuge is, always stick together with your team. Use the larger areas of debris to fortify and defend an area to prevent the enemy team from gaining the upper hand. The partner system comes in handy while playing Blast in the Jawa Refuge because roaming the battlefield is extremely dangerous. So, when you and your team are defending a location and your partner goes down, stay alive until he or she comes back, thus strengthening your numbers. The Squad Shield is a great item to use when fighting next to your battle partner. However, the Personal Shield provides better support because it is not a power-up that you need to find out in the field. The Personal Shield is a Charged Star Card, so as long as you have purchased some charges for this particular card, you can activate the shields whenever you choose. This gives you an extra amount of health that can only help you during a close firefight.
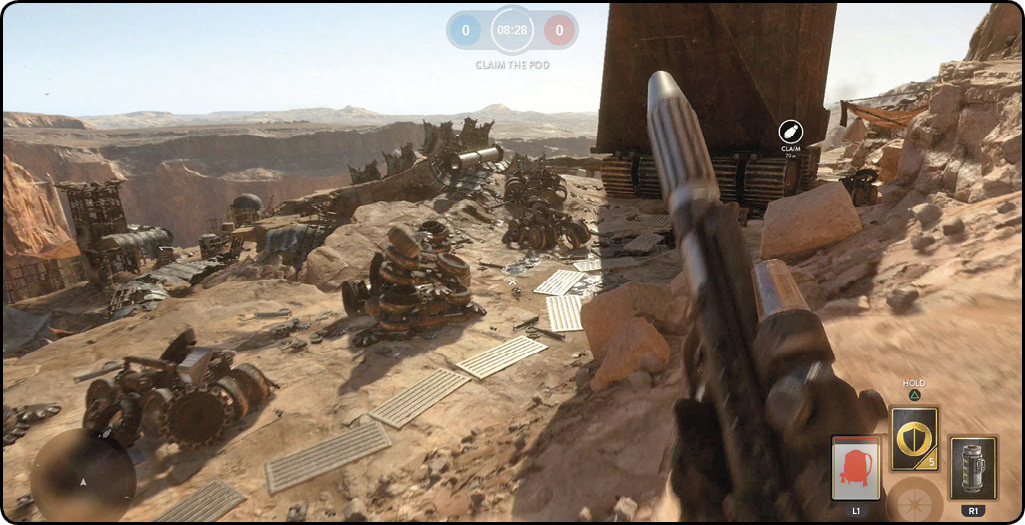
 Picking up and using power-ups like the Blaster Cannon or Infantry Turret can make the difference on this map, especially if placed in an area with a wide field of view. Placing an Infantry Turret above a canyon and directing it to fire down inside creates a great method of ambushing an enemy squad. If you and your partner set up one turret and then set up another in the other direction, you have a vicious crossfire opportunity, introducing a chance to rack up multiple kills.
Drop Zone
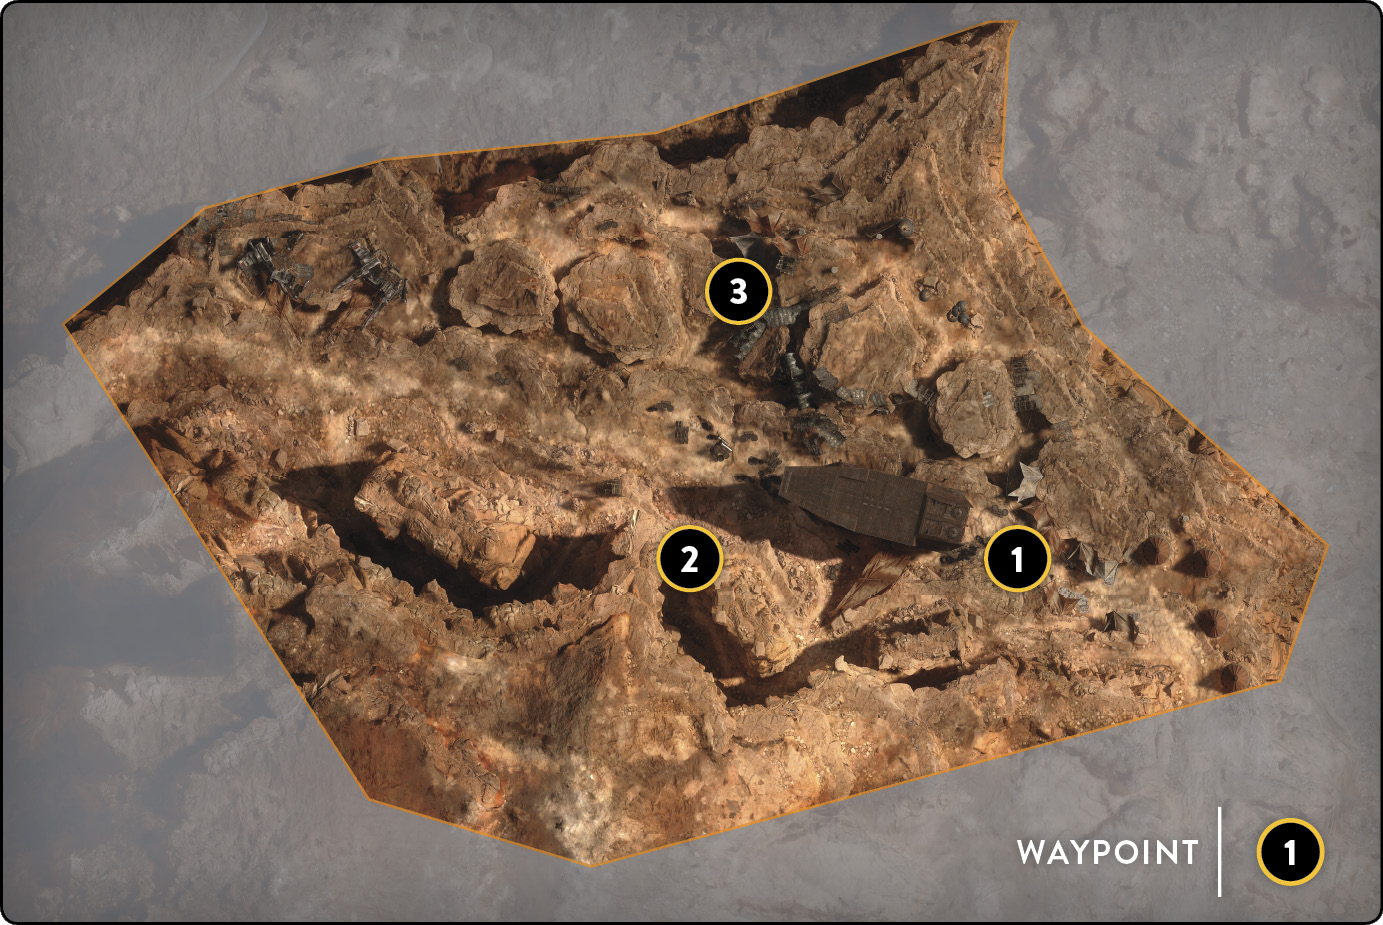
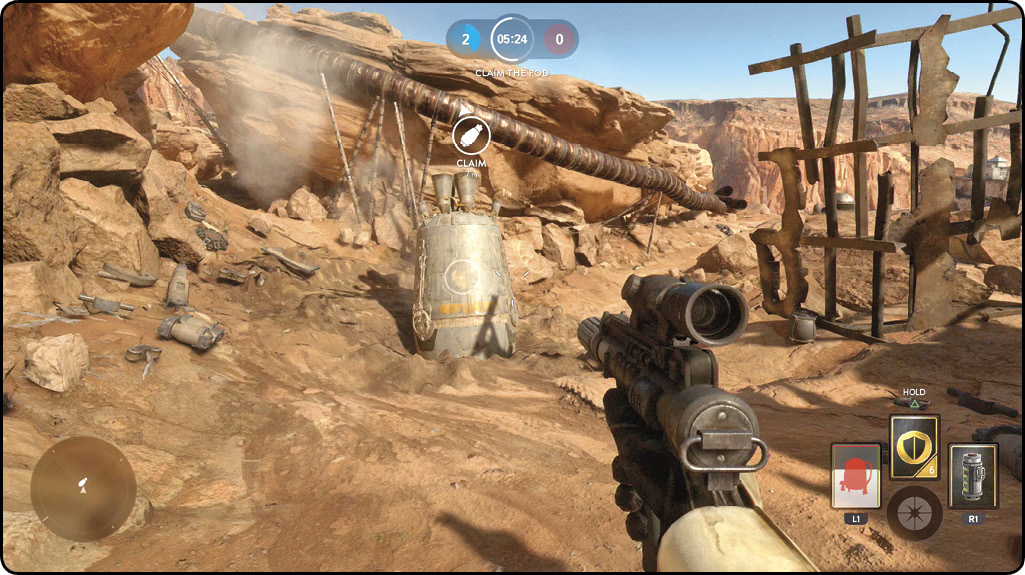
 In the game of Drop Zone, the drop pods drop in major crossroads and normally high-traffic areas. Here, be ready to take this thought even further with an added upper-level challenge. With most maps containing upper levels, you must deal with one or two walkways that are normally in the distance. However, in the Jawa Refuge, there are multiple situations where you have to deal with enemies in all directions, including directly above your position. One of the safest ways to defend a drop pod after you’ve initiated the capture timer is to either drop a Squad Shield or set up an Infantry Turret in the direction you’re not covering as thoroughly. The Infantry Turret’s auto lock has a good system of informing you that someone is coming. For the best results, set it up looking down the longest hallway or sightline. That placement gives the turret time to lock on and kill your adversary rather than just letting you know that a foe is there. Keep in mind that these two items come randomly, and you may need another strategy that you can count on.
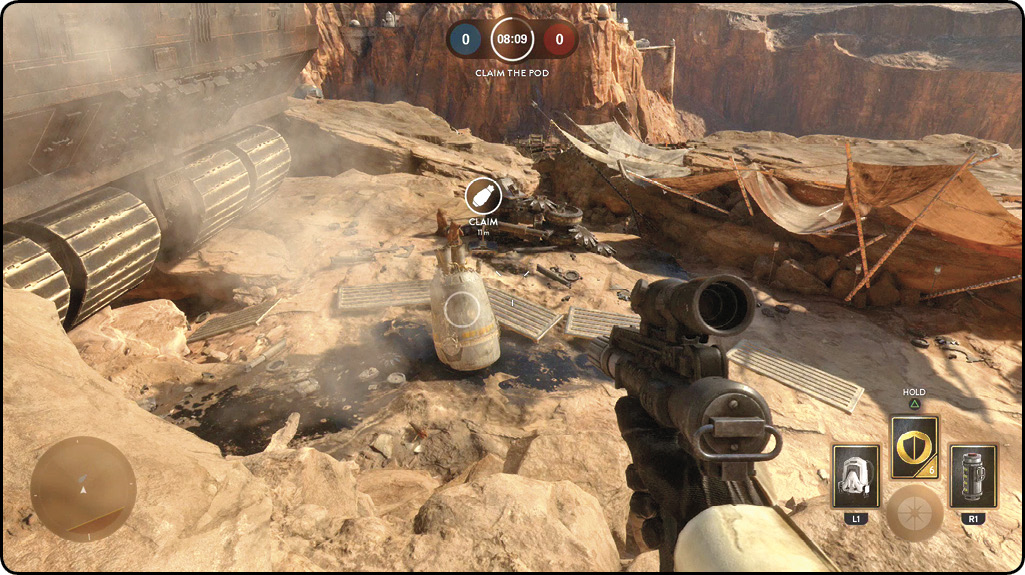
 Even though some of the more useful items arrive randomly through power-up pickups, you can set up, plan, and control certain other things. The Barrage explosive grenade launcher can keep enemies at bay when you are in the last few seconds of capturing the drop pod. Pay attention to the motion tracker on your radar. As soon as you are close to making the capture, launch a few explosives in the direction where you see the most enemy pings, and wait for the repercussions of your actions. If you have the Smoke Grenade unlocked, this is a good way to disorient the attackers coming in to steal the loot from the drop pod. Now you have an advantage because if they take a shot, you know exactly where they are.
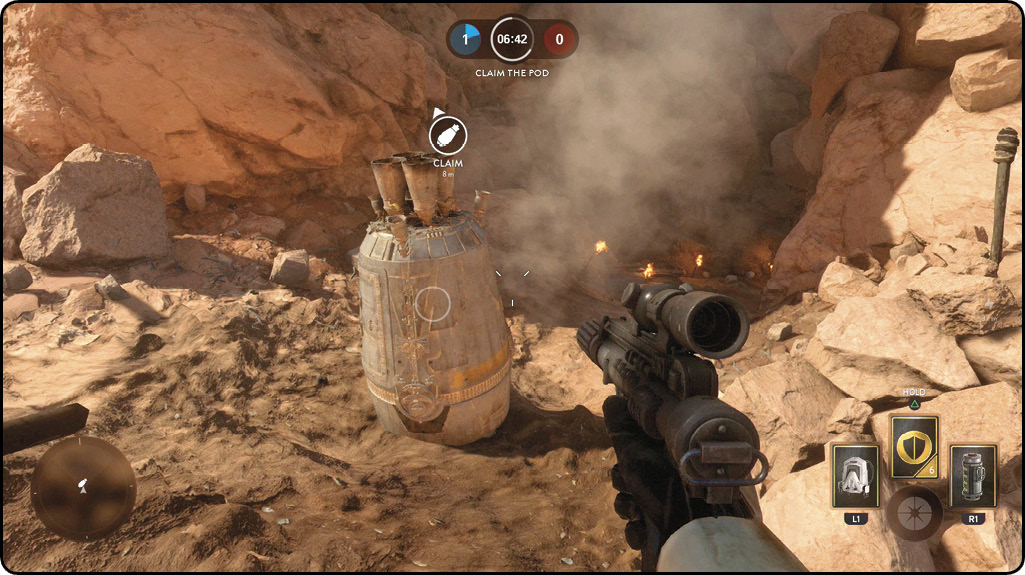
 After you retrieve the loot, your actions are extremely important on this map. You may only have a few options when it comes to exiting the area, and choosing the wrong one can cost you dearly when attempting to get to the next drop pod before your opponent. The Jump Pack is one quick way of getting out of a tight spot. However, using another Smoke Grenade on the ground while staying close to the current pod gives the next pod a chance to drop and you the chance to get the jump on it. You won’t have to wait for a respawn or go in the wrong direction (which makes it even more difficult to arrive at the destination).
Droid Run
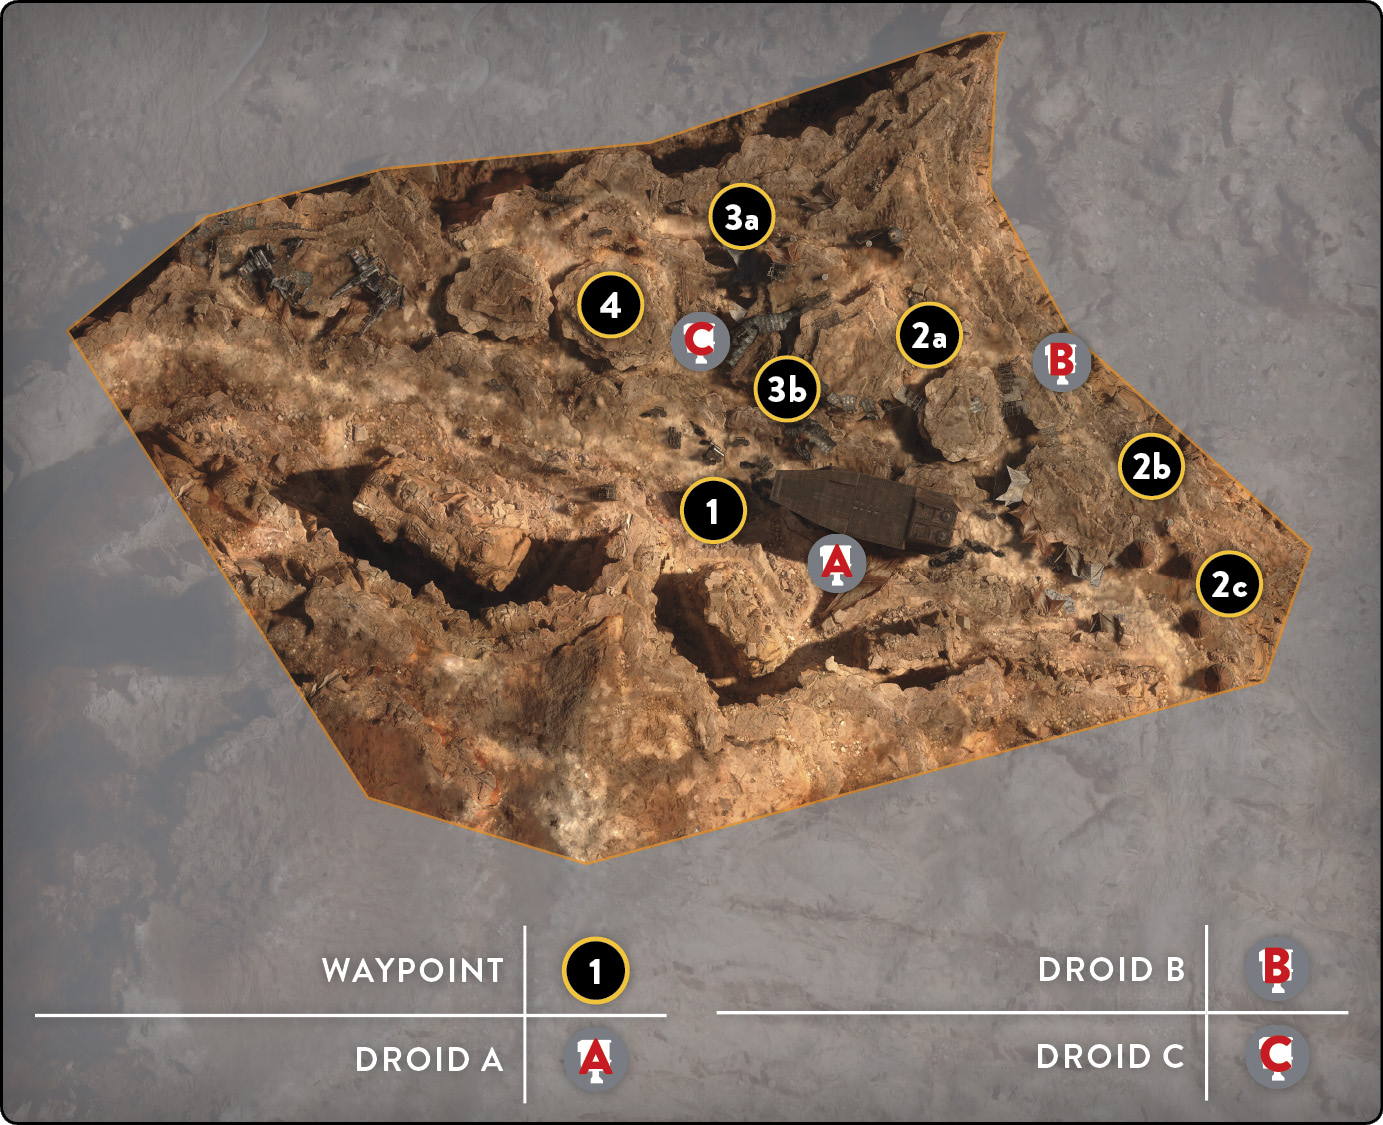
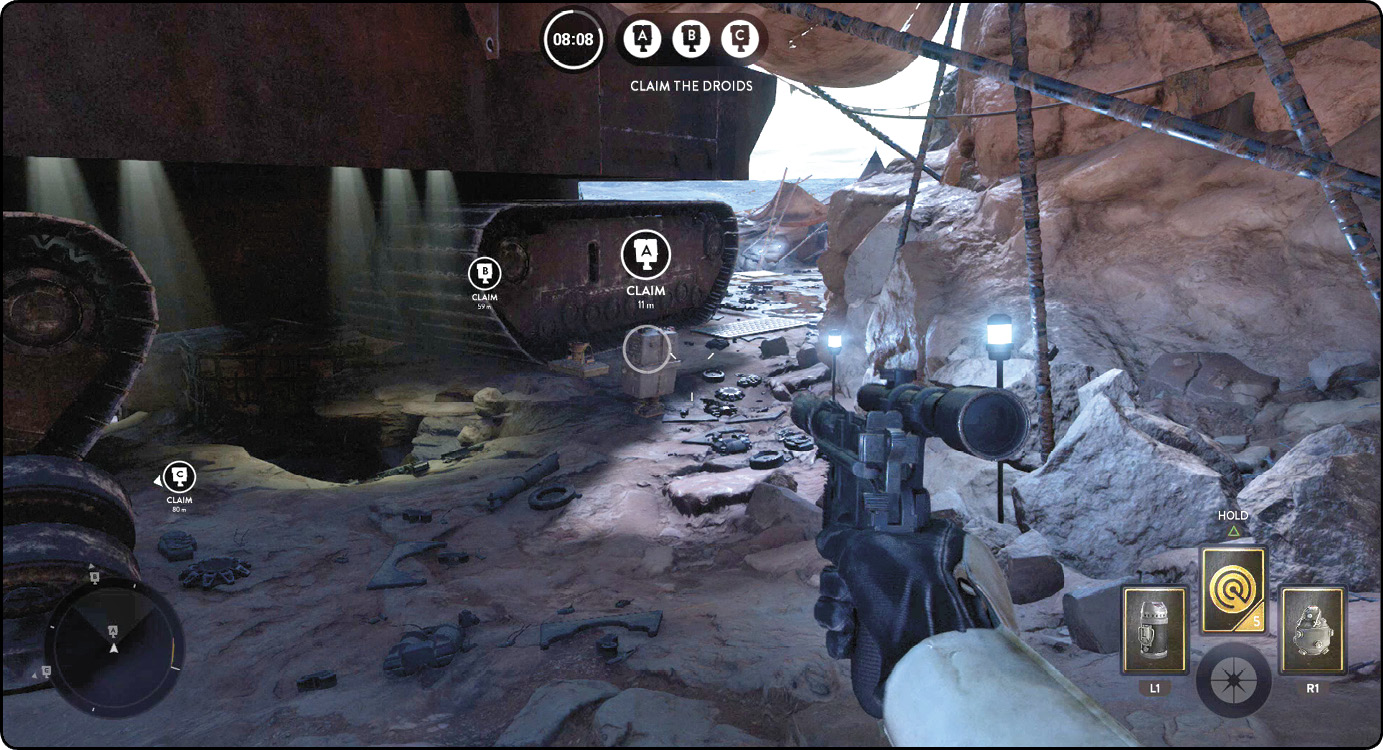
 The first on the list of droids that you must capture for this mode is the “A” droid, located near the canyon opposite of the cliffside. If you are attacking or moving toward this droid from either of the other droids, it is located on the other side of the large Jawa Sandcrawler. Because of this, you can use the crawler to your advantage. Use a Smoke Grenade or two to create a wall of distractions and obscure the enemy’s long-range vision to your position. The side of the Sandcrawler that is facing the power droid is the easiest to defend because of the smaller area to cover. If you’re not going to have all three droids, the best combination is to have the “A” droid and the “C” droid. This makes cornering your opponent significantly easier than it is with the other two combinations. Applying this same logic, your adversary might also have the same idea. Therefore, if you pick up on this information, it might be an effective tactic to go for the weaker combination at least temporarily. It will be less challenging to grab because of the lack of focus on defense. Remember to use the canyon behind you to get optimal sightlines on enemies attempting to attack your location. Relying on the canyon also lets you stay away from the action but remain close enough in case you are needed for an emergency capture defense.


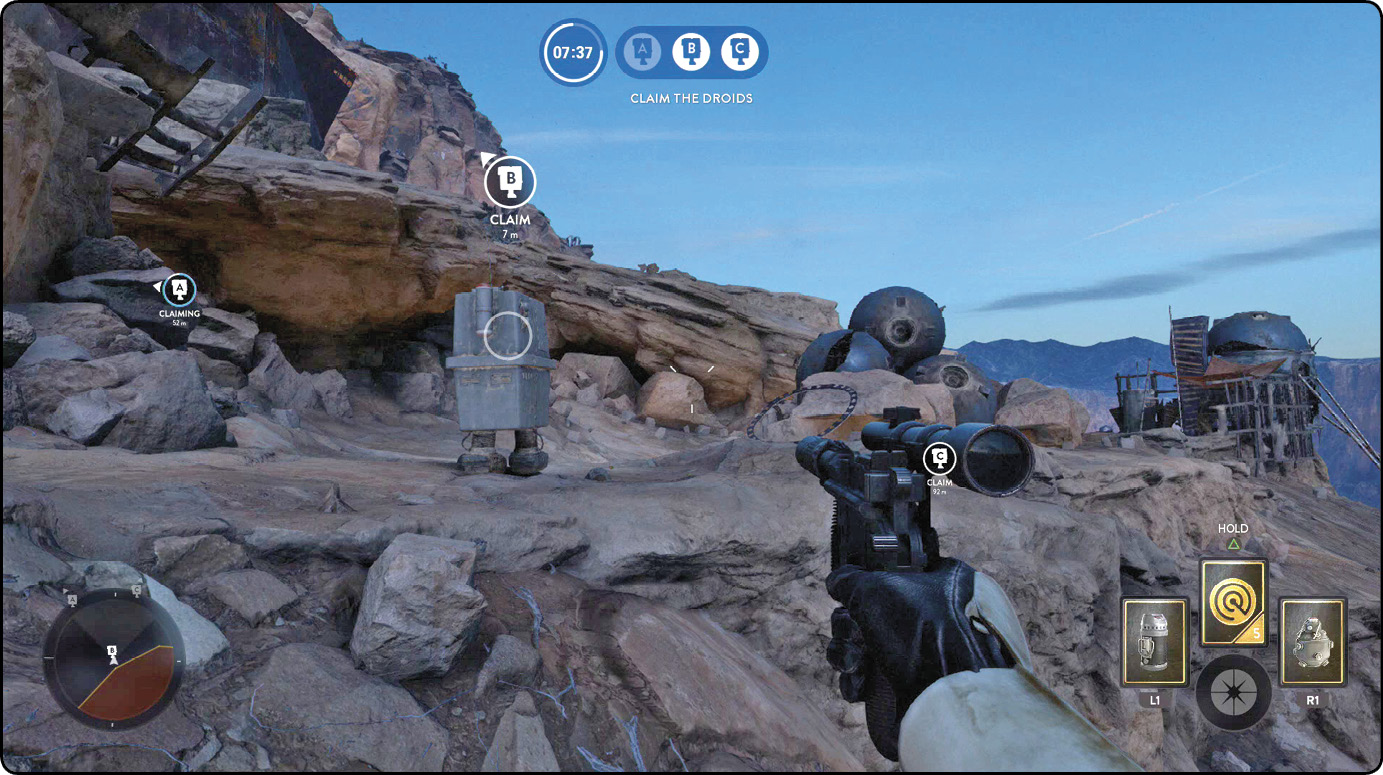
 The second droid on this map is the “B” power droid, and it’s located far along the cliffside near the Jawa village. This location also has a large amount of cover, but it is extremely easy to become pinned down from enemy fire and get locked into this part of the map. There are a few escape routes if you’re being closed in, but you must trust your judgment when taking any of them. Take the path of least resistance: if you don’t have to be near the droid, back off a bit to avoid becoming an easy target for attackers. You and a couple of friendlies can move up the hill and take over the Jawa village. Then, use it for an elevated advantage when attempting to defend the droid. From the Jawa village, you can head directly toward the droid to defend it, or you can move over the upper surface and head into the location over the top. Be careful when tossing Thermal Detonator and Thermal Imploders near the power droid—the ledge is quite narrow and can be very dangerous because it is difficult for enemies to escape before the explosive goes off.

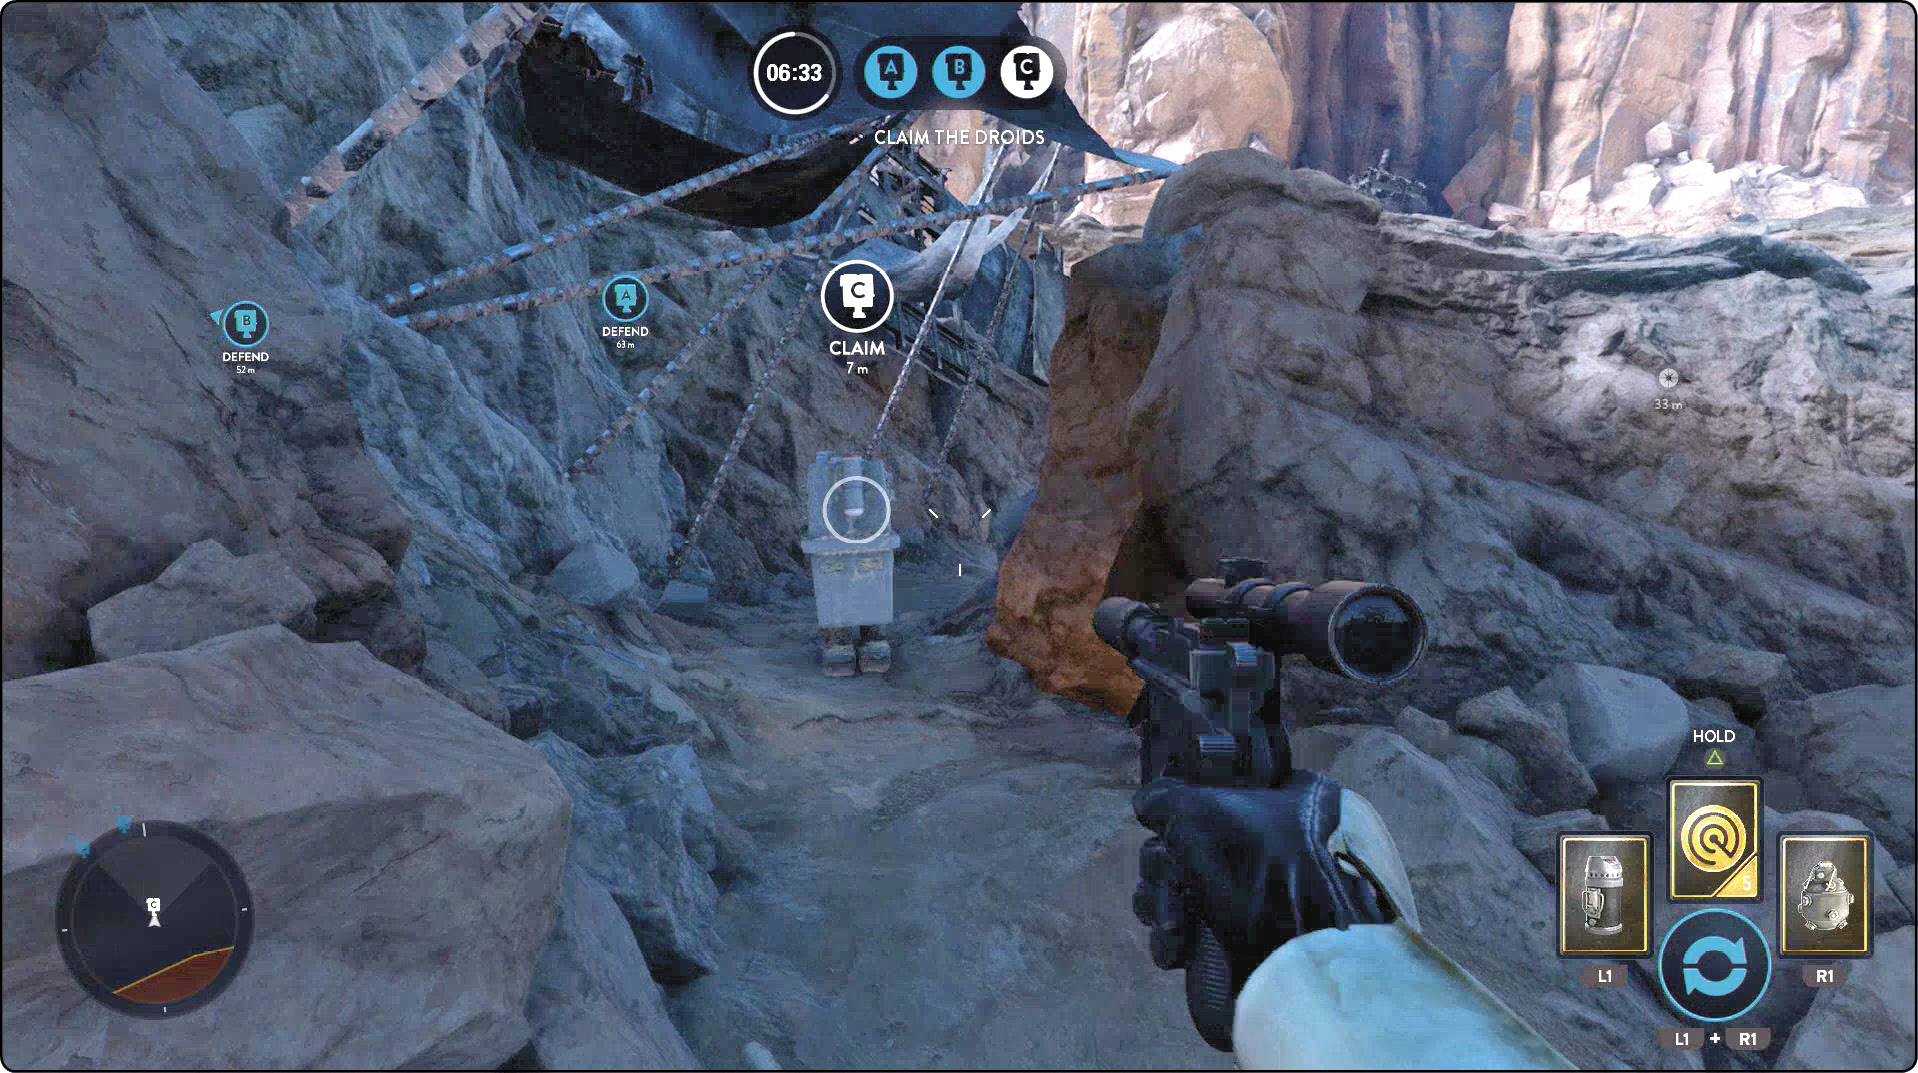
 The third and final of the three Droid Run droids in the Jawa Refuge is the “C” droid, located near the cliffside and on the lower end of elevation within this map. Surrounding the droid, you can find several great locations for fortifying, defending, and waiting for your enemy to attack. Look along the cliff for a tent-like shelter unit that is incredibly useful for hiding from any foes coming from above. There is also a corner underneath the tent that you can hide behind, not warning your attackers that you might be there. However, remember that once this hiding spot is revealed to your opponent, you may need to relocate. The spot is fairly easy to flank if the other side of the droid is not defended. On the other side of the droid and along the opposite direction on the cliff is a much more open area, followed by a very sharp corner. Unless you have friendlies covering you from the small cliff above you, this side is a prime location for foes taking you by surprise. To avoid getting eliminated, cover this side from just in front of the droid you are capturing or attempting to capture.
 Just like Blast mode, it helps here to use the higher elevations to ambush enemies running through the lower center of the map. However, there is a major difference about this mode in the Jawa Refuge. Because this map takes place at night in Droid Run, and because of the specific locations of the droids, take advantage of the shadows and cover of darkness to use the area under the upper surface. (Note that this doesn’t work in any other variation of Jawa Refuge because it is still relatively easy to see foes in the shadows considering how bright of a planet Tatooine is during the day.) Stay vigilant: even though it is dark, your opponent can still see your movements on their radar. While you are stealthily moving from point to point, don’t be afraid to stop and let the enemy pass by to avoid giving away your position.
Hero Hunt
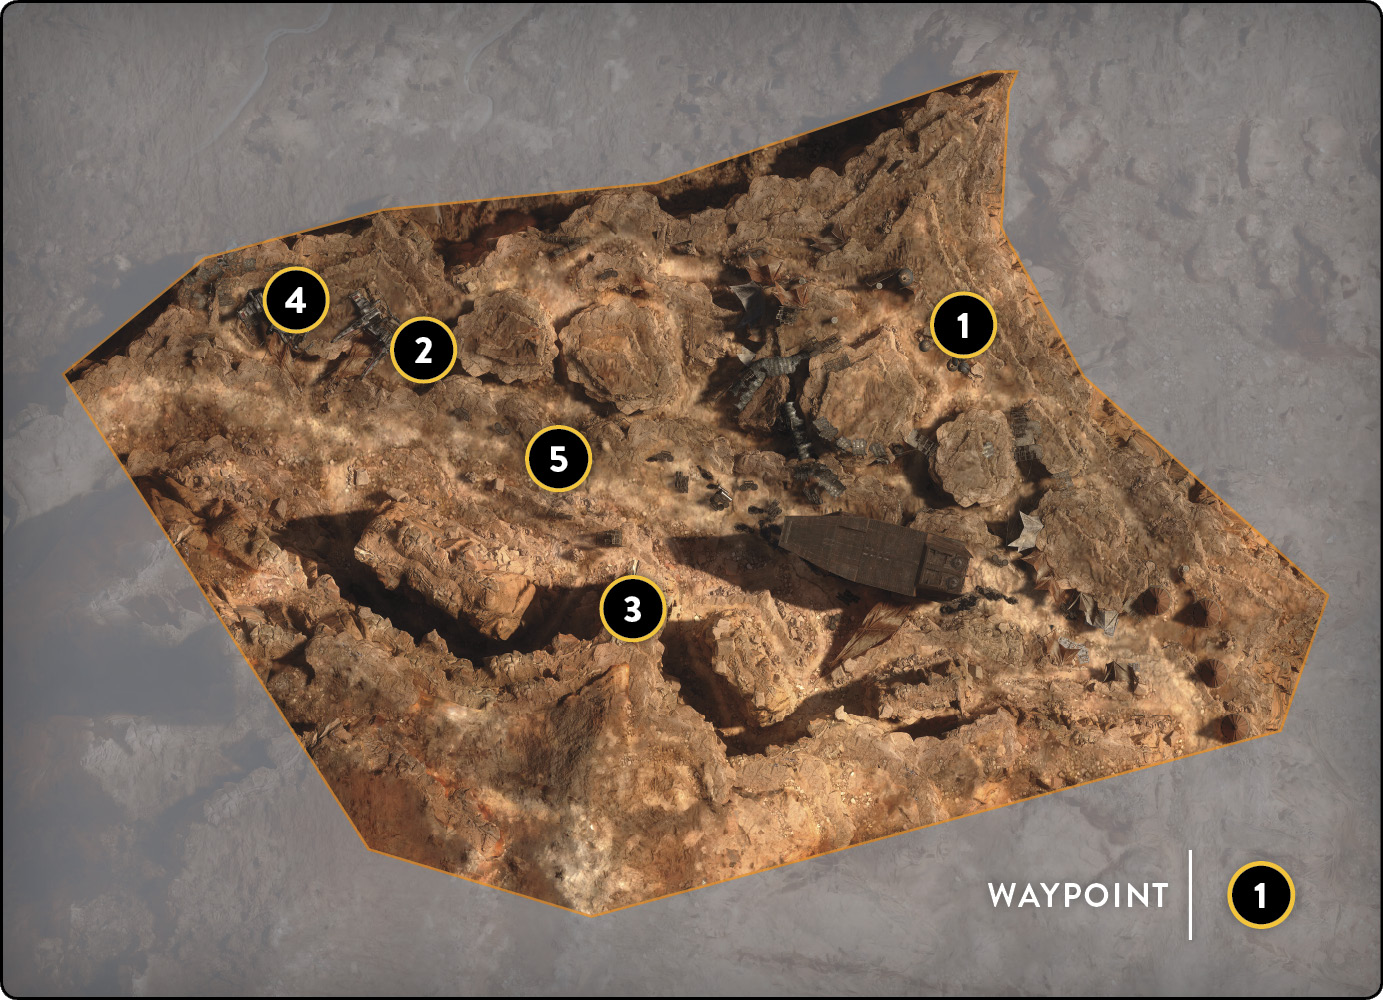
 Hero Hunt on Jawa Refuge becomes a little difficult if you are the type of player who likes to find a corner of the map that you can fortify and defend with all of your might. Jawa Refuge is dynamic in the sense that there are not many corners and it is quite asymmetrical. This means that if you are playing as a hero, you should run laps around the perimeter of the map to keep the Imperials guessing and more than likely catch their flank before they have a chance to turn around and defend themselves.
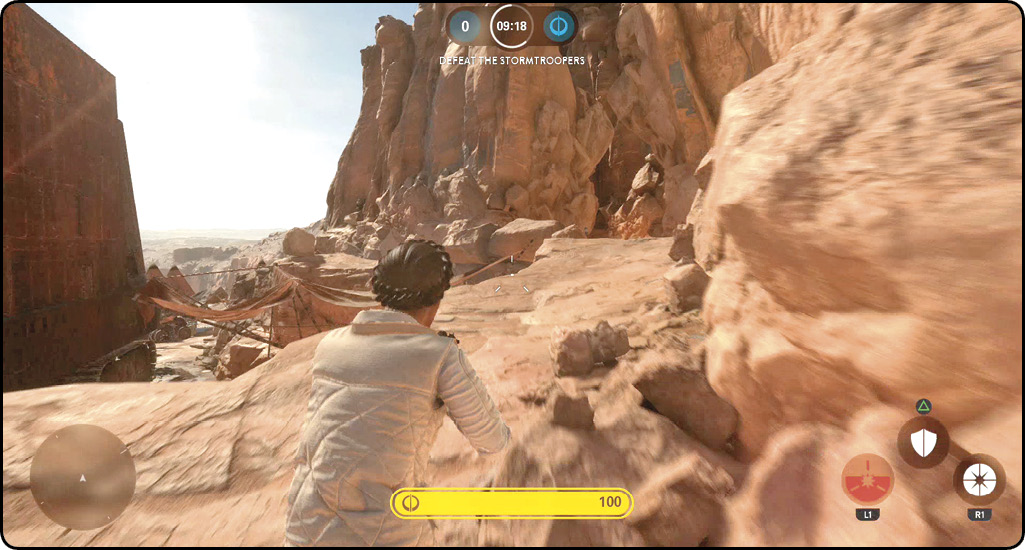
 Part of Hero Hunt is always playing the hero that you are most comfortable with and that plays to the map in the best possible and most efficient way. While all heroes are very powerful, some work better on Jawa Refuge than others. For instance, playing as Luke here is great for taking on multiple enemies at once, but it can be overkill inside the canyons and under the top surface. Leia can use the larger canyons to set up a shield and shoot through it with her projectile weapon. However, Han is your best bet on this map. He has a very powerful blaster, and his high-powered shot with explosive damage can affect enemies around corners. With Han, you can charge down narrow corridors, taking down everyone in your path for a short burst.
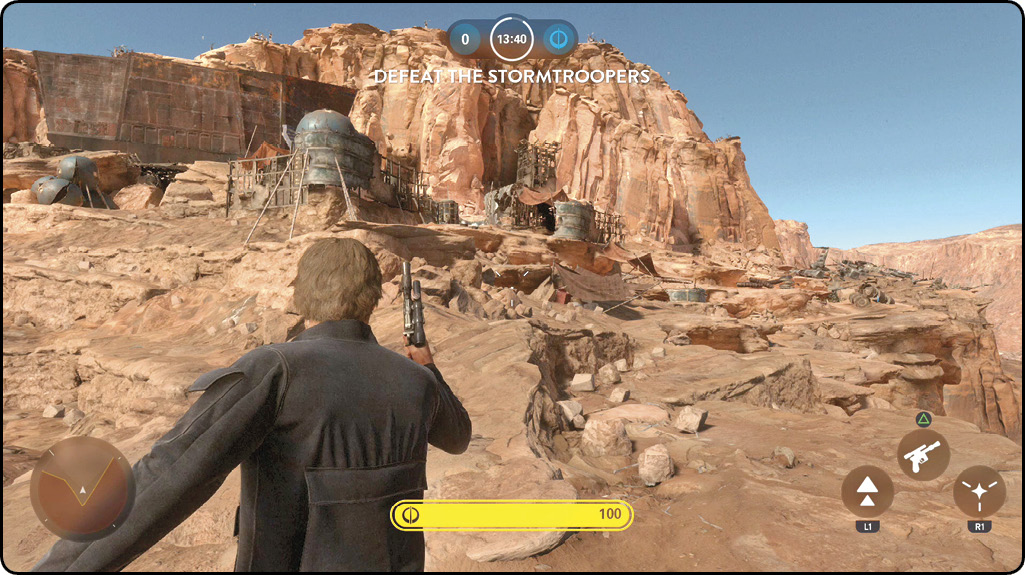
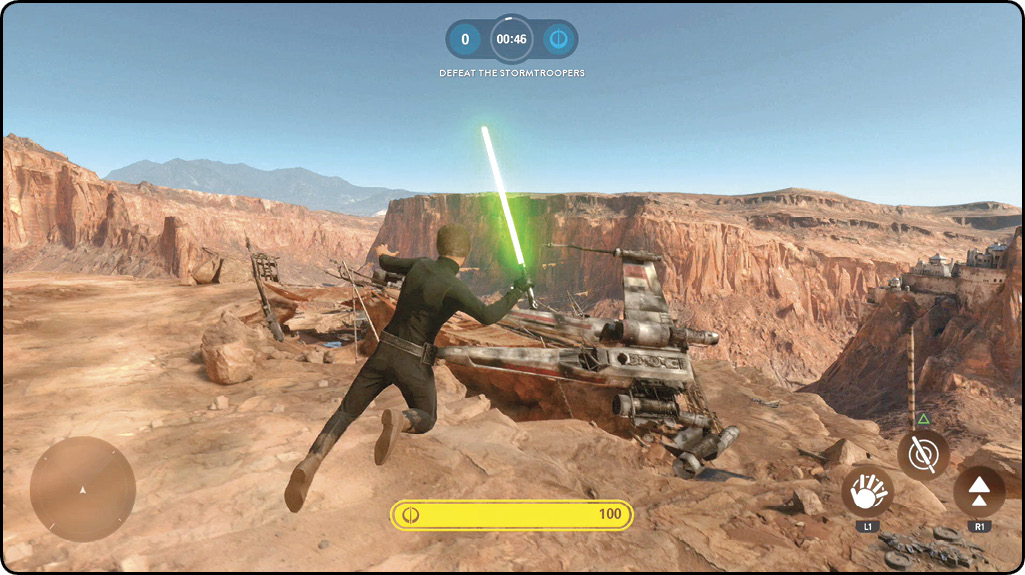
 The other part of Hero Hunt on Jawa Refuge is using specific locations to ambush the heroes and surprise them. Surprising heroes is the best way to defeat them because their health is a bit higher than a standard trooper’s. This means that it takes more than one trooper to take them down, depending on distance and whether the hero sees you or not. Use corners and elevated sections to sneak up behind heroes. Take away the hero’s advantage of getting the first shot on you, and hopefully turn this into an opportunity to deal more damage than the hero can do to you. If the hero is Han or Princess Leia, the best way to take them down is by shooting from close range with a rapid-fire blaster, as it disorients them and forces them to react quickly. However, if you’re facing Luke, you may want to surround him while also keeping your distance. The moment Luke closes the gap between you and him, you might as well stop shooting and run—there’s a good chance you’re already dead.
Heroes Vs. Villains
 Heroes Vs. Villains is pure chaos no matter which map you play it on. Follow the same trooper tactics as you would in Hero Hunt, such as setting up ambushes for the opposite team’s heroes or villains but also playing to the characters’ weaknesses when attacking them as a trooper. Understand that even though you are expendable as a trooper, it is important to protect your allies and keep them alive. Once they’re dead, your team loses.
 There are a few good preferred match-ups. If you’re on the disadvantaged side of a match-up, just be aware of it and be ready to counter by exploiting your opponent’s weaknesses. Because Jawa Refuge has both close-quarters areas and mid- to long-range areas, all heroes and villains have their advantages; it truly depends on where they are in the map. On the upper surface of the Refuge, characters like Luke, Darth Vader, Boba Fett, and Princess Leia have the highest success because of their ranged attacks and speed. Han Solo can hold his own up top, but when faced against Darth Vader, he better sneak up on Vader and shoot him in the back. Otherwise, it’ll be a challenge to deal damage while attacking head-on. Down below in the trenches, characters like Han and Palpatine dominate their opponents. Even though Luke can deal a lot of damage to multiple targets, Palpatine’s lightning is constant and gives Luke and Leia hardly any chance to escape before draining their health to zero. On the other hand, Han Solo can keep his distance underneath and use his explosive damage that cannot be deflected by Darth Vader or out-gunned by Boba Fett. Boba Fett’s blaster is powerful, but in a one-on-one fight, Han’s blaster inflicts more damage with slightly more accuracy, giving him the advantage. The best thing for Boba to do in that situation is fly through an opening in the ceiling and create some distance between himself and his target.