STAR WARS™ Battlefront™ Guide Multiplayer Game Modes Locations Tatooine
Jundland Wastes
Supremacy
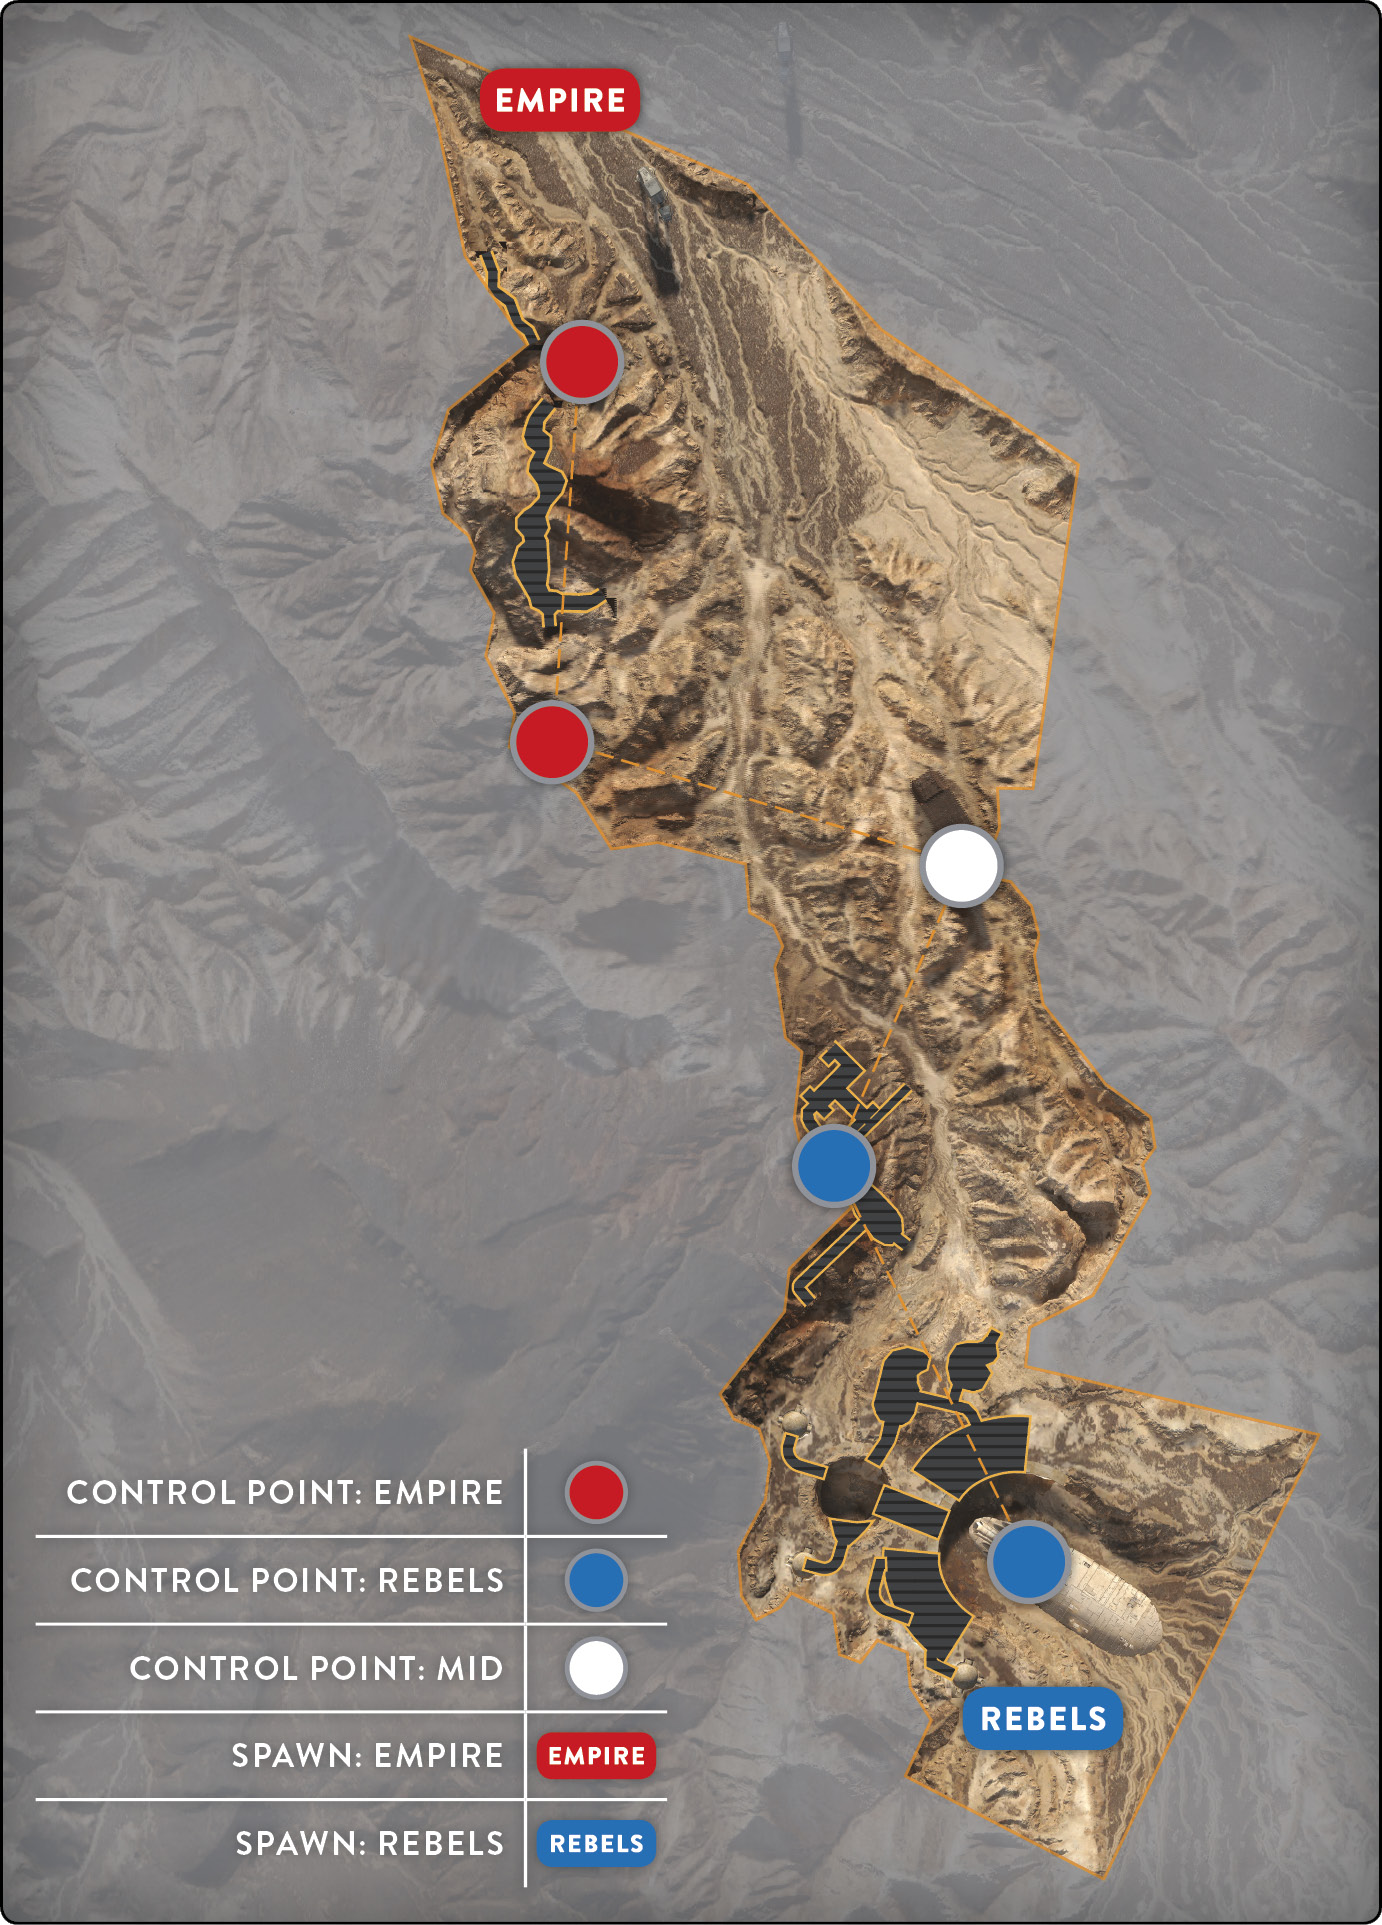
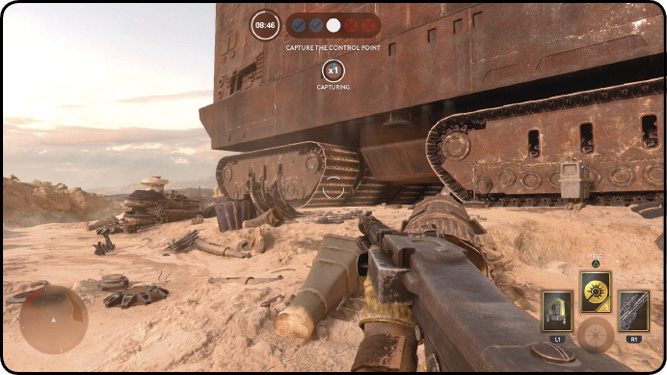
The first location both teams must capture in the Jundland Wastes is directly in the center of the Wastes, immediately adjacent to the Jawa Sandcrawler. The capture area is very small and extremely exposed to the surrounding mountain terrain and the opposite side of the giant crawler. Keep your distance from the objective area before going in for the capture; you can be taken out from almost every direction. Use the Sandcrawler and the mountains to conceal your approach and as cover while your teammates take the control point. Employ the pieces of vehicle debris shed from the battle as excellent cover while you capture the point. Also, toss down a Smoke Grenade for added cover, asinces you are extremely vulnerable.
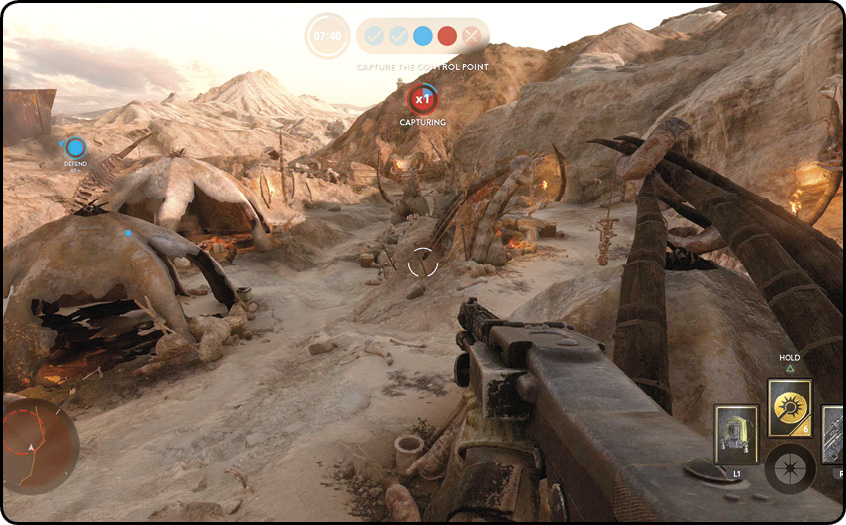
When the Rebels are in their first “push forward” phase after capturing the central point, the second control point is in the Jawa village, located well within the mountainous terrain away from the Sandcrawler. The Jawa village has quite a bit of cover initially, so get there quickly. Watch your corners when approaching: although there are crevasses that provide protection, enemies may also be waiting for you to round corners so they can take you by surprise. Use the village huts to hide and set up ambushes for incoming enemy troops. Stay aware of your surroundings, as your opponents can destroy them, turning you into a sitting duck. There are four main entrances to this control point: one directly from the Imperial base, and three that can be taken from the center near where the Jawa Sandcrawler is. It is beneficial to defend these entrances from the Sandcrawler. As a Rebel, you must still defend the Sandcrawler because the Imperials need that location to advance forward, pushing you away from the Jawa village. When playing on the Imperial side in this situation, it is useful to have the Jump Pack available. Taking on the Rebels via alternate routes rather than the four aforementioned entrances to the Jawa village works greatly in your favor.
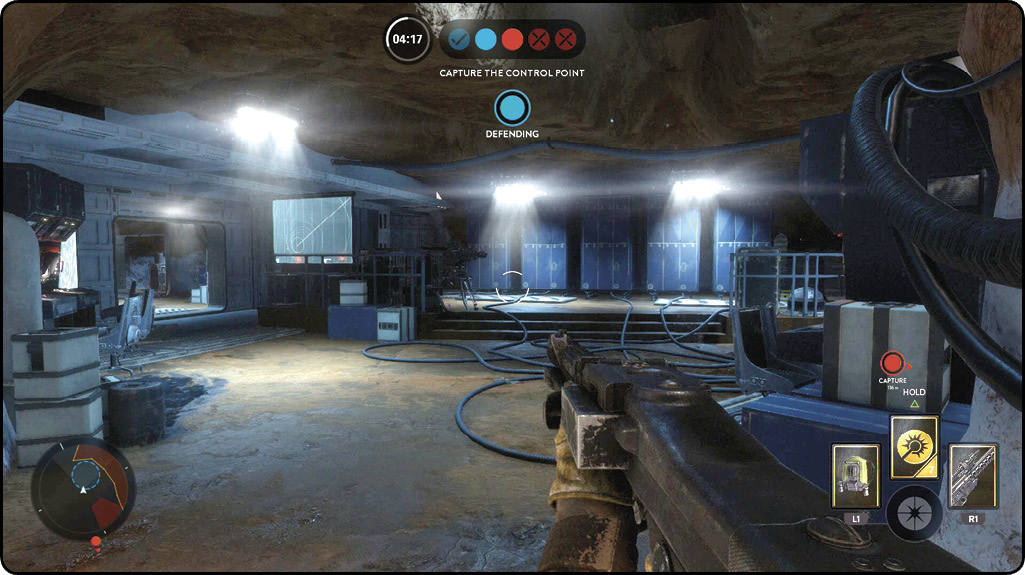
When the Imperials are in their first “push forward” phase after capturing the center point, the Rebel location is near the depot, where close-quarters combat is a real danger. When attacking this location, equip either the Smoke Grenade or Flash Grenade Star Card to disorient the enemy as you enter and clear the area. Defend all entrances and exits of the depot base to keep foes from flanking you. In this location, it helps to stay close to the capture point simply because it is extremely difficult to access the area while others are defending it from the inside. Make use of the CA-87 blaster, as it is a shotgun-type weapon that deals an extremely high amount of damage with a single shot which is exactly what you need in these tight corridors. When you are defending, watch out for the Barrage explosive launcher. The launcher can bounce grenades around corners that you may be hiding in, leaving you no time to escape. Your best defense is staying on the move or setting up proximity mines where you think the enemy might launch these grenades from.
Both sides have a distinct advantage when defending their final control point. However, if the attacking team can get in and at least secure the initial entrance of the control point, there are a lot more power-ups in a much smaller proximity. These provide an entire arsenal of weapons and power-ups, and if you use them in rapid succession, you can decimate the enemy and gain free access to attack their transport ship. Use your friendly transport ship when defending your final control point both from the ground and on the ship itself, as it can provide a great deal of cover from all directions. Just remember to keep your head moving. Even though your opponent will typically come from the direction of their control point, there are plenty of opportunities to get around your team and flank you. At the very beginning of this phase, you should keep a few troops at your final control point, but send the majority of your forces to the enemy’s point. Be prepared to fall back once your adversary appears to even come close to breaking through. After you lose this final location, your team loses the battle.
Walker Assault
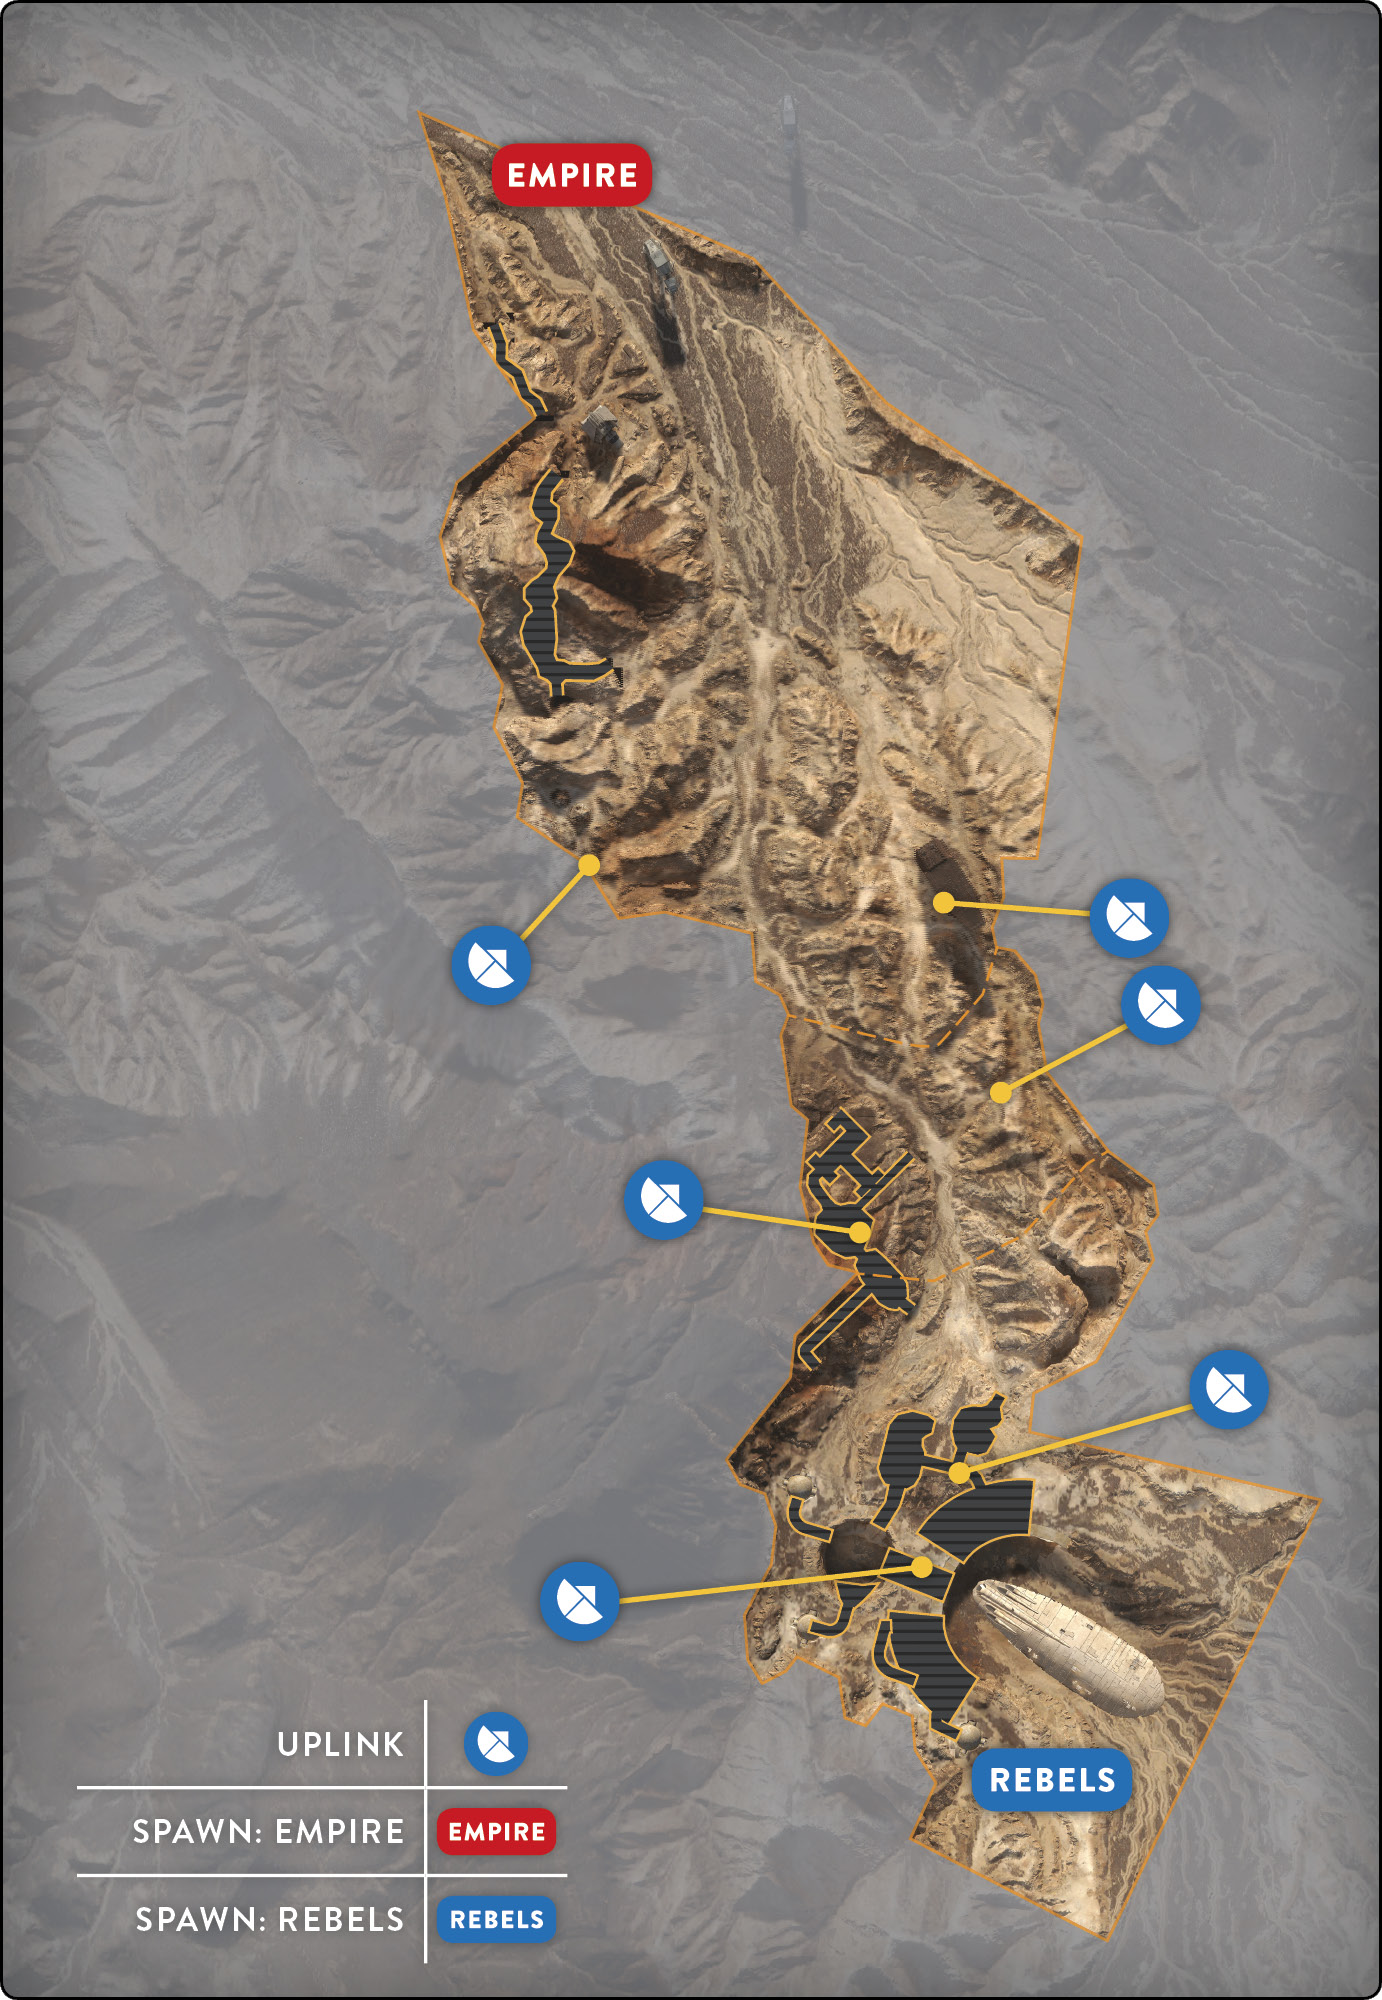
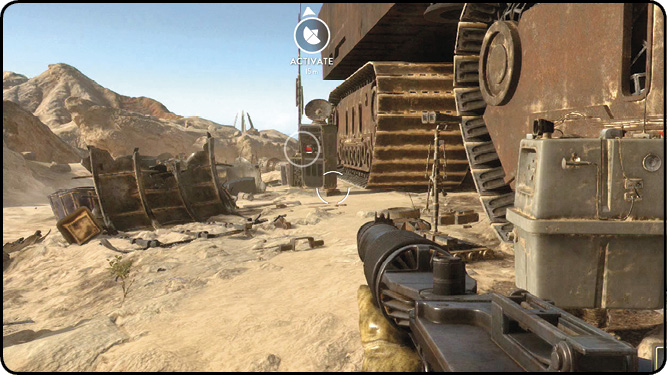
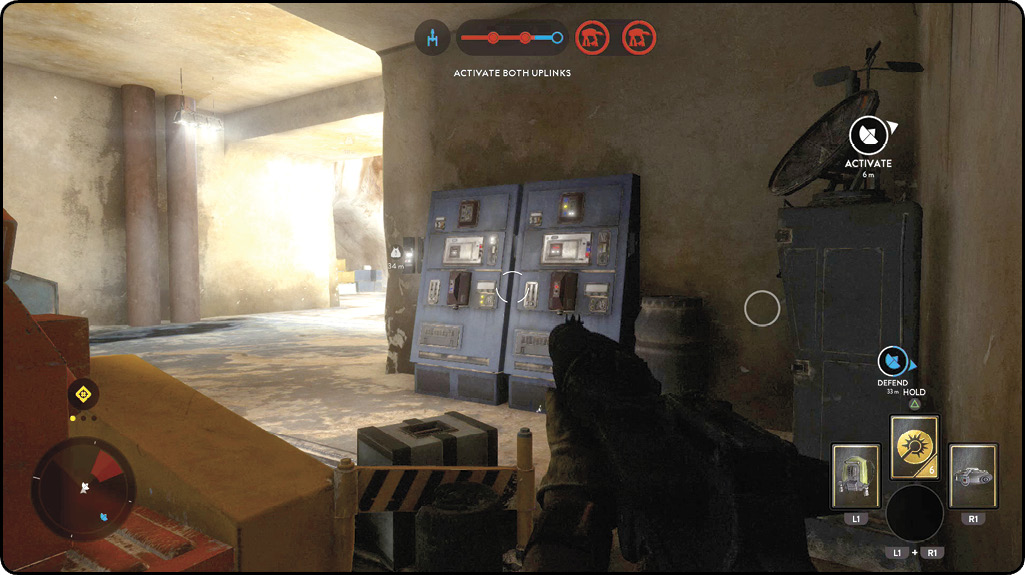
Like in Supremacy, the first set of uplinks that must be activated or defended is located underneath the Jawa Sandcrawler and in the Jawa village inside the small mountain range just across the plain. It is incredibly important for the Rebel team to activate both uplinks and defend them for as long as possible in order to have the longest opportunity for taking down the AT-ATs. Because of the fairly open areas in the beginning phase of the Jundland Wastes, you should employ the Squad Shield to protect your team when capturing or defending either of the uplinks. Additionally, this is a great situation for using the Cycler Rifle after you’ve unlocked it. It can penetrate shields to keep the enemy from surrounding your squad.
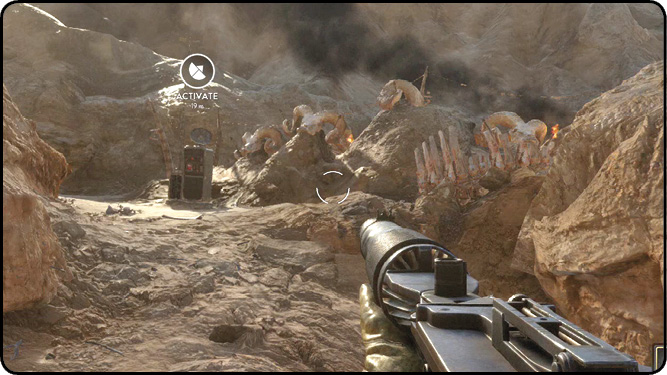
As the Imperials, when the Y-wings come in for their first bombing run, you should use the Bowcaster, Homing Shot, and Barrage to dispatch as many enemies attempting
to take down your AT-ATs with Ion weapons as possible. You also want to create large perimeters and keep spread out to ensure that no Rebels make it through the defensive lines and get to any prime locations to fire on the walkers. Once you have secured the area, push forward and attempt to move the fight closer to the next two uplink locations. This both creates an opportunity to build an early defense and shortens the Rebels’ opening to attack your walkers.
The next two locations are pushed back to the smaller canyon area just beyond the Sandcrawler. In this second phase, there is more use for the Jump Pack Card than anywhere else, simply because being able to get over the terrain grants you several different access points that would not be possible otherwise.
The next two locations are pushed back to the smaller canyon area just beyond the Sandcrawler. In this second phase, there is more use for the Jump Pack Card than anywhere else, simply because being able to get over the terrain grants you several different access points that would not be possible otherwise. On the side of the Sandcrawler, the uplink is located on the pathway heading toward the depot. You can use this area as a major chokepoint for all enemies attacking on foot. Set up deployable turrets in a way that allows a long sightline. Even if you can’t fend off your adversaries, those who are really paying attention will be deterred from moving down that path. The second uplink is a little tougher to attack, as it is located inside the mountain. Within the intel base, three entrances lead directly into the room with the uplink, so watch out for Proximity Mines and heavy turrets. Use Smoke Grenades to conceal your approach and keep the enemy from locking you out.
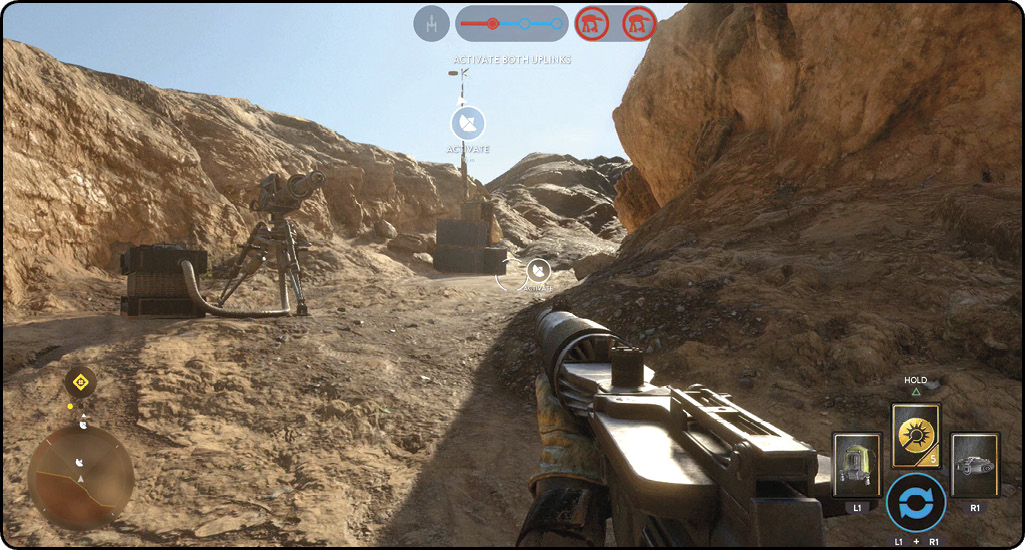
The second attack phase of Walker Assault on Tatooine is by far the most dangerous for the Imperial walkers, as there is a great deal of cover that can be used from both sides of the walker. Rebels should take full advantage of all angles on the walkers since the action occurs directly in the center of the map. However, because of this advantage for the Rebels, Imperials should definitely be aware of this and minimize the amount of time they have to attack the AT-AT walkers.
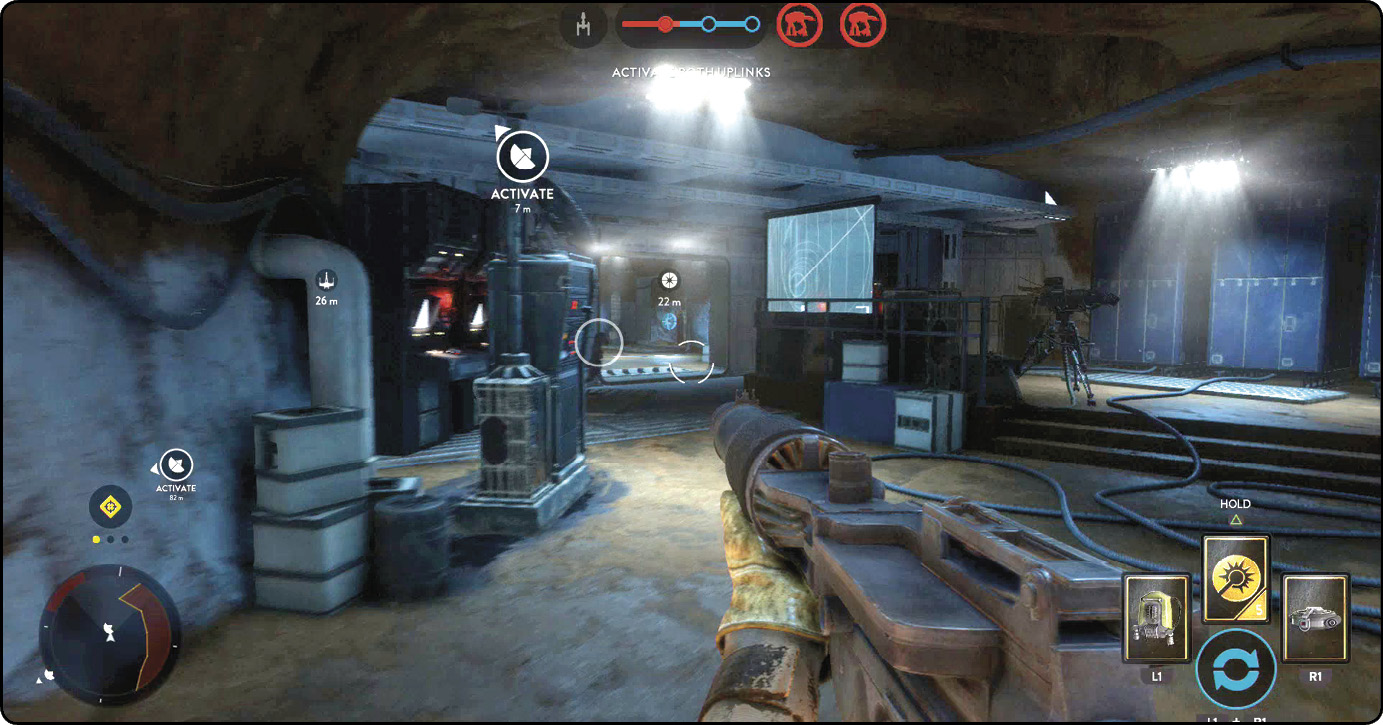
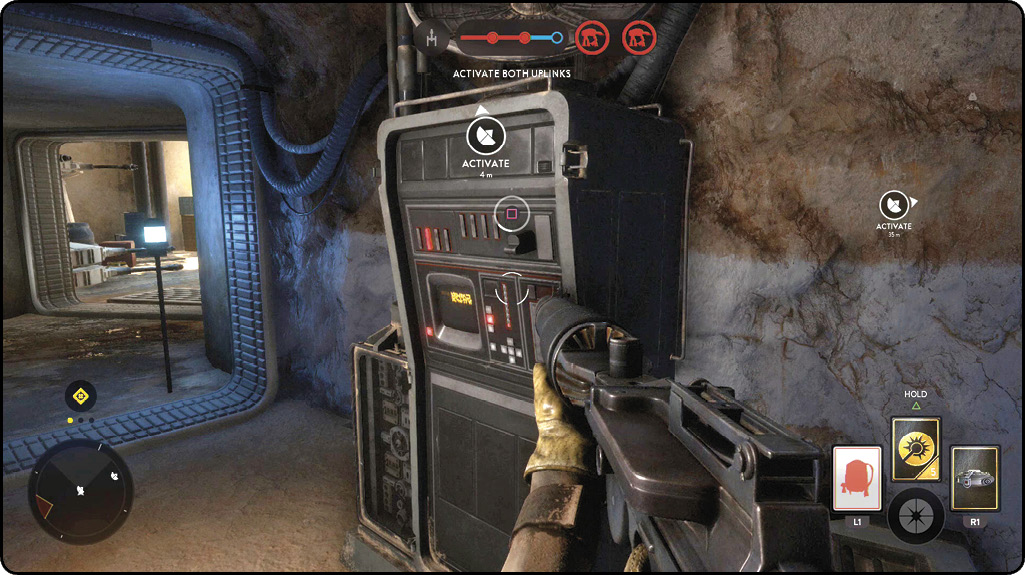
In the final location of Walker Assault, there are two more uplink locations. Like the second phase, there is one just inside the mountain where the transport depot is located. The interior location is a lot like the mountain location from the last phase, but finding the alternate entrances as an Imperial is a little more challenging. (Those entrances are in the same direction from where the Rebels will more than likely deploy.) The alternate location to the interior uplink is located closer to the Rebel transport ship. Even though it is in the heart of their defenses, this is the easiest place for Imperial troops to attack and take over. If you’re playing as a Rebel and the outdoor uplink is deactivated, fall back to the first uplink and defend it as effectively as possible. If the Imperials deactivate both uplinks, the Rebels will be in deep trouble, especially if both walkers are still healthy. Fall back and defend until you know that the outside is secure, and then move out to activate the second uplink. This is the best opportunity to use heroes and villains to clear out heavily defended locations in preparation for the final attack phase.
In the final attack phase, it may be beneficial to use as many of the air vehicles as your team has available. Use the X-wings and A-wings to defend the Landspeeders from TIE fighters as they attempt to use the TOW-cable and trip the walkers. If the AT-ATs are above 50 percent health, the TOW-cable becomes the last hope for the Rebel side. There won’t be much time to attack, and a successful trip mini-game can take down each walker immediately.
Fighter Squadron
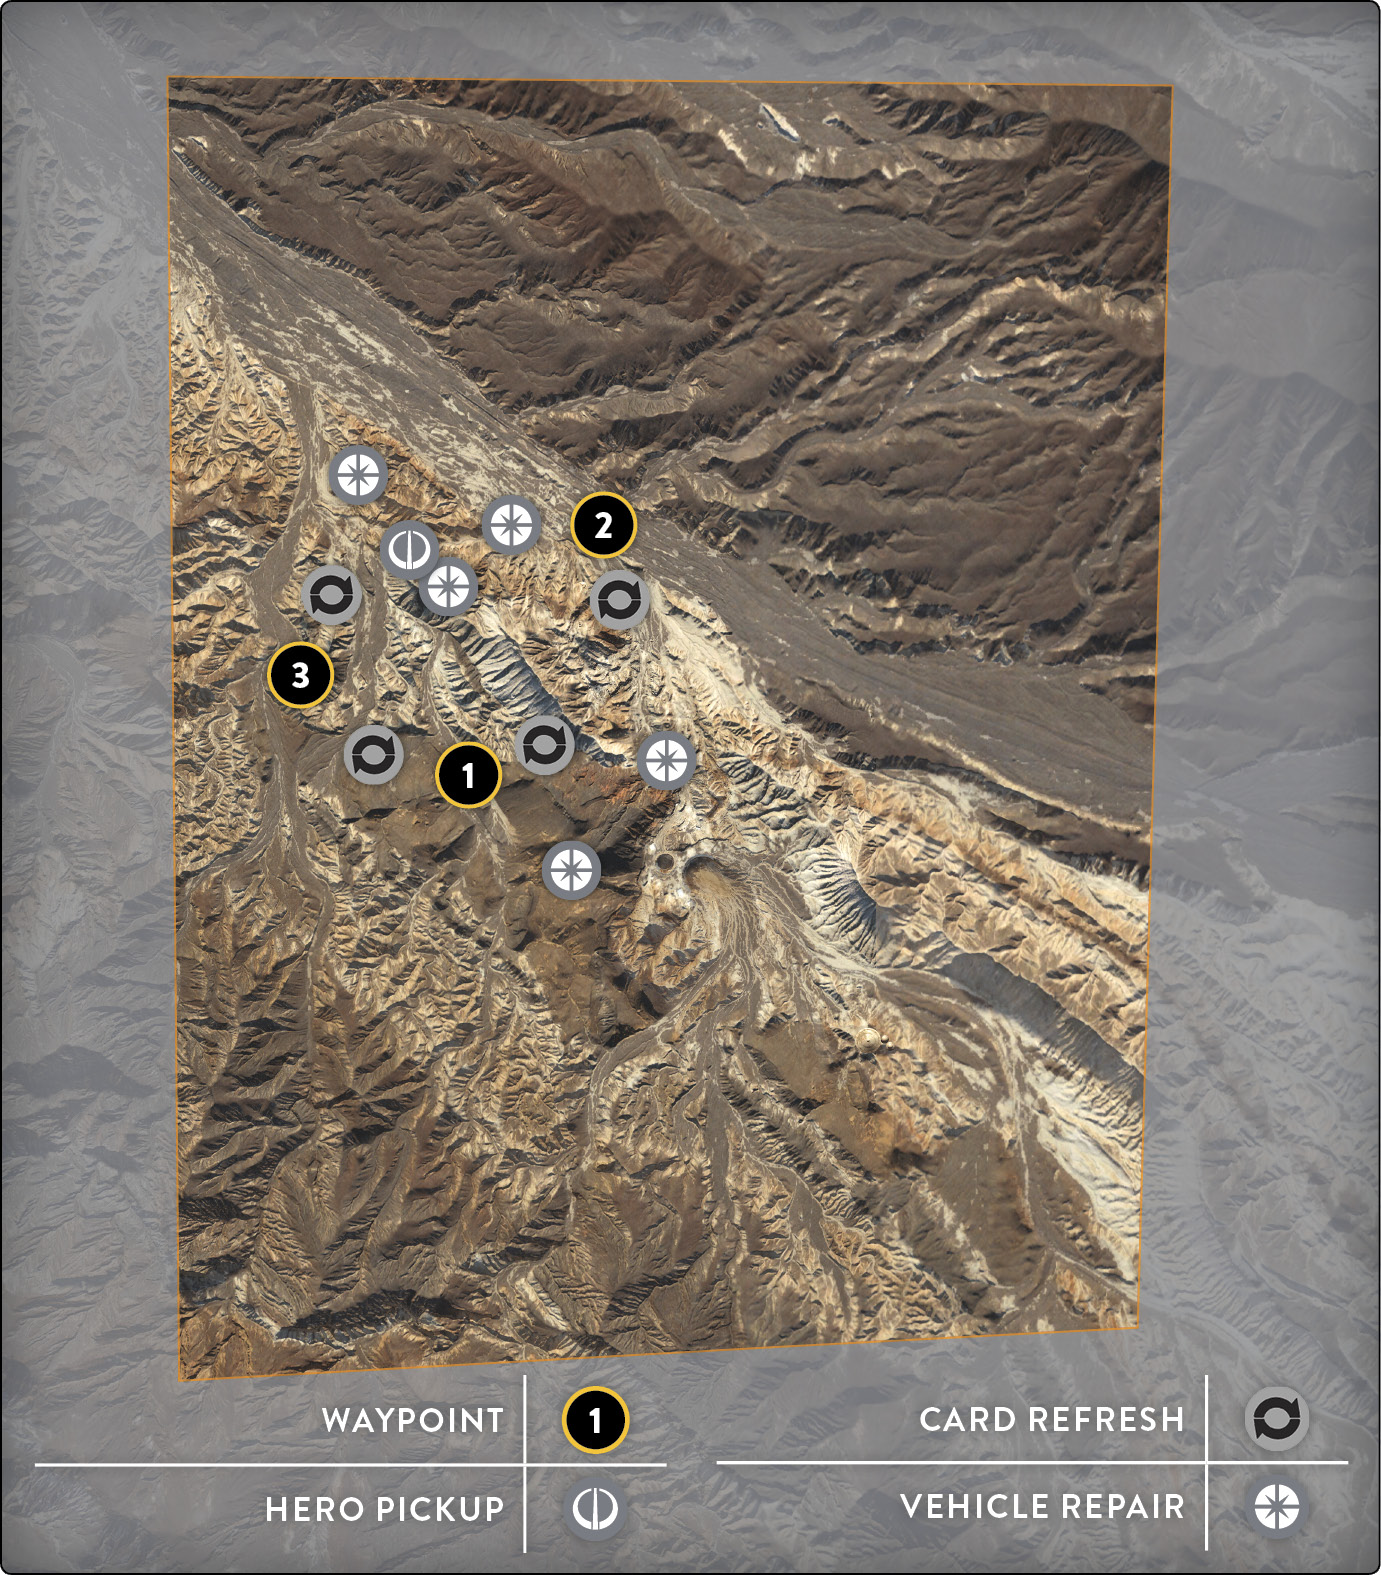
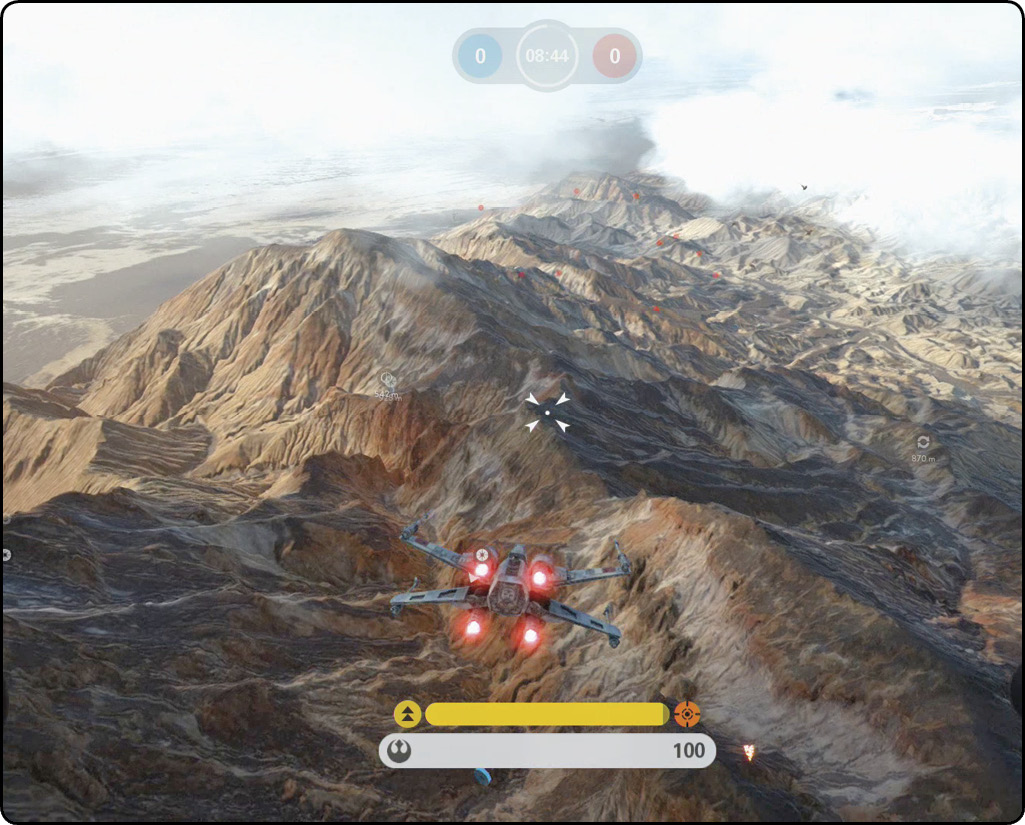
 Jundland Wastes is the battle arena with the most treacherous terrain of all Fighter Squadron locations. Most of the Repair and Ability Refresh tokens are extremely close to the ground, and traveling at high speeds already makes it difficult to fly through them without hitting the ground. Here in the Wastes, you must be keenly aware of your altitude and how close you are to hitting the planet surface, as well as your distance from the surrounding mountains. Because of how rapidly the elevation of the obstacles changes, keep your head on a swivel even at mid-height. There might be a mountain face ready to render your ship destroyed.
In the air, there isn’t much difference from any other map while playing Fighter Squadron. However, be aware of the two suns high in the air because it is easy to lose your enemy in the bright light. Whenever you are blinded or impaired by the suns, use your stunt maneuvers to avoid taking fire.

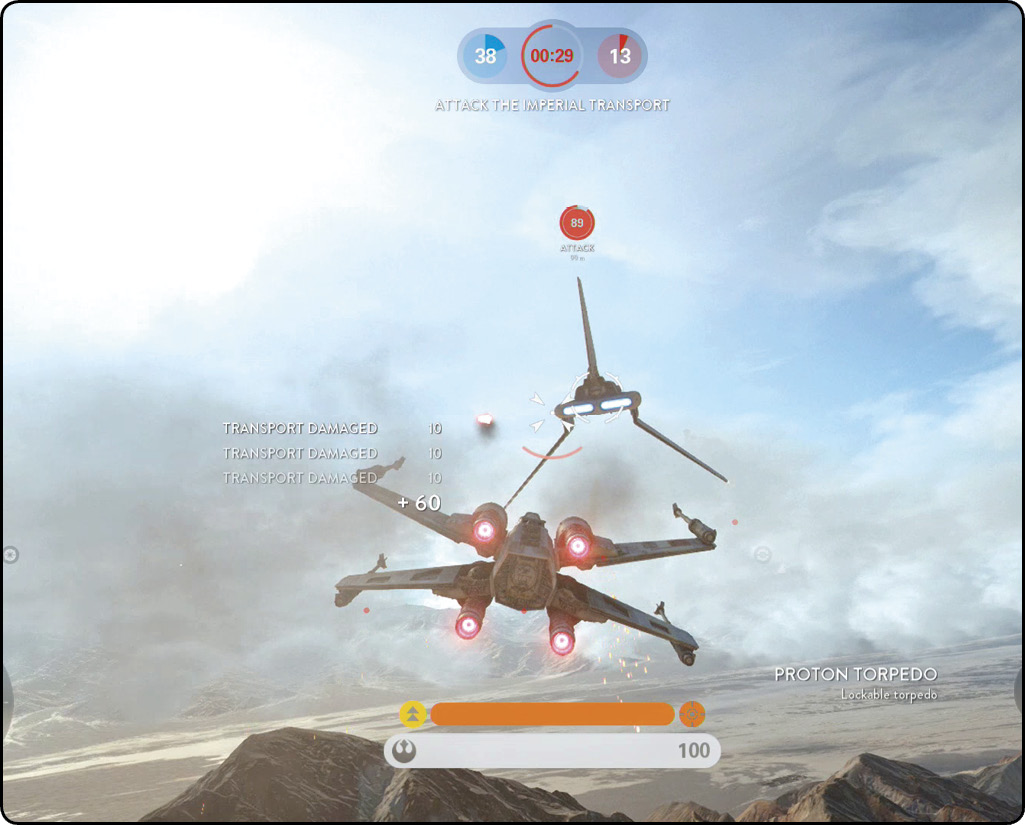
 Throughout the match, several escort instances take place. The direction in which each team’s transport begins their travel across the map is always the same, but the angle that they travel in is subject to change. Pay attention to your HUD when these events begin, and bring as many members of your team as you can to that location. Get there as fast as possible to complete the mission as quickly or efficiently as you can. Since the angle of the transport’s travel changes, the transport could possibly begin inside one of the canyons, making it difficult for you to track and destroy the enemy transport ship.