
Sniper Ghost Warrior 2 Guide Walkthrough Mission 9: Bad Karma
9.2 Waypoints 1-7
Waypoint 1
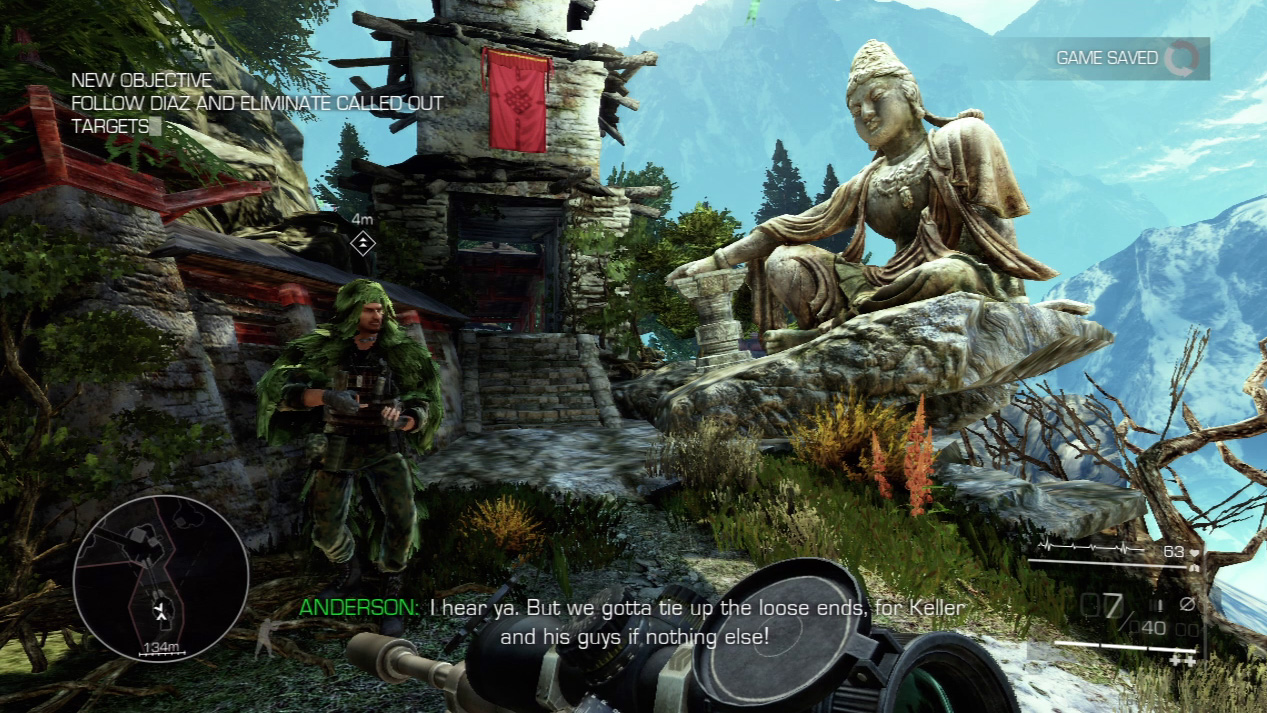
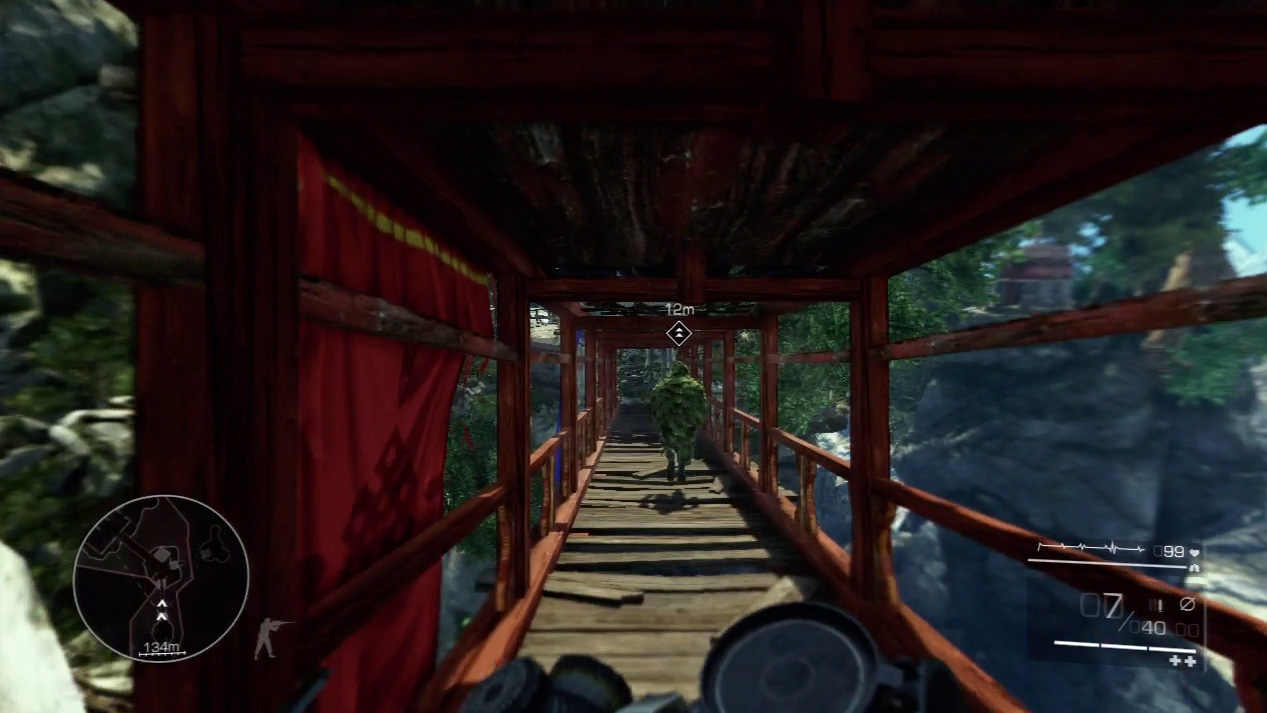
To aid the main task force, you and Diaz must infiltrate a Tibetan temple and eliminate Merinov’s guards as you come across them. Follow Diaz from the entry point and across the first bridge.
Waypoint 2
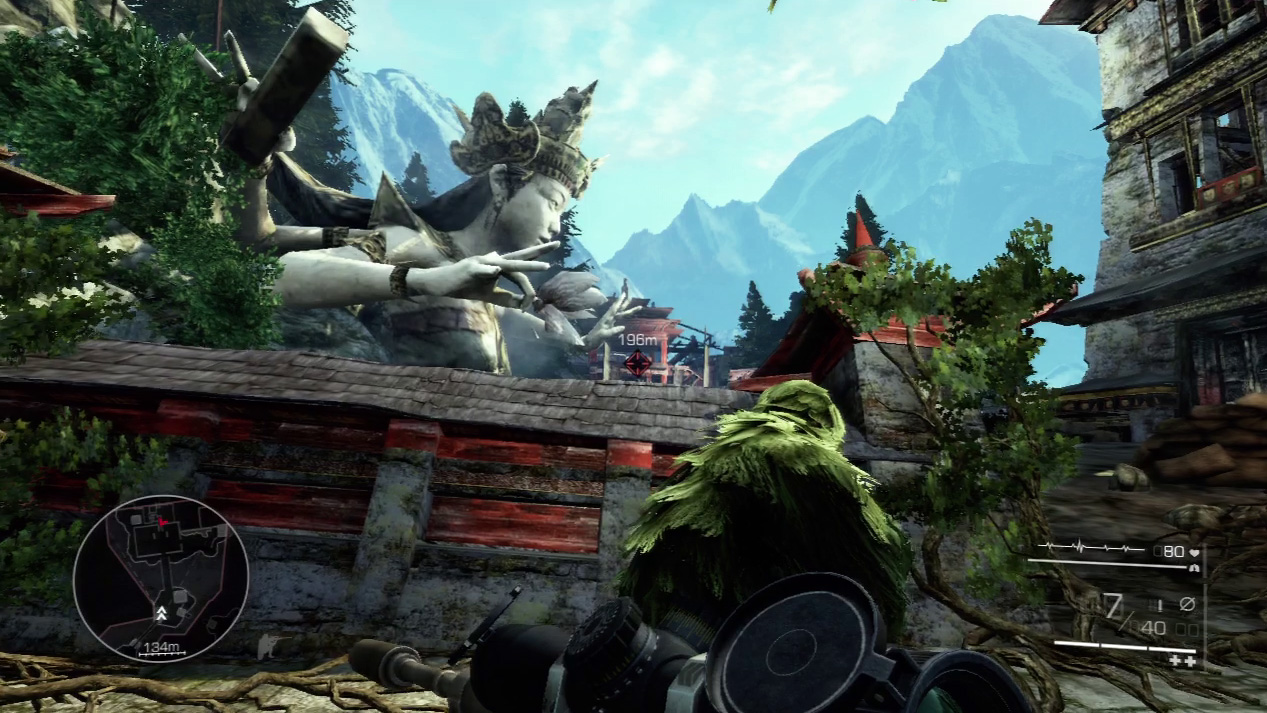
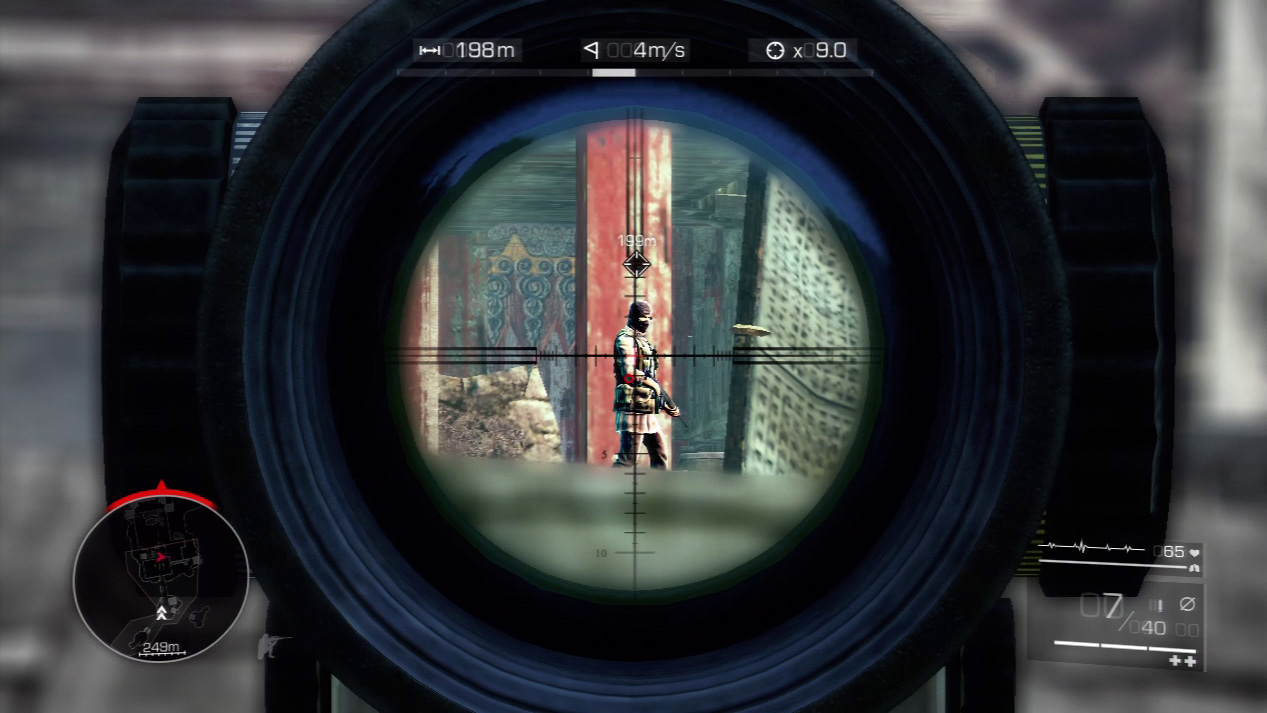
On the other side of the bridge, drop into a crouch behind the wall when Diaz does. A single enemy patrols ahead and will fire on you if you don’t find cover immediately. Sight on him and take your time with a shot that will drop him without alerting any others in the vicinity.
Expert Mode
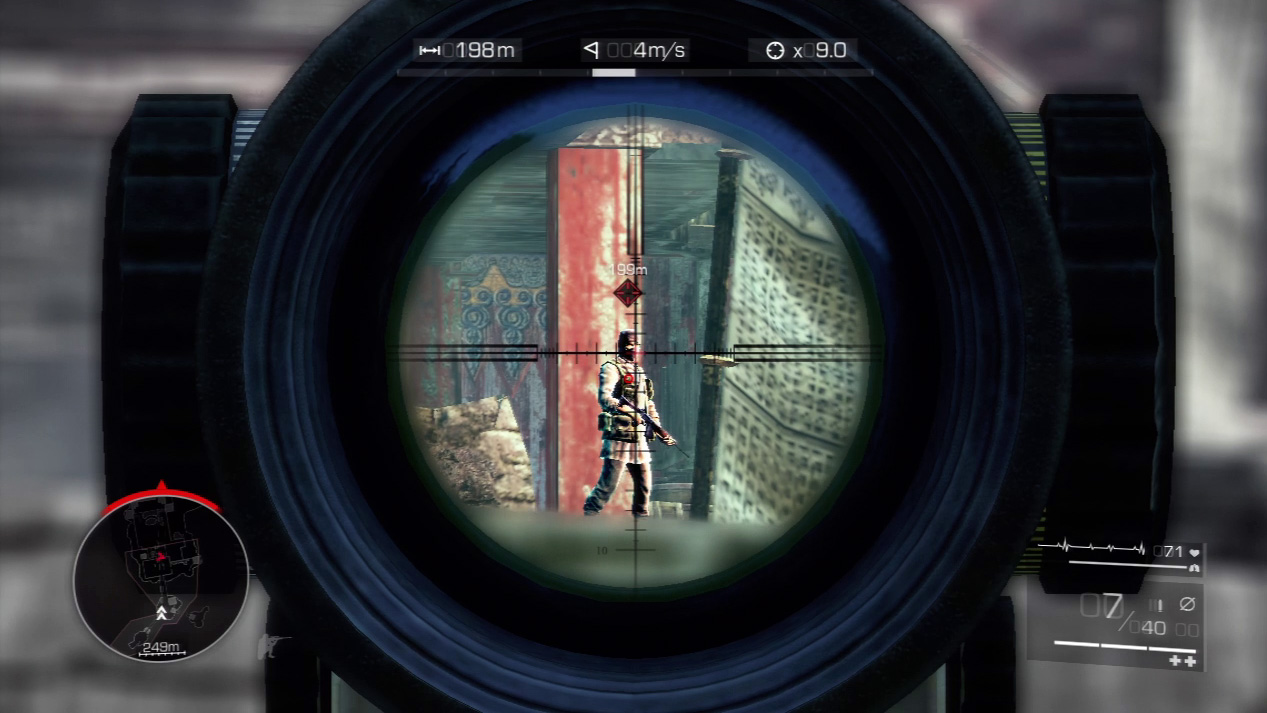
- Distance: Approximately 200 meters
- Wind: 4 meters/second (blowing left)
- Magnification: 9x
The wind will push your bullet just to the left of the vertical reticle line. Gravity will dip the bullet down between reticle lines one and two. Other than that, it’s a relatively easy shot if the first enemy doesn’t spot you coming across the bridge.
Waypoint 3
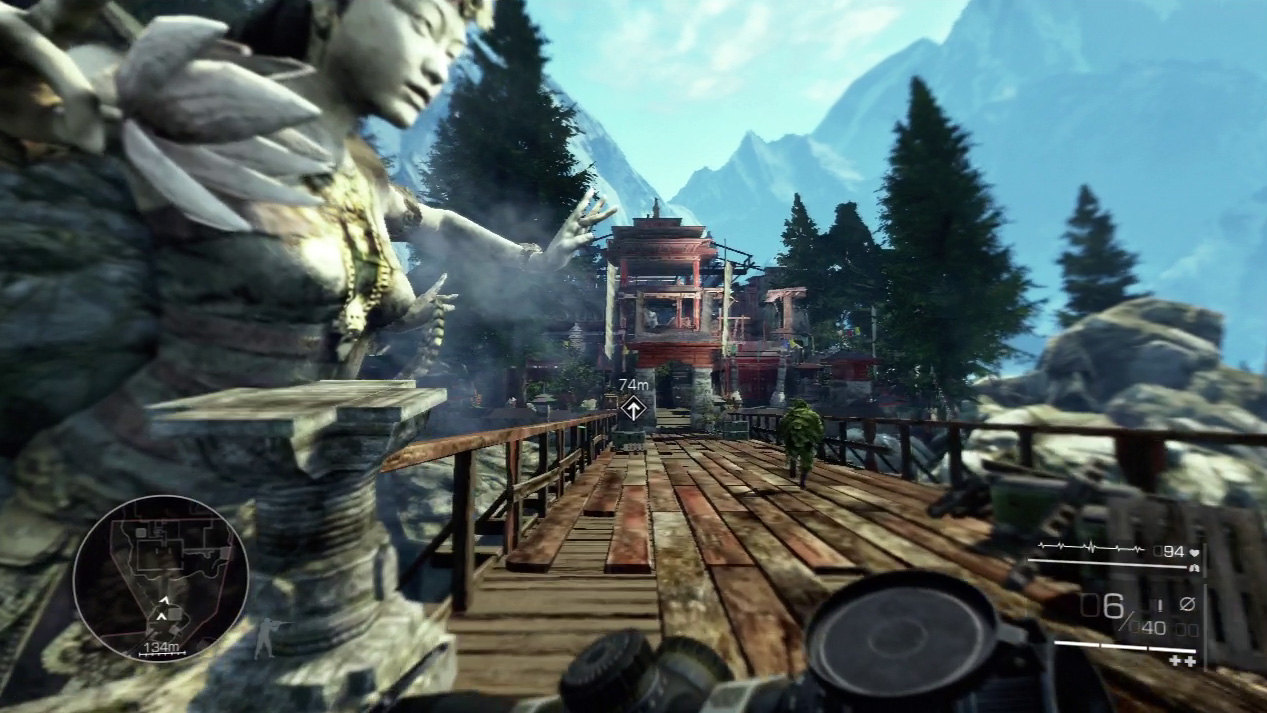
Chase after Diaz as he crosses the second bridge. He spots two enemies inside the next courtyard.
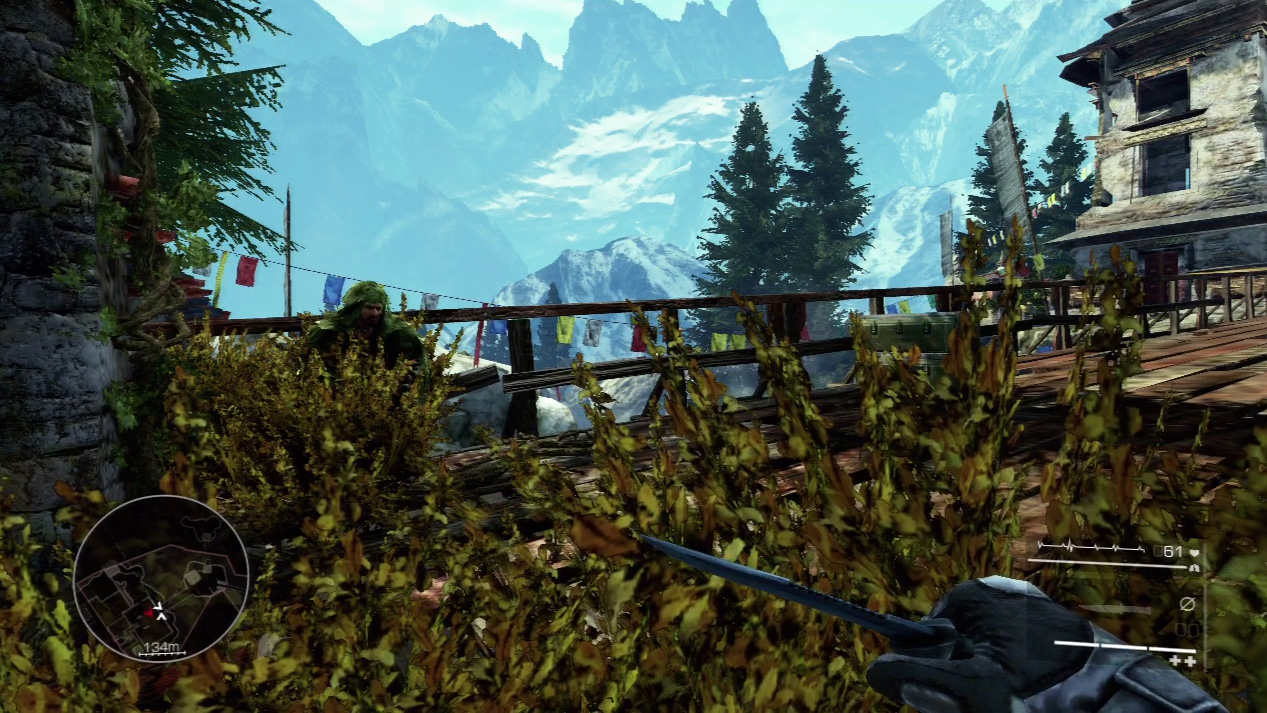
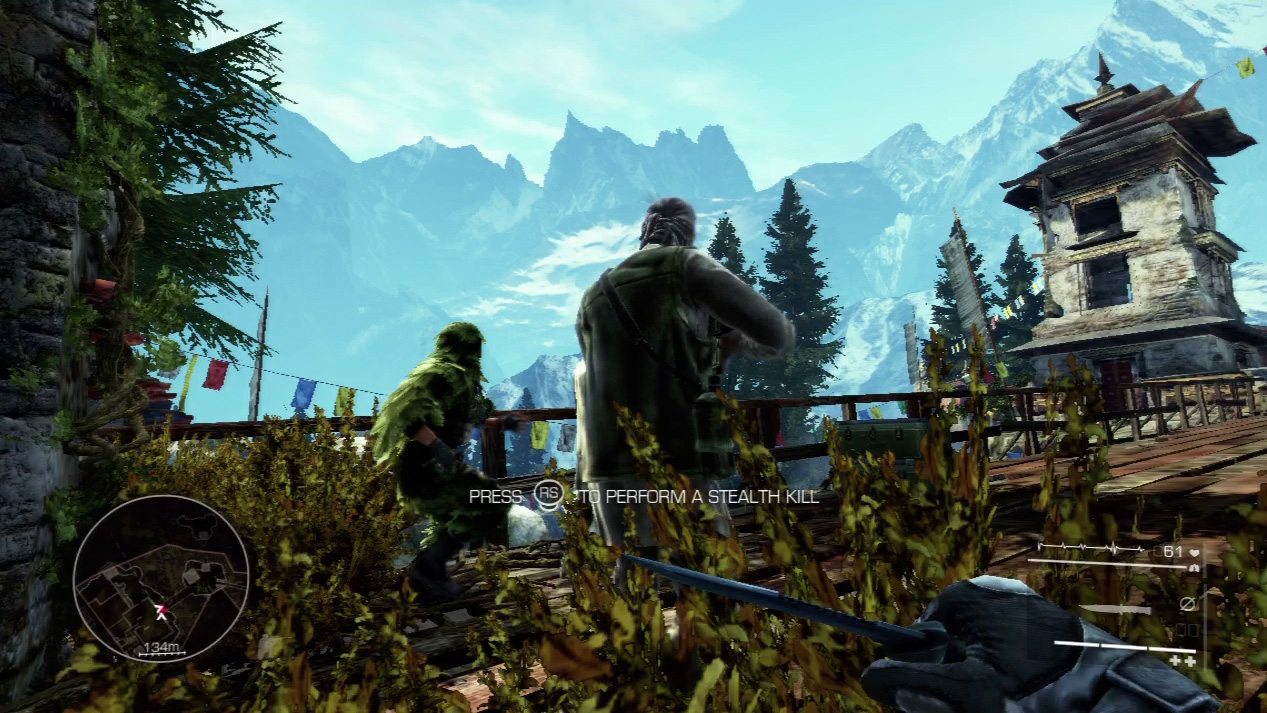
Quickly hide against the left pillar at the end of the bridge. The two enemies will walk through the pillars. When you see the closest enemy’s back, perform a stealth kill and Diaz will do the same against the enemy’s partner.
Act 3: Secret 9
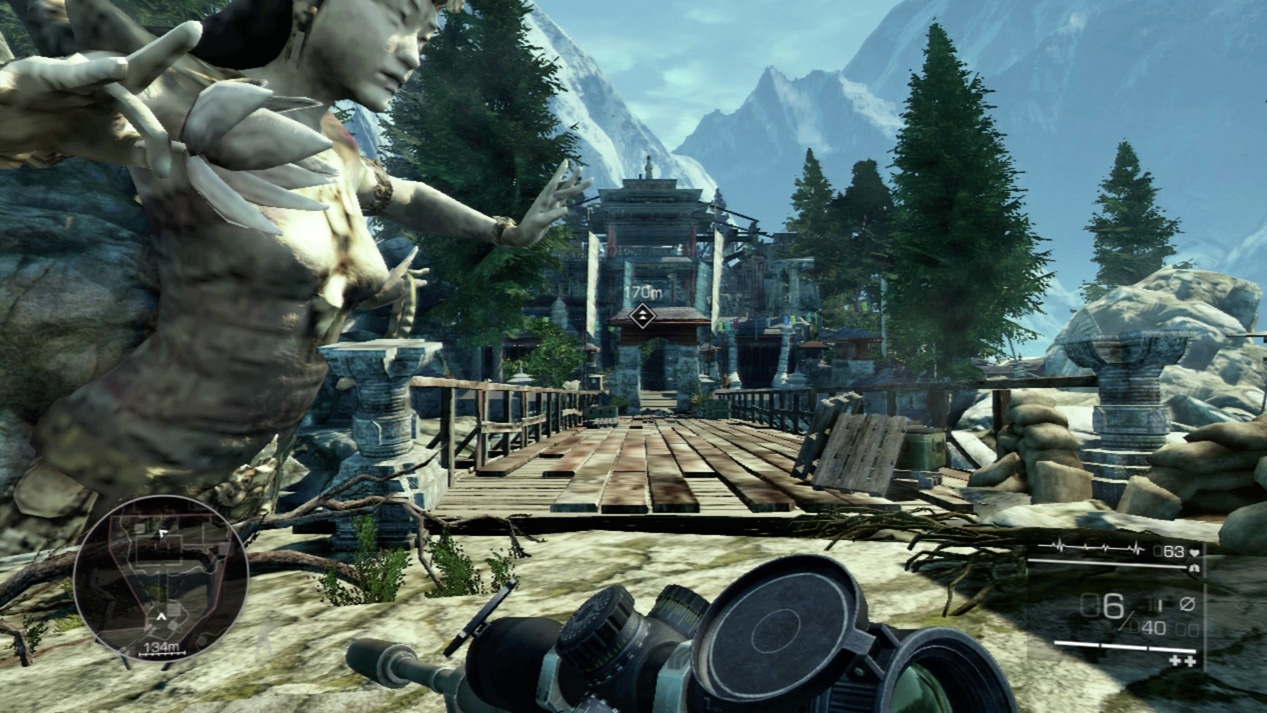
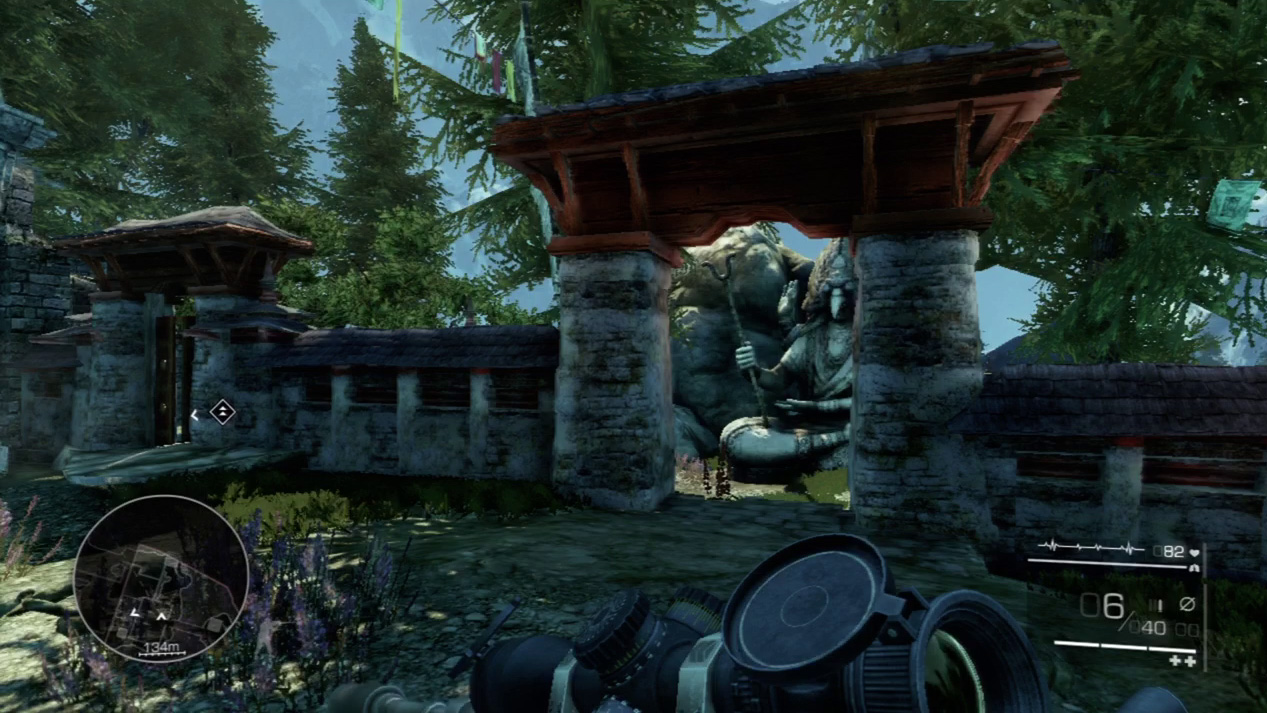
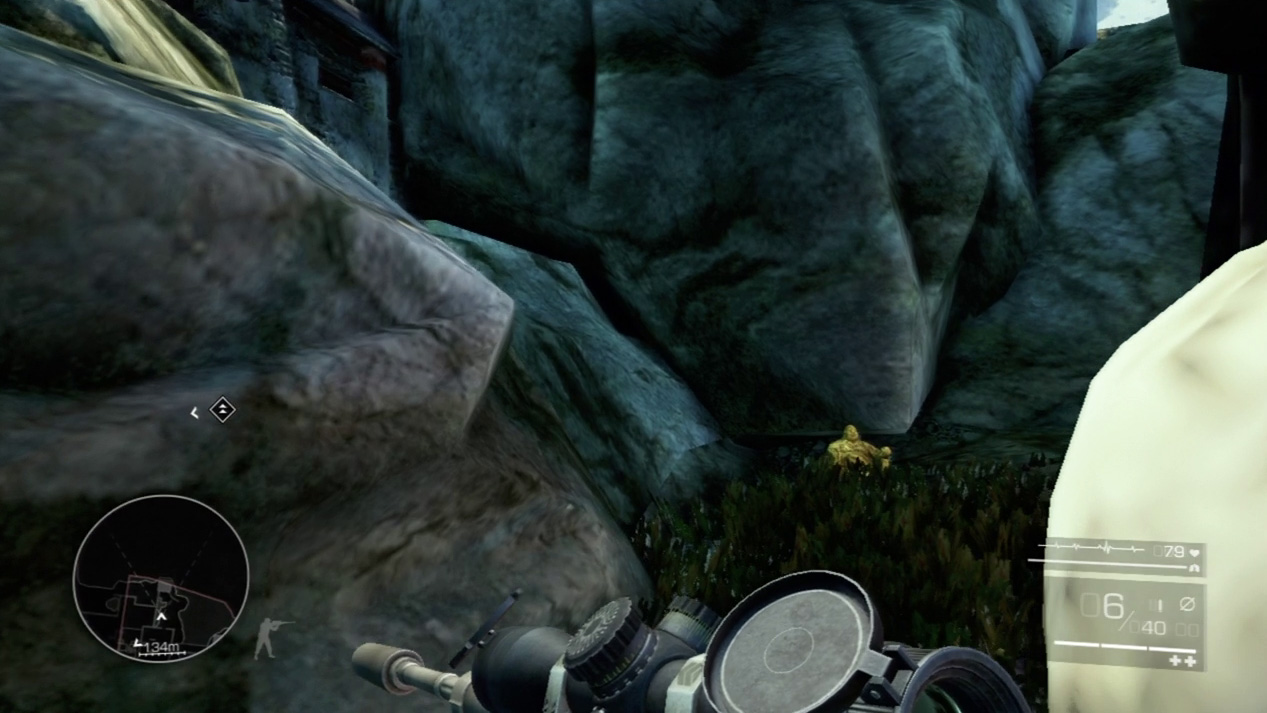
Look for the first secret in mission 9 after the bridge where you and Diaz stealth kill the two enemies simultaneously. Veer off the main path and to the right through the nearest arch. You’ll find the hidden secret in the grass behind the birdlike statue on the left side.
Waypoint 4
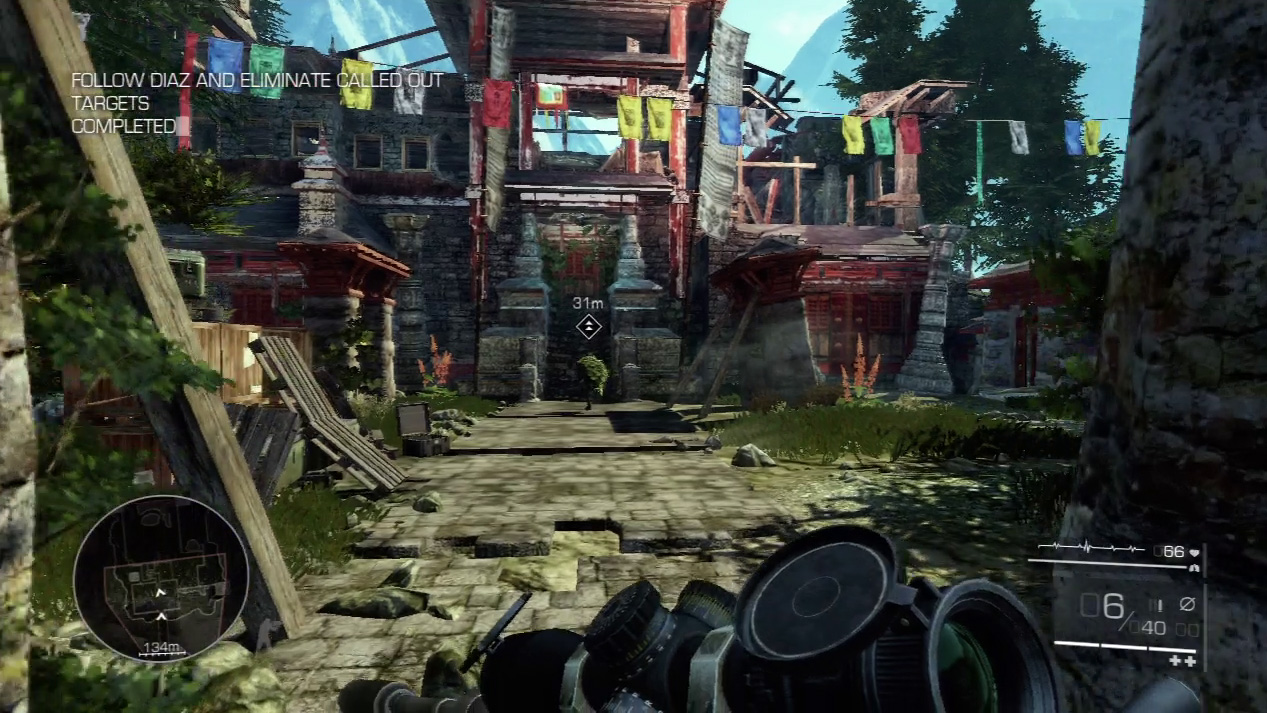
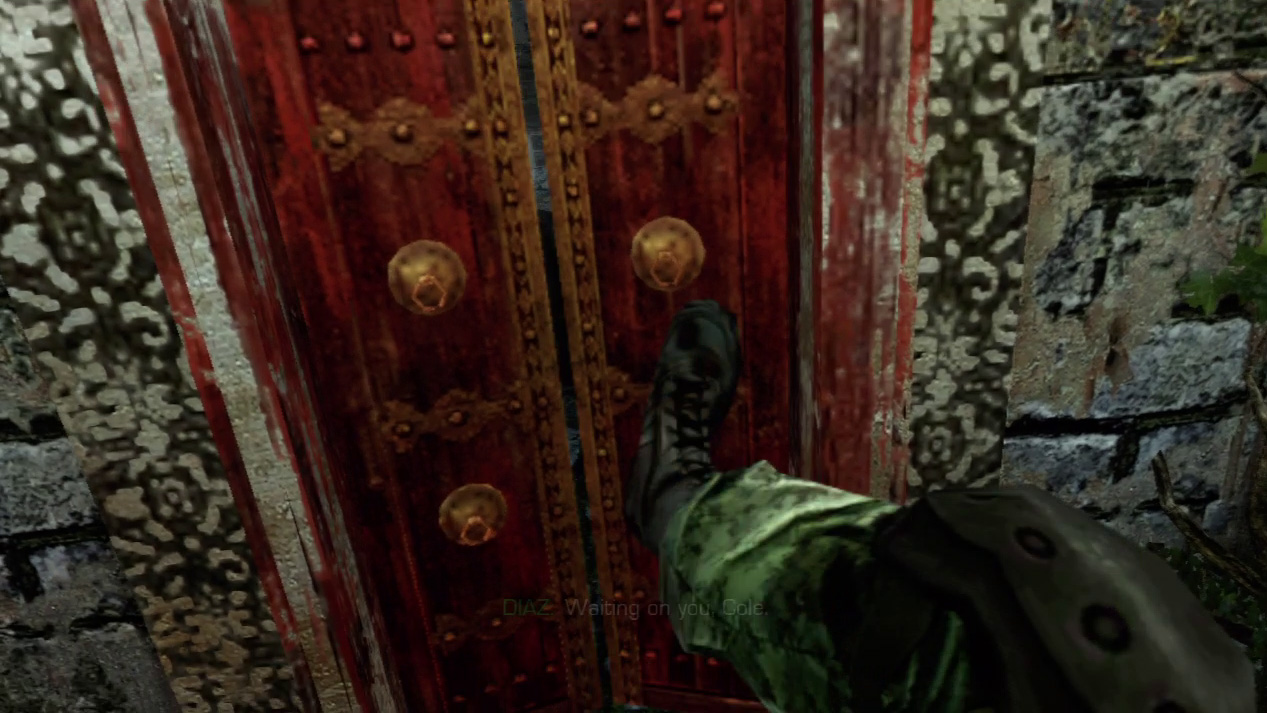
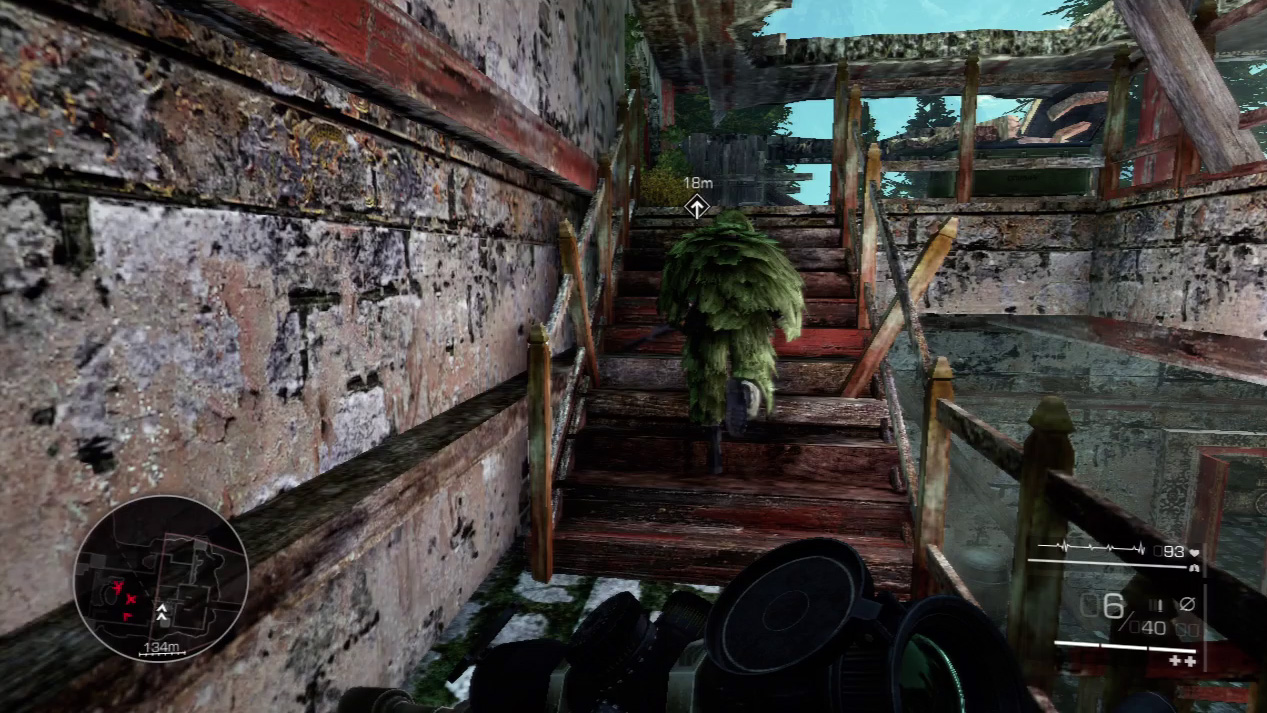
Pass through the courtyard and head to the locked red door on the far side. Breach the door with a solid kick and scout the room inside. The coast is clear and Diaz will lead you up the stairs.
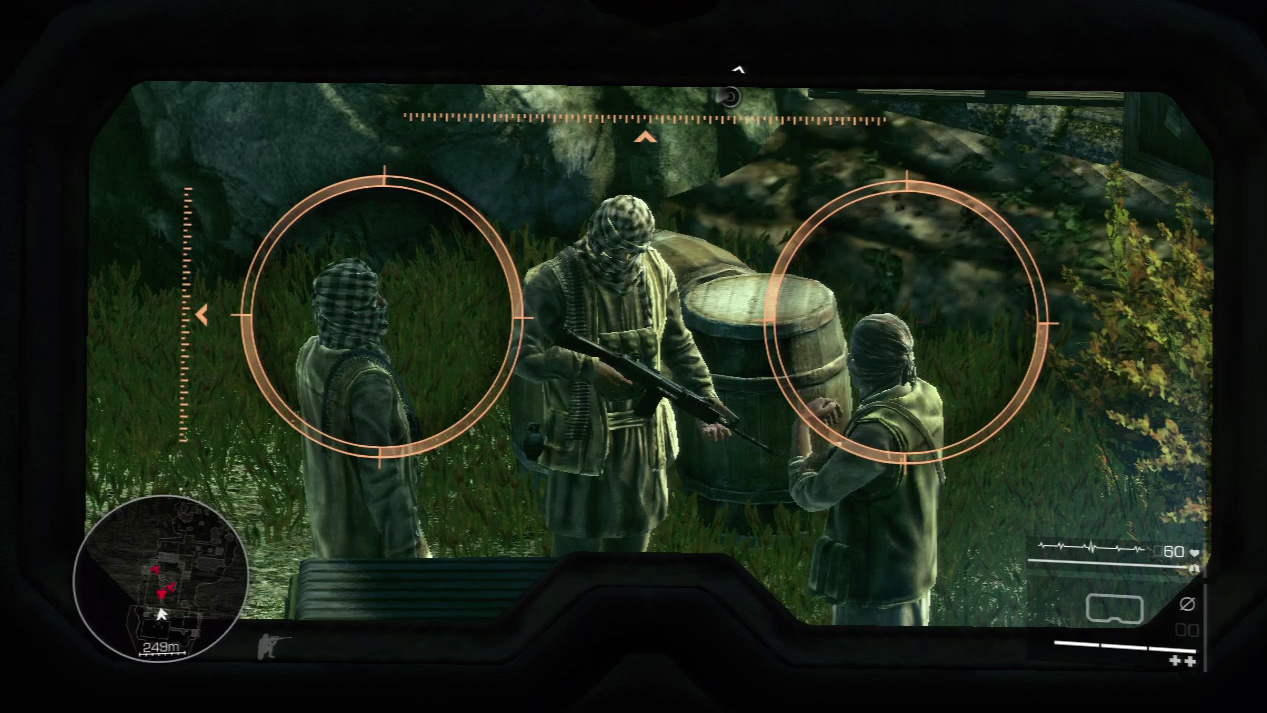
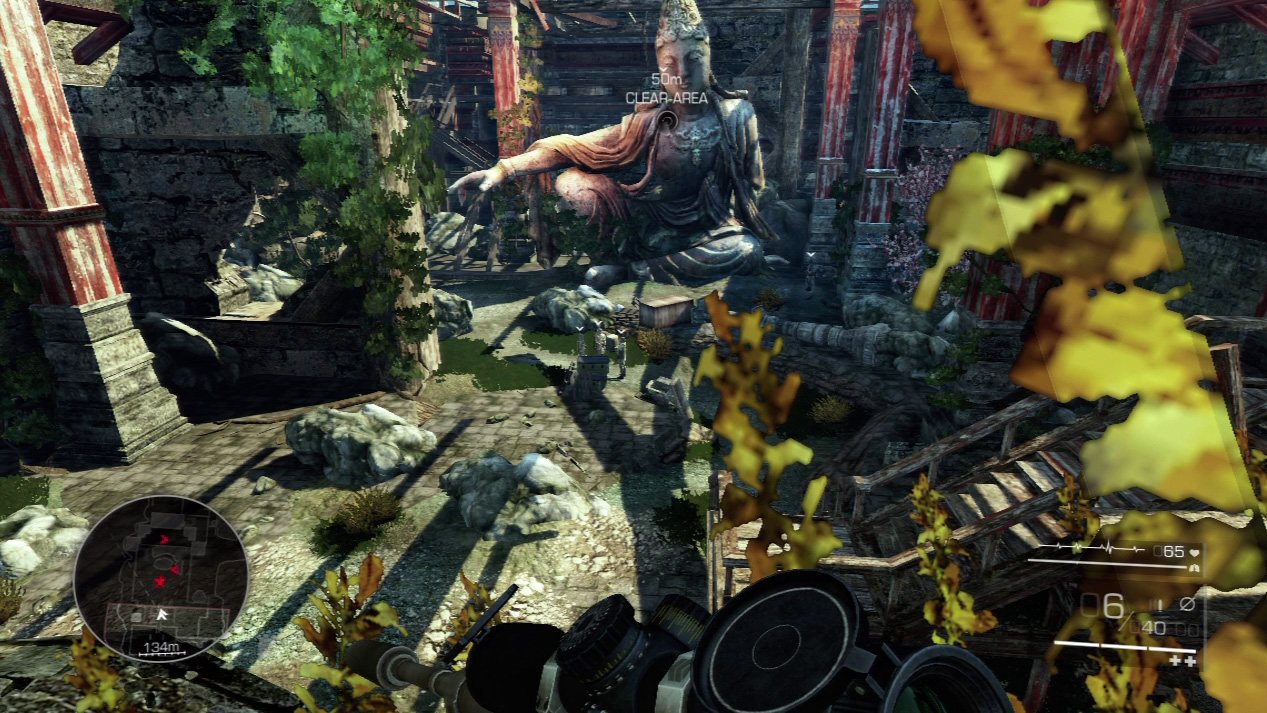
Stay low on the balcony at the top of the stairs and creep to the wall overlooking the courtyard below. Take out your binoculars and scan the area. Five enemies guard the courtyard: one on the far platform next to the statue, one to the right of the statue, and three talking in front of the statue.
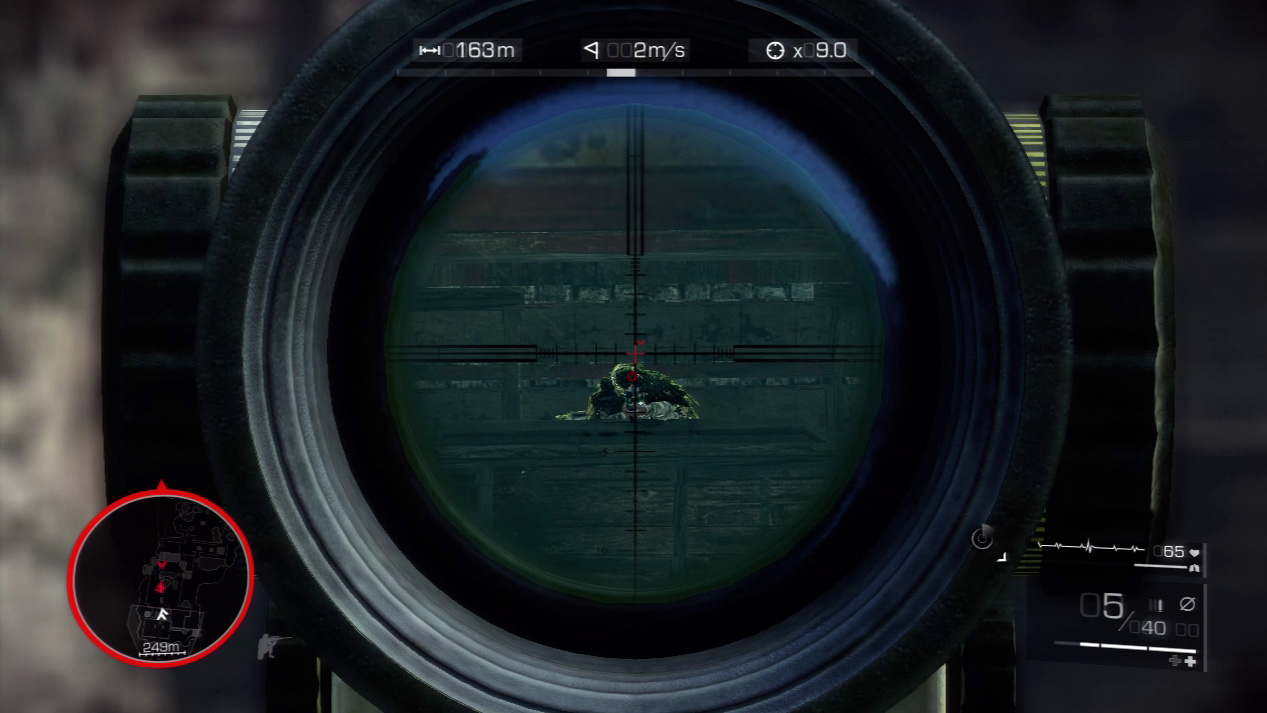
Start with the enemy on the far platform. He walks back and forth, so slow your breathing and slip a bullet into him without the other four noticing. Then sight on the enemy to the right of the statue and kill him with a single shot. The three in the group won’t notice if you snipe efficiently.
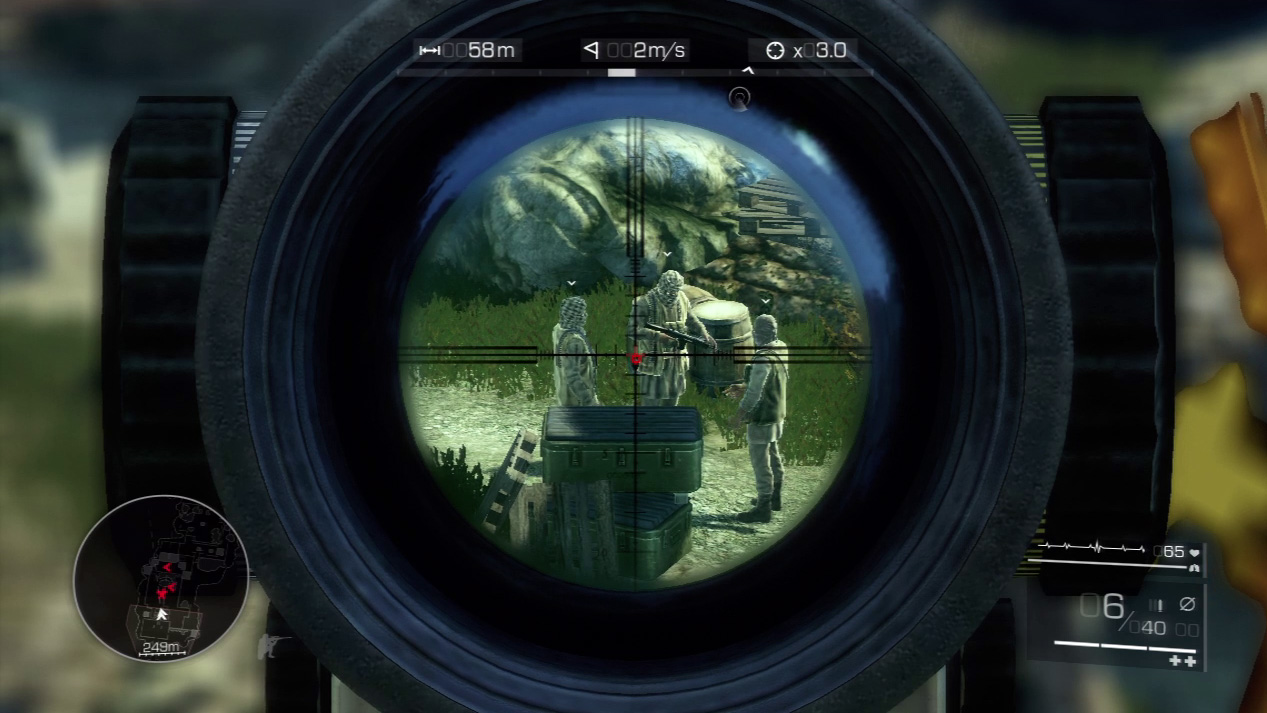
Three enemies should remain. If you shoot any of the three, the other two will break for cover and return fire. Though you can handle them with Diaz’s help, you might get winged.
Special Shot: Grenade Explosion
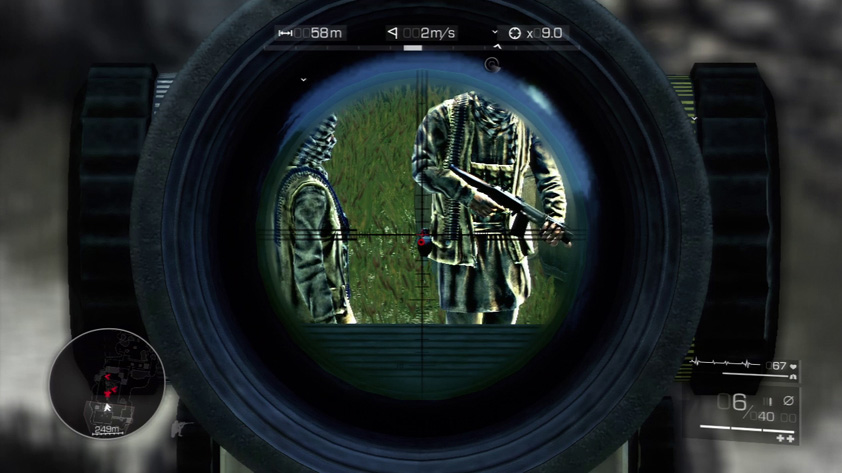
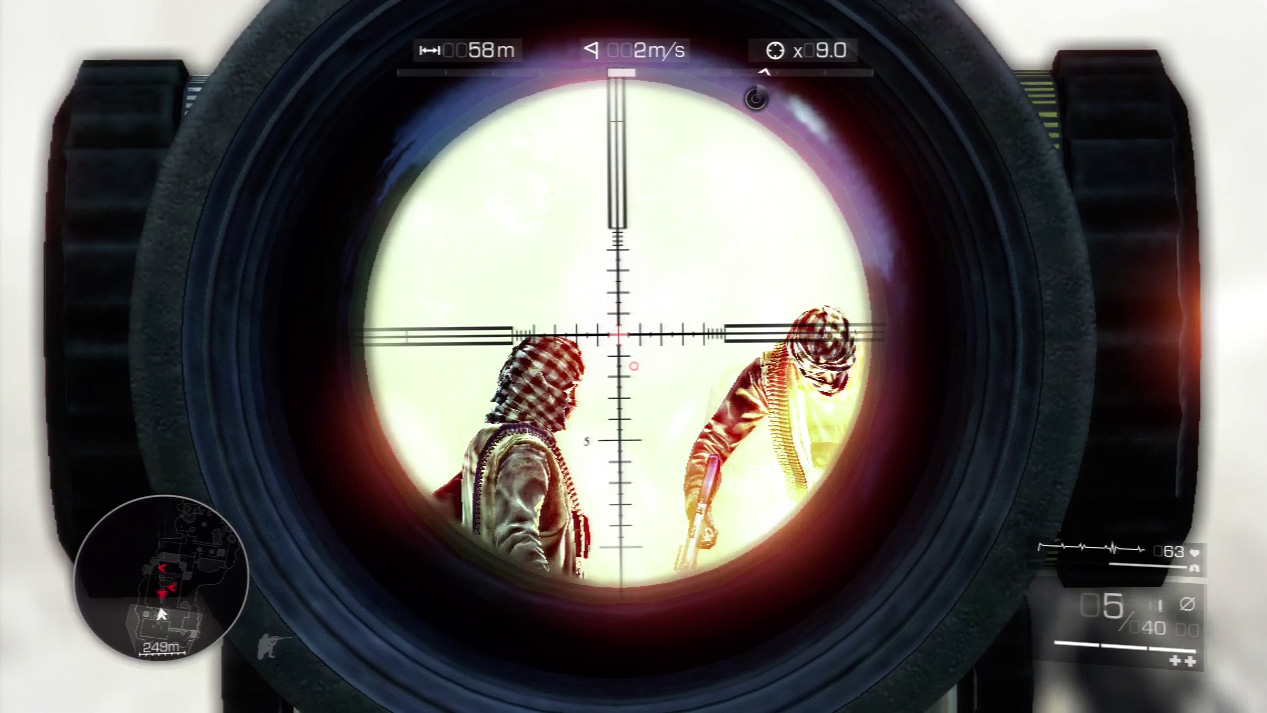
The easiest way to eliminate all three enemies is with an explosion. Target the grenade hanging off the belt of the middle enemy. Zoom in, hold your breath, and pull the trigger with the shot squarely on the grenade itself. If you score a direct hit, the grenade explodes and kills all three in the blast.
Act 3: Secret 10
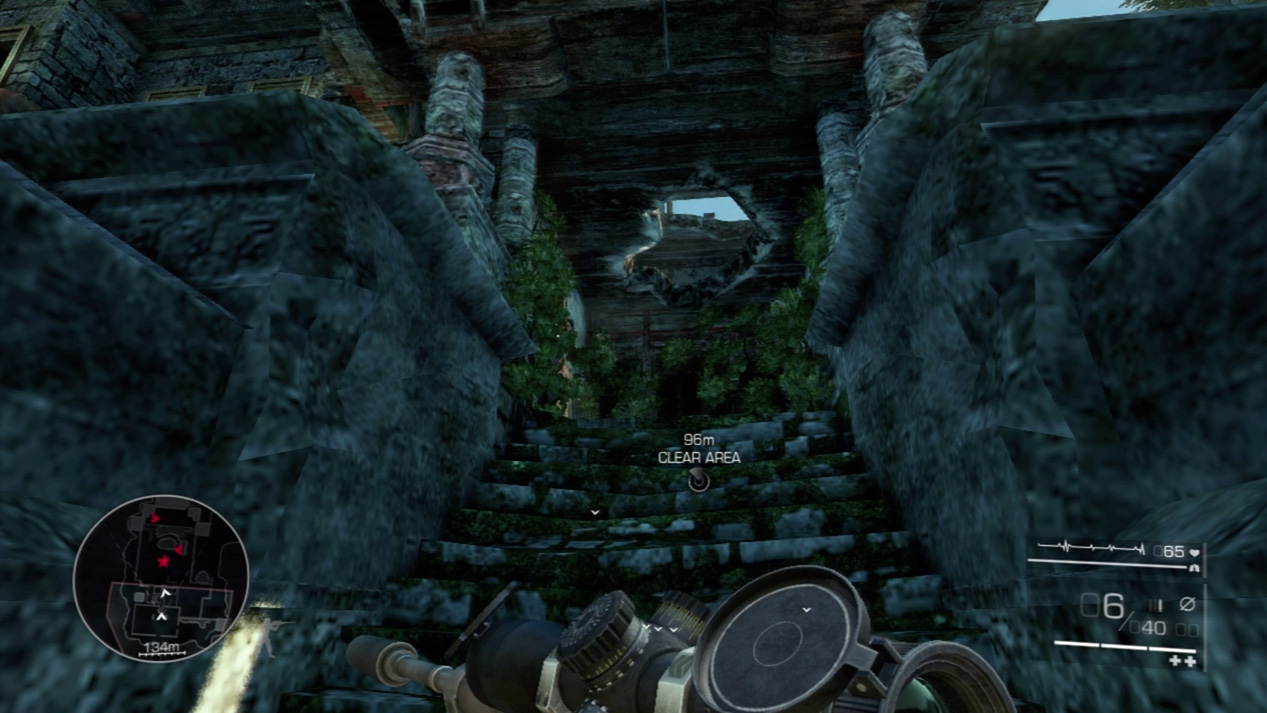
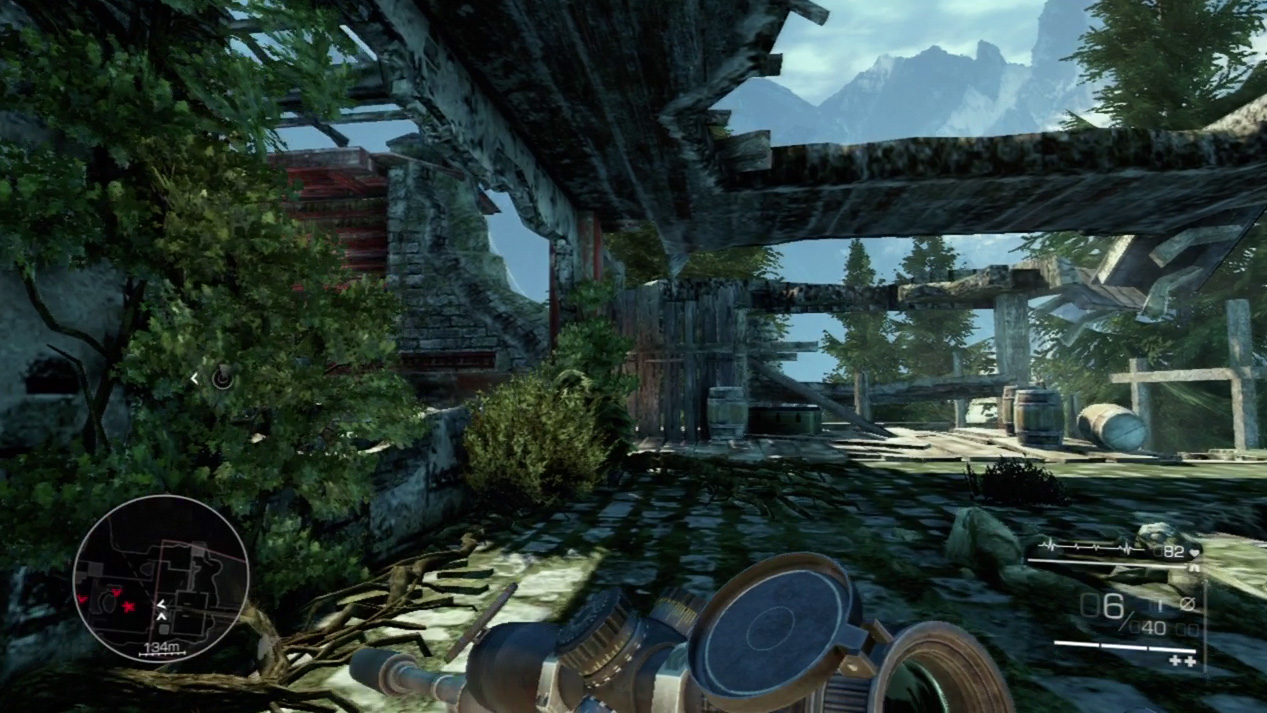
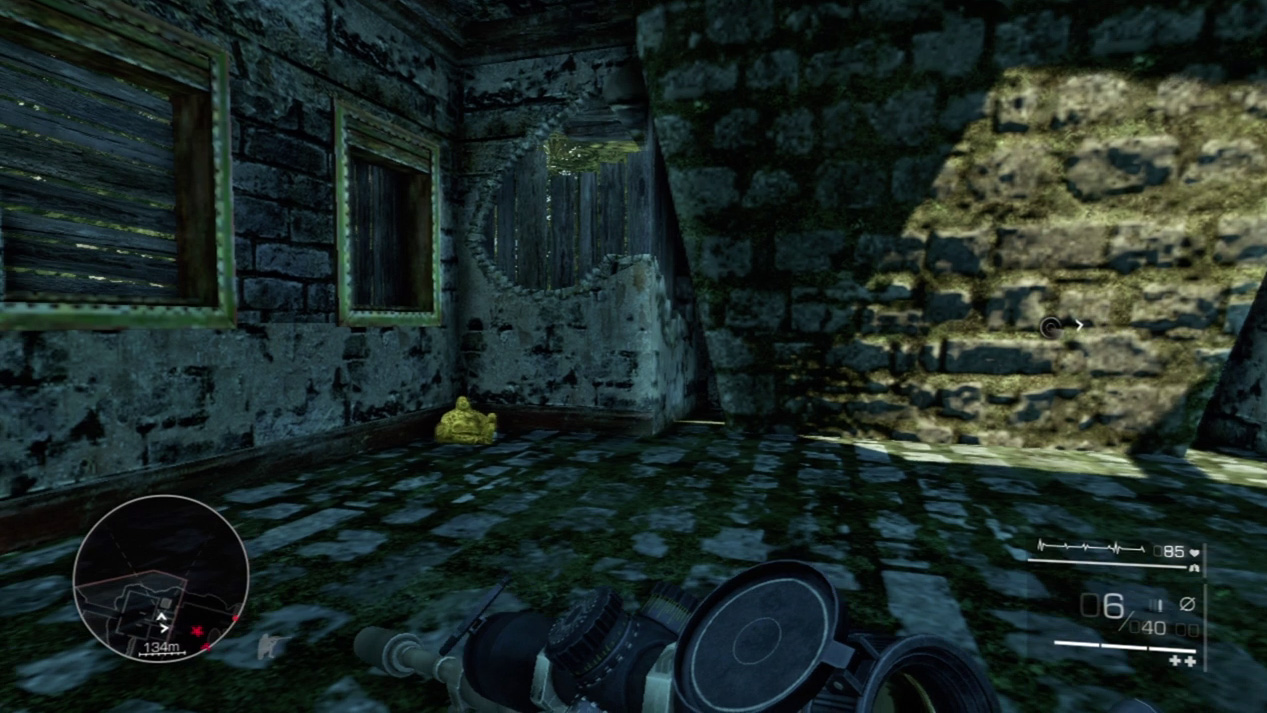
Follow Diaz up to the sniper spot on the balcony overlooking the courtyard with the huge statue. Before you engage those enemies, turn around and you’ll see a large hole in the stone floor. Skirt the hole and head to the right; you’ll discover the monk statue in the back corner.
Waypoint 5
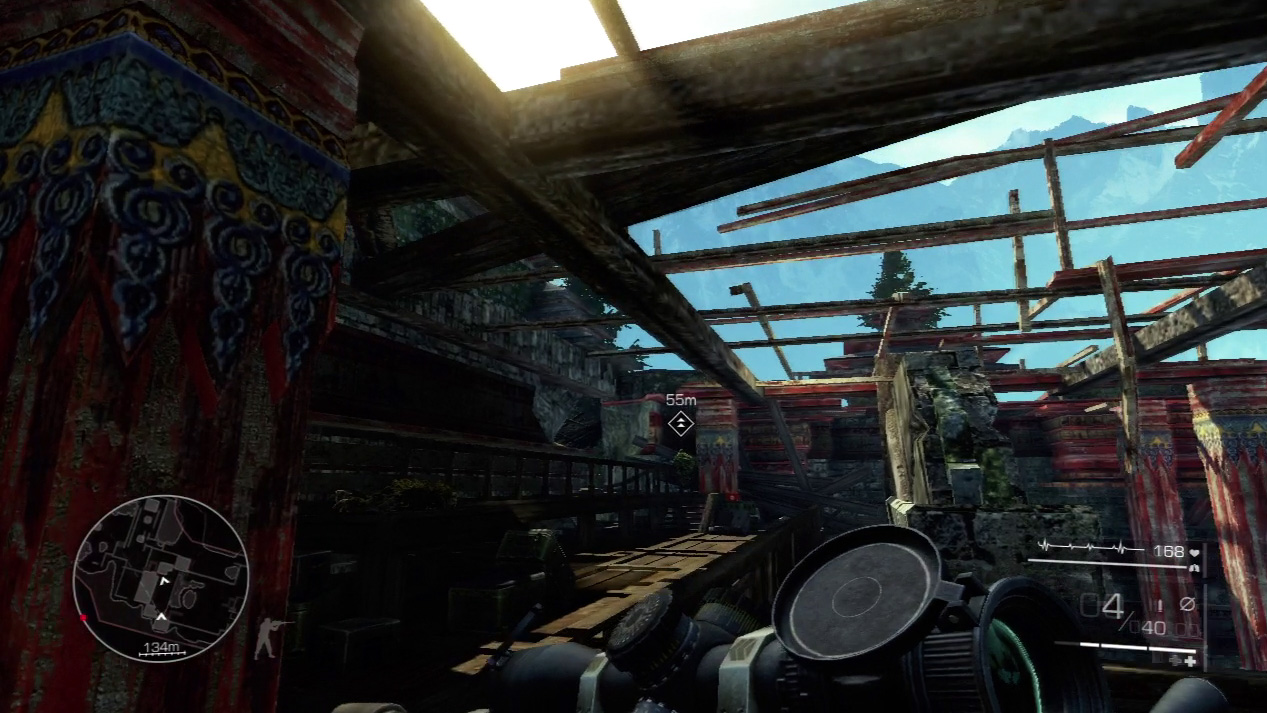
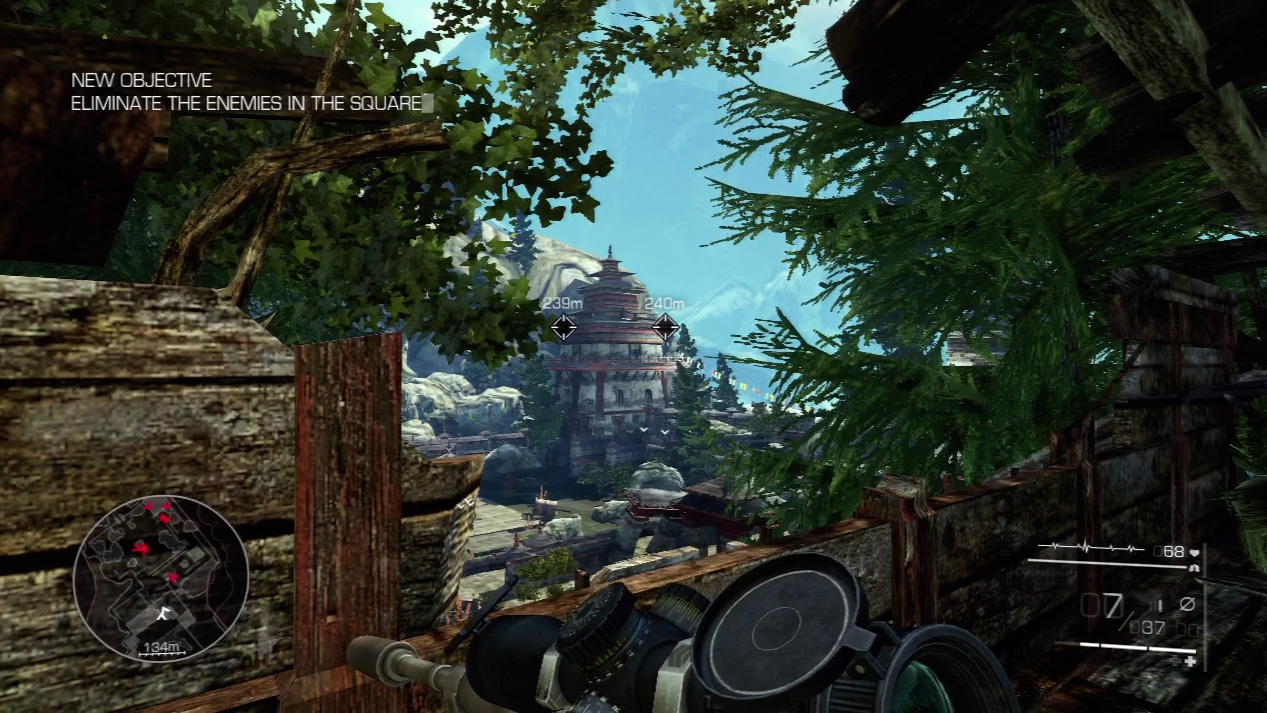
Follow Diaz through the courtyard and up the far platform to the next sniper spot. The grounds in front of the next temple are much larger and will require some precision shooting.
Expert Mode
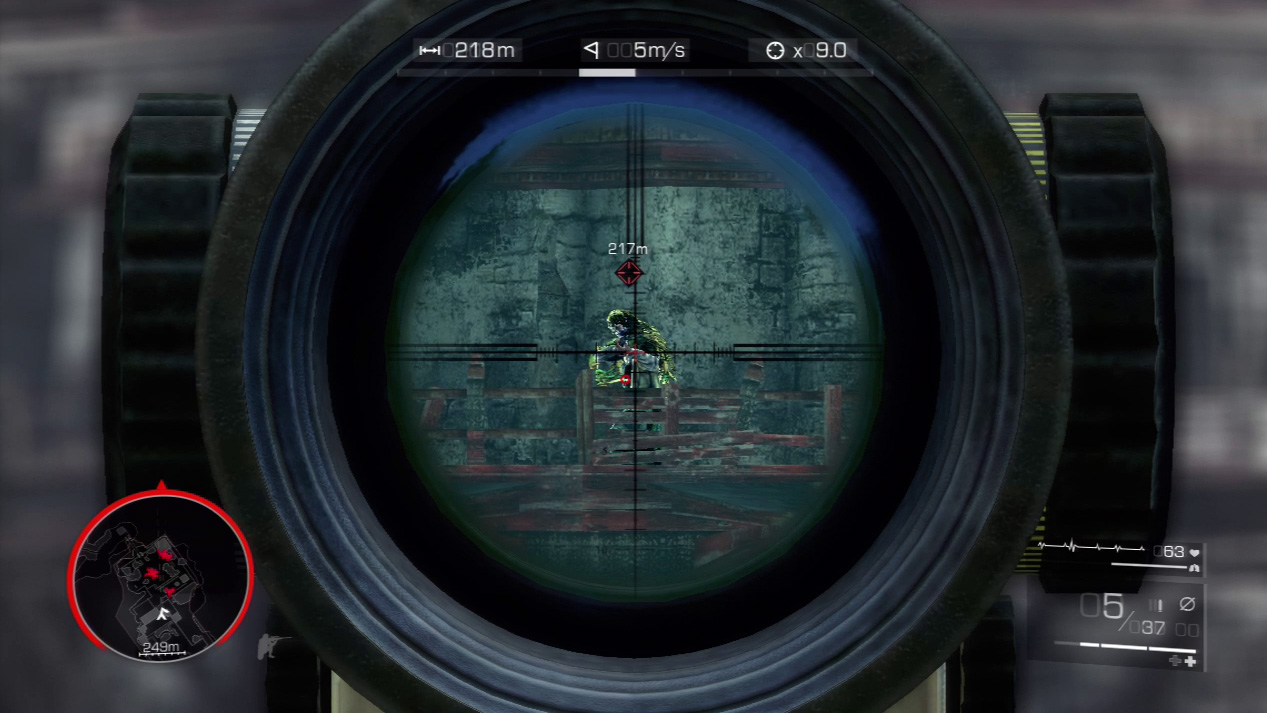
- Distance: Approximately 220 meters
- Wind: 5 meters/second (blowing left)
- Magnification: 9x
This shot is very similar to your first shot on the mission. Look for gravity to pull the bullet down one or two reticle lines and for wind to push the bullet slightly left. Crosshairs on an enemy’s head will result in a successful torso hit.
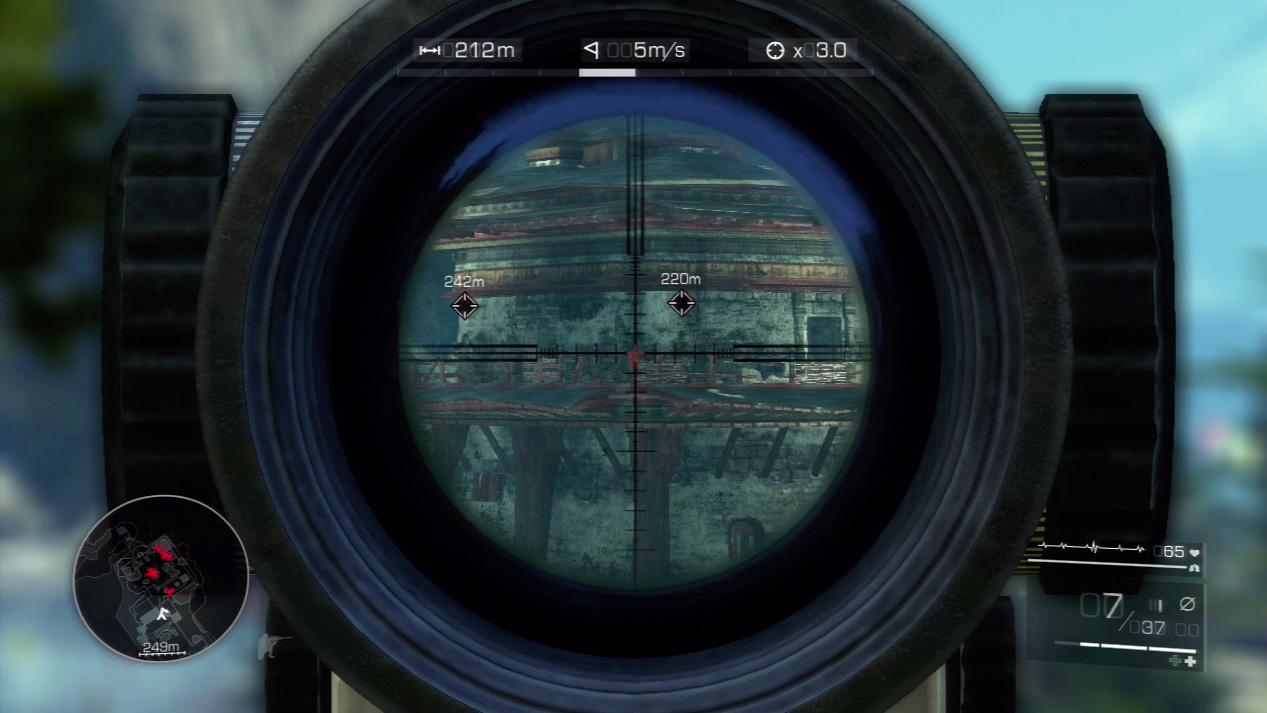

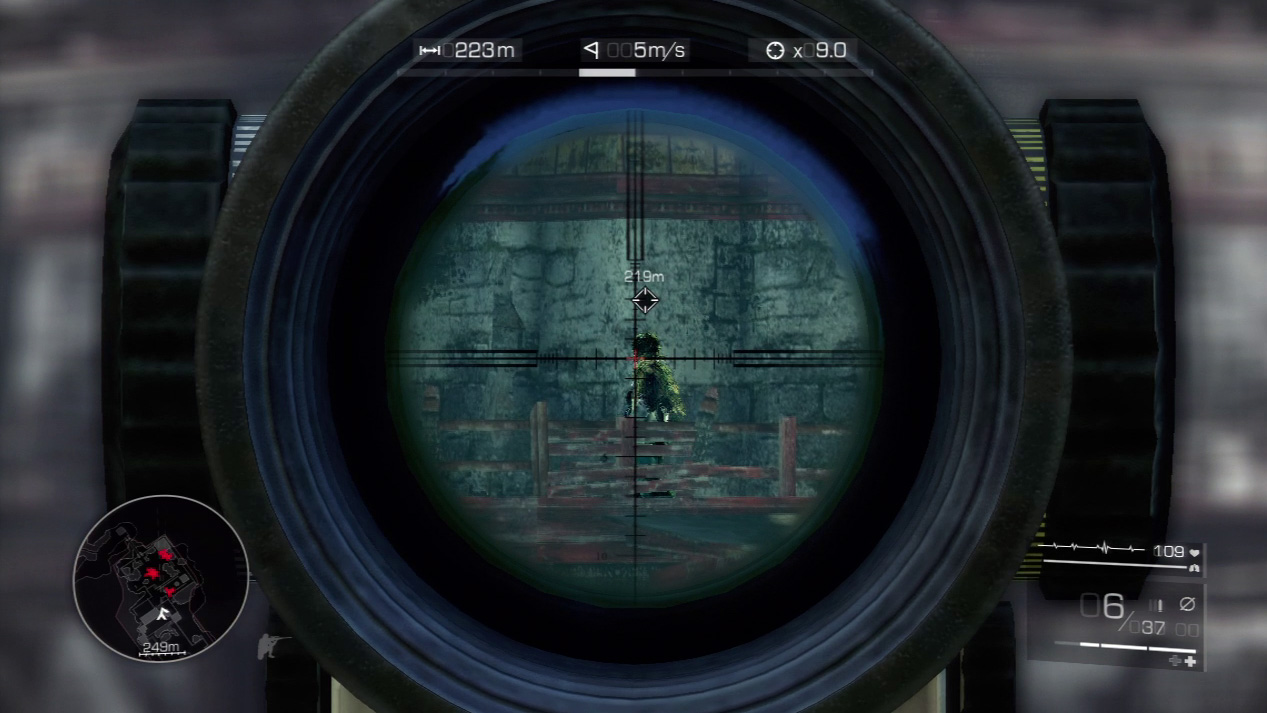
Diaz calls out your targets, so listen carefully. First up, the two tangos on the tower. Wait until the left guard is on the far side and out of sight from the right guard. Snipe the left guard, then quickly slide your focus to the right until you spot the right guard walking back toward the corpse. Hold your breath to slow down time and squeeze off a kill shot before the enemy spots the dead body and raises the alarm.
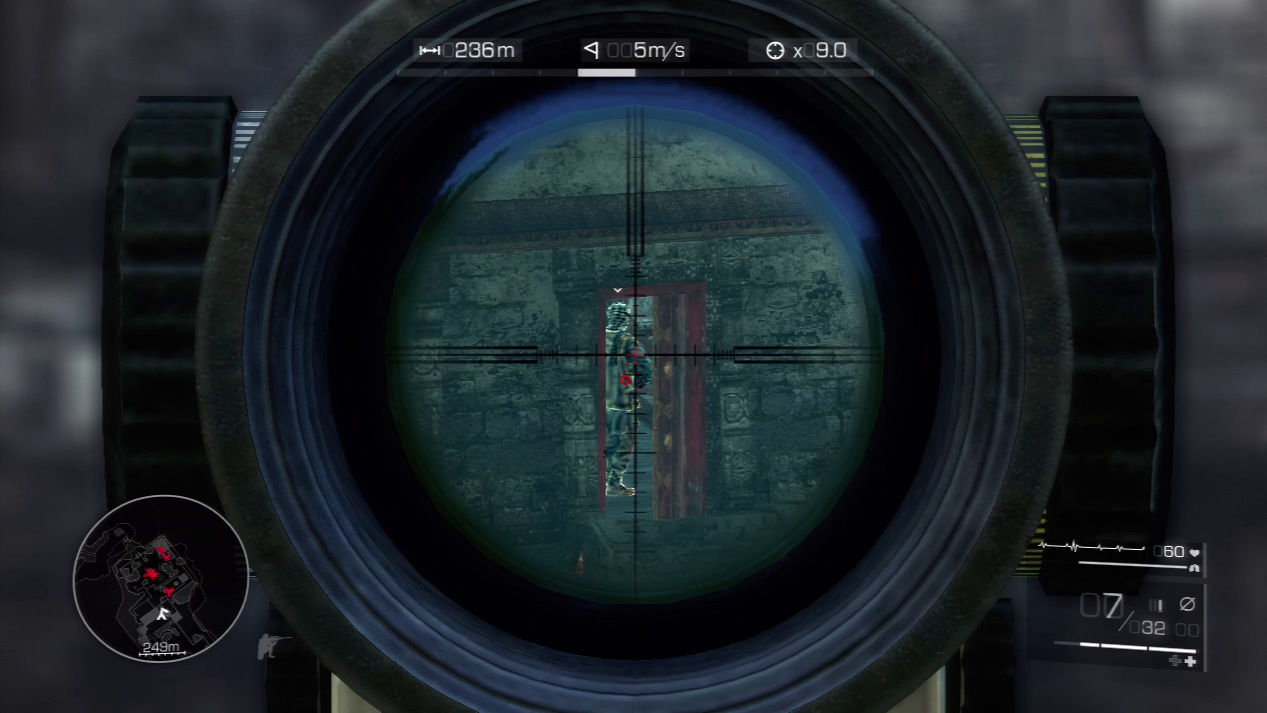
The next shot is very tricky. After killing the two guards in the tower, immediately shift your attention down to the open door at the base of the tower. A guard walks in through the door and will raise the alarm if he is allowed to head upstairs and spot the two dead guards. Zoom in on the open doorway and wait for the guard to come back into view. When he crosses the threshold, slow down time and kill him before he reaches the stairs.
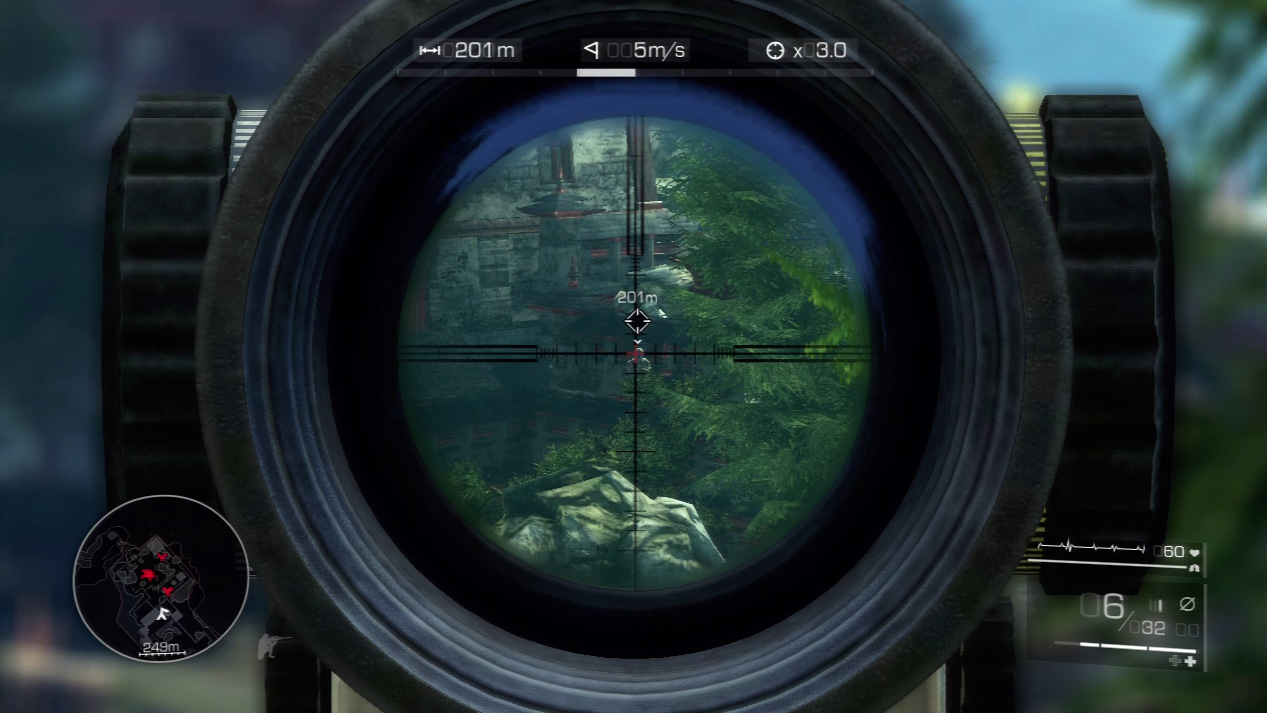
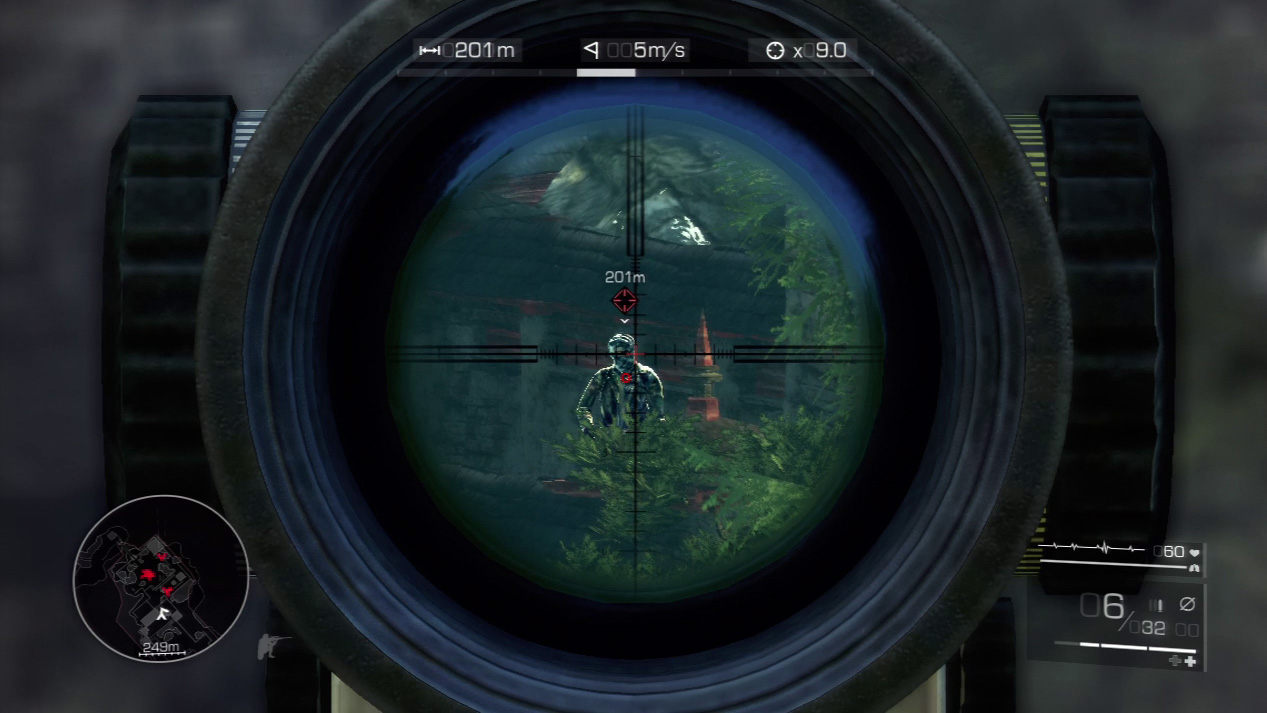
The next shot is relatively easy. Zero in on the guard to the right at the tower base. He doesn’t move, so it’s center, squeeze, and kill.
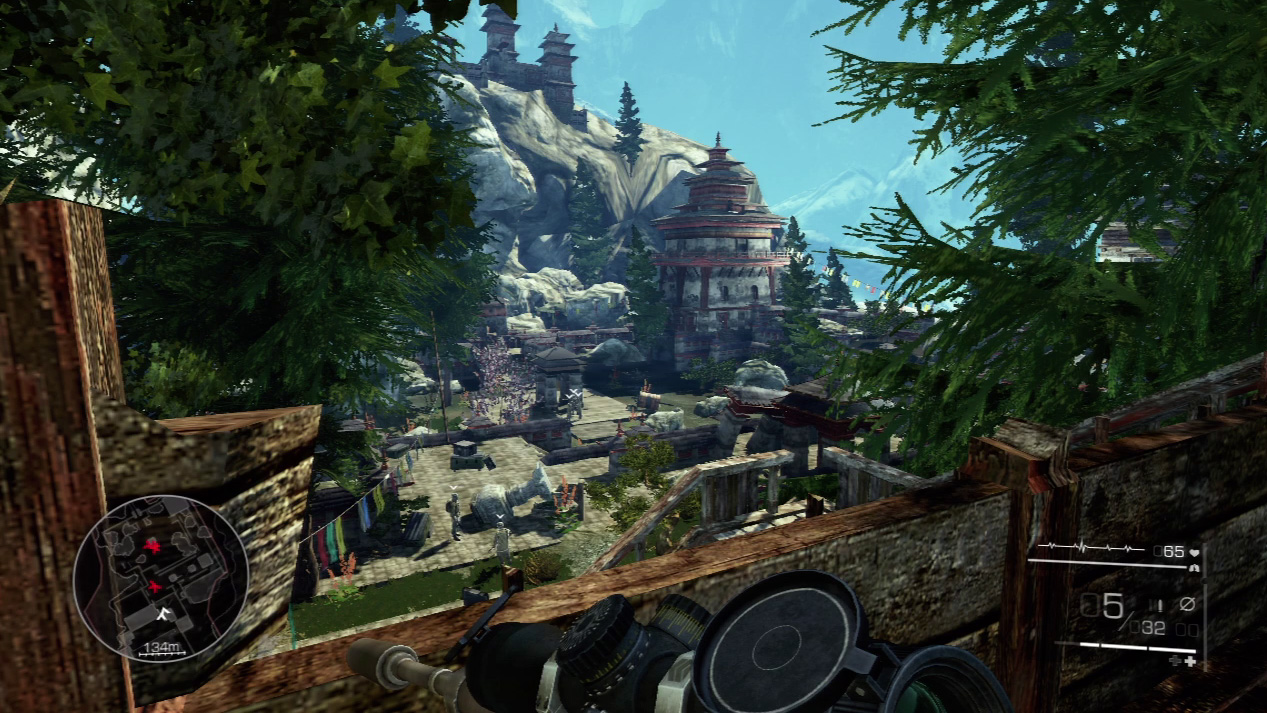
At this point, a new two-man patrol enters the courtyard. Diaz asks you to hold your fire. Don’t engage until both new enemies have taken up their new guard posts.
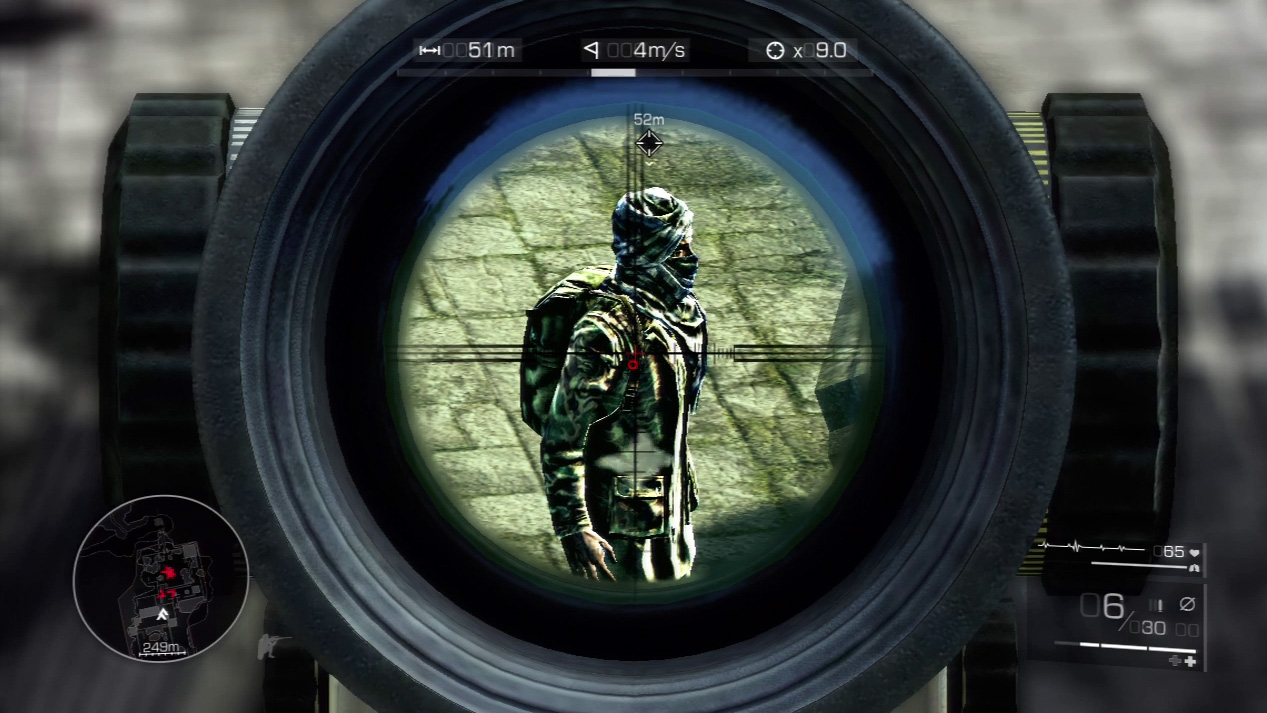
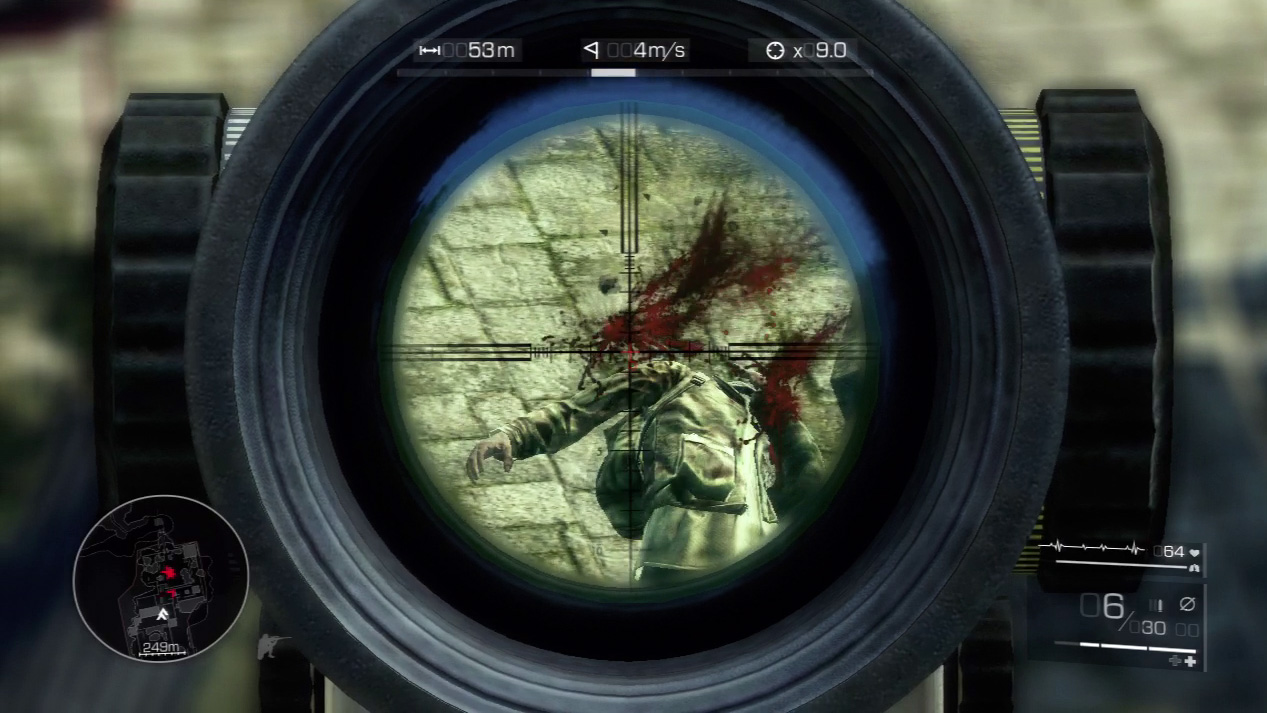
Once the two new enemies are on guard, feel free to engage. Start with the one on the left. Zoom in and blow him away.
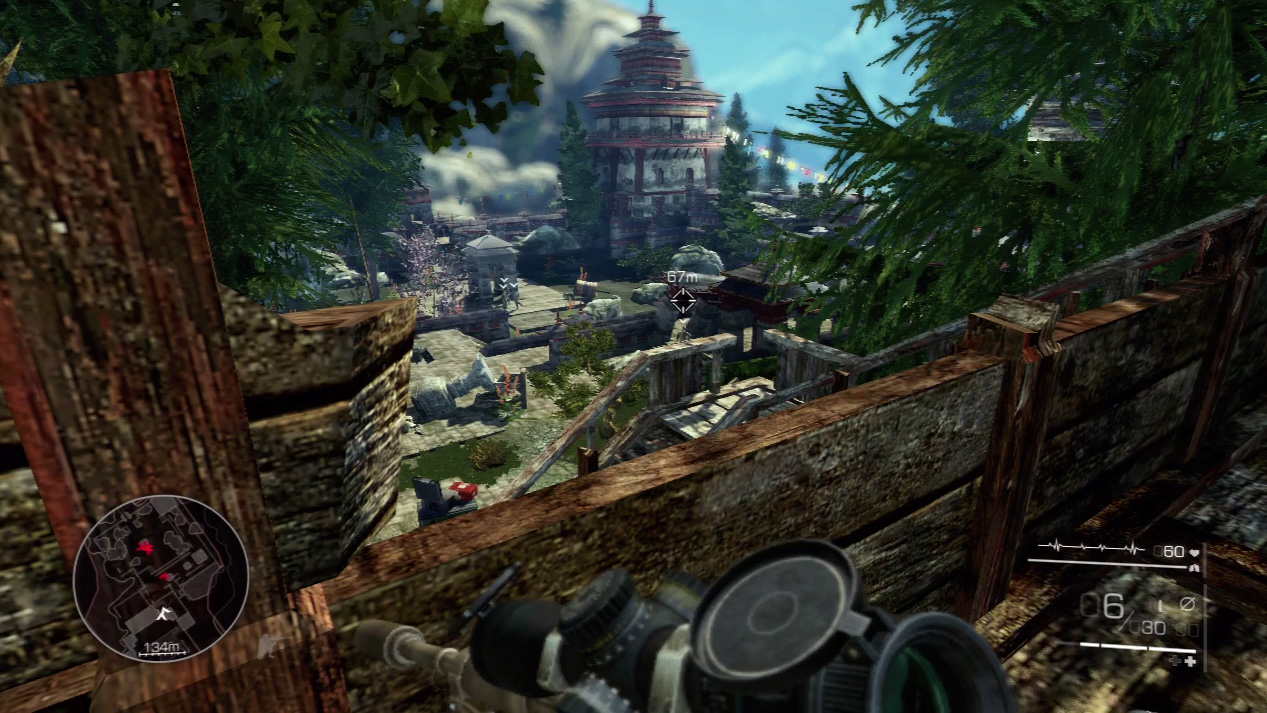
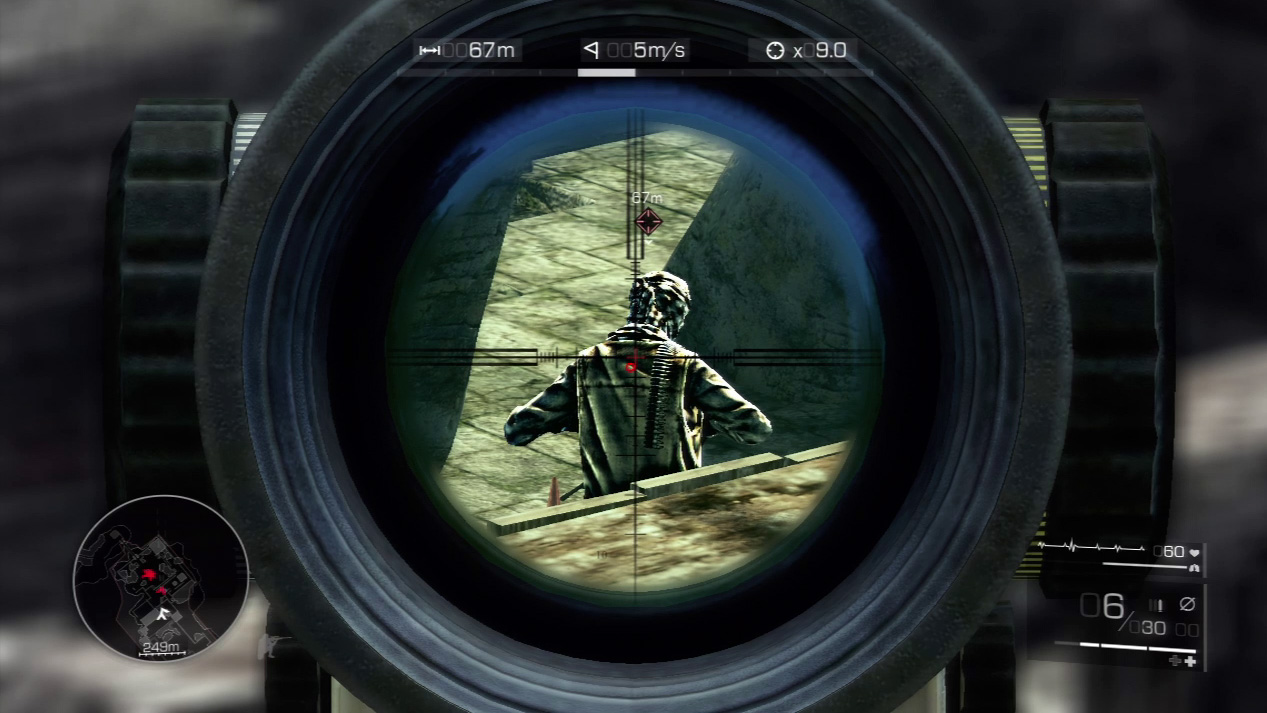
Swing over to the right. Deliver a repeat performance on the second enemy.
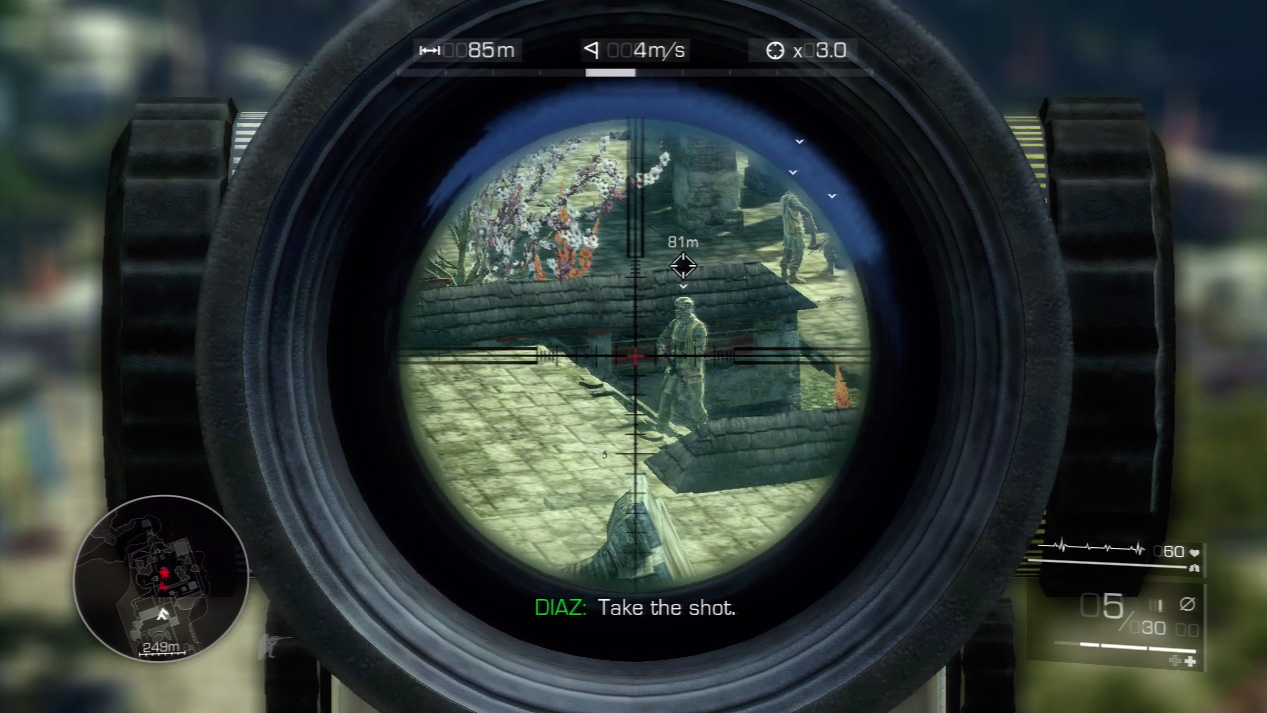
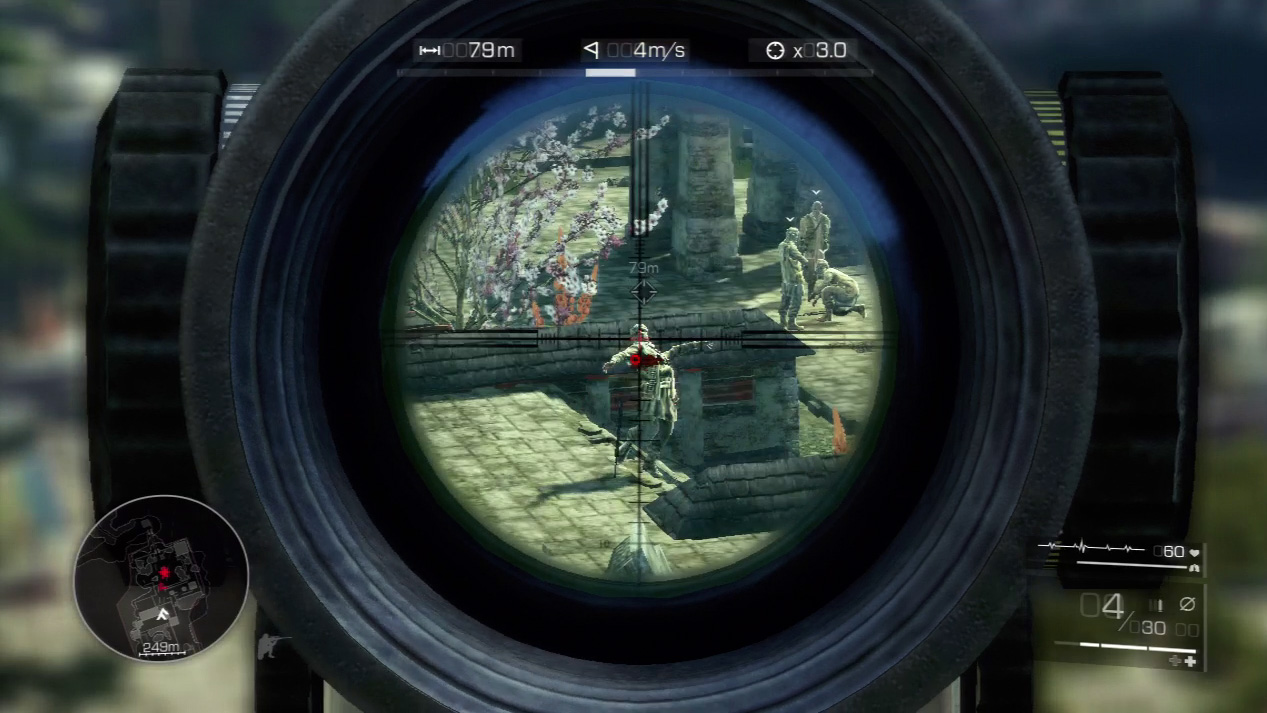
As you scan the final, large enemy group in the courtyard, one of them breaks off and walks toward the stairs. Wait until he reaches the top of the stairs and then obliterate him out of sight of his brethren.
Special Shot: Double Kill
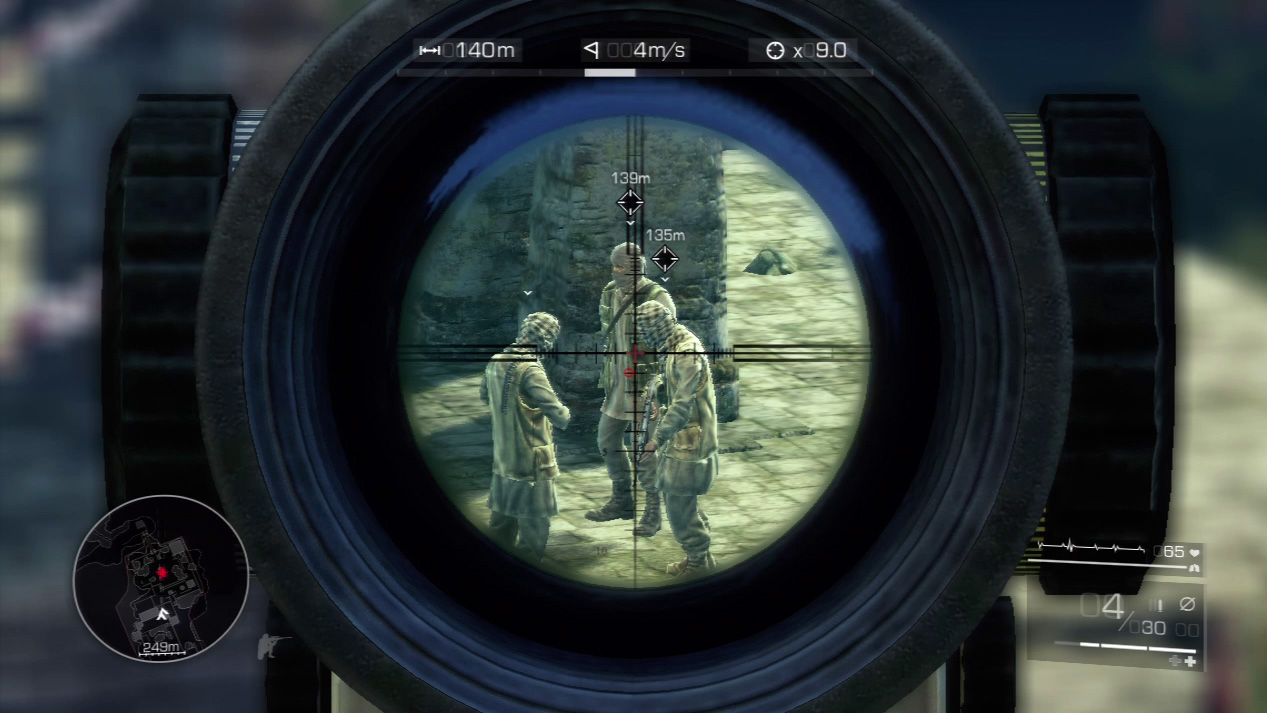
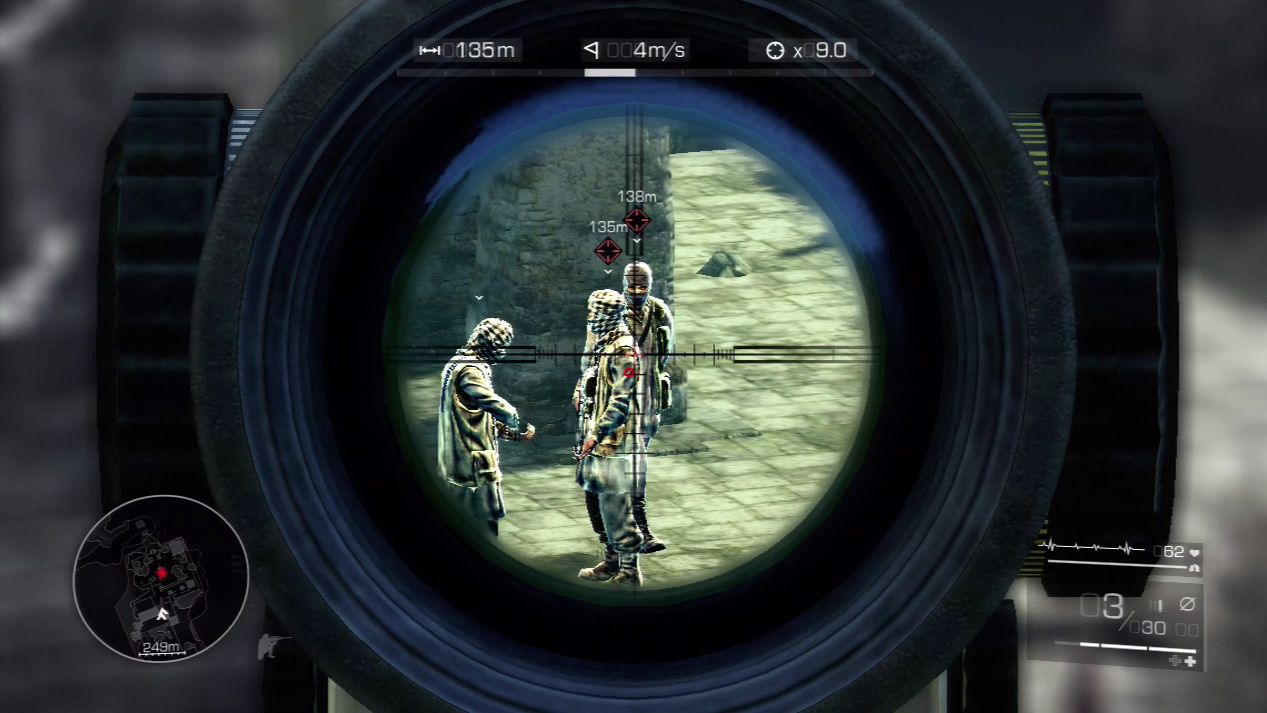
There are three enemies left. Diaz says he will take out one of them if you can pull off a double kill shot. When the rear guard passes behind the guard on the right, pull the trigger and send two bodies to the ground for the price of a single bullet. Congrats! You’ve just cleared the courtyard.
Waypoint 6
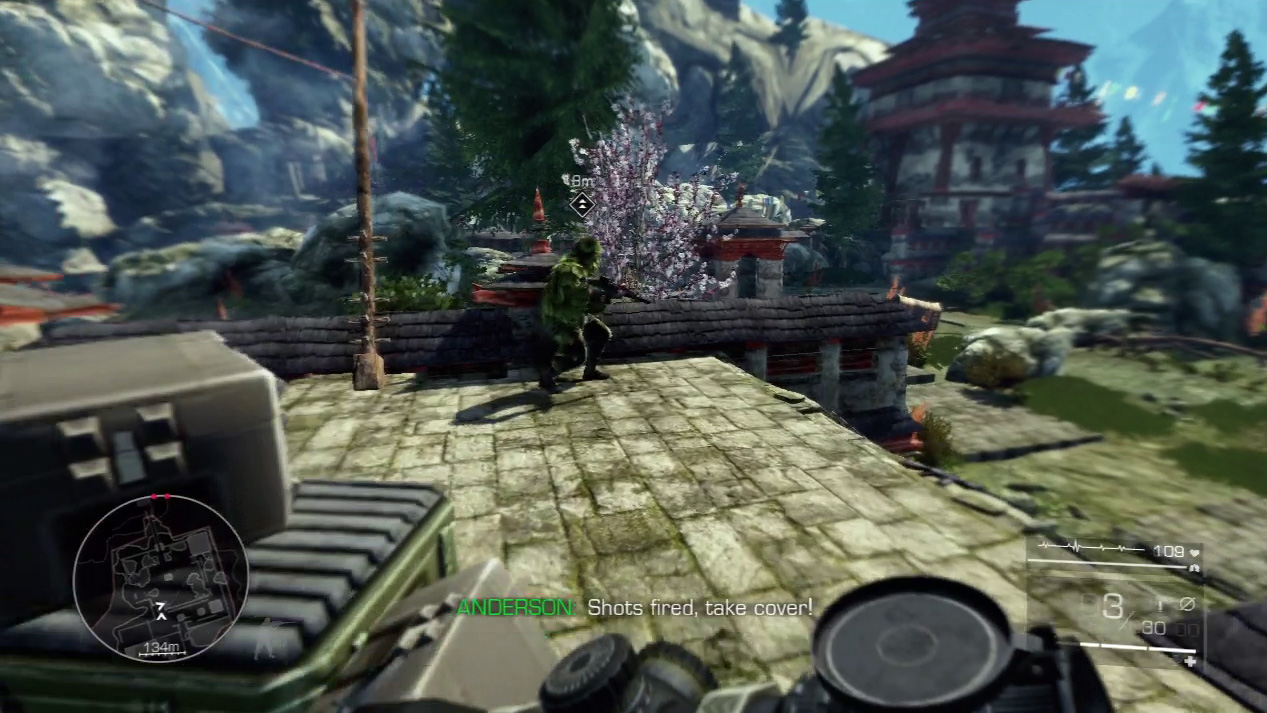
When you get down in the courtyard, two enemy snipers fire upon you. Take cover behind the wall along the stairs.
Expert Mode
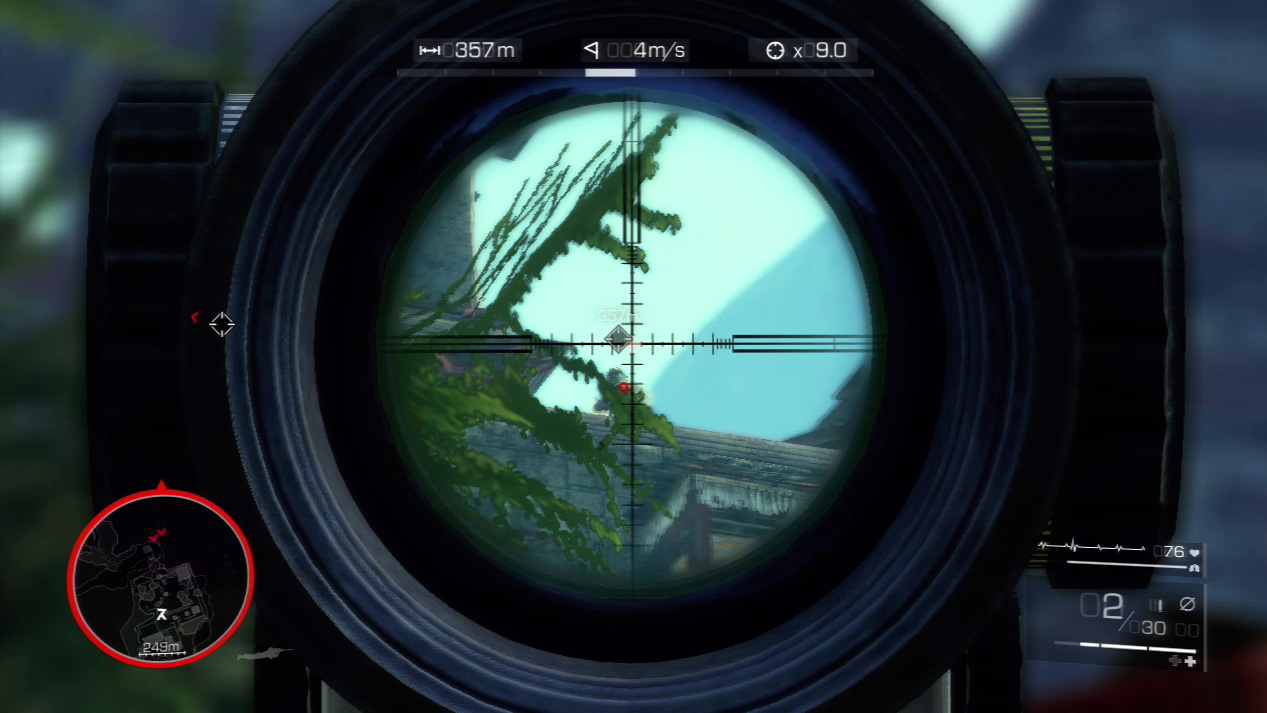
- Distance: Approximately 355 meters
- Wind: 4 meters/second (blowing left)
- Magnification: 9x
It’s a much longer shot against the two enemy snipers. As with your other shots on this mission, expect the wind to push your bullet slightly left. Due to the range, though, your bullet will drop down to the second reticle line. Break cover only when you’re ready to shoot, then drop back behind the wall between killing the snipers or in case of a miss.
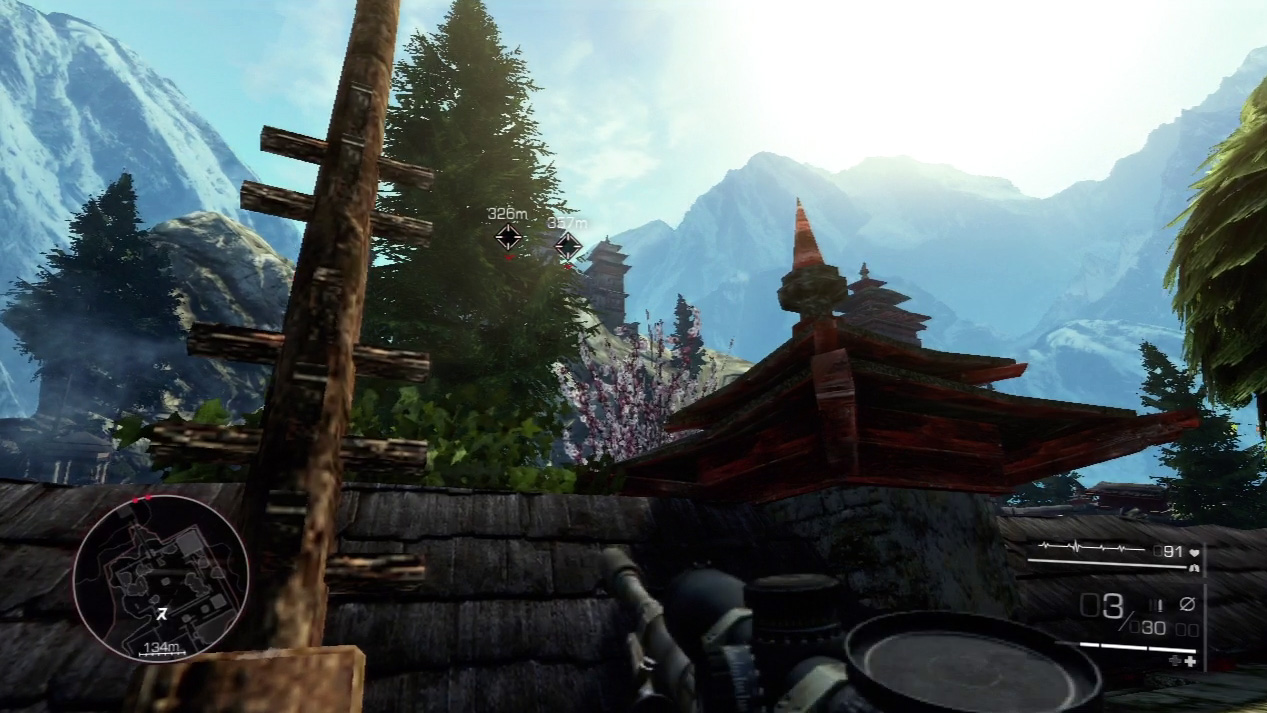
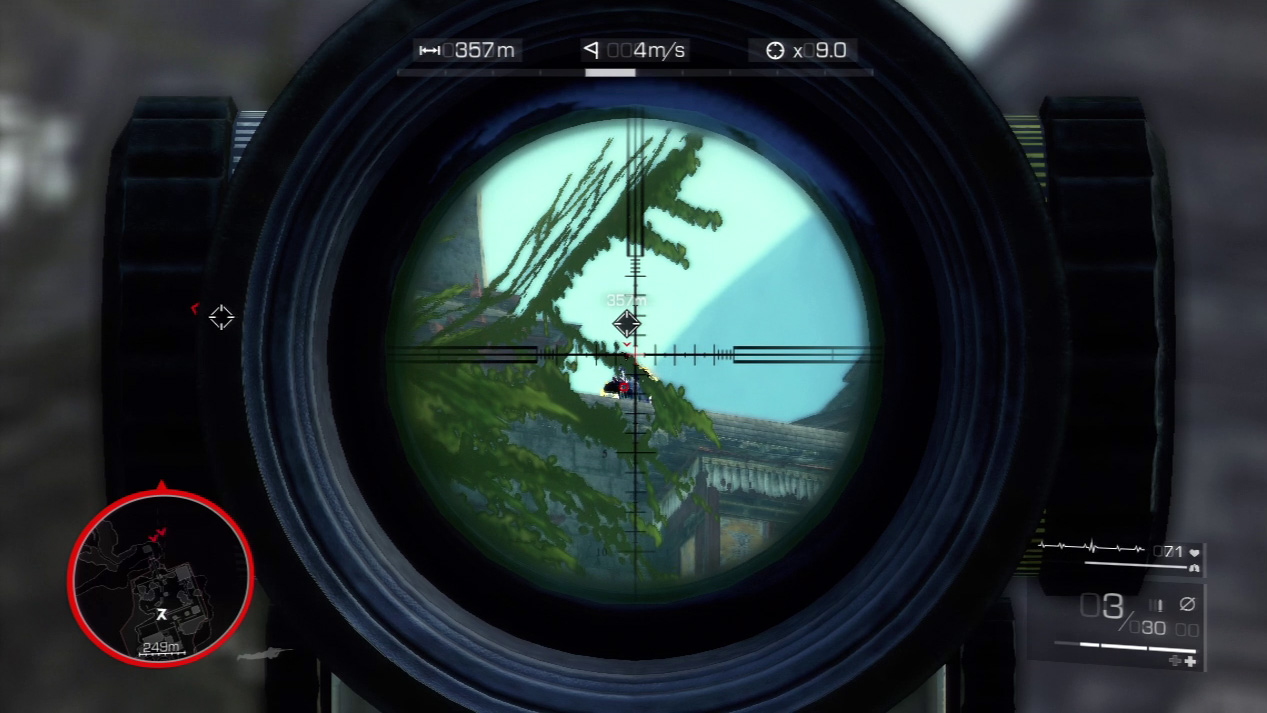
Stay in cover behind the wall and find your targets up on the mountain. Creep along the wall until you can line up a shot on the first sniper. The large pine tree should provide extra cover until you can peek out and pick off the first sniper.
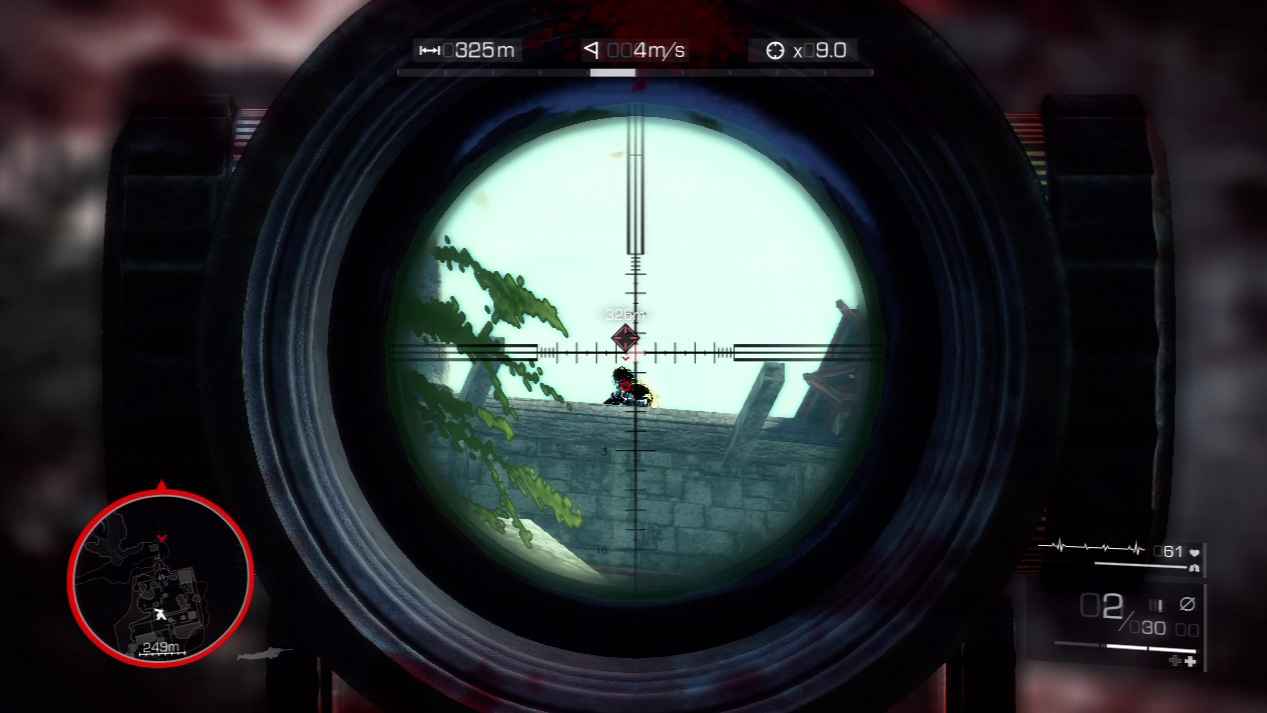
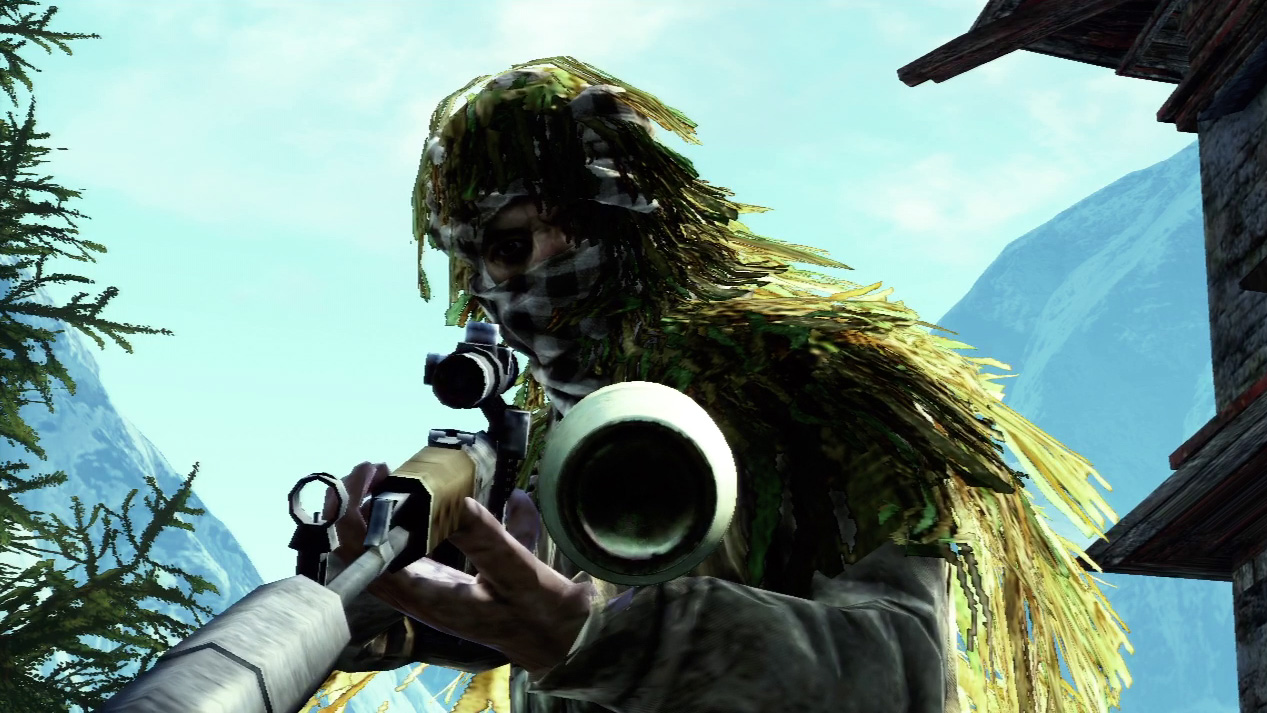
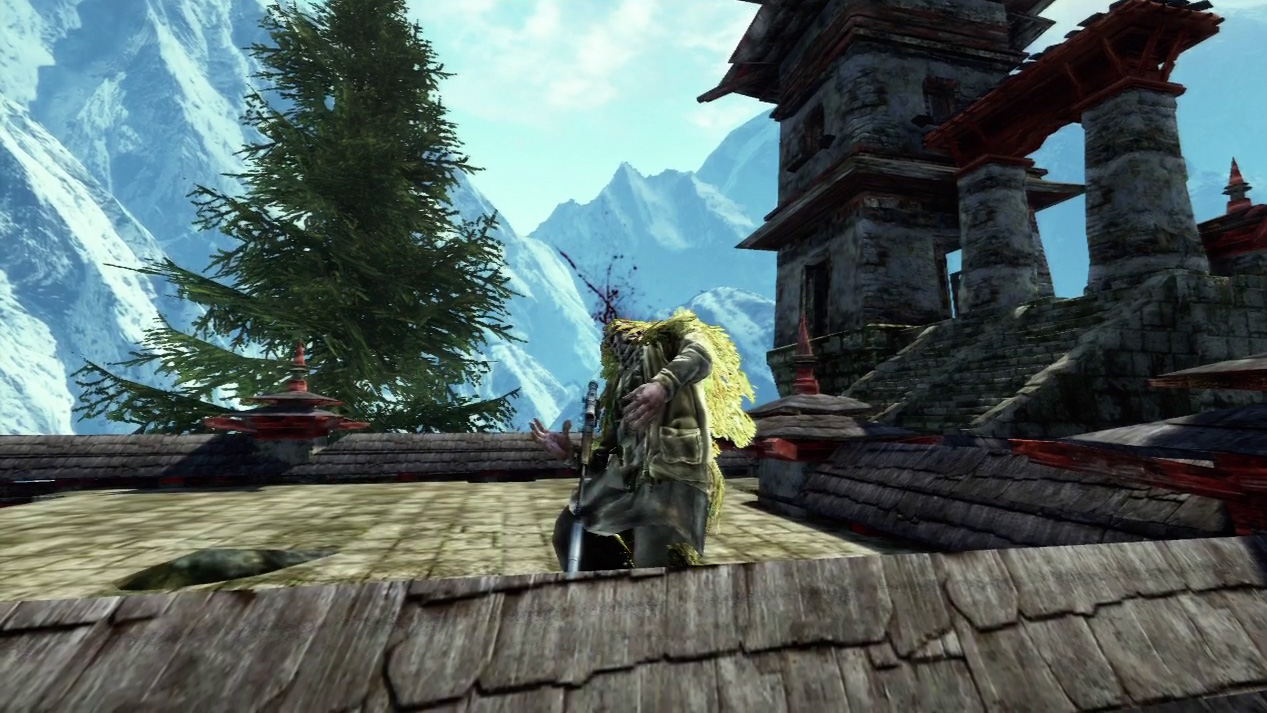
Slide along the wall farther until you sight on the second sniper. Stay out of cover only long enough to get off a shot. If you miss, wait for your pulse to return to normal and zoom for a kill shot with your next bullet.
Act 3: Secret 11
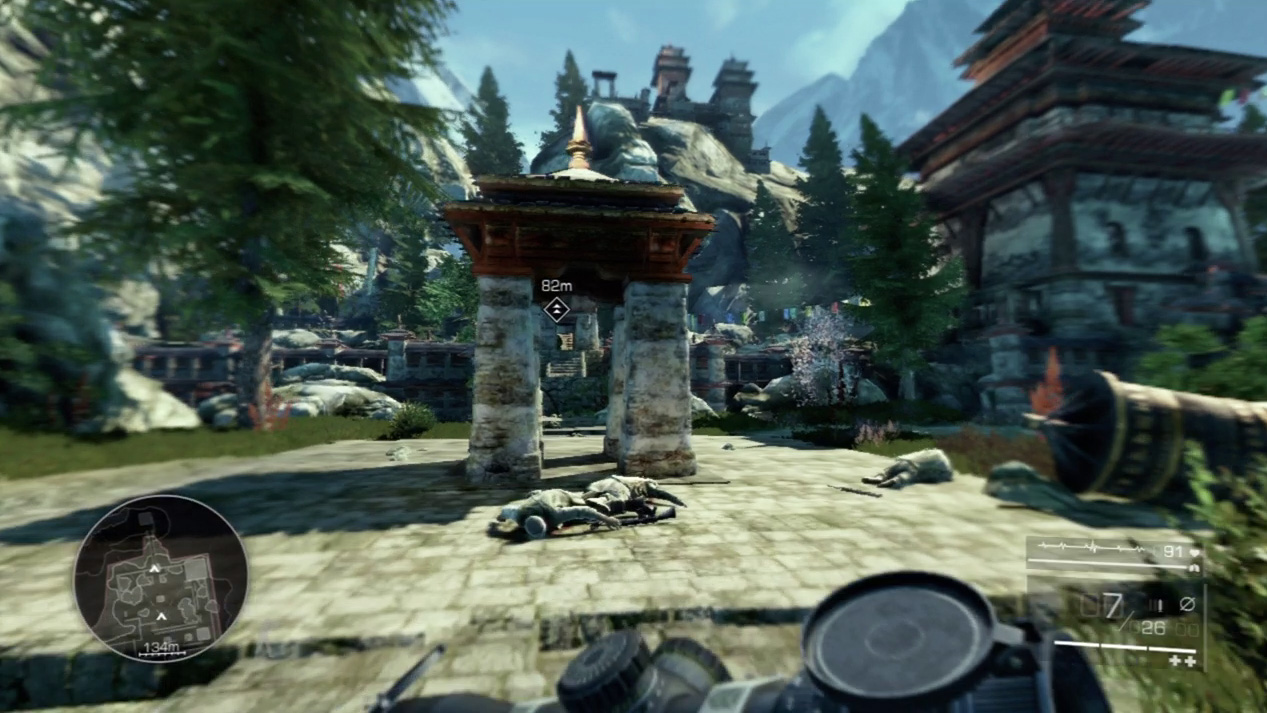
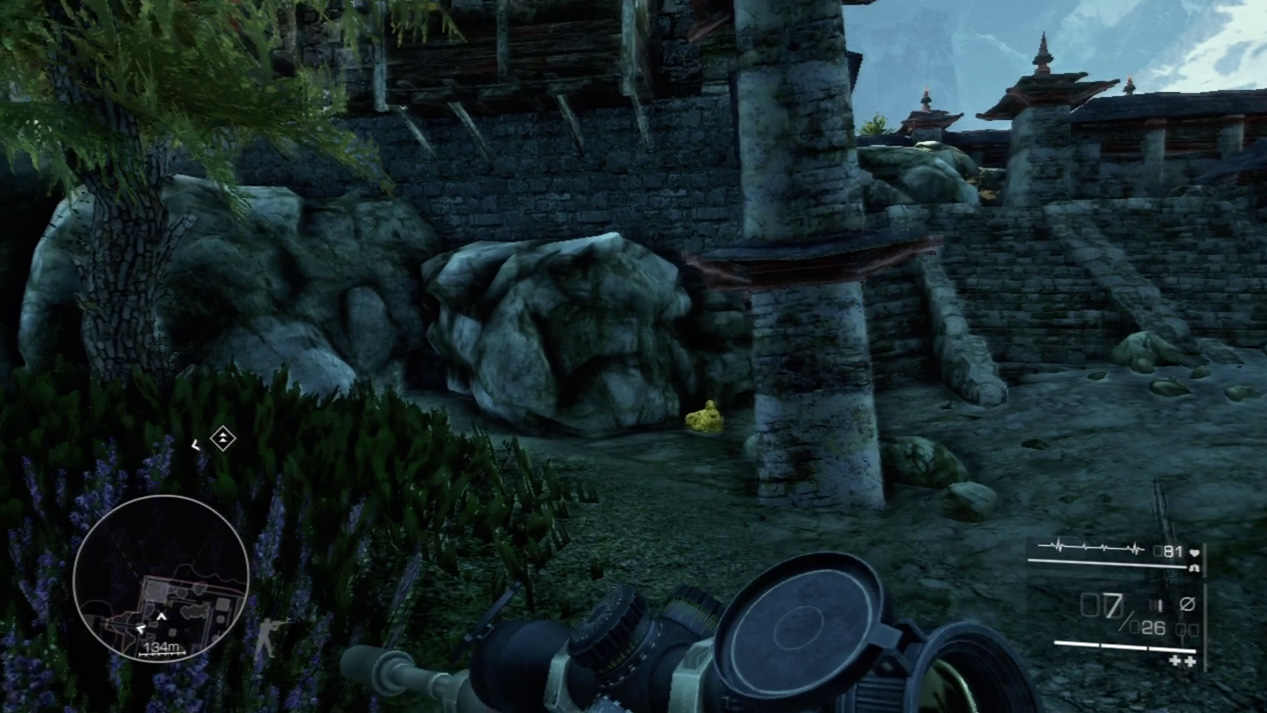
While you’re in the courtyard, after you’ve defeated the two enemy snipers that attack you, take a short detour off the main path to find the next secret. When you reach the arch where you downed the biggest enemy group, angle off to the right toward the nearby temple. You’ll find the monk statue near the temple base on the other side of the protruding wall.
Waypoint 7
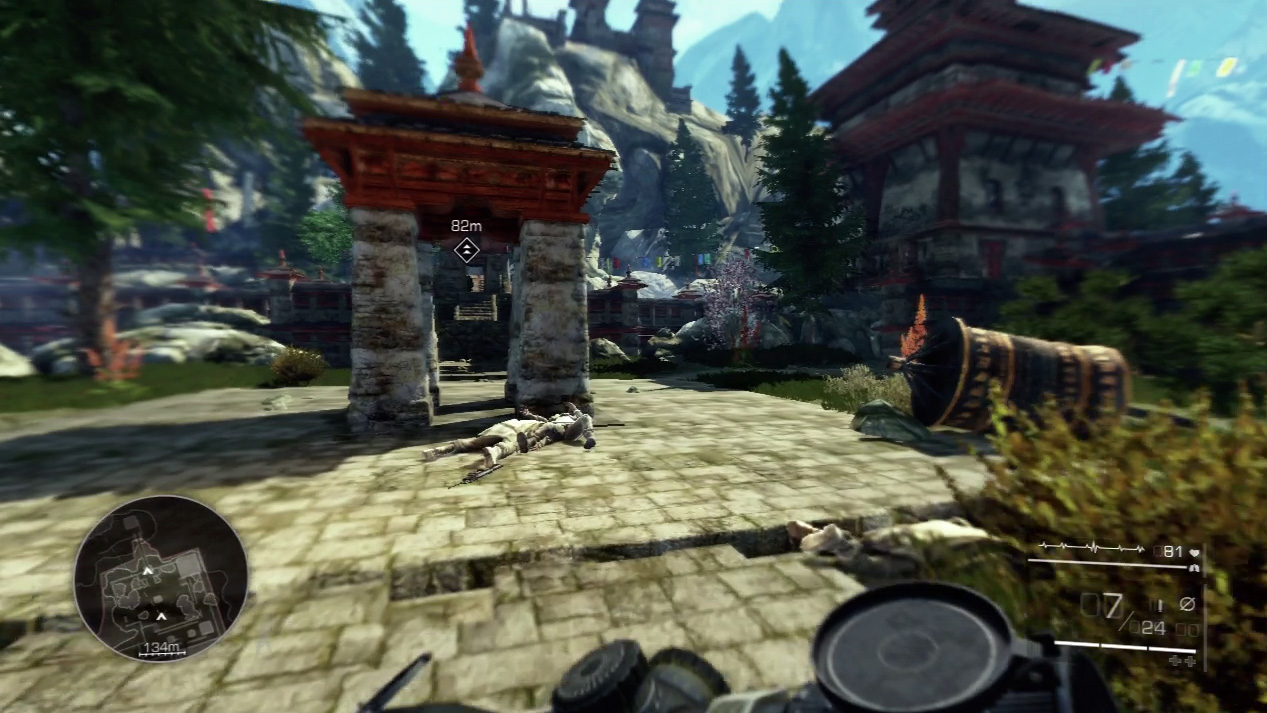
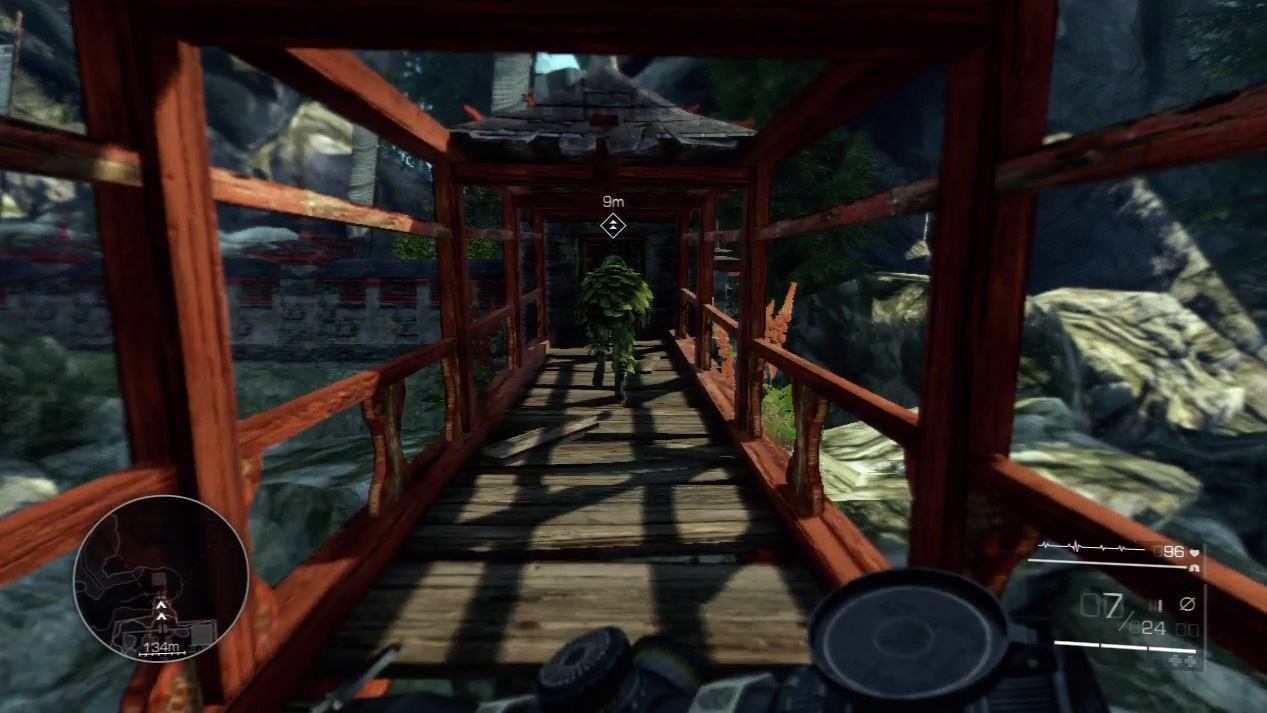
Continue to follow Diaz. He leads you over another bridge to a cave opening.
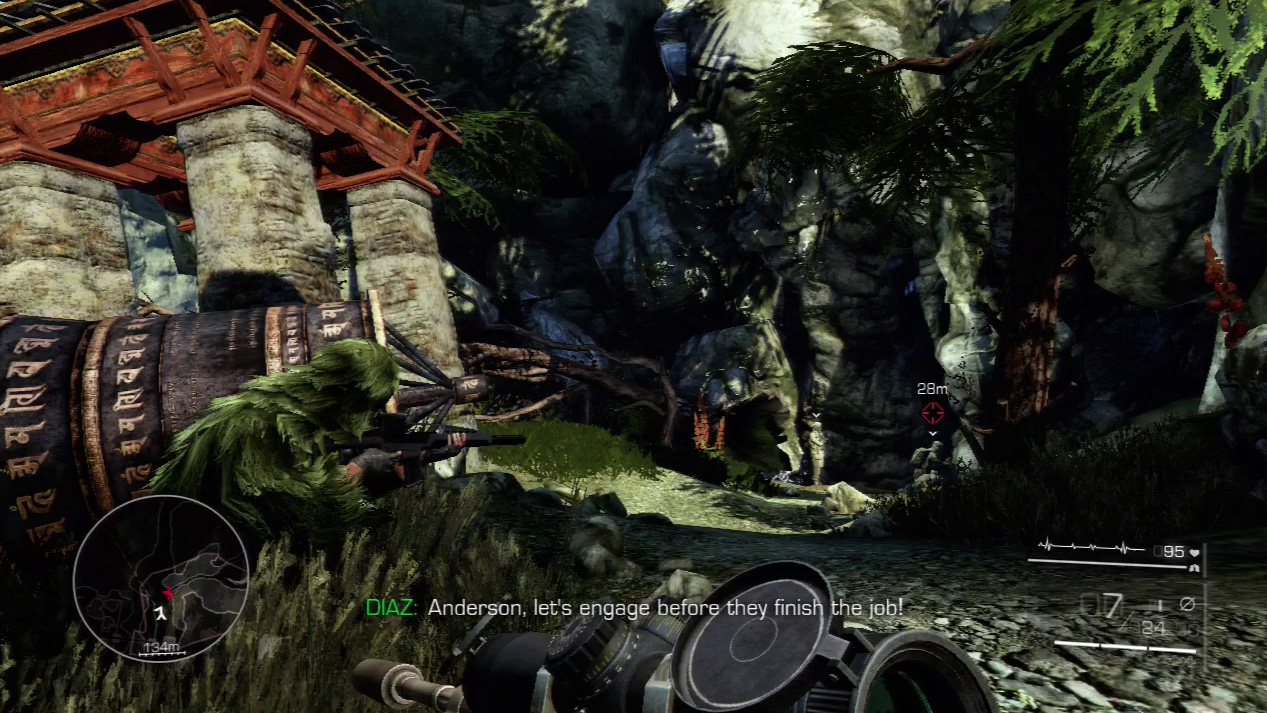
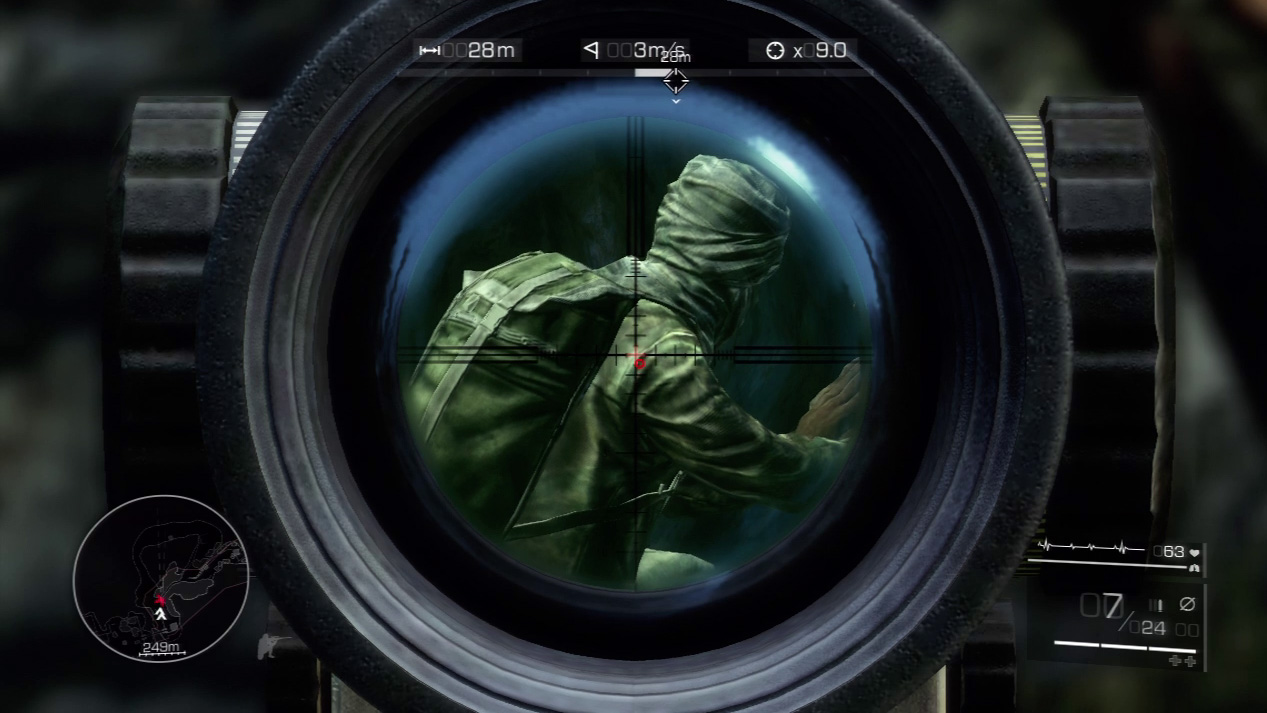
Two enemies are planting explosives on the cave opening when you arrive. Diaz sights the enemy on the left. It’s your job to finish the one on the right before they complete their demolitions task.