
Sniper Ghost Warrior 2 Guide Walkthrough Mission 1: Communication Breakdown
1.2 Waypoints 1-7
Waypoint 1
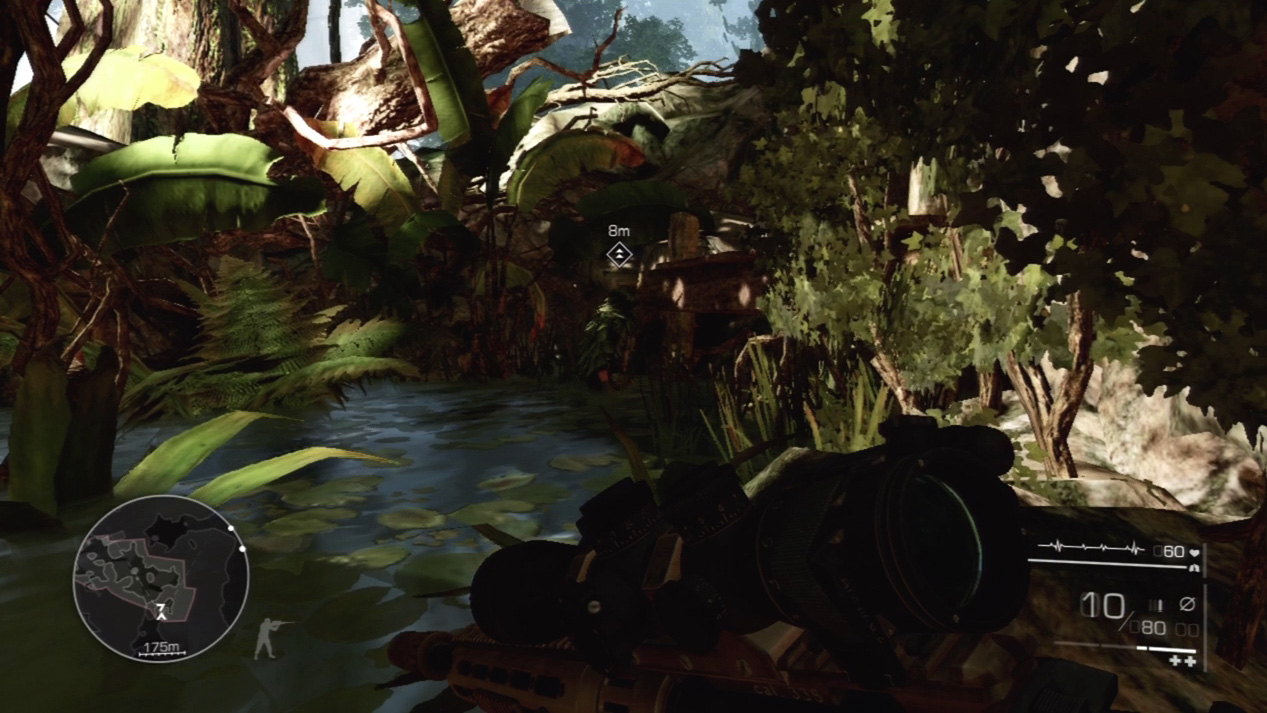
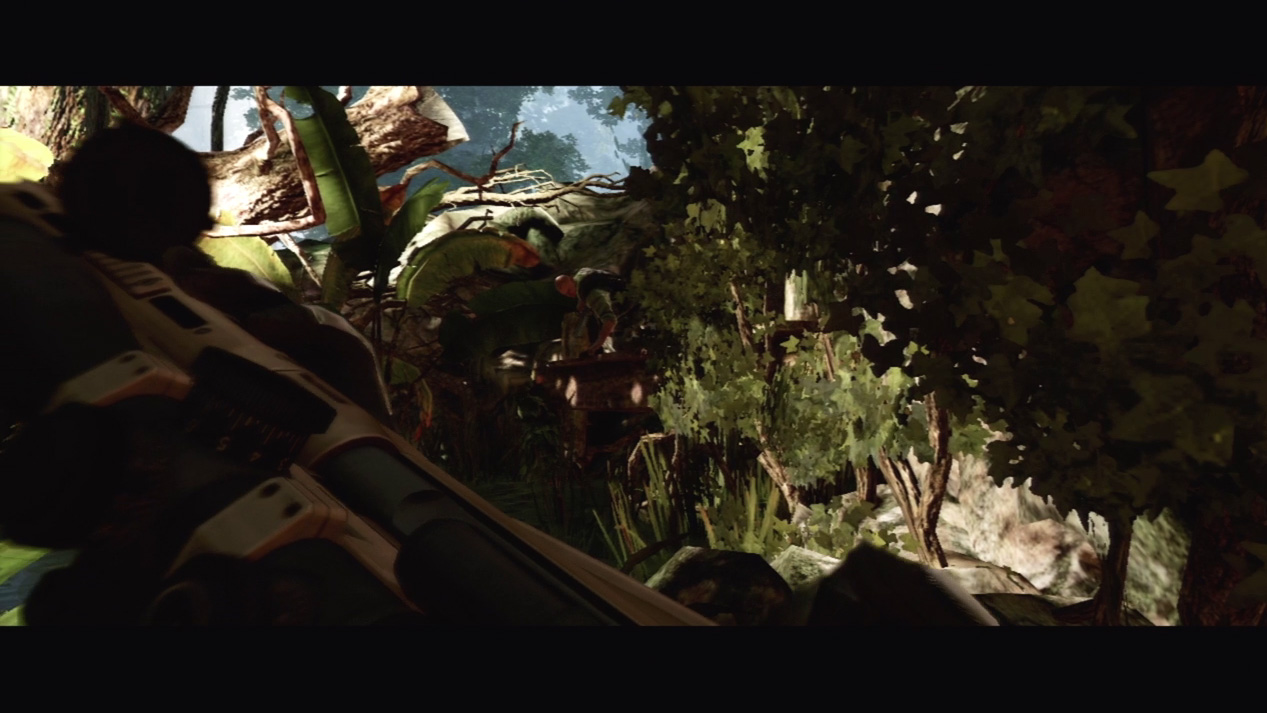
You begin your infiltration in a swampy area southeast of the enemy’s defensive positions. Your spotter, Diaz, crouches concealed in the water as an enemy soldier approaches on the nearby dock. Watch as Diaz pulls the enemy into the water and dispatches him efficiently and silently.
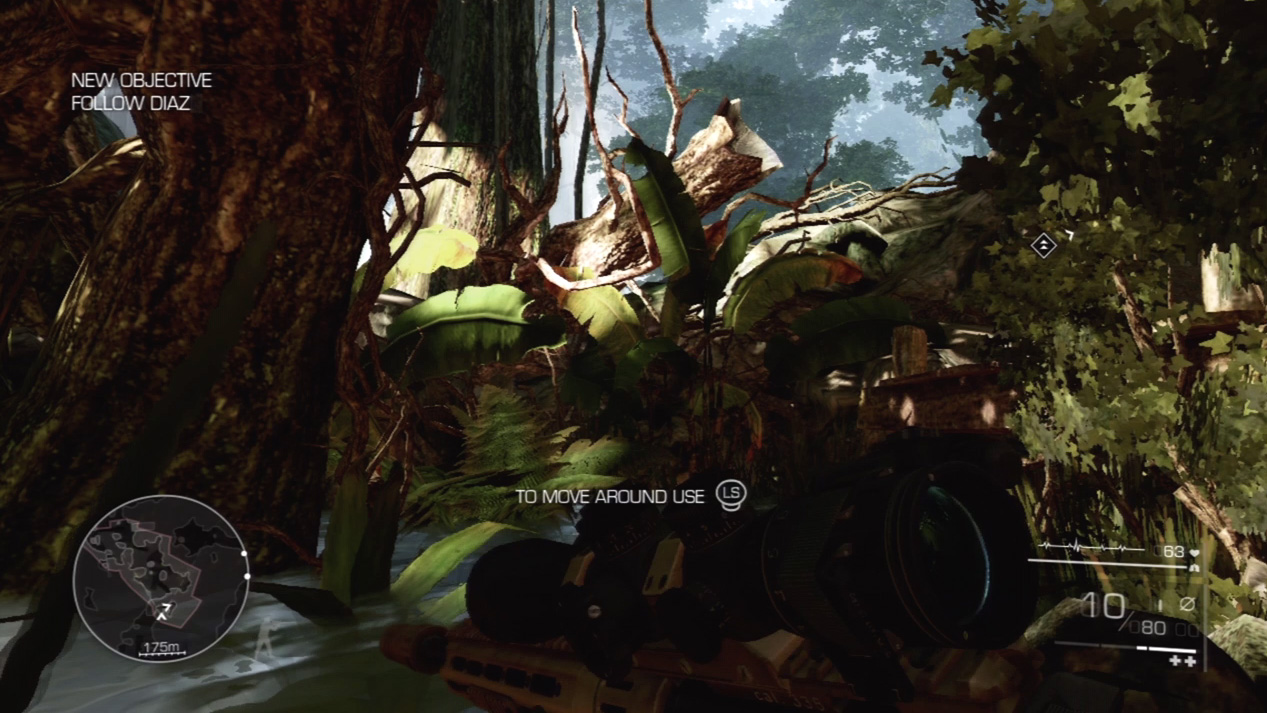
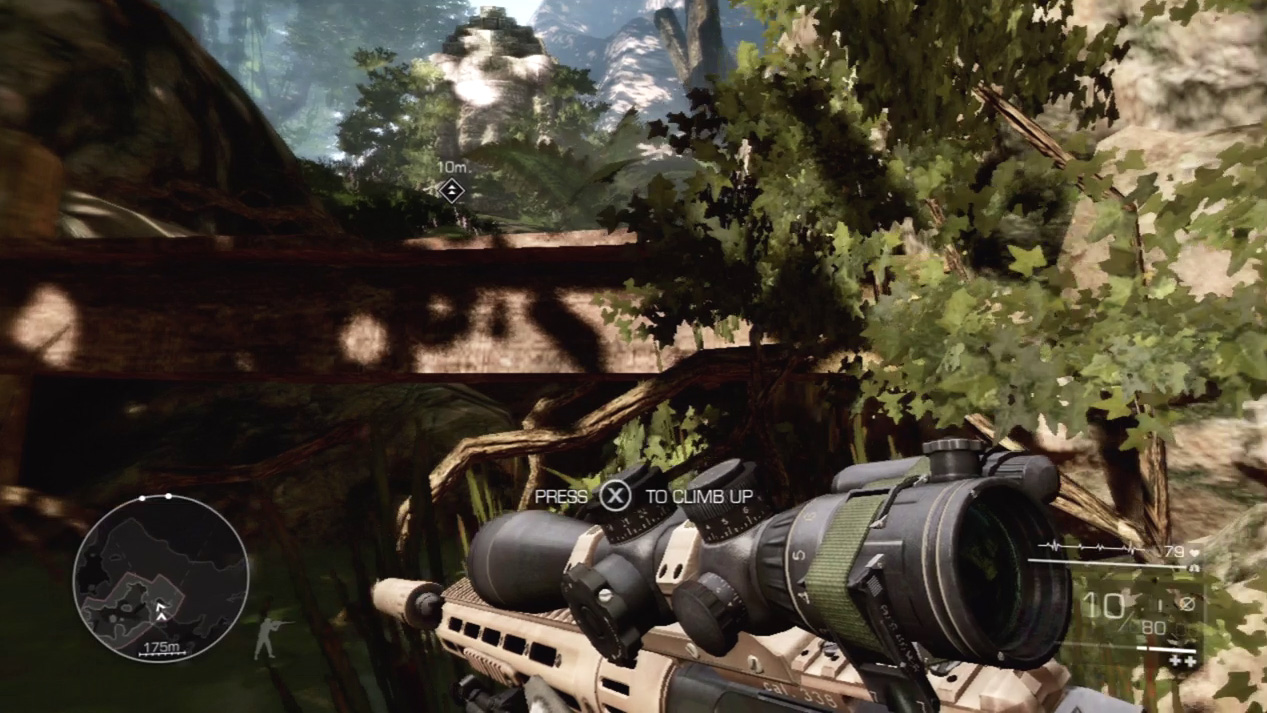
Before you climb out of the water and follow Diaz, practice moving around the small area. Your first mission is a tutorial, so you should get used to all the game’s controls and perfect the art of stealthy movement and kill shots. Once you can move quickly, climb up on the dock and continue to follow Diaz.
Waypoint 2
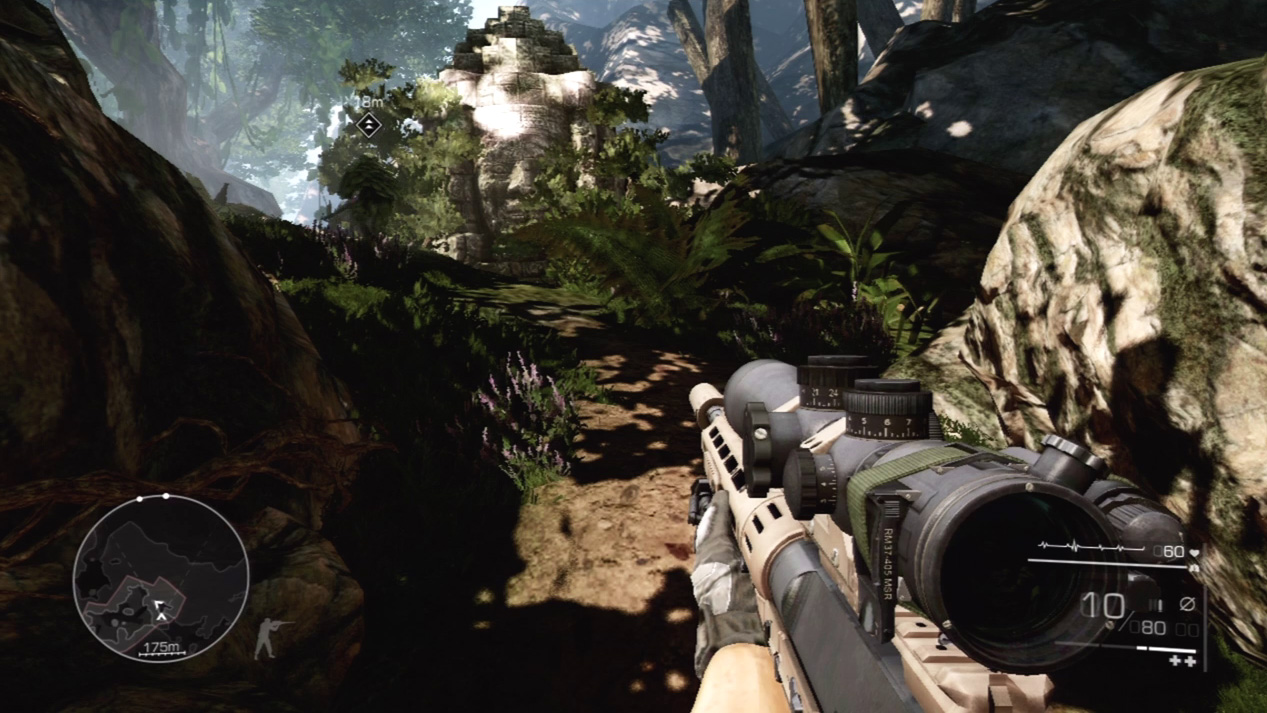
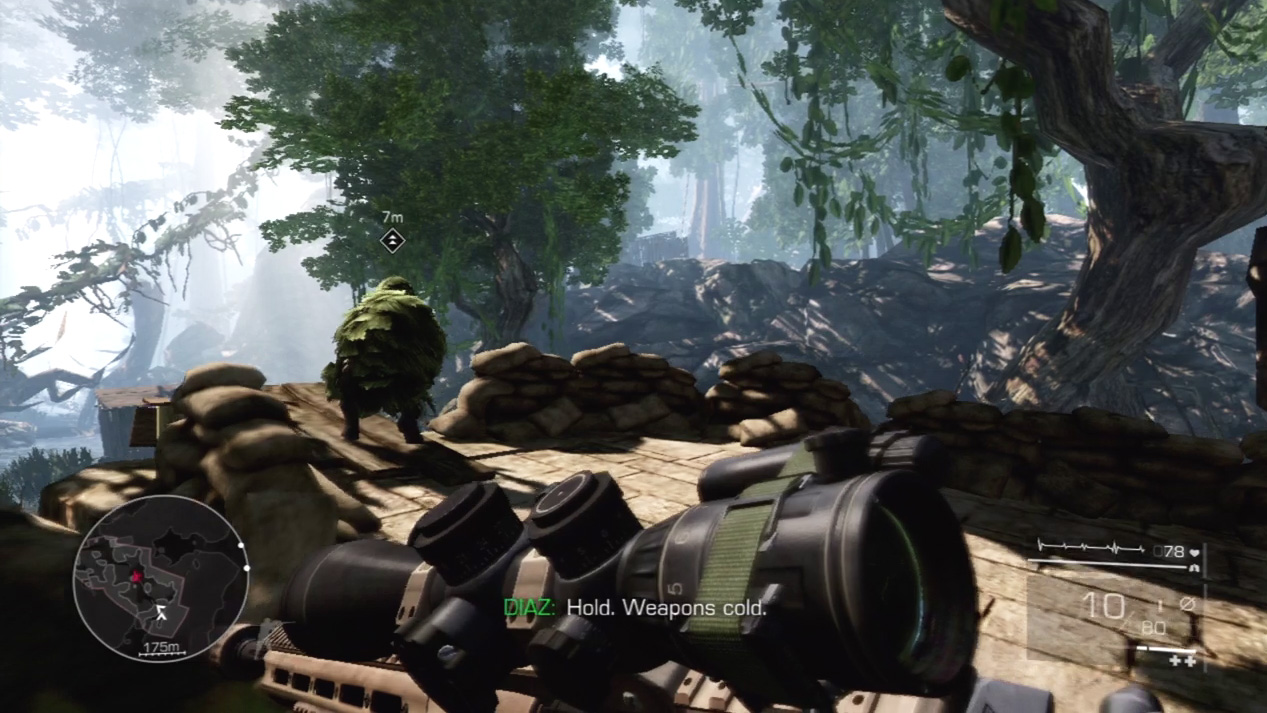
Diaz leads you up the hill to a small overlook point above the first enemy encampment. He tells you to hold and orders “weapons cold.” Any time you hear “weapons cold” you should avoid firing and study the enemy’s position instead; a shot at this time may sound the alert and draw unwanted enemy attention to your position.
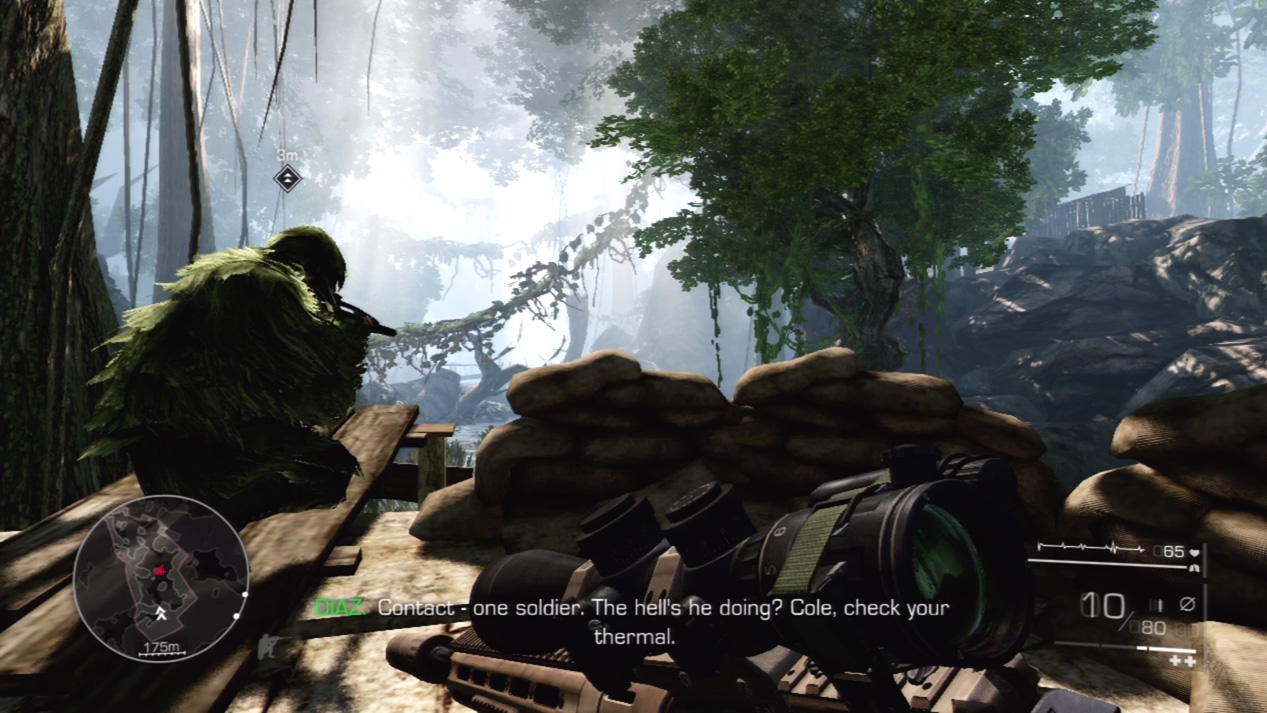
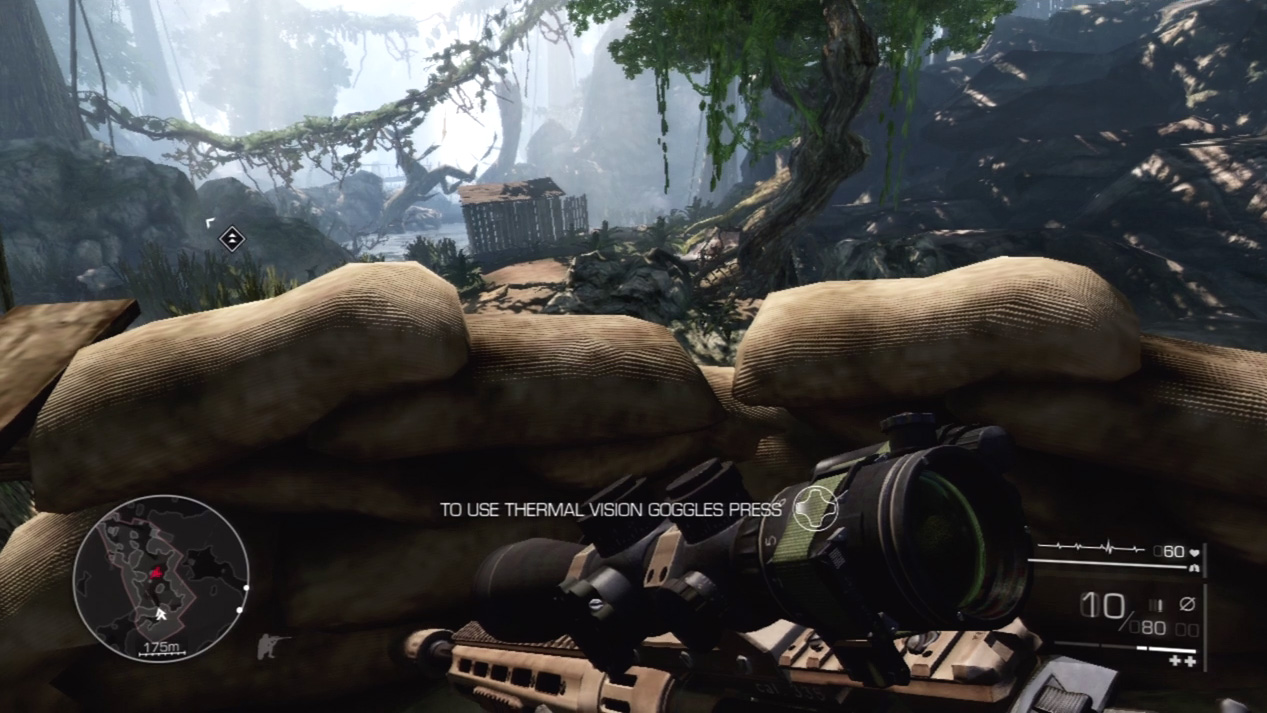
Up to this point, you’ve been running in a standing position. Drop into a crouch as you near the overlook point and creep up to the edge. Down below, two enemies guard a ruined shack.
First Contact: Thermal Vision Goggles
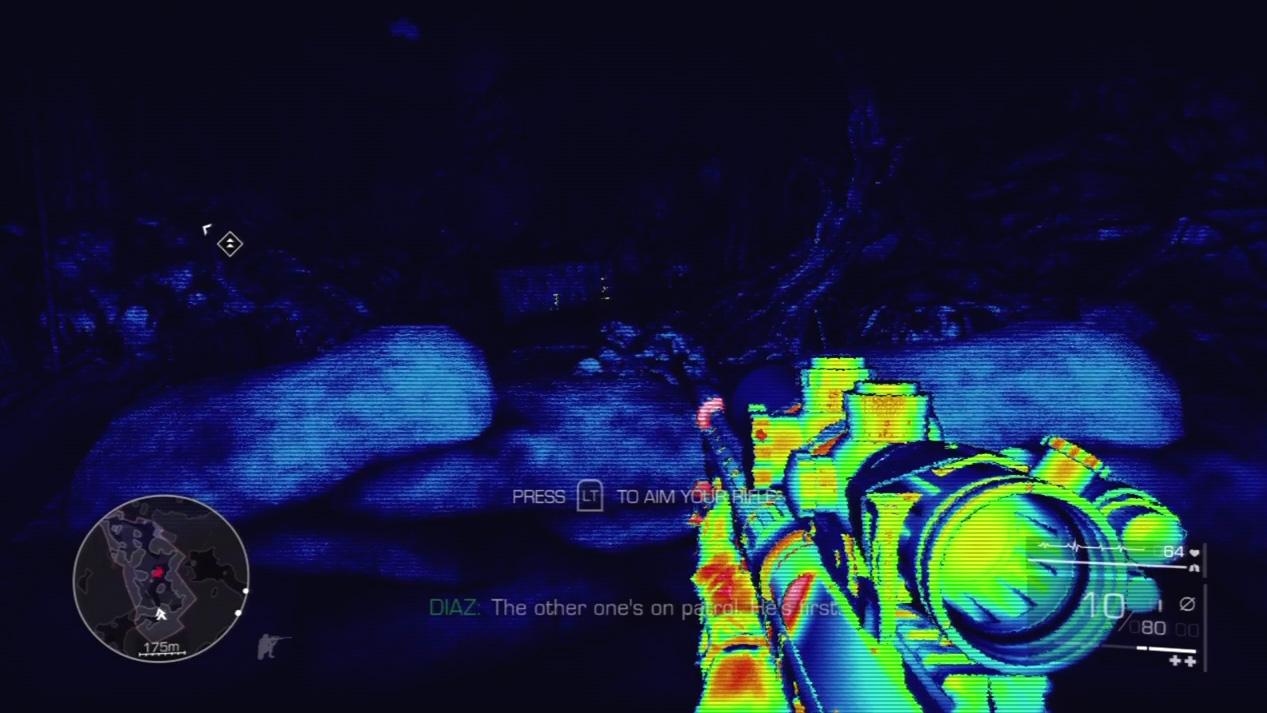
On the first overlook point above the two enemies guarding the ruined shack, you’ll be asked to don your Thermal Vision Goggles. For long shots or areas where enemies may be camouflaged by the surrounding terrain, it’s generally easily to pick out targets by tracking heat signatures via your thermal vision.
Whenever you have trouble on a day mission seeing a target, flip to thermal vision for a cleaner look.
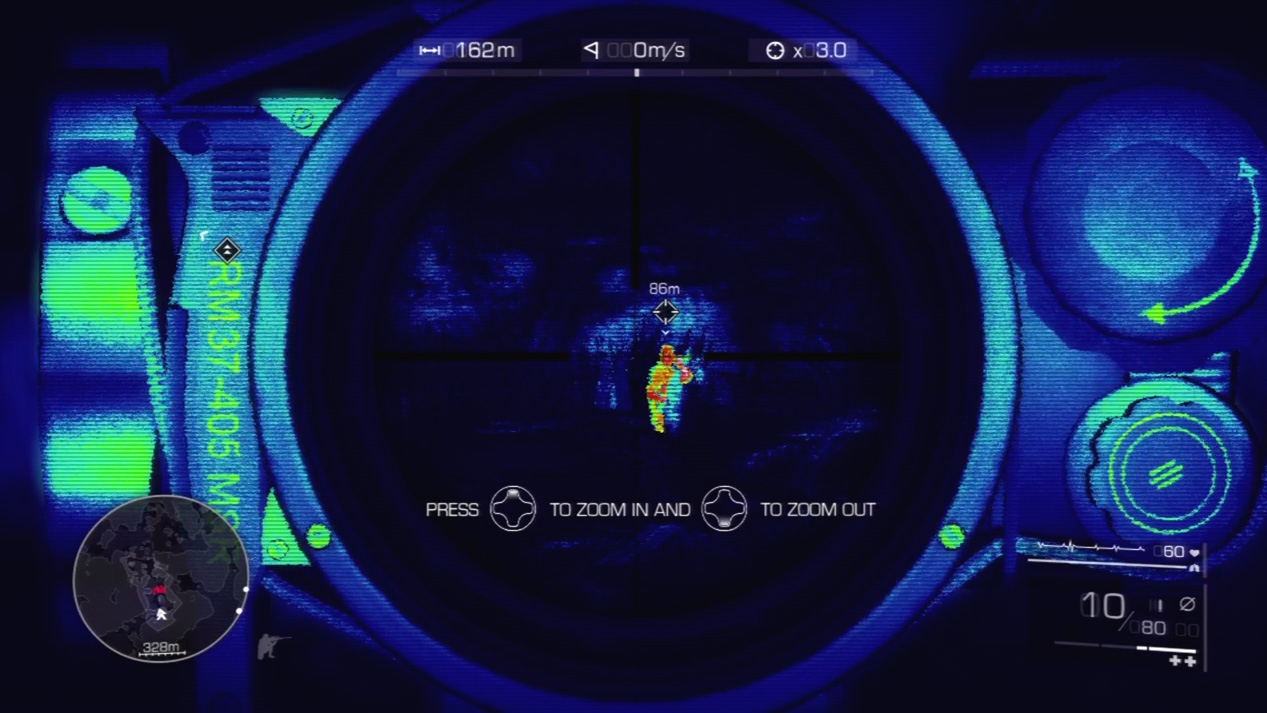
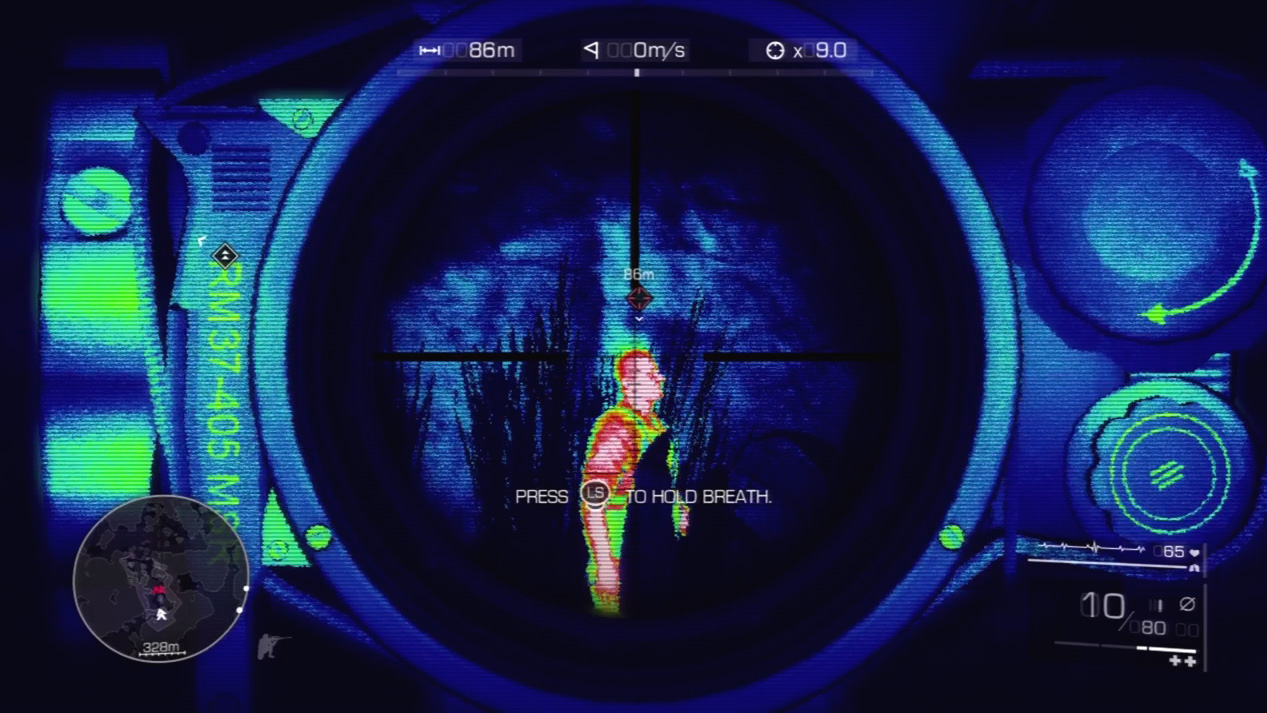
Look for the first enemy to the right of the ruined shack. He patrols away from the building in the tall grass; your thermal vision will aid you in identifying his heat signature among the vegetation.
Use your sniper rifle’s scope to zoom in on a headshot or torso shot to pull off a one-shot kill. Hold your breath as you steady on the target and pull the trigger when you have the perfect shot lined up.
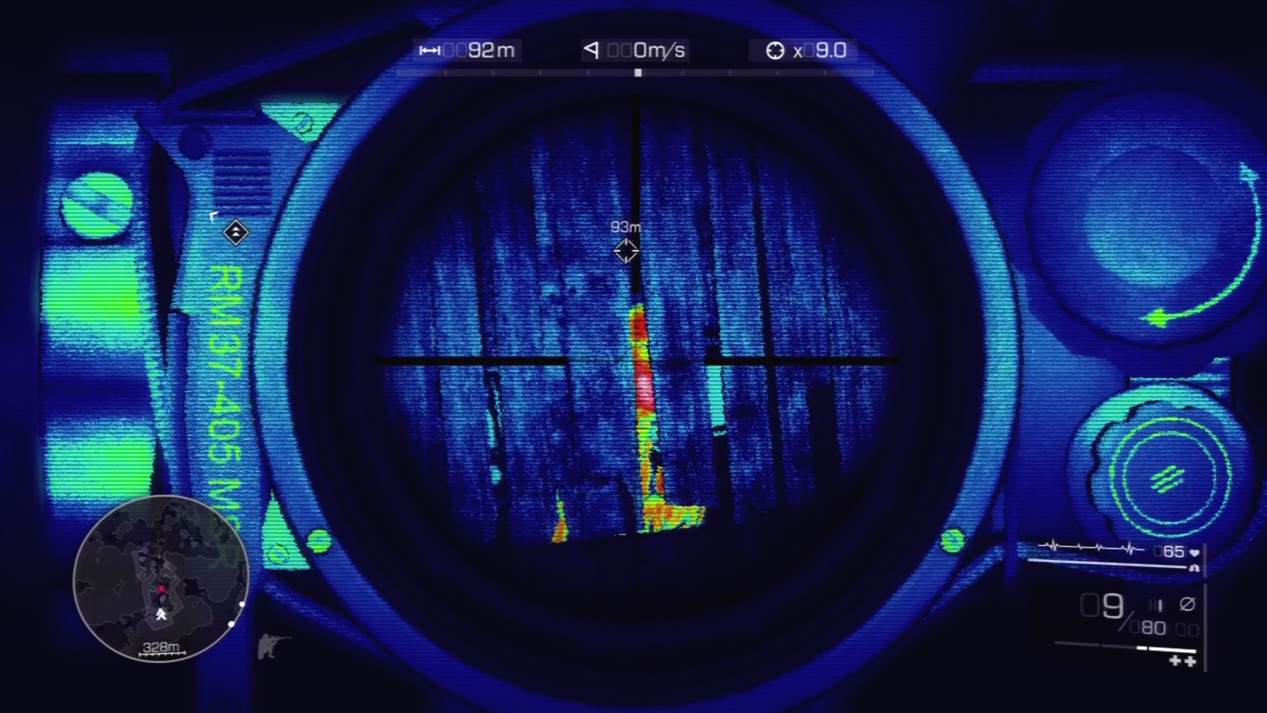
Your second shot from the overlook is more difficult. With your Thermal Vision Goggles you can spy the guard’s heat signature through a small crack in the building wall. He will not stroll outside, so you must take the shot through the crack.
As with your first kill, zoom in on the heat signature, hold your breath to steady the rifle’s reticle, and squeeze the trigger when you have a kill shot prepared.
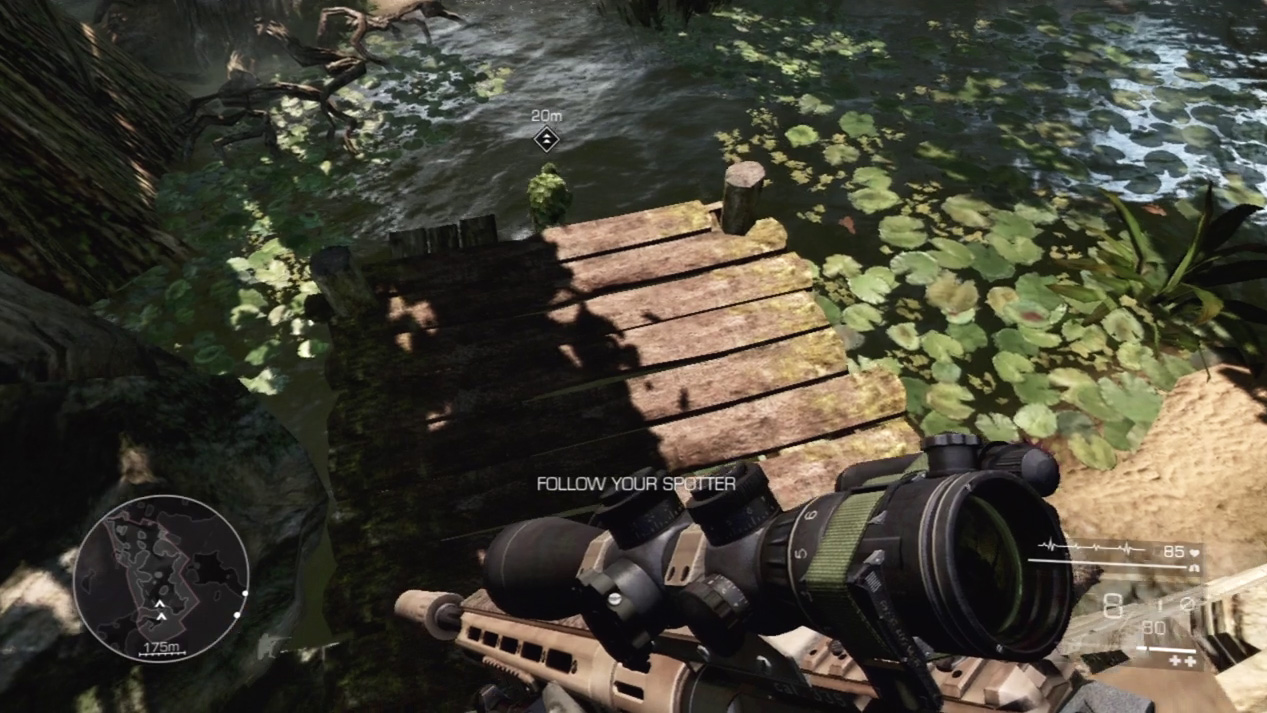
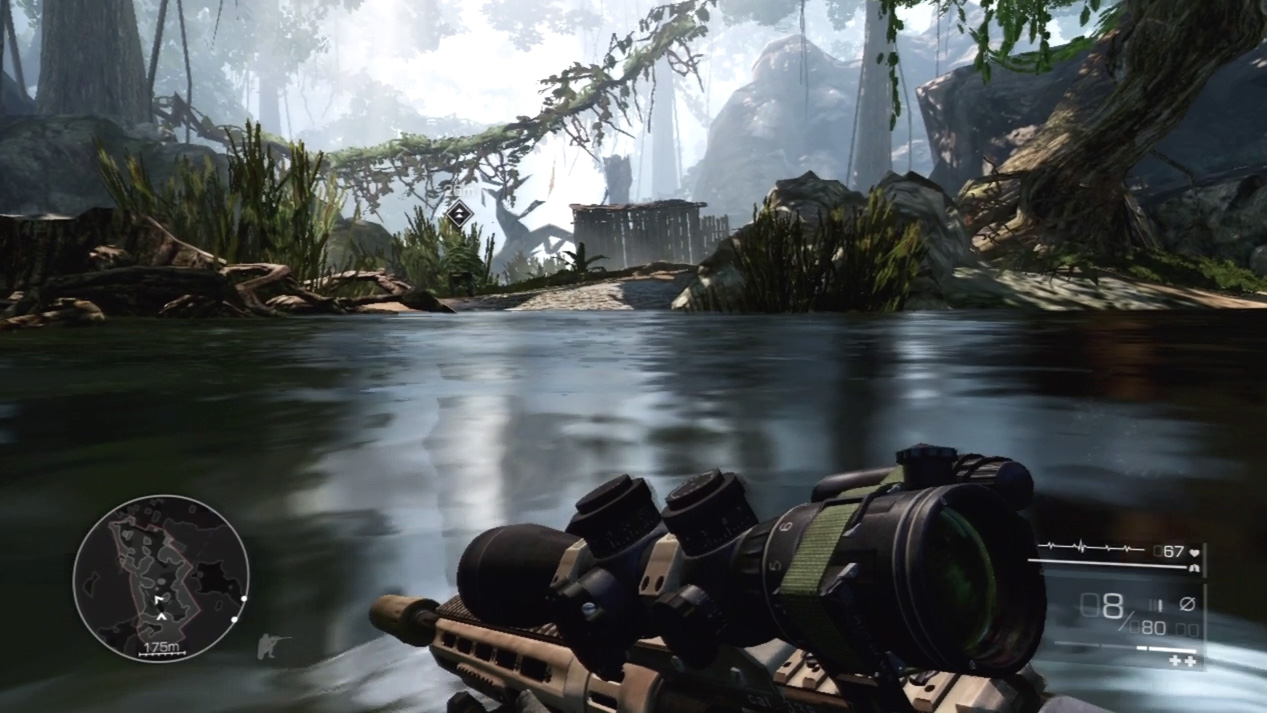
Follow Diaz and cross the waterway below. If you lose sight of Diaz, look for his diamond-shaped marker that designates his position in the distance. This will help you track him, especially when he ducks into cover.
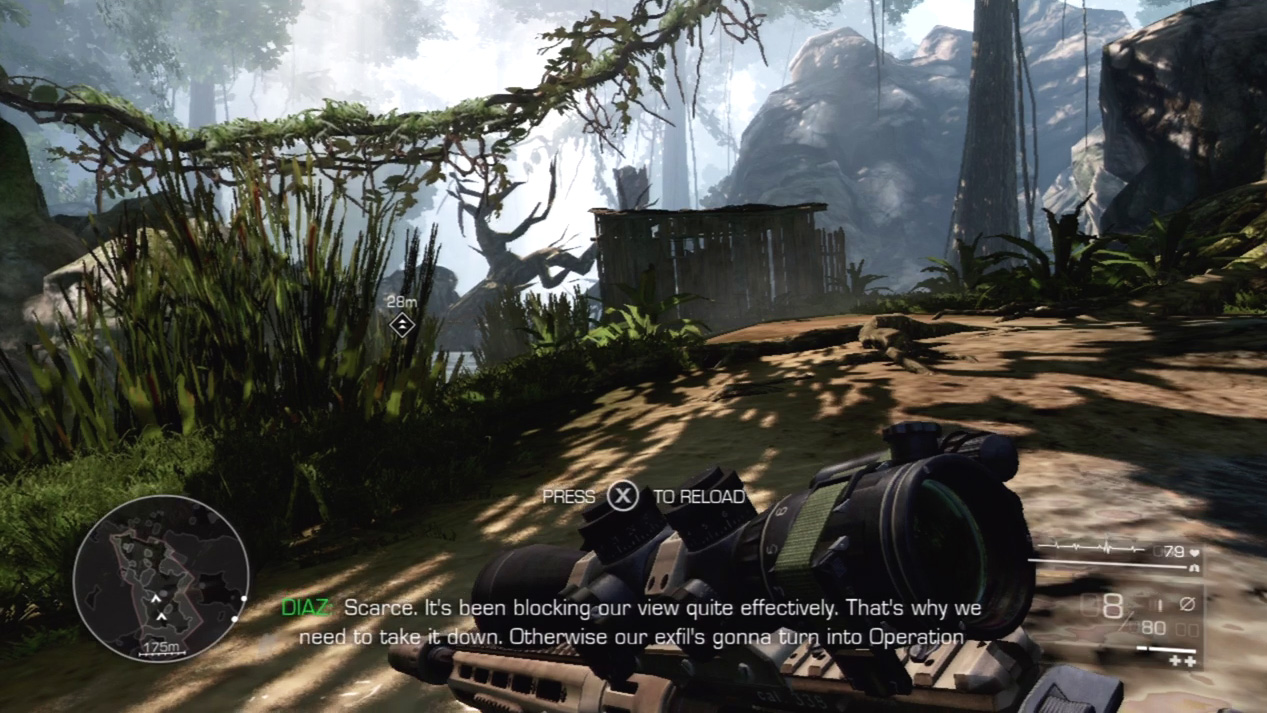
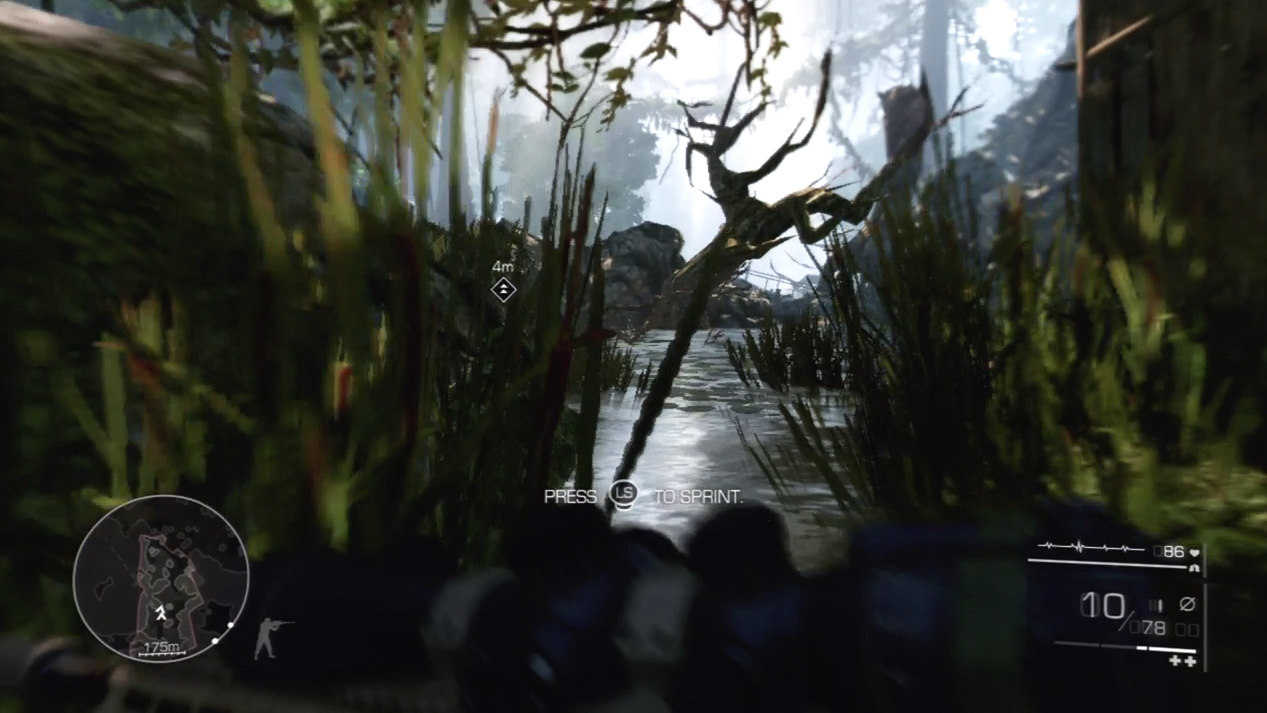
Advance on the ruined shack and then dip down the hill behind and into the water again. Press the Reload button to bring your ammunition count back to full. You never want to run out of bullets in the middle of a fight, so reload whenever you have a free moment between skirmishes.
Act 1: Secret 1
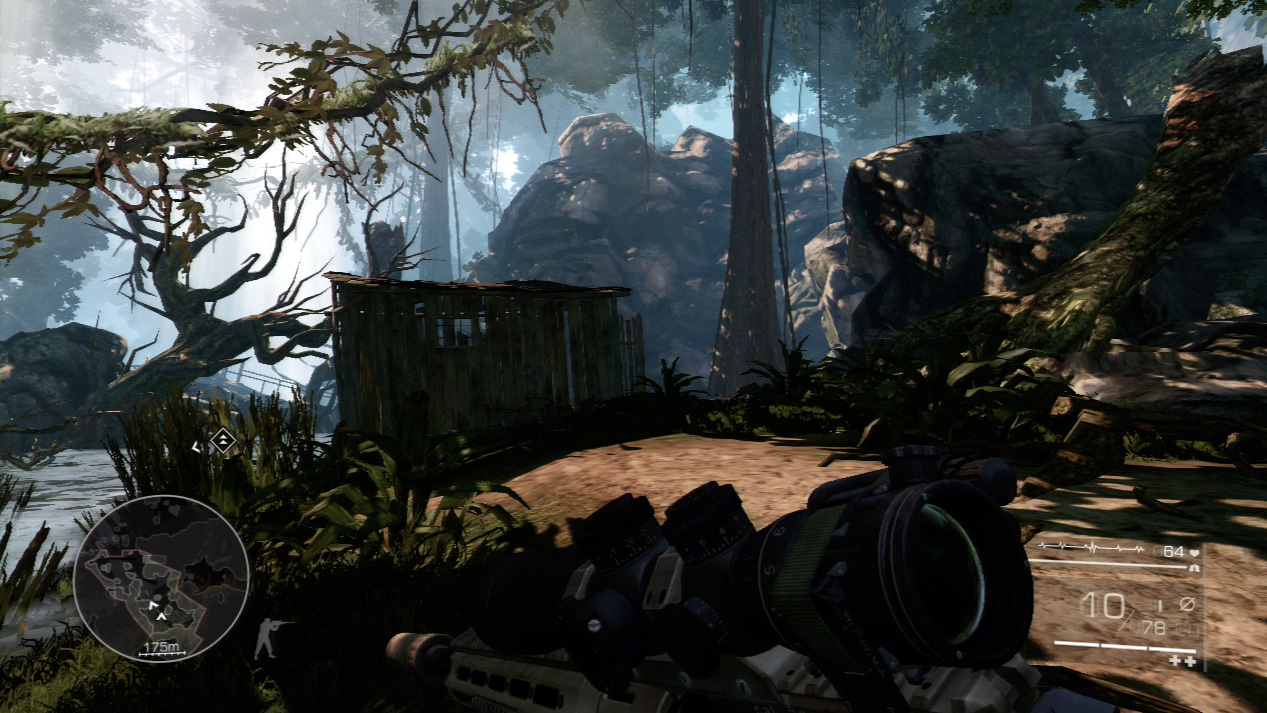
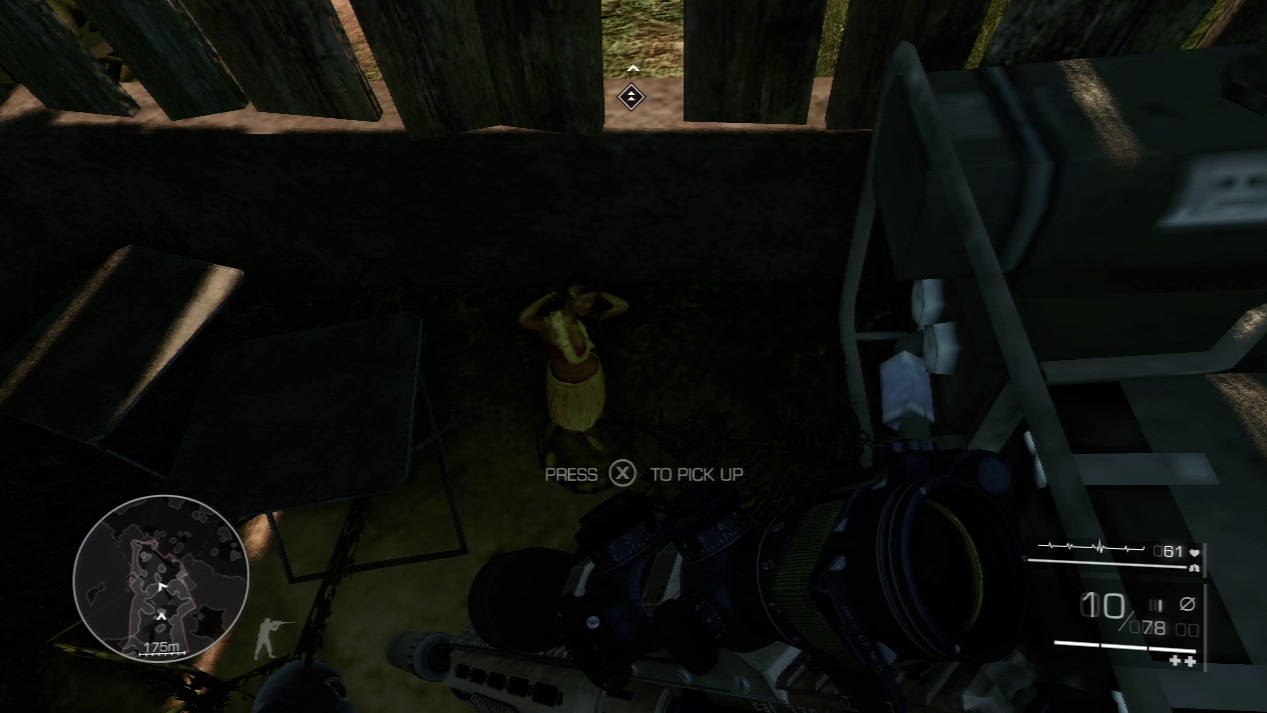
After your first enemy encounter, when you try out your thermal vision, look for the first secret inside the ruined shack where you killed the second guard.
All secrets in Act 1 appear as a hula girl statue, and this one is an easy find on the ruined shack’s floor.
Waypoint 3
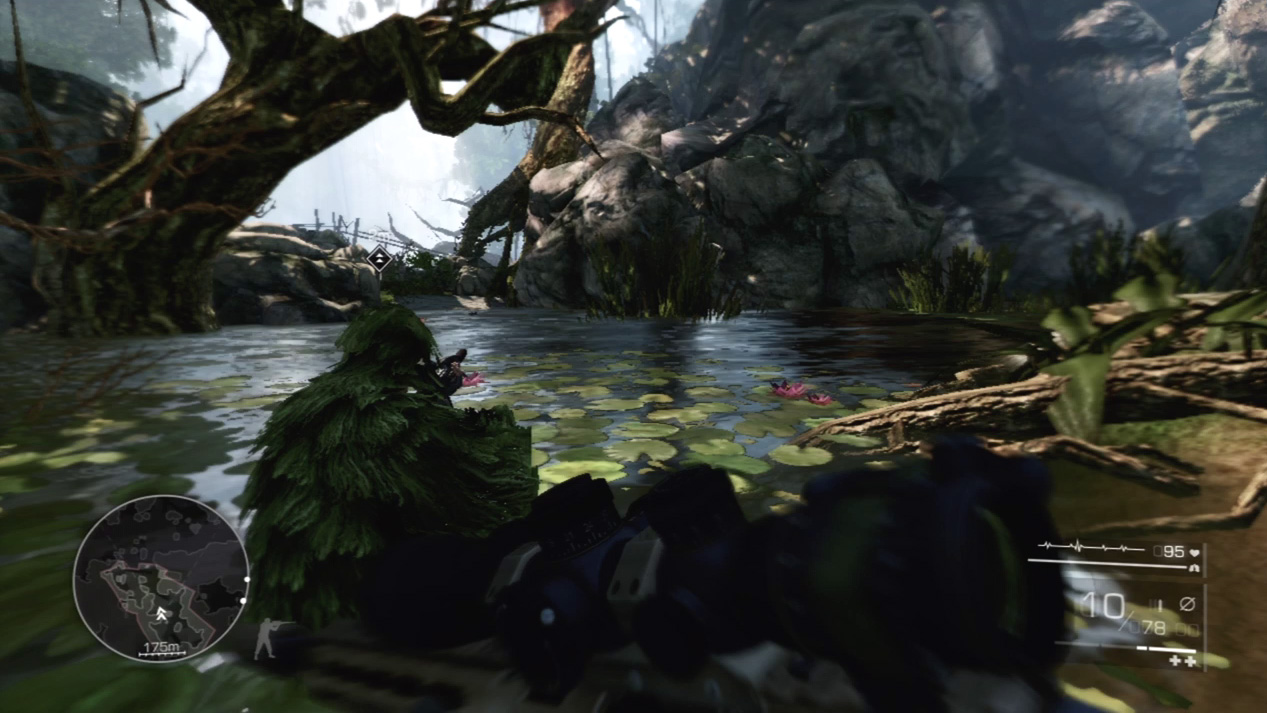
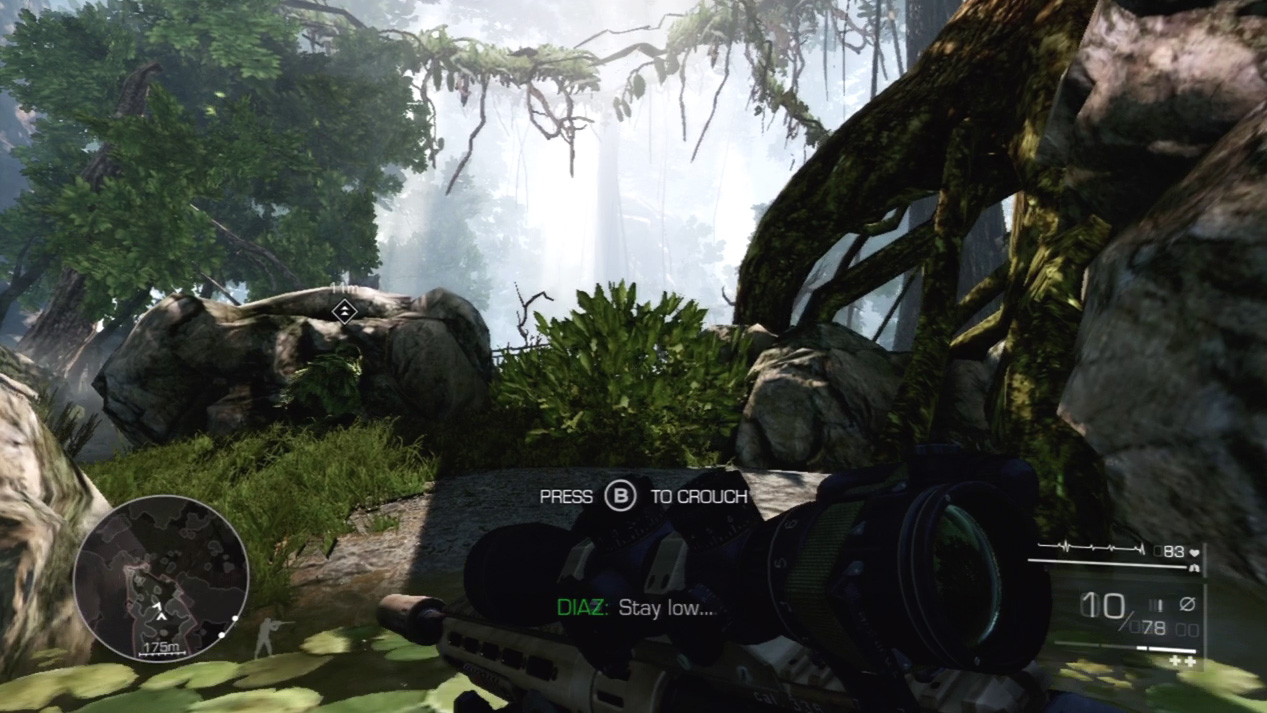
Diaz leads you to cover spot on the far side of the water. As you approach, drop down into a crouch and look to your right. Two enemies talk near a bonfire.
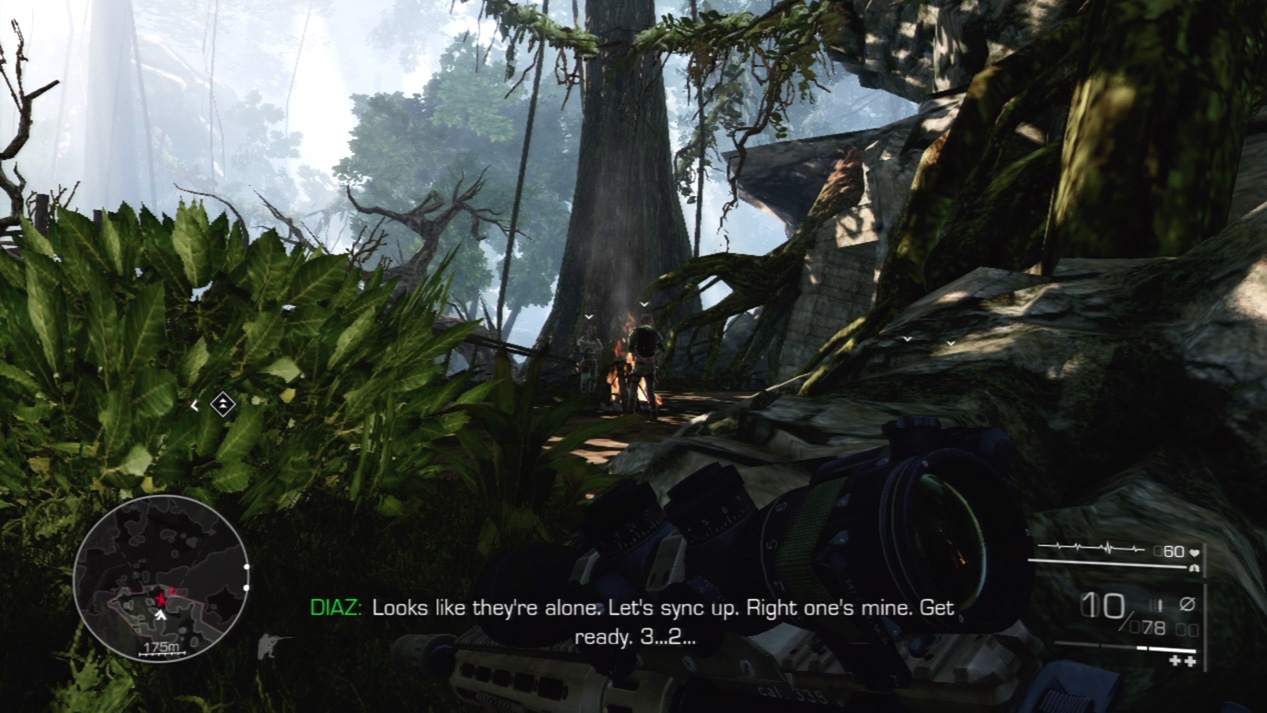
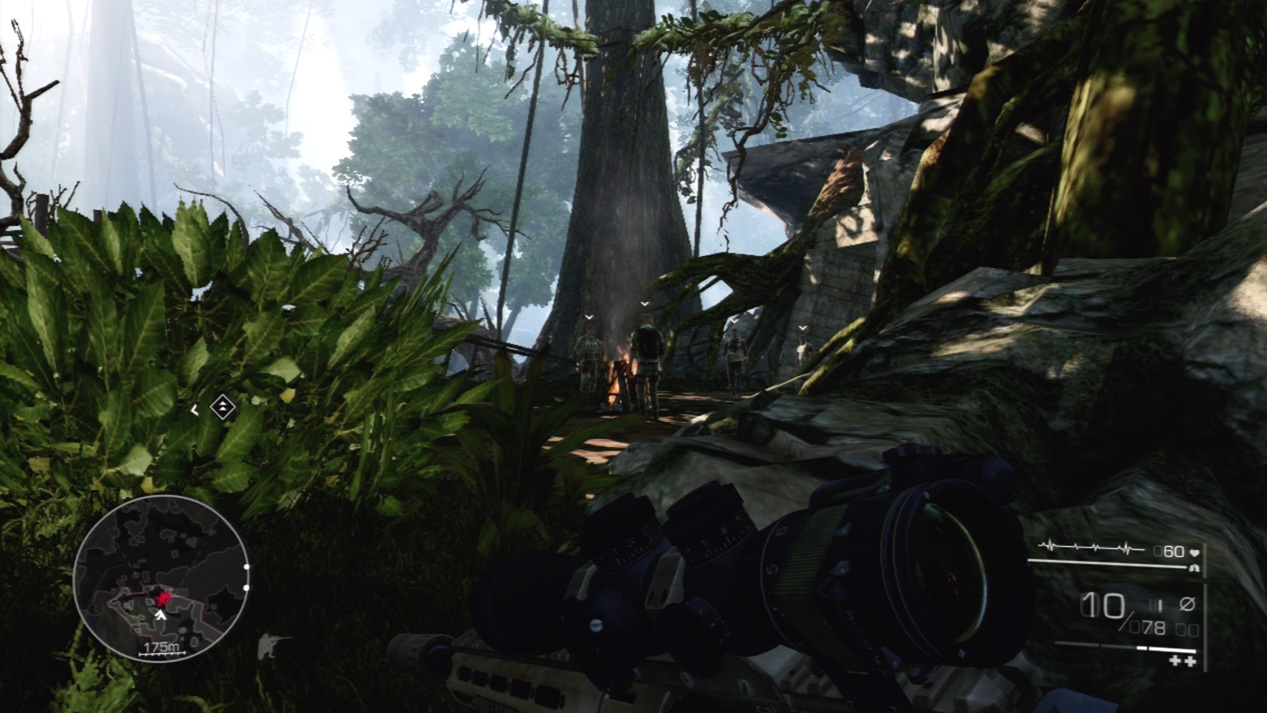
At first, Diaz asks you to lock onto one of the enemies so you can take them out simultaneously. Hold your fire, though! Just after you prepare for the simultaneous kill, two more guards approach.
You don’t want to take them on from your current spot. Instead, Diaz decides to sneak around them and put your stealth skills to the test.
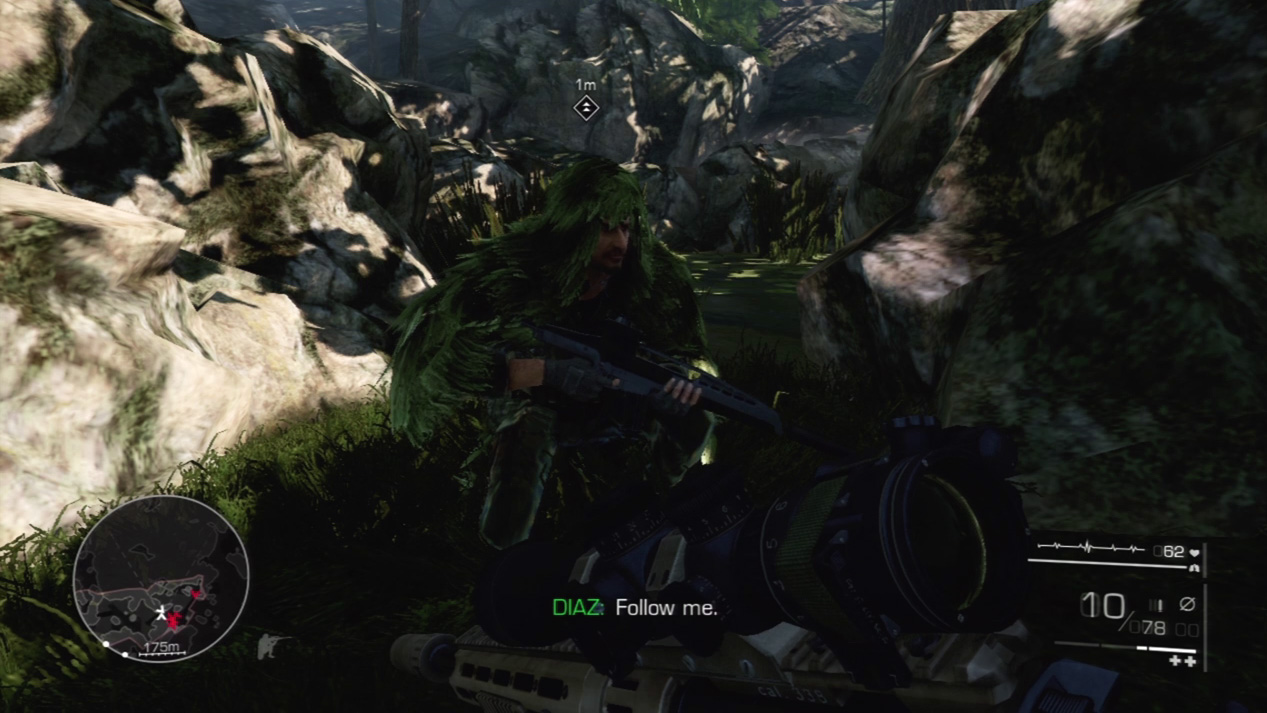
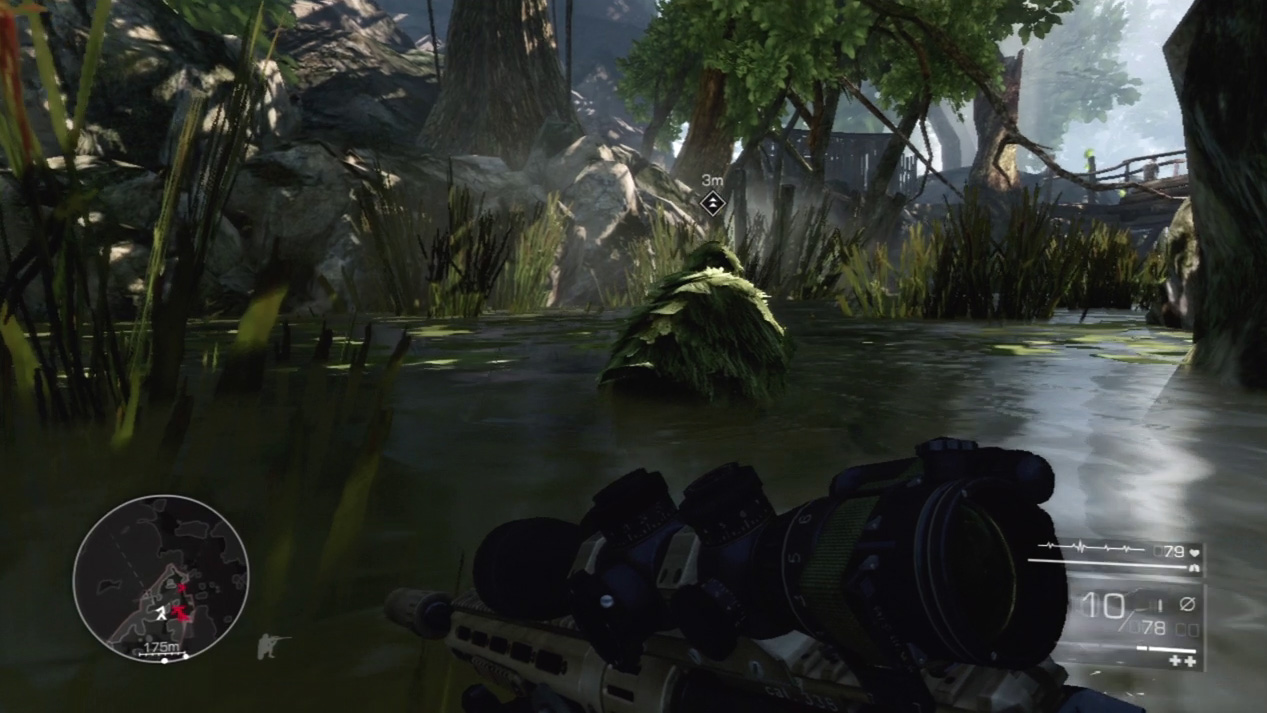
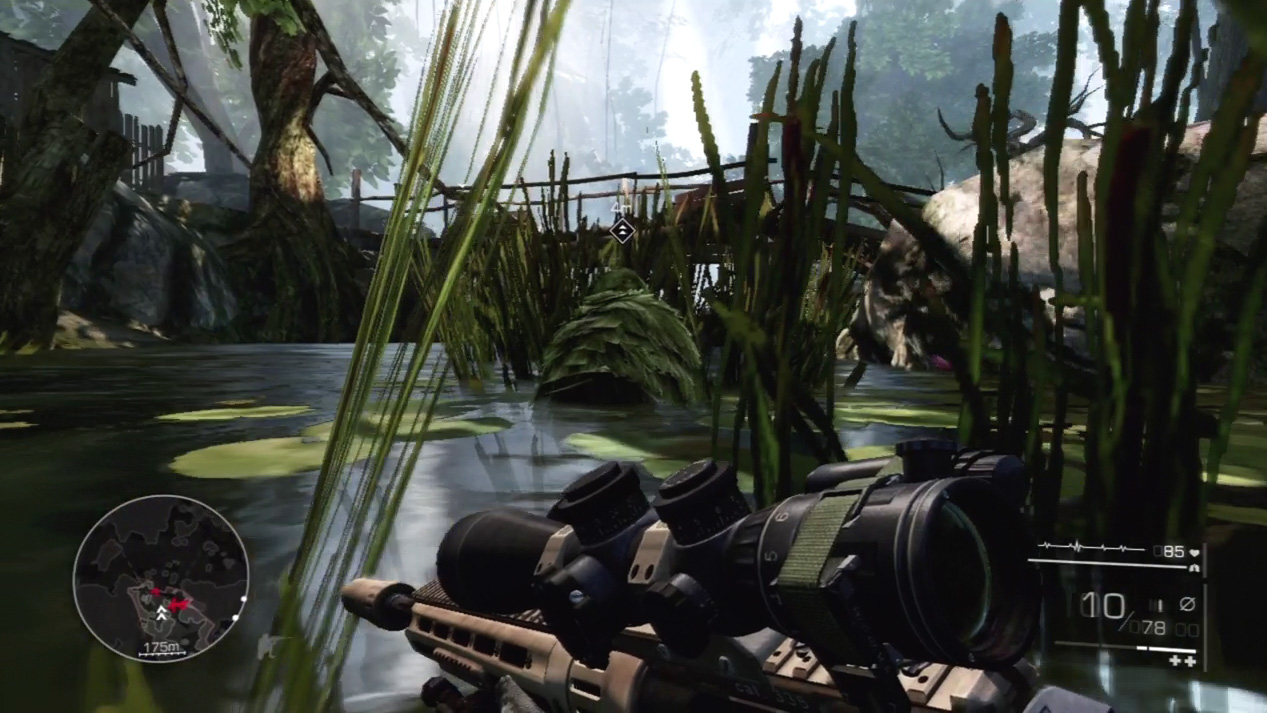
Slide out from your cover spot and follow Diaz back into the water again. So long as you stay down in a crouch and don’t fire, you will escape the bonfire guards’ notice and avoid detection.
Waypoint 4
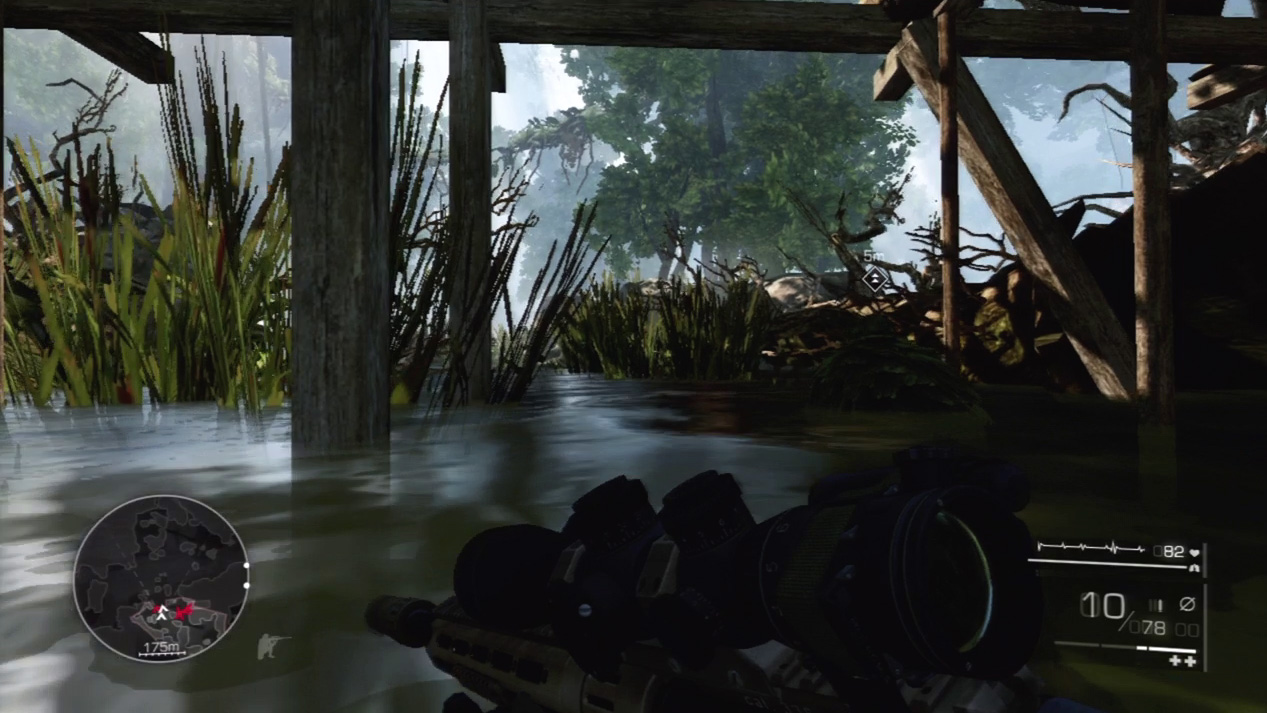
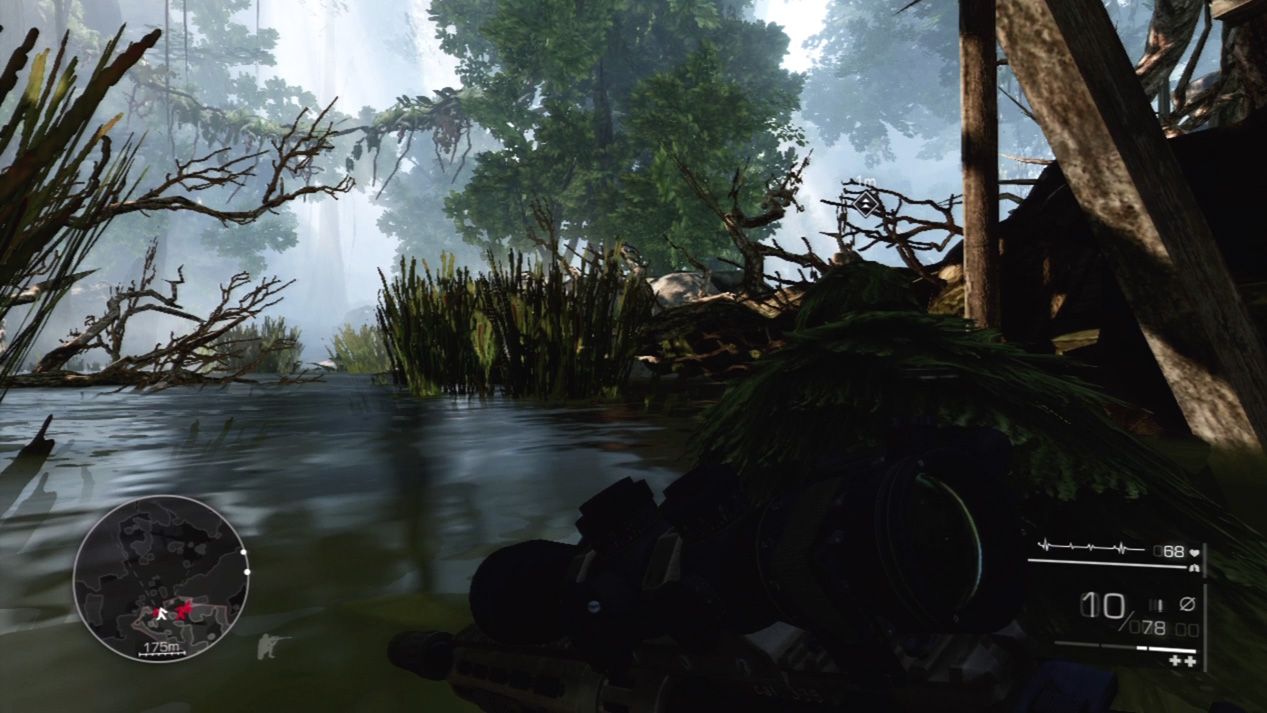
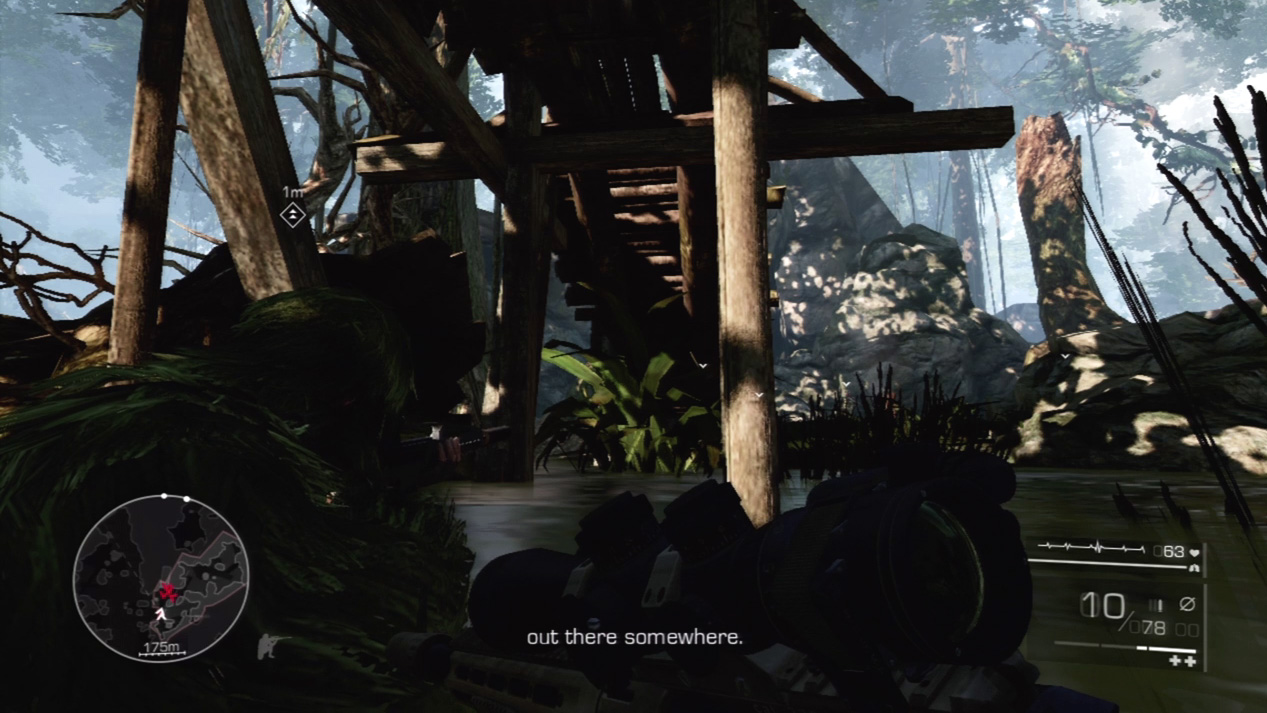
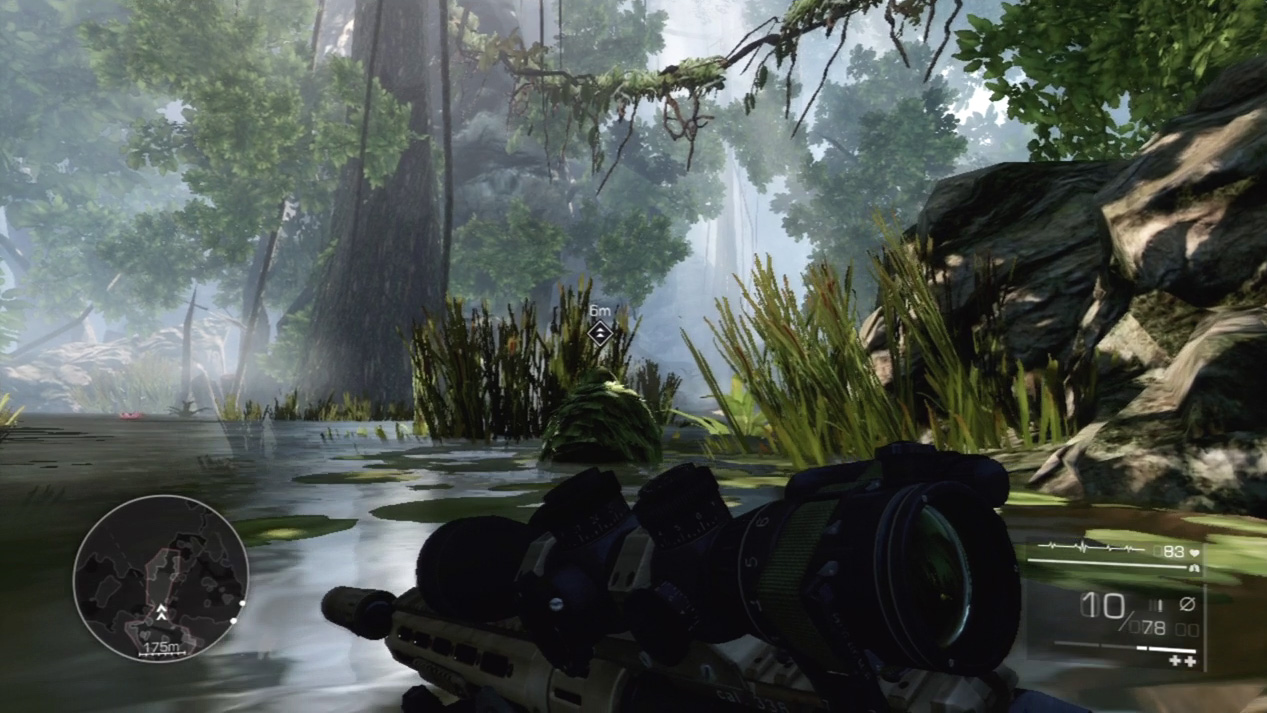
Stay on Diaz’s tail until he tells you to stop. It’s best to crawl through the tall grass in the water; the plants afford the best cover. When you reach the bridge’s underside, you need to stay hidden in the water until the guards pass above.
When the coast is clear, Diaz begins moving again. Stay close to your partner as you swish through the water deeper into enemy territory.
Waypoint 5
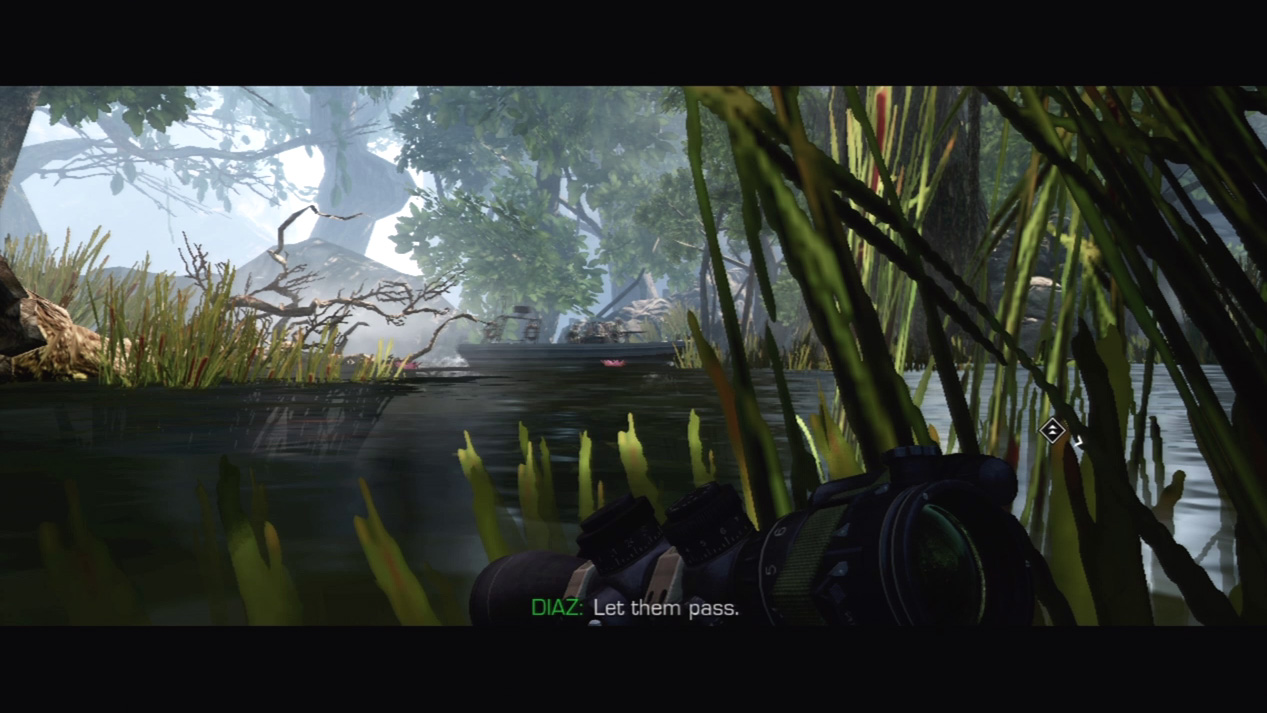
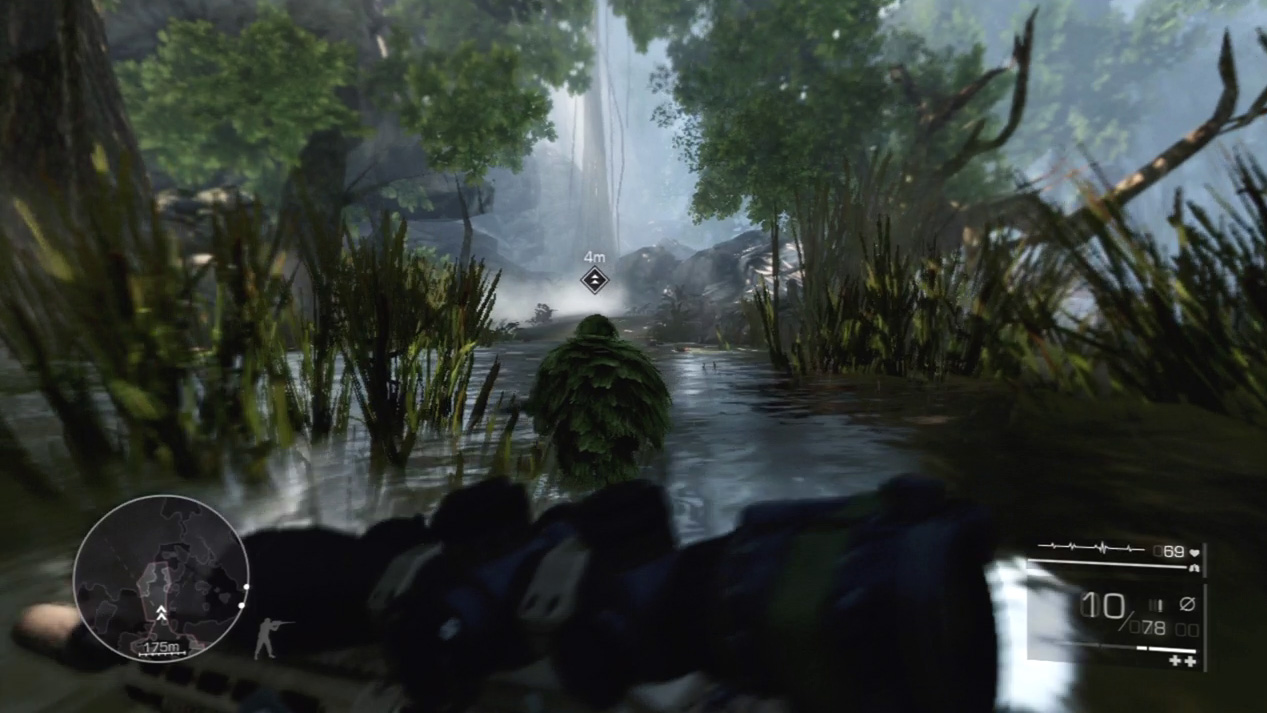
At one particular thick patch of grass, Diaz raises his hand to stop. Stay close to him in the water and under cover of the grass. An enemy patrol boat motors by in front of you.
Remain hidden in the grass as it passes, then sprint after Diaz as you cross the strip just patrolled by the boat.
Waypoint 6
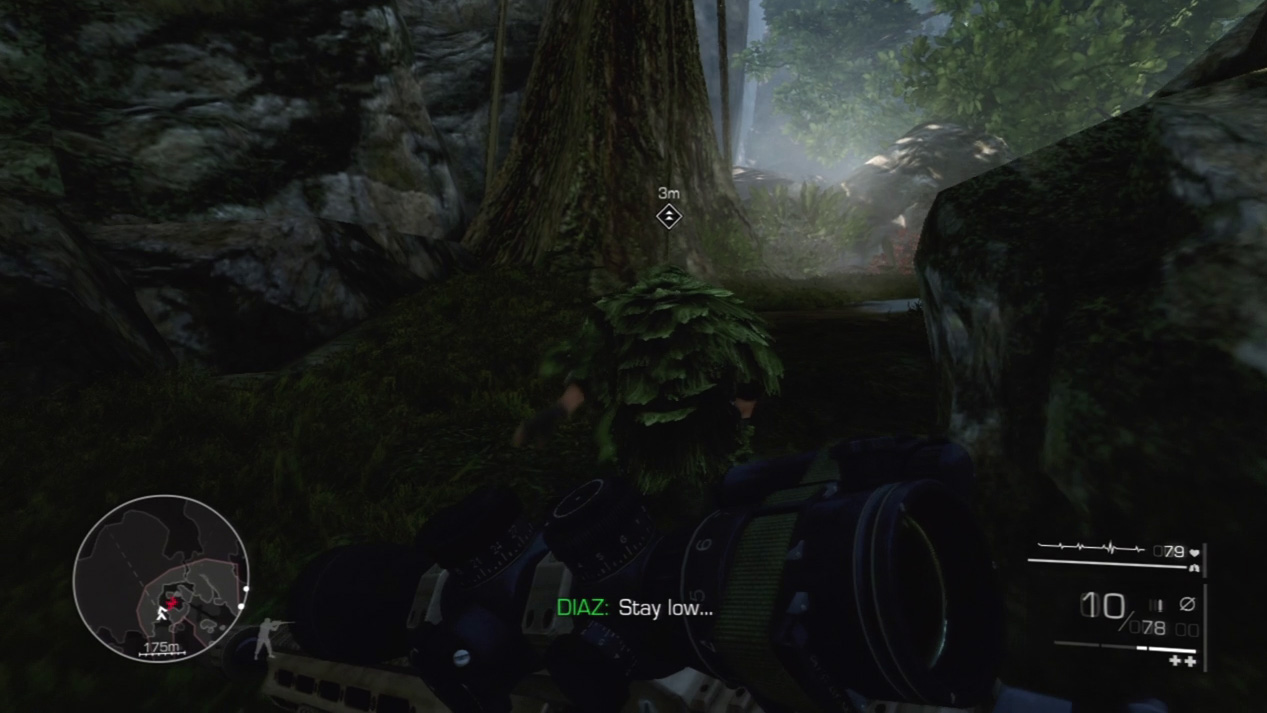
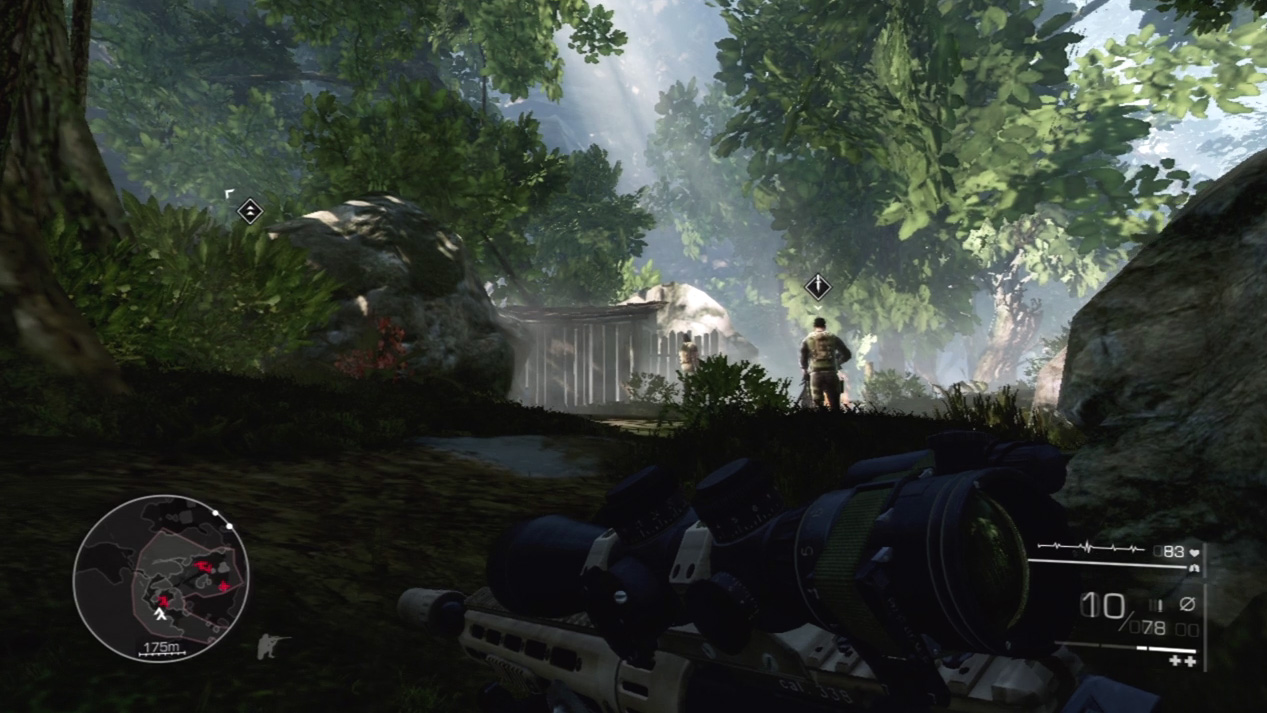
Two enemies bar your way as you leave the water and enter more heavily guarded territory. Drop into a crouch as you approach from behind and keep the enemies’ backs to you at all times.
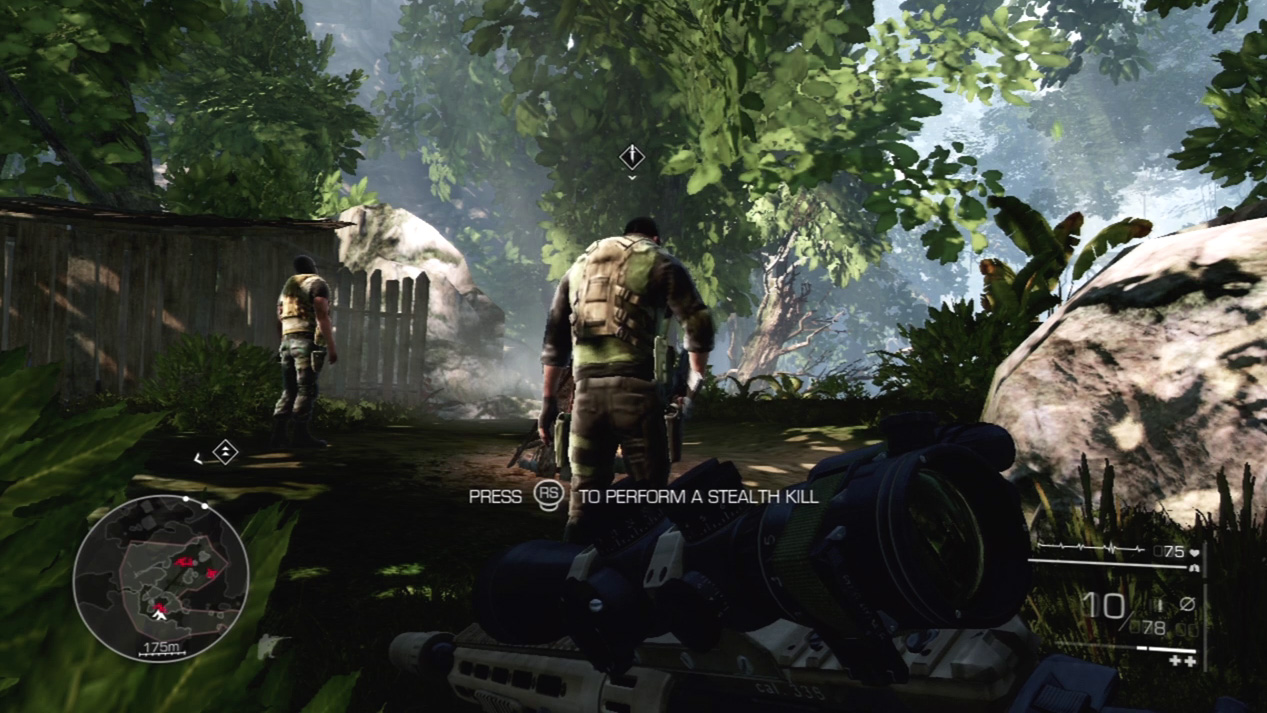
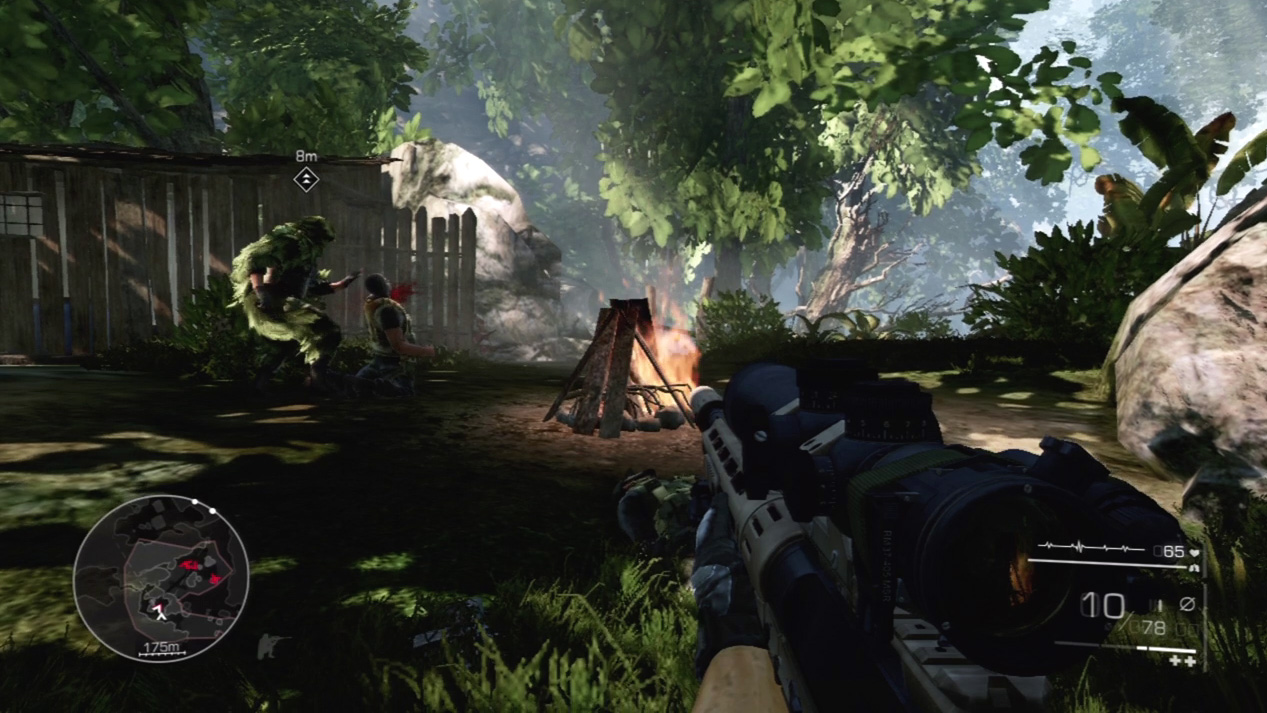
Diaz suggests a stealth kill with your knife to keep the noise level down. Sneak up behind the enemy on the right and press the Stealth Kill button when you get in range.
You’ll execute the enemy with your knife before he has a chance to utter a sound. Meanwhile, Diaz mirrors your attack and silences the guard on the left at the same time.
Waypoint 7
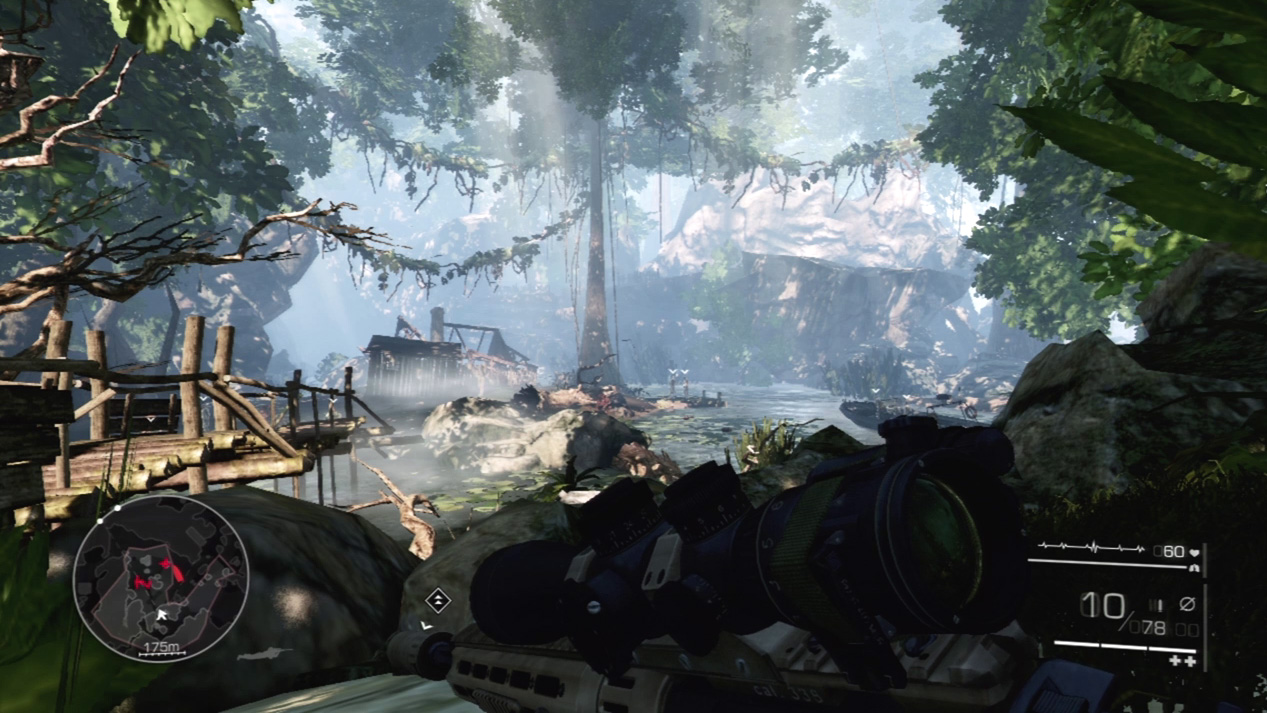
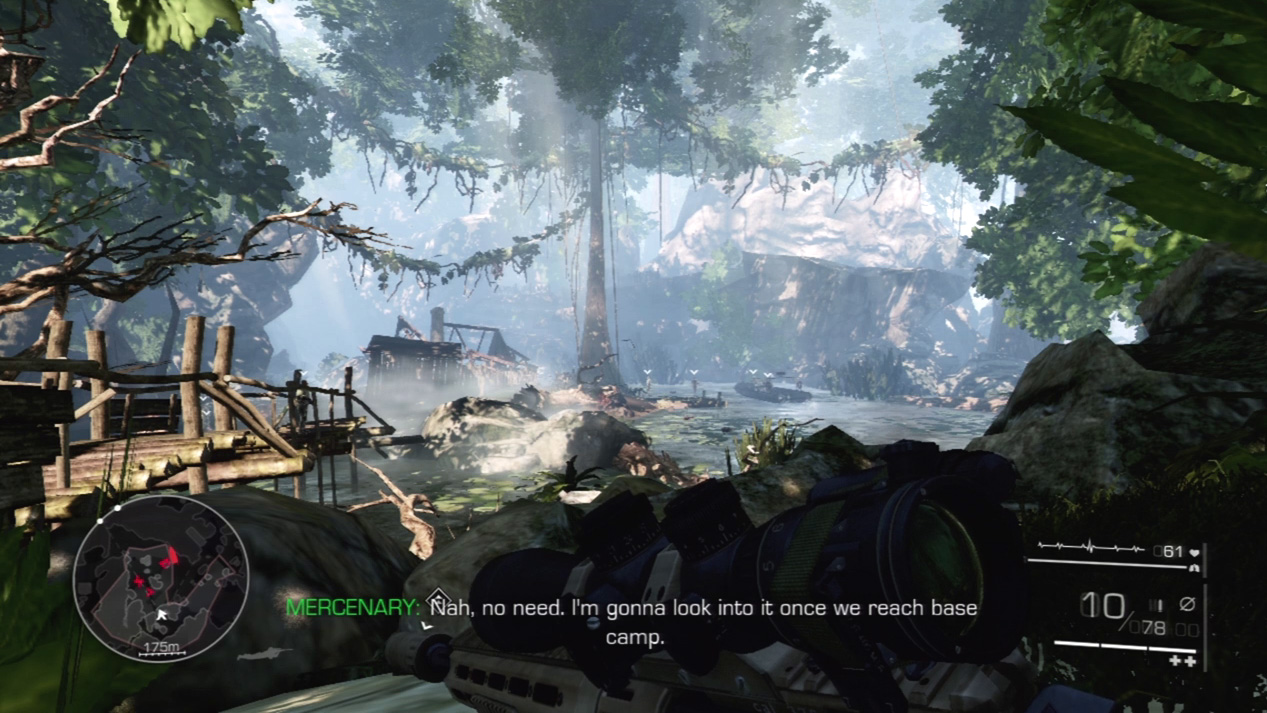
Diaz guides you to the next objective point: a heavily guarded enemy pier with boat patrols in the nearby waterway. Go prone as you crawl through the vegetation to get a good view of the enemies and surrounding terrain. An enemy boat is having trouble with their engine when you arrive. Wait patiently for them to fix the problem and motor away before you engage.
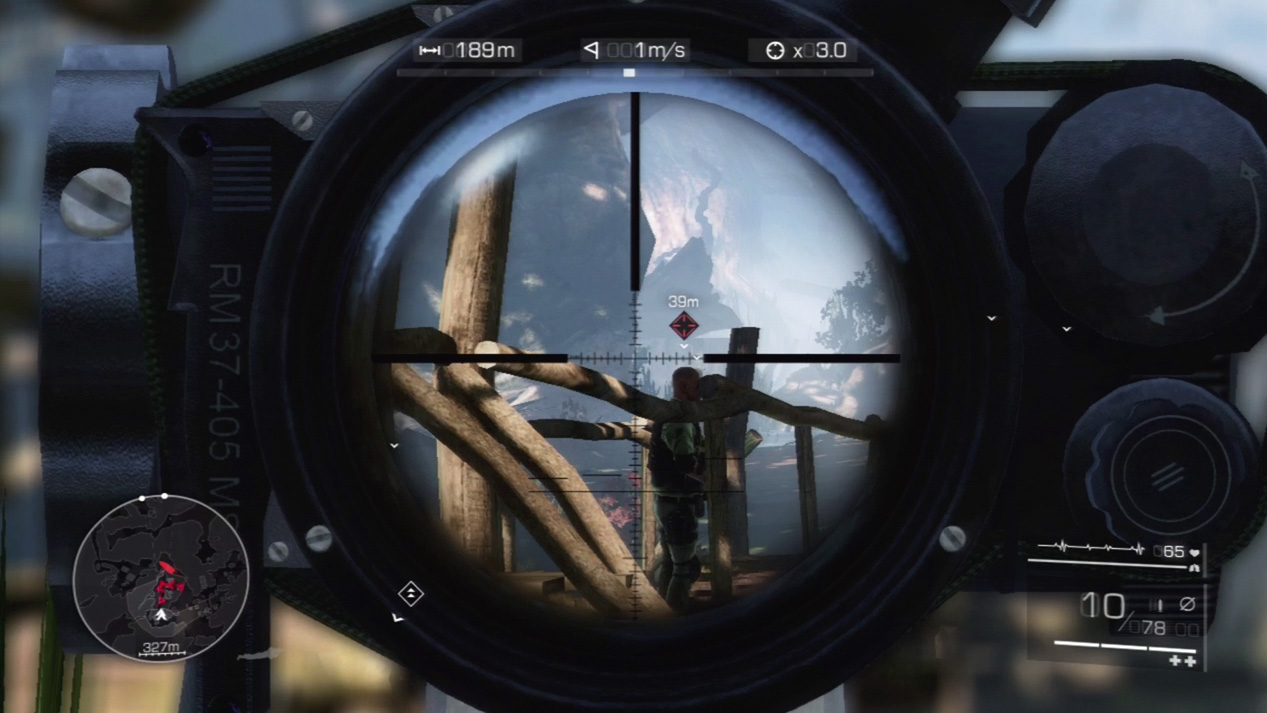
Diaz calls out targets one by one for you. Look for your first on the pier to your left; he’s the closest enemy. You shouldn’t have any trouble locking onto him and executing a headshot.
Special Shot: Head Shot
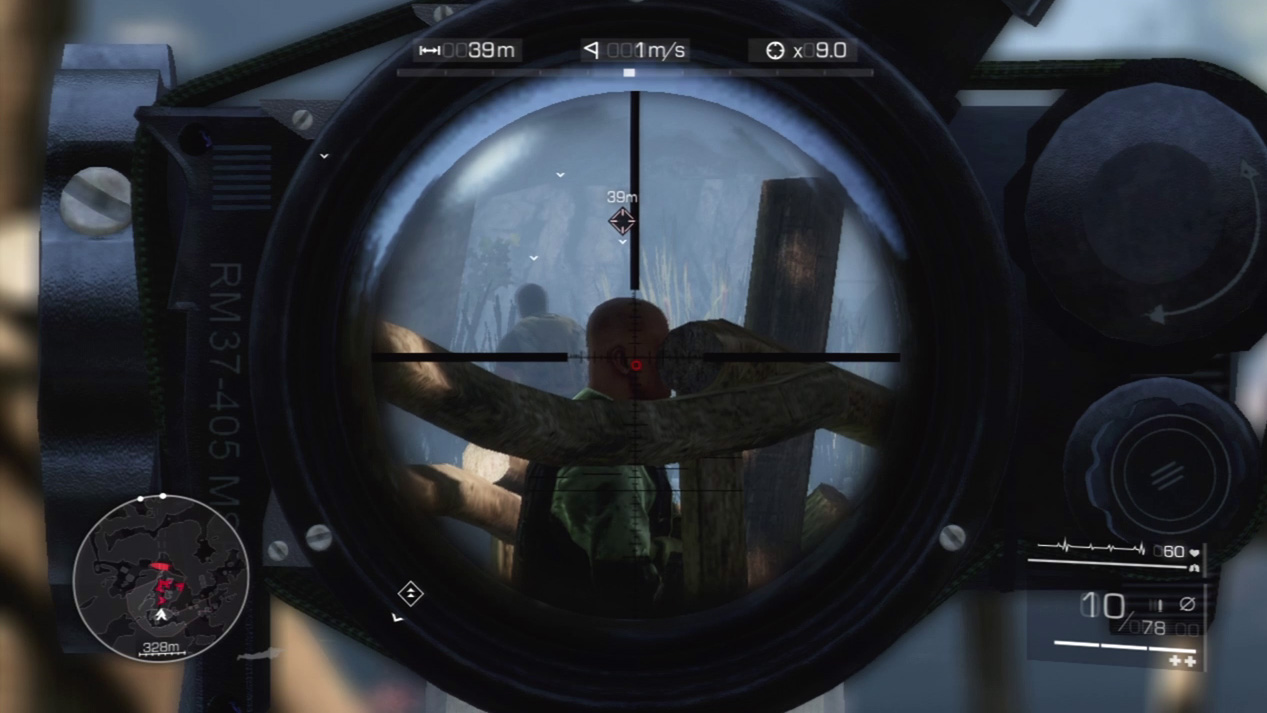
A headshot is the surest method of killing an enemy with a single bullet. When you need a definite kill and have ample time to set up the shot and steady your aim, always go for the headshot.
A clean shot through the neck or torso will also kill your target—shots to the arms and legs may not—but such a shot lacks the great satisfaction of watching your sniper shot in “bullet time” as it splatters an enemy’s cranium in super slow motion.
If you enemy targets line up, you can also perform the double headshot, which is one of the stats tracked in your personal file.
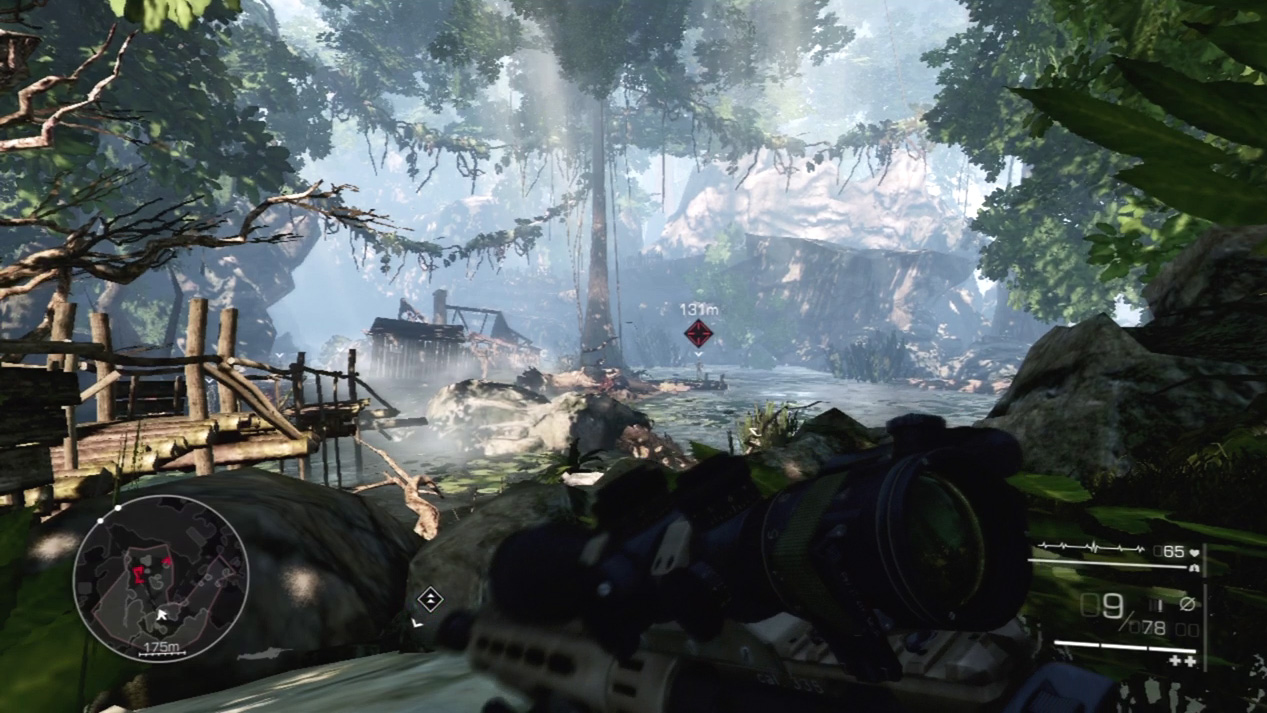
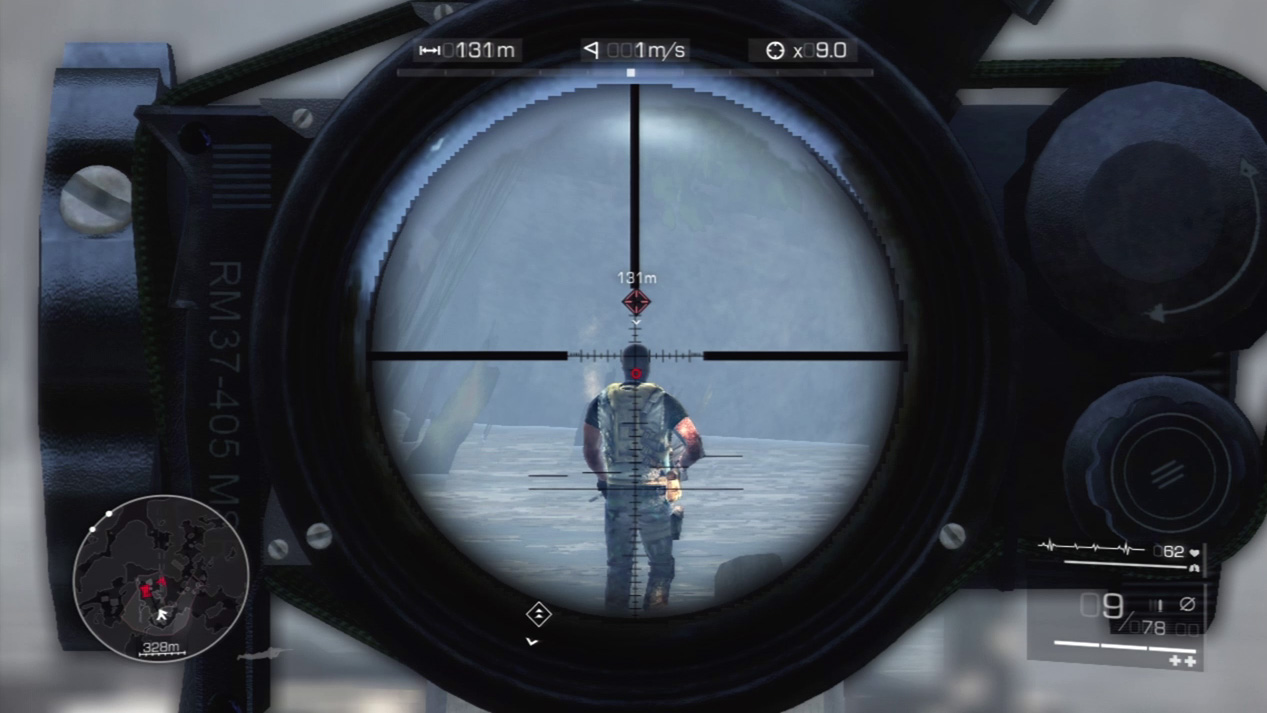
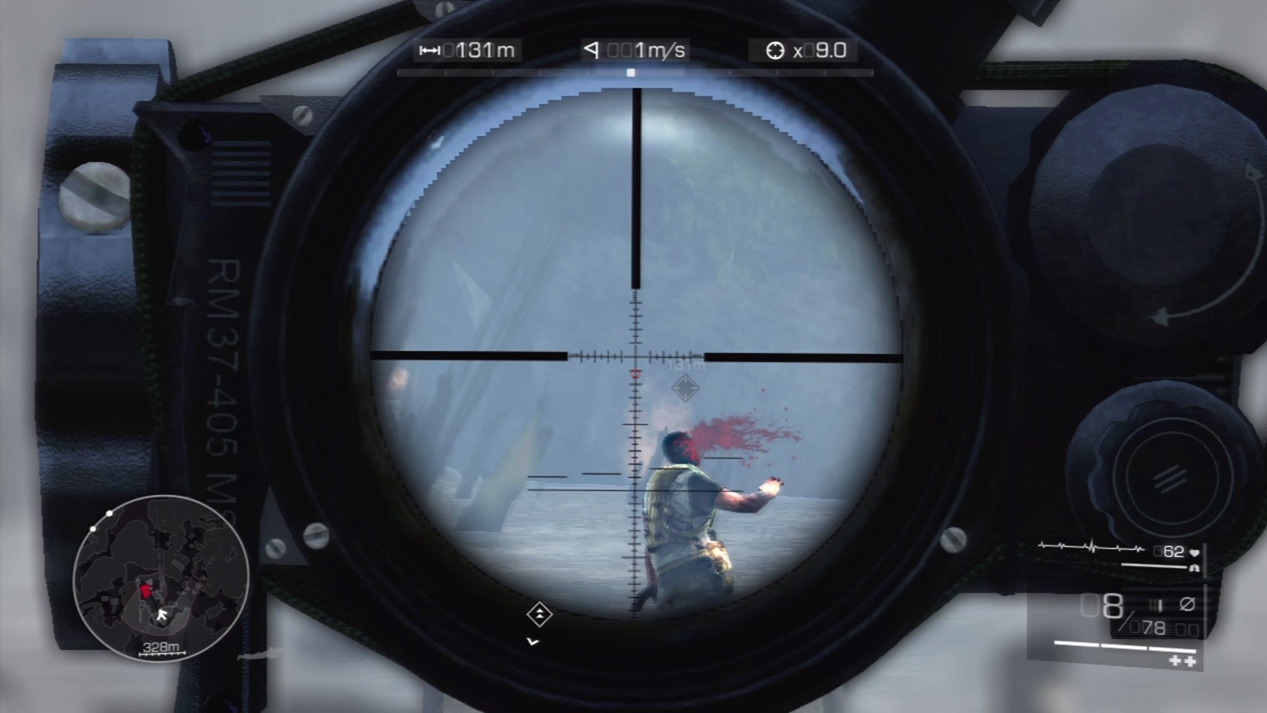
Your next shot is on the far dock to your right. It’s a longer shot; your prone position will help steady your shot, as will taking a long breath before pulling the trigger. Line up another kill shot and drop the enemy into the water unseen.
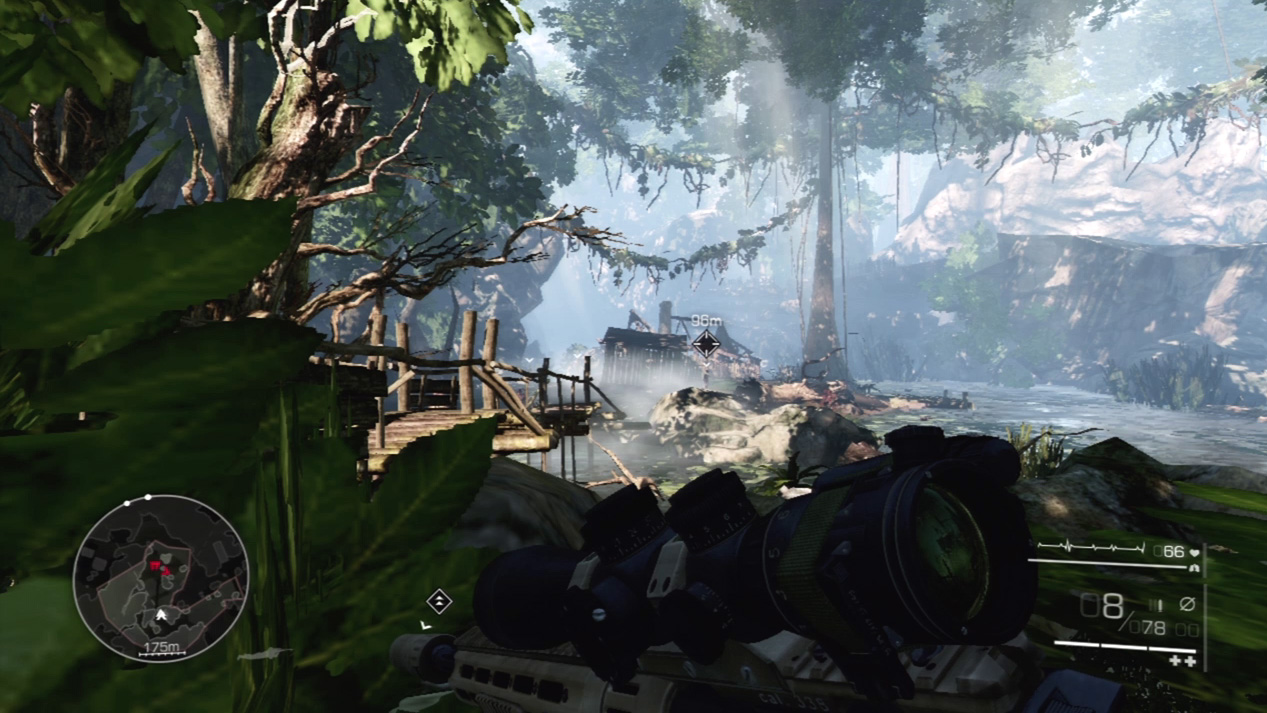
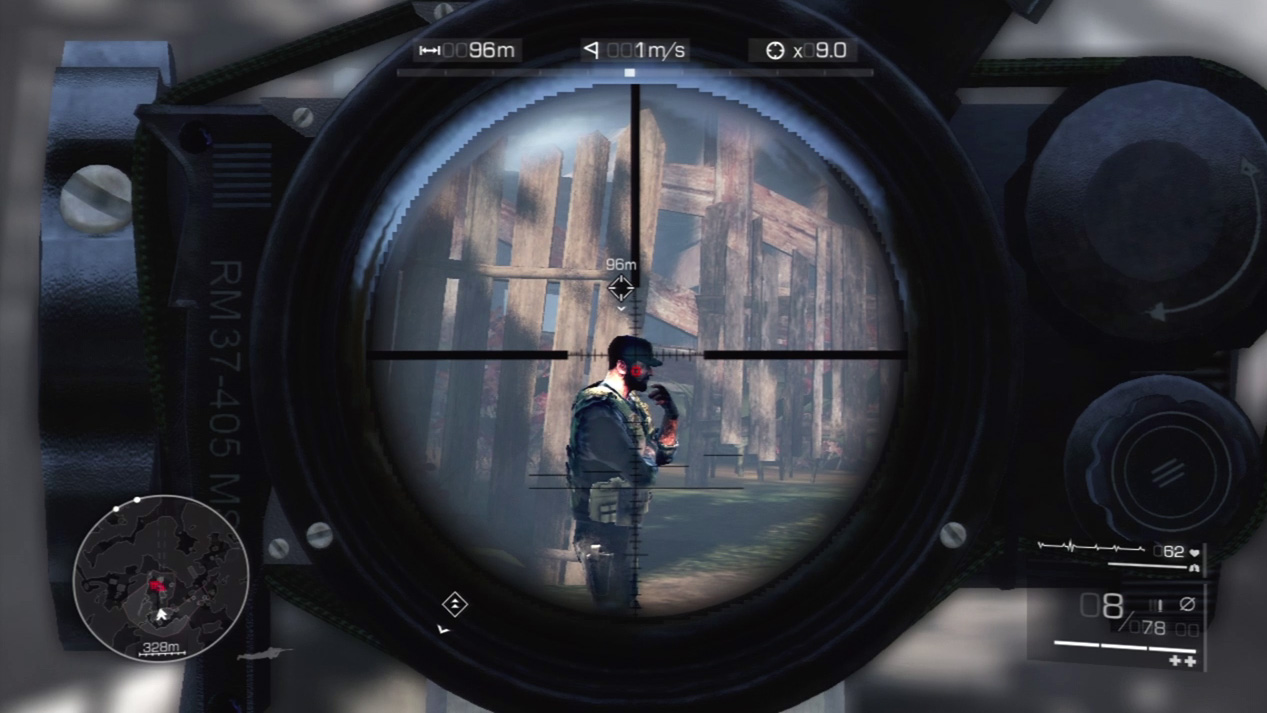
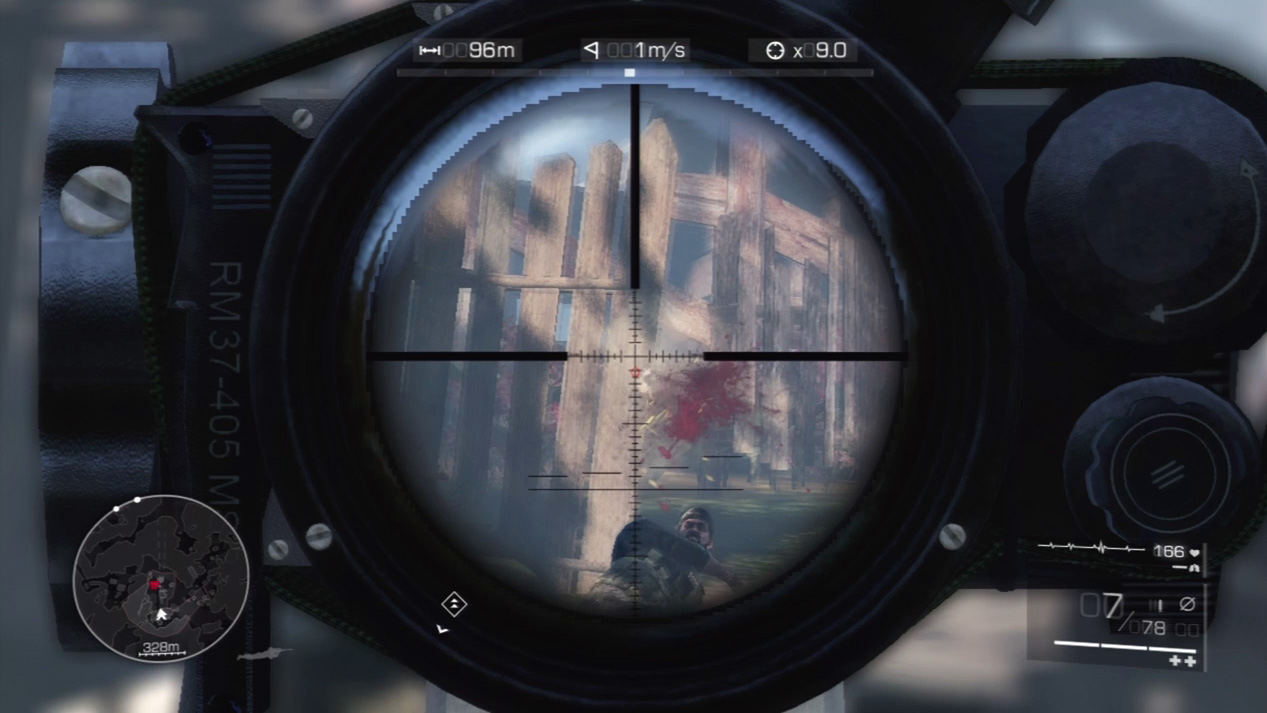
The third enemy walks in front of the building ahead. Wait until he stops on the farthest point on his path to the right. He’ll linger here for an easier kill shot. Zoom and take him out before he moves again.
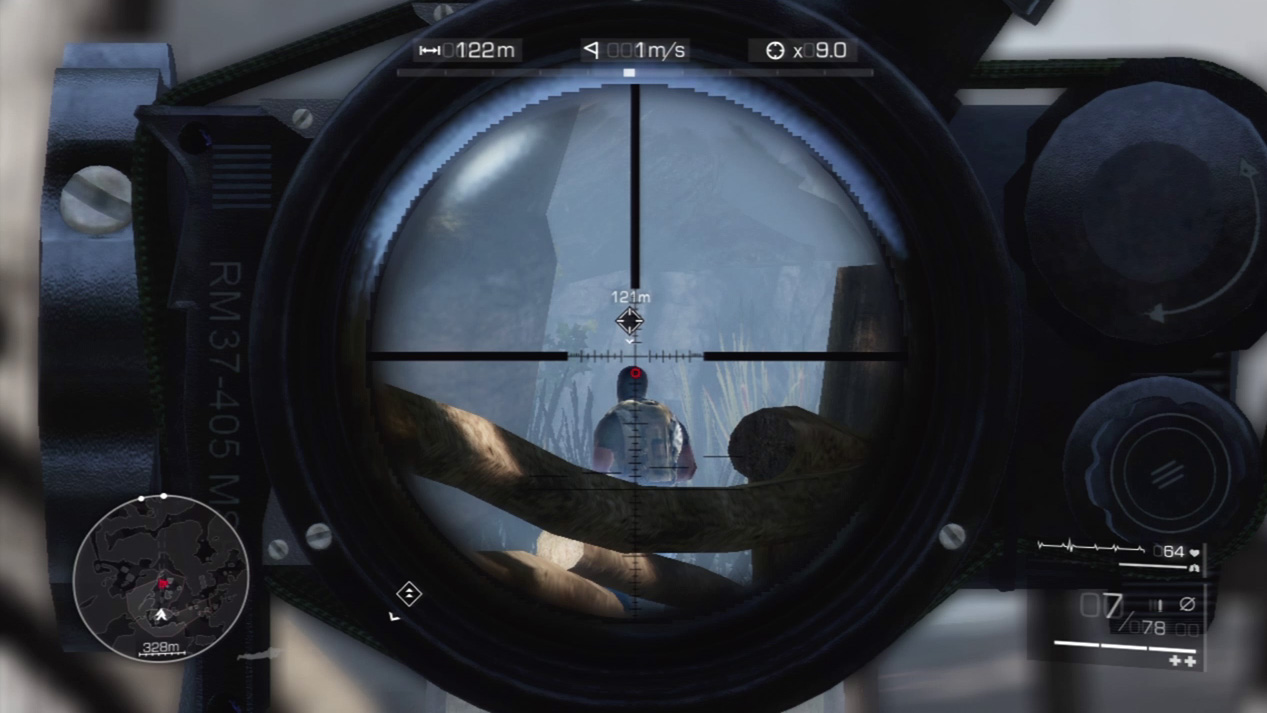
Switch back to the left side and pick off the guard farther down the pier. His back is turned to the building, so he shouldn’t have noticed anything amiss during your previous kill shots. Take your time for another deadly headshot.
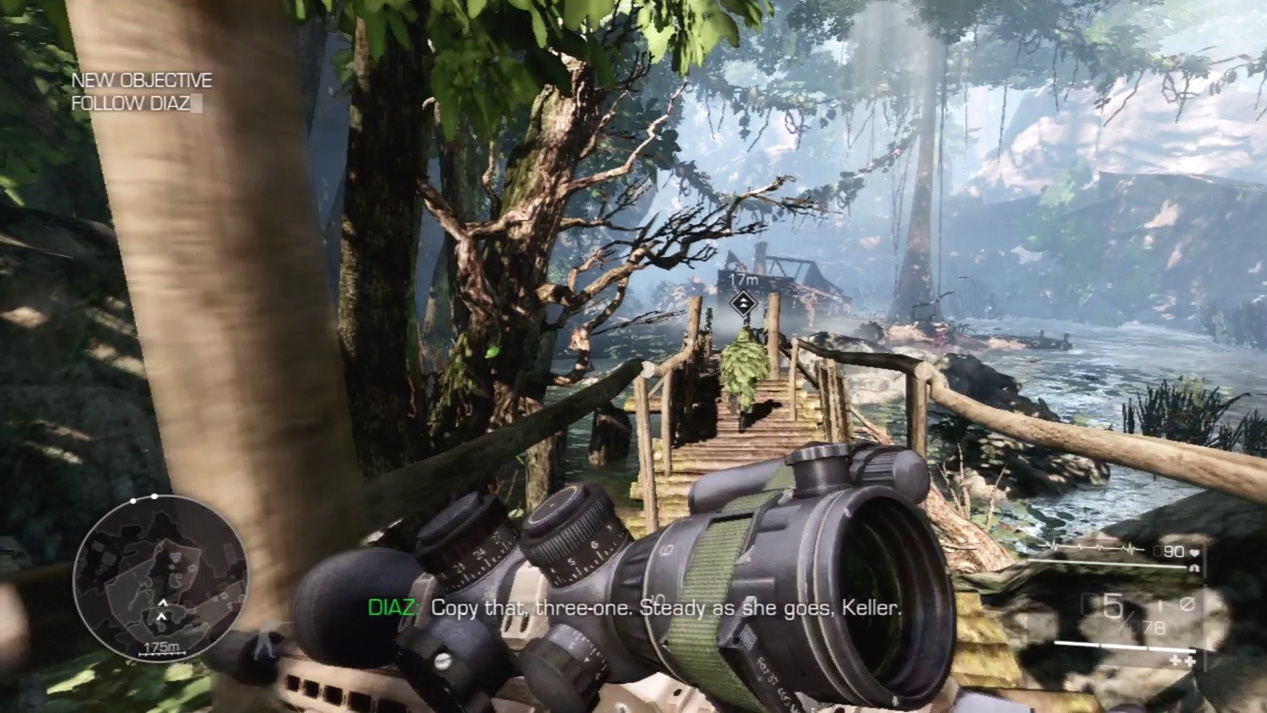
With all enemies dropped, run down the pier after Diaz and cross through the enemy checkout. Drop into the water beyond and look for more enemies ahead.