
Sniper Ghost Warrior 2 Guide Multiplayer Mutliplayer
Multiplayer - Resort
Resort
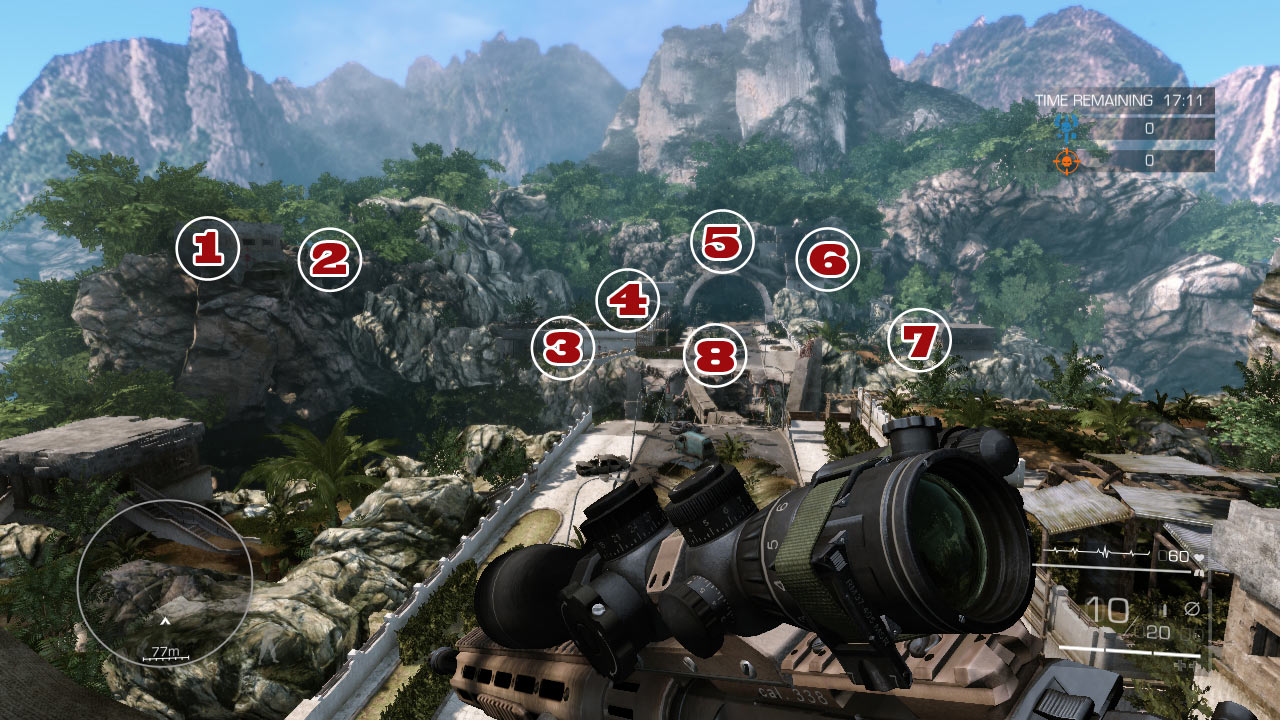
A river and crumbled road separate the two mirrored sides of this overgrown and ruined resort. Eight primary sniping areas around the resort will give you an advantage over enemies out in the open—if you know where to hide and where to scope.
See the resort schematic for the lay of the land and the relative positions of all the sniping points.
Sniper Point 1: Mountain Tower
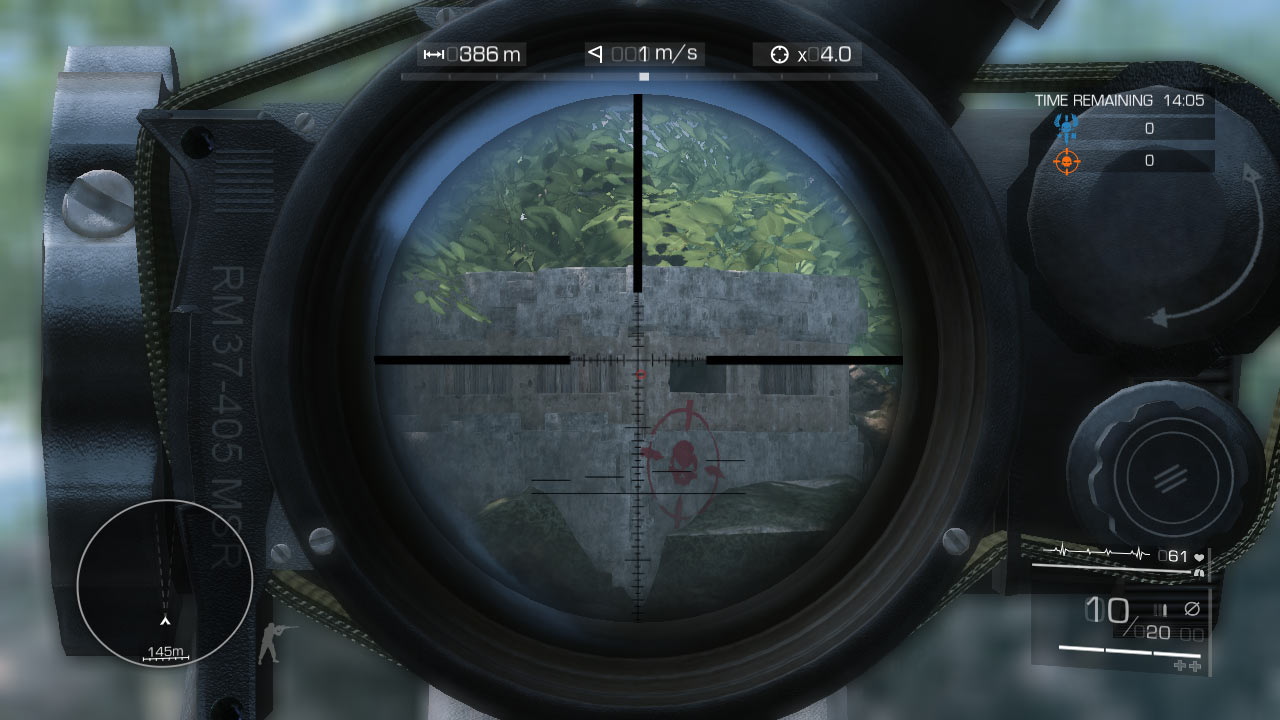
Located high up in the mountains on the right side (when you’re facing the enemy), the tower can only be reached by taking the long tunnel through the mountain.
Use the underground tunnels if you have to cross the resort to gain the mountain entrance.
Advantages
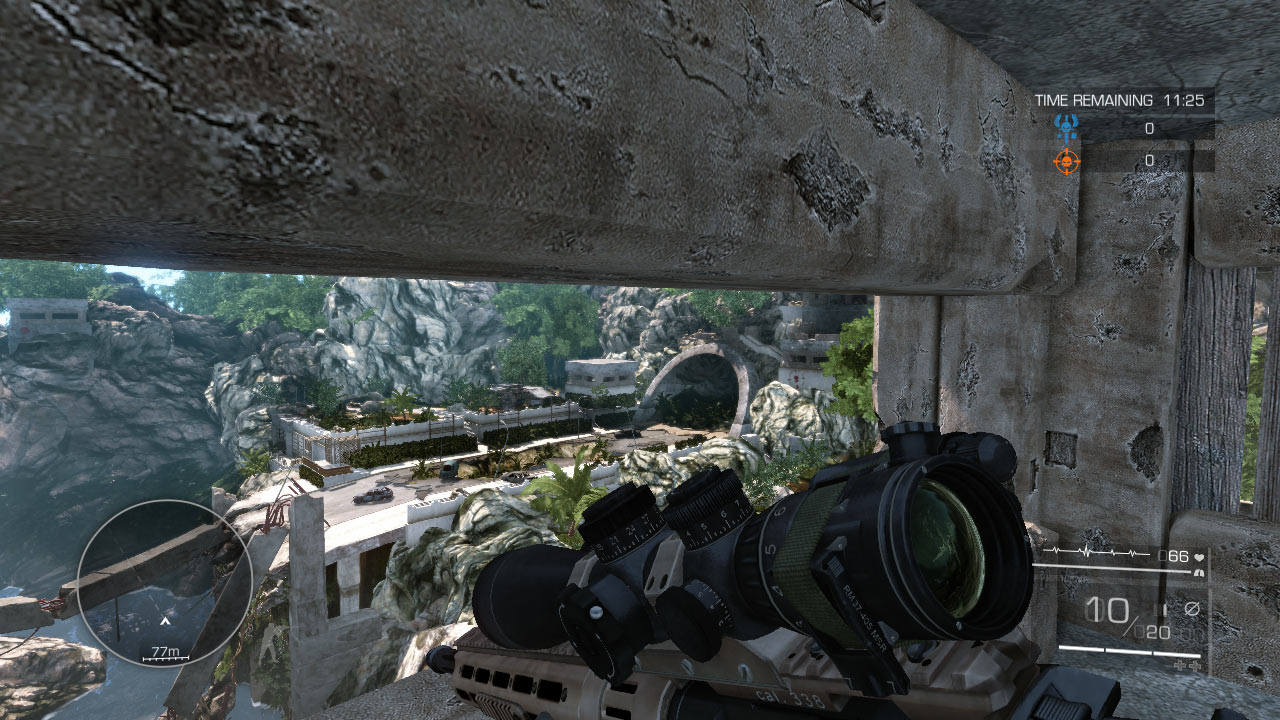
Because you are positioned on the far end of the resort, you have a clear shot at the bridge and the opposite end of the enemy complex (sniper points 1 through 4).
Anyone atop sniper point 3 is dead meat, and you have good cover against sniper point 6.
Disadvantages
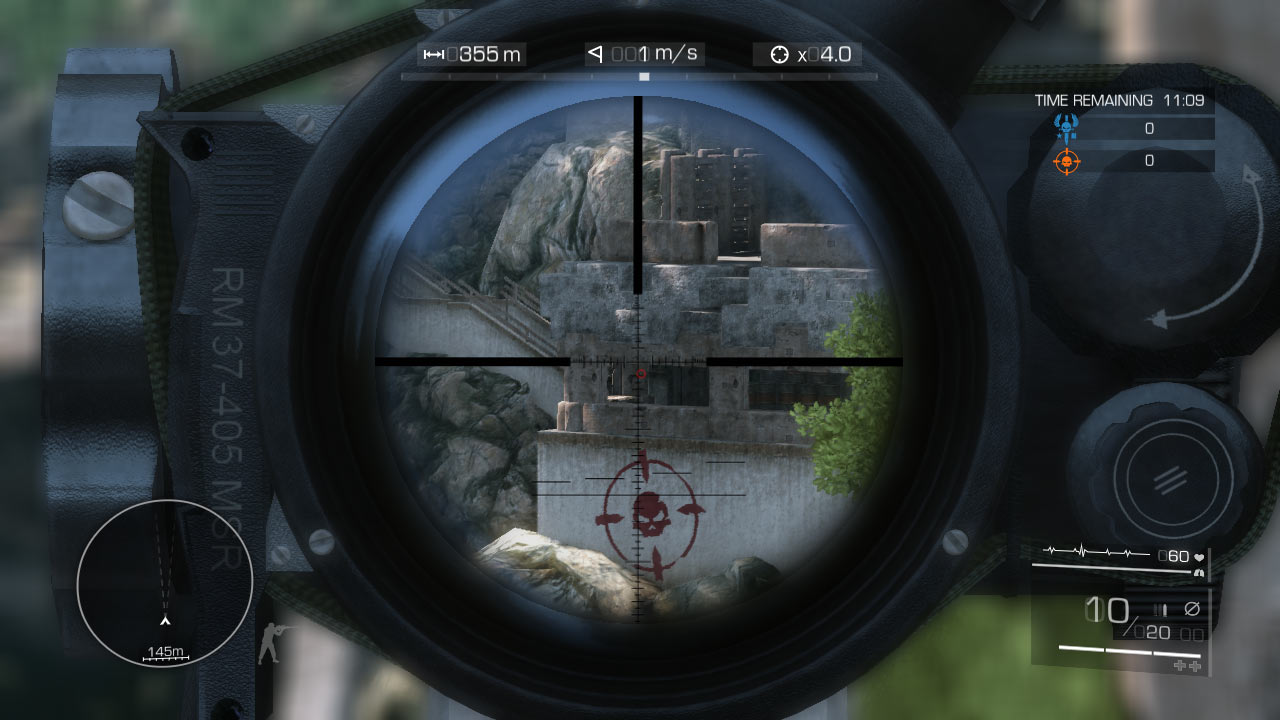
You are very exposed to the enemy mountain tower (sniper point 1). You can see what’s going on at the right side of the enemy complex, and you have no shot on sniper point 7 and may have to slide out from the protective corner to strike at sniper point 6.
It’s also the farthest sniper point, so it will take time to reach the position, which means you’ll lose sight of enemy positions and miss out on potential kills in a shorter game.
Tactics
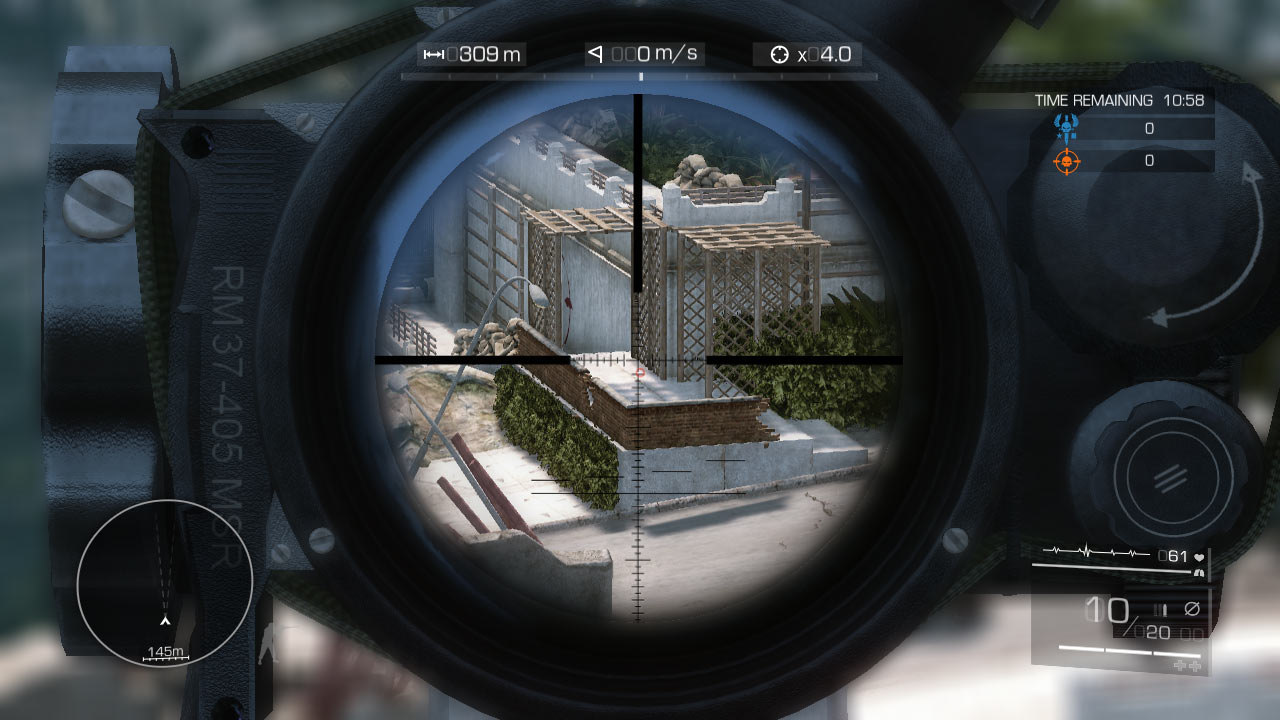
Sprint from your spawn point to reach the sniper point as quickly as possible. Use the underground tunnels beneath sniper point 9 to cross the resort; don’t ever cut out in front where you’re an easy target.
Once you reach the mountain tower, nestle up against the far corner. This gives you cover against the enemies to your right (sniper points 6 and 7).
Your immediate focus should be any enemies directly across from you (sniper points 1 and 2). Enemies across from you can shoot into the tower no matter where you crouch.
Once you kill those opposite you, you’re free to engage other snipers below.
Against sniper points 3 through 5, you can defend easily by retreating back in the tower to eliminate any angle an enemy sniper might have on you. Remember, too, that you can always drop prone to avoid enemy fire.
Enemies in the sandbags atop sniper point 3 or outside along the brick wall are in big trouble: You have a superior, elevated position and can clip them easily if they do anything other than hunker down.
Anyone trying to cross the broken road (sniper point 8) will have serious trouble surviving for more than a few seconds against you.
They’ll have to be lucky to cross the bridge if you’re sitting in the mountain tower; that’s a lot of open terrain to cross, and you have time to get off two or three shots.
Conversely, you can cover any brave teammates making a charge across the bridge to infiltrate enemy territory.
You can barely see sniper point 6 from your corner. Inch out and eliminate any enemy snipers who take up residence there. Duck back if you need cover. Since you can’t see sniper point 7, you’ll have to rely on your teammates to pop anyone in that bunker.
Sniper Point 2: Mountain Ridge
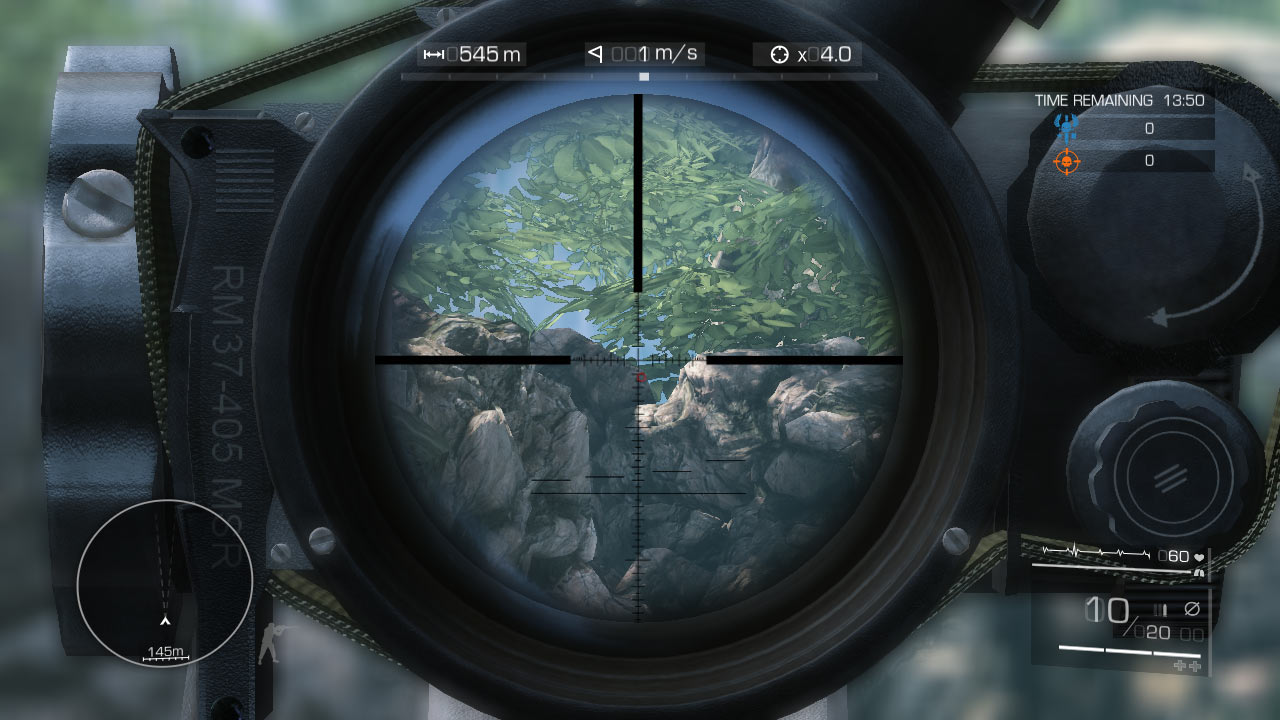
You’ll see this spot on the way up to the mountain tower. Look for the overlook point when the mountain tunnel opens up to the outside before boring back into the hill toward the tower.
Drop into a crouch at the cliff’s edge and shuffle up to the “V” in the rock shelf for maximum protection.
Advantages
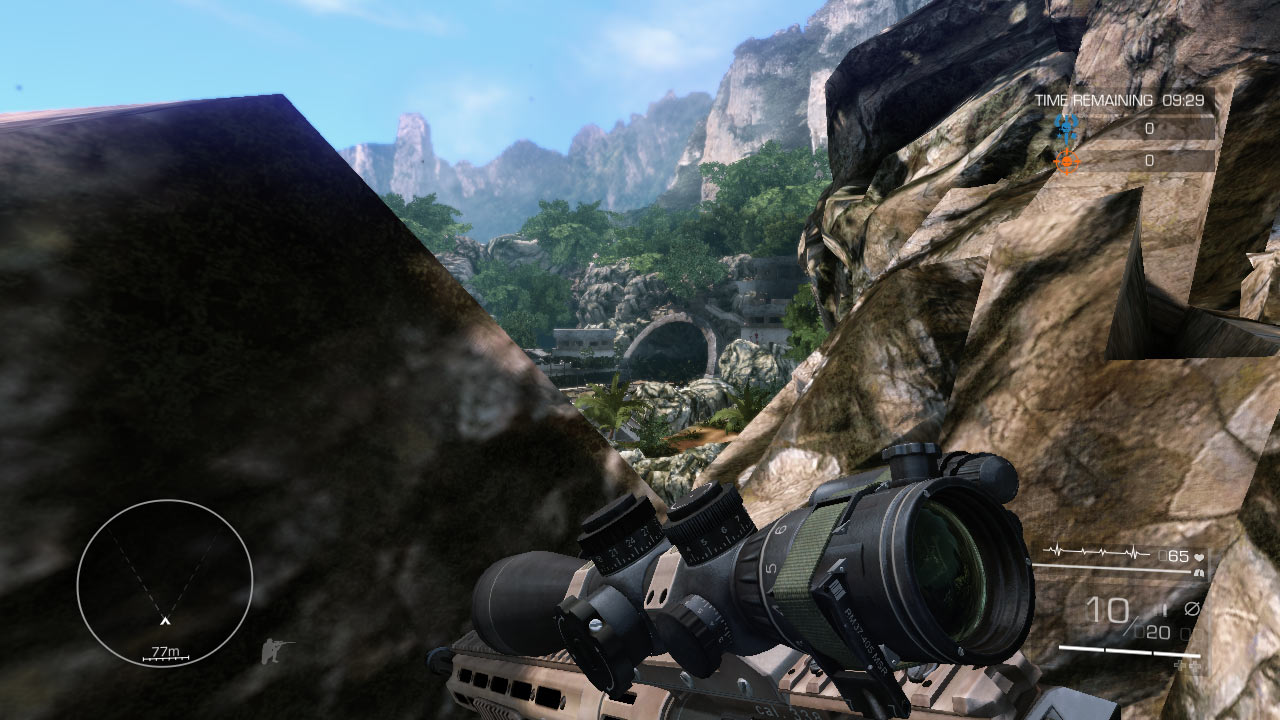
You have surprise on your side. Unless you face an experienced enemy, your foes won’t be searching for you here; they’ll have their sights set on the bunkers and towers.
You also have major cover and can only be hit from a few spots in the enemy encampment.
Disadvantages
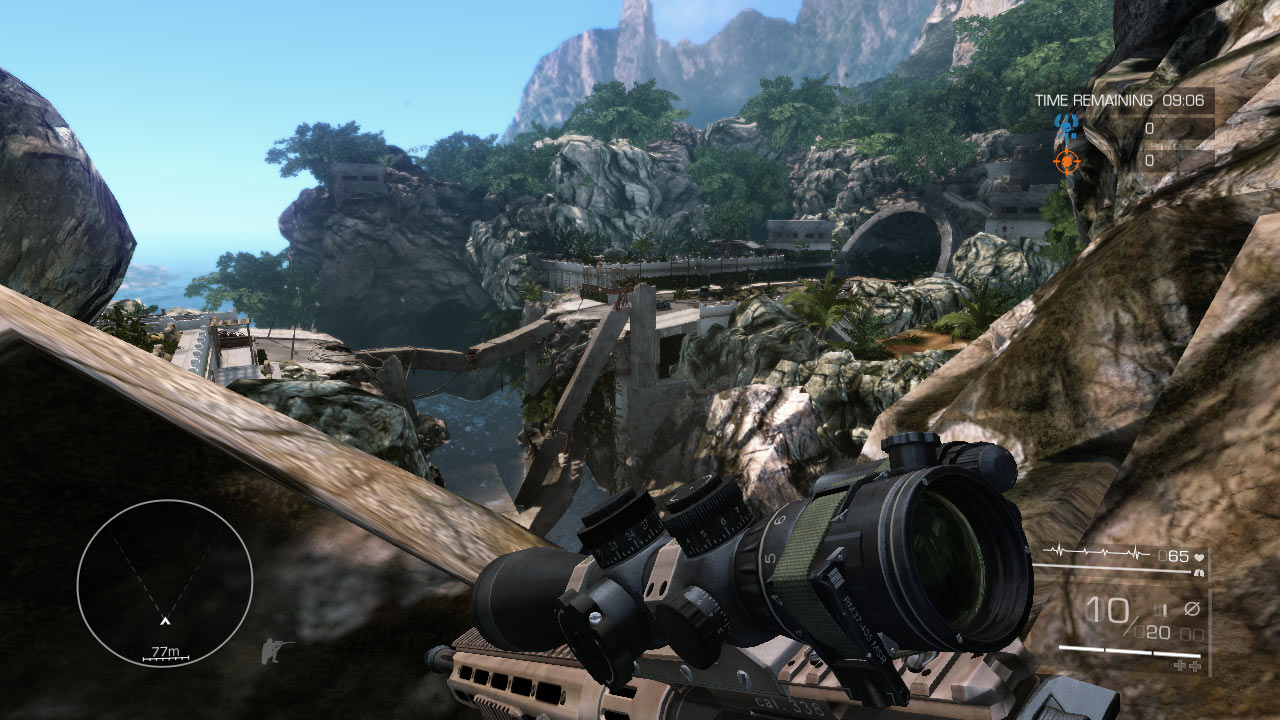
Though you have clear shots on sniper points 4 through 6, you can’t see the rest. If you move farther up the rock shelf, you can hit almost anything, but you’re also exposed to anyone who knows to look for you up on the rocks.
Tactics
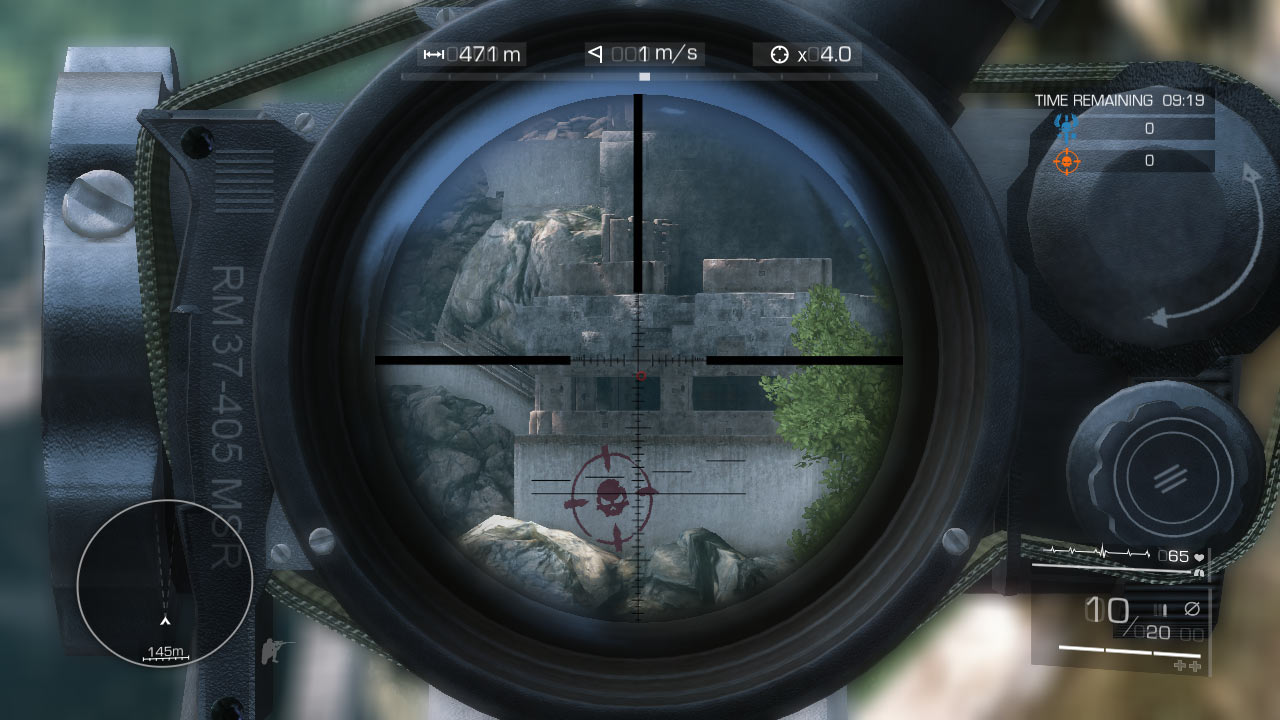
If you want the element of surprise, race up to this sniper point as if you were heading to the mountain tower. When you reach the break in the tunnel, steer off to the left and wedge yourself into the rocks that overlook the middle of the enemy resort.
Depending on how many enemies you face, you may be busy honing in on sniper points 4 through 6, but it’s important to clear them first because they can see you.
So long as you have other teammates covering the other enemy sniper points and the bridge, you should stay hidden and only pick off targets that come into view.
Scope on the enemy sniper points in clockwise order beginning with point 4 and continuing around in a circle; as soon as you spot movement, zoom and fire.
If your team needs assistance on another part of the map, slide up to the gap in the rocks. Now you’re exposed; execute your task quickly and move back into cover.
Once exposed, you can clearly strike out at the bridge and open road (sniper point 8), the bunker across from you (sniper point 3) or the opposing enemy mountain (points 1 and 2).
Like at the mountain tower, from where you are you can’t see sniper point 8 and will need assistance if trouble erupts there.
Sniper Point 3: Mountain Bunker
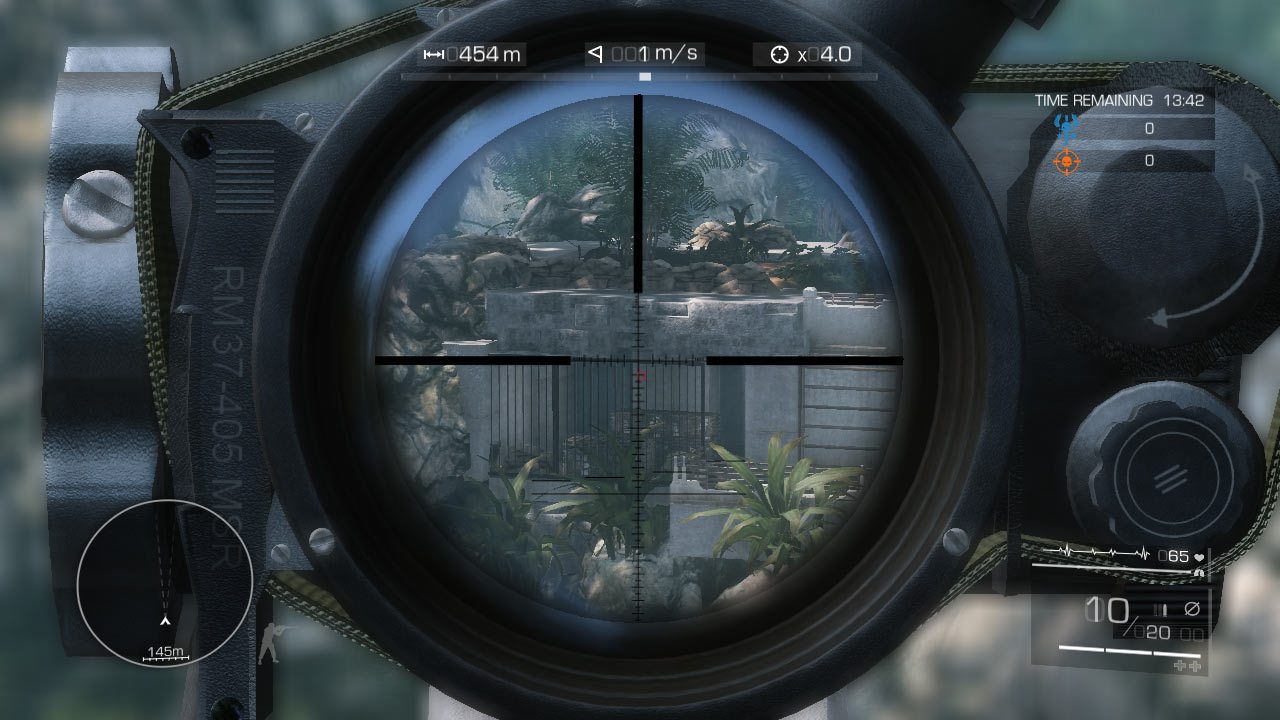
The bunker closest to the mountain provides an opportunity for a two-prong assault: atop the bunker behind sandbags and inside the bunker through the bars along the open front face. The underground tunnel runs into the bunker and can be used to cross unseen to the opposite side of the resort.
Advantages
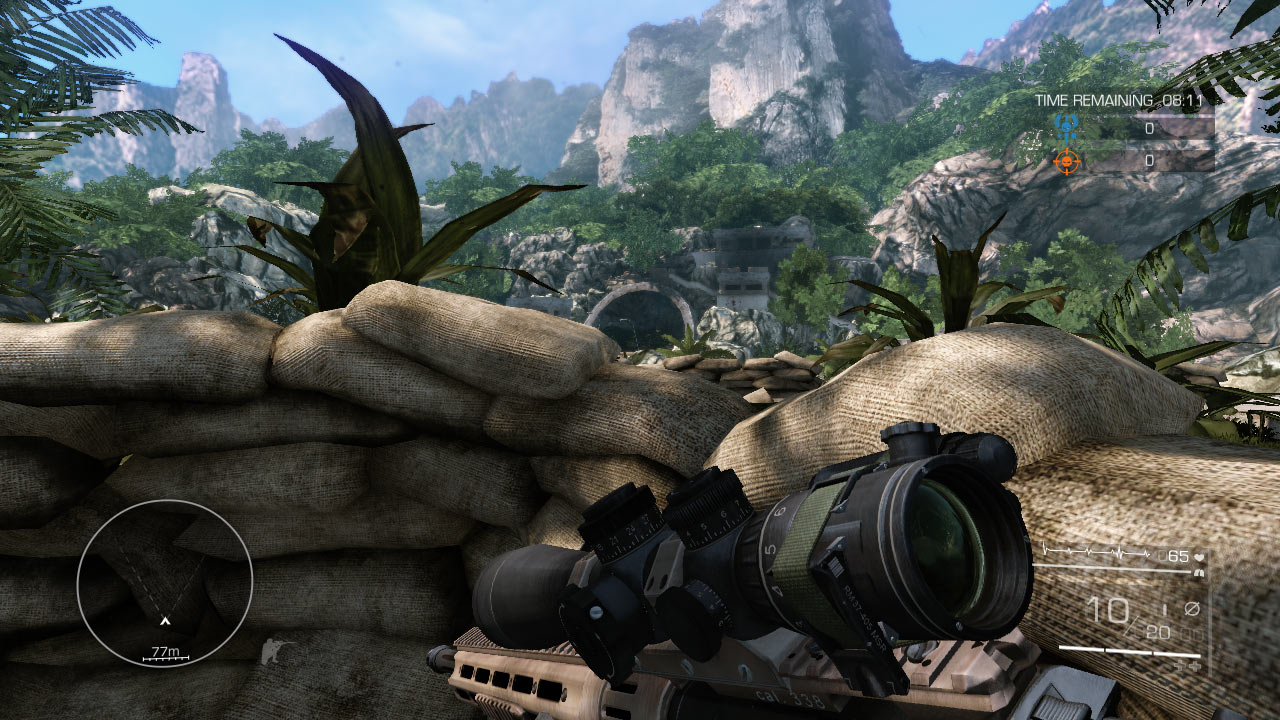
The sandbags atop the bunker give you the perfect angle to shoot directly into the enemy’s sniper points 5, 6, and 7.
The rear sandbag semi-circle leaves you more exposed because you have to crouch to see your targets, but it’s the better spot for firing on sniper point 5 above the tunnel (and you can’t really see sniper point 7 well).
The front sandbag semi-circle gives you more cover because you can go prone and shoot through the small gap in the bags; however, you can’t see the left side of the enemy complex, including sniper point 5 (but you have a great shot on sniper point 7).
You can attack enemy snipers located in points 5 through 7 from inside the bunker, and you have a certain element of surprise if you sneak into the bunker undetected.
You can also use the underground tunnel from here, or make a quick rush outside to the ammo pile on the road in an emergency.
Disadvantages
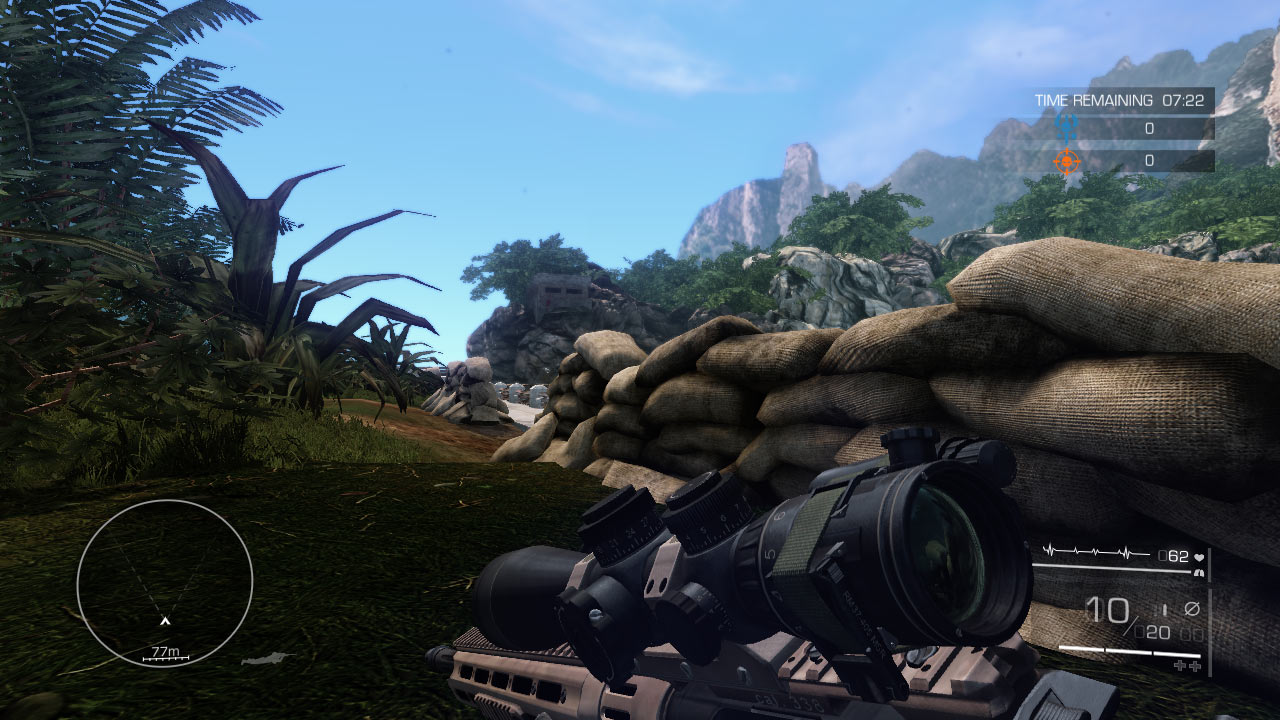
The sandbags atop the bunker are a high-risk, high-reward position against half of the enemy’s sniper positions, but while there you are completely exposed to the mountain tower and mountain ridge (sniper points 1 and 2).
If you turn to your left to defend against them, you can’t deal with the rest of the resort and you still have very little cover against the higher elevation positions.
Inside the bunker isn’t the best position to cap enemies. Though you have decent shots on stationary targets located in sniper positions 5 though 7, the bars make tracking moving enemies problematic.
You don’t want to have the perfect shot interrupted by a sudden steel bar in your face. You can’t see much of the left side of the enemy complex either, and can’t see the bridge unless you move out more into the open.
Unfortunately, due to proximity, you’re likely to be the first casualty of an enemy charging over the bridge, pistol in hand.
Tactics
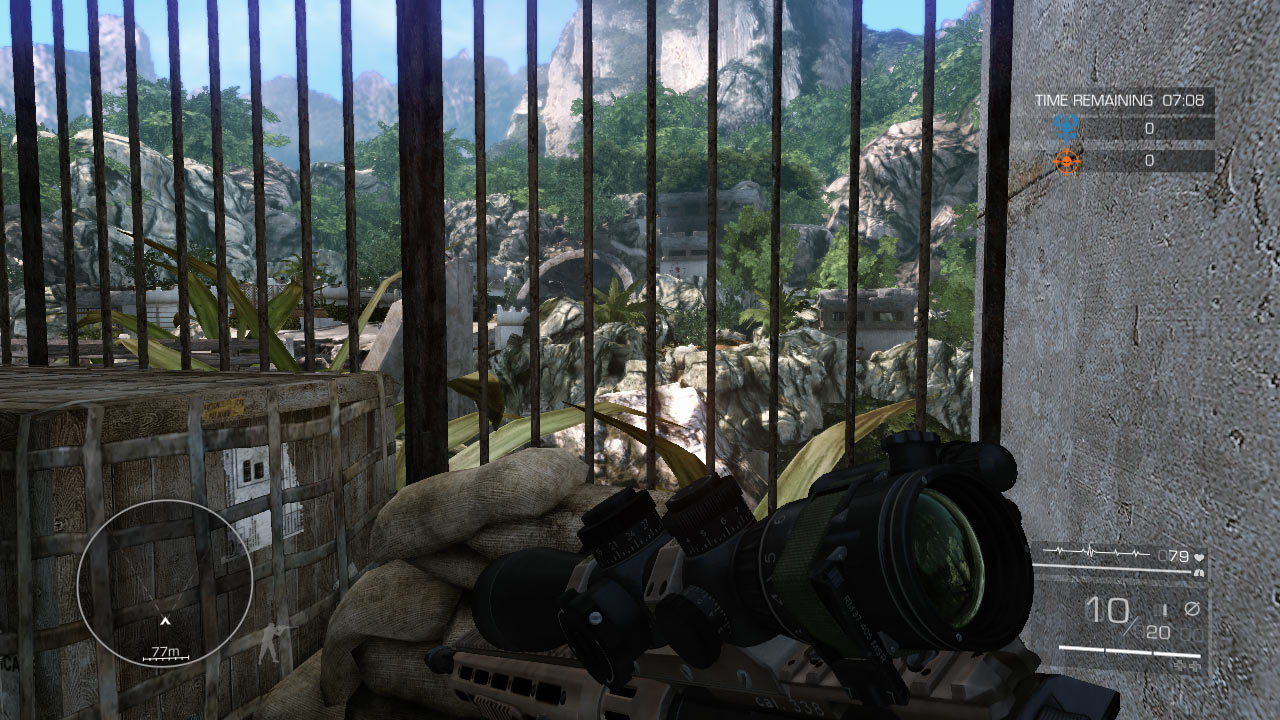
If you need quick offense, opt for the sandbags above the bunker, but don’t stay out there long or you’ll be shredded. Down below, you can hide in the corner and peek out of the bars, but there are better hiding spots on the resort’s perimeter if you’re looking to stay concealed.
You can make a break for the bridge from the bunker. If you think the enemy is preoccupied elsewhere or if you have enough cover fire from teammates, sprint out of the front of the bunker and rush up toward the fallen concrete pillar that serves as the bridge between the two sides.
Switch to your pistol (to gain more speed) and use the smaller weapon in close quarters to take out hostiles in enemy territory.
Your first target should probably be the enemy in the opposing mountain bunker so that you can get lost in the enemy underground tunnels and surprise more enemies.
Sniper Point 4: Tunnel Bunker
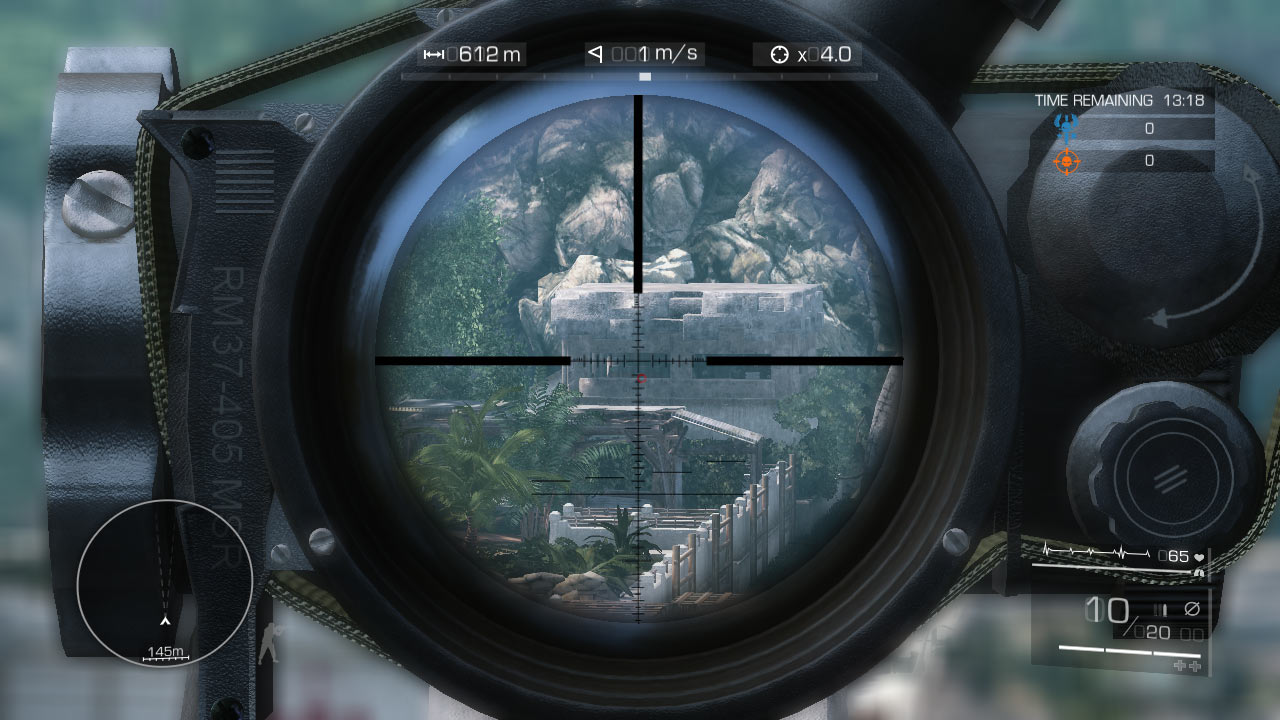
The tunnel bunker surveys the middle of the enemy resort. It can also be a temporary post as you transition from one side of the complex to the other.
Advantages
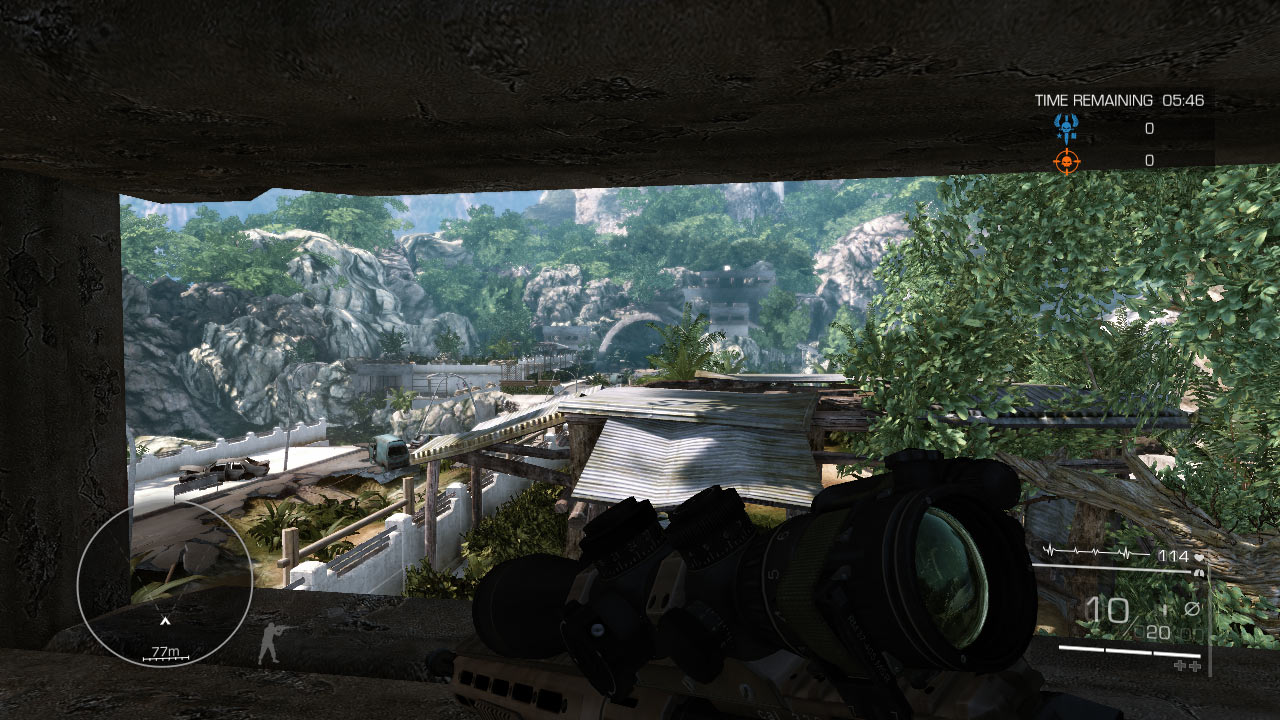
You can line up great shots against the mountain bunker (sniper point 3), both atop at the sandbags and through the bars from inside the bunker. You also have straight shots into sniper positions 4 through 6. A convenient ammo box rests inside the bunker for your plundering pleasure.
Disadvantages
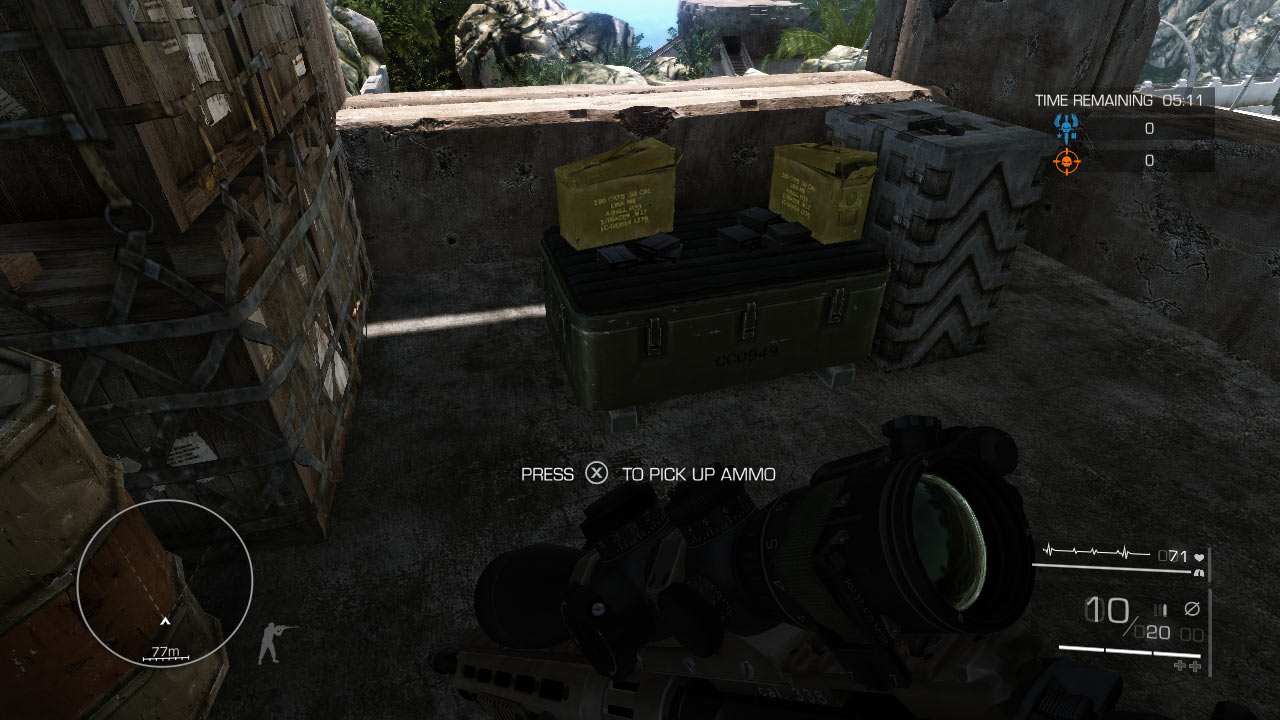
You can’t see the outer sniper positions. Though this provides protection, it also keeps you in the dark about what’s going on there.
Ironically, the resort building directly below you prevents you from getting a good look at the enemy’s broken road or the bridge (sniper point 8). If the enemy manages to cross, though, you can snipe enemies on your side of the road.
Tactics
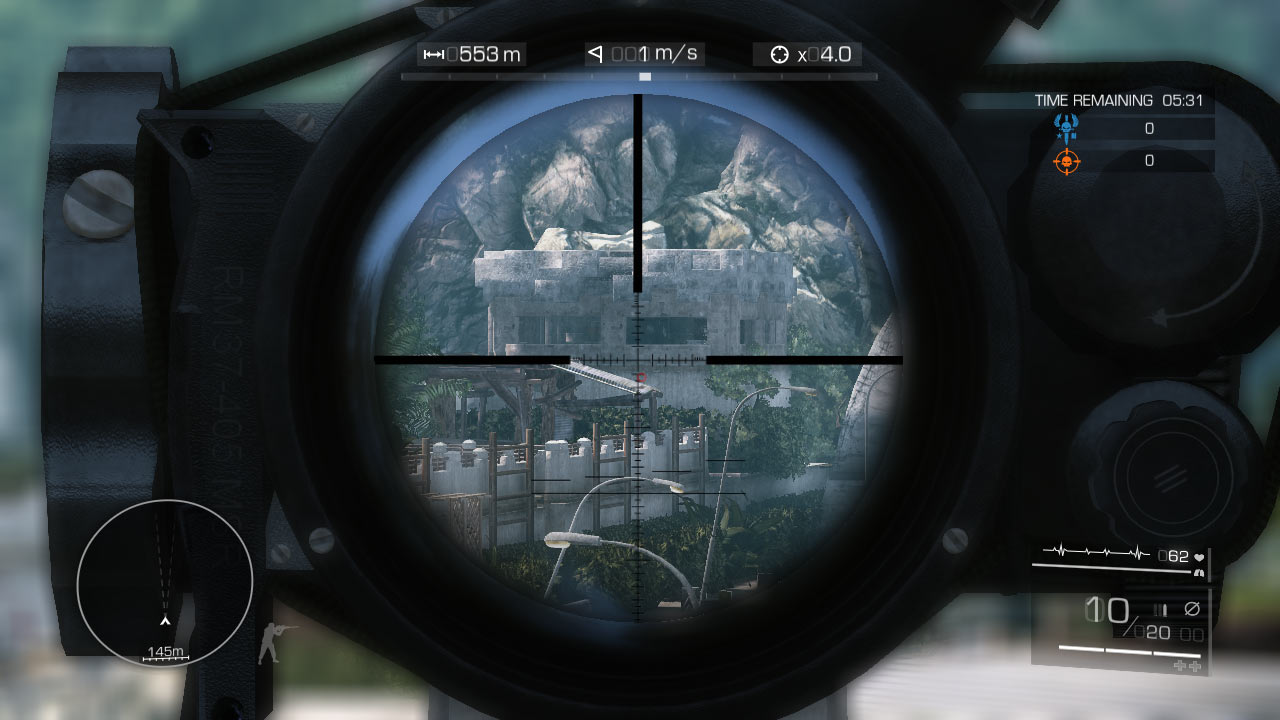
Seek out this position to drive enemies out of the mountain bunker (sniper point 3), and to pick off enemies in the opposite tunnel bunker (sniper point 4) or tunnel sandbags (sniper point 5).
You can also scope directly into the towers (sniper point 6), which is great news if you can spot the enemy first and not so great news if they spot you first.
The resort building directly in front of you is a serious problem if you need to fire on enemies attempting to cross the bridge or who have already penetrated your perimeter.
In the case of an overrun, it’s best to vacate the bunker unless you’re confident that you know the enemy position at all times.
Sniper Point 5: Tunnel Sandbags
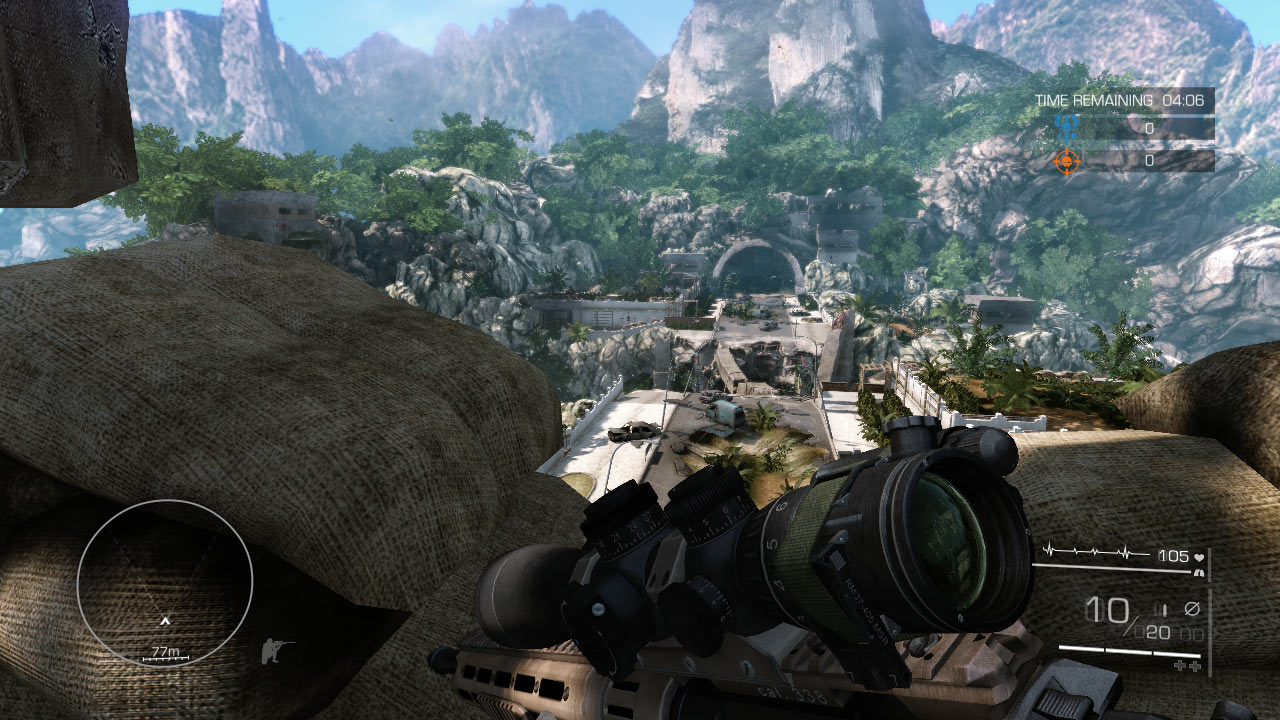
You can see everything atop the tunnel! Take the long stairs above the tunnel and get your best view of the resort. Just watch out for flying bullets—lots of them.
Advantages
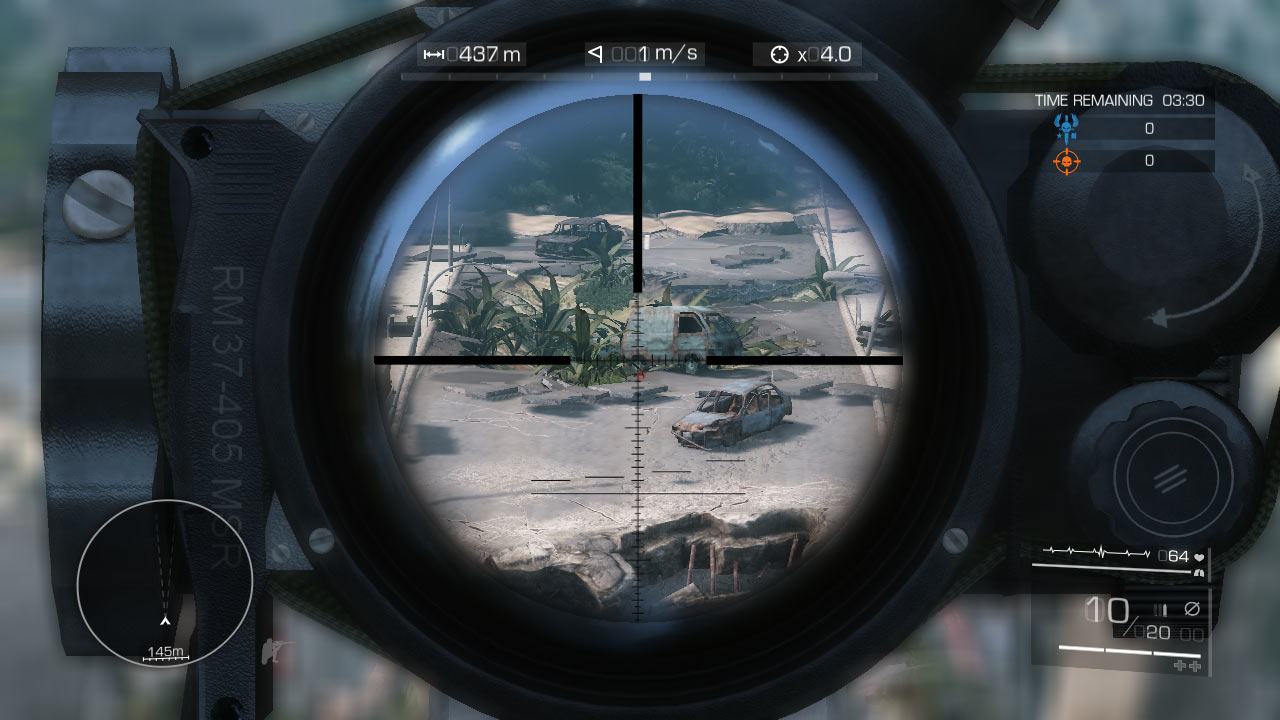
You can hit virtually any target from here. Straight up the middle is your best option, so sniper points 3, 4, 5, 6, and 8 are golden for you. If you go prone, you can avoid almost any return fire.
Disadvantages
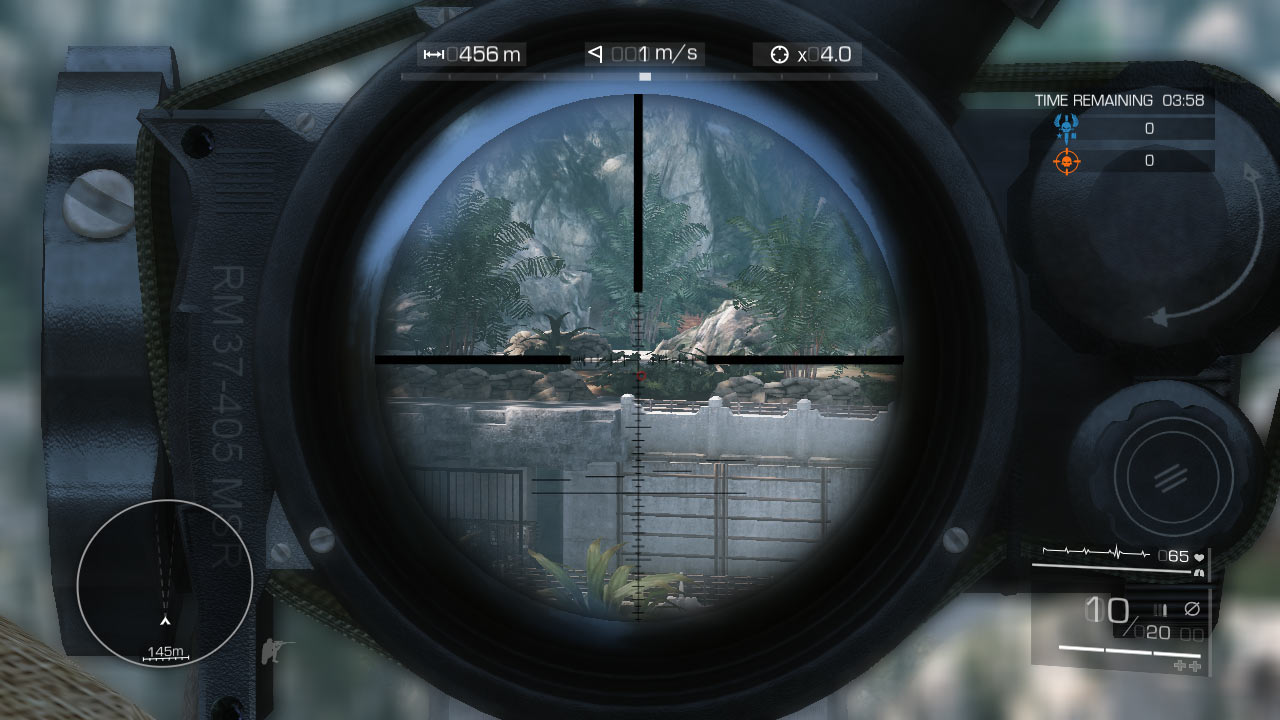
Well, since you can hit any target, they can also hit you! It’s the most exposed position on the map; you’ll have to be quick on the trigger to stay alive, and once multiple enemies know you’re there, it’s time to leave. Going prone will save you, but you’ll be completely blind.
Tactics
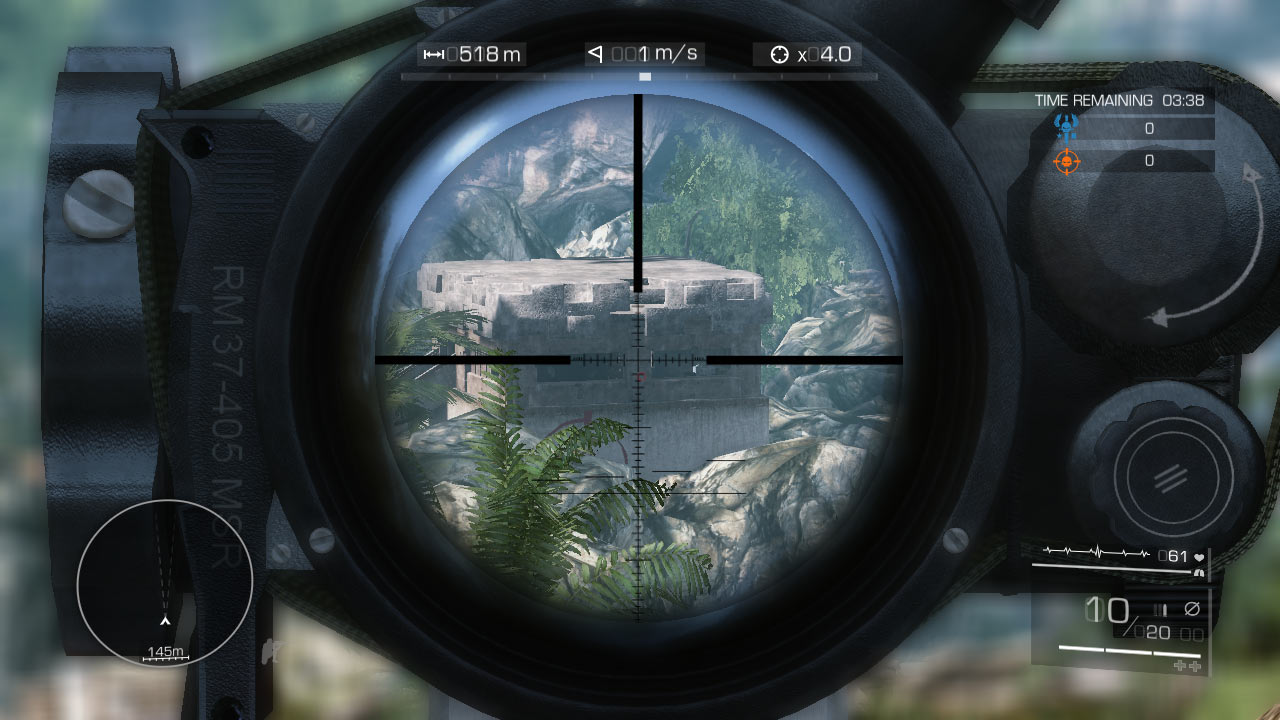
This high-risk, high-reward sniper point can reap multiple kills if you know the map better than your opponent or have a knack for spotting the glint off sniper rifles faster than your opponents. You can lay into any tower or bunker and have some decent cover from the sandbags.
With additional suppressing fire from other teammates around the resort, this can be a command position that’s hard to turn down.
However, a wise enemy team will know this and constantly track for motion in the area. Once you start unloading from the sandbags, you’ll attract attention from the enemy and may not know where the next bullet is coming from.
It’s impossible to cover all angles against large groups; when things get hot, sprint out of there and return once things cool down.
Sniper Point 6: The Towers
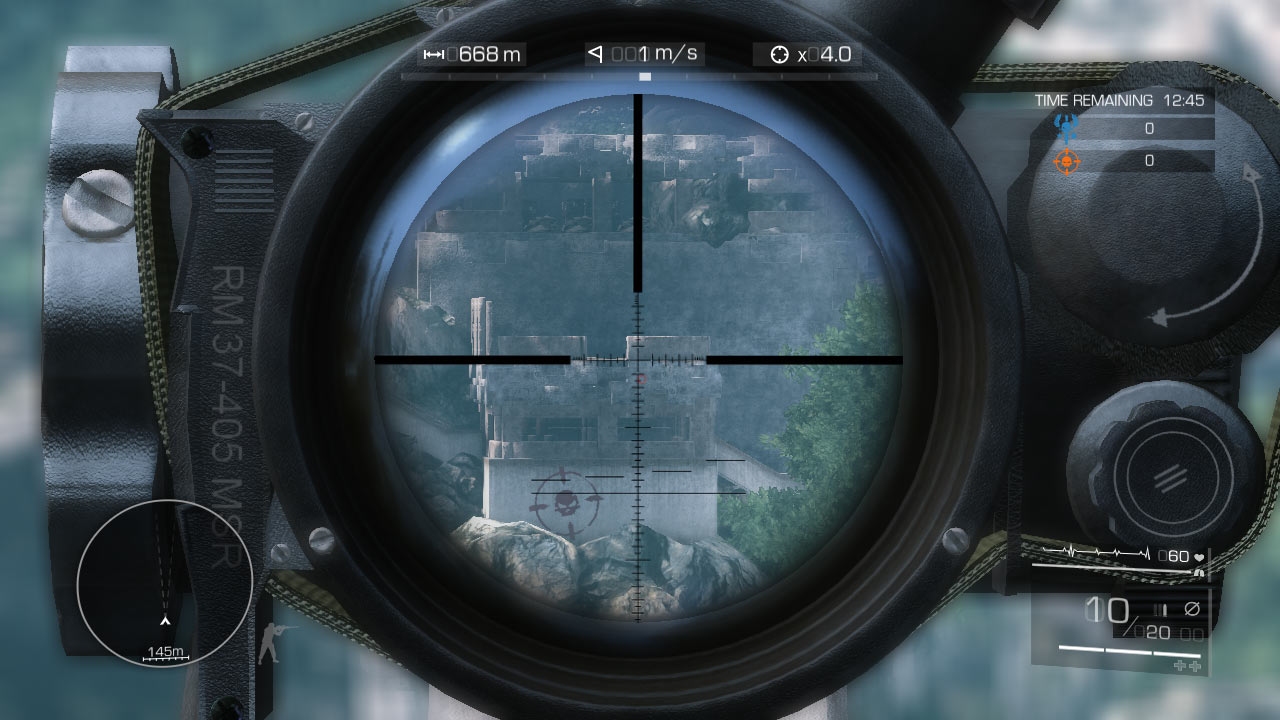
The towers give you a full view of enemy resort. This position is not as centered as the tunnel sandbags, so your angle won’t be as good as from the sandbags, but it’s still a superior position—if you can hold it.
Advantages
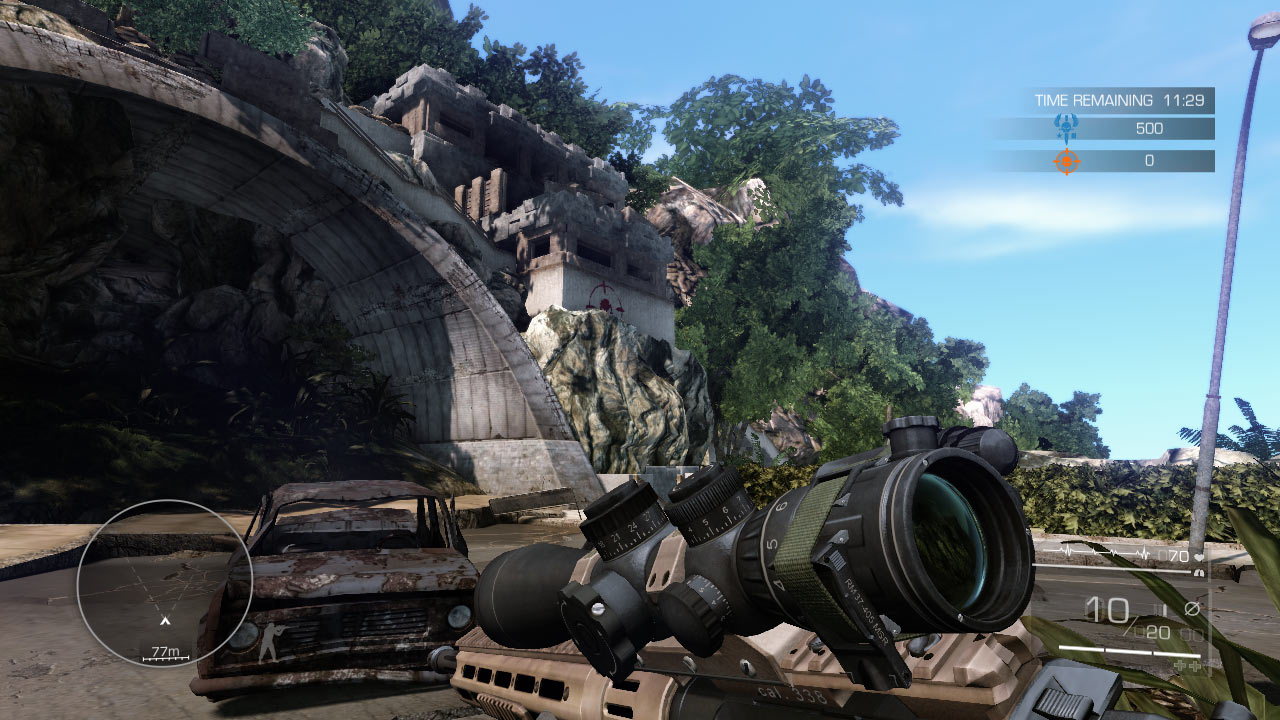
You can strike out at any enemy position. You can even blast any enemy that makes it onto your side of the road.
Disadvantages
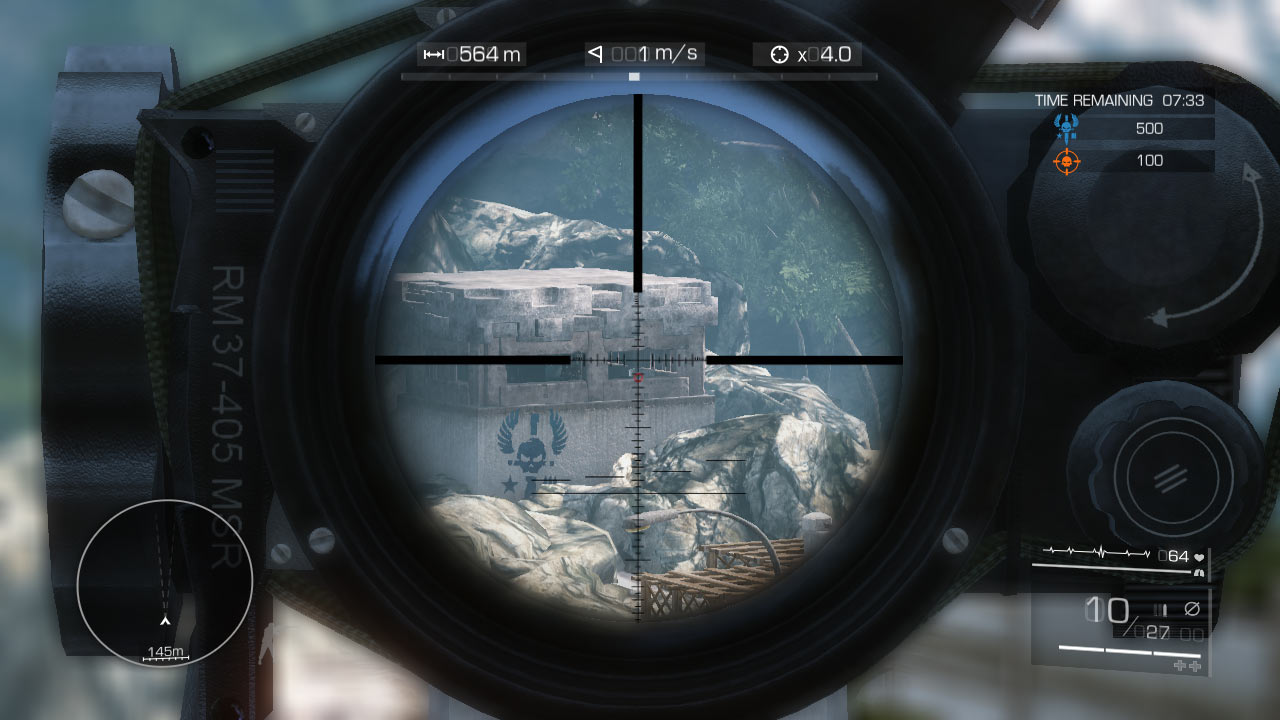
By now you know that an overseeing position like this also means that you’re exposed to all sorts of enemy fire.
Tactics
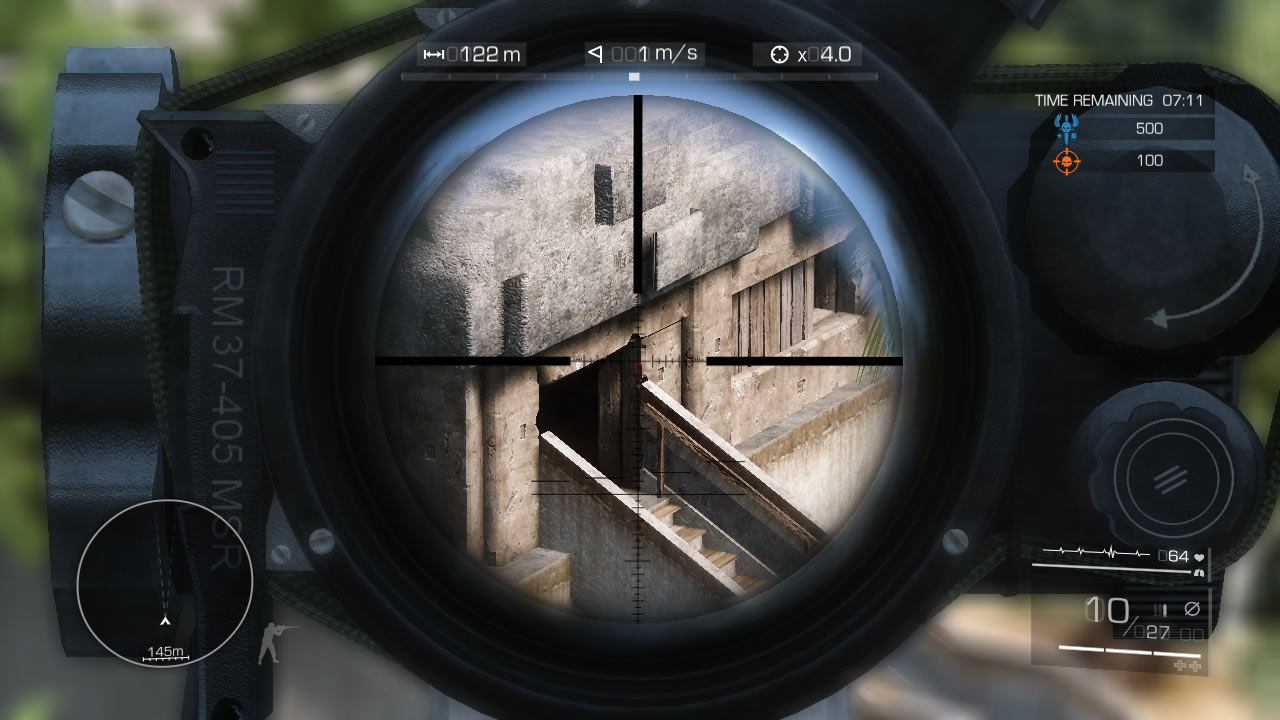
Expect lots of action at this sniper position. The trick is spotting your enemies before they spot you. It’s impossible to know which direction the attacks will come from, so be on your toes for anything.
It’s best to hide first, scope out the enemy positions, then take to the window only once you know exactly where to shoot.
Sniper Point 7: River Bunker
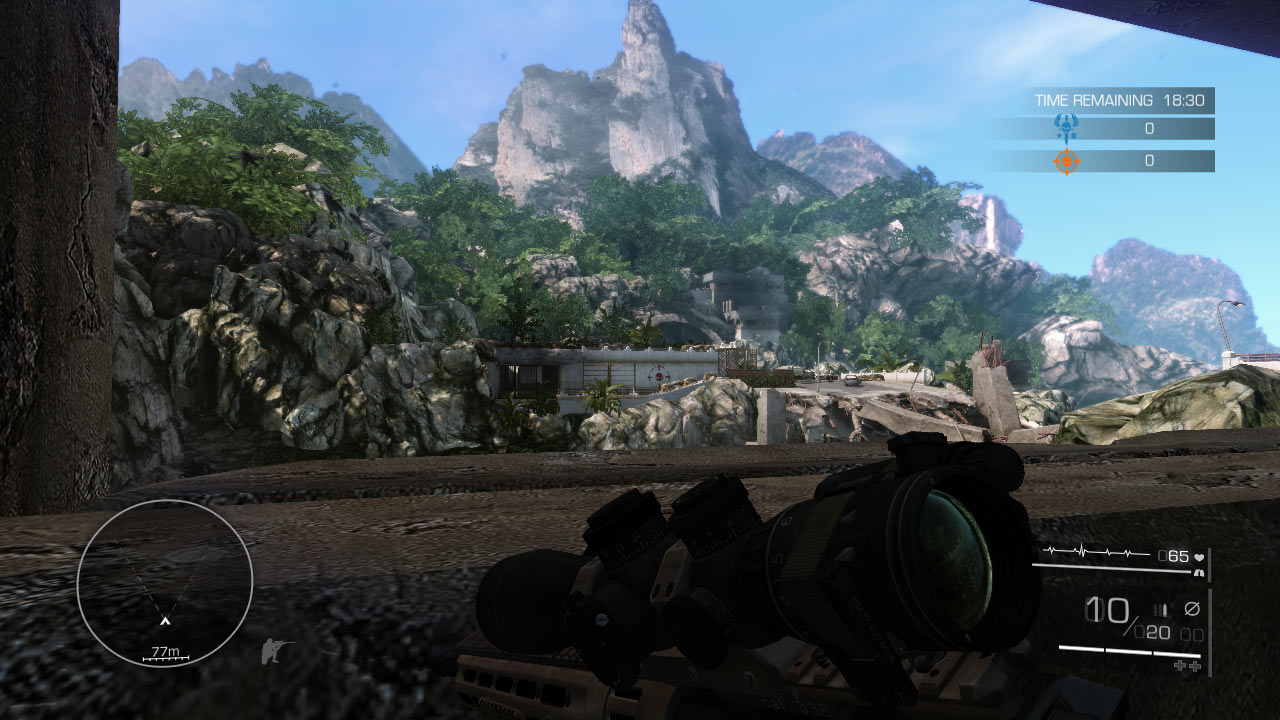
Always use the back entrance into this bunker and avoid the open grounds in front of the structure. If you can enter safely, you can surprise enemies from this outer sniper point.
Advantages
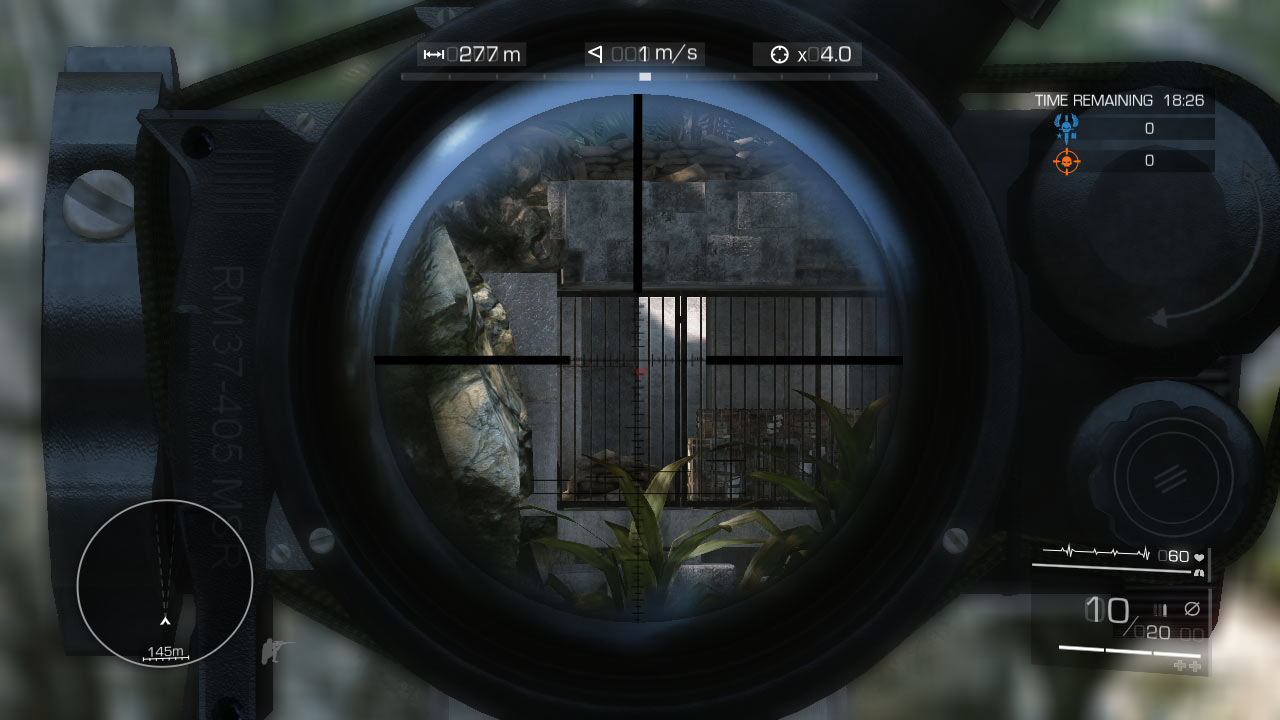
Straight-on shots at sniper position 3 (both atop the bunker and inside it) make this a perfect ambush point for enemies hiding out there.
You can also shoot across the resort at sniper points 5 and 6. You have an open shot at anyone approaching the bridge, but obstructions make it difficult to track enemies on the broken road or even in the opposing river bunker.
An ammo drop inside the bunker can restock you.
Disadvantages
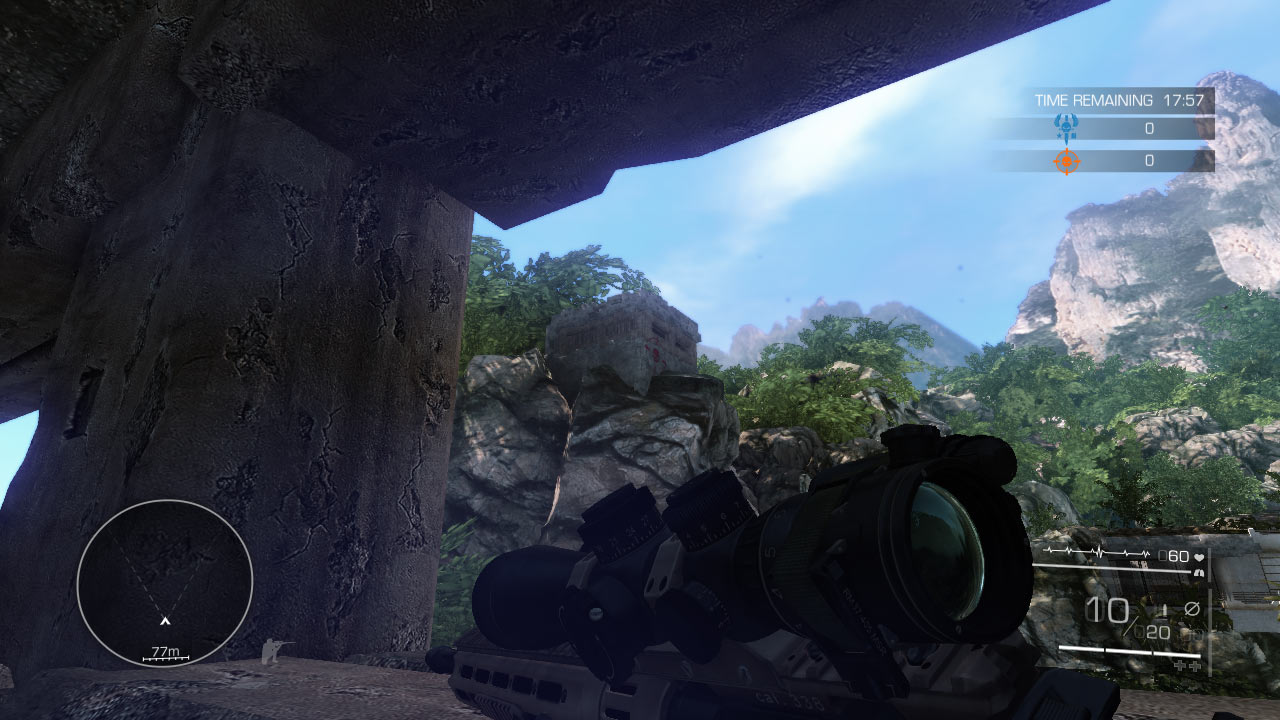
Your biggest disadvantage is your lack of access to sniper points 1, 2, and 4. Of course, they can’t return fire on you either.
You can rely on the underground tunnels to get you close to the bunker; however, you’ll have to cross some open ground to reach it, which means enemies may spot you entering (you lose surprise) or pick you off (you’re dead and must respawn in a random location).
Tactics
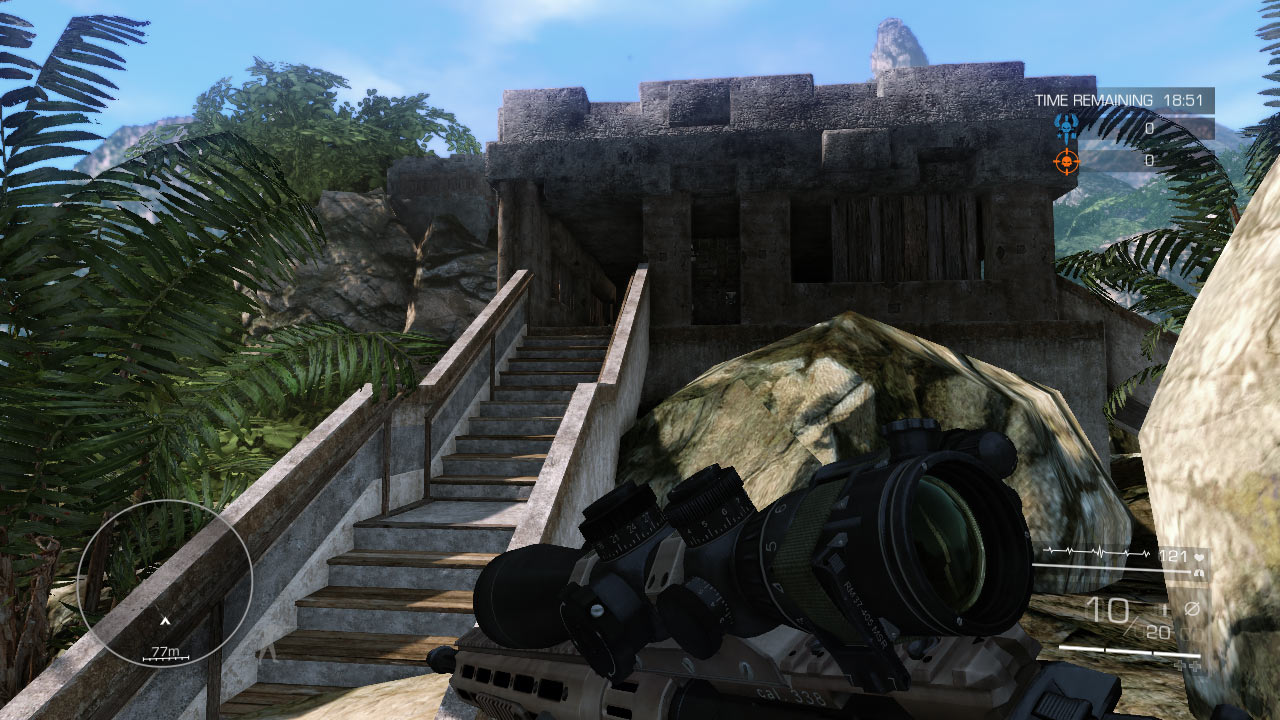
Basically, work your way to the right. You don’t have to worry about sniper points 1, 2, and 4. Begin with sniper point 3 and clear the inner bunker and sandbags atop the bunker. Once you don’t have an immediate threat from your closest sniper points, shift your focus to sniper points 5 and 6.
If you need cover, drop prone or put your shoulder to the corner with your profile away from the windows.
There’s a small chance that an enemy sniper in the opposing river bunker can clip you, but only with a really good shot; it’s worth checking once in a while, but concentrate your attention more on the other hot spots.
You can hold down the road and bridge well from this sniper point. With support from your teammates, you should be able to hold the bunker and keep an eye on the road. Splatter any enemies out in the open or approaching the bridge.
Since you’re on the outskirts and don’t want to risk too much movement, if enemies spot you in the bunker and you can’t get a bead on them, try tricking them. Drop prone and wait a minute or two.
They are likely to think someone killed you or you moved to a different location. Pop back up and have at ’em.
Sniper Point 8: Broken Road
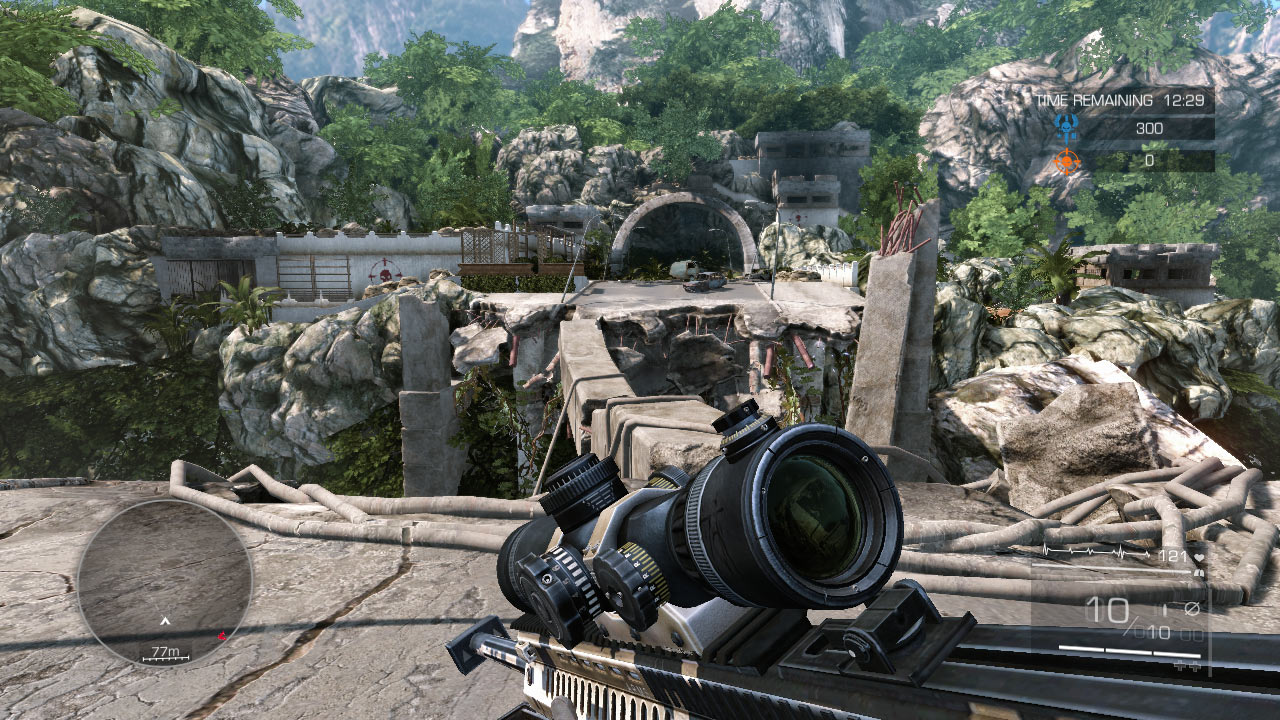
You only want to be out on the road for two reasons: to grab some ammo from the cache in an emergency or to sprint to the bridge. All other travel should use the underground tunnels to avoid enemy fire.
Advantages
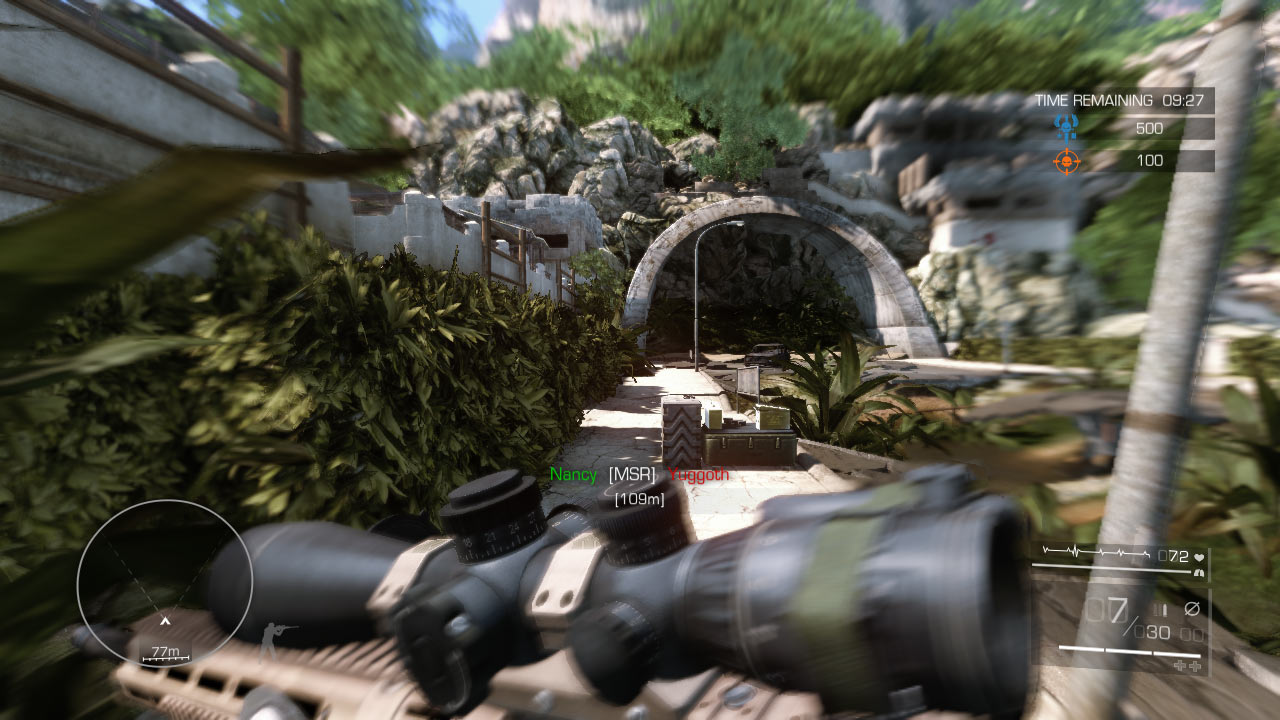
Not many. If you have to fight here, seek what little cover there is. You can hide in the bushes along the side, behind cars on the street, or lie prone against the brick wall by sniper point 3.
Disadvantages
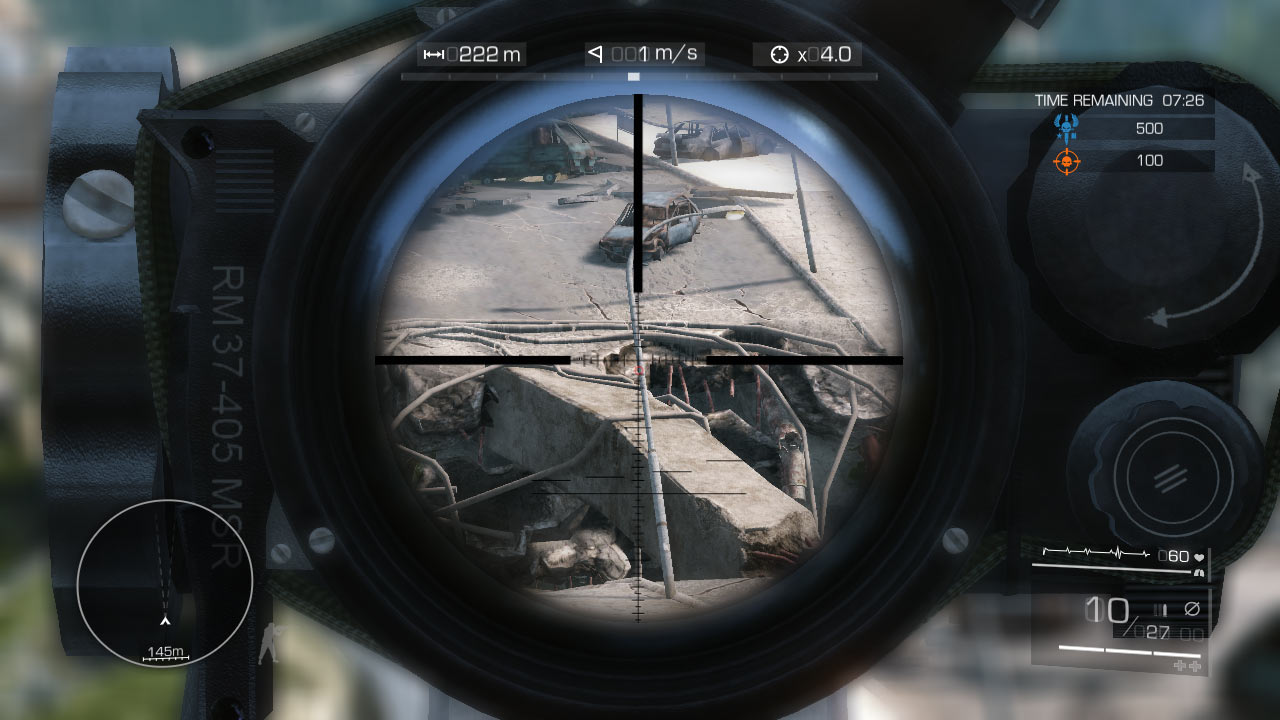
There are many. The open ground can be targeted from multiple sniper points. Avoid exposing yourself on the road at all costs.
Tactics
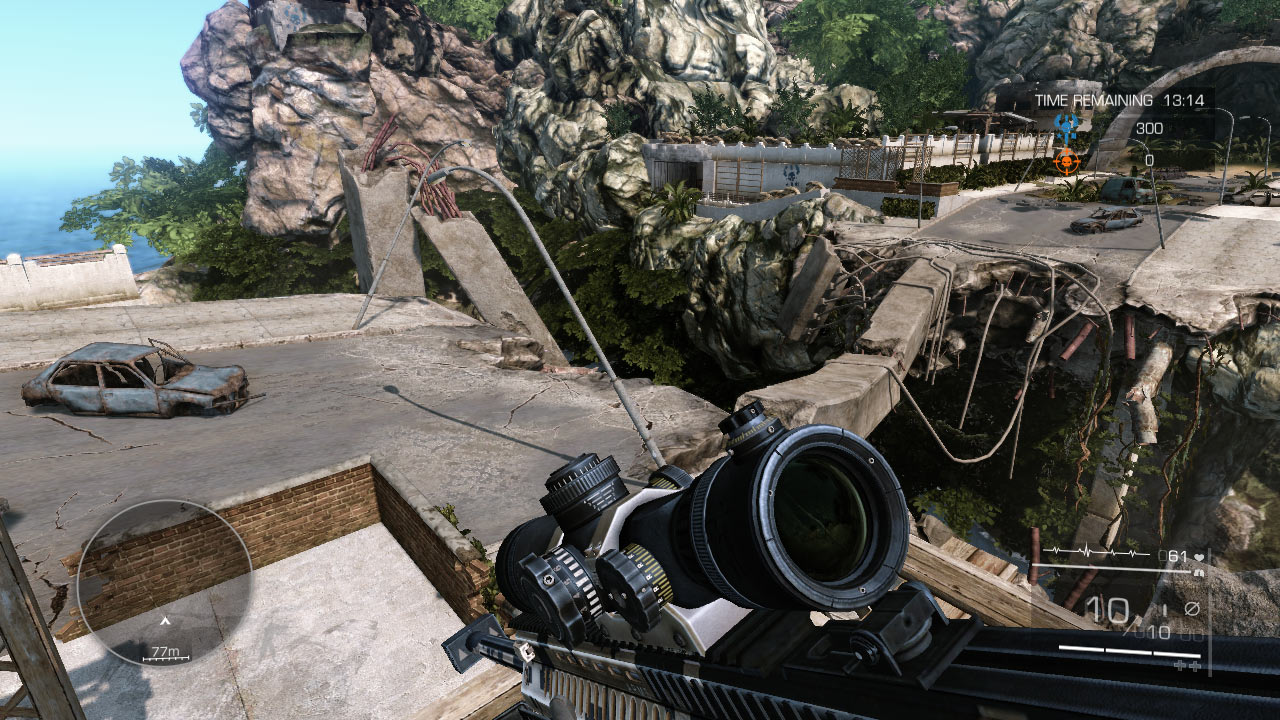
Unless you’re making an assault on the bridge, you shouldn’t be out here. Even then, an assault on the bridge should come from the mountain bunker (sniper point 3). Take the tunnels to be safe.