
Sniper Ghost Warrior 2 Guide Walkthrough Mission 4: Operational Archangel
4.2 Waypoints 1-7
Waypoint 1
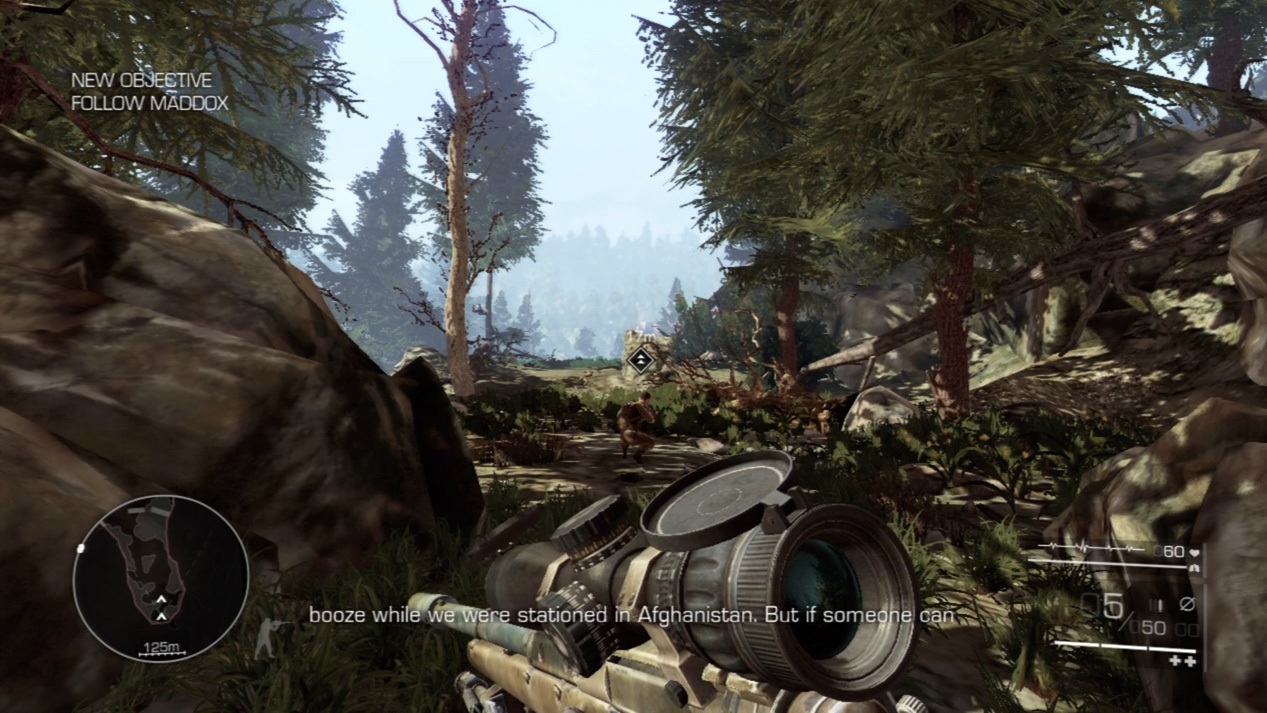
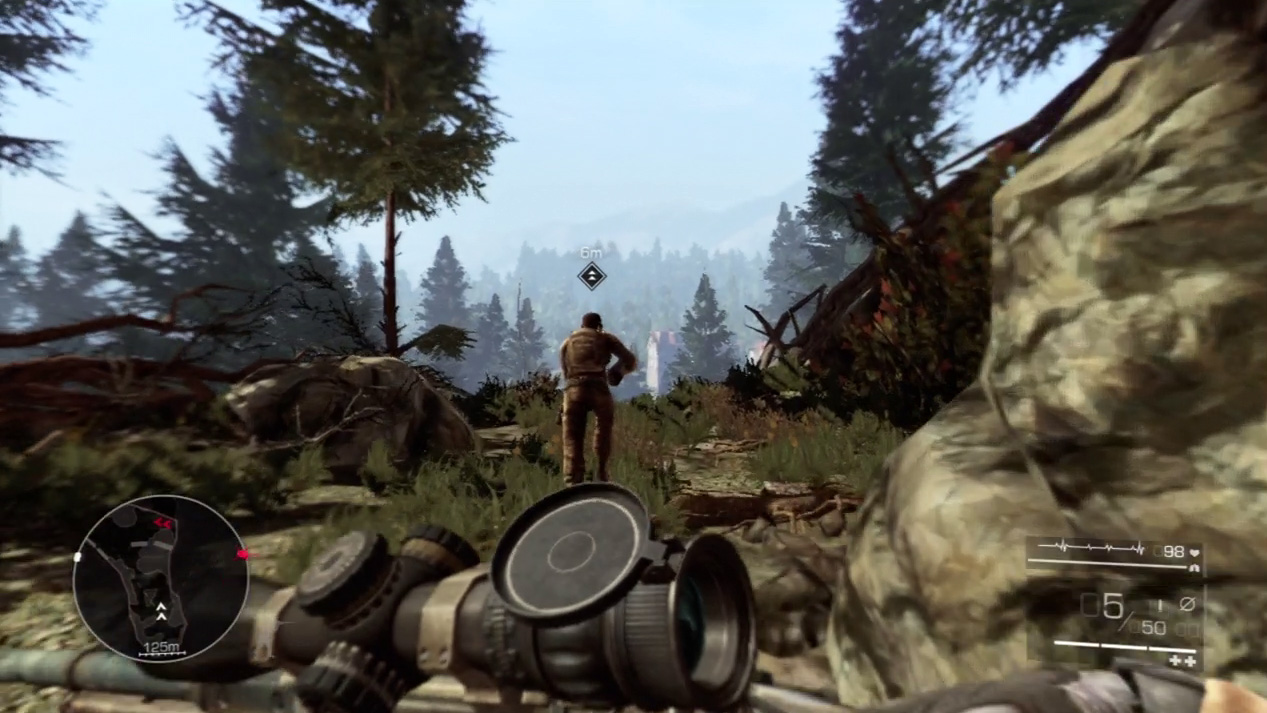
Act 2 begins with a flashback to your tragic mission in Sarajevo. You’re teamed with Carl Maddox, your spotter for the Sarajevo missions. Follow Maddox to your first sniper spot on the hill ahead.
Waypoint 2
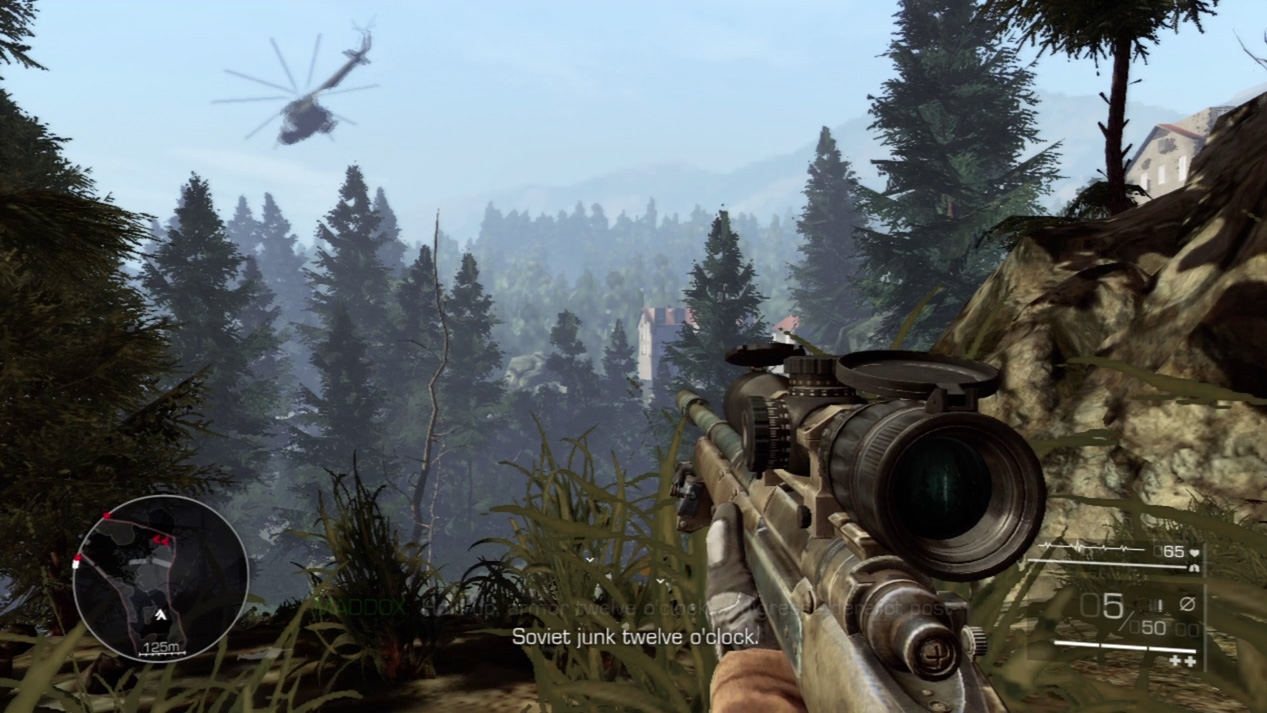
Drop prone as you advance on the hill. After the enemy chopper whirls away, crawl to the hill’s lip and gaze down at the enemy tank below.
Expert Mode
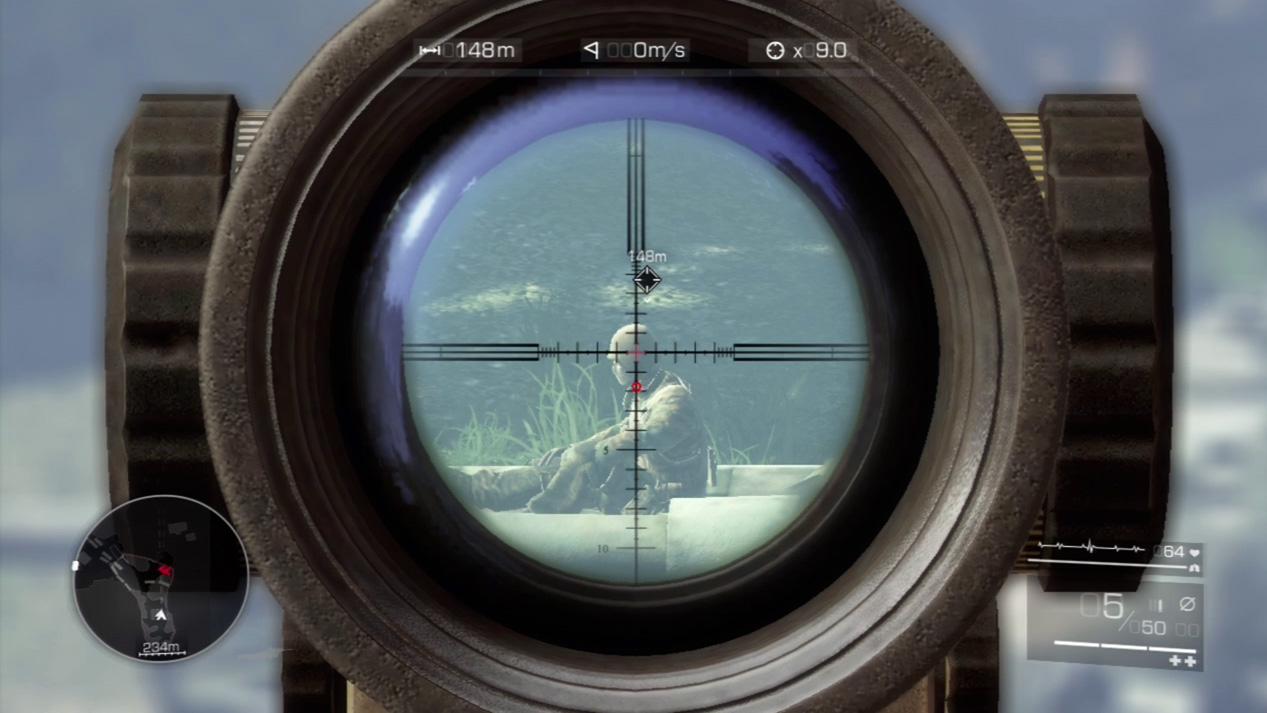
- Distance: Approximately 150 meters
- Wind: 0 meters/second (not blowing)
- Magnification: 9x
There is no wind as you set up against the tank enemies; however, it’s not a “give me” shot. Gravity will pull your bullet down, and your shot will fall to just above the second vertical reticle line on the bottom. So long as you keep your bull’s-eye centered on the target and aim a little high, you’ll be deadly.

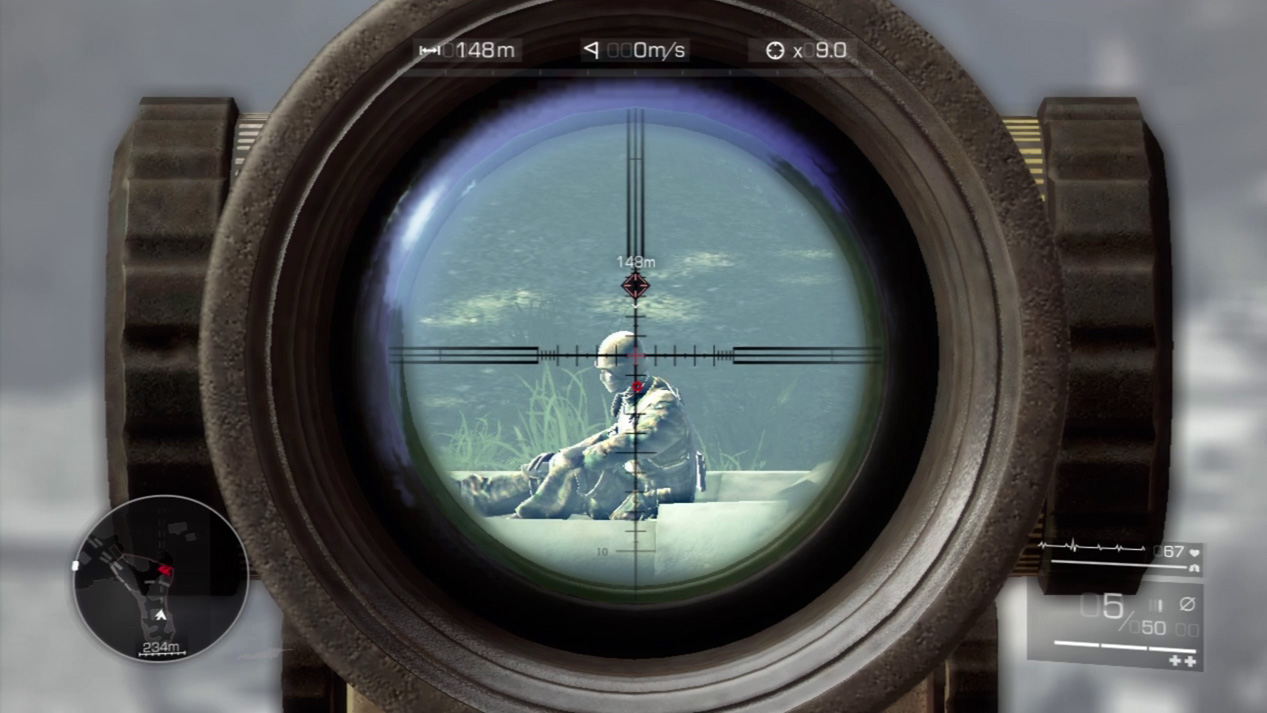
Maddox asks you to eliminate the two enemies in the valley below the sniper spot. Aim for the enemy on top of the tank first. The second enemy can’t see you take the shot from his position working on the tank’s underside.
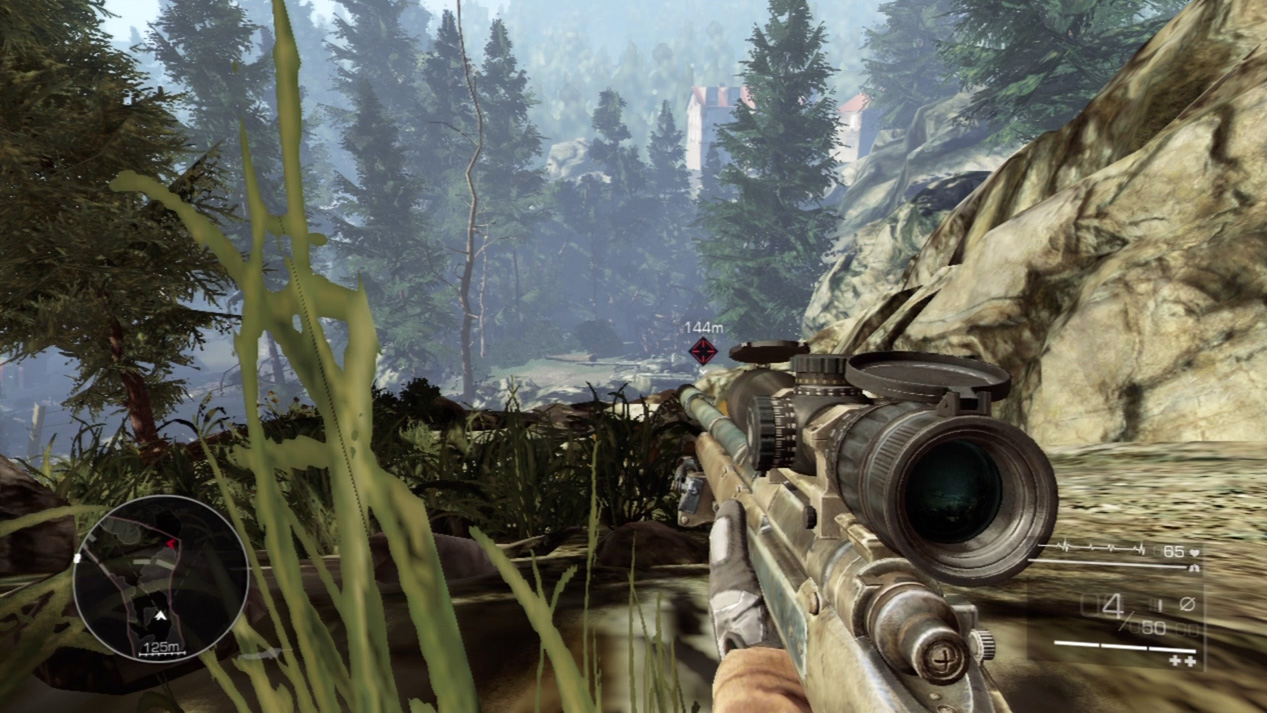
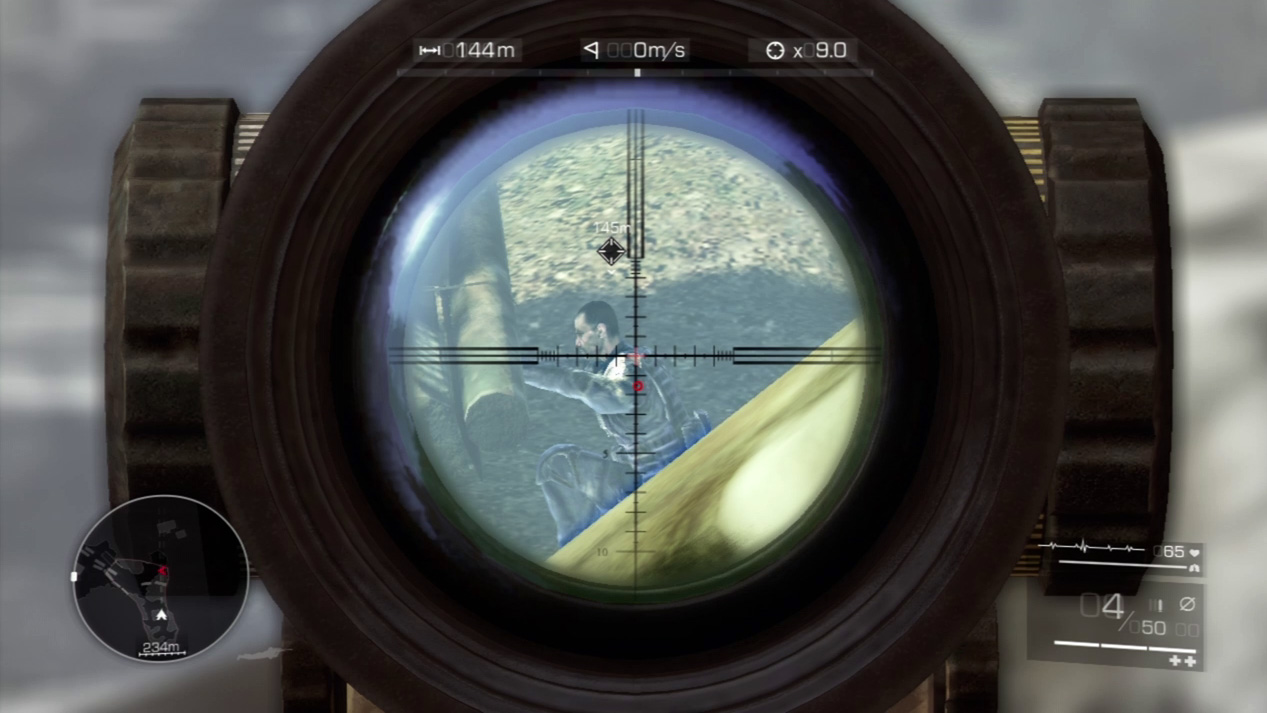
Sight on the second enemy after you kill the first. He’s difficult to spot; he’s repairing the rear of the tank, and you’ll have to find a good shot between the hillside and the tank’s armor.
Hold your breath to steady the shot and then wipe him out.
Waypoint 3
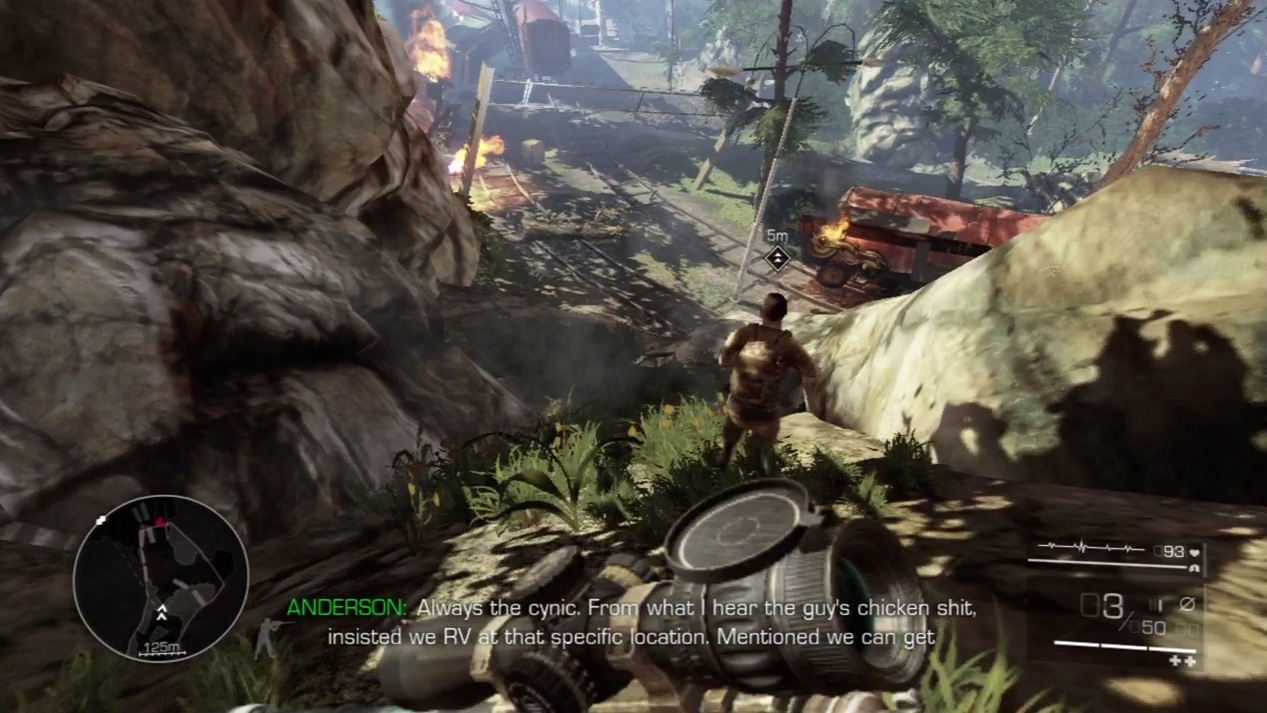
Maddox leads you down the hill and toward a series of buildings on the city outskirts.
Throughout the mission you’ll want to mimic Maddox’s movements: Sprint when he sprints, crouch when he crouches, go prone when he hits the dirt, etc.
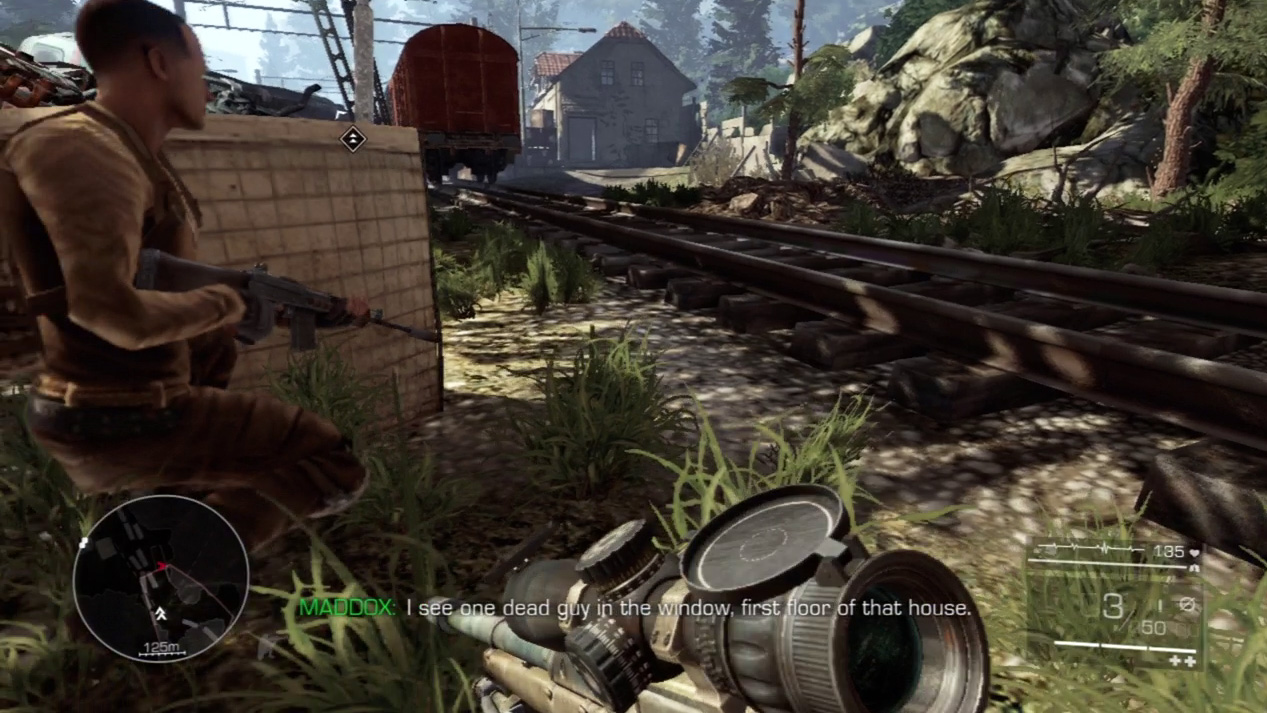
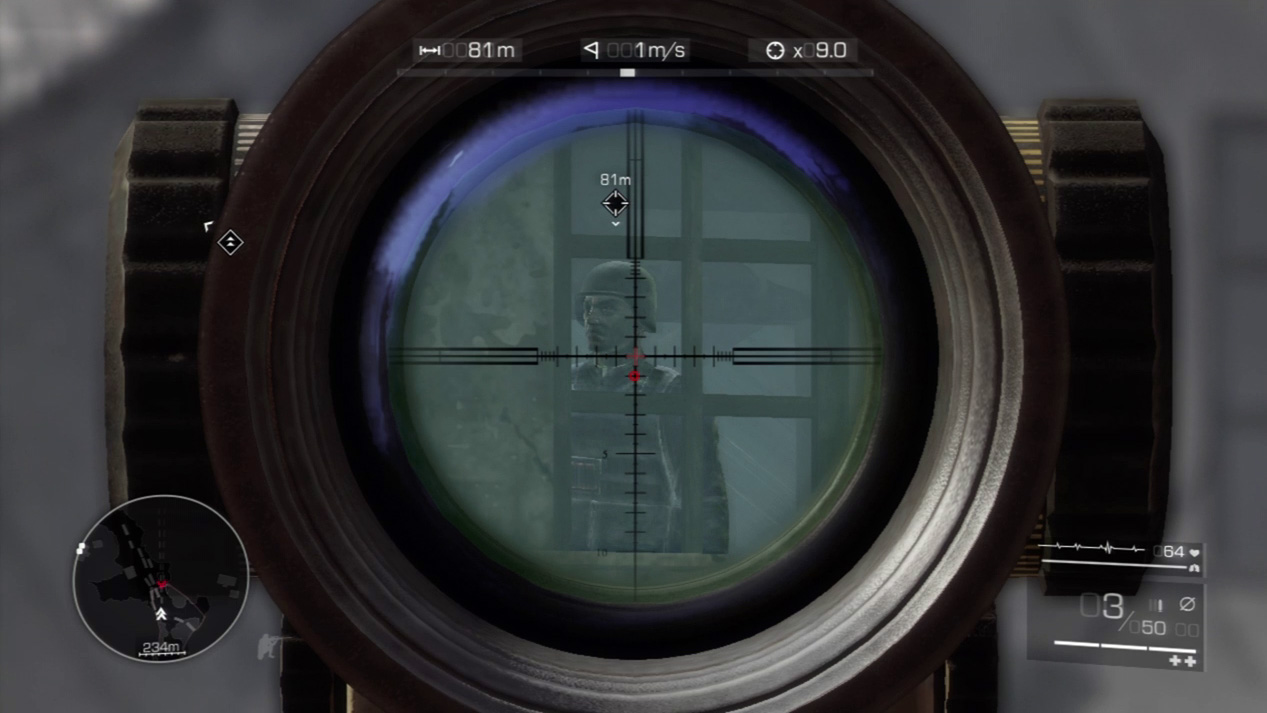
Crouch with Maddox at the corner leading to the railroad tracks. He’ll point out a house in the distance with an enemy guarding the top floor. Wait for the enemy to walk by the window and squeeze the trigger when you have a clean shot.
Act 2: Secret 1
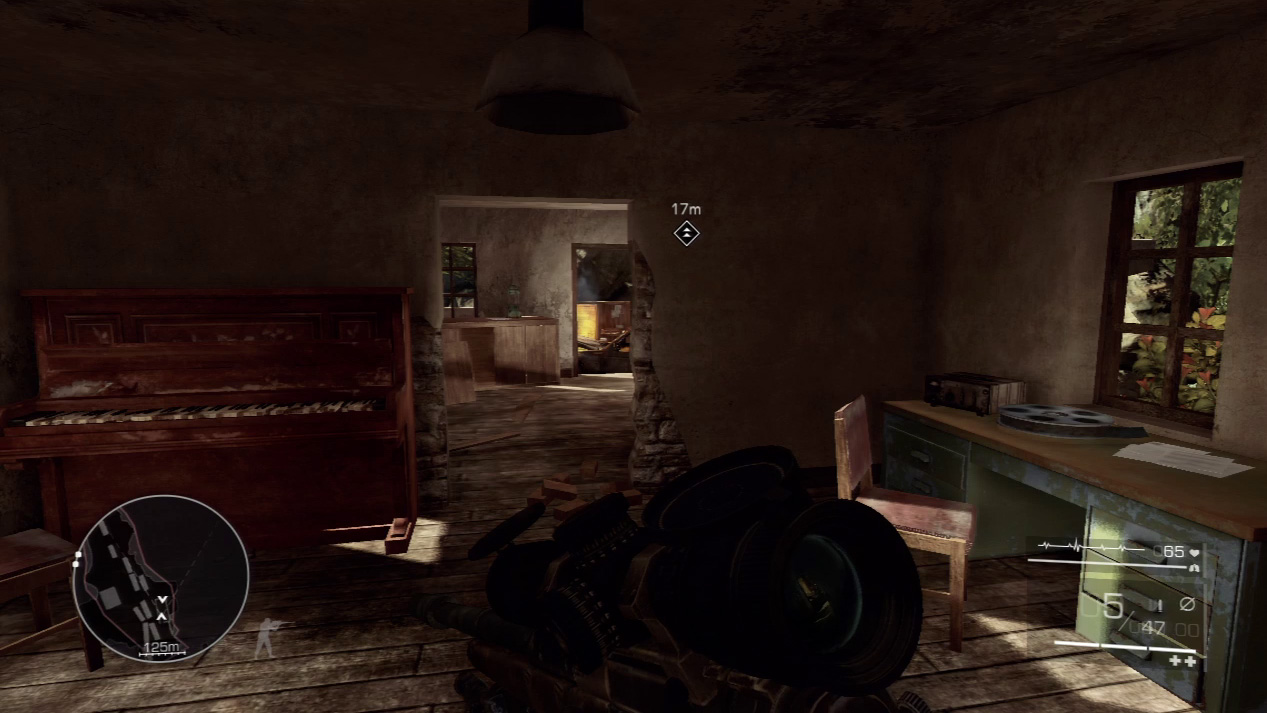
Look for the first secret in Act 2 inside the first house by the railroad tracks.
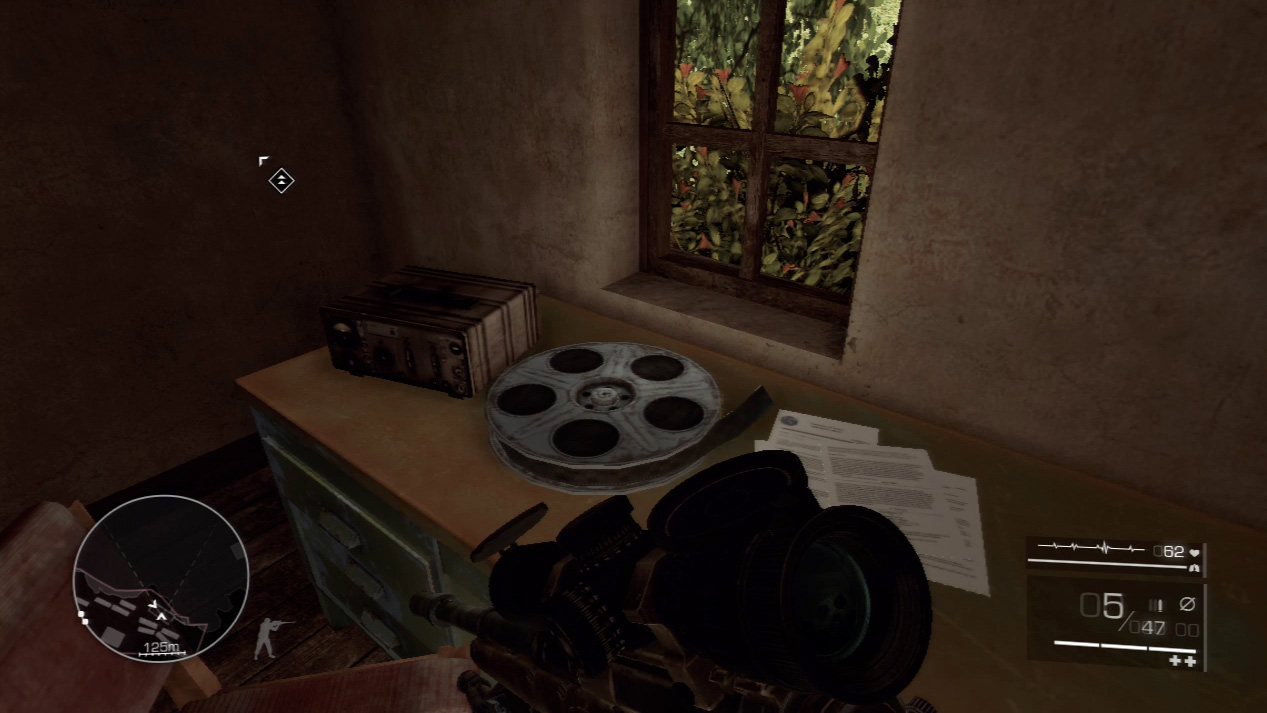
Let Maddox stealth kill the lone guard on the ground floor and snatch the secret from the table to your right.
All Act 2 secrets look like film reels.
Waypoint 4
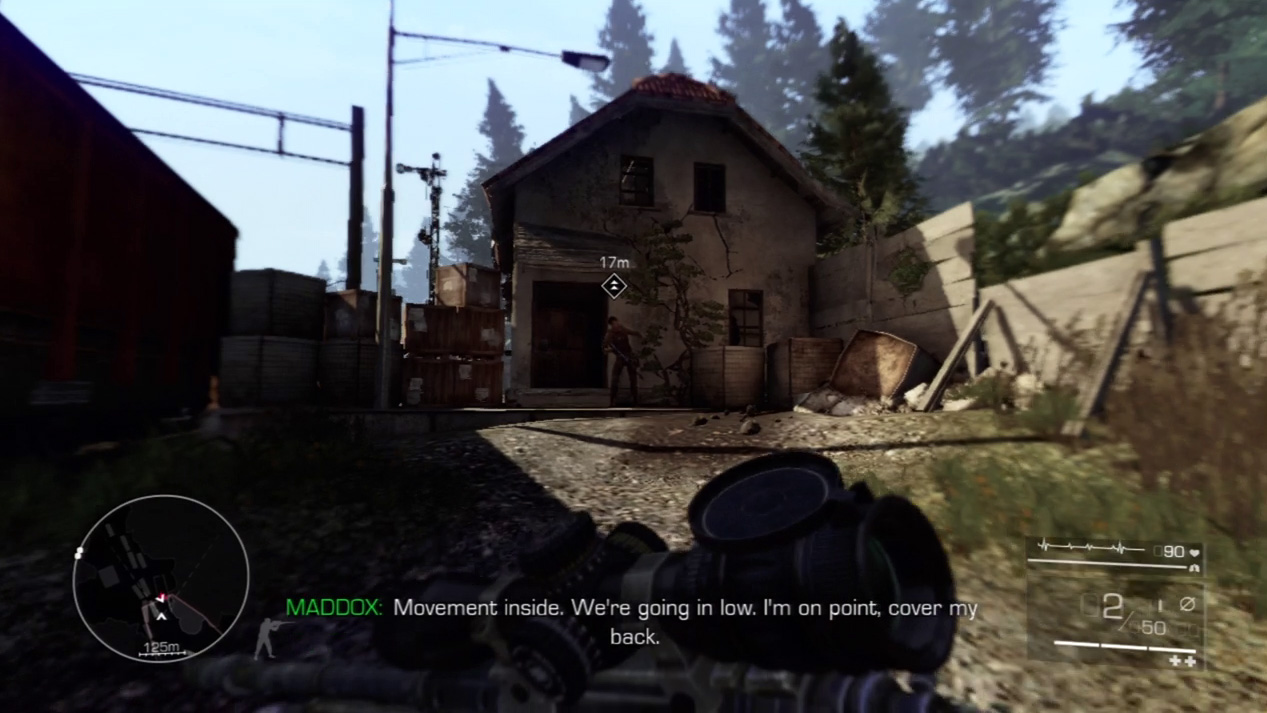
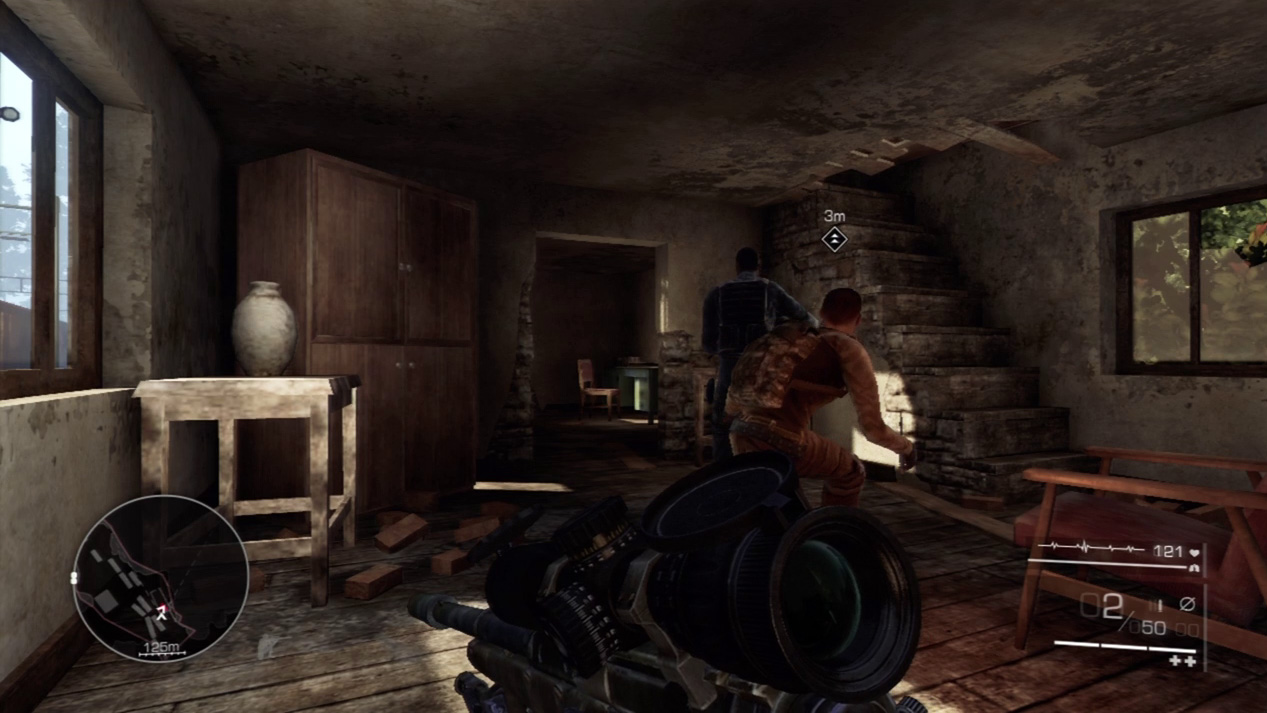
Advance on the house. Maddox asks you to cover him as he slips into the house. Let him sneak up on the first-floor enemy and cut his throat with a stealth kill.
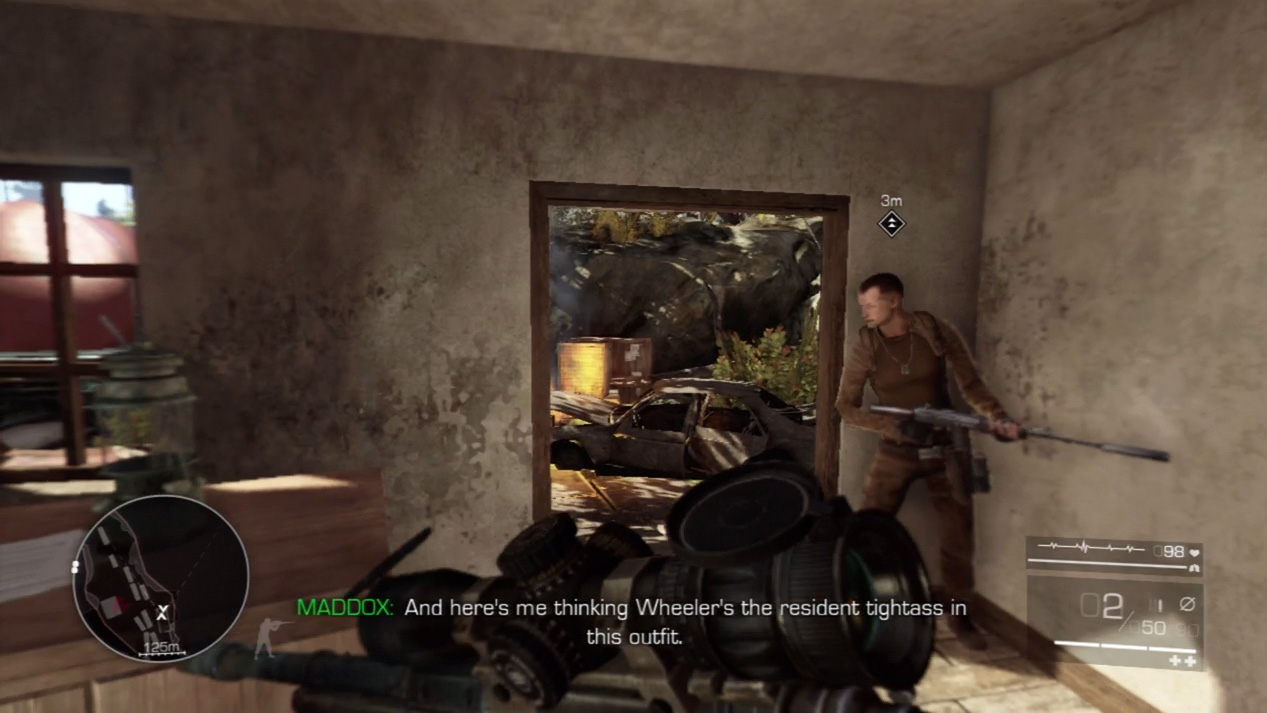
Proceed through the house to the back door. When Maddox exits, follow him through the junkyard out back.
Waypoint 5
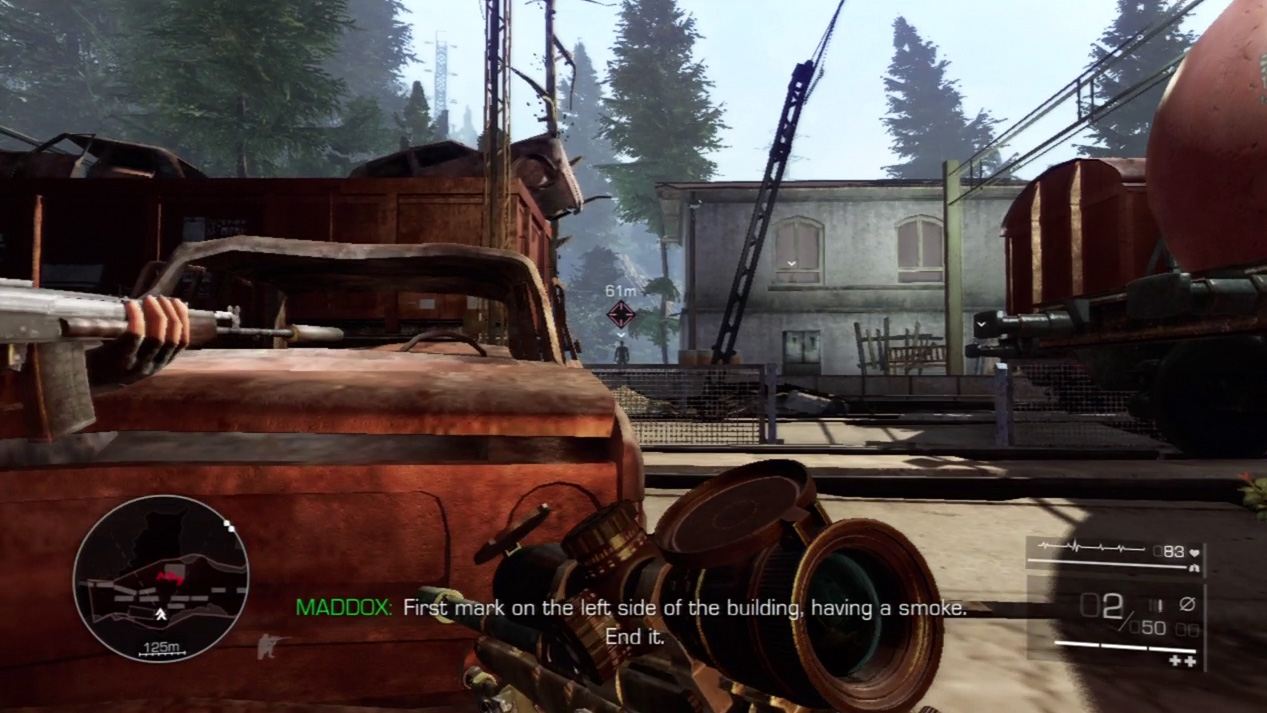
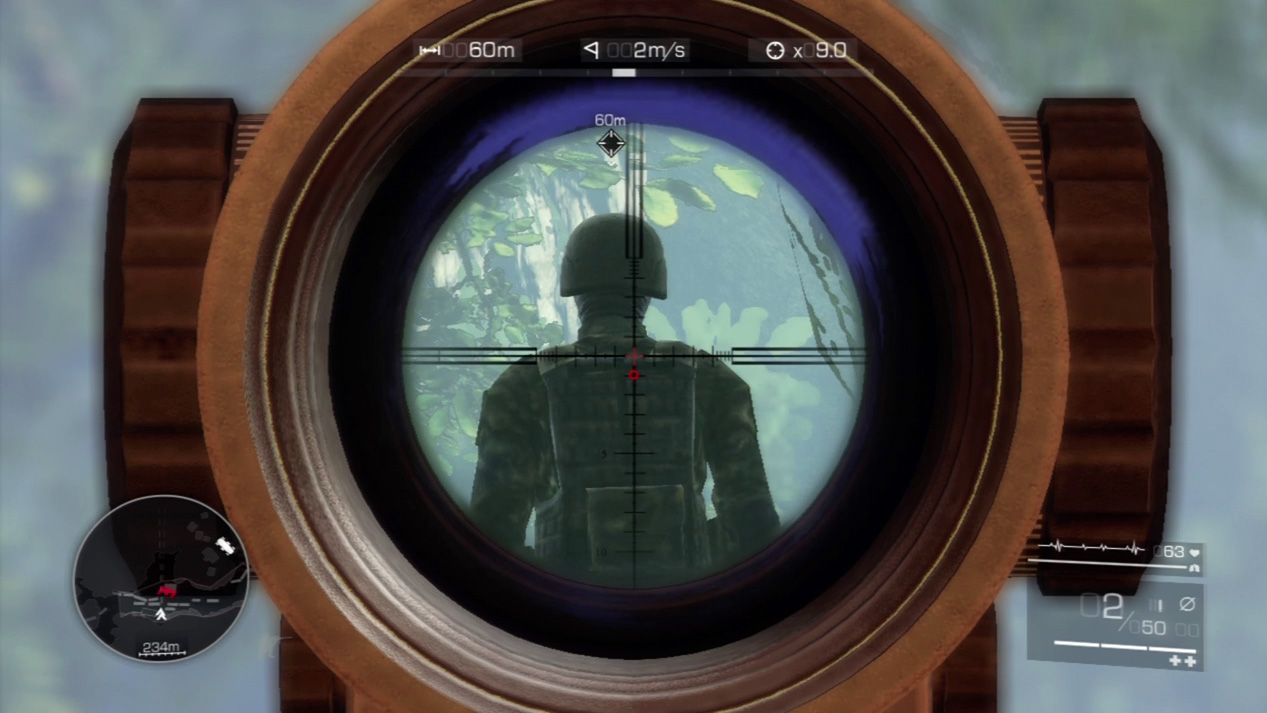
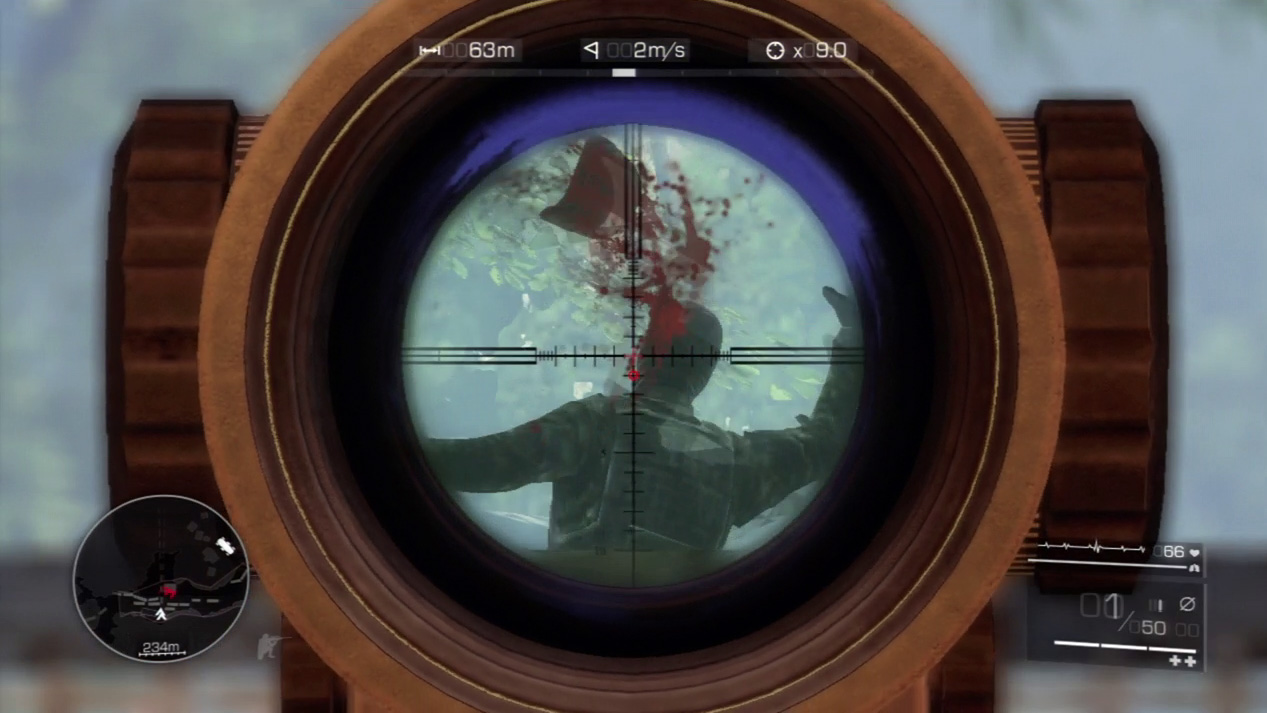
Hide behind the car in front of the stone house. You have three enemies to deal with in and around the house. First, look for the enemy patrolling the left side. He stands out of sight of both the guard on the top floor and the one chatting on the walkie-talkie out front. Blow his helmet off with a well-placed headshot.
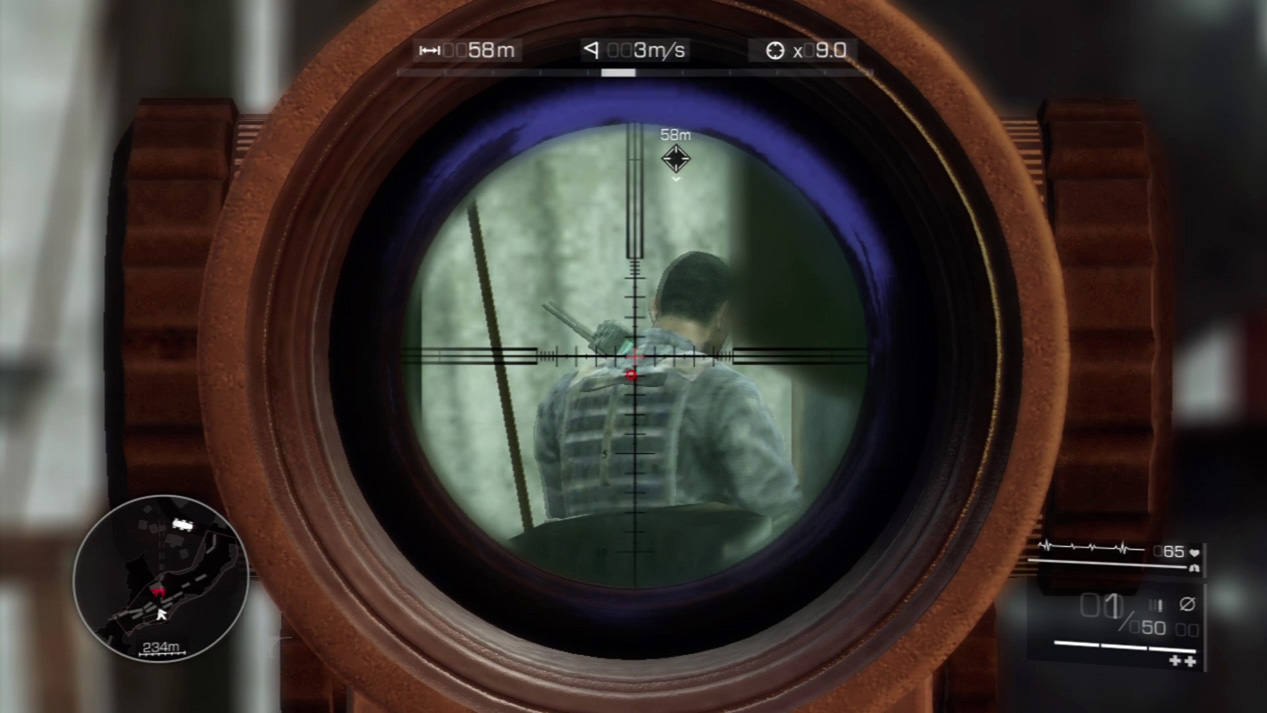
Next, zoom in on the walkie-talkie guard. You may have to shuffle back and forth to get the correct angle to avoid the obstacles between you. Fire when you have a deadly head or torso shot.
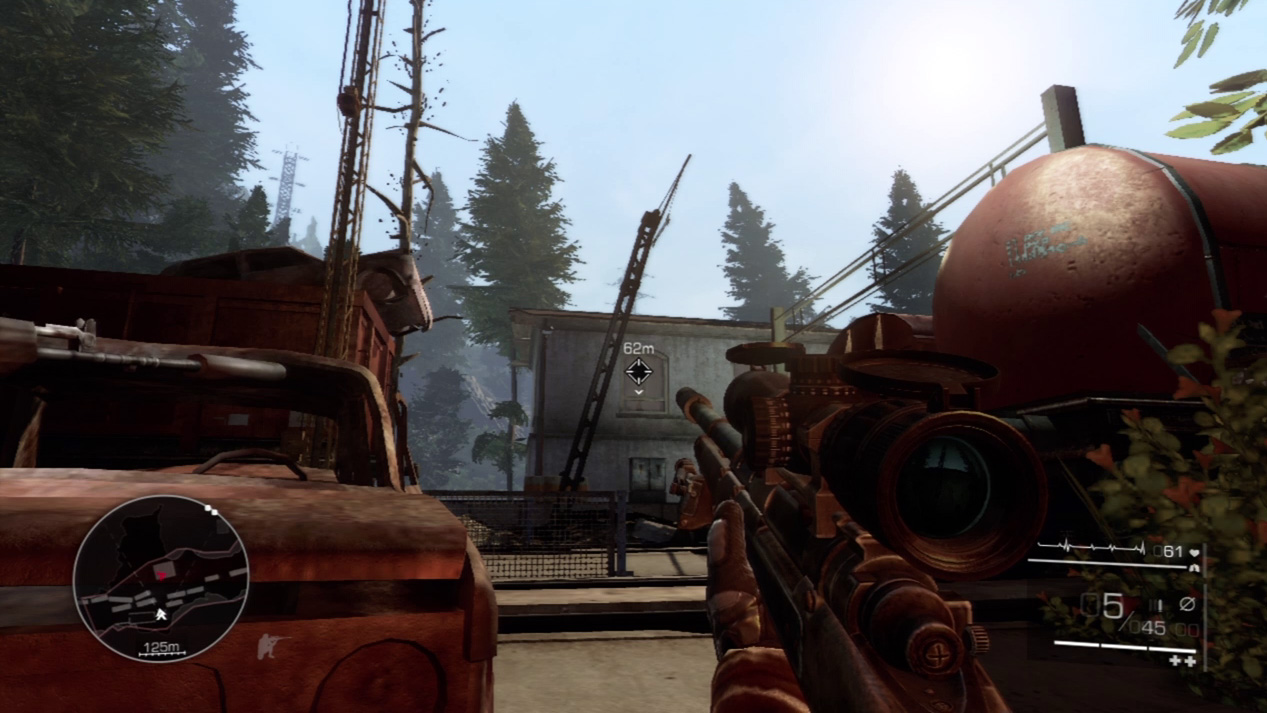
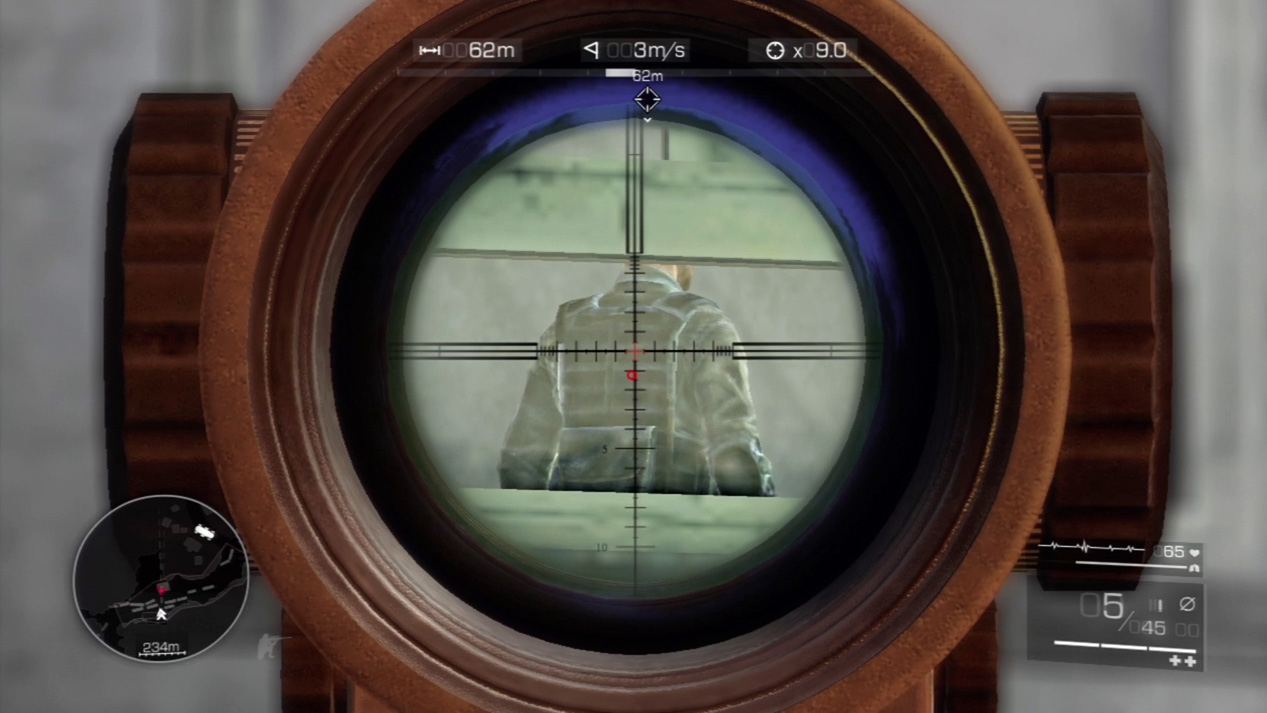
Finally, aim for the top-floor window on the left. The guard paces back and forth, and he should stand in front of this window long enough for you to execute him with a single bullet. Hold your breath and slow down time to make the shot easier.
Waypoint 6
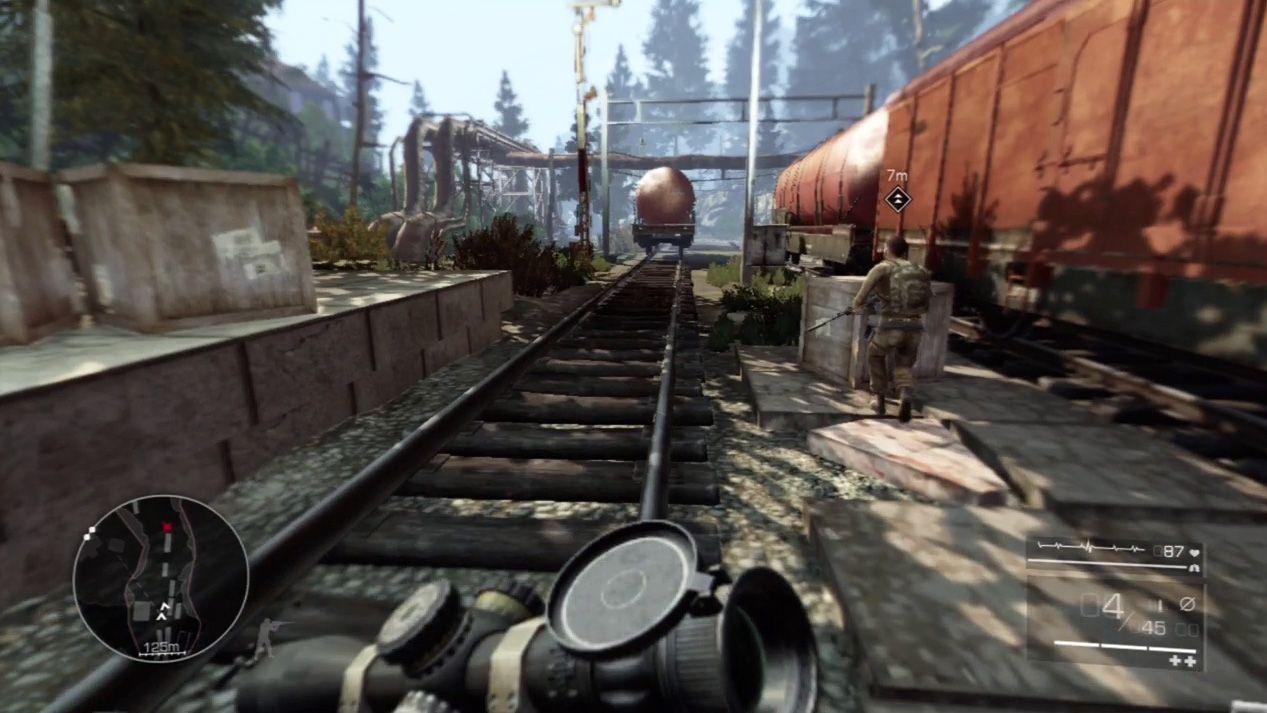
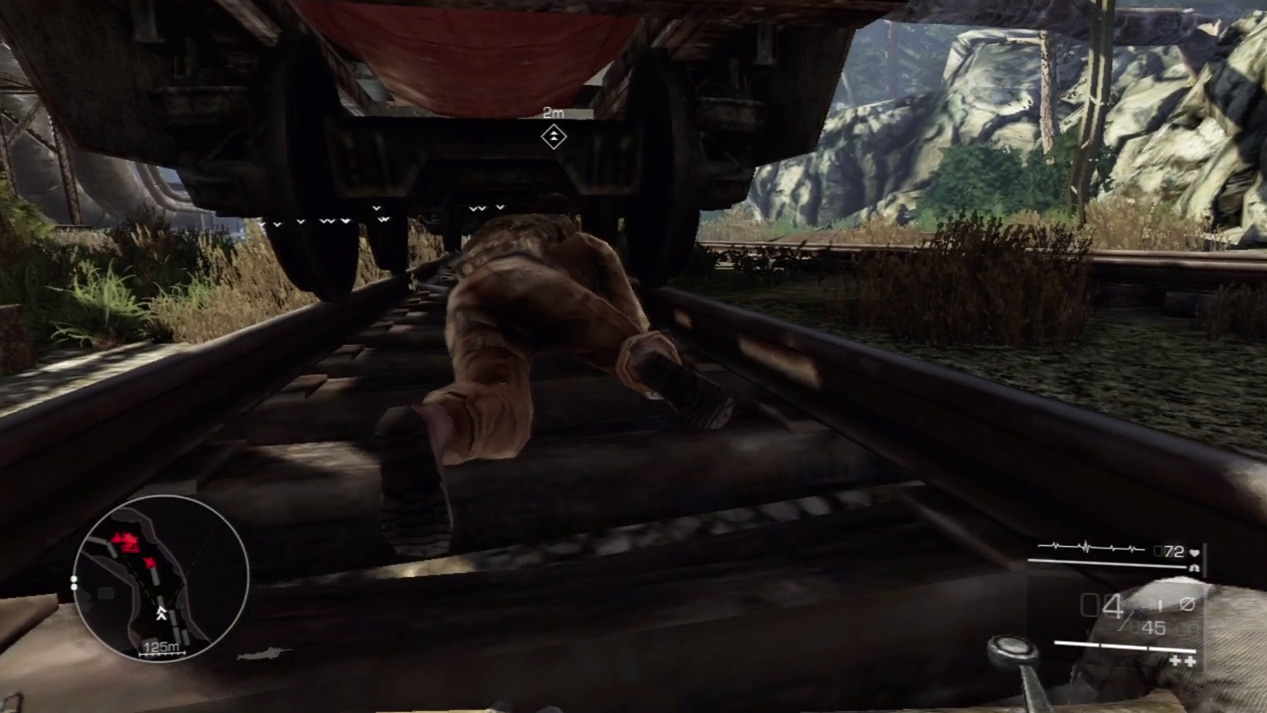
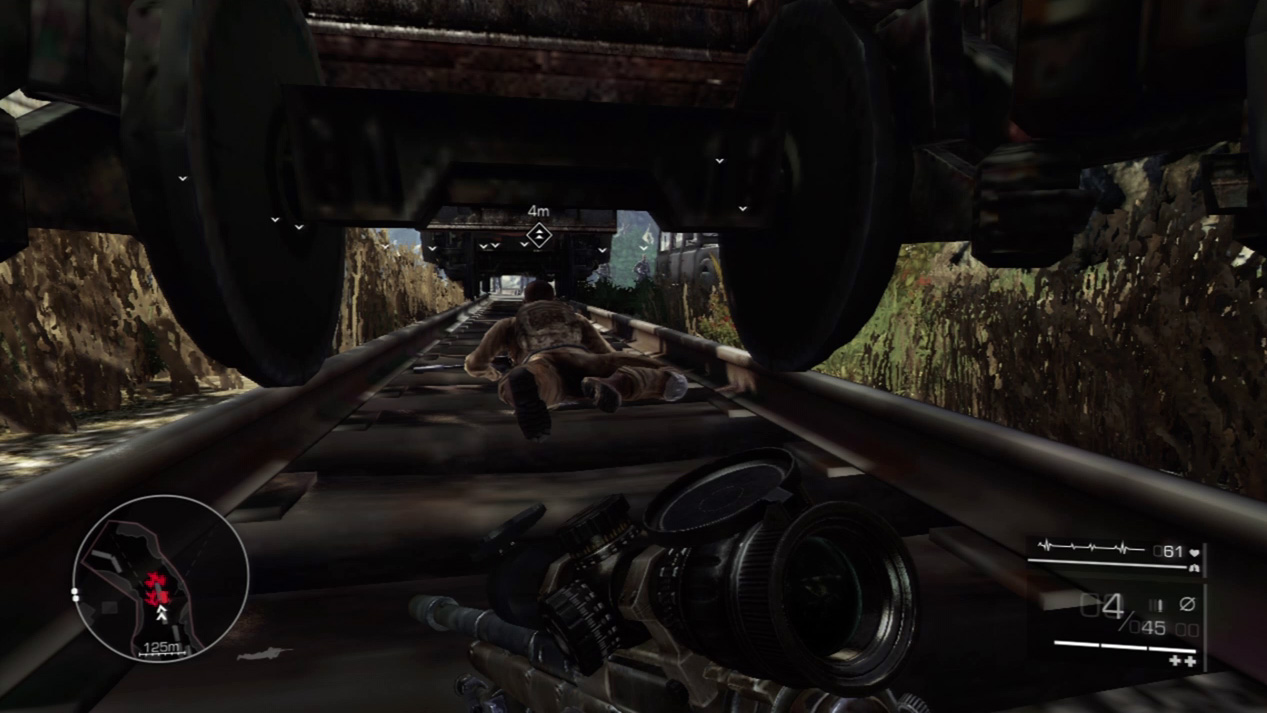
Turn right and sprint up the railroad tracks. When you reach the railroad car, drop prone and crawl under the car after Maddox. A huge enemy patrol flanks either side of the railroad car; you must wait them out as they pass by slowly.
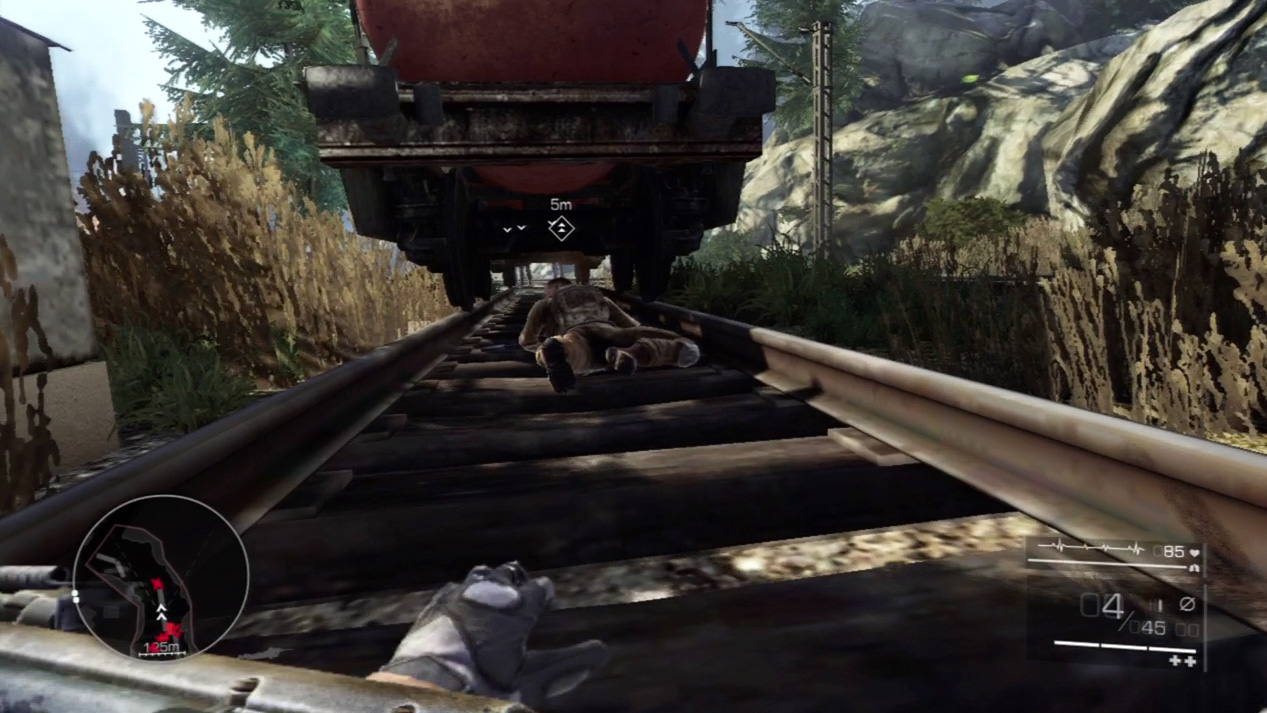
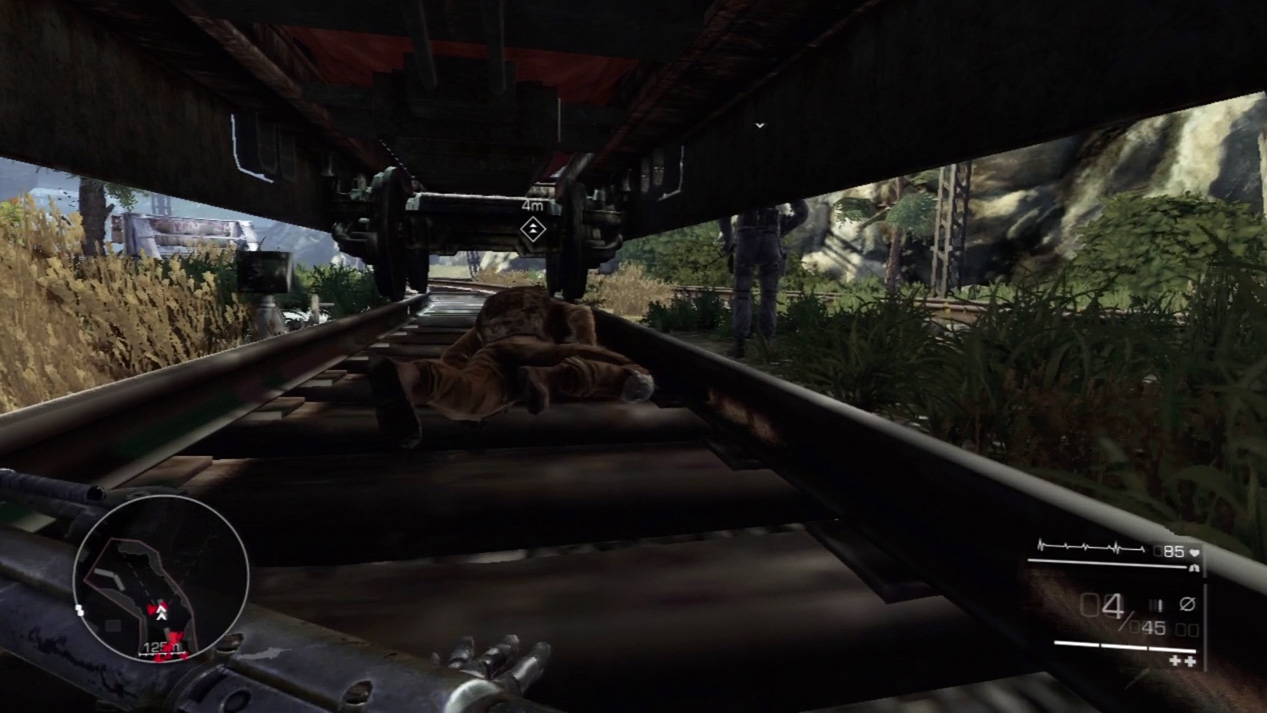
After the first enemy patrol passes, continue to crawl behind Maddox to the second set of railroad cars. A smaller patrol passes by you here. Once they’re clear of the area, Maddox will sneak out and dispatch the enemy to the right with his back turned to you.
Waypoint 7
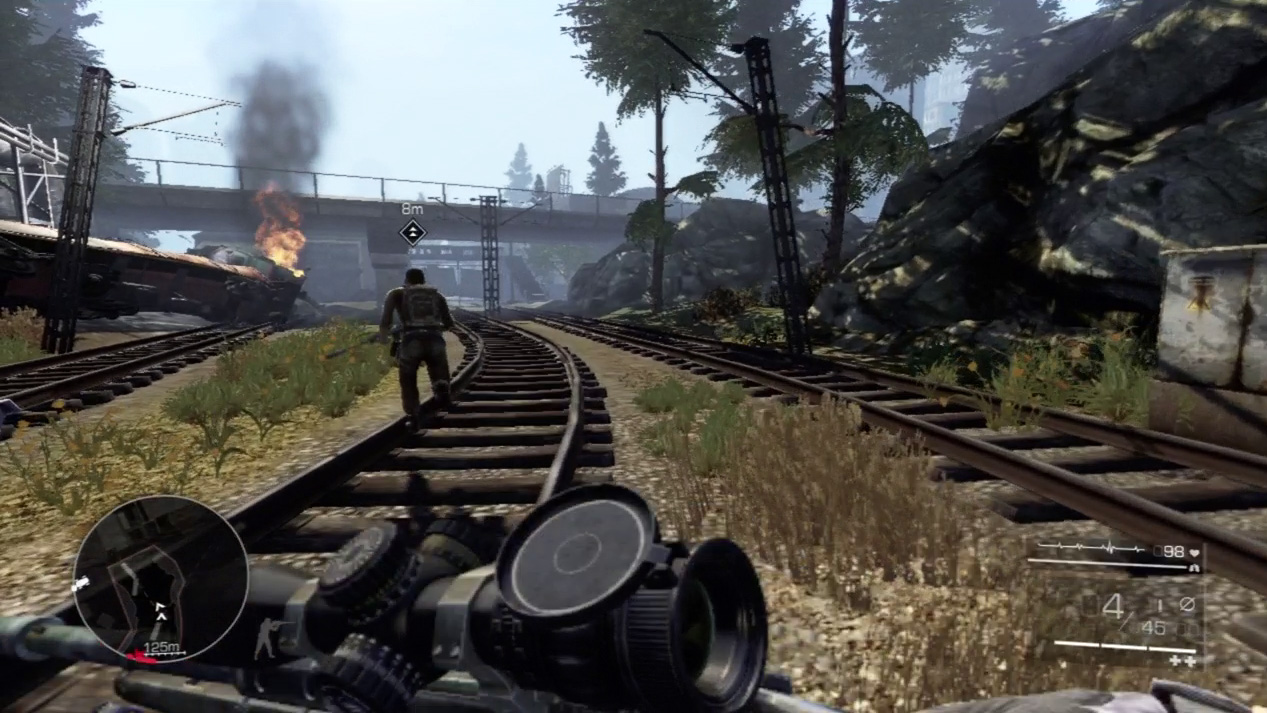
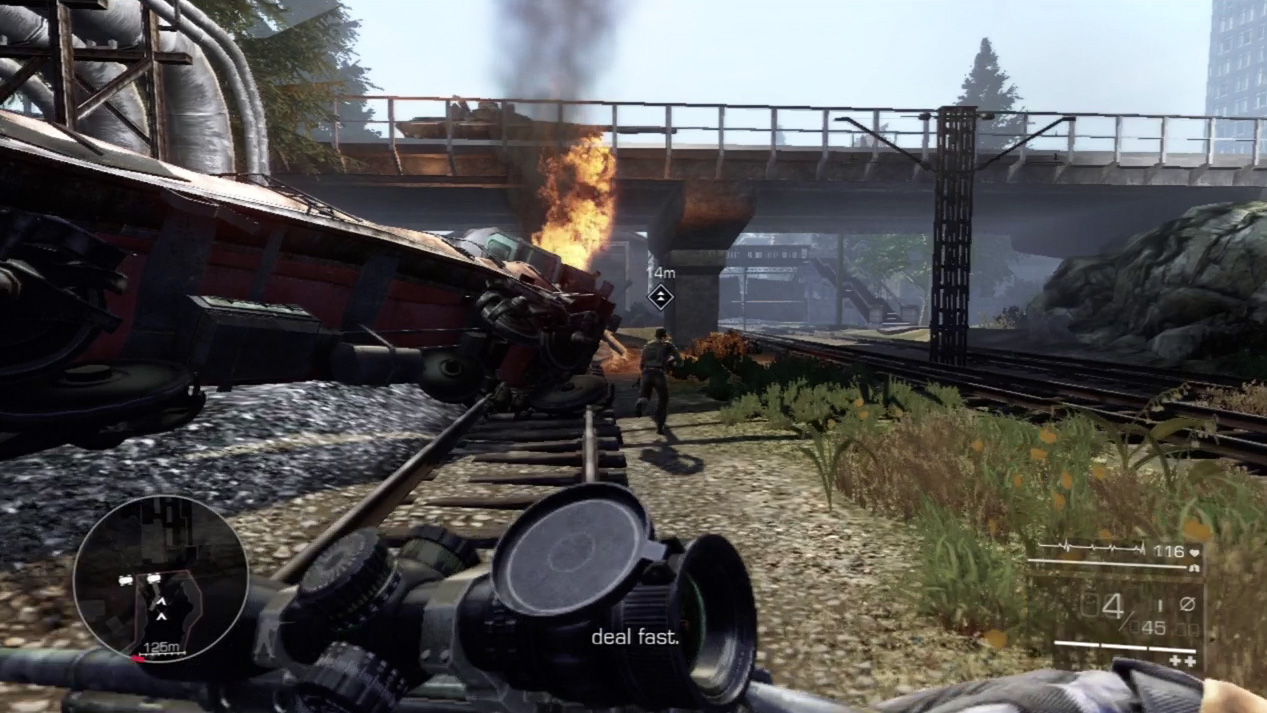
Race down the tracks after Maddox. He leads you by a fiery, overturned railroad car and under a bridge with a tank rolling over it just as you arrive.
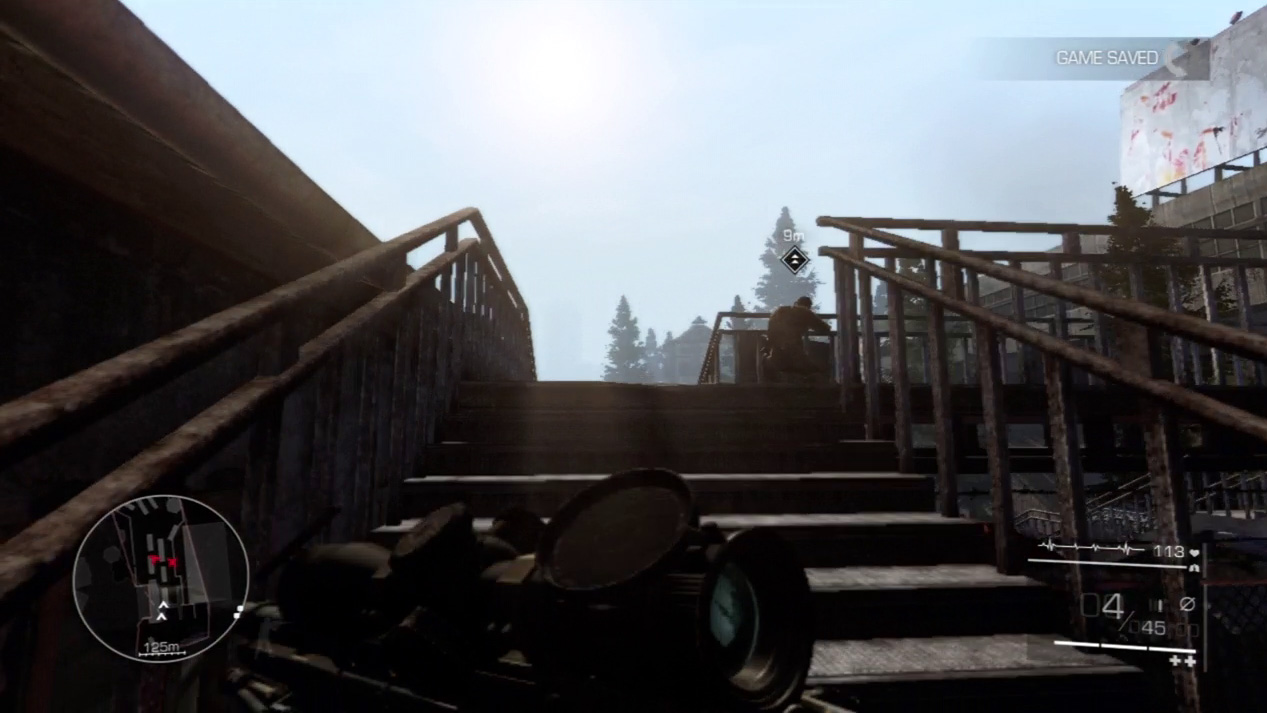
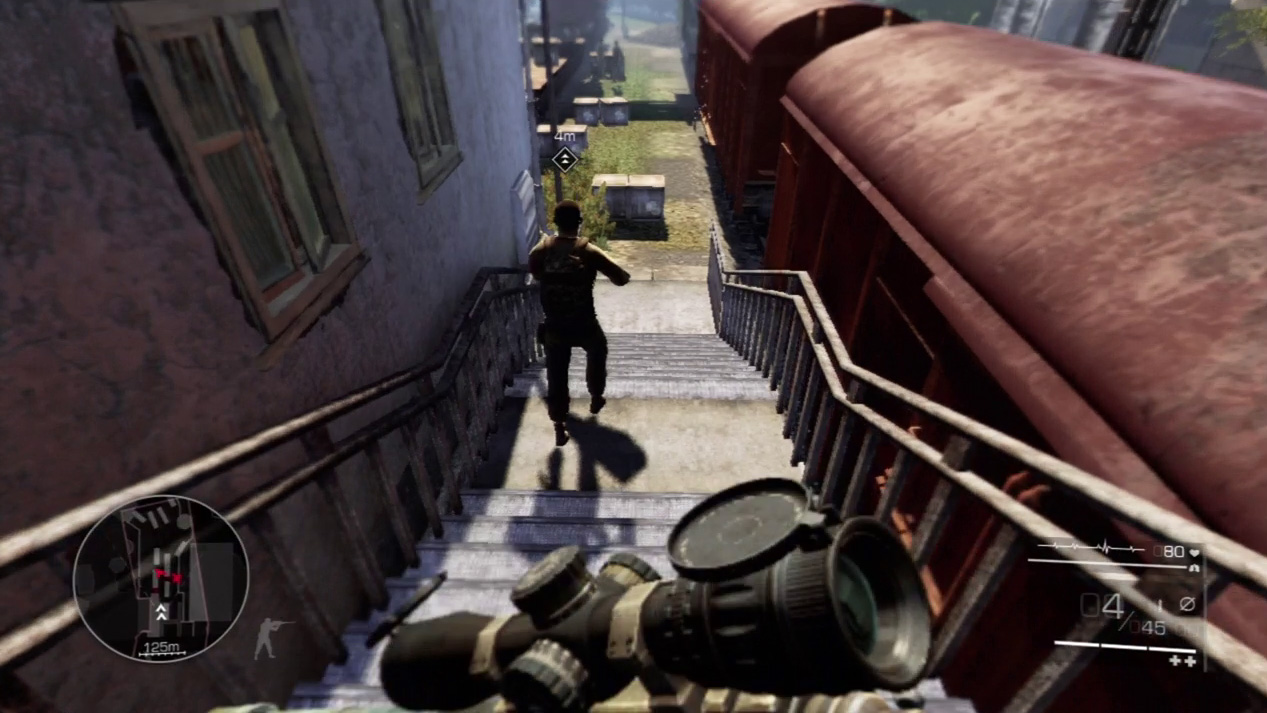
Take the steps past the bridge and survey the terrain ahead with Maddox atop the small overlook point. He advises caution, which means put your gun away for the next set of maneuvers when you descend the second staircase.