
Sniper Ghost Warrior 2 Guide Walkthrough Mission 4: Operational Archangel
4.3 Waypoints 8-14
Waypoint 8
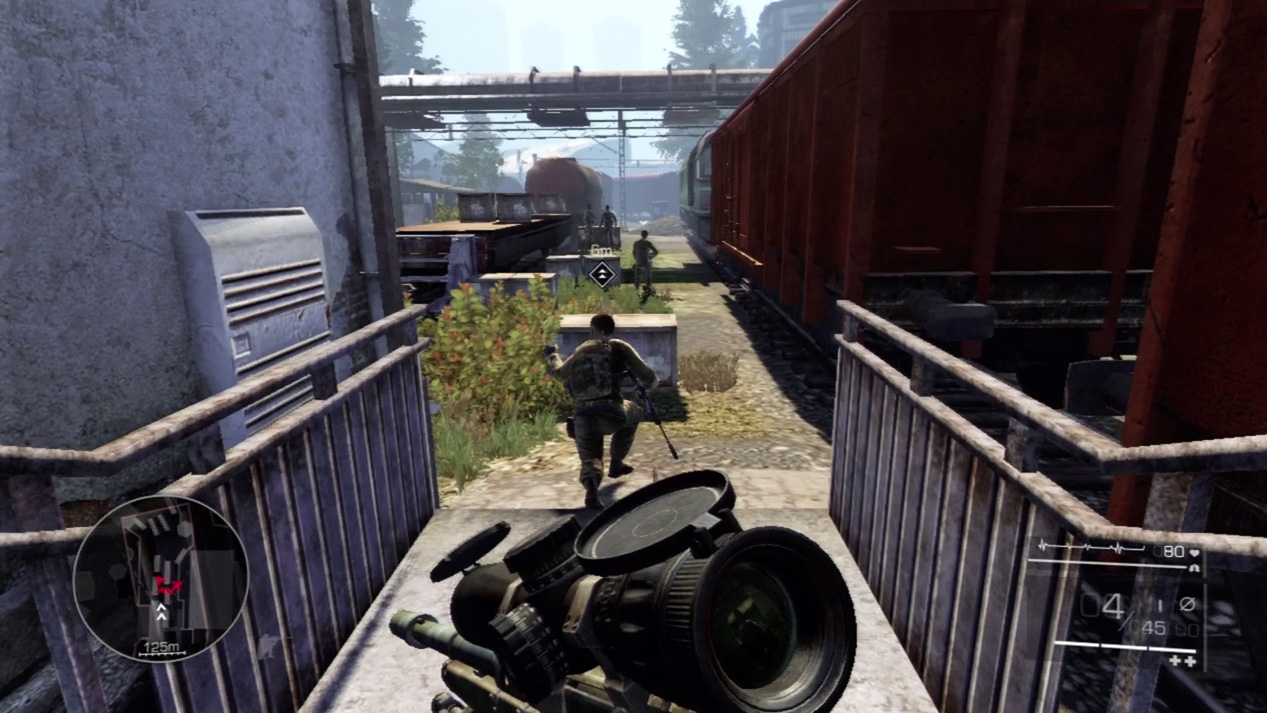
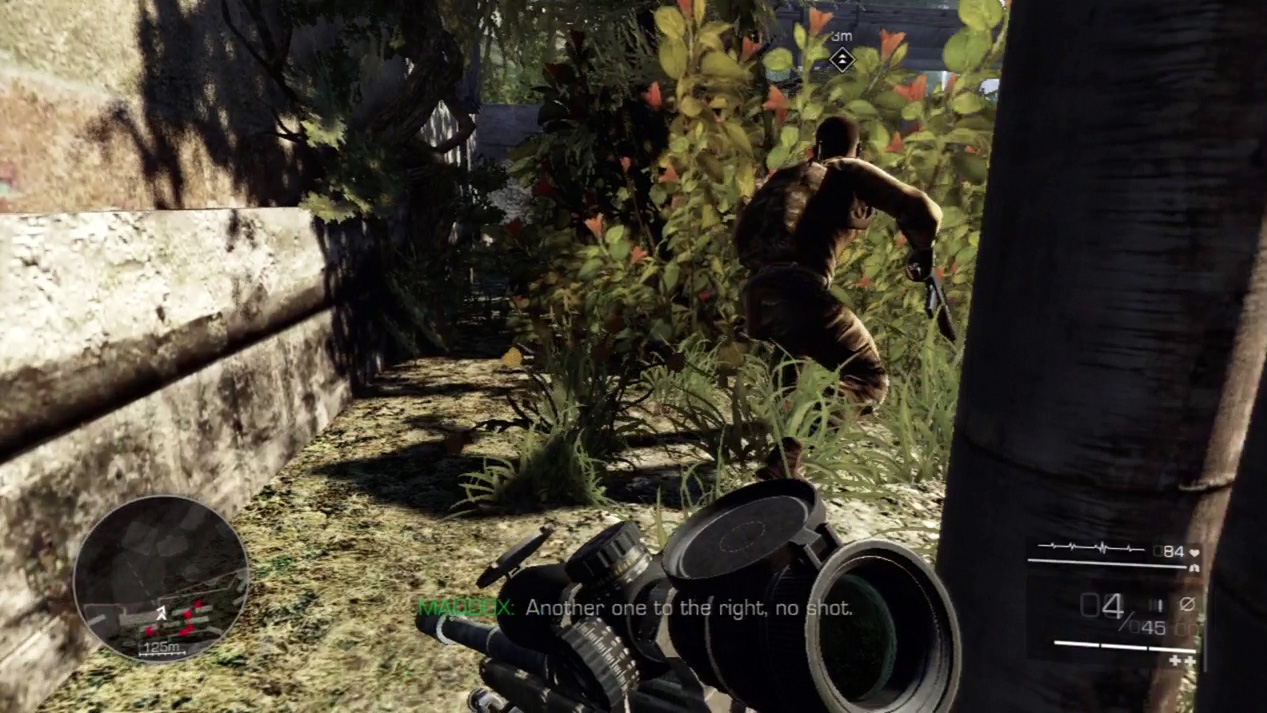
The train yards are full of enemies, and a firefight here becomes very dangerous. Maddox plans to avoid combat and sneak around them. Wait for the first enemy to walk ahead of you along the train and then follow Maddox when he turns left into the brush.
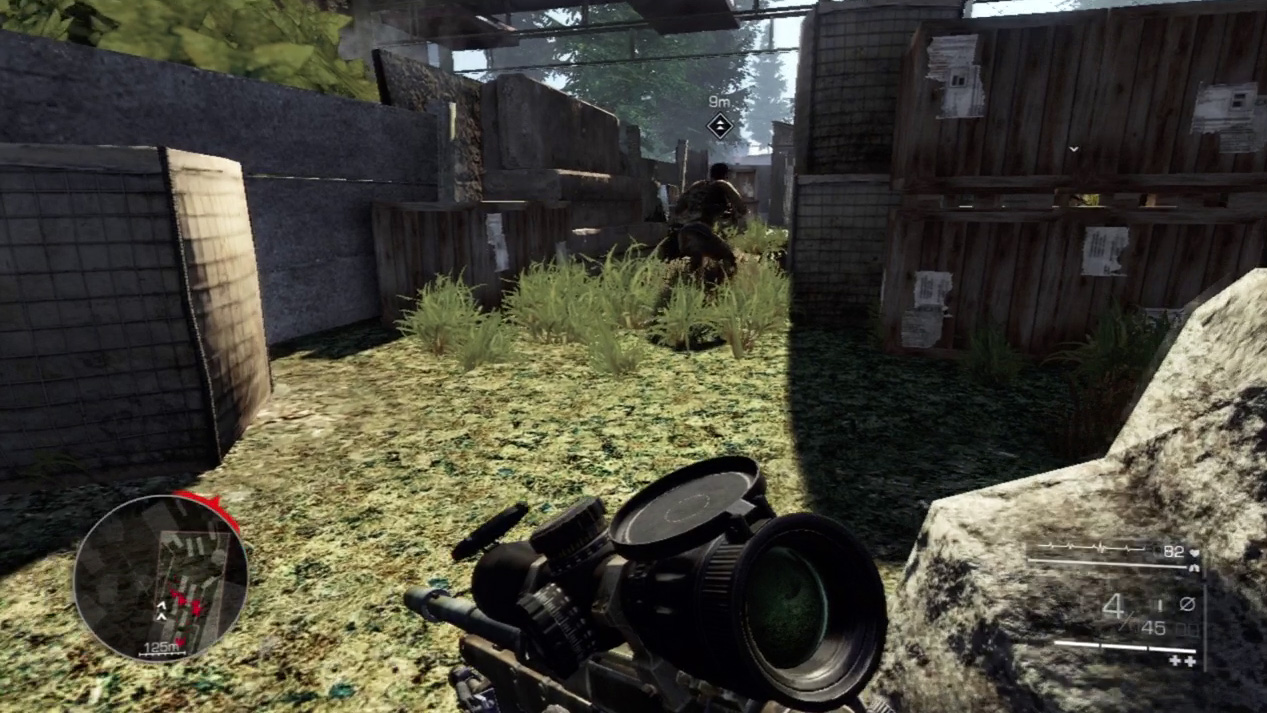
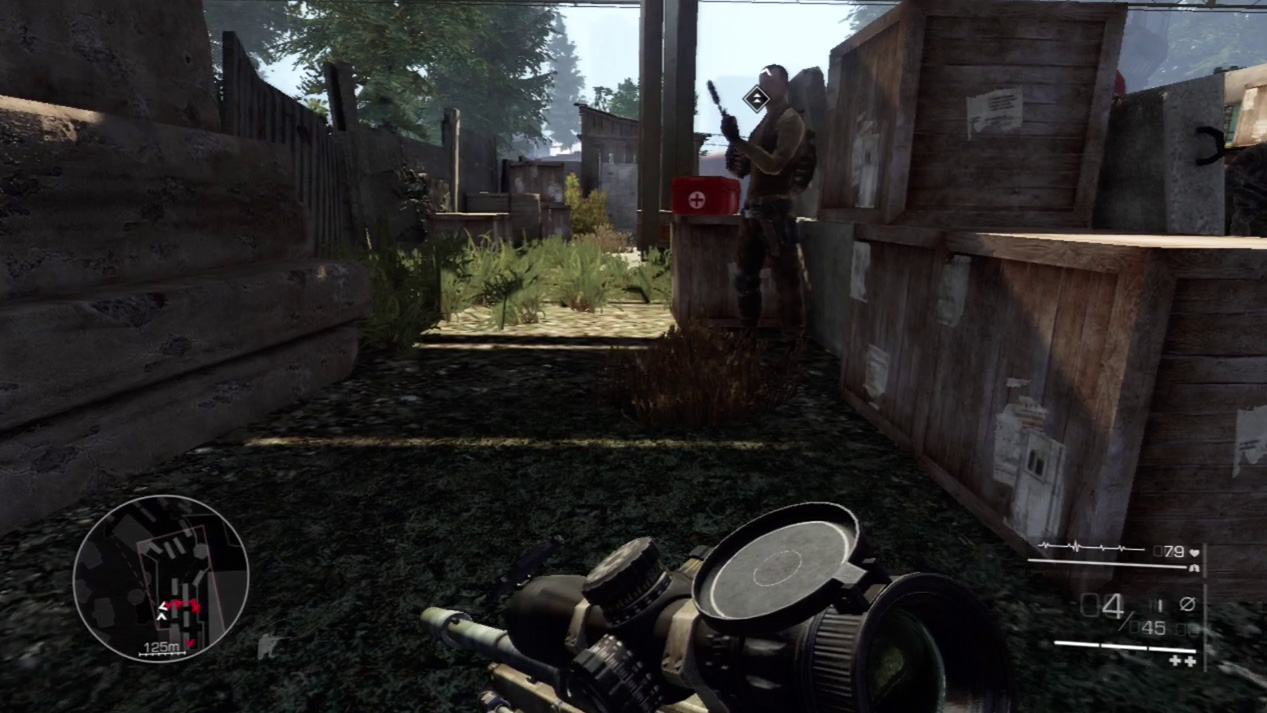
Skirt the enemies by keeping crates between you and them. Your Visibility Indicator will go off periodically when you slink by gaps in the crates, but the enemy won’t spot you so long as you keep moving. When Maddox says stop, freeze behind the stacked crates next to a fresh medkit resting on the corner crate.
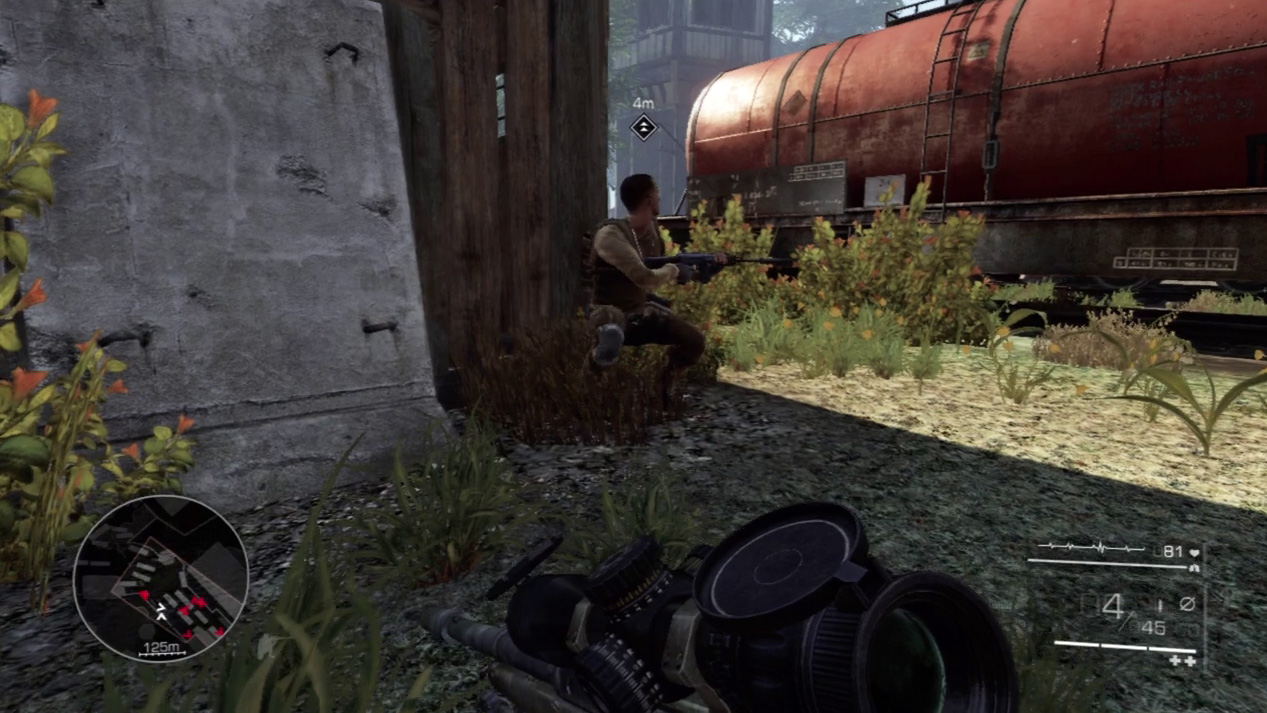
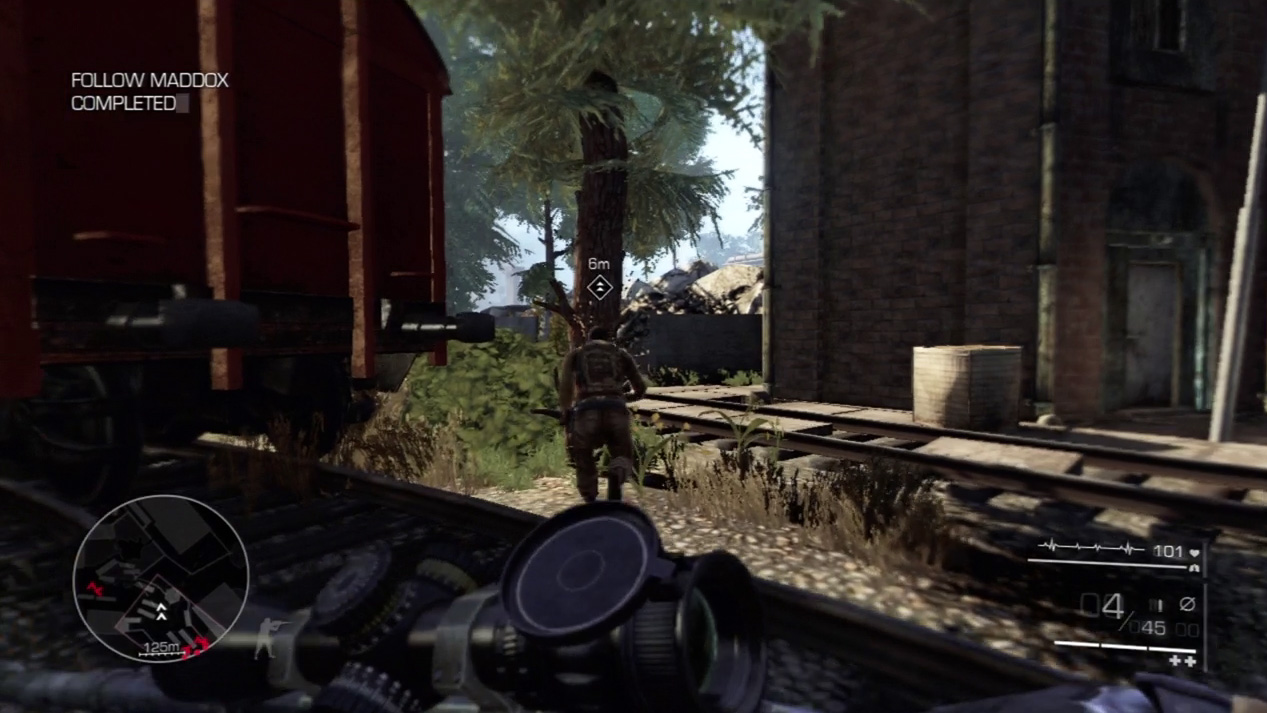
Continue to follow Maddox to the wooden building beyond the crates. He takes point and spies a patrol crossing the tracks in front of you. Wait for the patrol to leave and then sprint behind Maddox and head toward the train station.
Waypoint 9
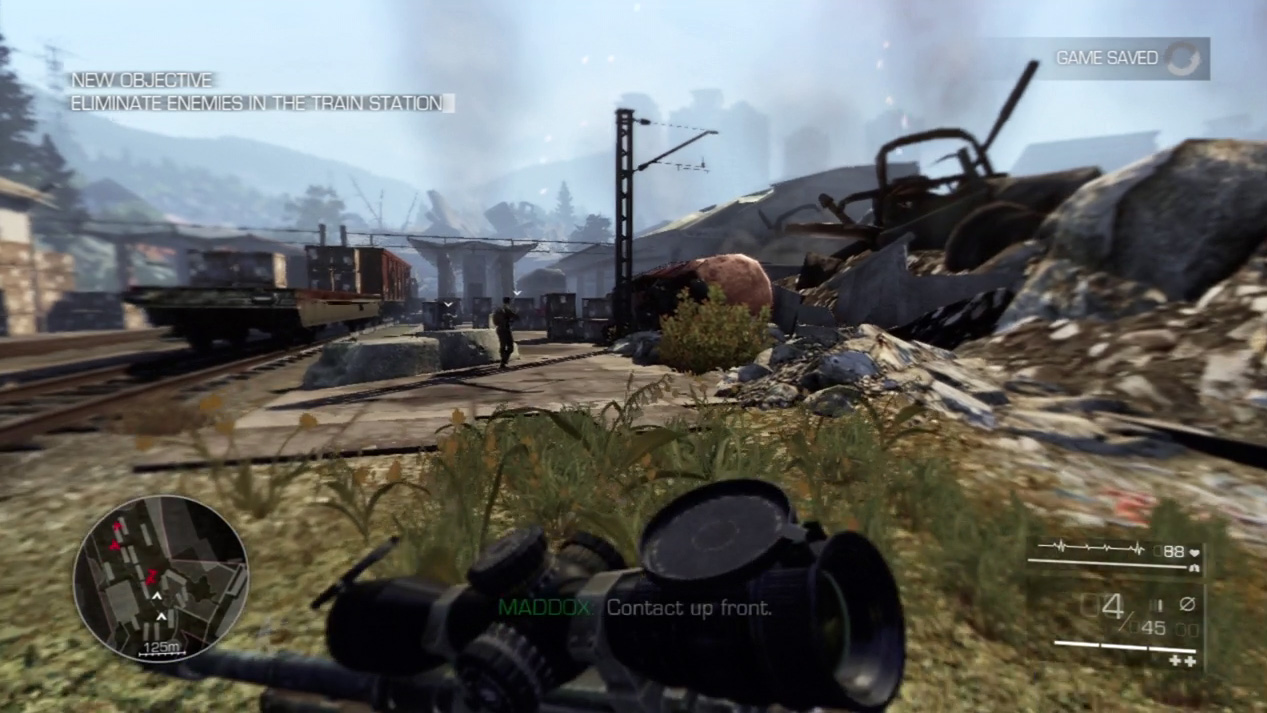
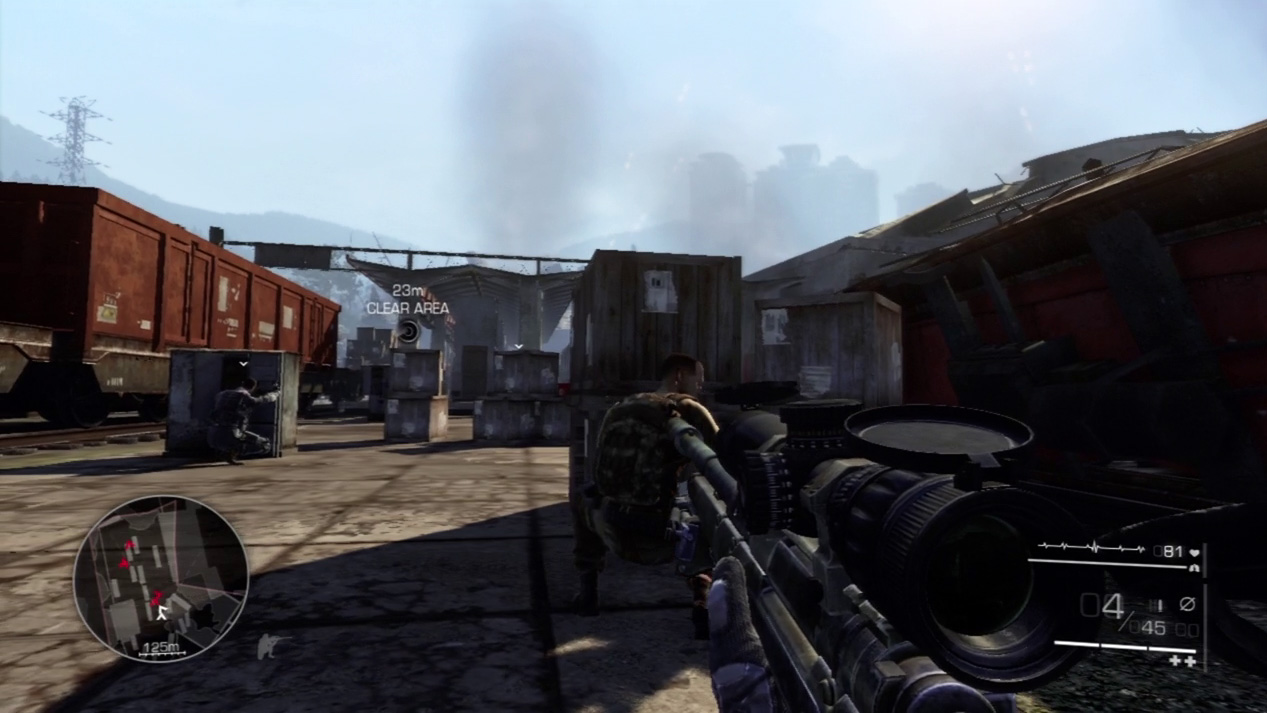
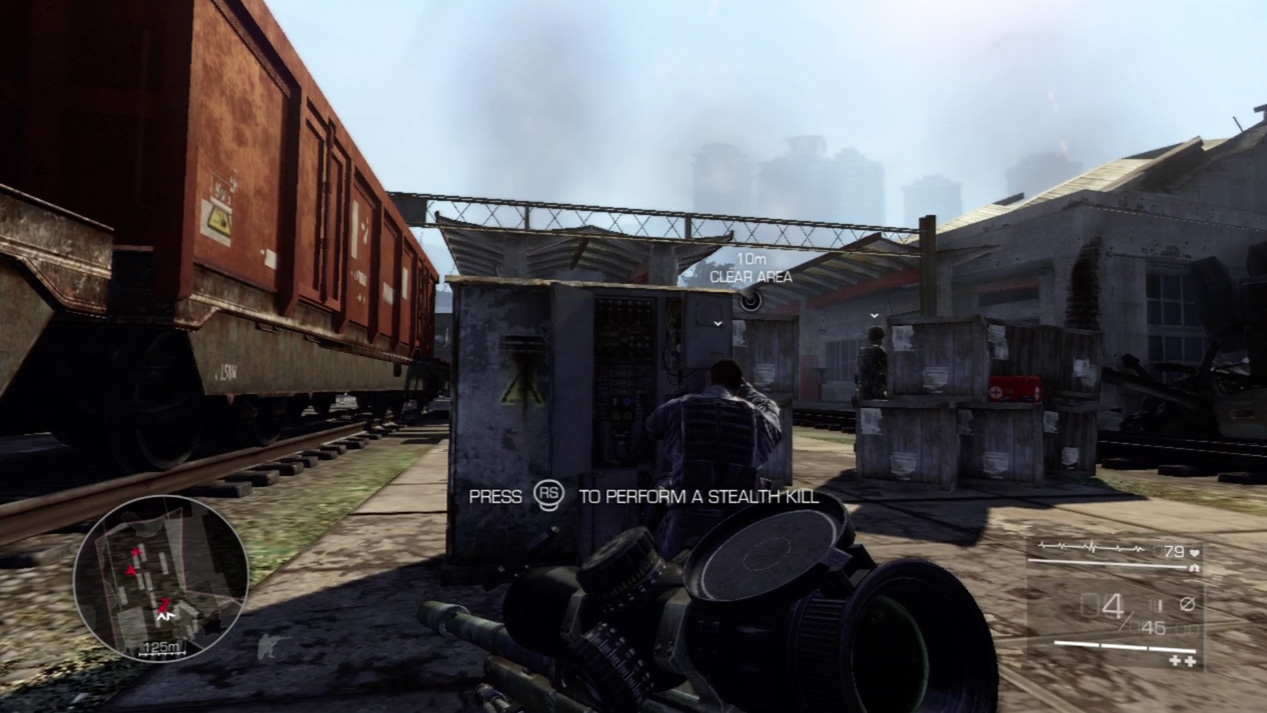
You must pass through the train station undetected, and the best way to do this is with stealth. Crouch behind Maddox and shuffle up to the crates on the station perimeter. Keep both station guards in sight as you approach from behind. If you stay behind the closest guard, you should be able to perform a stealth kill while he repairs a station panel.
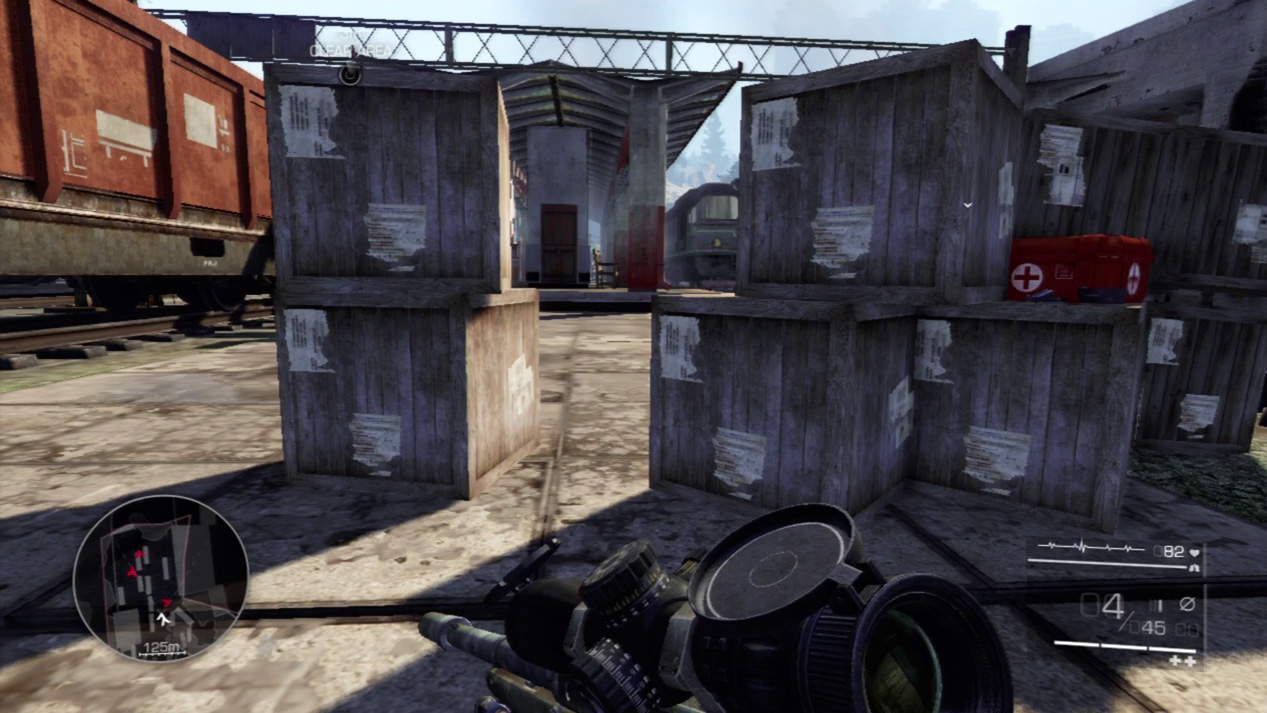
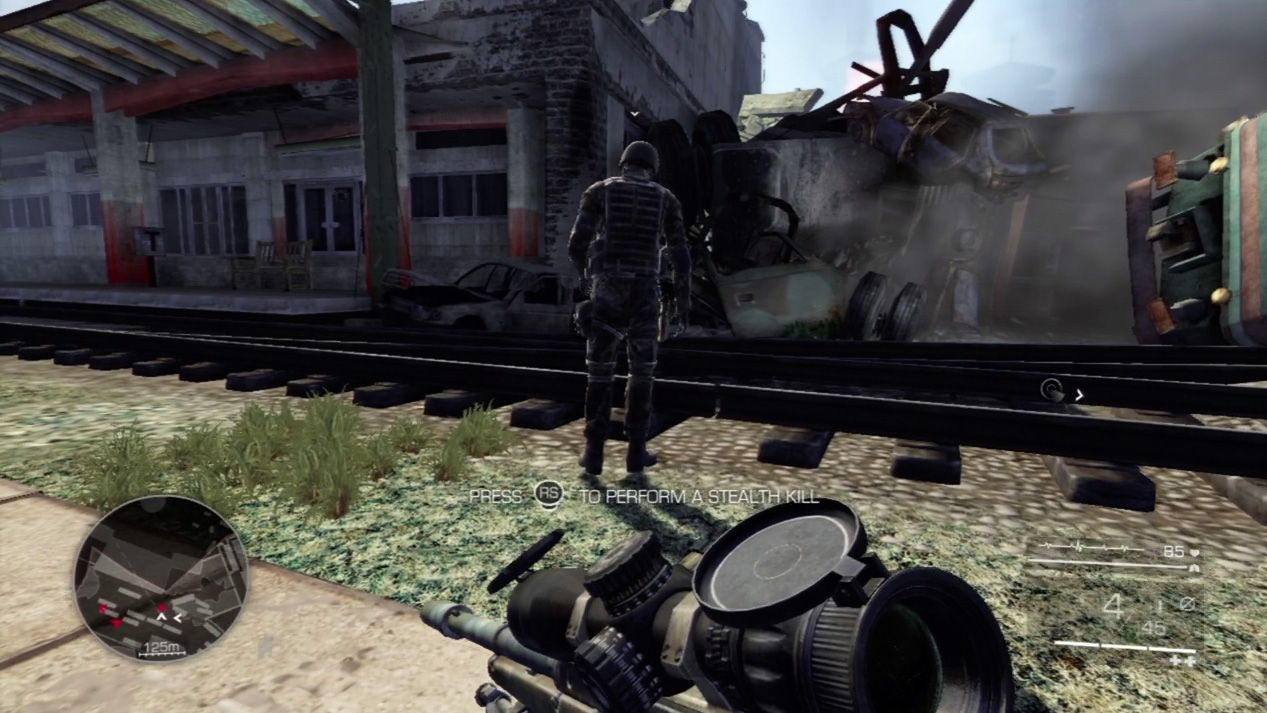
After you stab the first enemy, keep the crates between you and the second enemy so that he doesn’t spot you. If you’re short on medical supplies, another red medkit rests on the crates. Circle around the crates and, when the station guard walks out near the tracks, tip toe up behind him and slit his throat.
Act 2: Secret 2
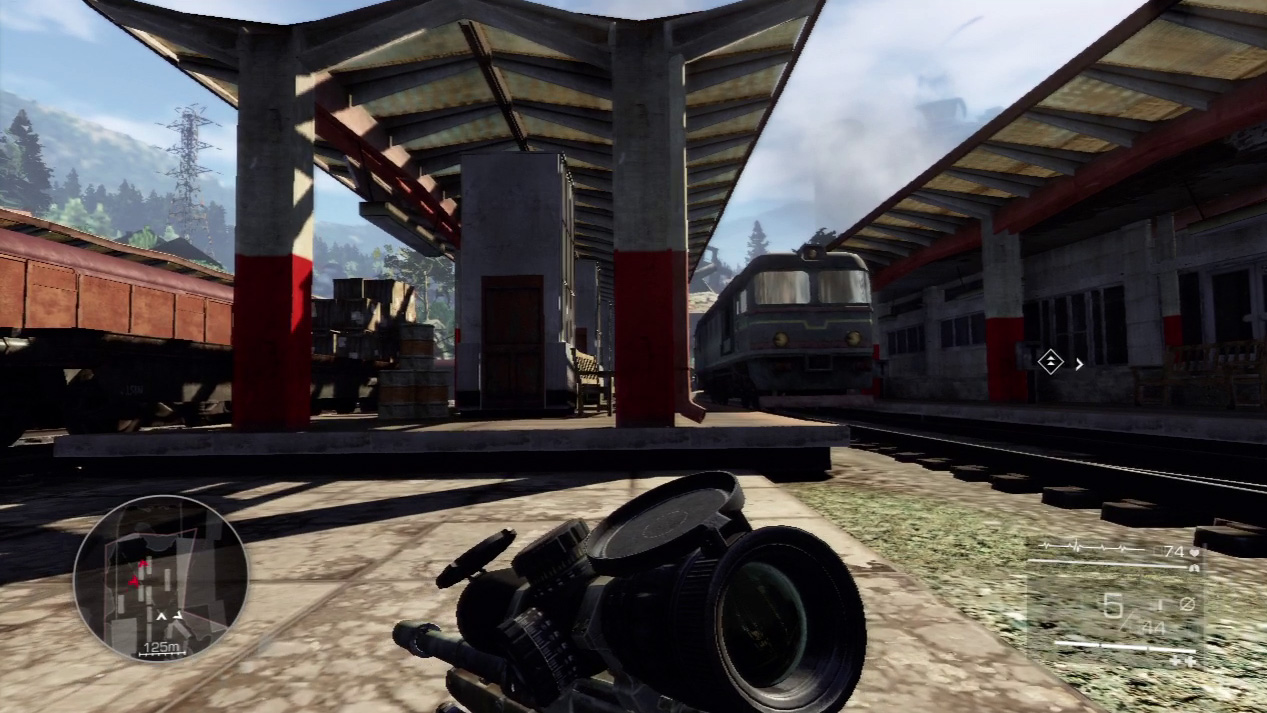
The second secret is hidden in the train station. Stealth kill the two guards as you enter the train station, and search for the secret before you leave the station and follow Maddox into the smoke in the alley and.
Watch out for other enemies patrolling the station and sneak quietly to the middle bench that holds the second film reel.
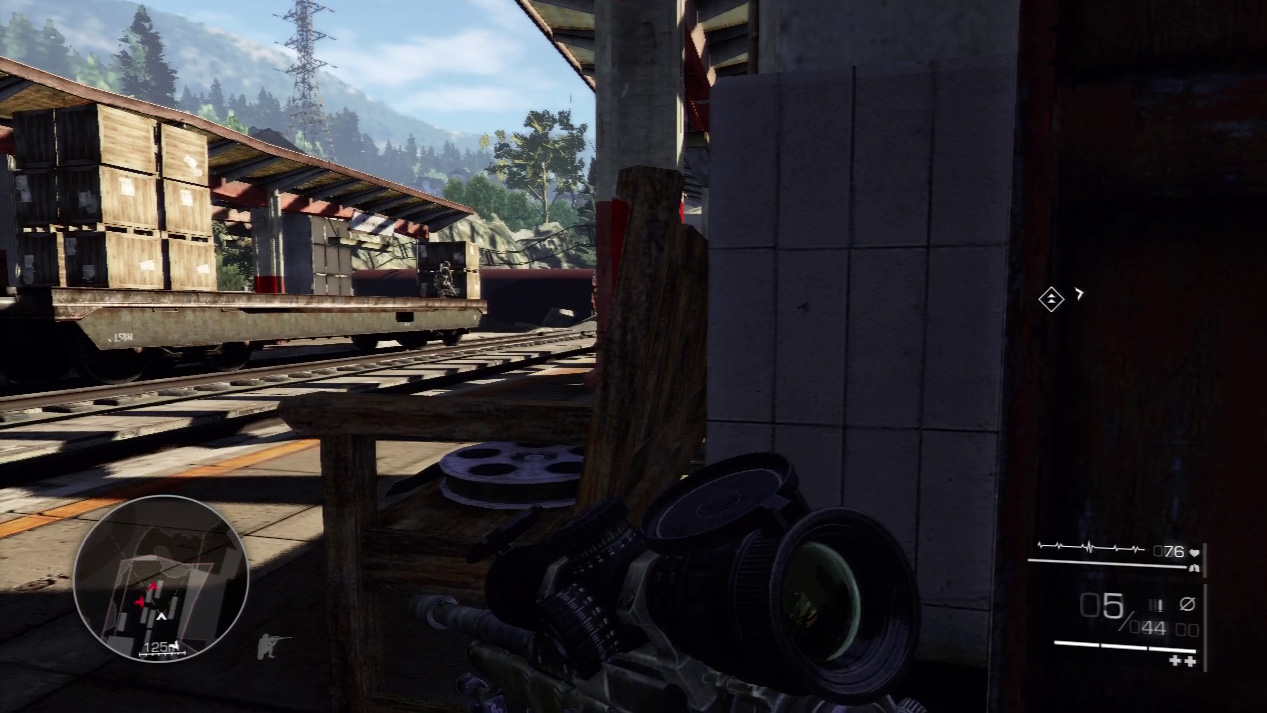
Waypoint 10
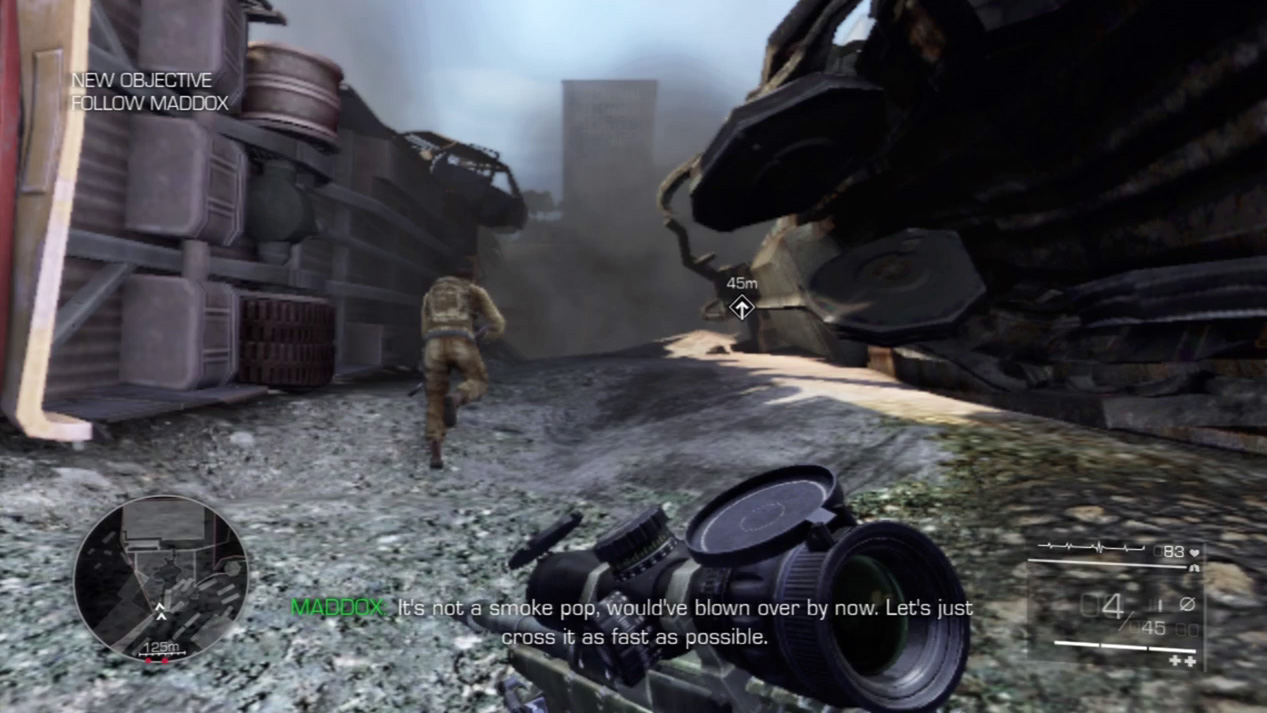
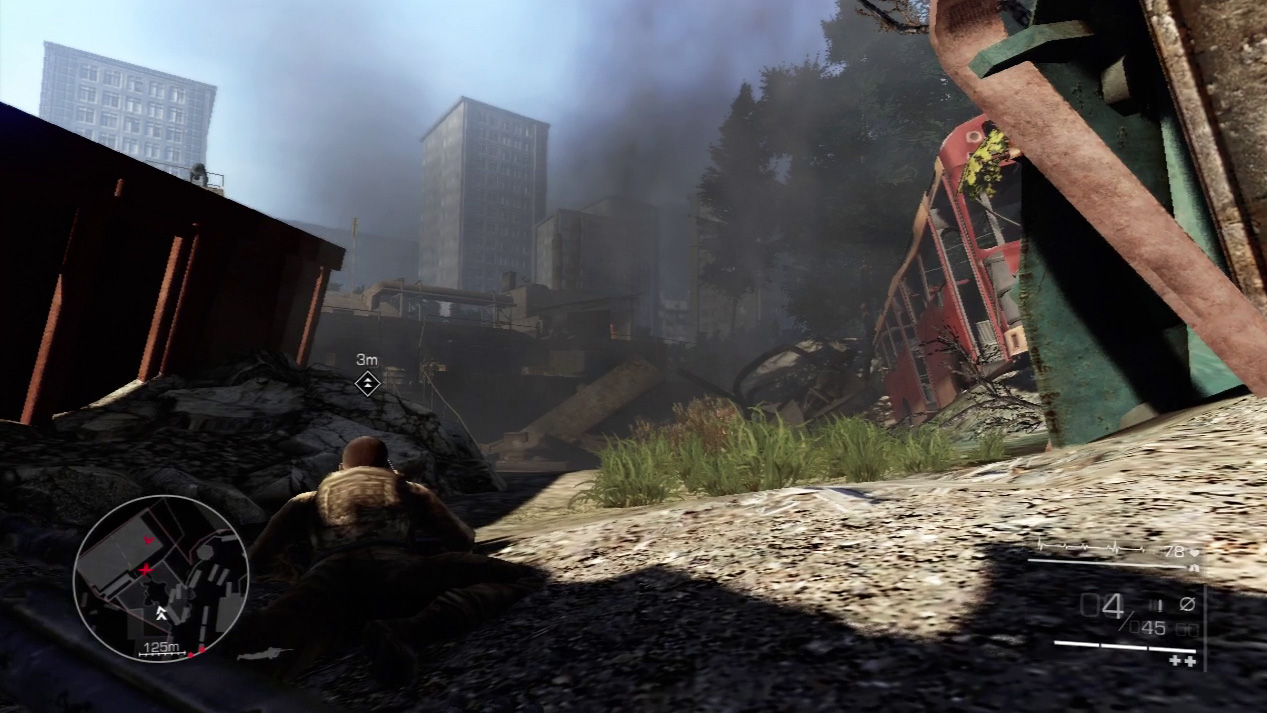
Maddox now guides you deeper into city terrain. A smoke cloud fills the area, and at first Maddox urges you to sprint through it as quickly as possibly. However, you’re about to run into an enemy hotspot. Drop prone as soon as the smoke begins to clear.
Expert Mode
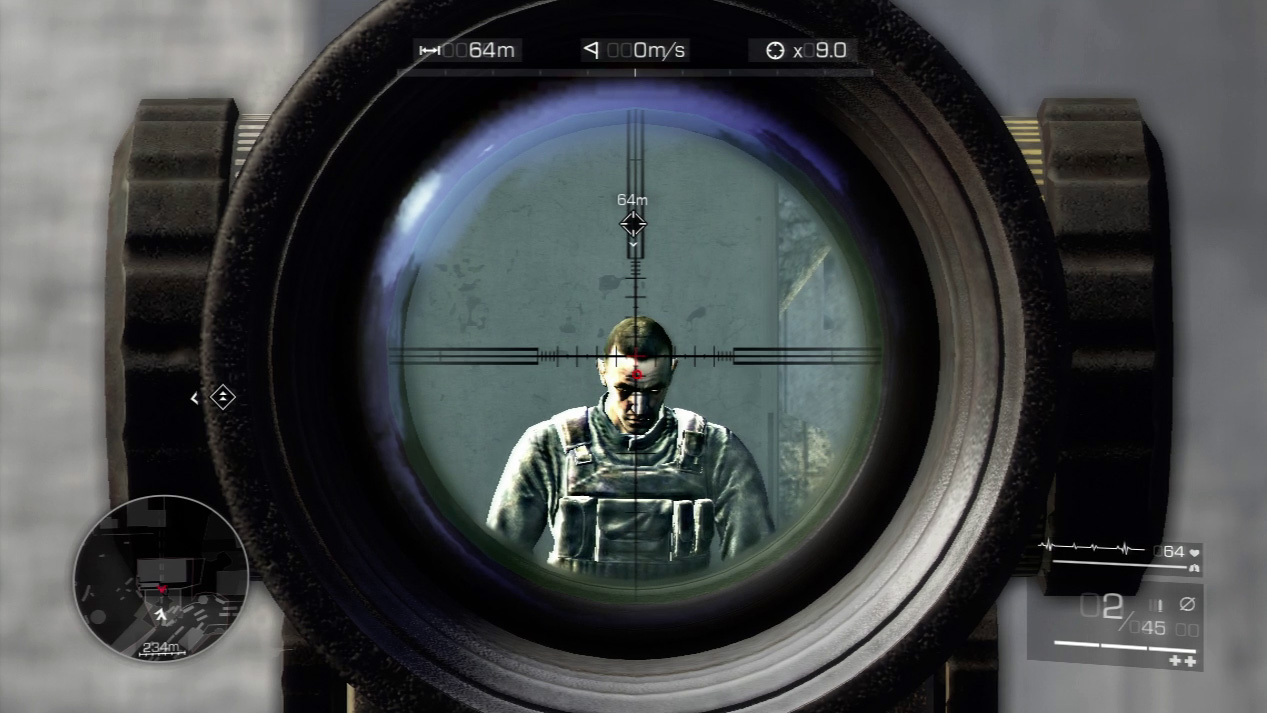
- Distance: Approximately 140 meters
- Wind: 0 meters/second (not blowing)
- Magnification: 9x
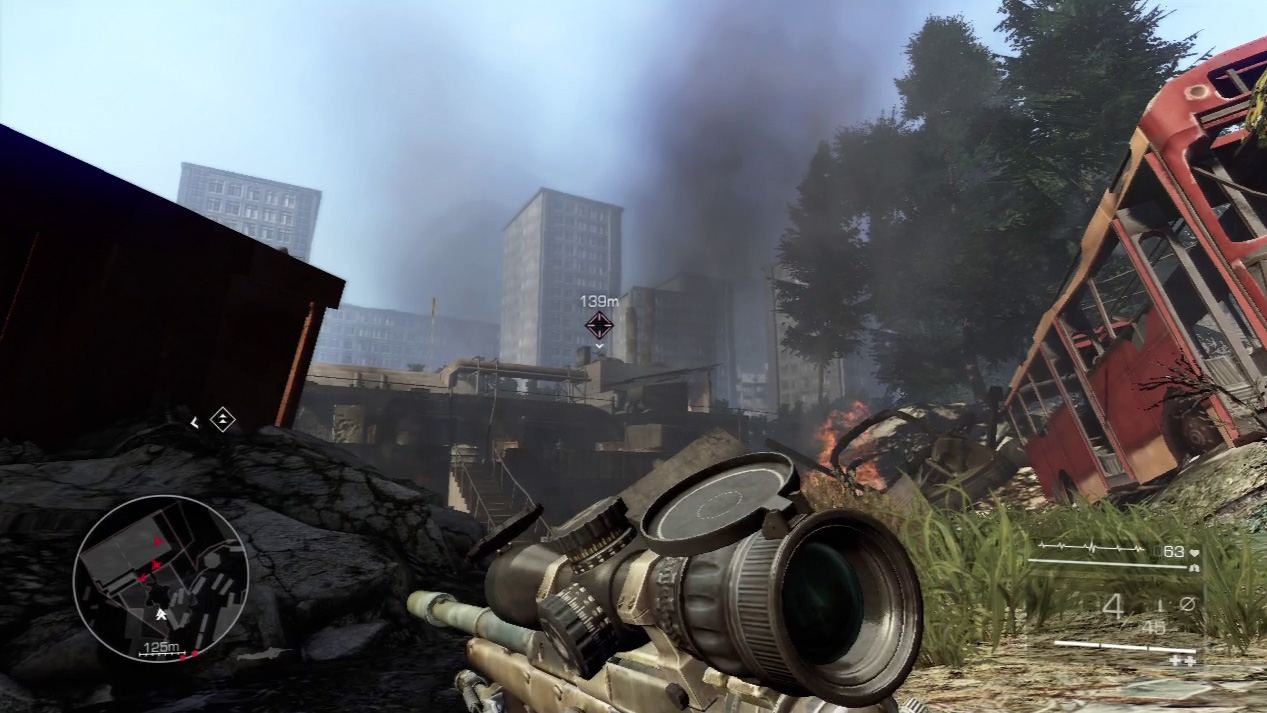
The wind is calm when you encounter the enemy encampment beyond the train station. You won’t have to adjust for left or right, only for gravity. Enemies range from approximately 60 meters to approximately 150 meters; however, if you line up your shot anticipating that your bullet will drop down to the first major reticle line, you should make a kill shot every time.
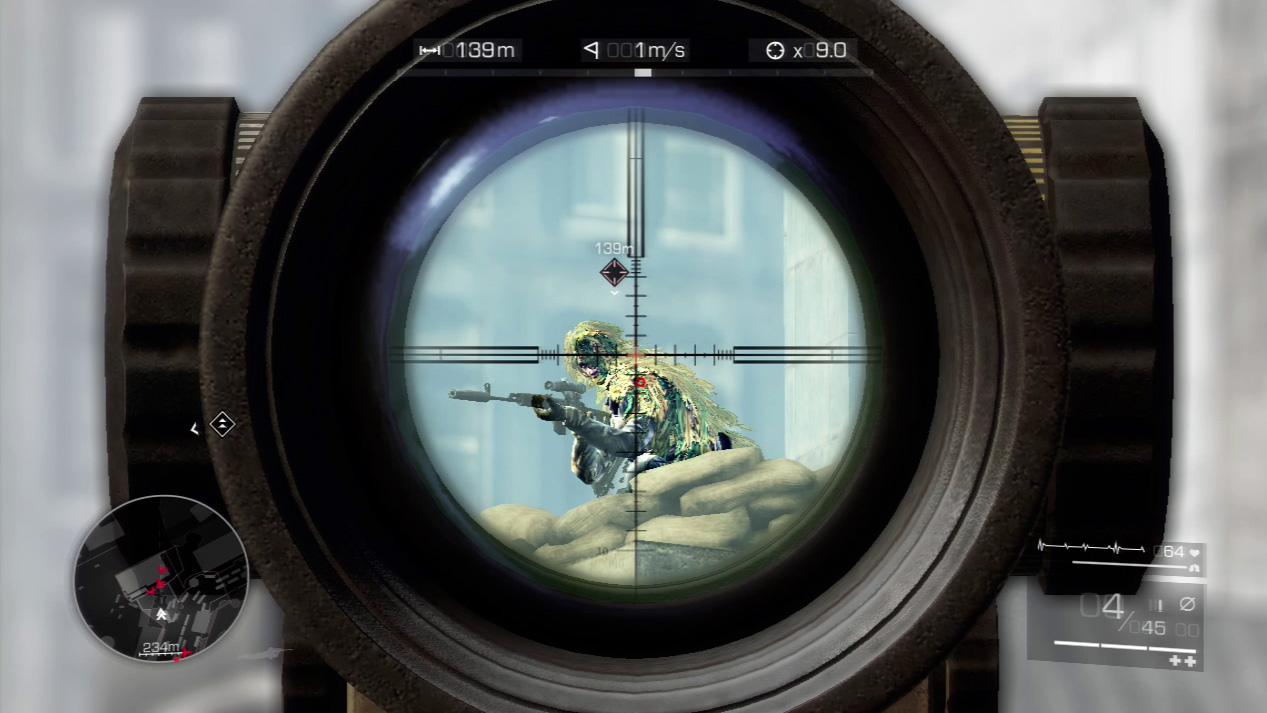
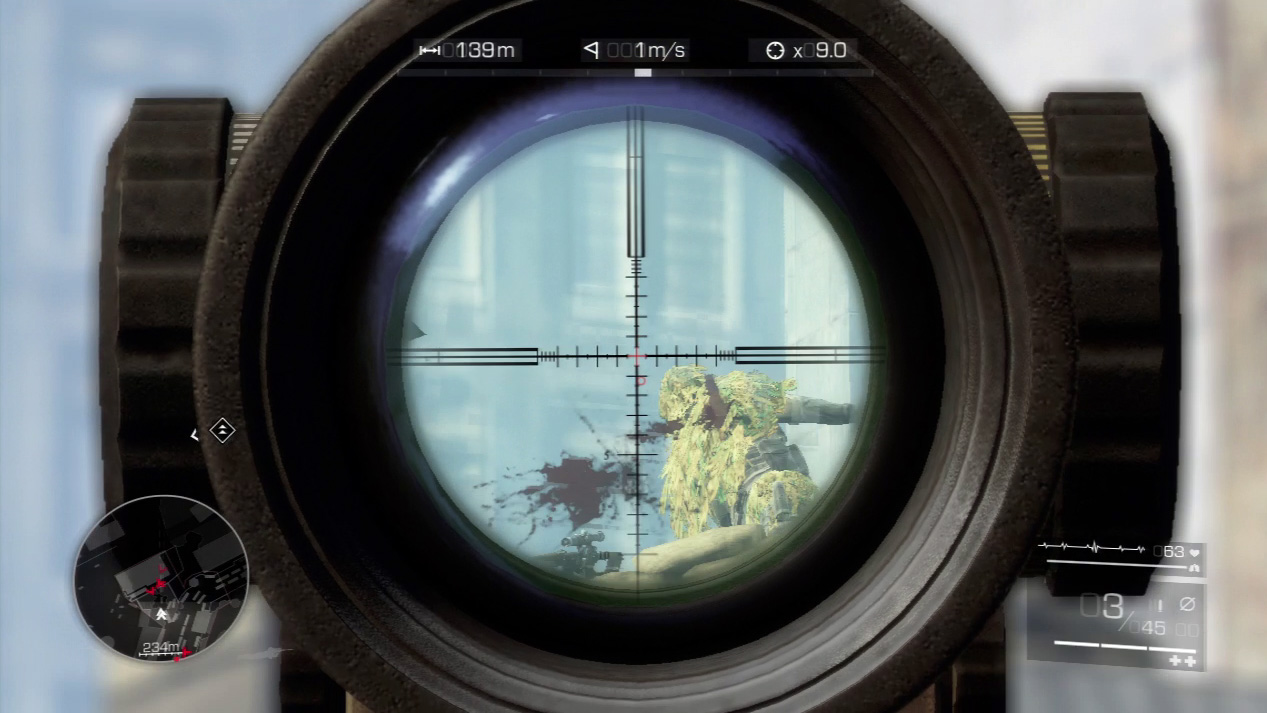
When the smoke clears, you will have an open shot at the enemy sniper atop the roof of the enemy encampment ahead. Before he sticks his scope on you, zip a deadly bullet in his direction.
Special Shot: Double Kill
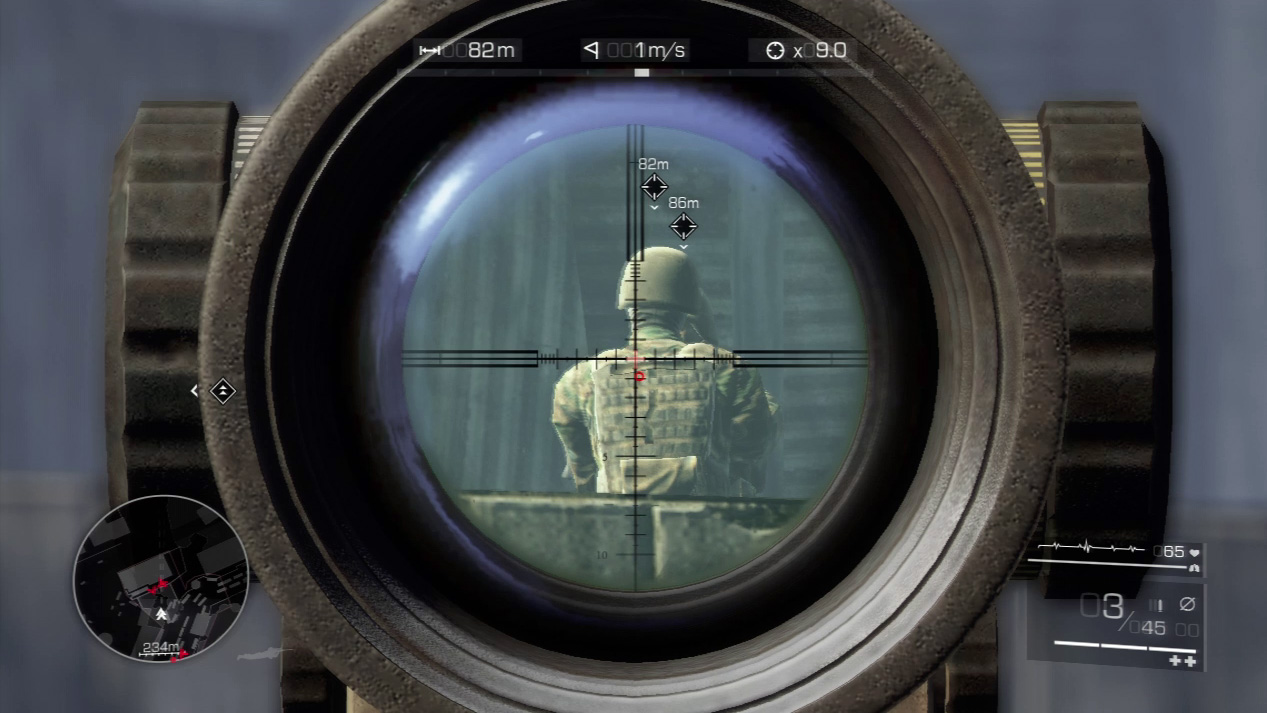
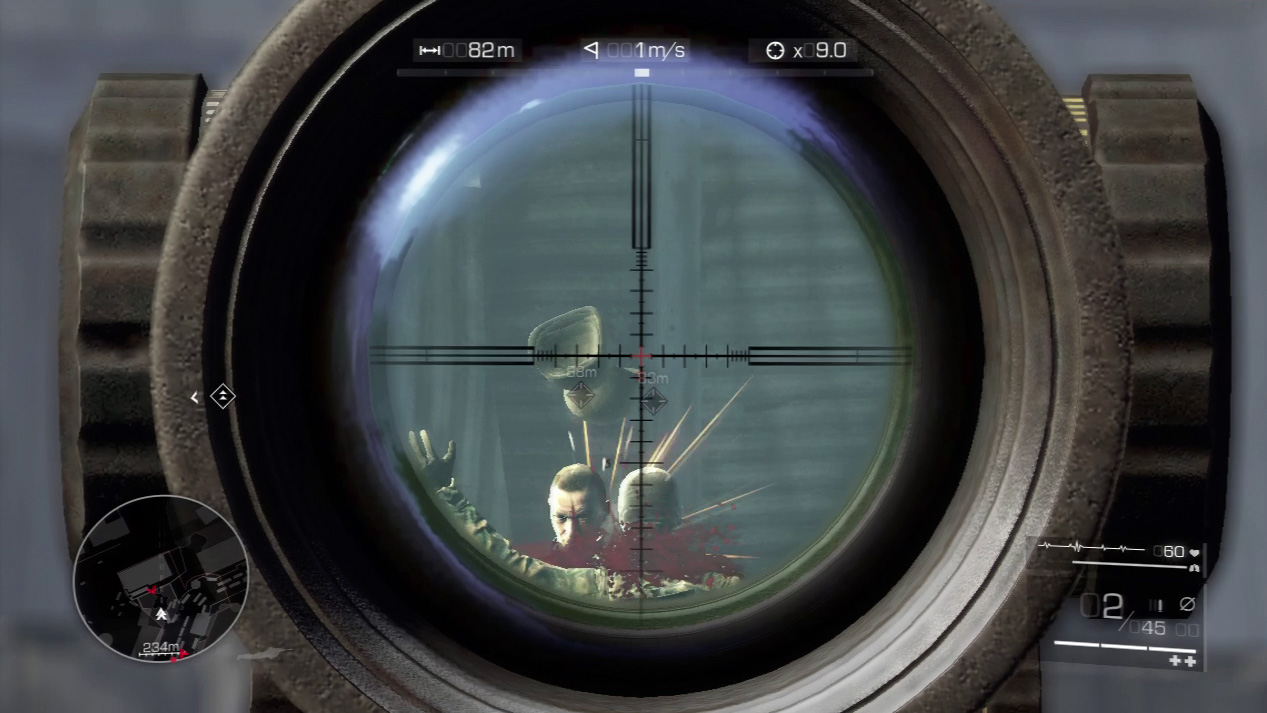
The two enemies in the middle of the encampment stand next to each other talking. Line up your shot on the one with his back to you and squeeze the trigger when you’re sure your bullet will go right through both. This is a great opportunity to go for the double headshot.
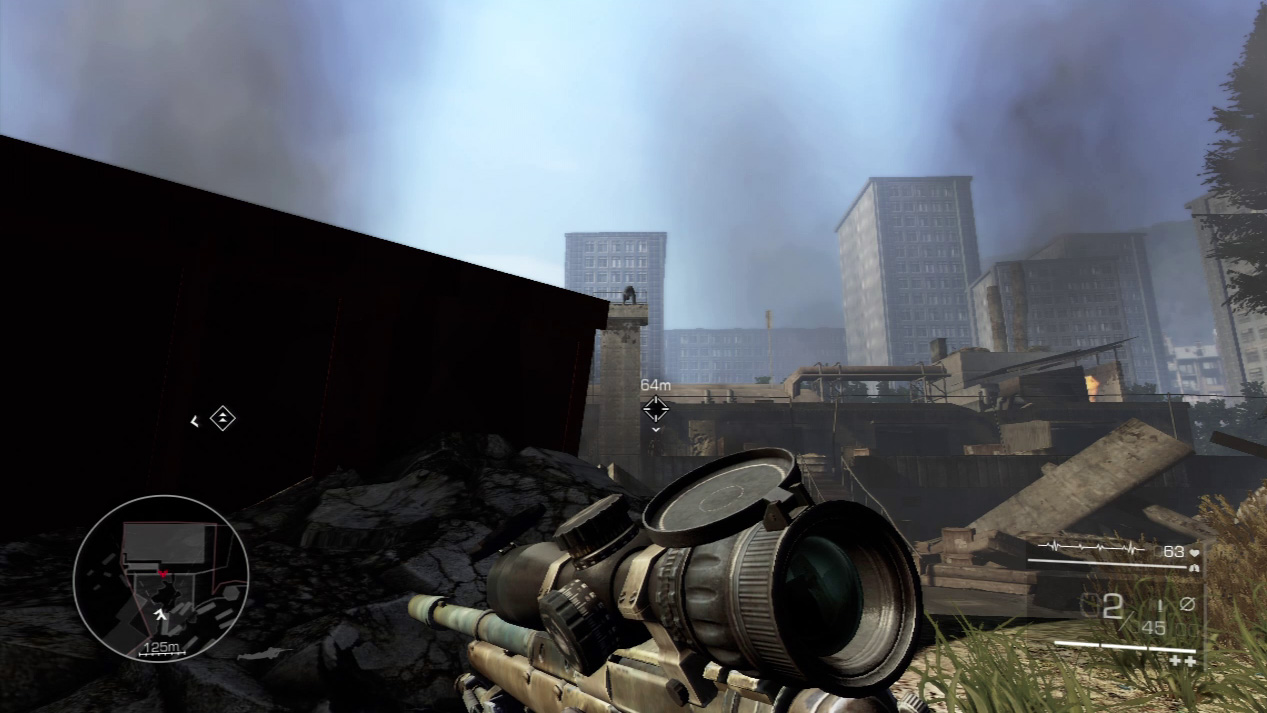
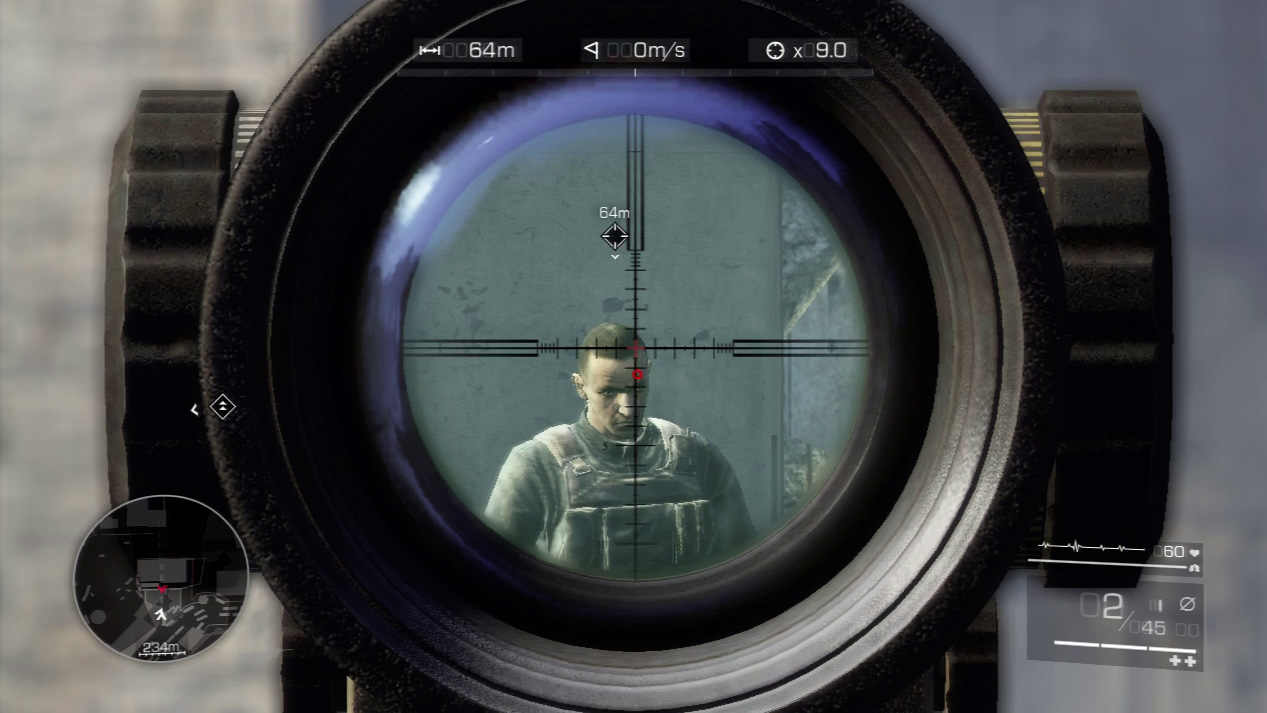
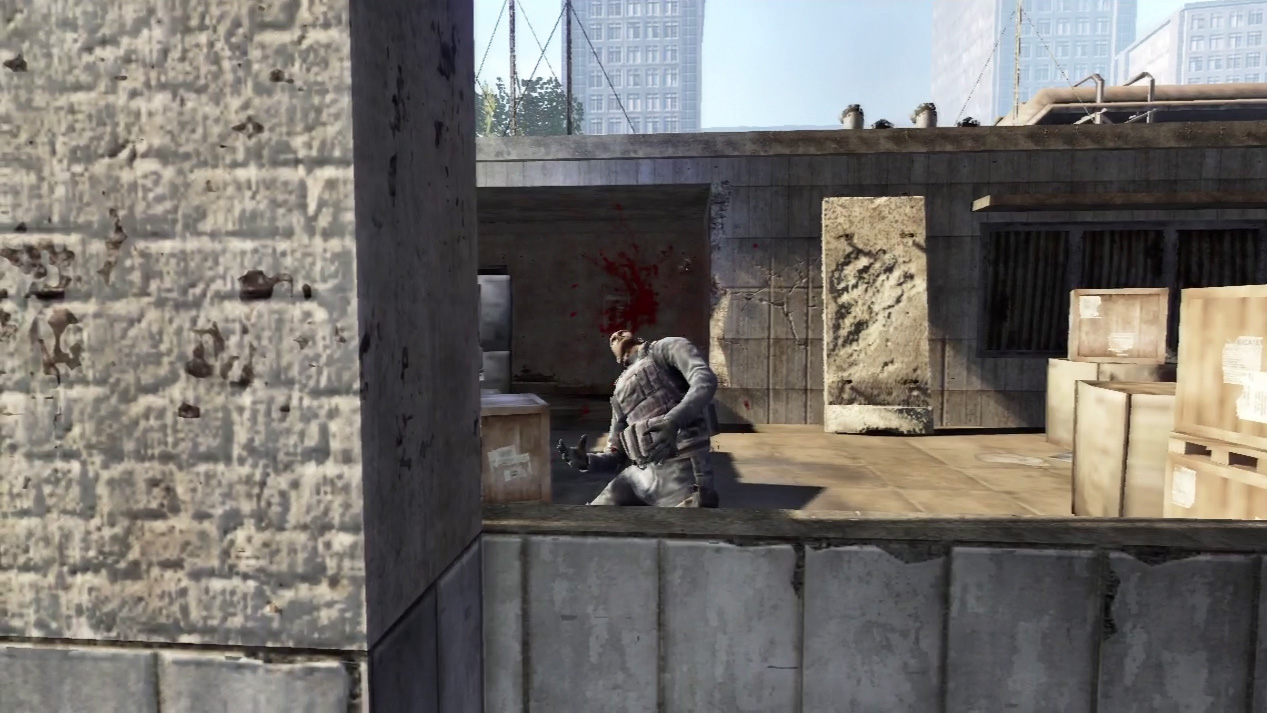
Turn your attention to the left side near the tower. The last guard stands along the tower wall. Zoom in on him and finish off the relatively easy shot to clear the area.
Waypoint 11
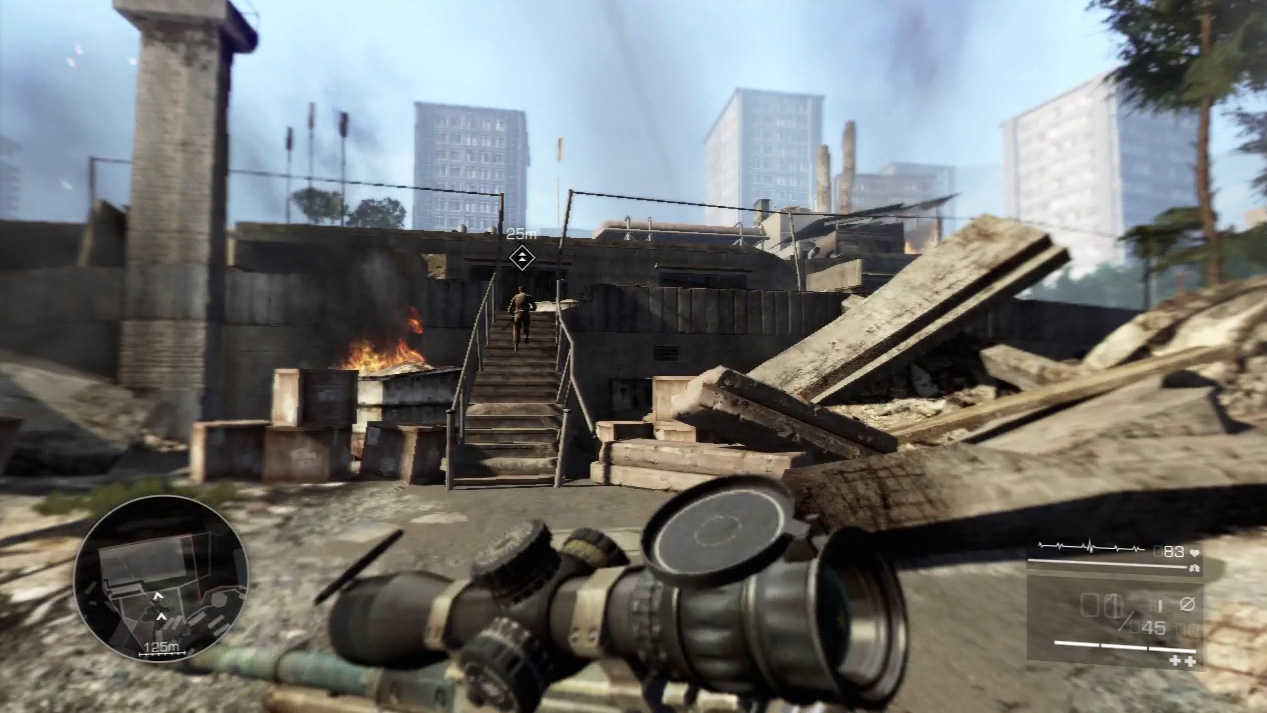
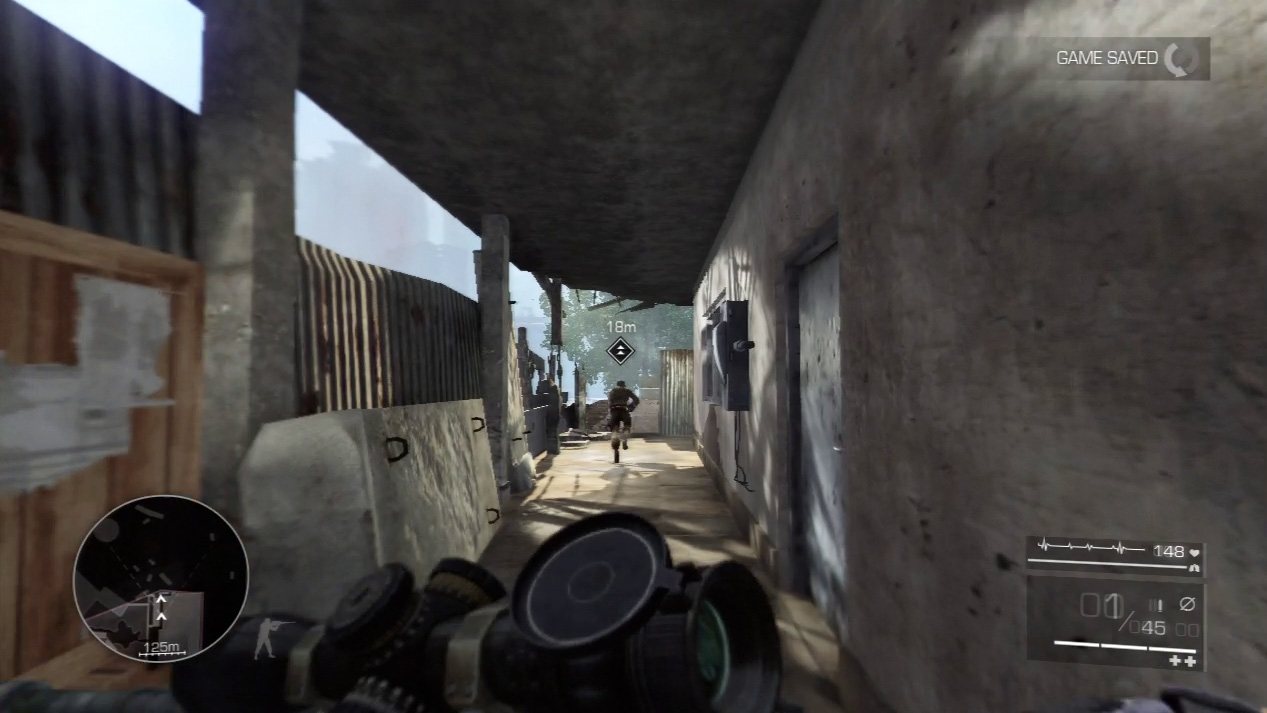
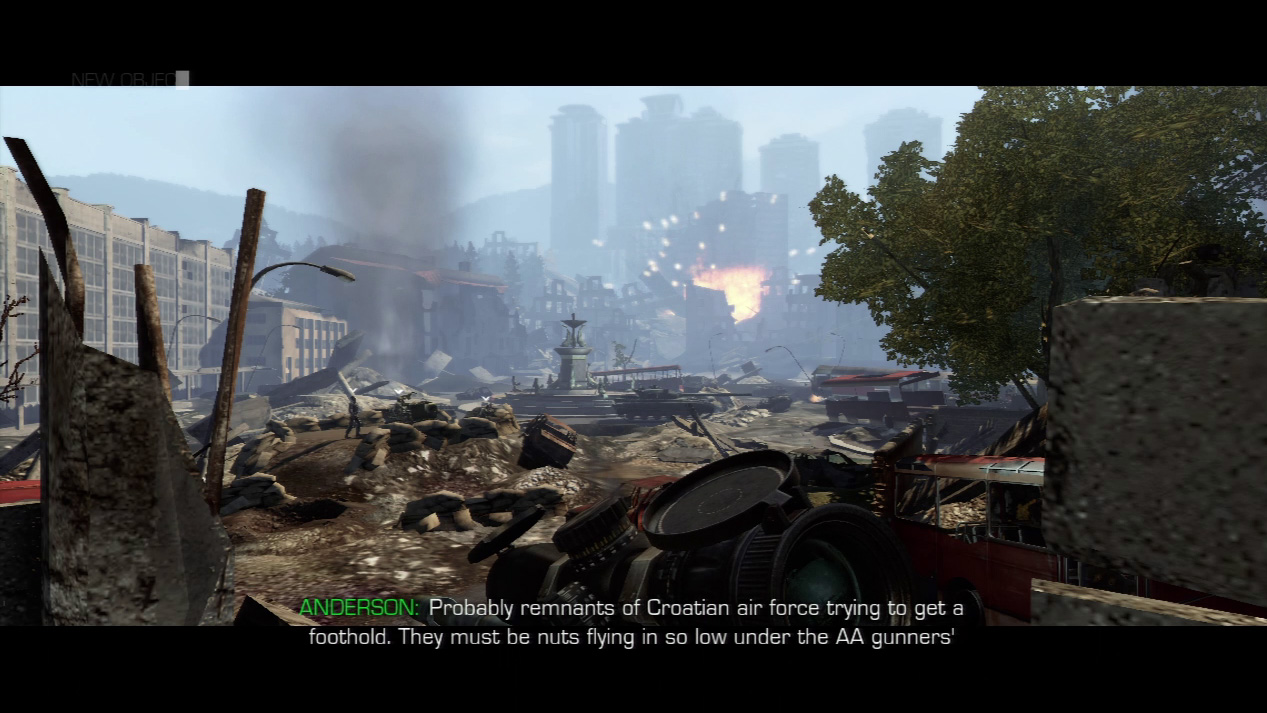
When you advance past the enemy encampment, you find yourselves in the middle of a war zone—your allies are bombing the city to remove three AA guns. You can’t cross this part of the city until you help eliminate the three AA batteries.
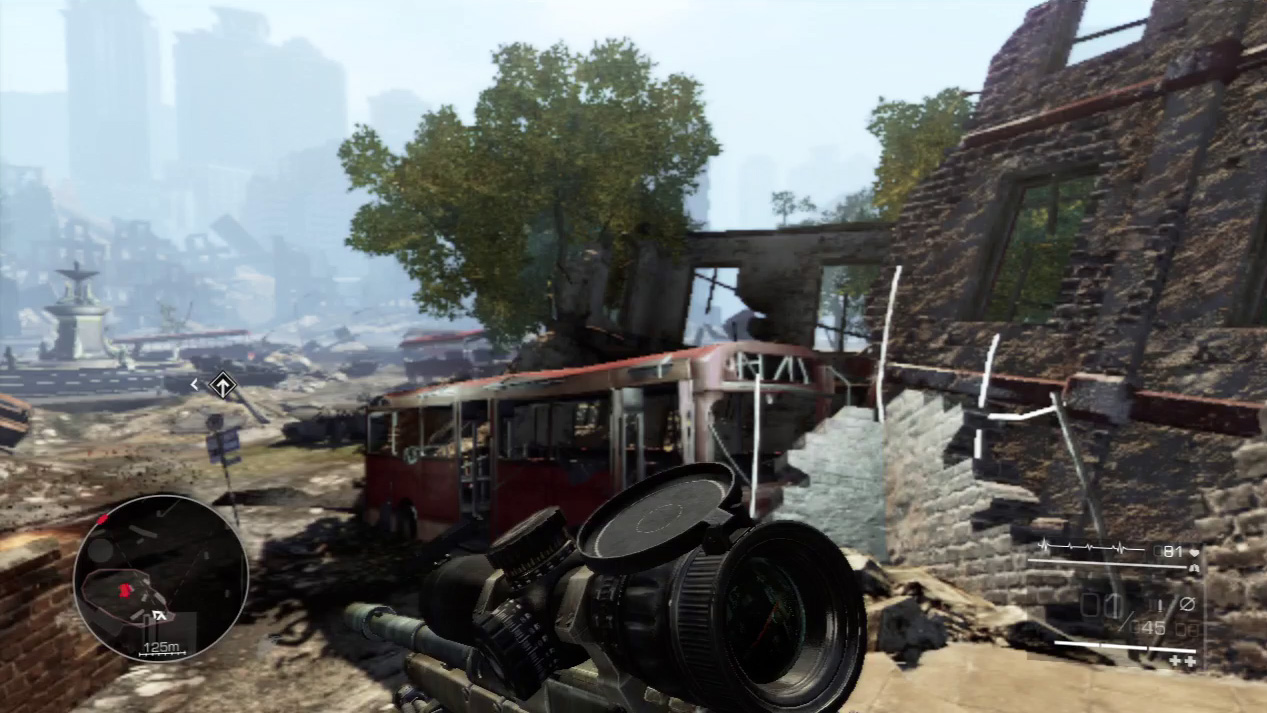
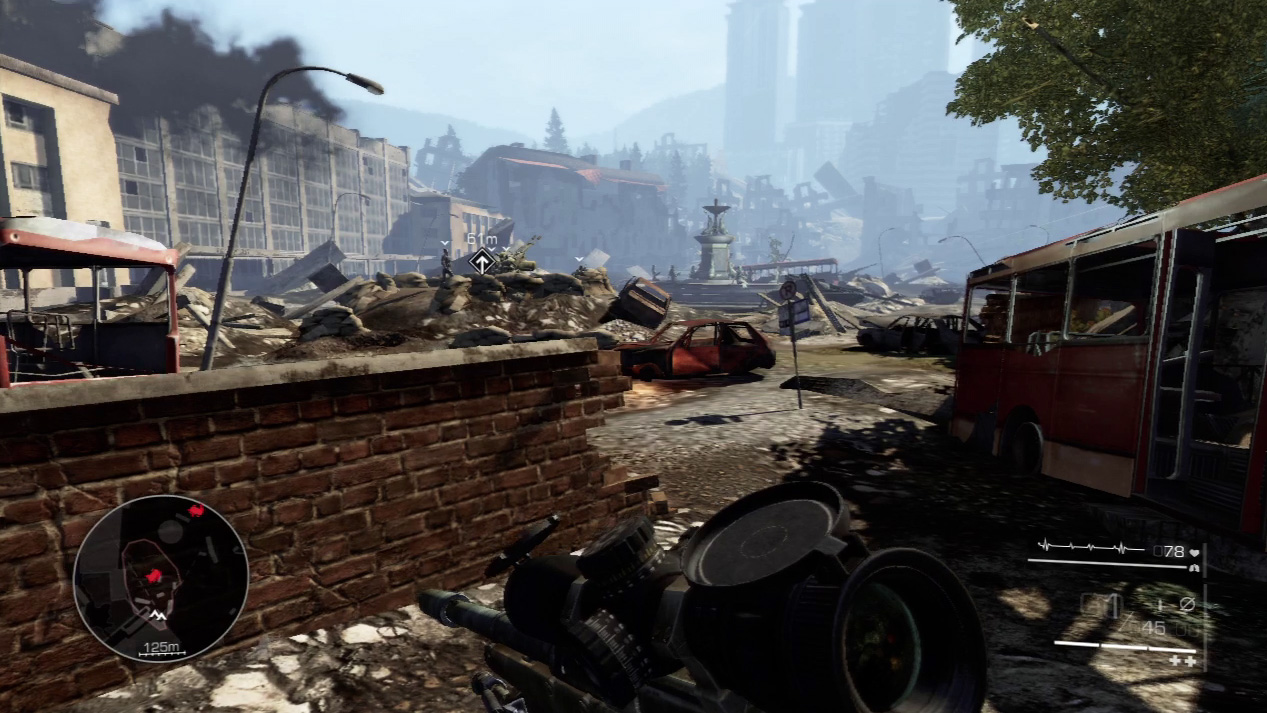
Leave Maddox for the time being and climb over the rubble in destroyed courtyard to your right. You’ll see a battered bus in front of you. Make your way to the left of the bus and crouch along the edge of the broken brick wall.
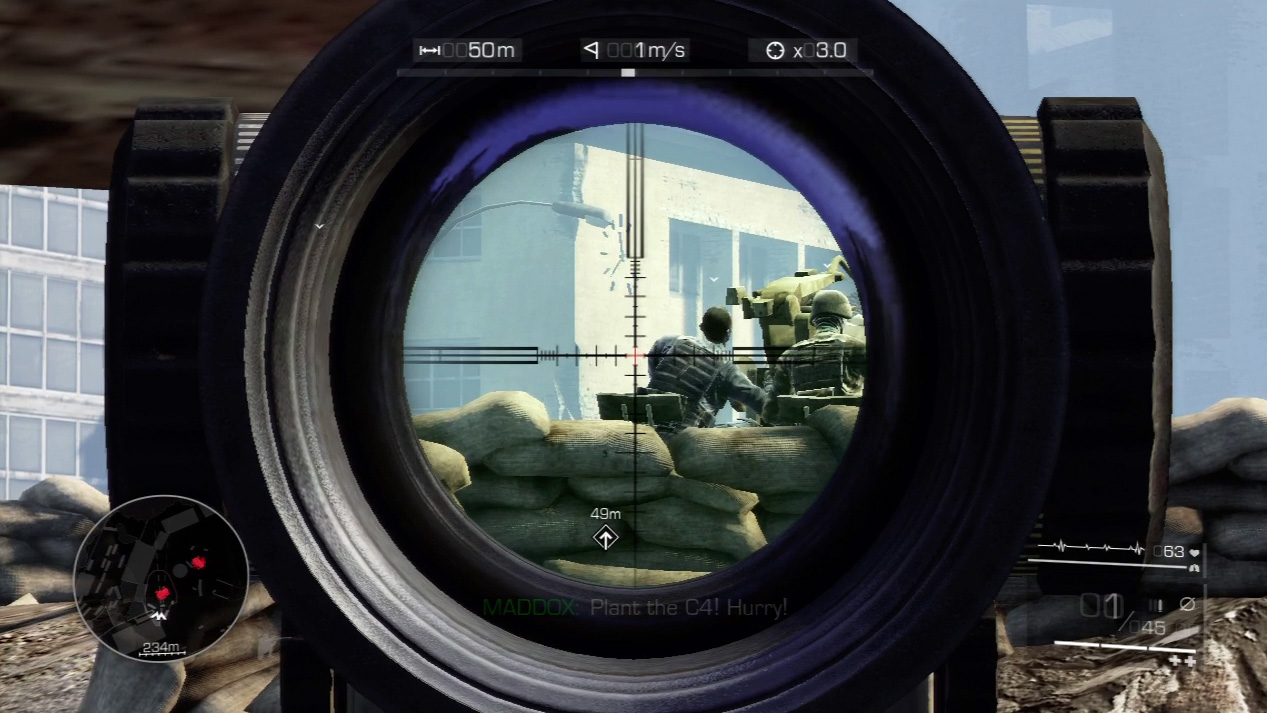
Survey the AA gun battery about 50 meters in front of the brick wall. Two enemies man the rotating gun. One enemy squats in front of the gun behind the sandbags. The enemy commander directs the AA’s actions from the rear.
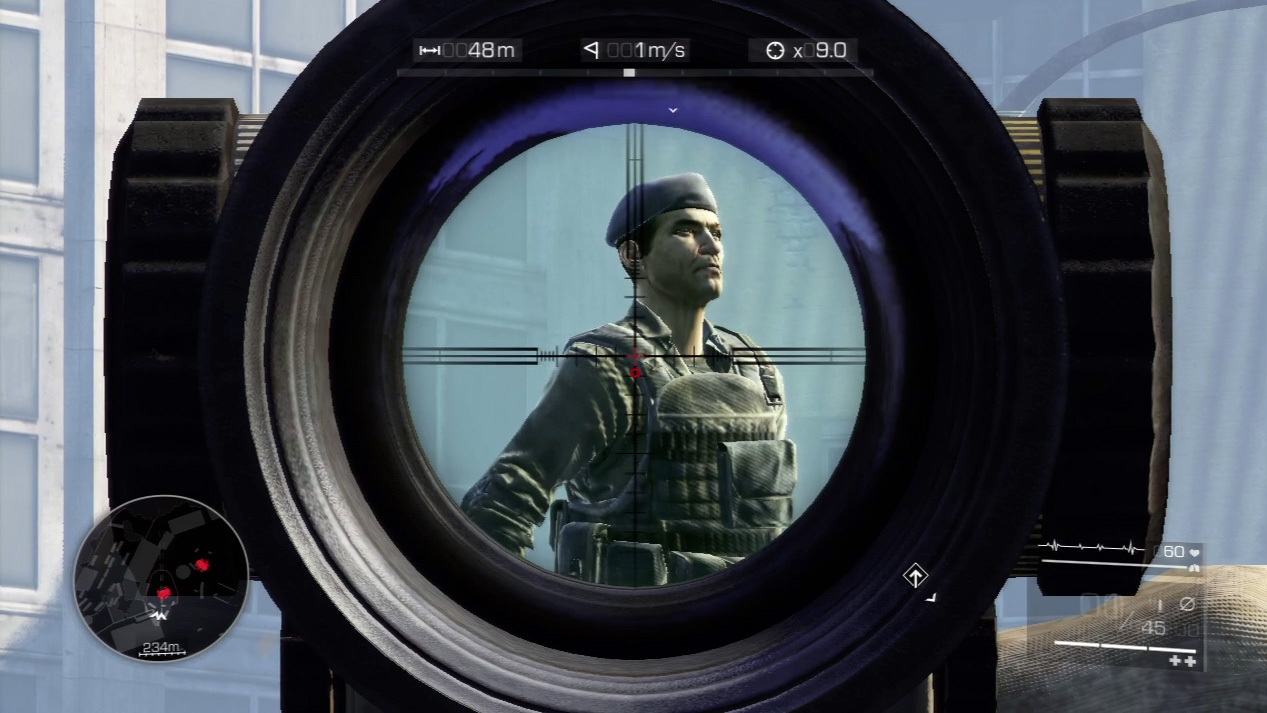
The easiest target is the commander standing behind the AA gun. Sight on him and pull the trigger while the others are engaged in firing and protecting the AA battery.
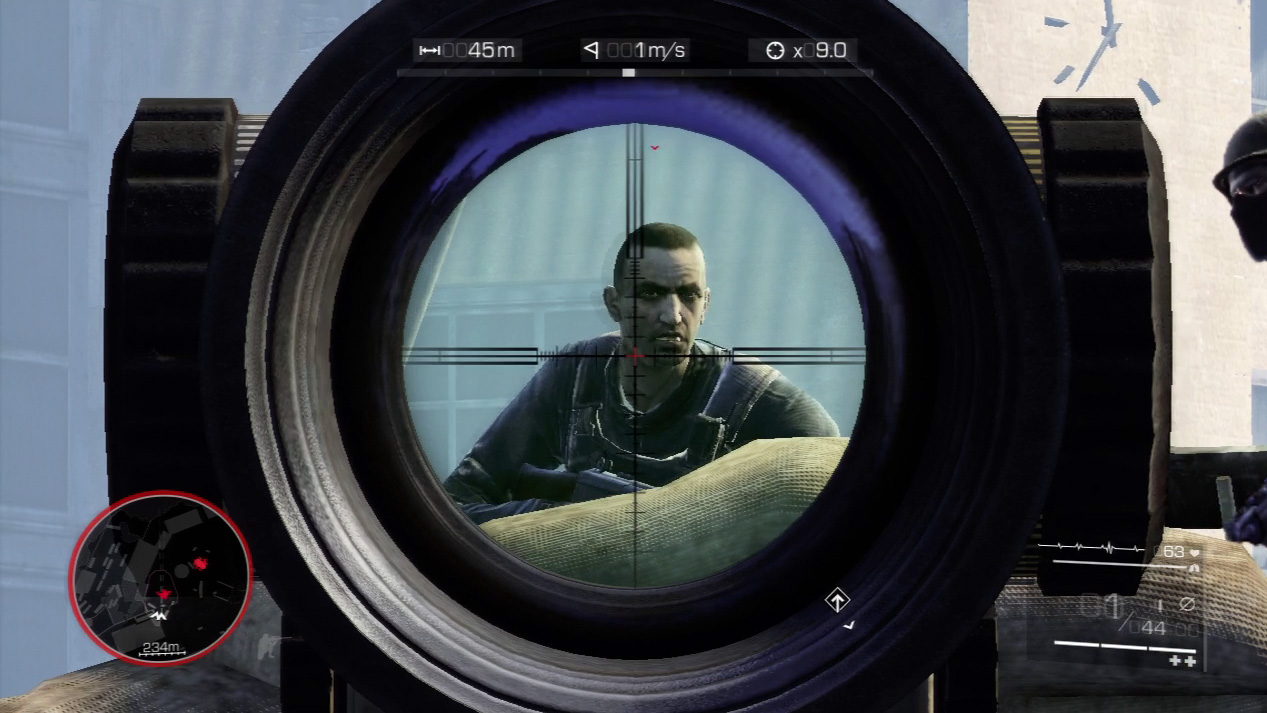
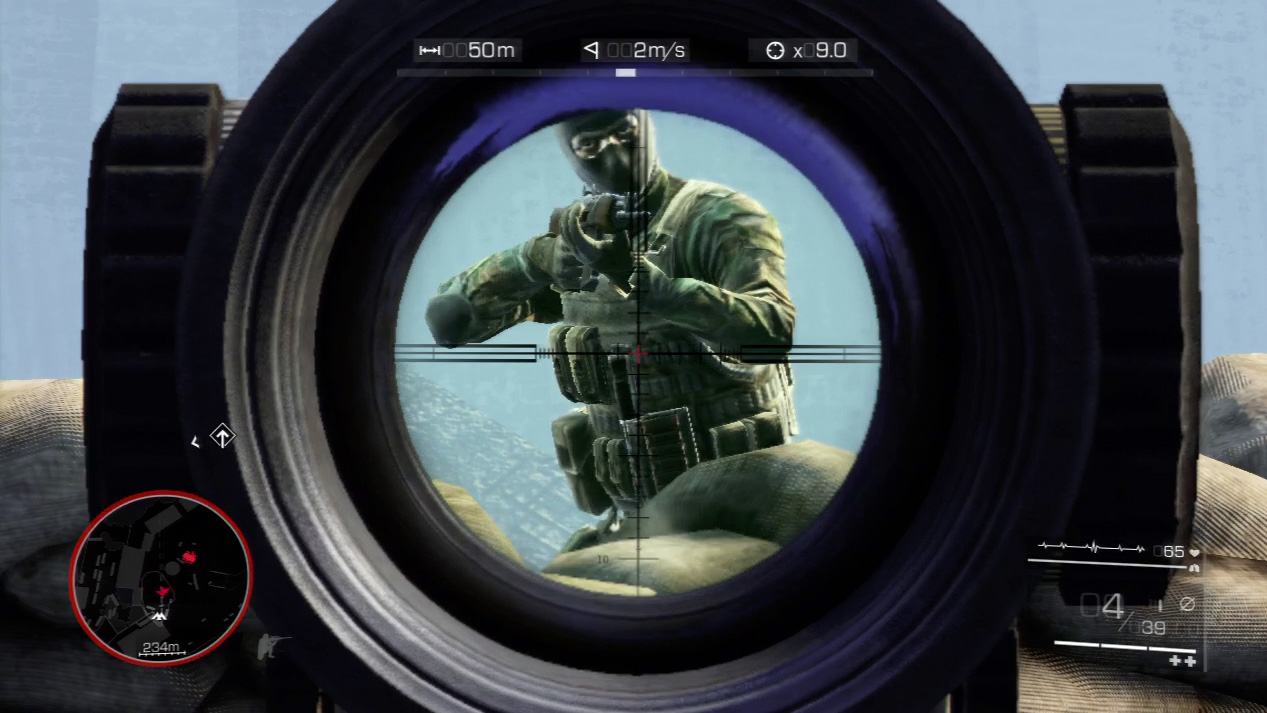
Try to kill both enemies seated at the AA gun with a single bullet. If you can’t, at least one of the enemies will move toward you and use the sandbags as cover to return fire. Duck behind the brick wall for cover while you zero in on them one by one for the kill.
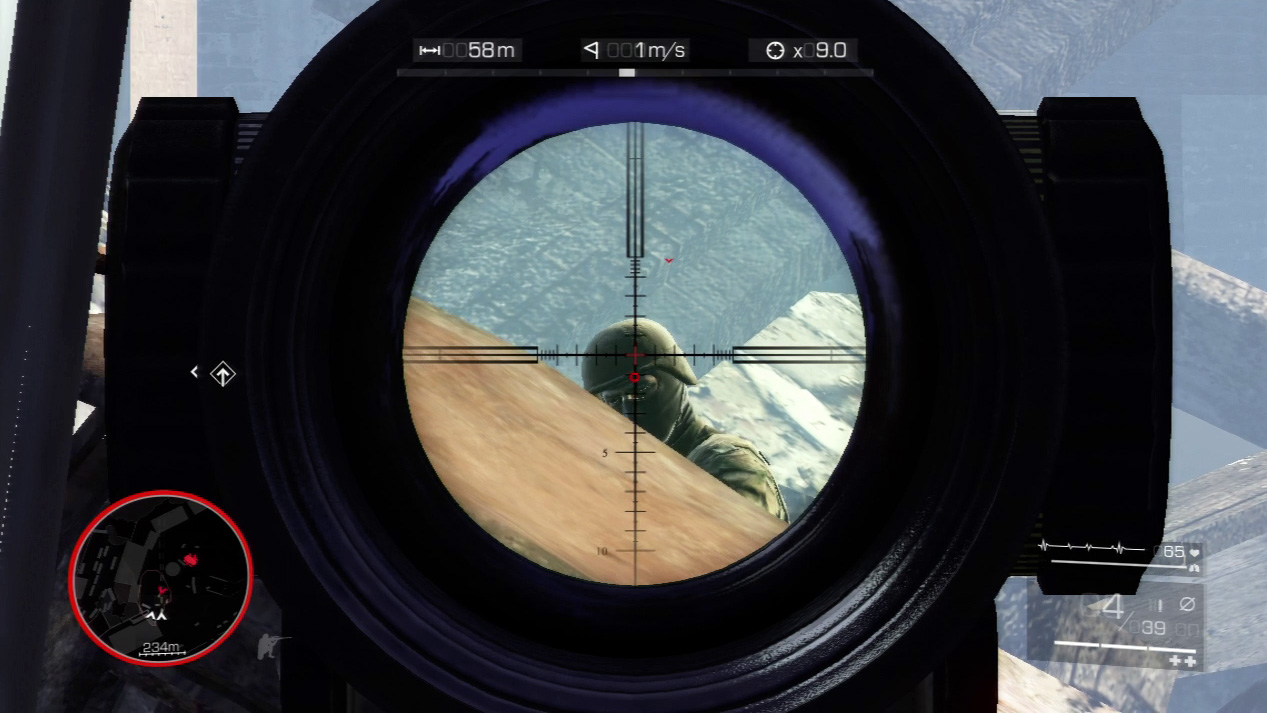
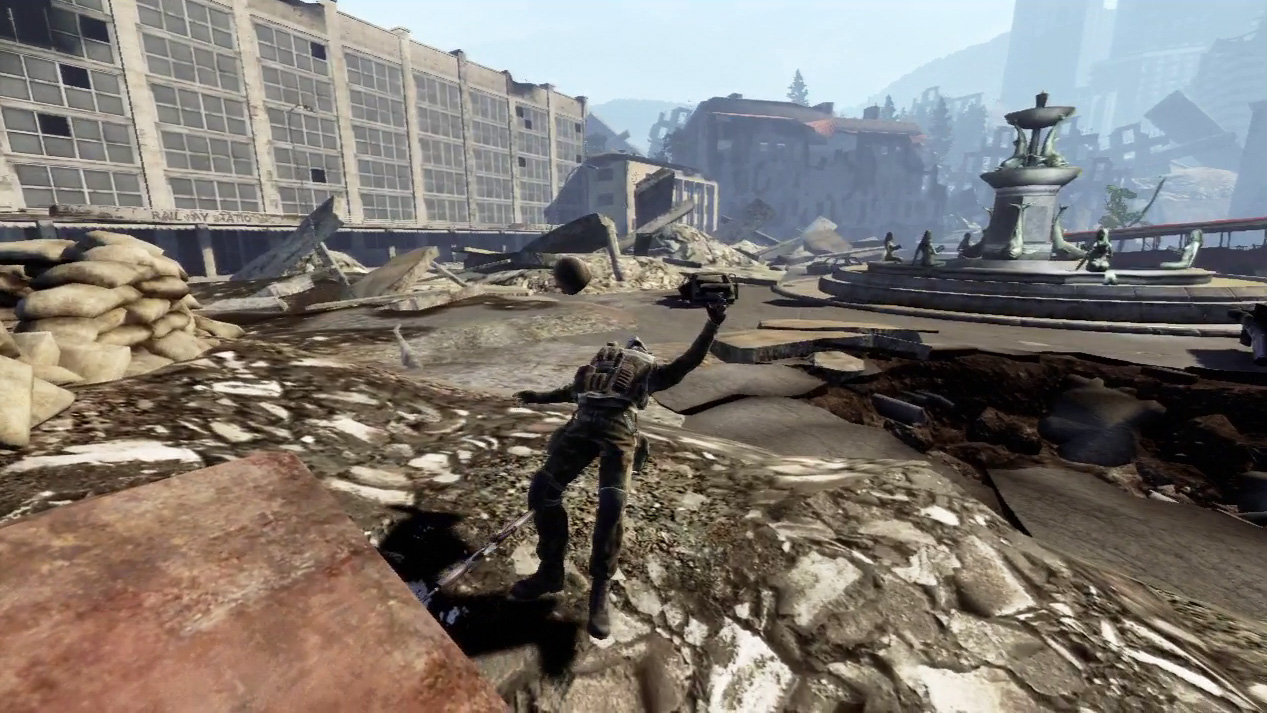
The final enemy swings out in front of the AA gun. If you can’t see him, slide out from the brick wall and use the nearby rusted car as cover. Scan for him in the debris and lock onto his head when you make contact.
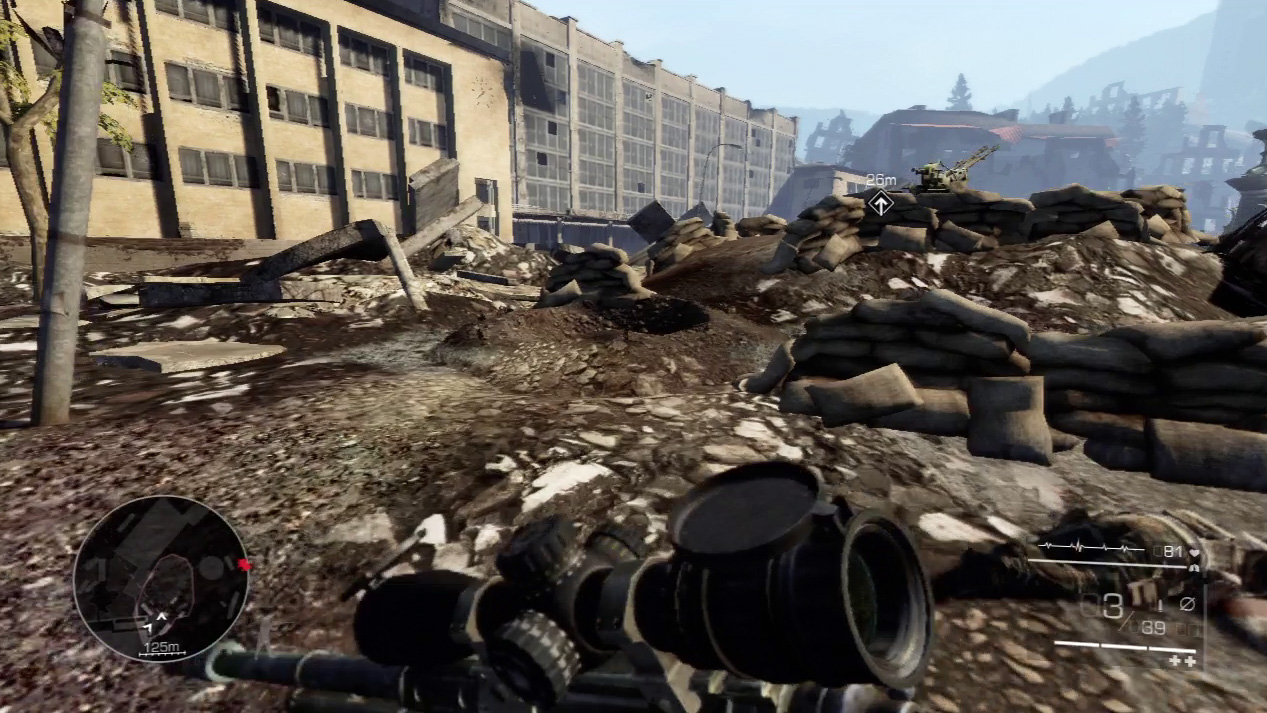
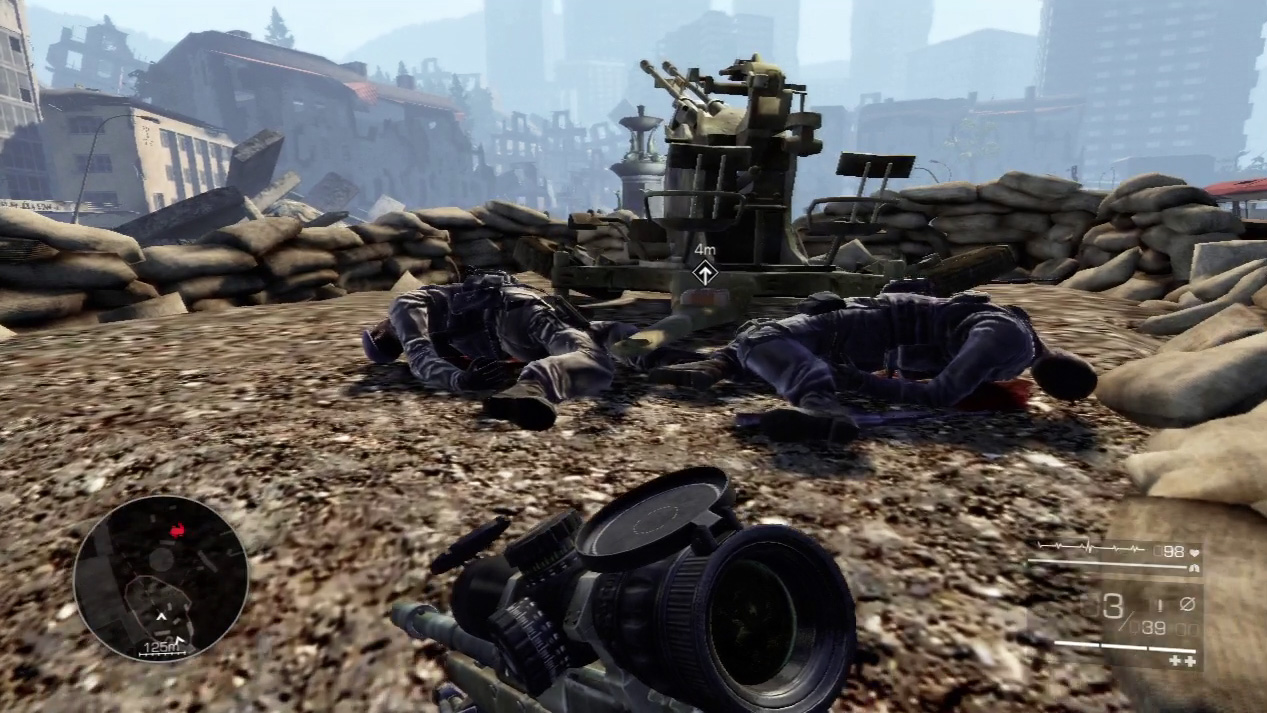
Charge up to the defeated AA position and plant C4 on the gun.
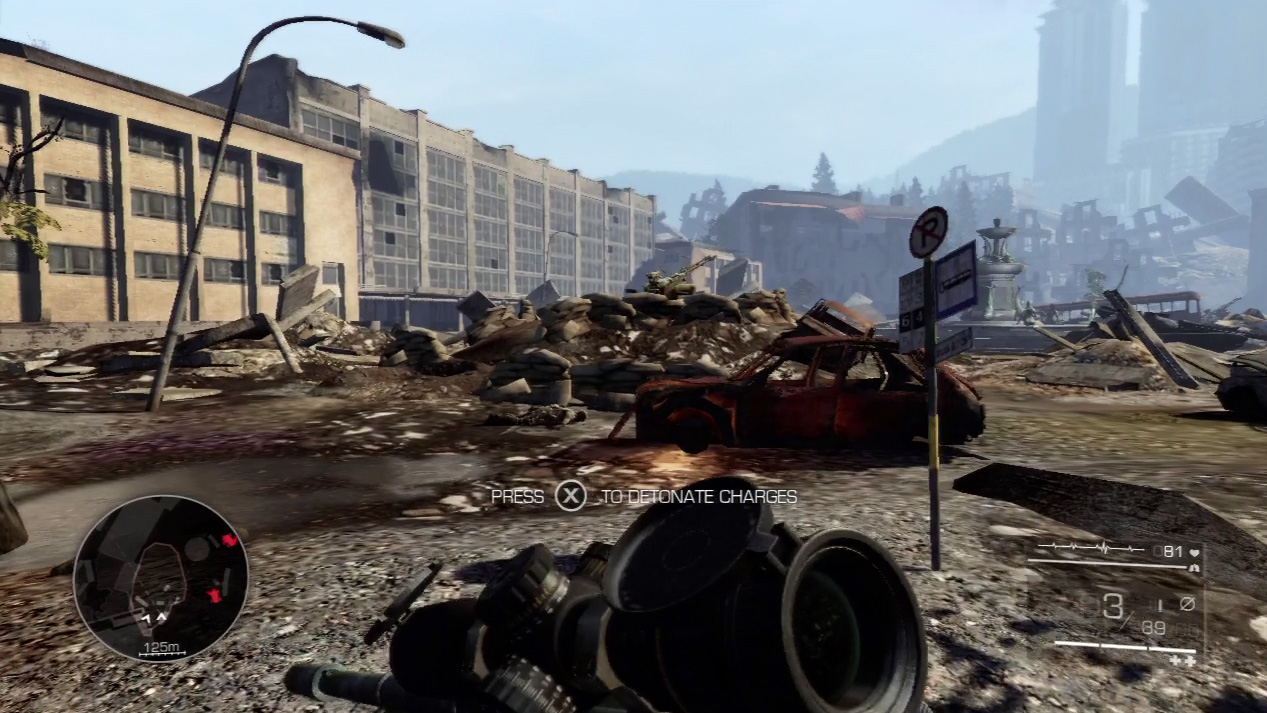
Retreat to a safe distance and blow the C4 to take out the first AA gun.
Waypoint 12
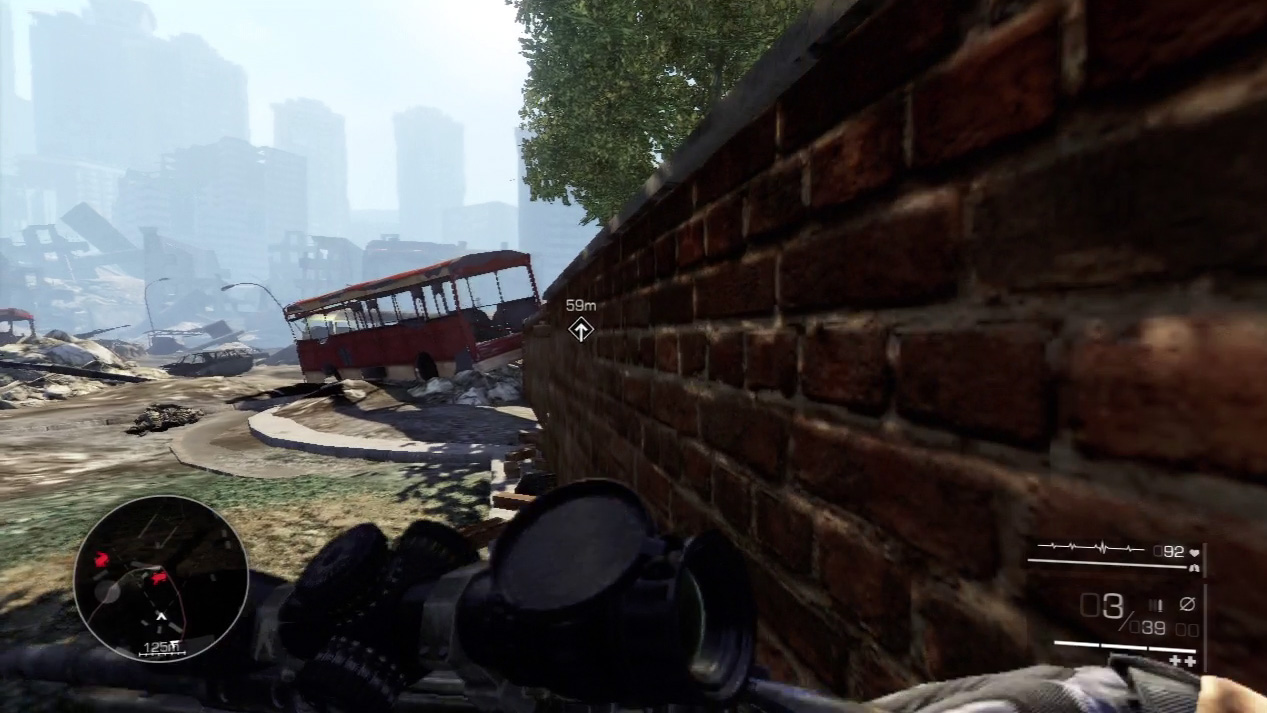
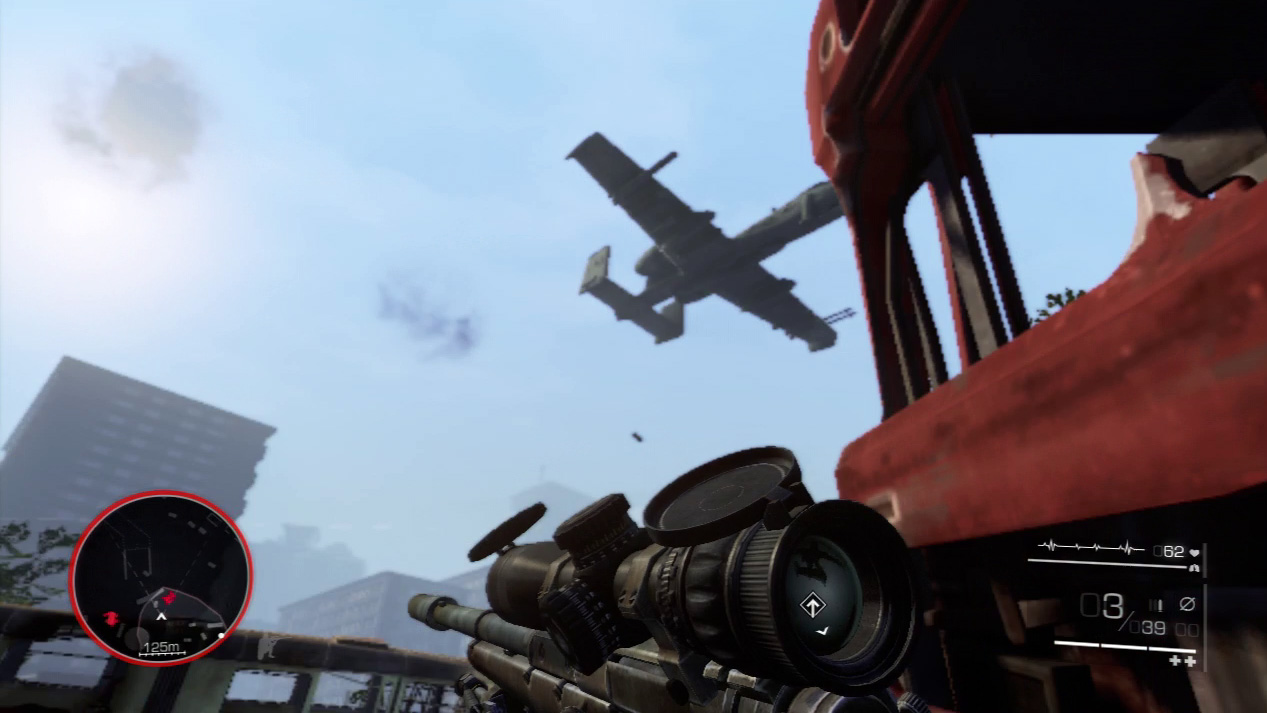
Trace the brick wall to next crashed bus. The second AA gun is on the other side of the bus. However, when you near, allies bomb the second AA gun. The blast knocks you backward, but you’re otherwise unhurt and you now have one less AA gun target to destroy.
Waypoint 13
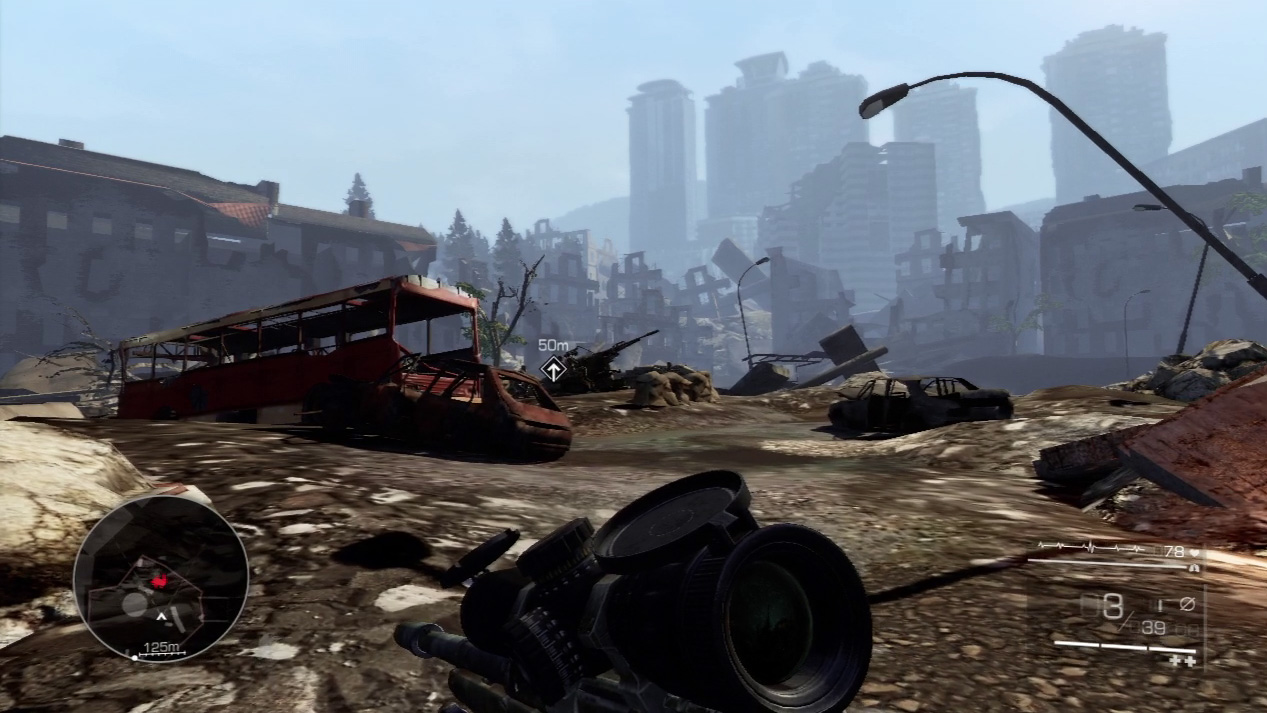
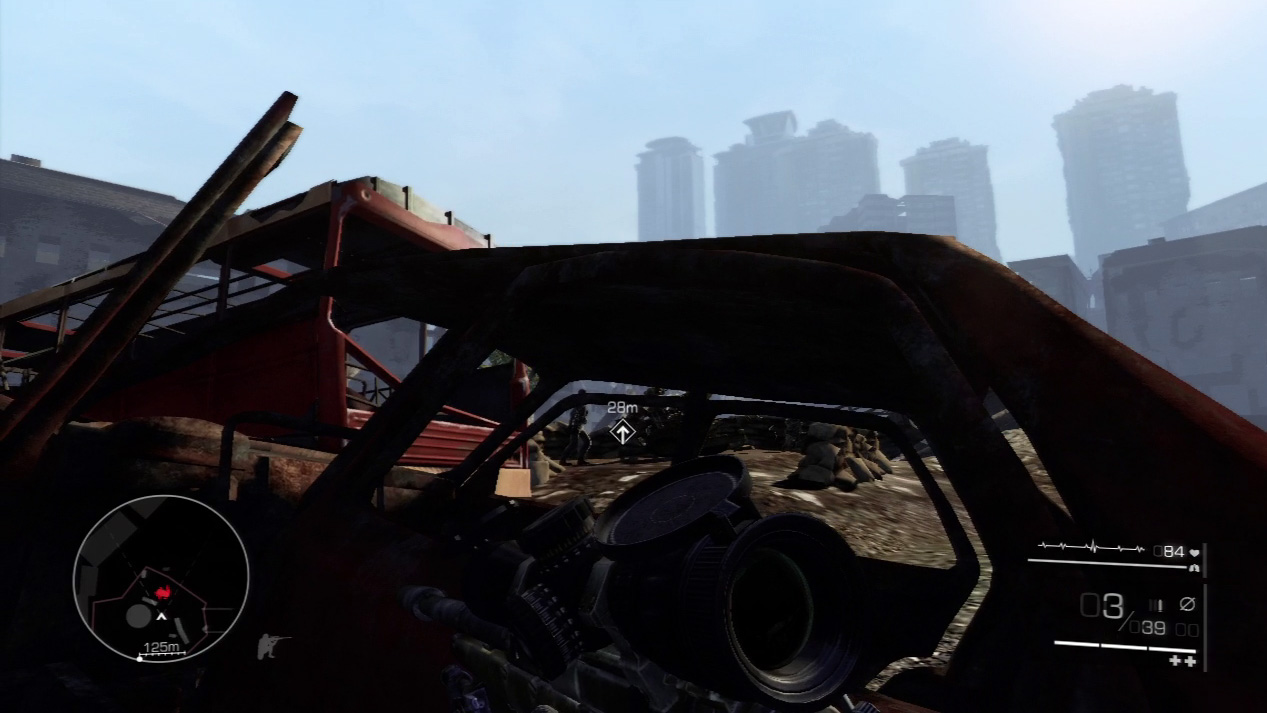
Proceed to the third AA gun. Sneak up on the four enemies by using cover and setting up behind the ruined car next to the site. You can shoot through the car windows from a crouch while maintaining excellent cover.
Special Shot: Double Kill
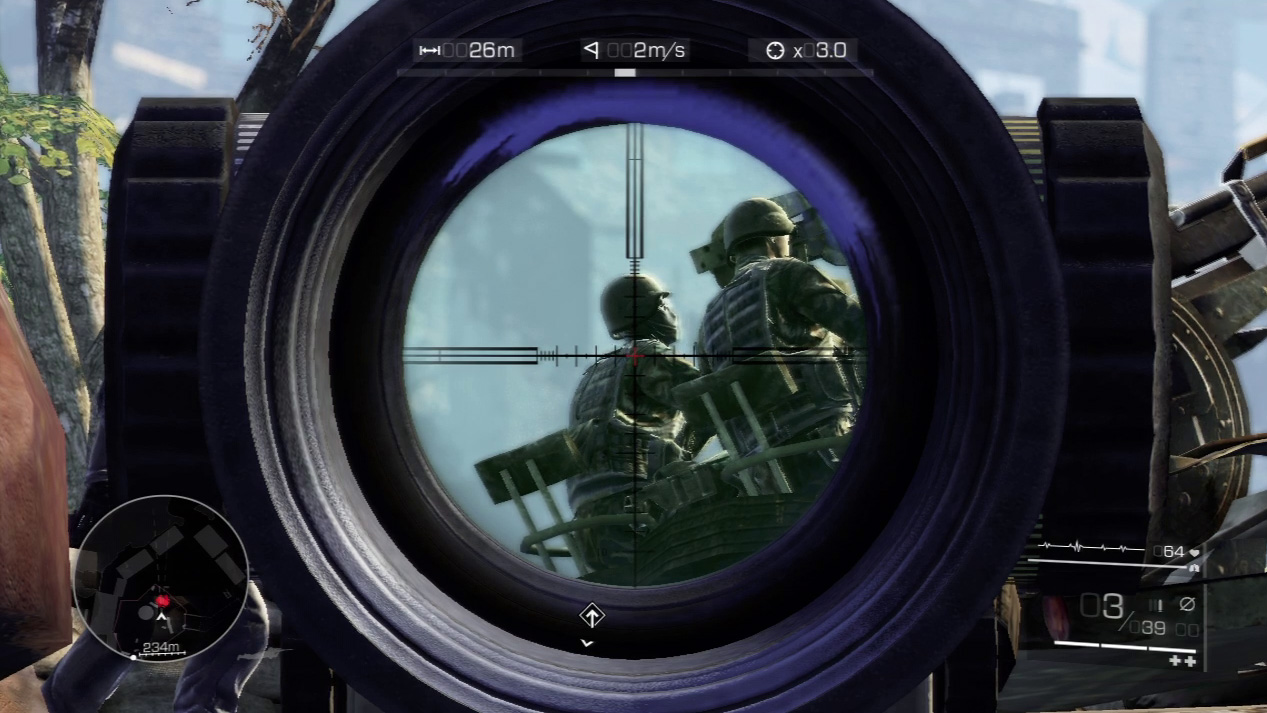
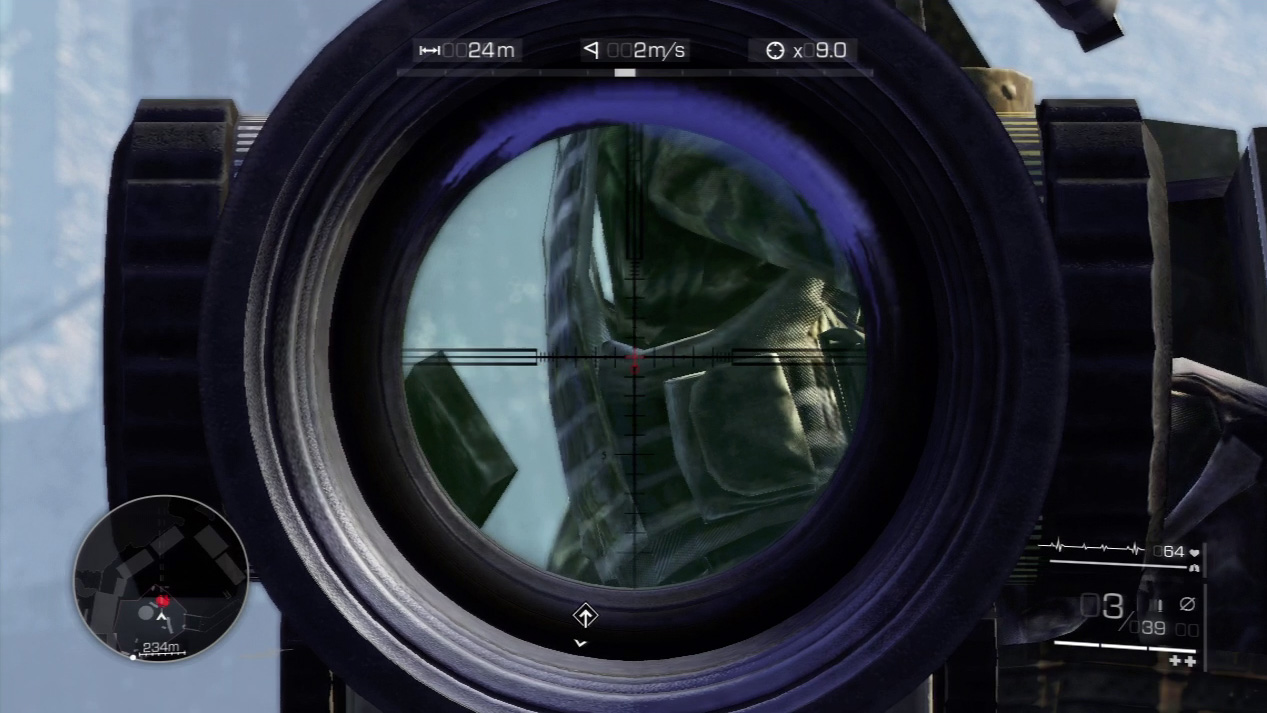
Go for the double kill on the third AA battery. As the gun turret rotates, take a deep breath just before the two bodies overlap.
Squeeze the trigger and send a single bullet cascading through both enemies’ midsections. If you miss, the enemies will use the nearby sandbags as cover. Look for them there.
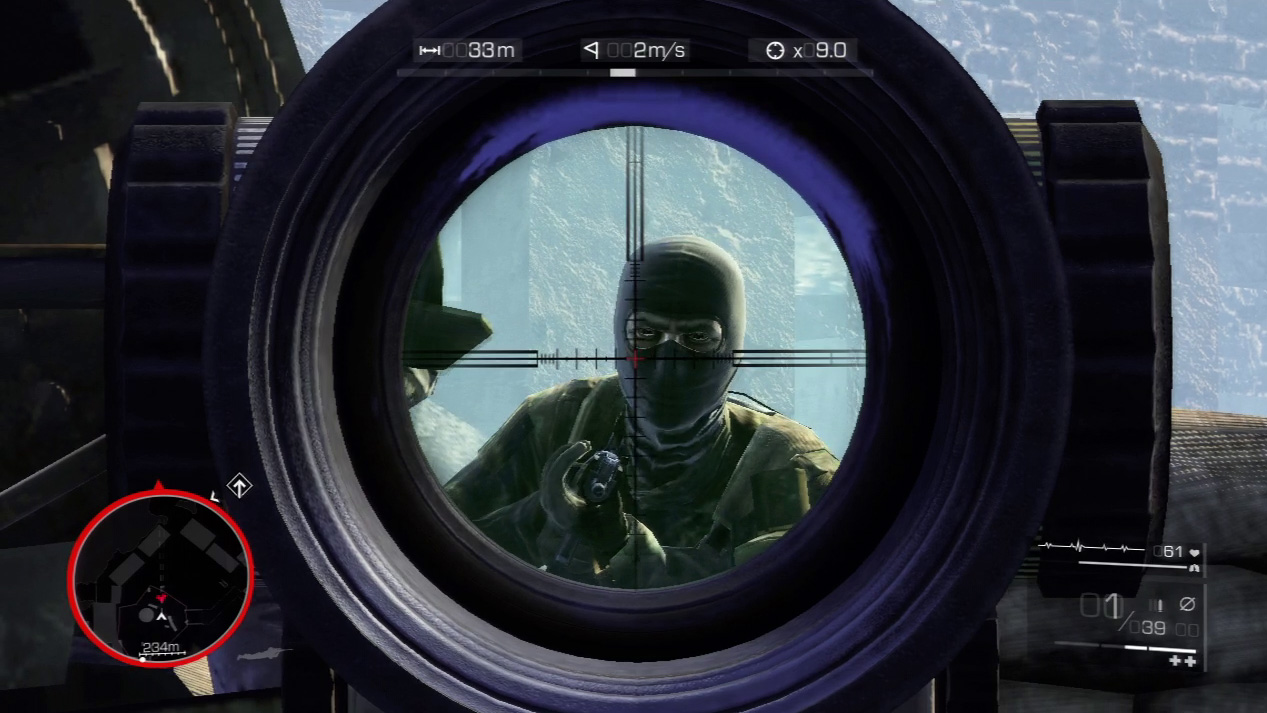
The front enemy crouches behind the forward sandbags. When he pops his head up, plug him.
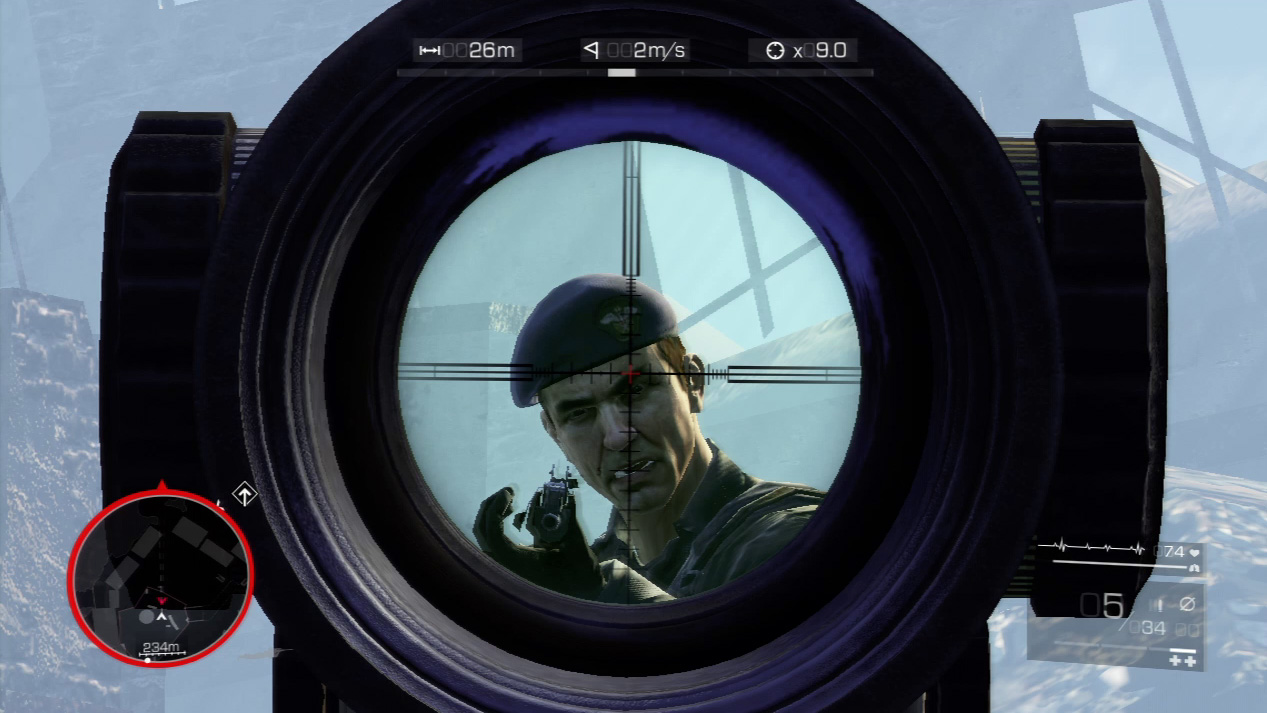
The enemy commander is the slowest to seek cover. While he’s exposed, zoom for a head or torso shot and end his threat.
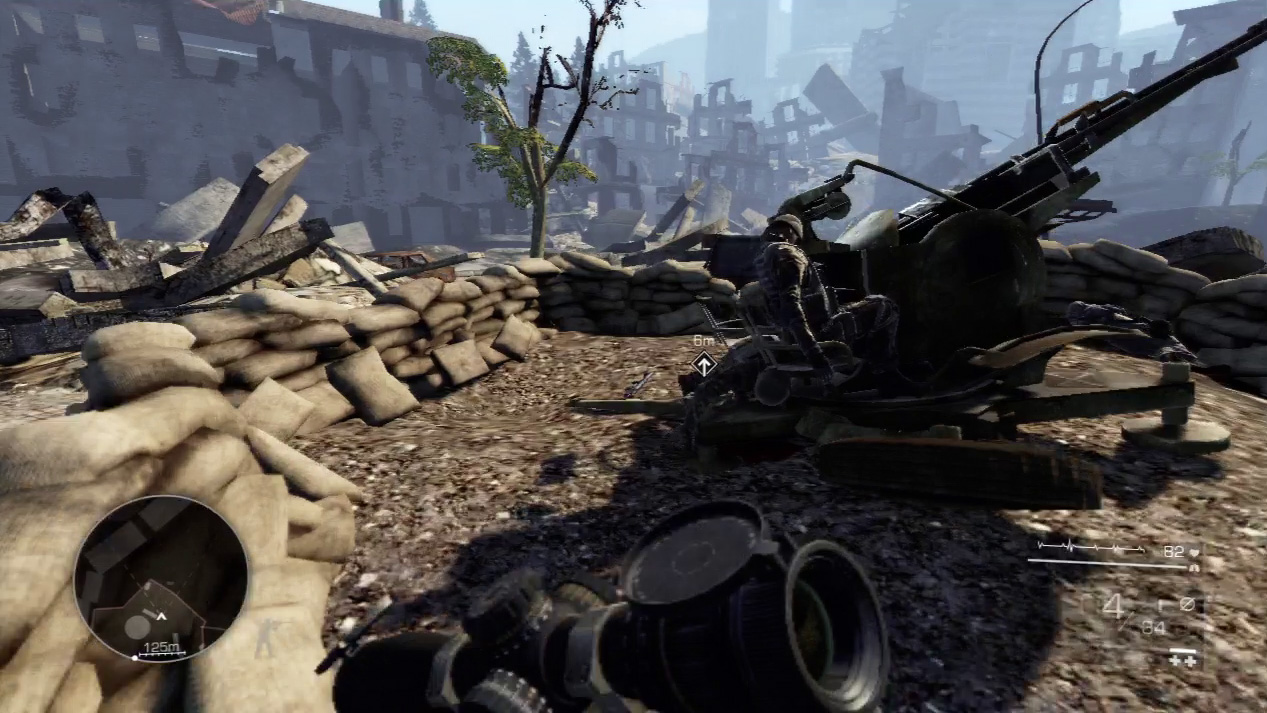
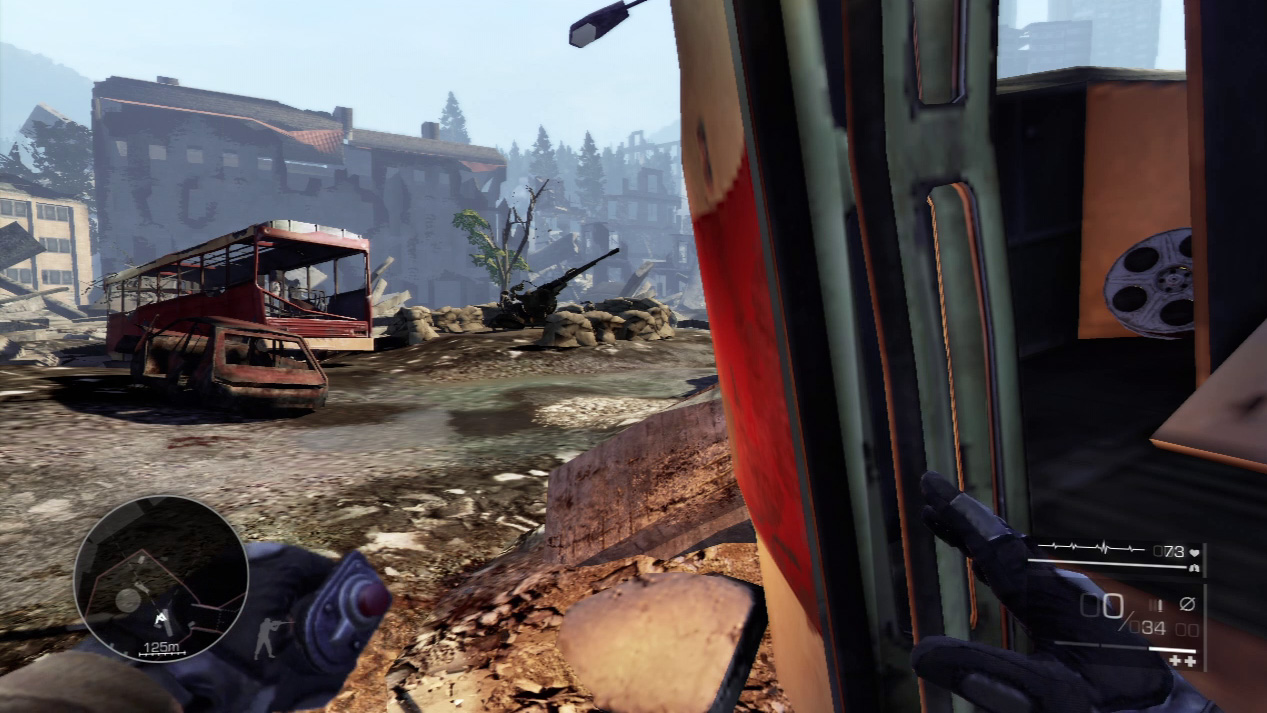
Plant another batch of C4 on the last AA gun and retreat to a safe distance. Detonate the C4 to blow the guns and complete this portion of the mission.
Act 2: Secret 3
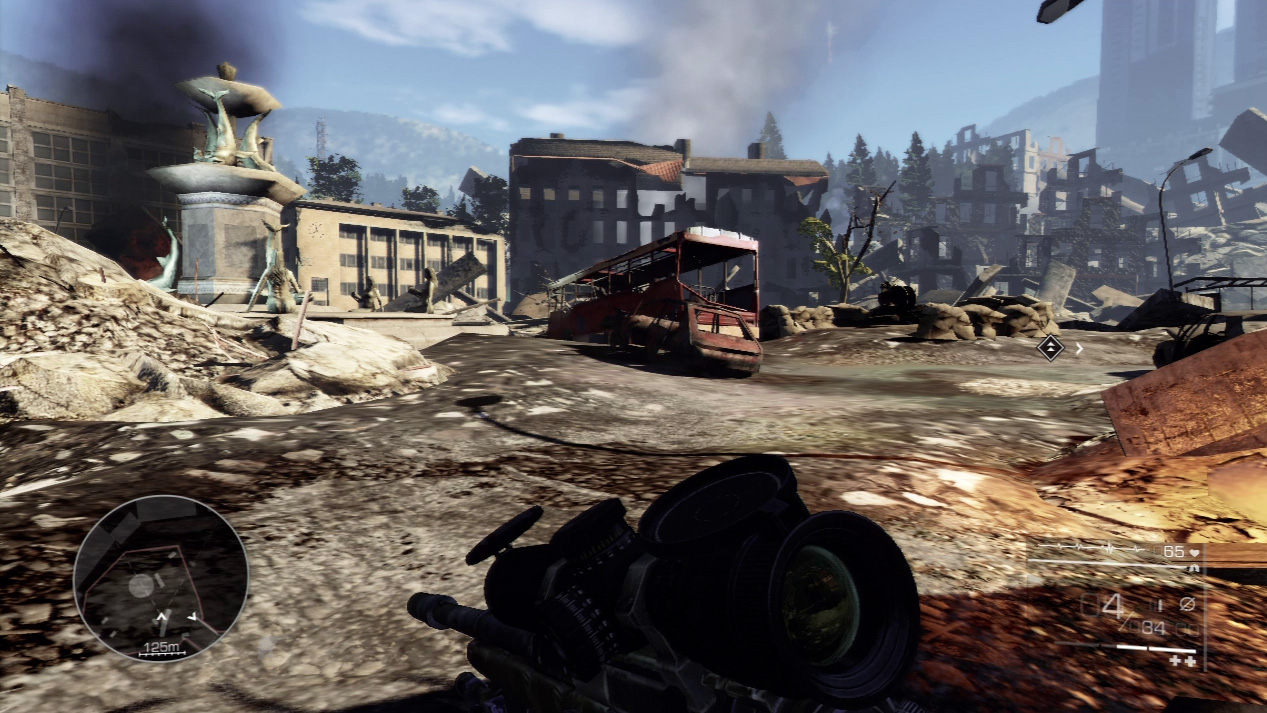
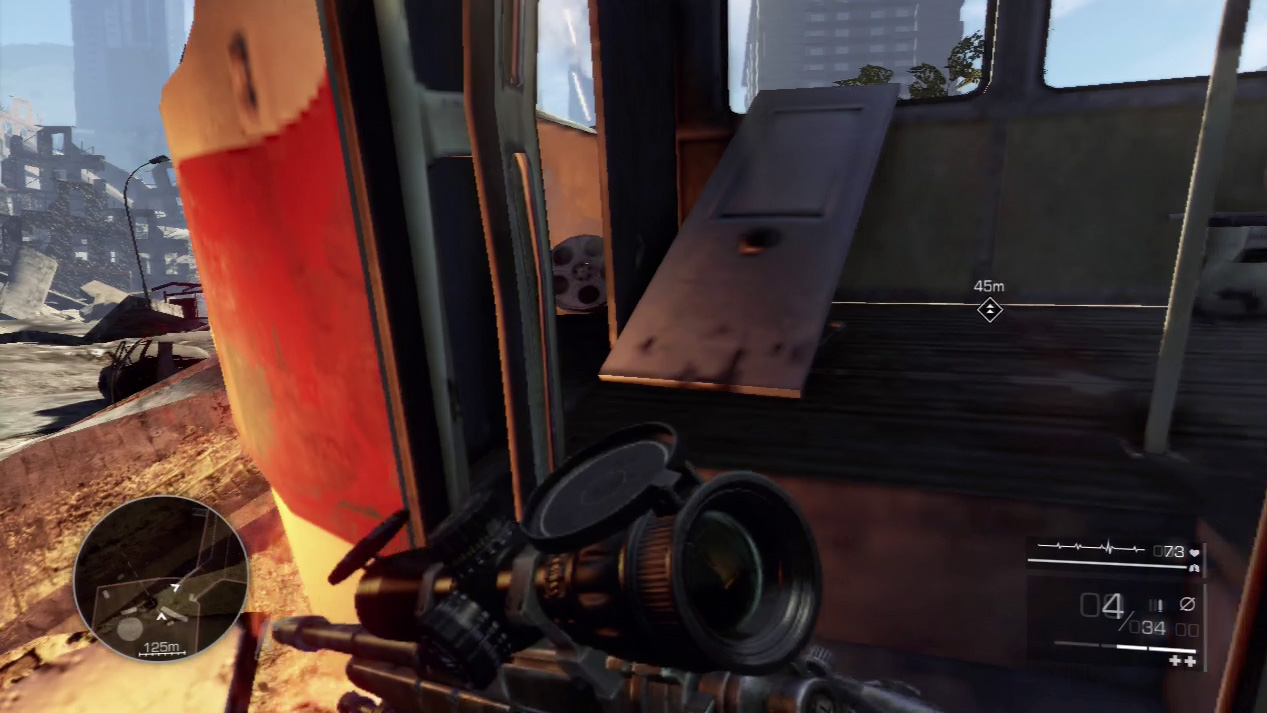
The third film reel might be difficult to spot; it’s hidden inside a ruined bus next to the third artillery gun in the city square.
If you’re looking at the gun embankment from in front of the outer wall, turn to your right and you’ll see the bus. Grab the secret from the floor of the front compartment.
Act 2: Secret 4
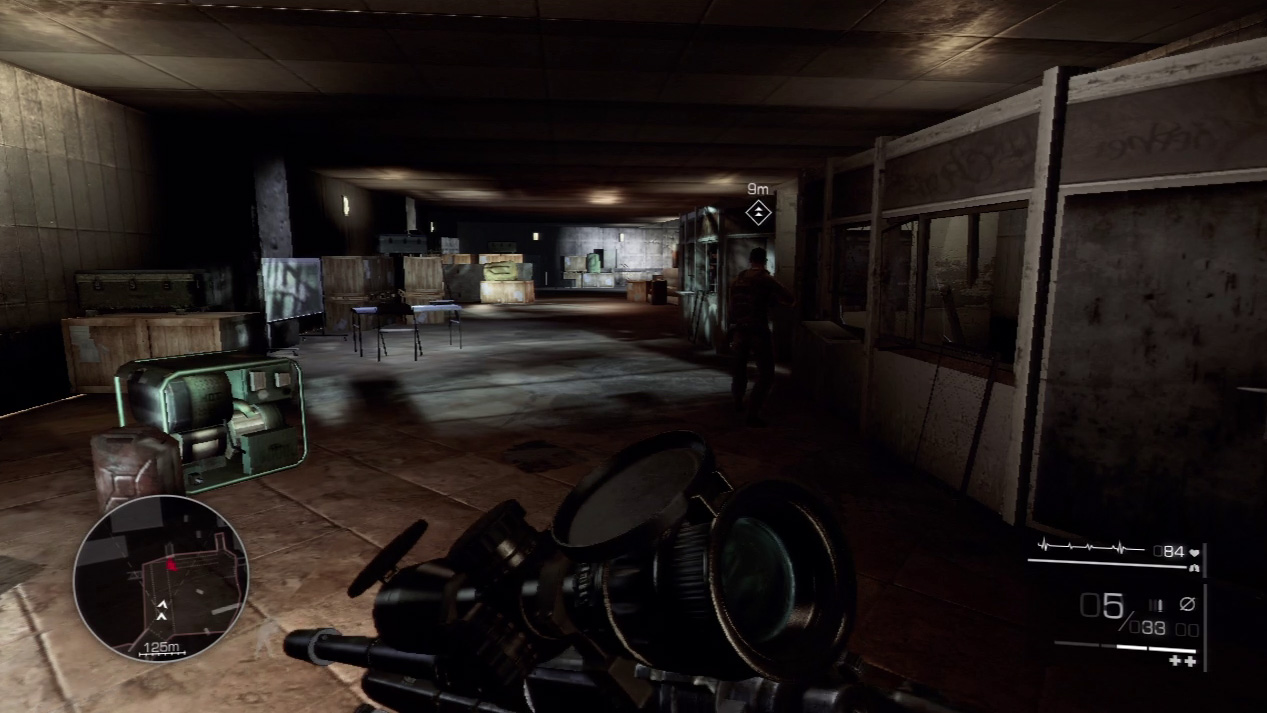
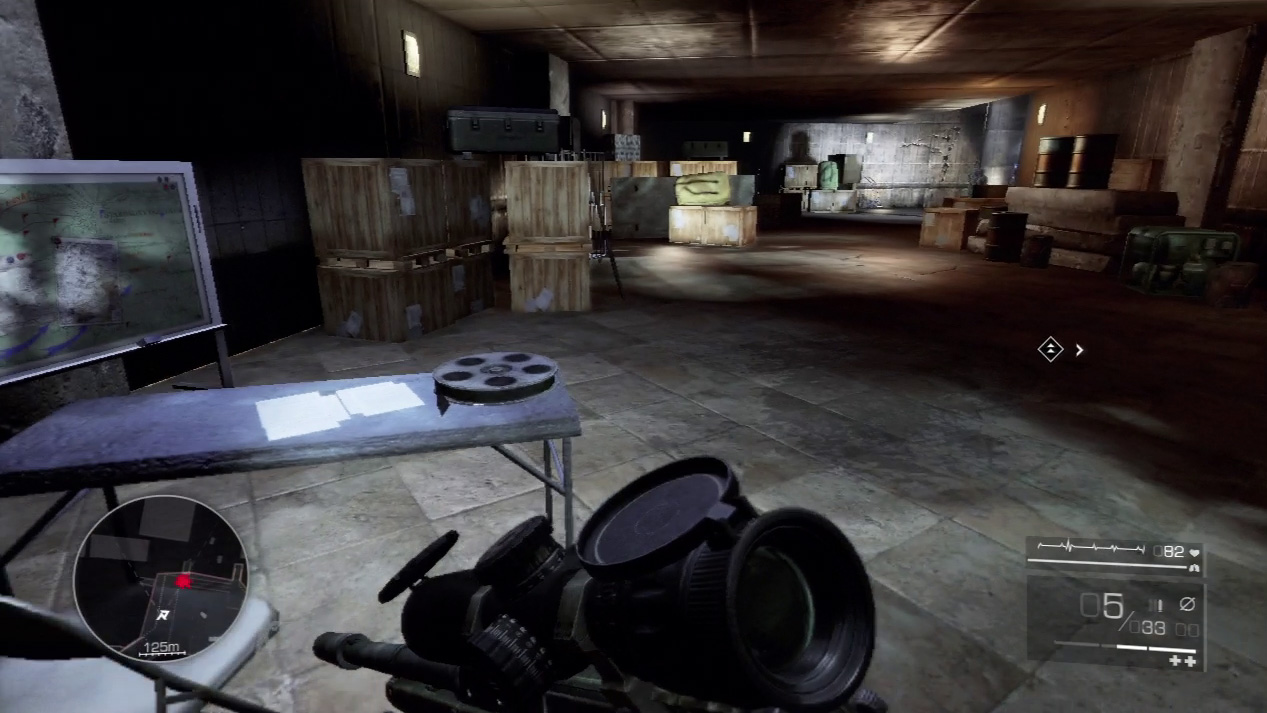
The last secret for the mission is the most difficult to retrieve safely. It’s on the table opposite the spot where you hide from the passing patrol (and dog) in the underground section.
Unfortunately, you barely have enough time to rush over to the table, grab the film reel, and retreat into the shadows next to Maddox before the large enemy patrol turns the corner.
Waypoint 14
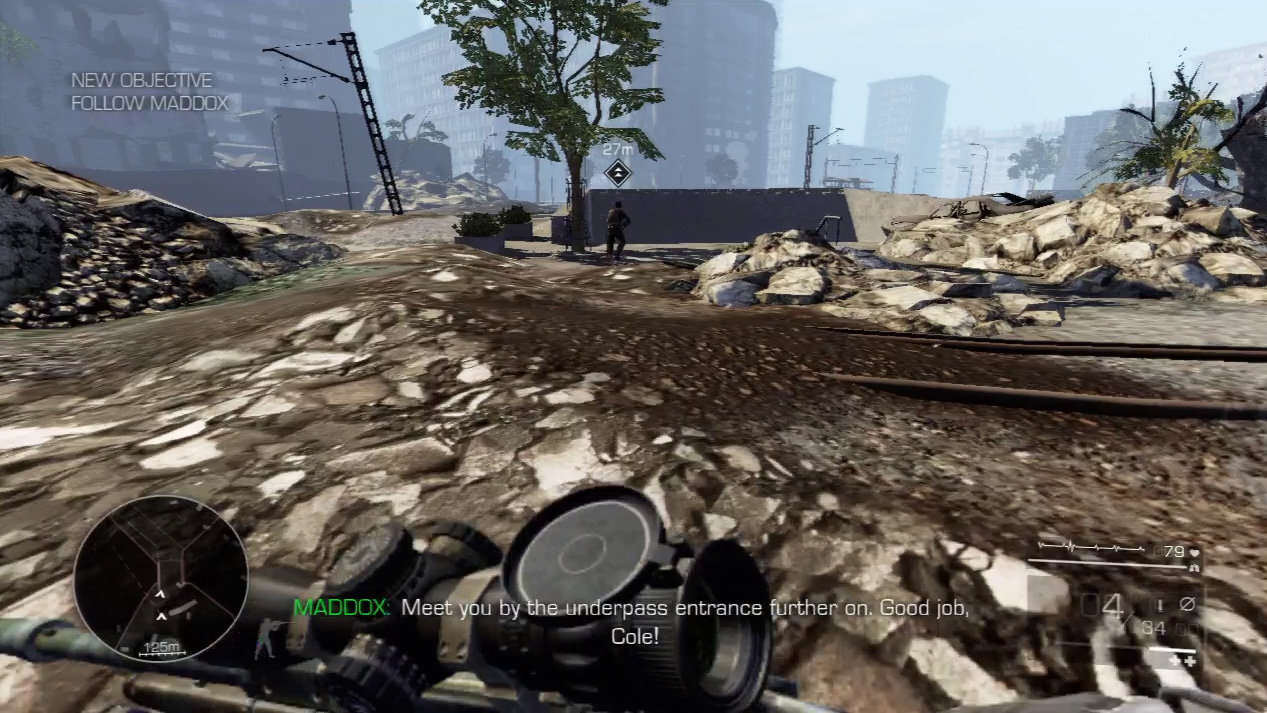
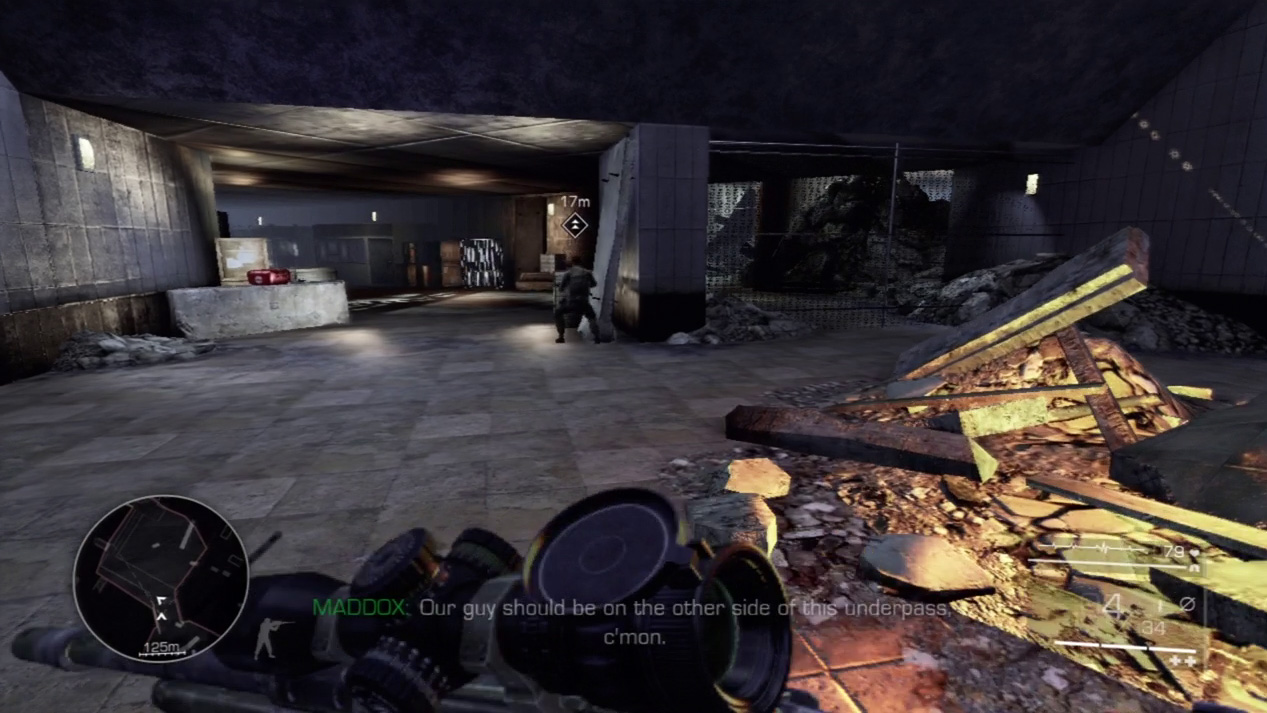
Catch up with Maddox as he darts across the city square and ducks down into a passage that travels beneath the underpass.
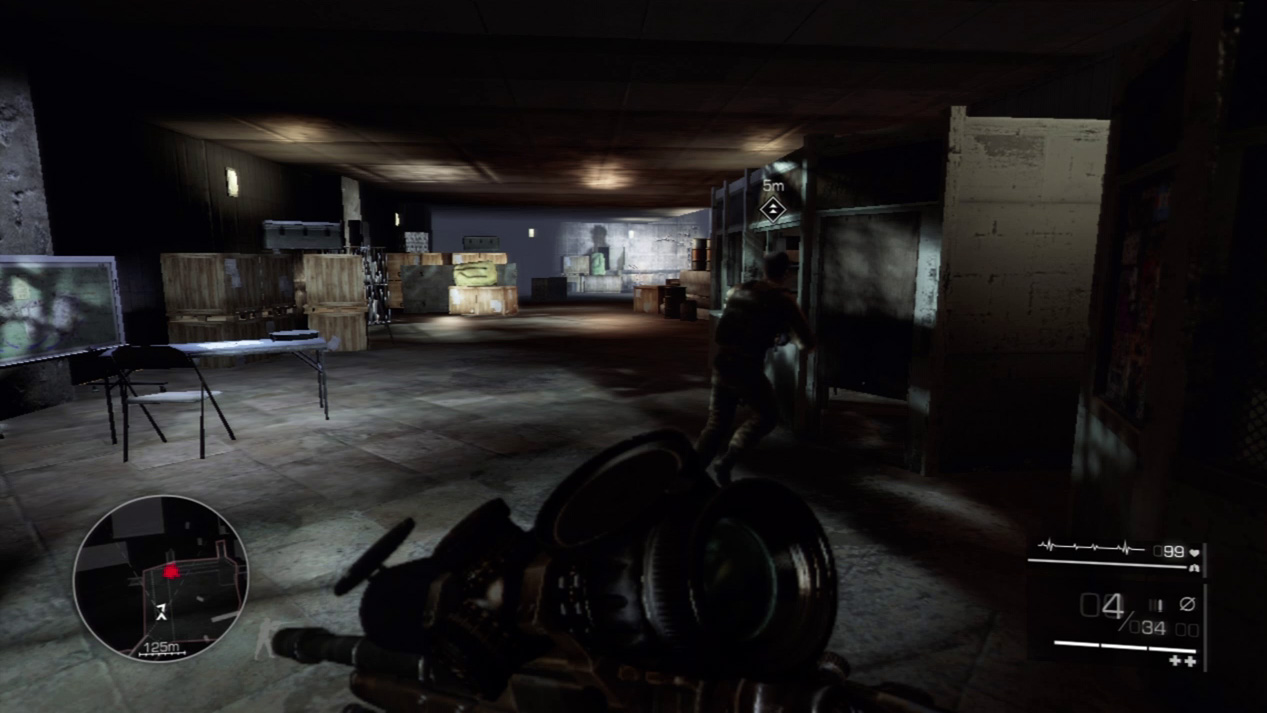
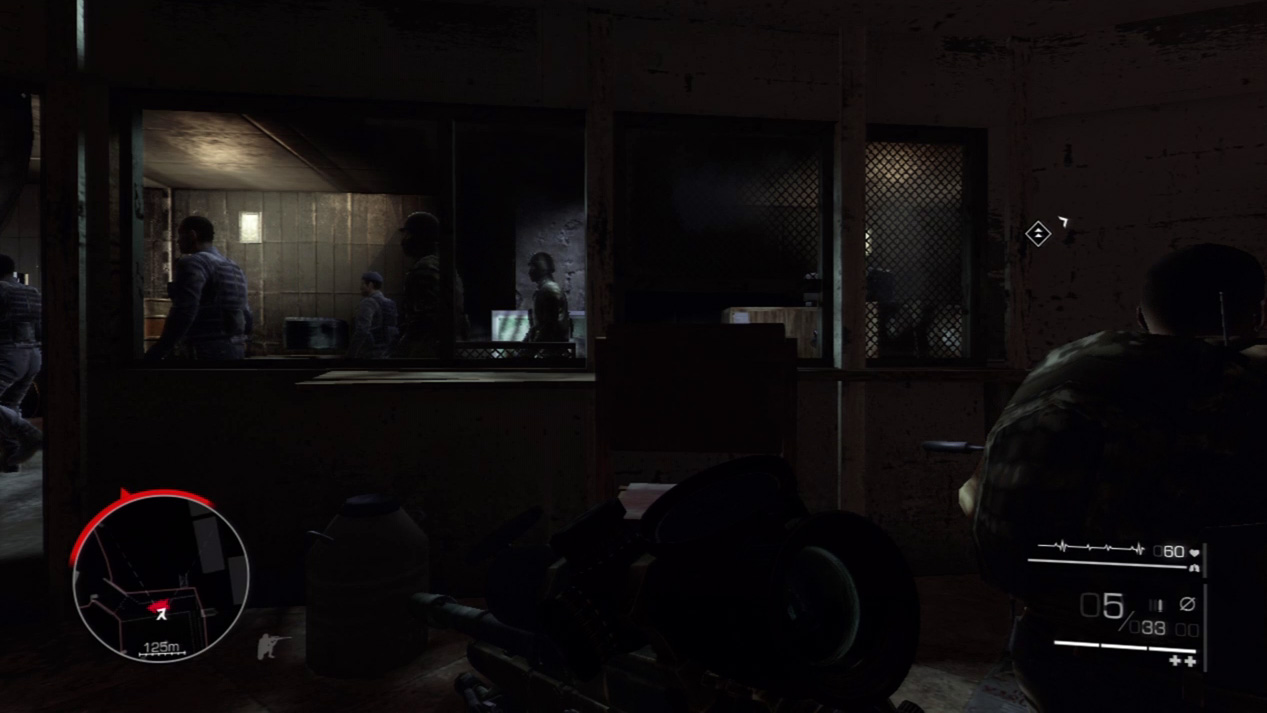
You think it will be deserted, but you’re wrong. A large patrol approaches around the next bend. Quickly follow Maddox into a small booth to the right and wait for the patrol to pass.
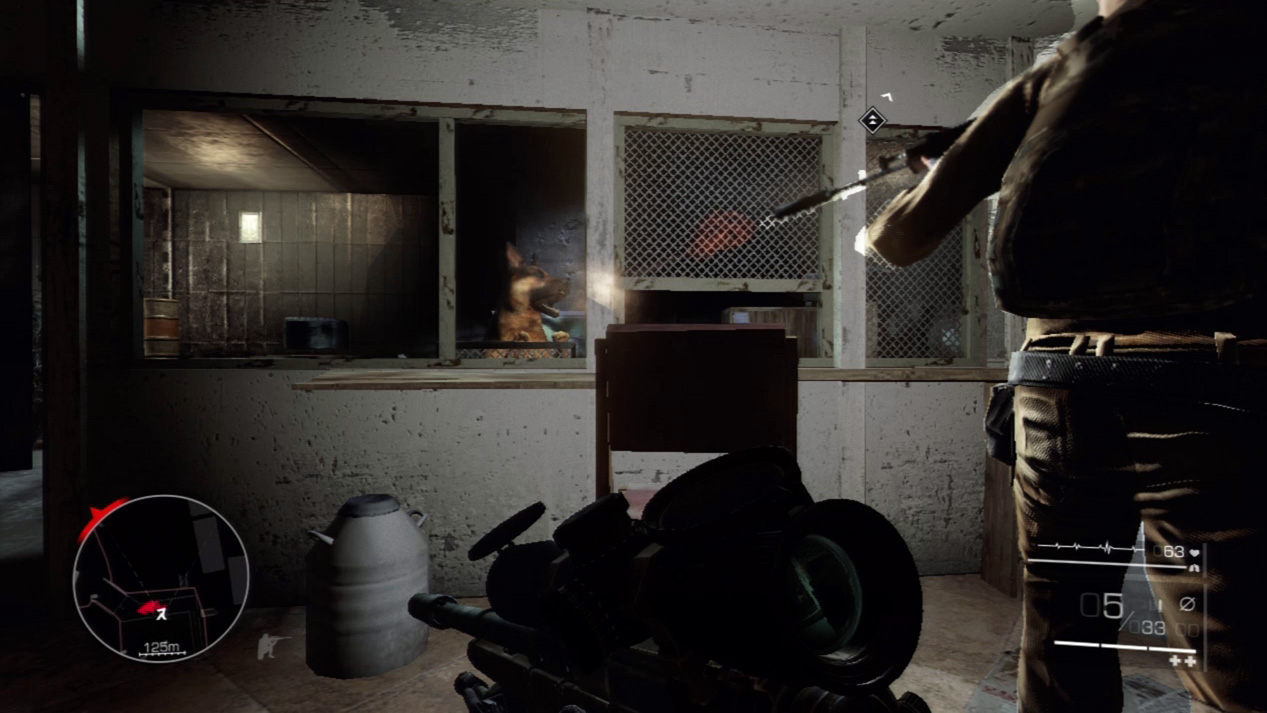
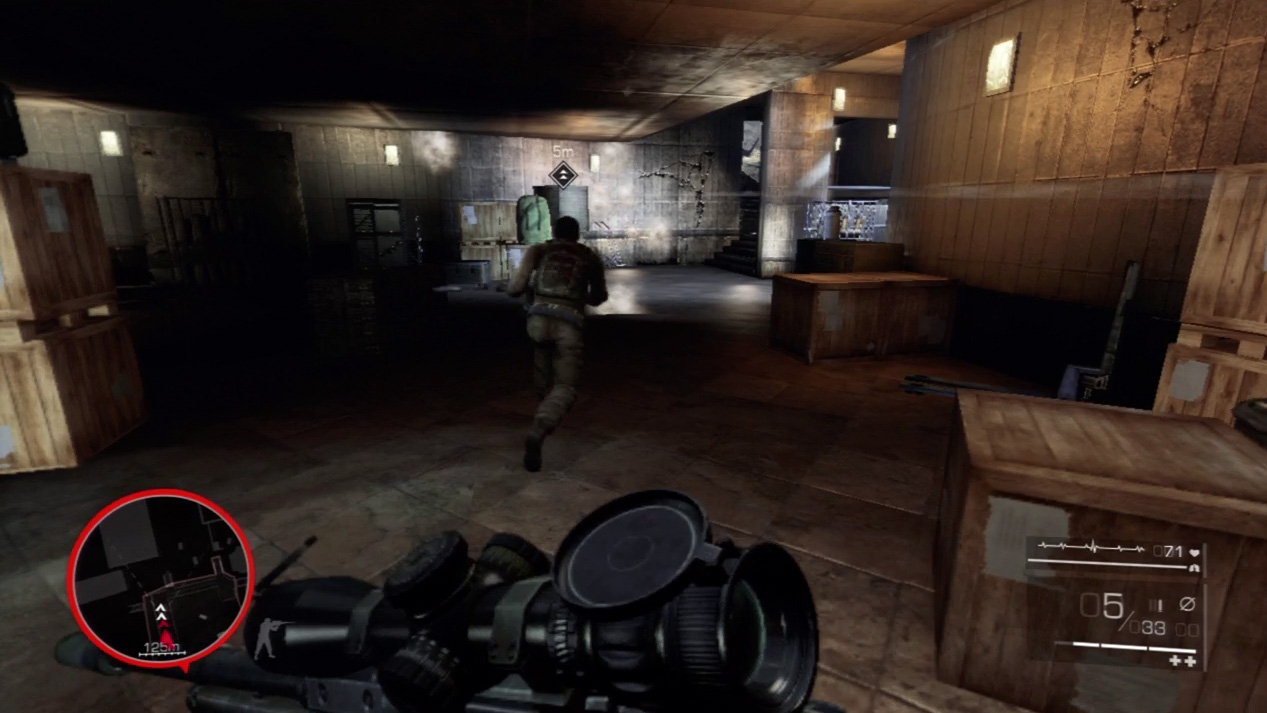
Your Visibility Indicator sounds constantly, but none of the men walking by will notice you. Their dog, however, is a different story. The canine sniffs you out and starts barking ferociously at the window to your hiding spot.
Maddox unloads on the dog, but the noise alerts the whole enemy party. You must sprint after Maddox immediately and hope the pursuing enemy bullets don’t strike you in the back.
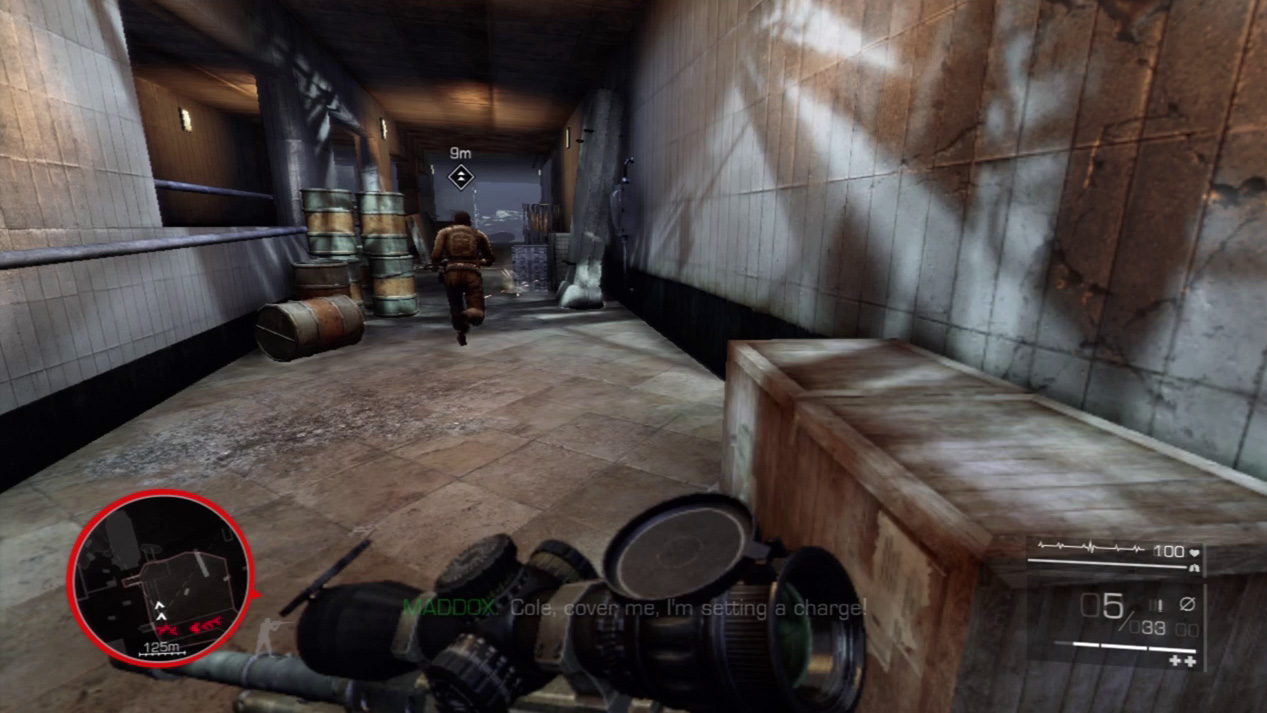
Run after Maddox as deftly as you can. He books down a long tunnel and stops for cover at the far end. You have to survive long enough to reach the end of that second tunnel.
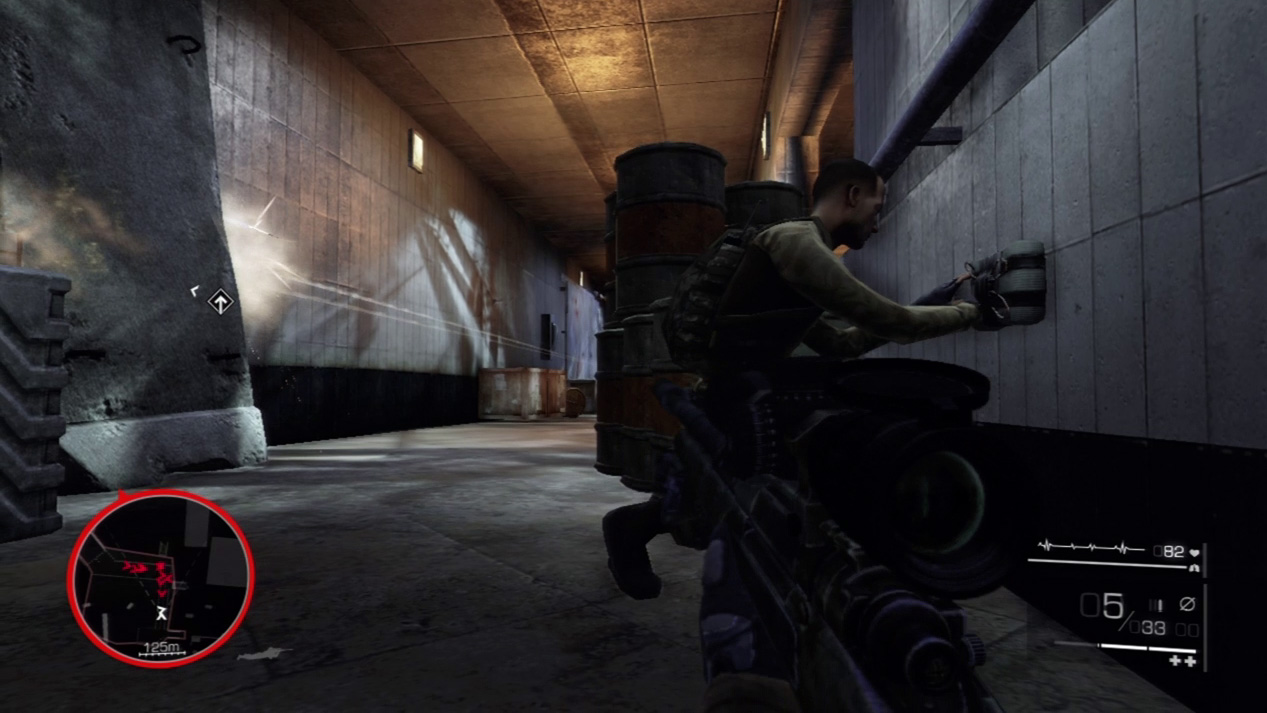
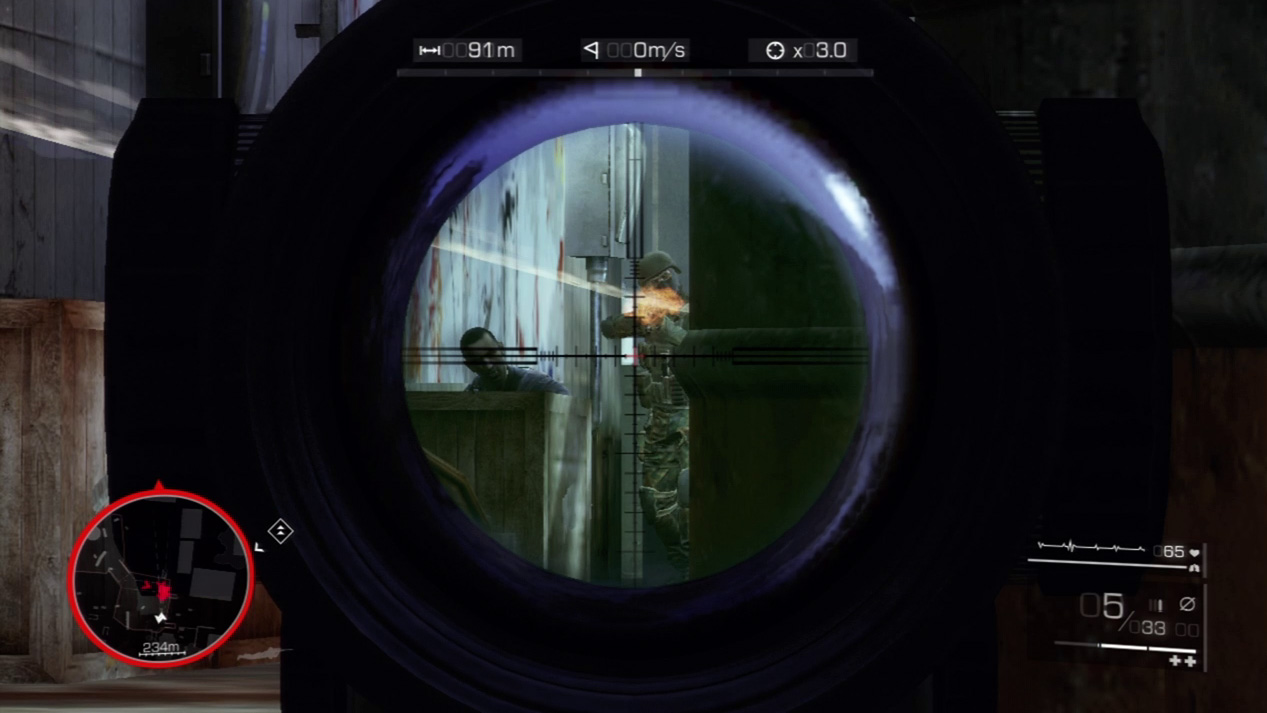
While Maddox sets a C4 charge to thwart the enemy, hug the wall behind the barrels and cover his back. Take a few shots at the charging enemy and retreat farther down the tunnel when Maddox gives the word.
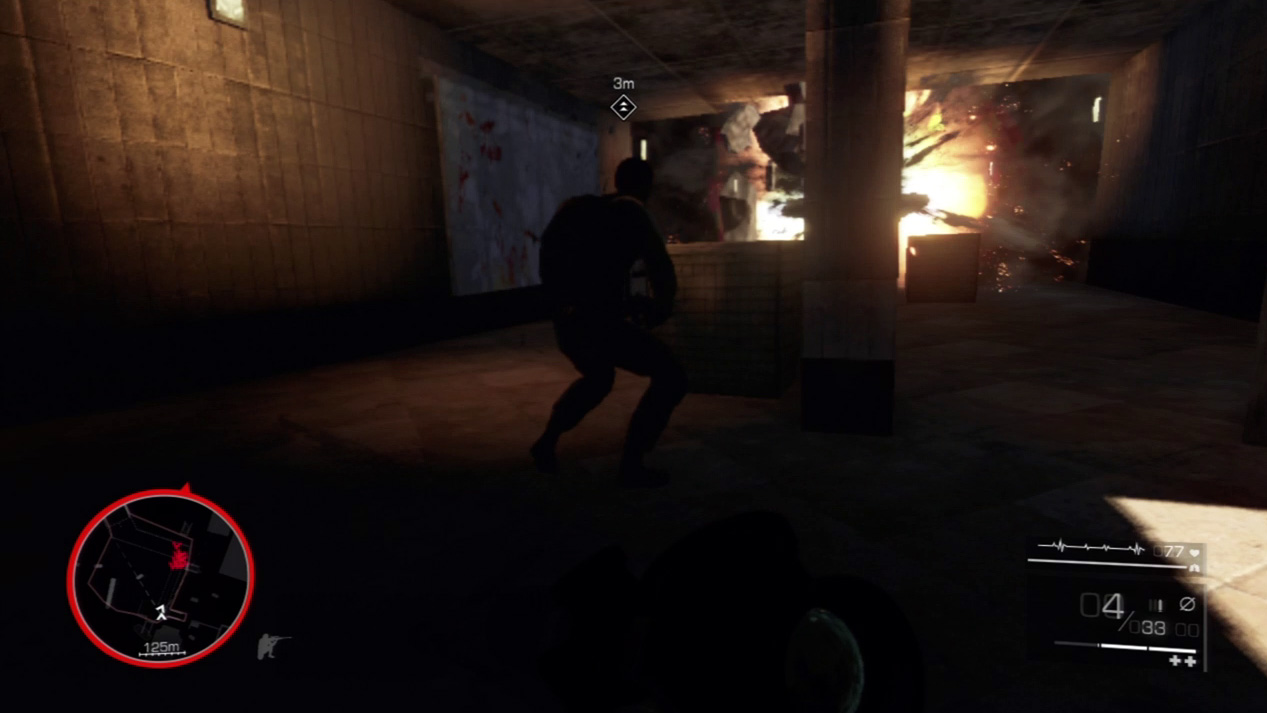
Maddox detonates the C4 when you’re clear and brings the tunnel down on the enemy patrol.
Any that survive can’t follow you; the whole tunnel has collapsed.
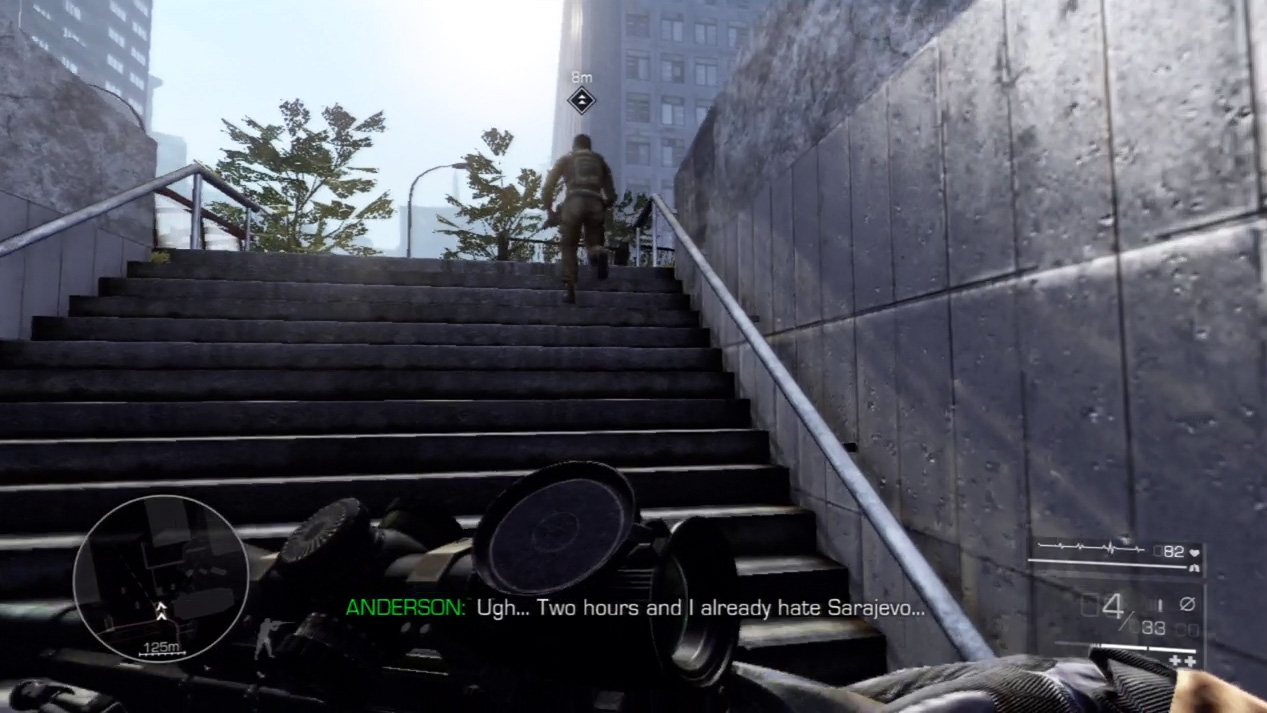
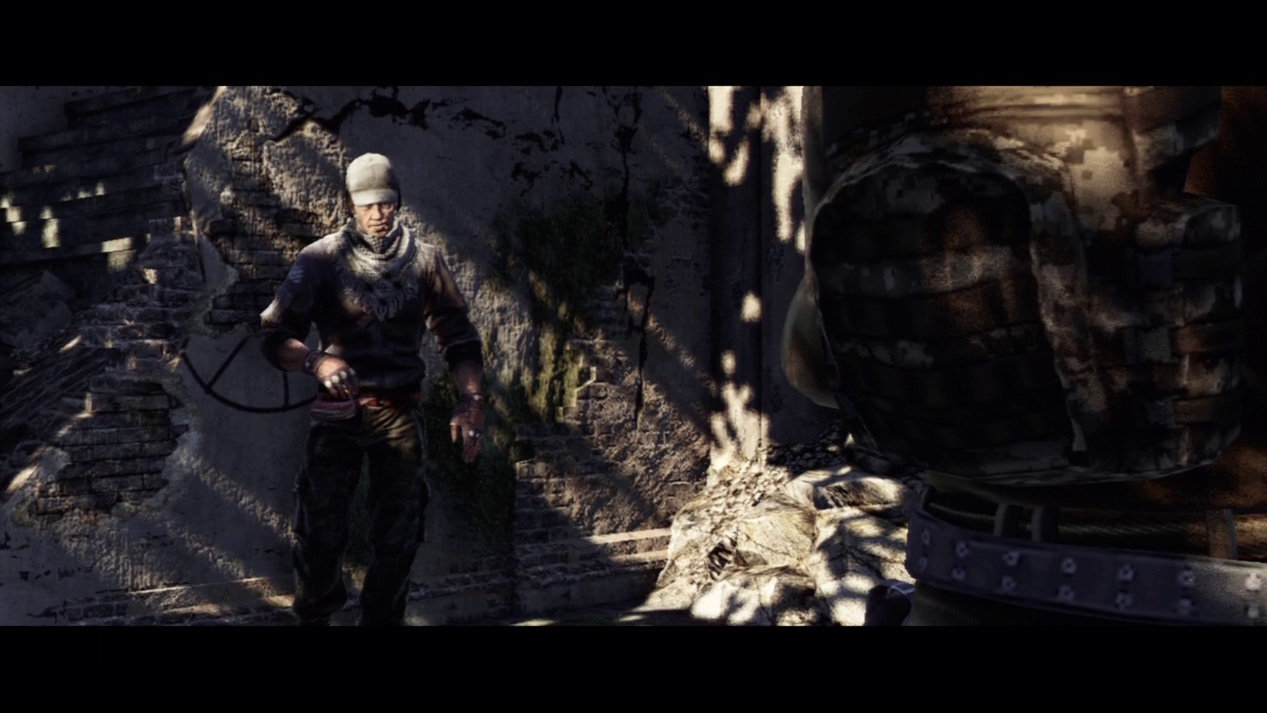
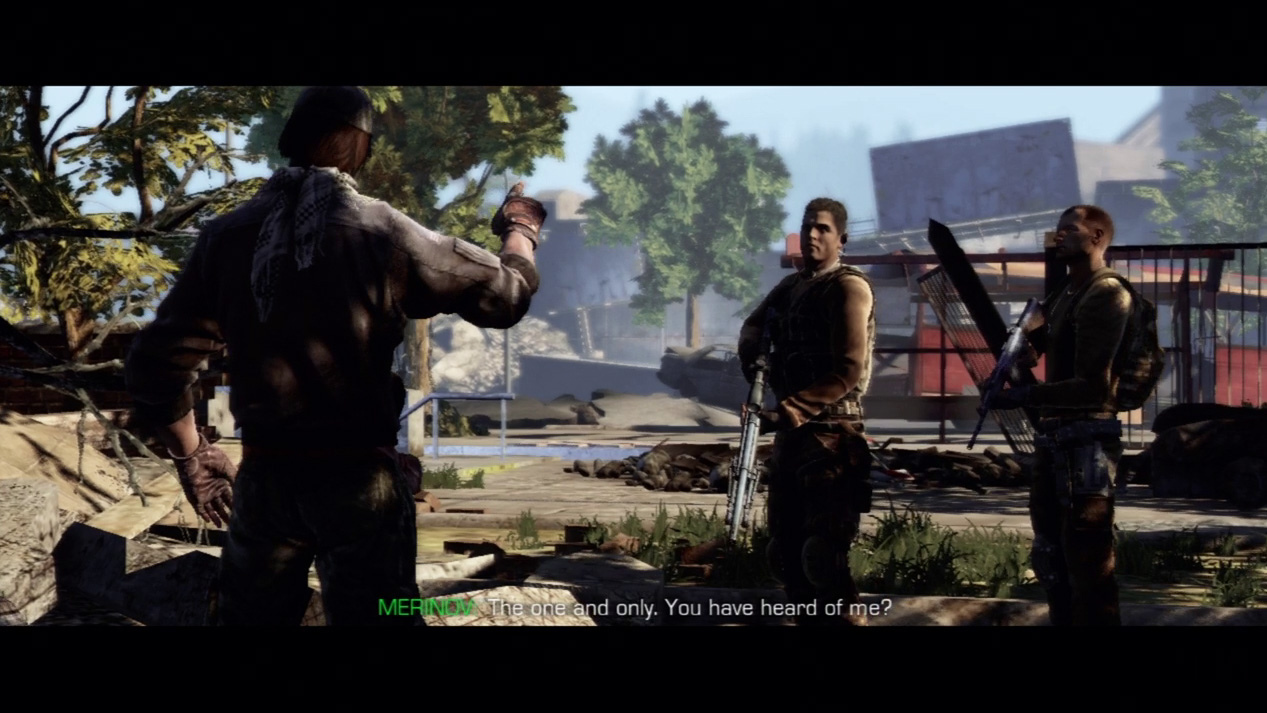
Climb the stairs leading out of the tunnels. You meet the C.I.A. contact, Merinov, at the top of the stairs. He’s an unpleasant sort of fellow, but he has valuable information that will lead you to Major Vladic’s camp, the next destination on your Sarajevo mission.