
Sniper Ghost Warrior 2 Guide Walkthrough Mission 7: Knife in the Dark
7.3 Waypoints 8-15
Waypoint 8
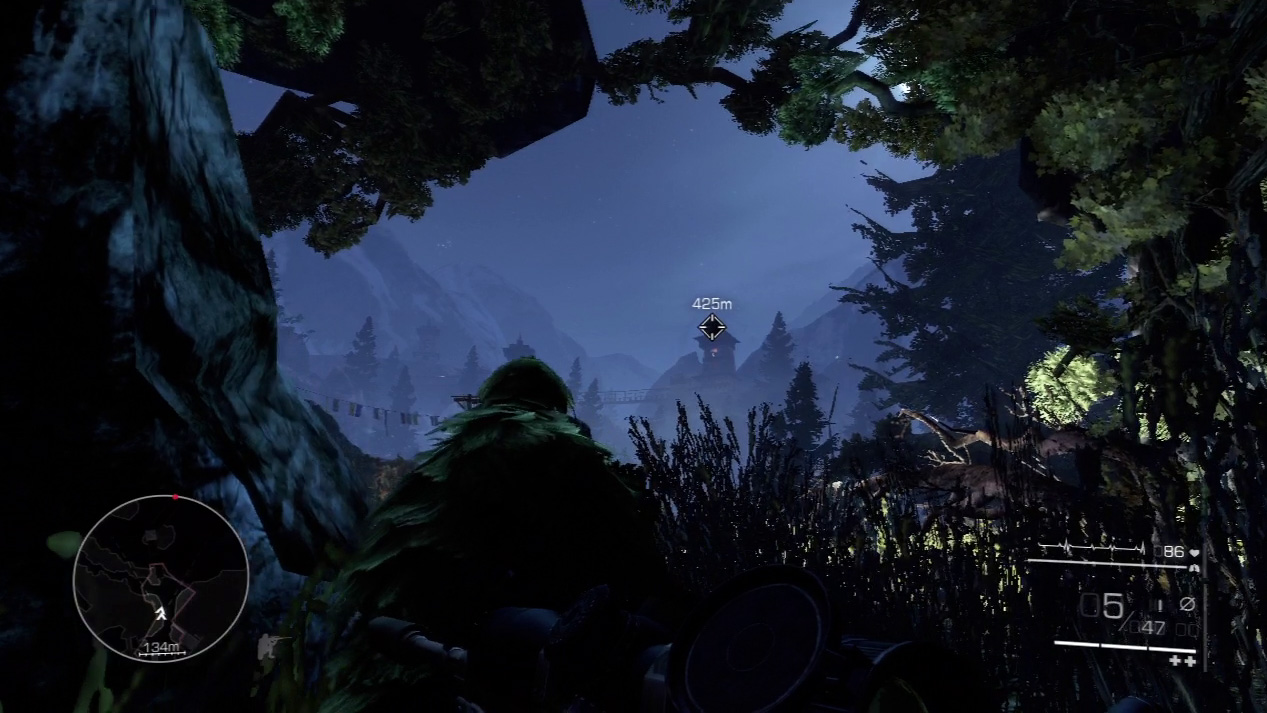
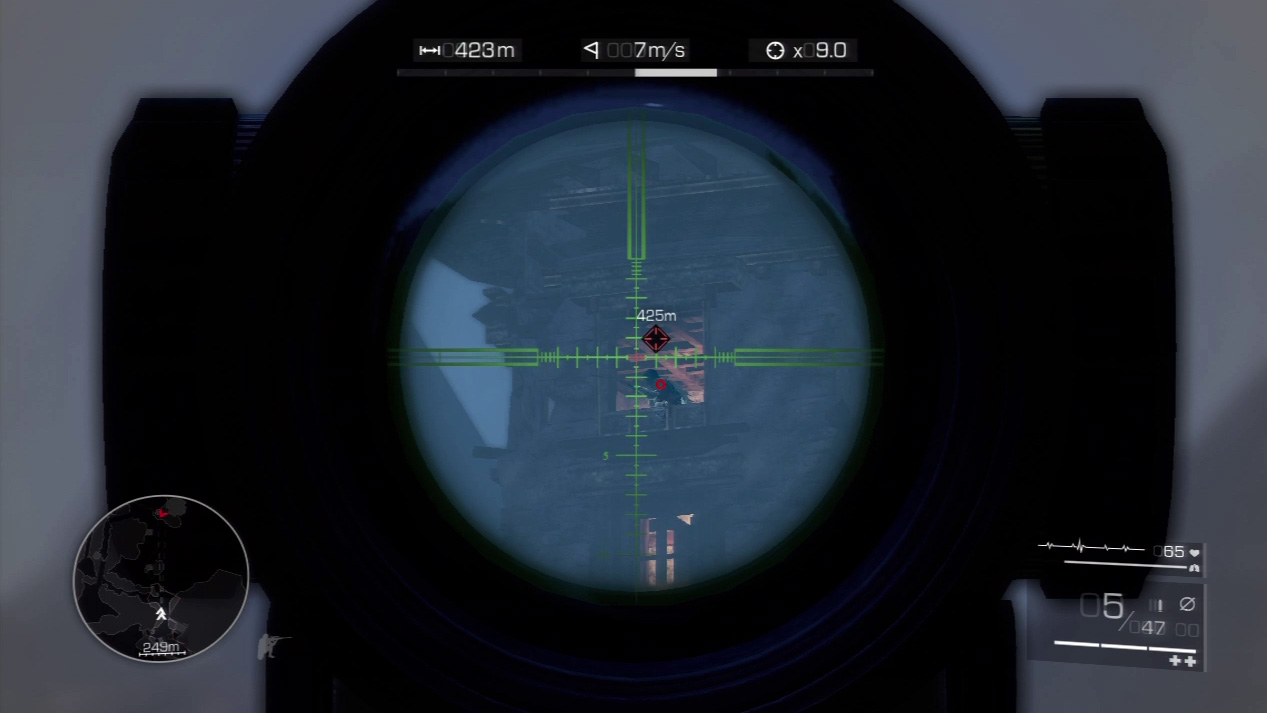
Let Diaz call out the three snipers lying in wait for you around the field. The closest tower to the right holds the first sniper. Look for him in the top window and aim for the body to make sure of a kill.
Expert Mode
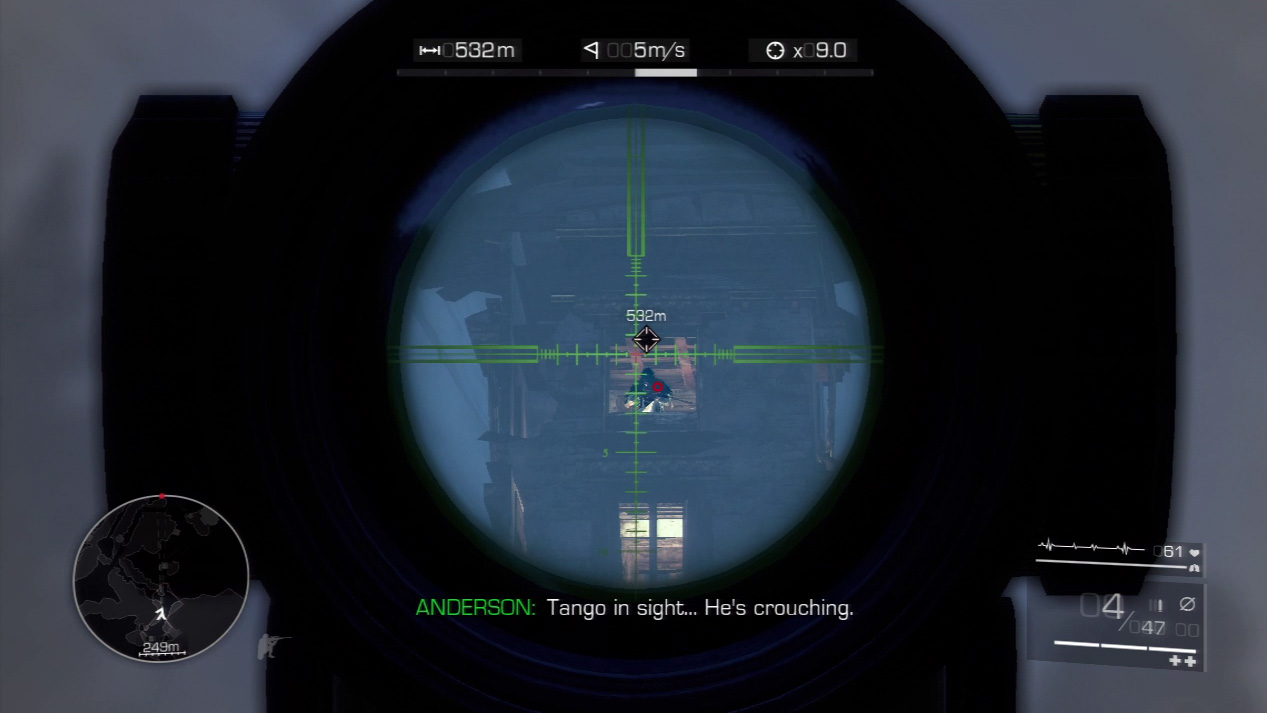
- Distance: Approximately 530 meters
- Wind: 5 meters/second (blowing right)
- Magnification: 9x
The three shots against the enemy snipers above the field are the most difficult in the mission. You have both wind and gravity to compensate for, and each enemy sniper sits at a different distance, which necessitates quick calibrations.
In general, for all three shots, you want to imagine that your bullet will land approximately one reticle line to the right and two reticle lines down (a perfect alignment for the middle-distance sniper).
The first sniper is the closest, at 425 meters, so adjust by expecting the bullet to fall between the first and second reticle line down.
The bullet against the farthest sniper (815 meters) will fall only a tiny bit lower than your second shot.
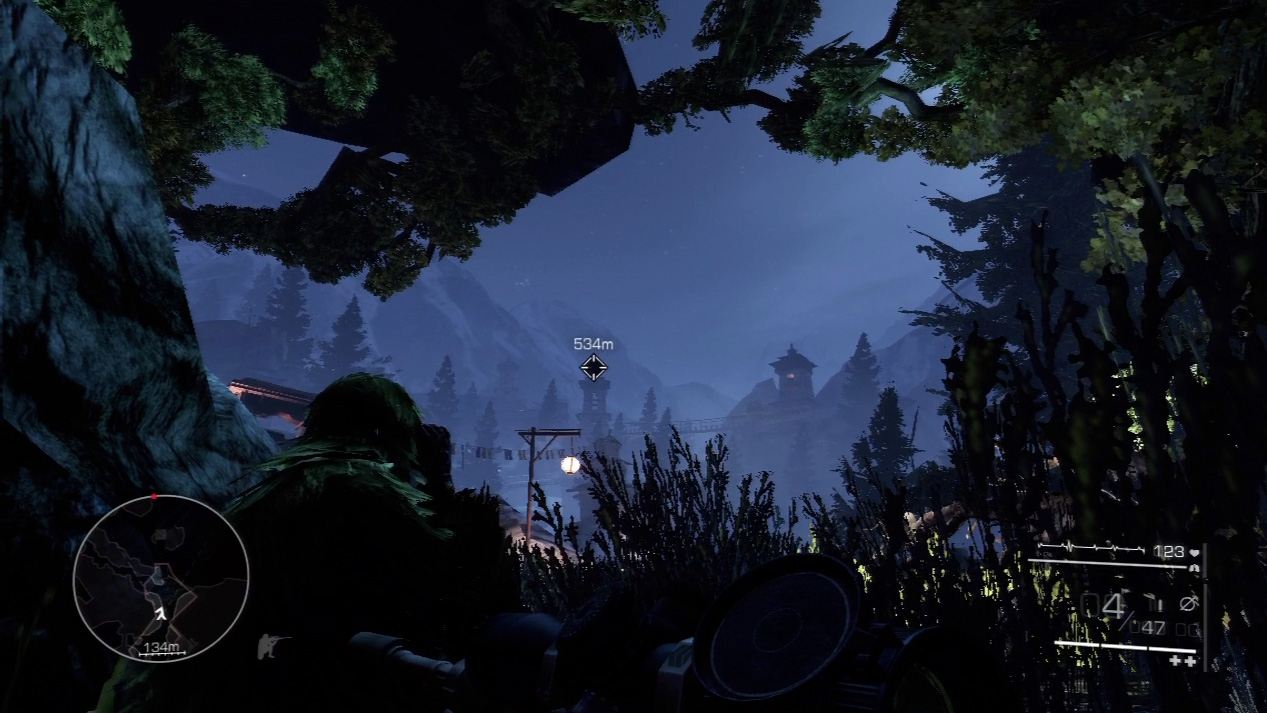
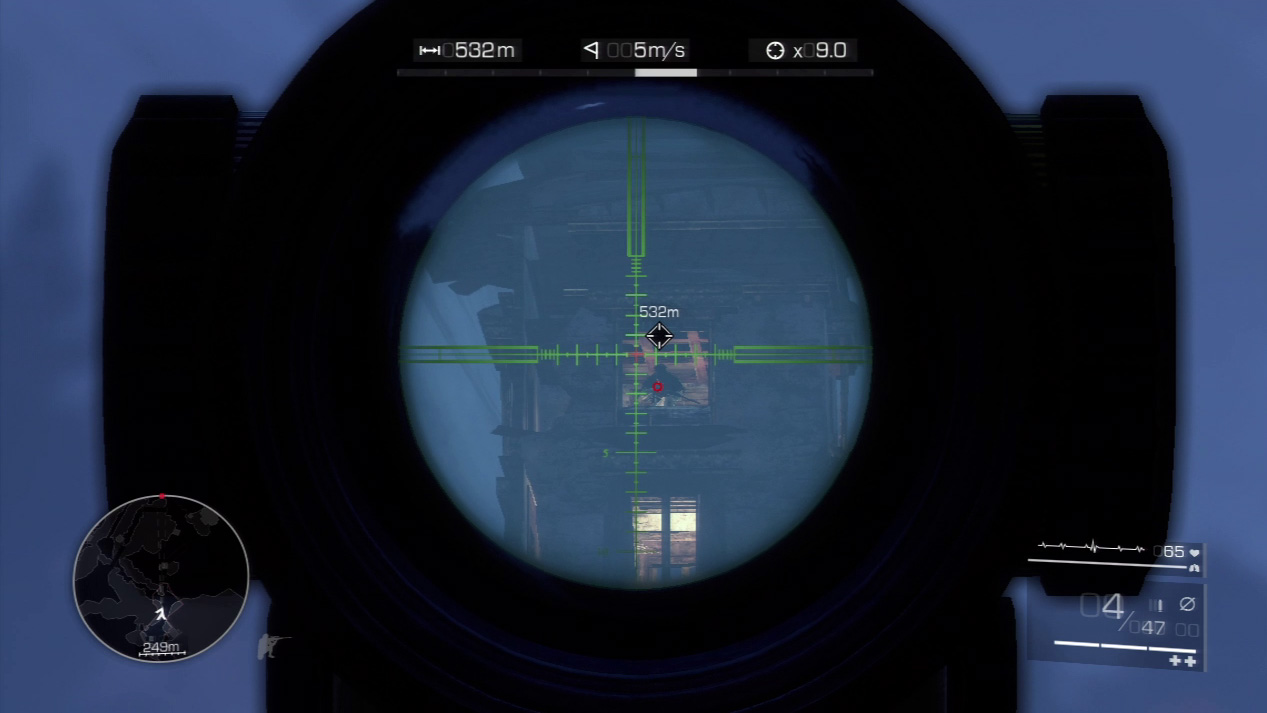
The second sniper sits in the tower straight ahead. As with the first sniper, aim for the top window and squeeze the trigger when you have a shot centered squarely in his body mass.
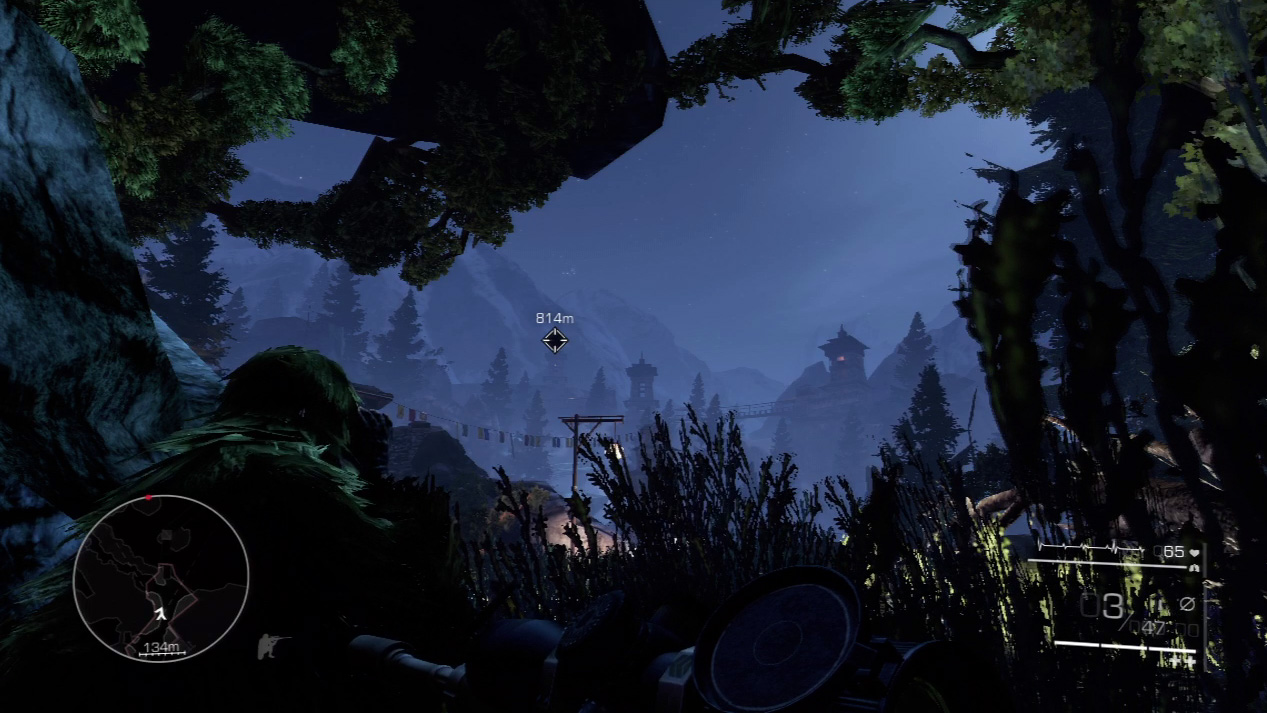
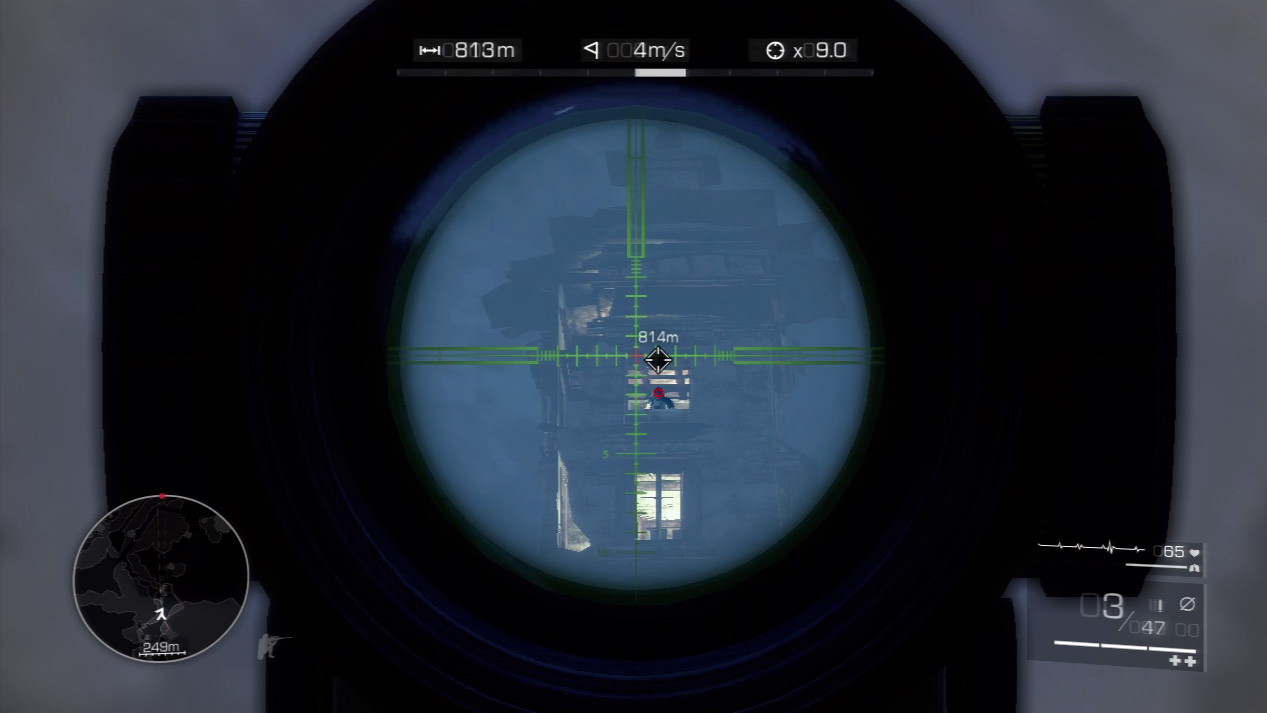
The last snipers aims at you from the far left tower. You can barely see it in the haze, but the lights in the room behind the sniper help light him up for you. Eliminate him before proceeding through the field.
Waypoint 9
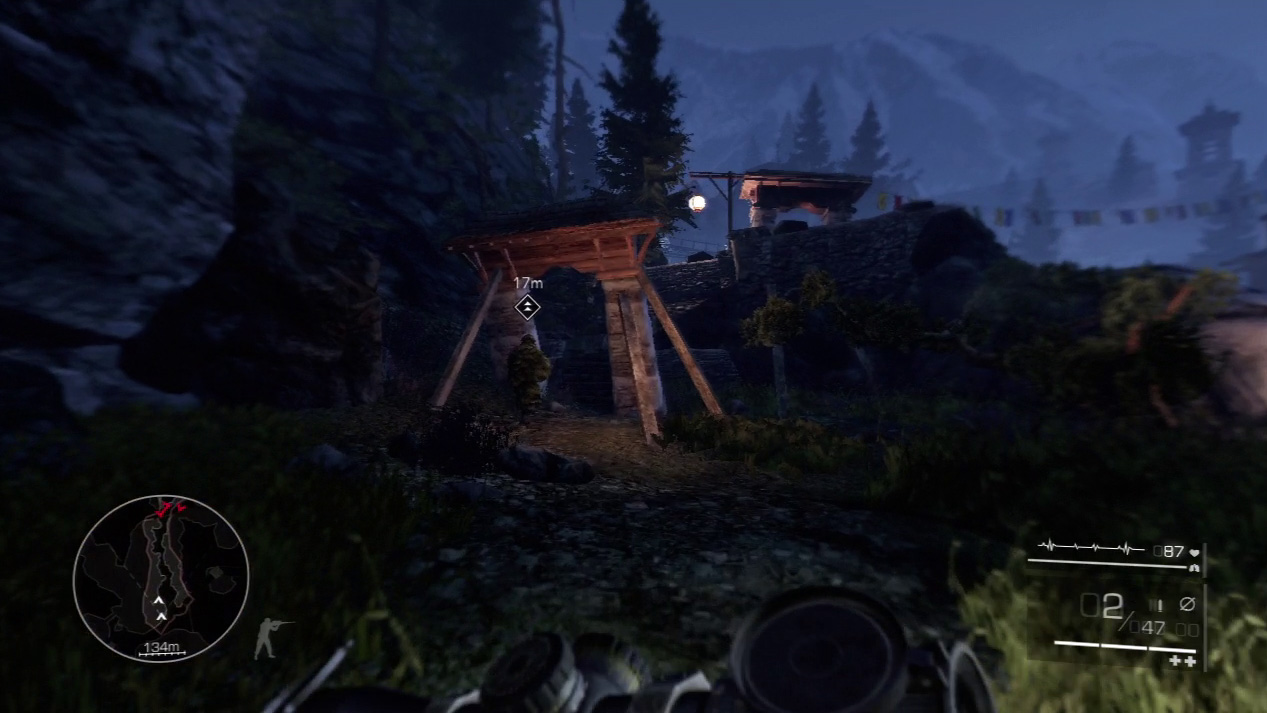
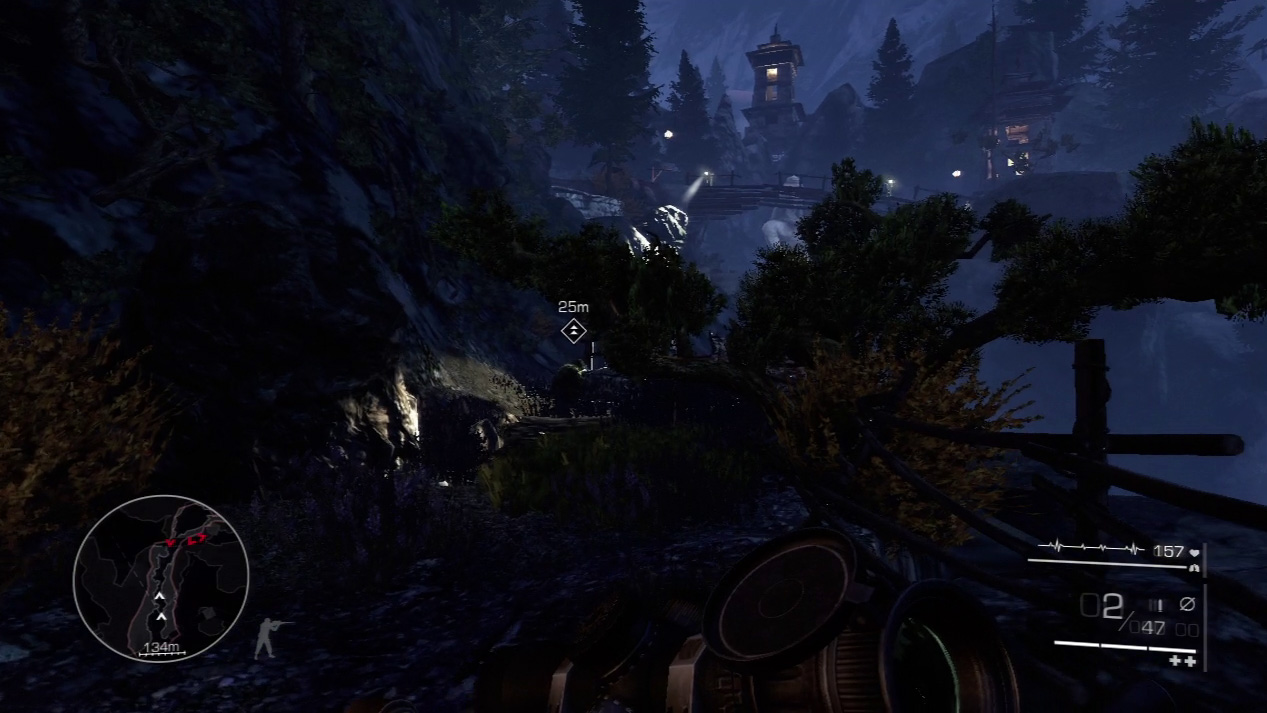
Sprint after Diaz until you come to the bridge with the spotlight. If the spotlight catches you out in the open, the alarm goes up and enemies converge on your position.
To avoid this, listen for Diaz as he calls out cues to hide or run with him to the next cover spot.
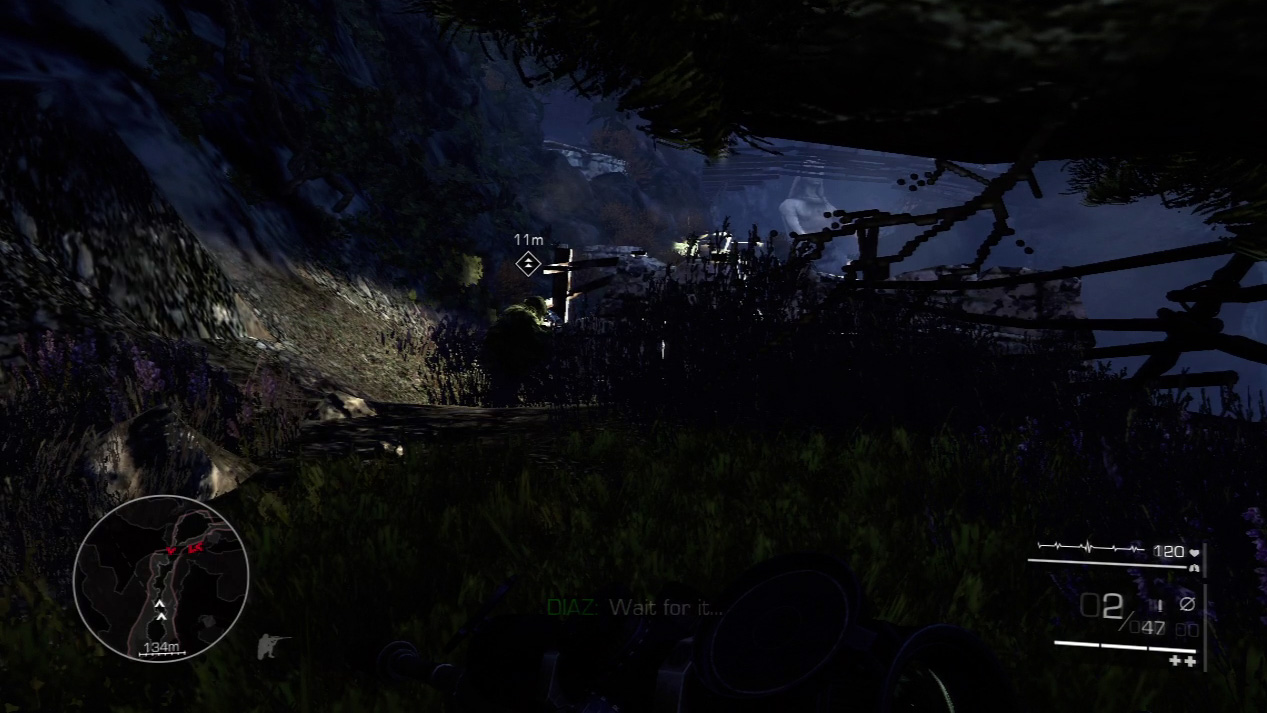
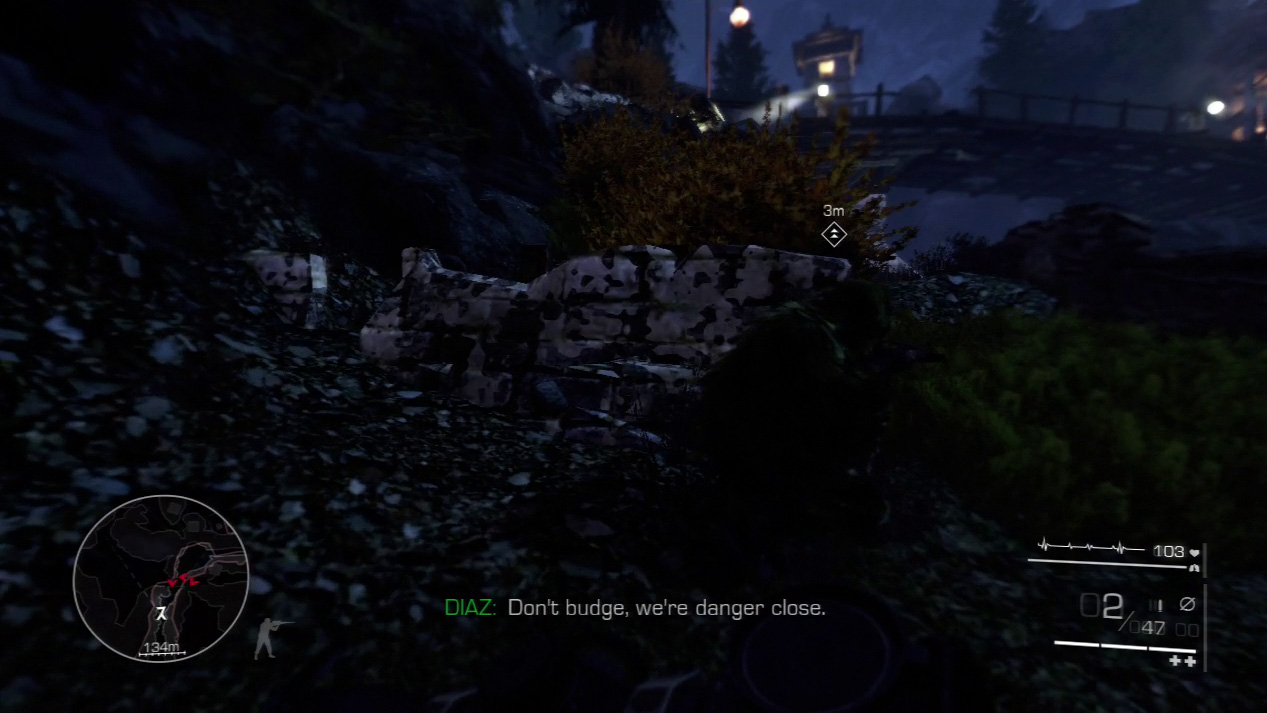
Stop when Diaz first calls out the searchlight. Run with him to the stone wall after the searchlight passes. Hide behind the wall as the searchlight sweeps over you.
When Diaz gets up and runs, sprint after him immediately. If you delay, the searchlight will catch you out in the open.
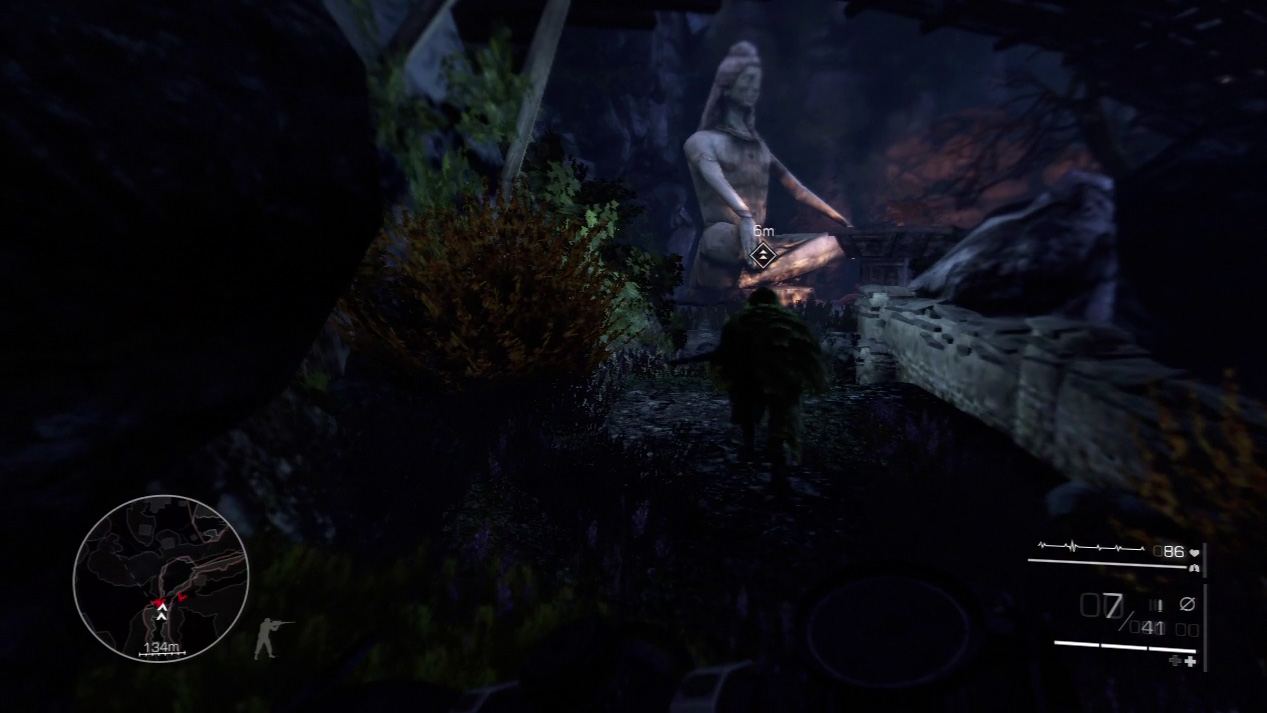
Don’t stop as you sprint for the bridge. Only after you duck under the bridge and can see the large statue near the caves can you relax for a moment.
Waypoint 10
Stay behind Diaz and he creeps into the cave system. Two enemies patrol ahead of you, but Diaz wants to listen in on their conversation. The eventually divulge the location of the telegraphist, whom you plan to torture for information on the bio-agent’s whereabouts.
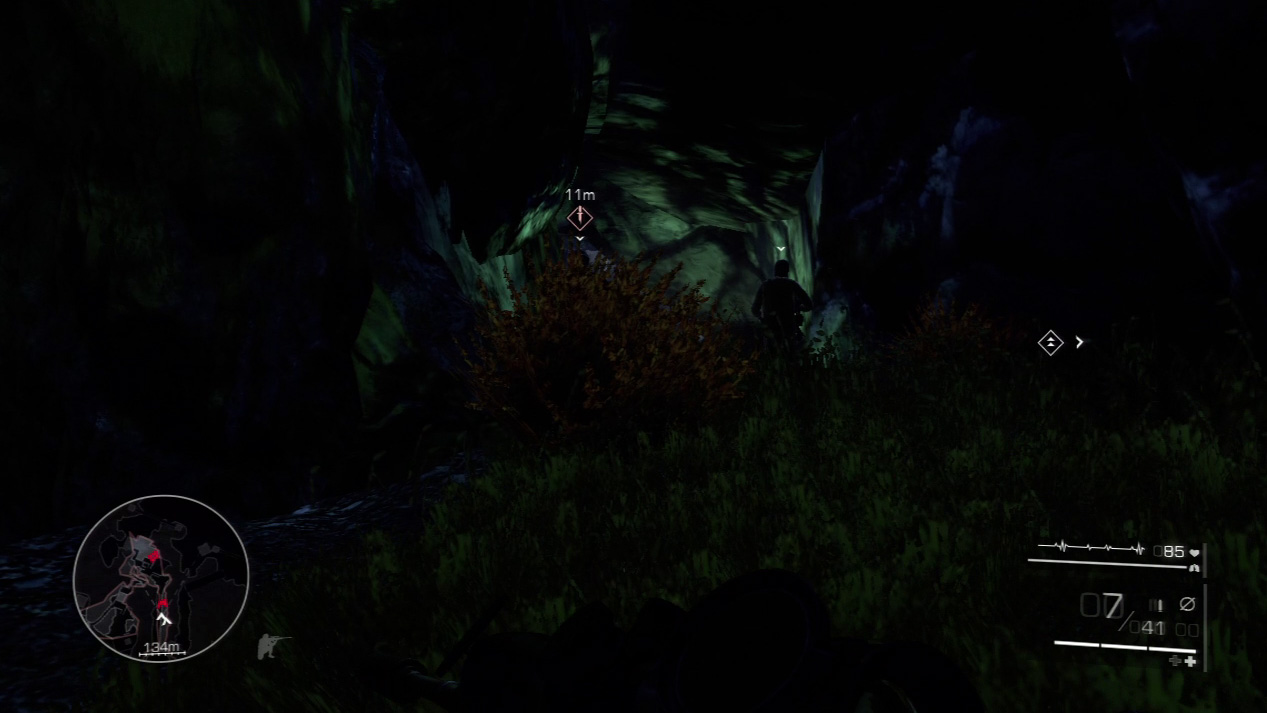
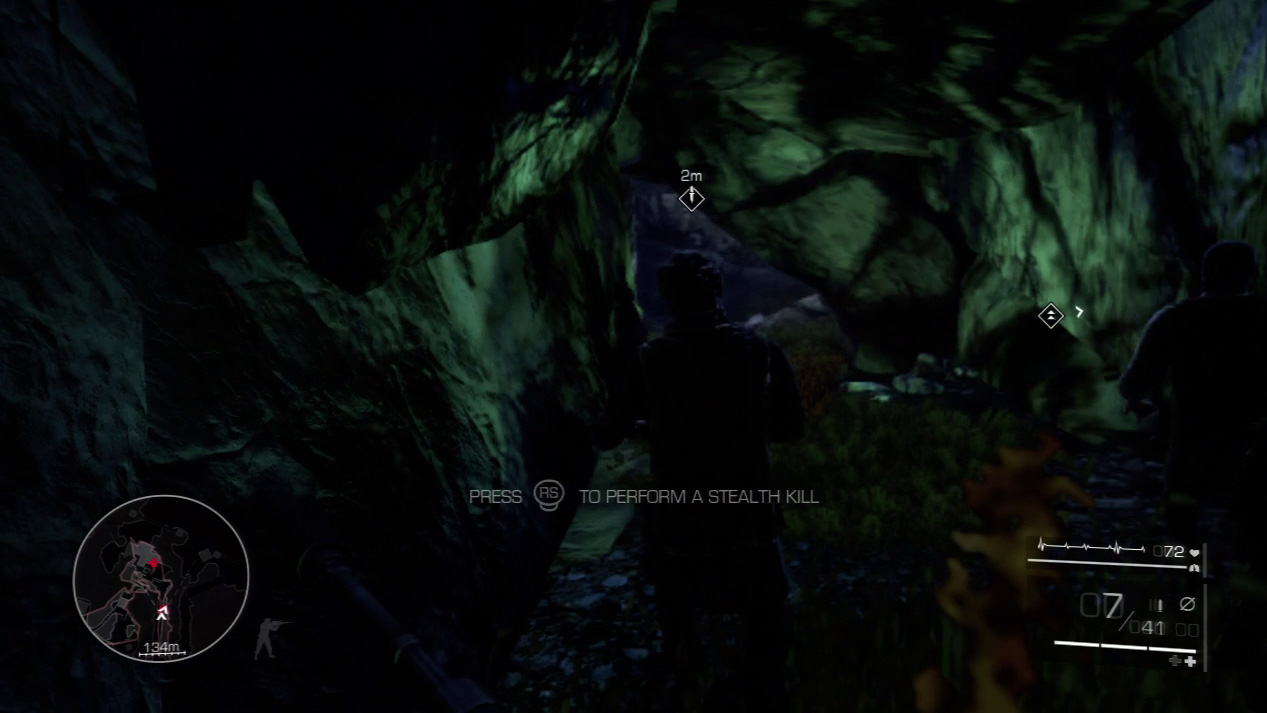
When Diaz gives the word, sneak up behind the enemy on the left. As you kill him quietly, Diaz does the same with the enemy on the right.
Waypoint 11
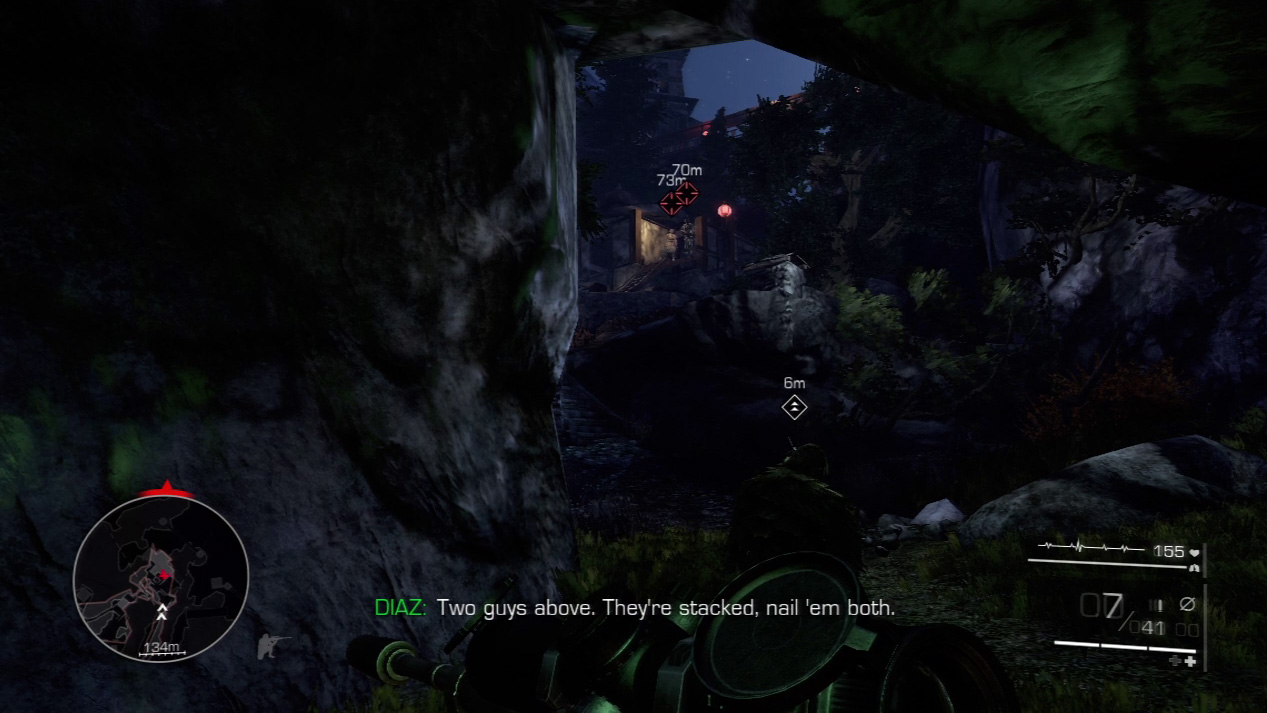
Crouch at the mouth of the cave exit. Diaz points out two enemies guarding the house ahead and asks you to execute a double kill shot.
Special Shot: Double Kill
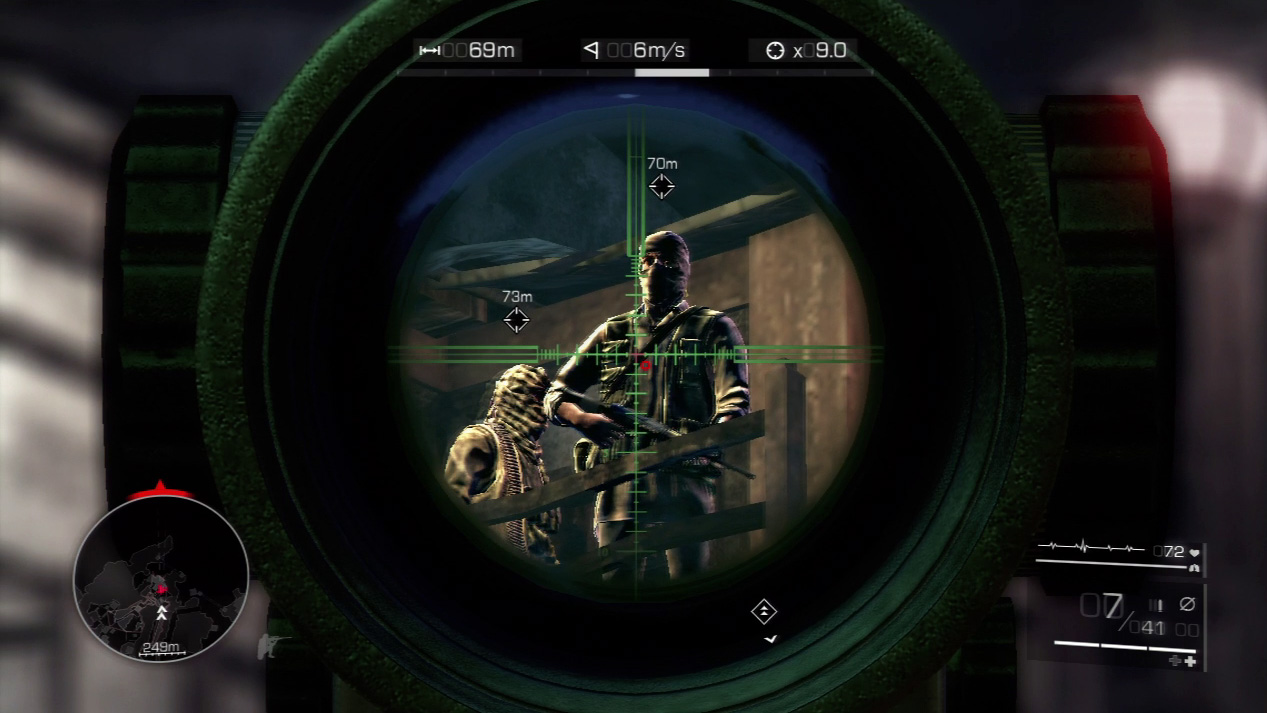

The porch that the two enemies stand on isn’t very large.
That’s good for you. As they shuffle back and forth you will have ample opportunities to center your reticle on the closer guard and nail the enemy behind him, too, as he overlaps.
Act 3: Secret 3
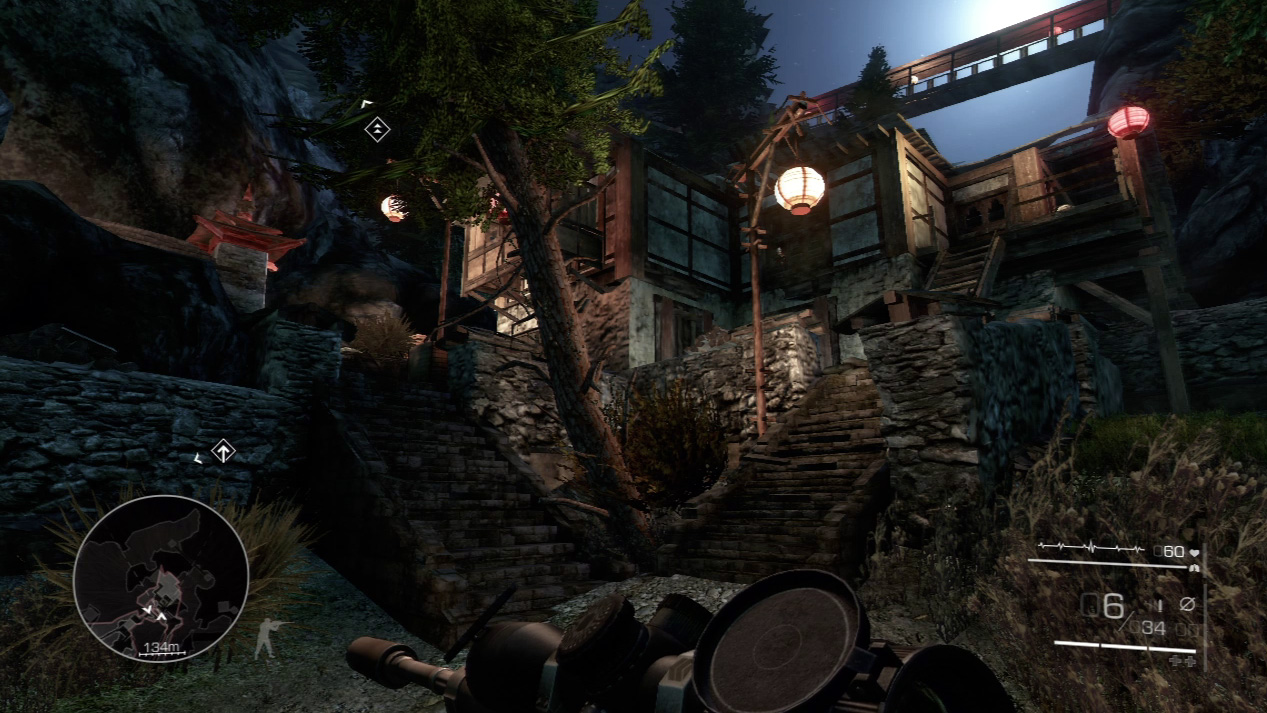
After you perform a double kill on the two guards after the caves, you’ll see two stairs splitting apart as you follow Diaz. Rather than chase after Diaz up the left set of stairs, take the right stairs.
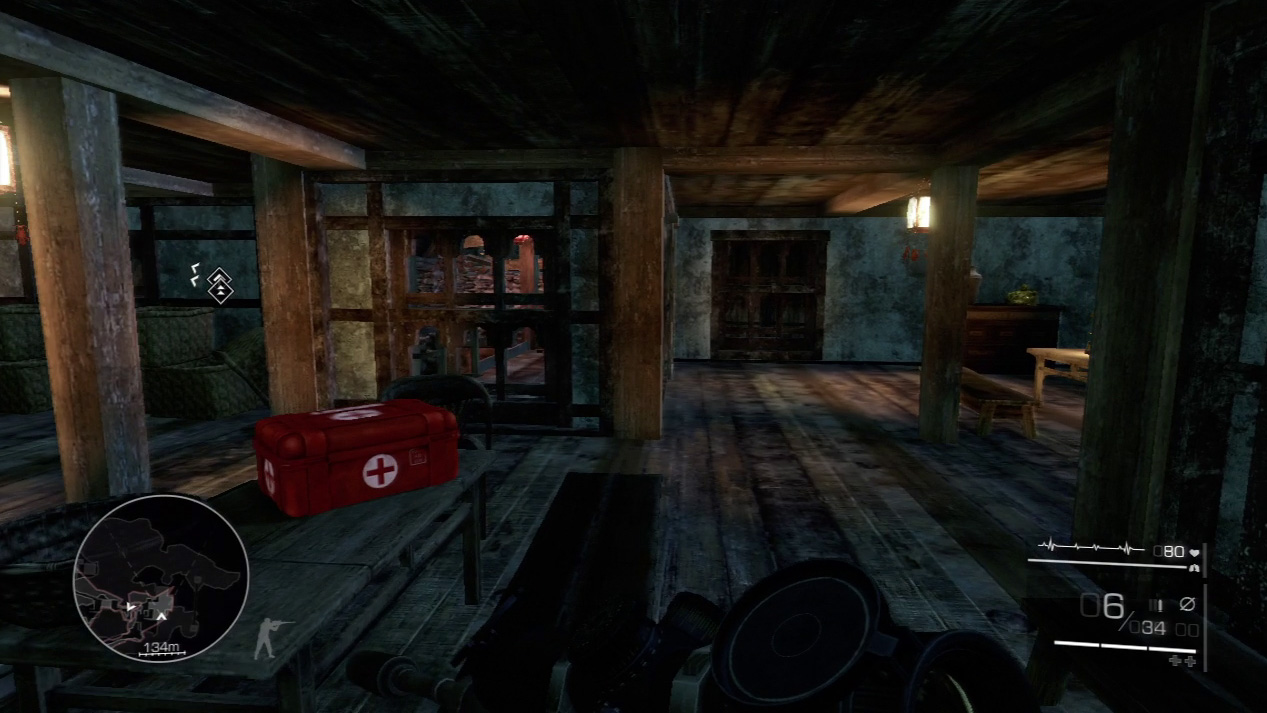
At the top, enter the door to your right and you’ll see a hidden medkit on a nearby table and the secret resting atop a dresser in the back corner.
Waypoint 12
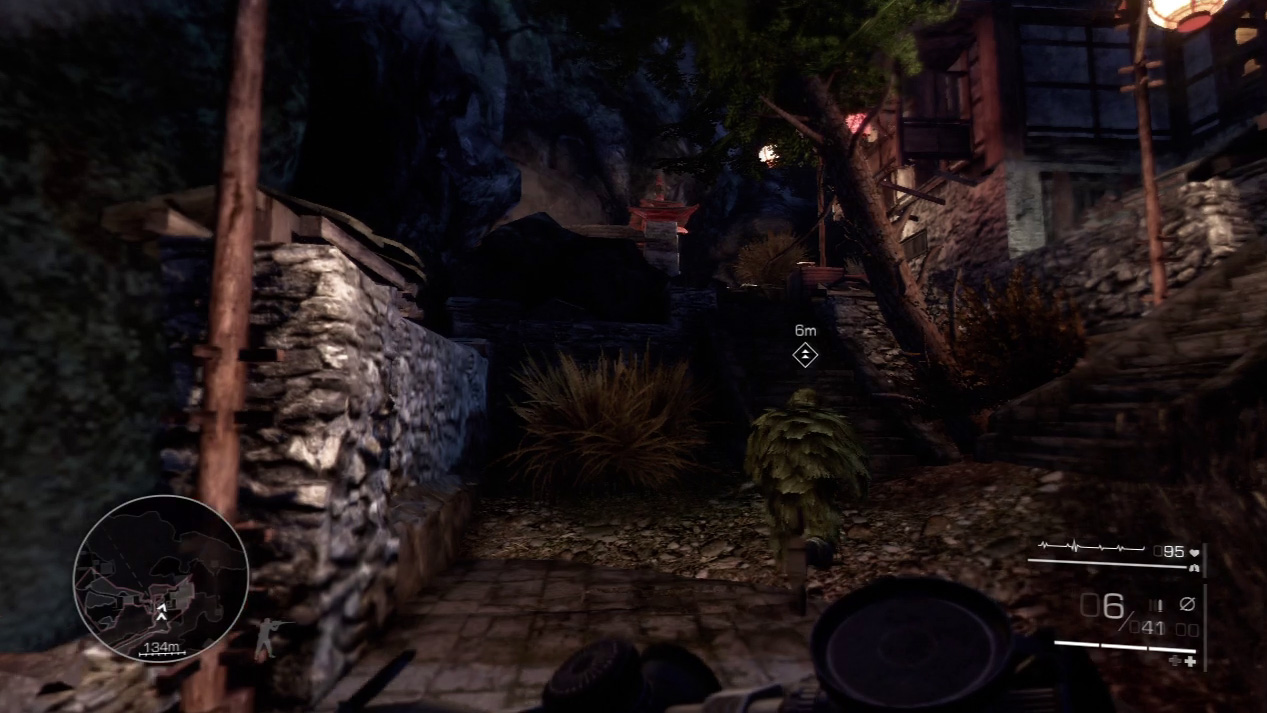
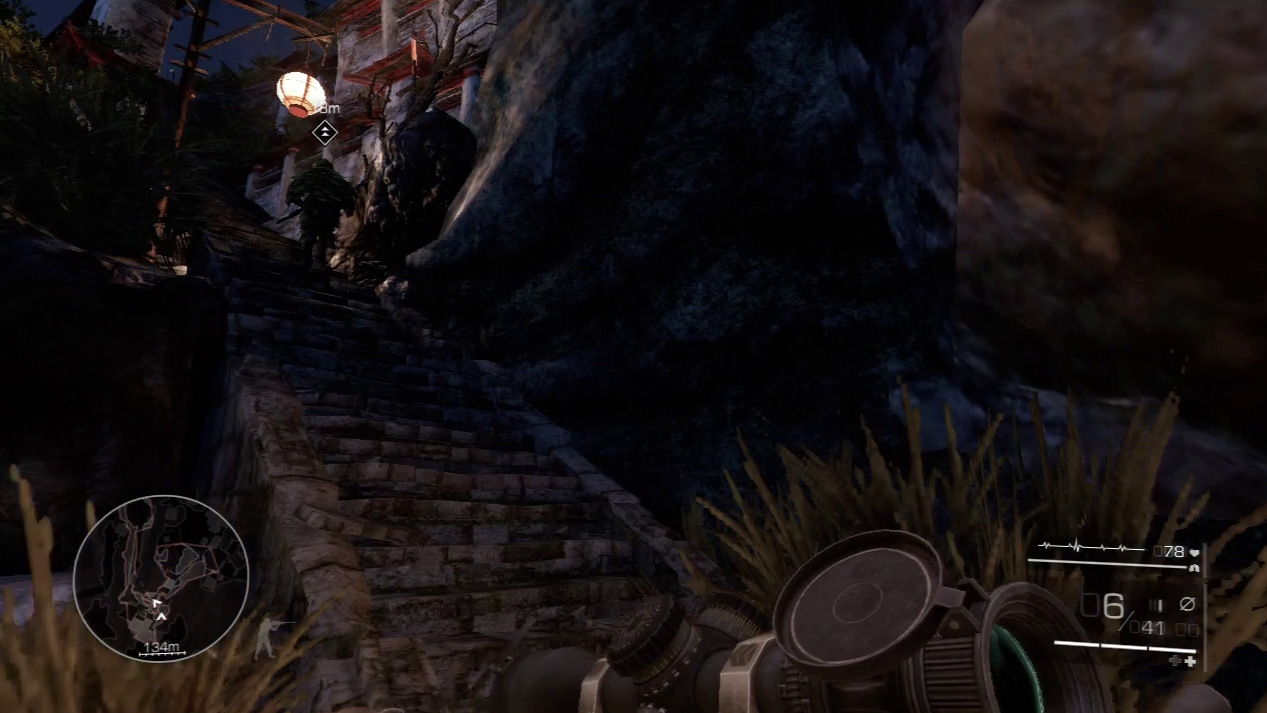
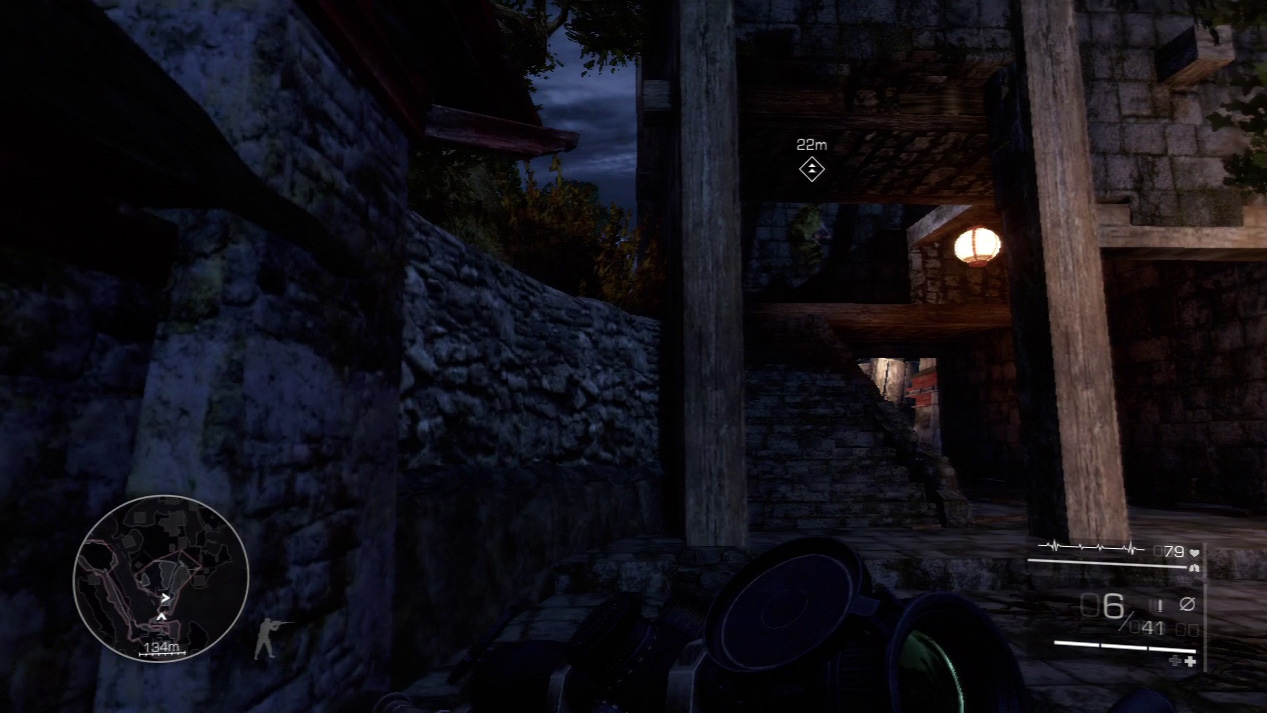
Diaz leads you through the next section of the village and up to the top of a temple. Another large enemy group awaits in the surrounding buildings and grounds.
Waypoint 13
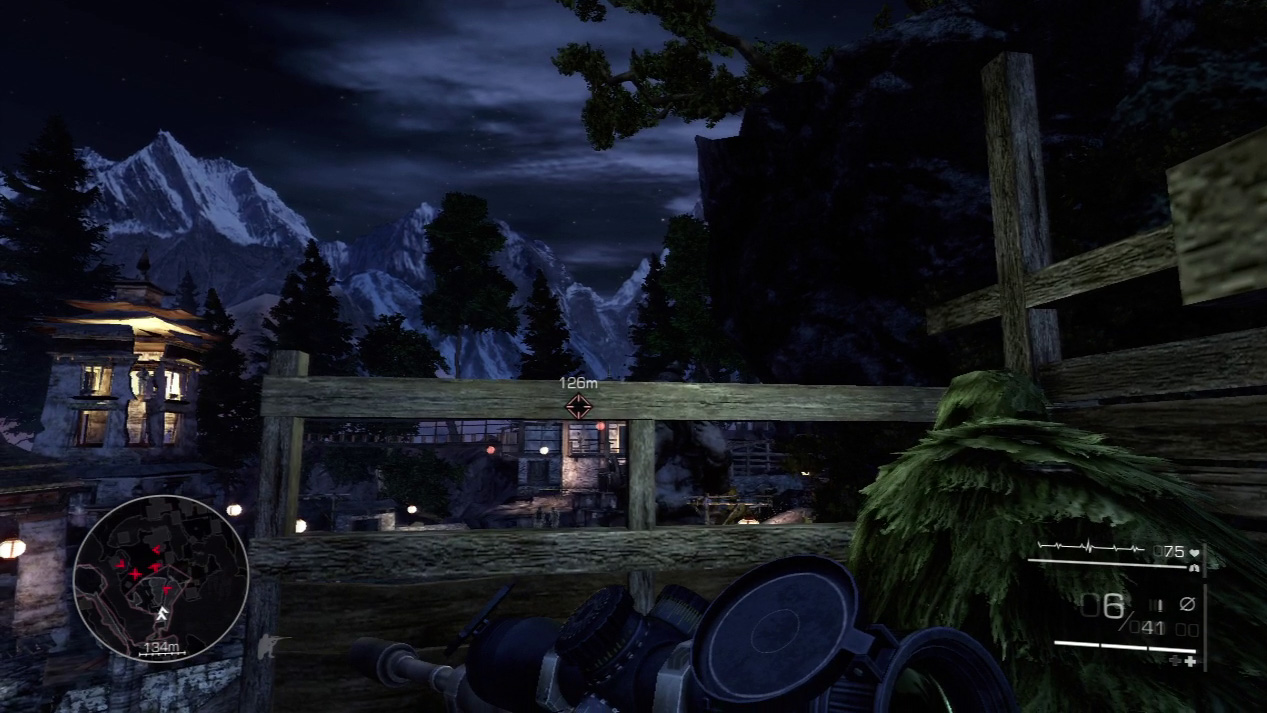
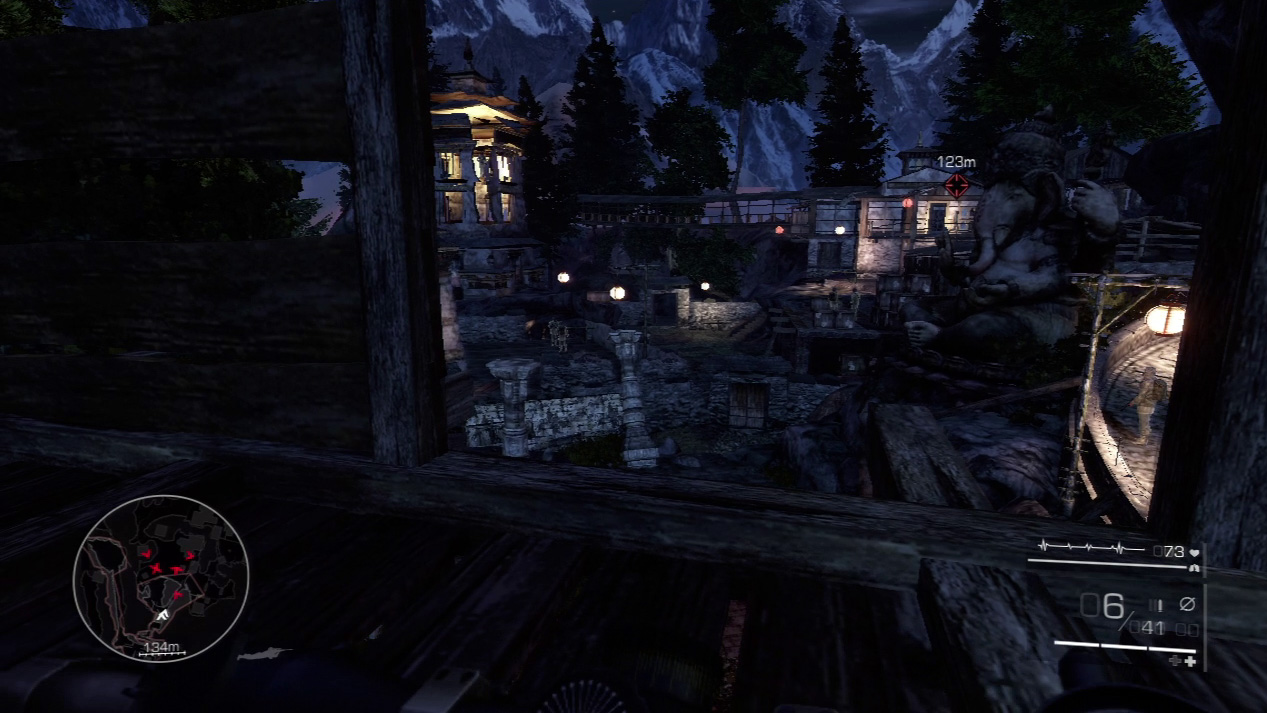
Seven enemies guard this next section. Creep up next to Diaz and slide over to the gap in the fence so that you can lie prone and survey the scene with your binoculars.
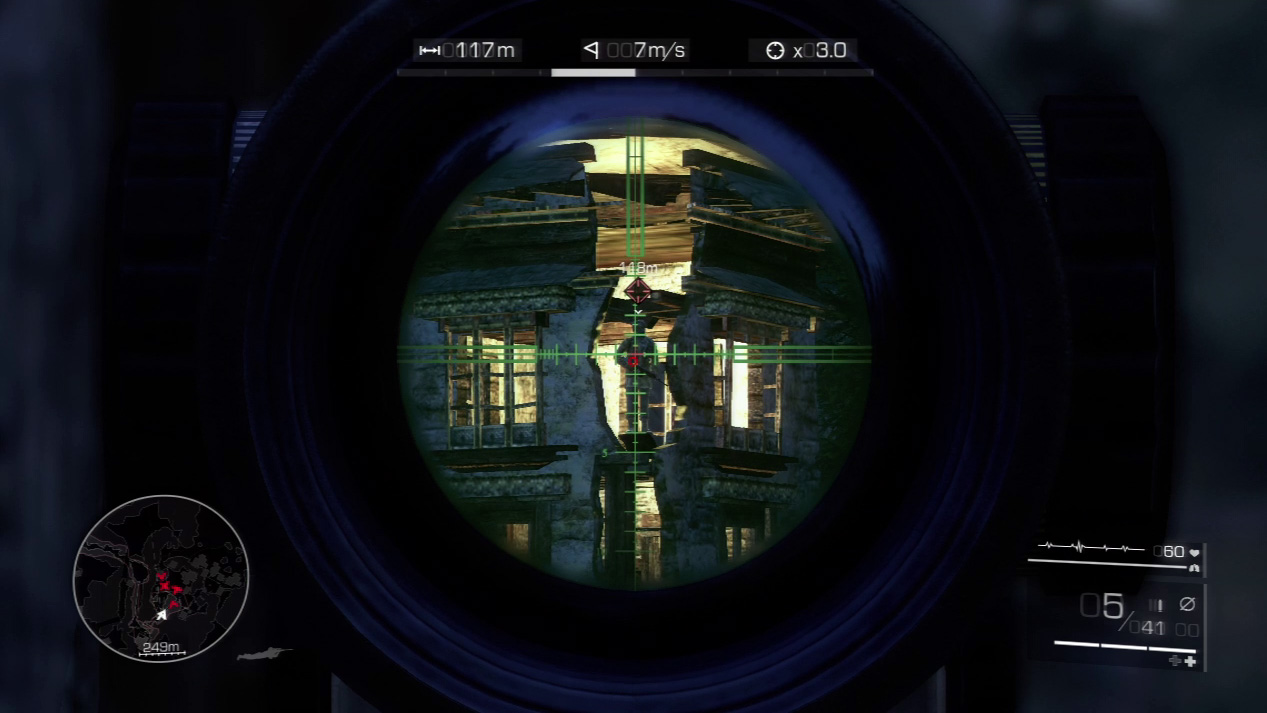
Diaz has a call order set, but you want to change the order. If you shoot the sniper in the tower (Diaz’s second target), someone will spot the act and sound the alarm.
To kill as many targets as possible before the alarm sounds, reorder your shots.
Expert Mode
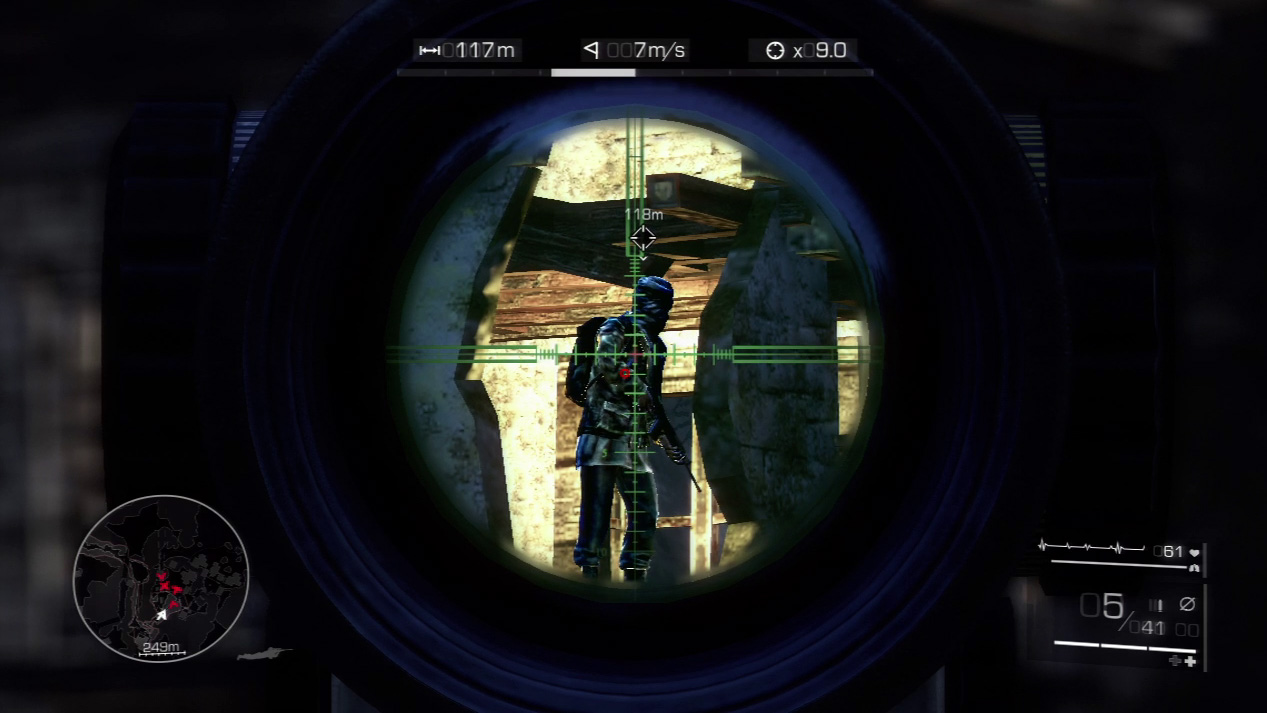
- Distance: Approximately 120 meters
- Wind: 7 meters/second (blowing left)
- Magnification: 9x
Wind and gravity will push your bullet left between the bull’s-eye and first reticle line and down one full reticle line.
Shots get difficult when you have to shoot under pressure while enemies return fire once the alarm sounds. Aim for the center of each enemy’s chest and you should be fine.
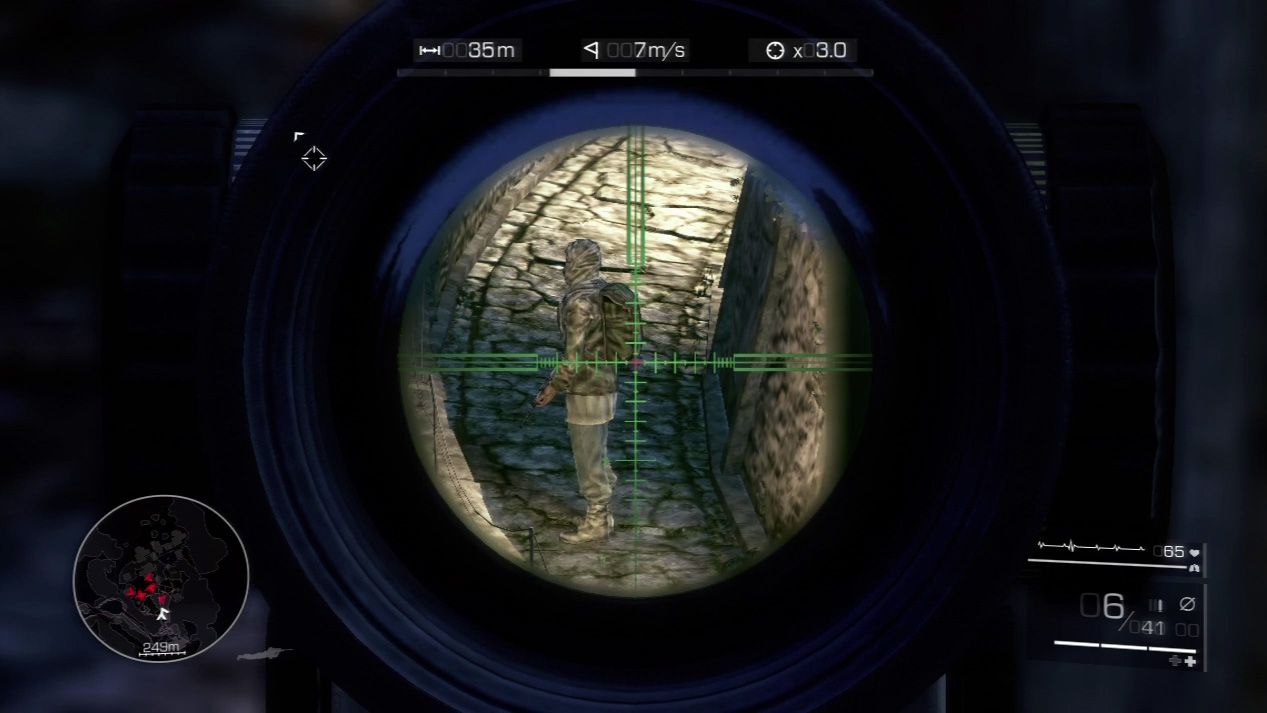
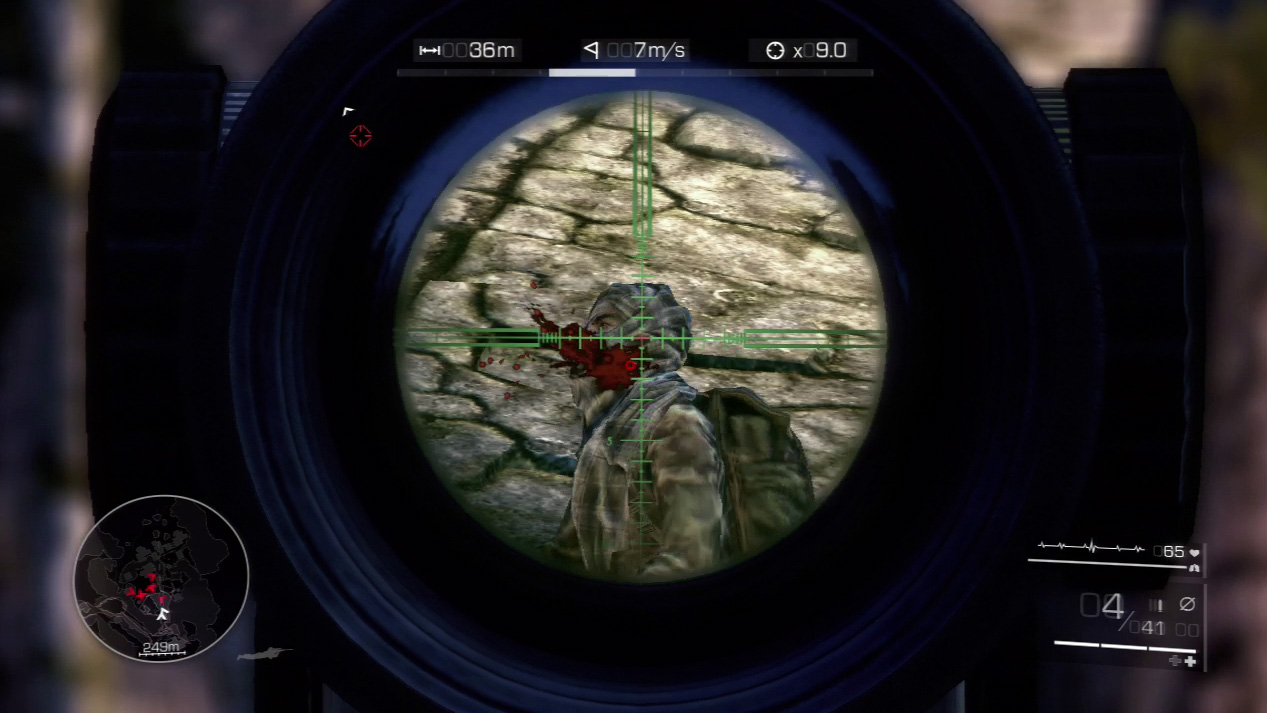
Aim first at the closest enemy. He patrols the cobblestone street down and to your right. A headshot will drop him in the streets and out of sight.
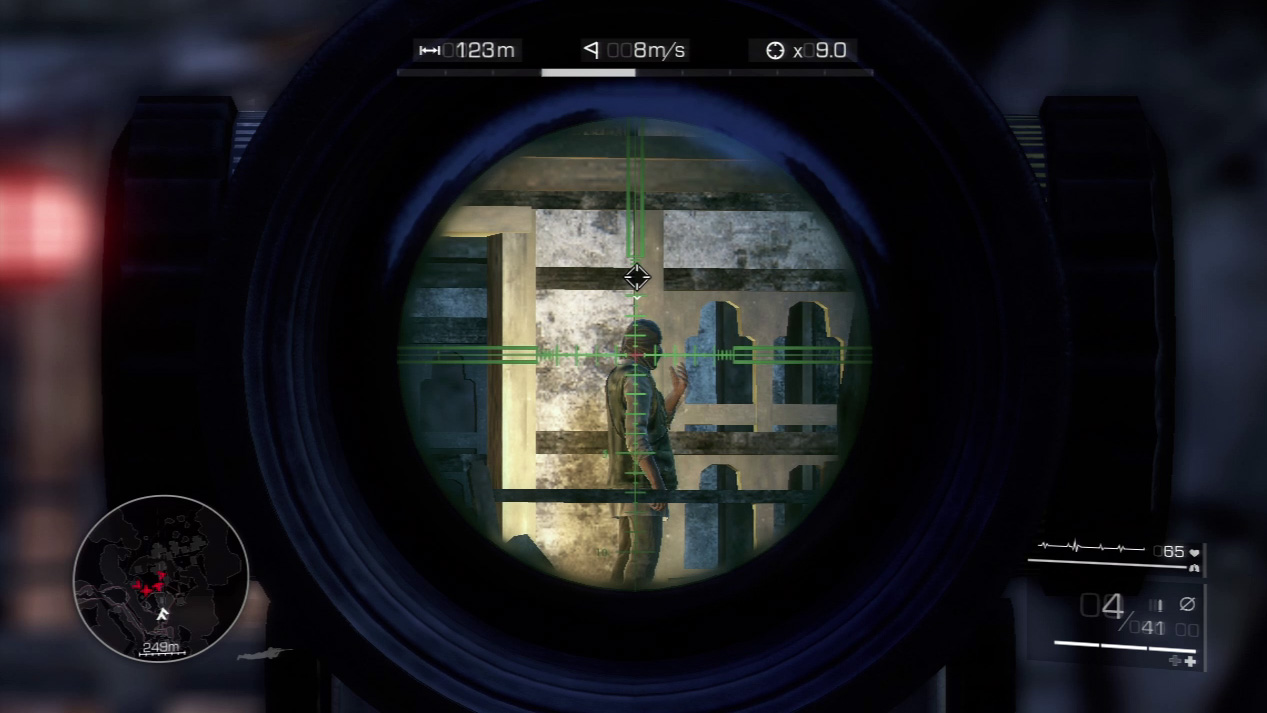
Now you can take out the first tango that Diaz called out. Sight on the enemy as he walks back and forth on the porch to the far right. When he pauses at the right wall, blast him.
Special Shot: Double Kill
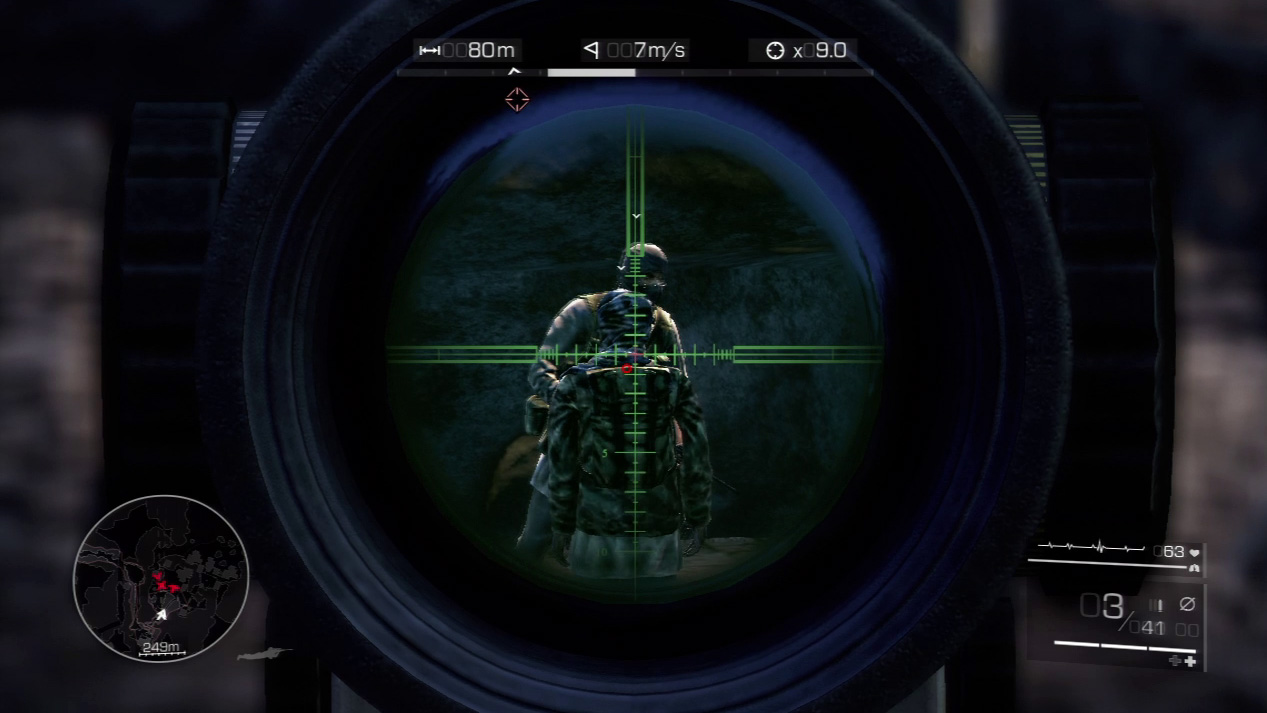
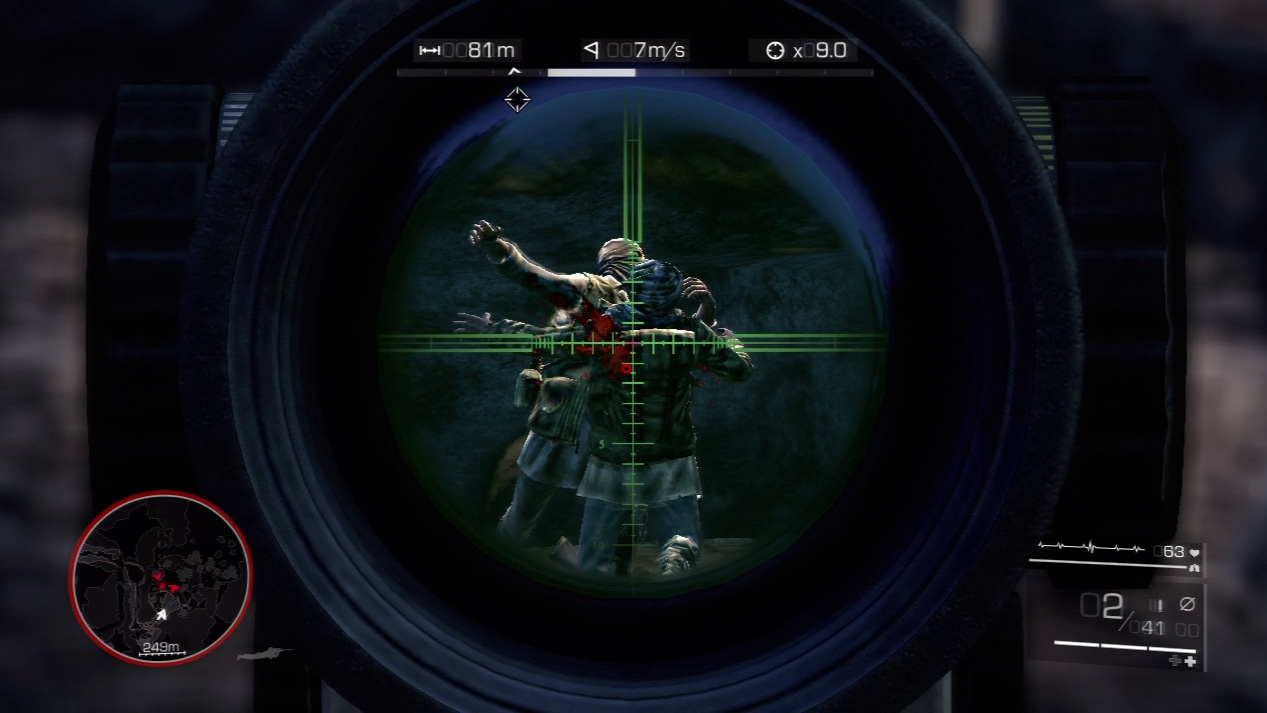
The next shot you attempt will likely raise the alarm. To maximize kills, go for a double kill shot on the two guards that talk to your left on the grounds below.
As usual, sight on the back of the closest one and wait for the second enemy to cross in front of the first enemy. When he does, pull the trigger and get two for one.
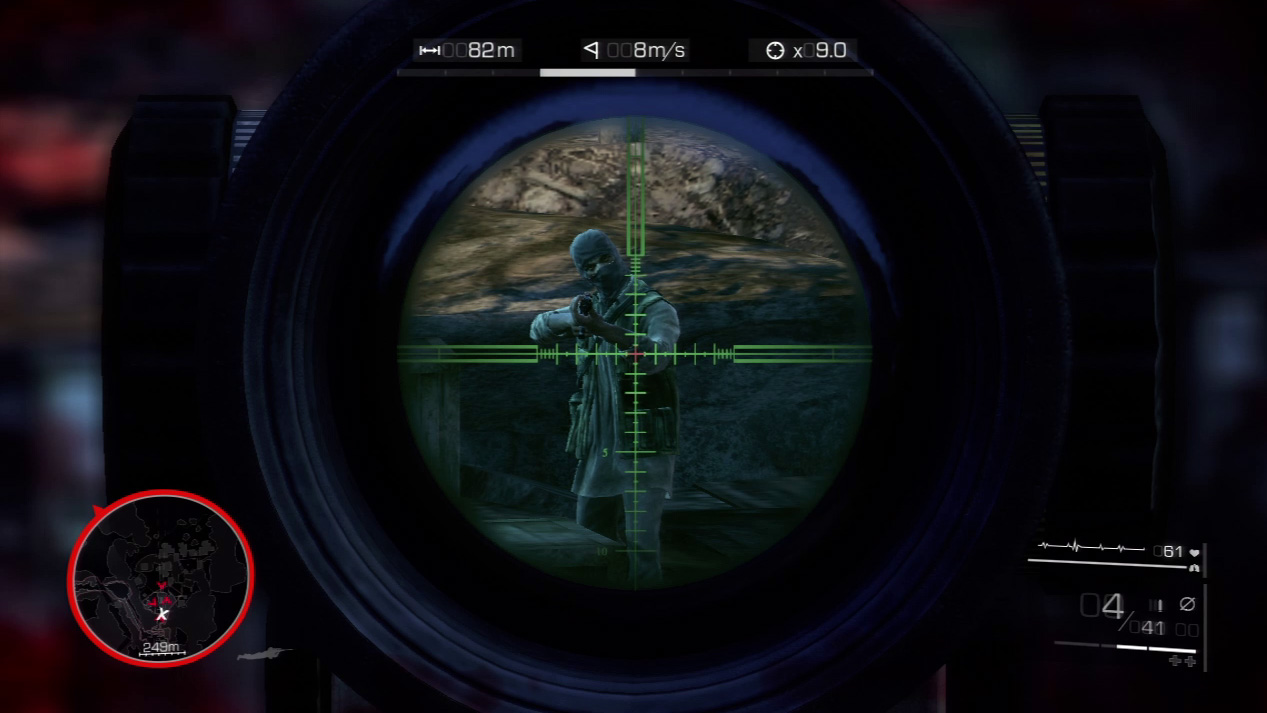
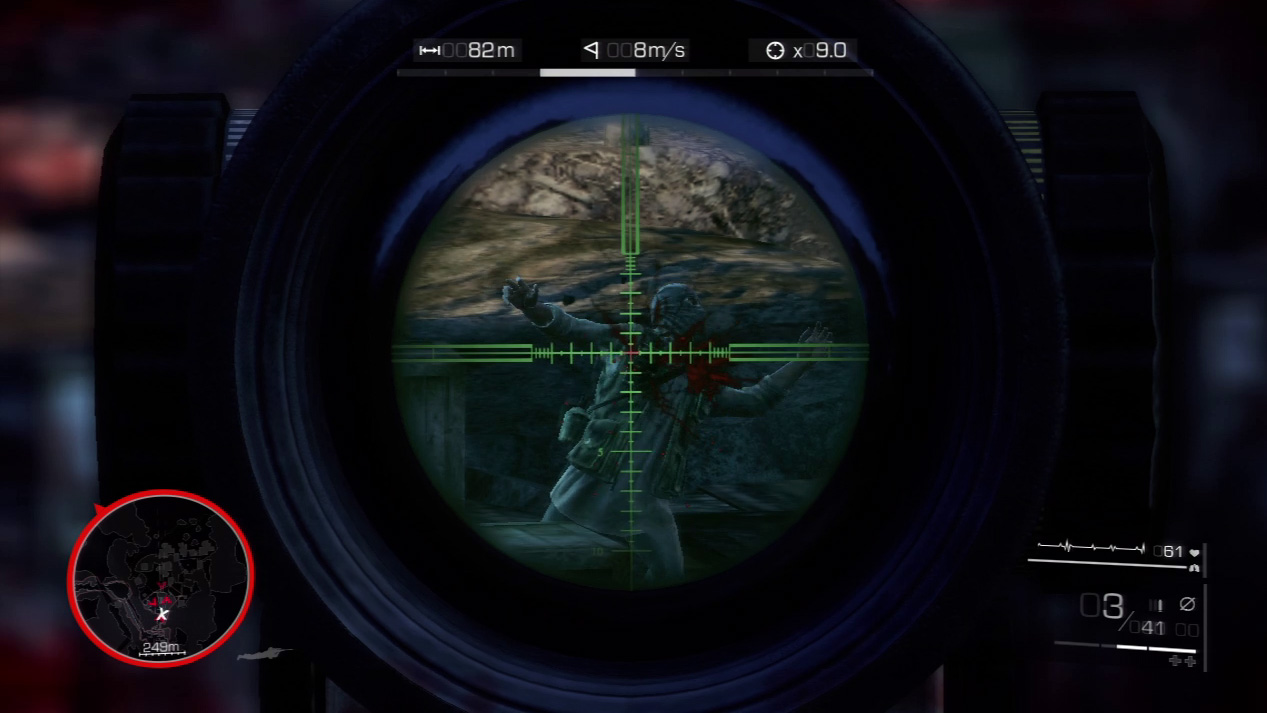
At some point, the alarm will go up. Fire quickly at the remaining enemies and use the fence as cover if heavy fire comes your way. Diaz will also help you eliminate the last of the foes.
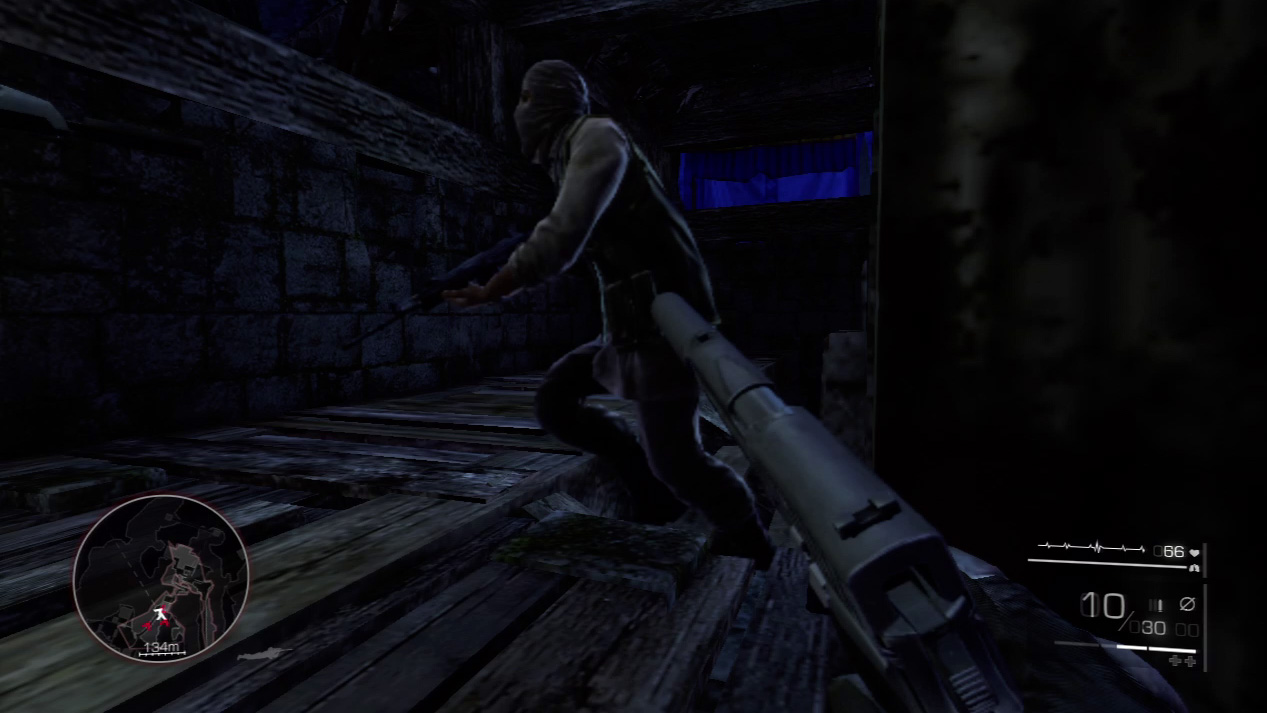
If any enemies charge toward you, they will try to surprise you from behind. Watch your mini-map, and if an enemy manages to reach the temple base, switch to your pistol and wait at the steps for him to charge up. Gun him down at point-blank range before he can hit you with a burst from his machine gun.
Waypoint 14
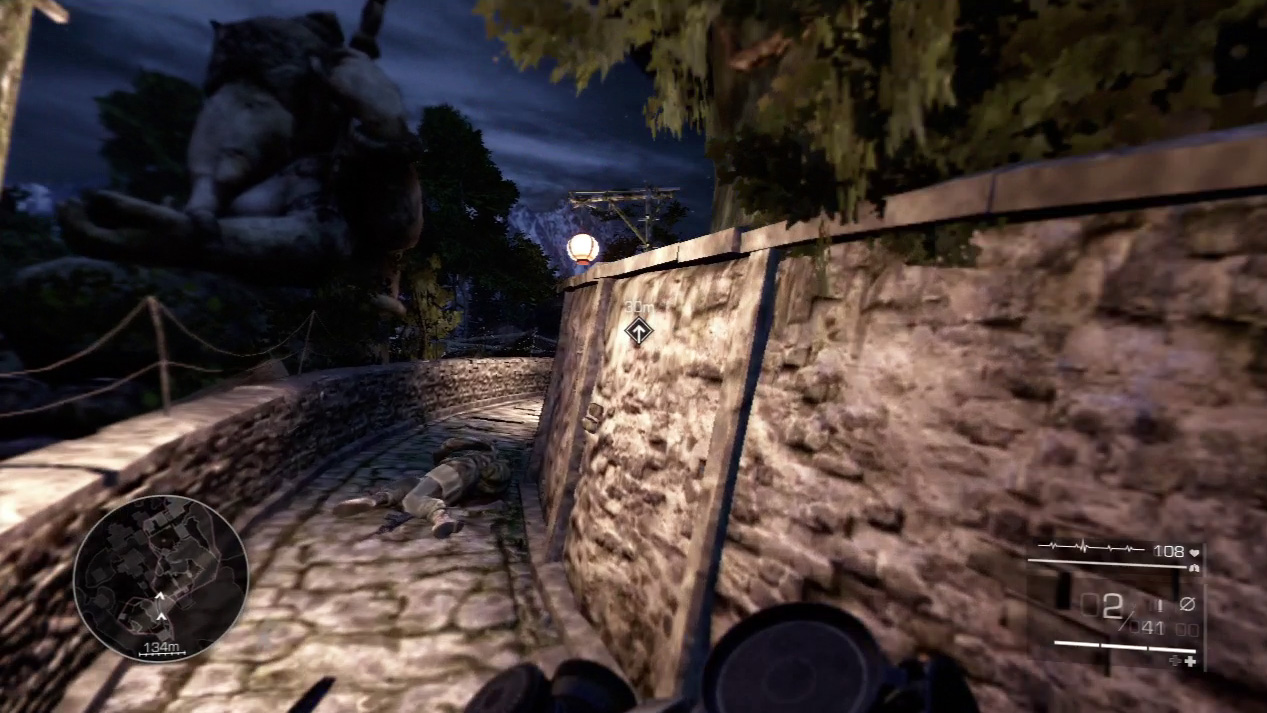
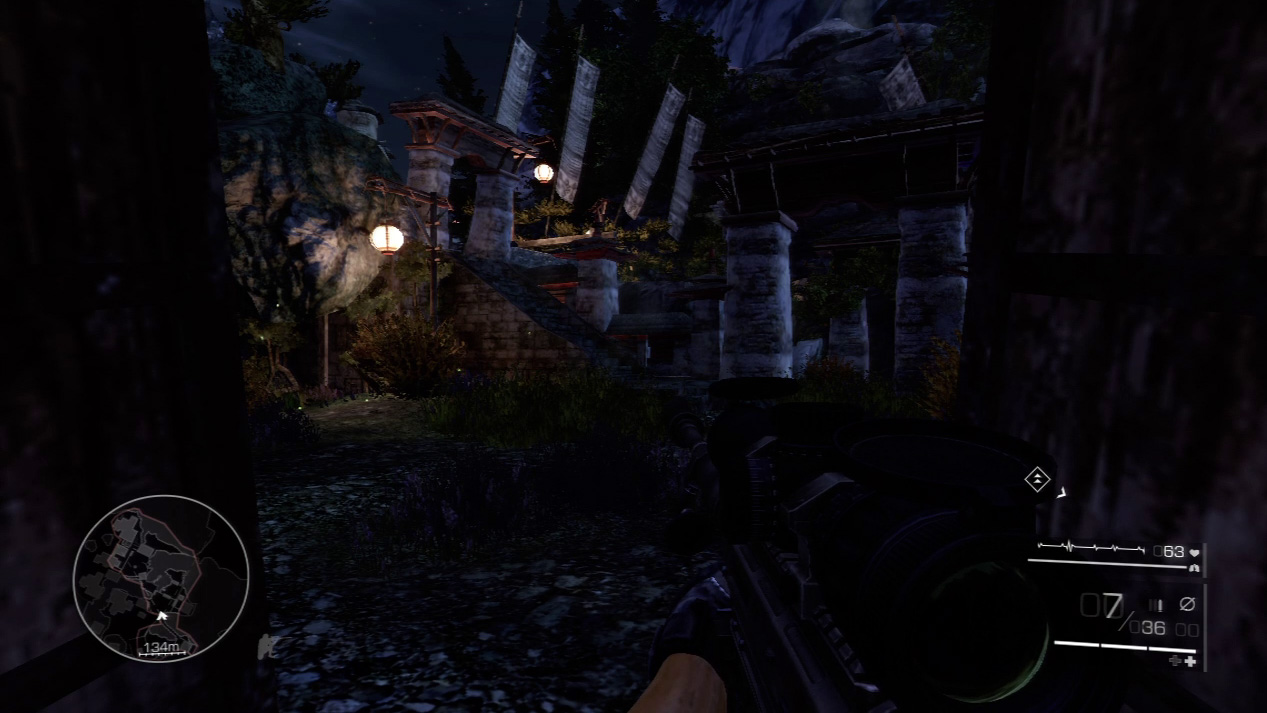
Descend the temple stairs after you’ve eliminated all the threats in the area. Follow the cobblestone path to the communications station courtyard.
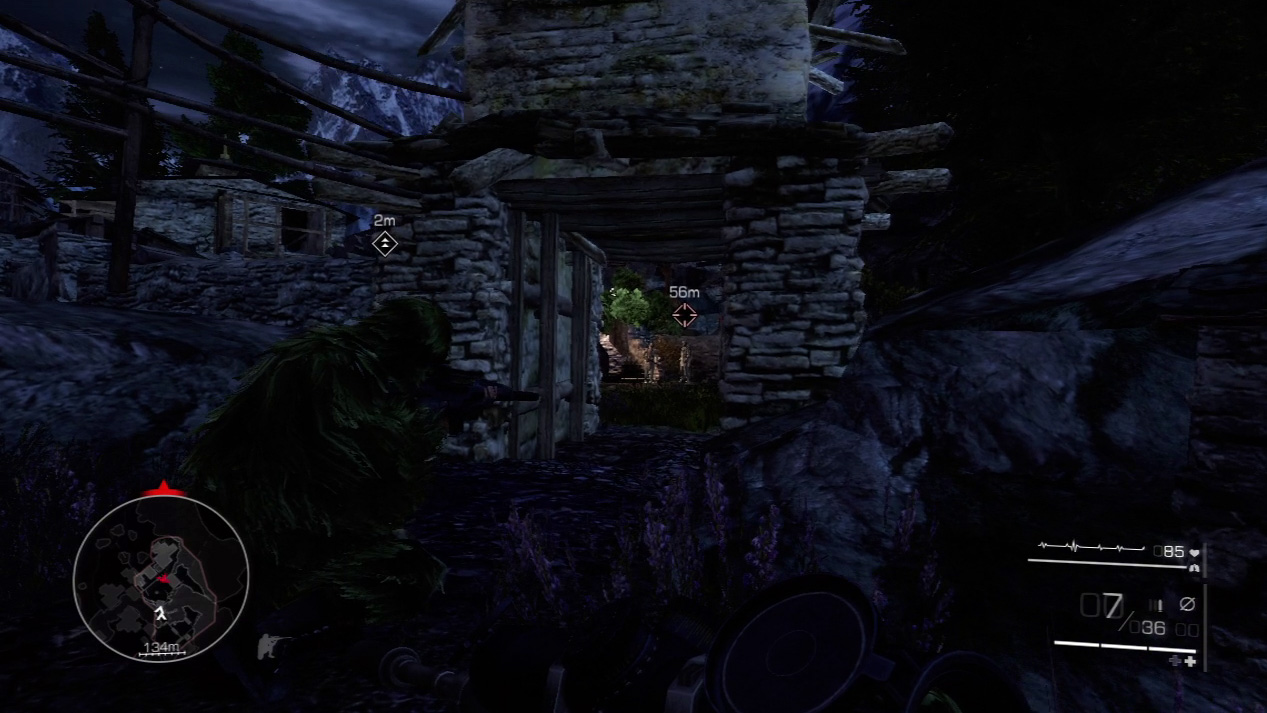
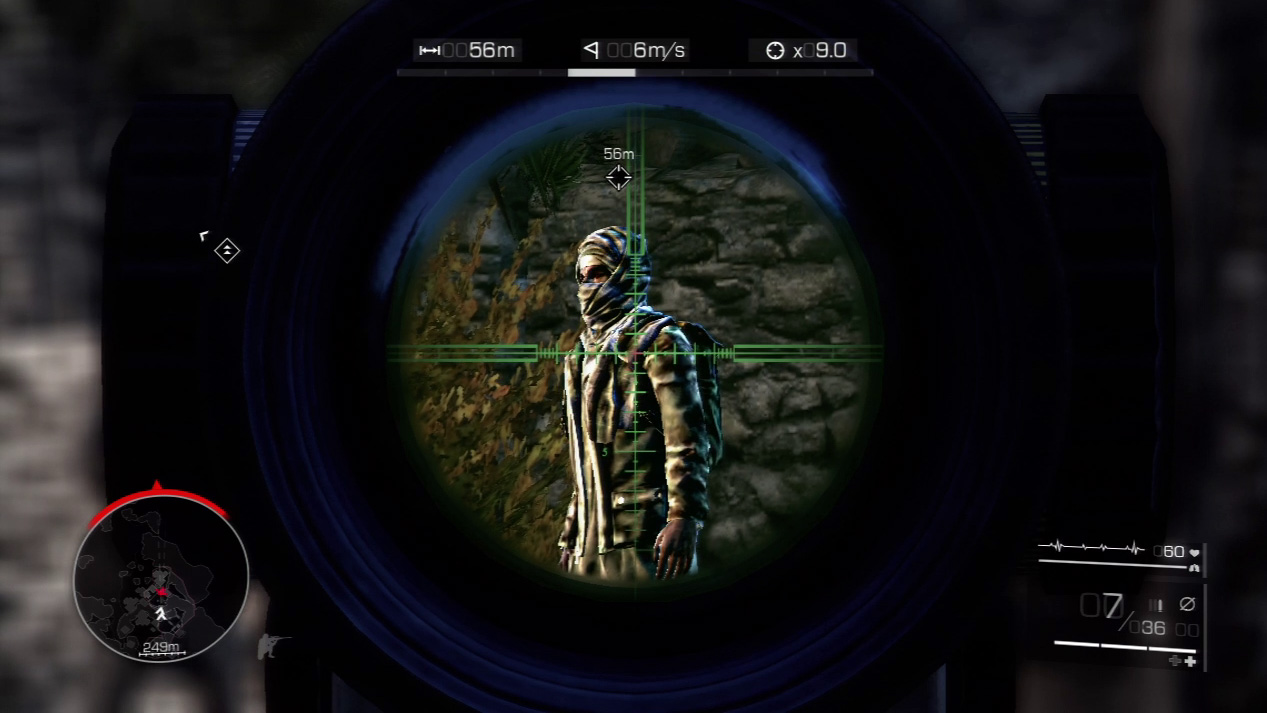
Diaz will call out your last two targets in front of the communication station. Sight the enemy on the right while Diaz locks onto the enemy on the left. Kill them simultaneously.
Act 3: Secret 4
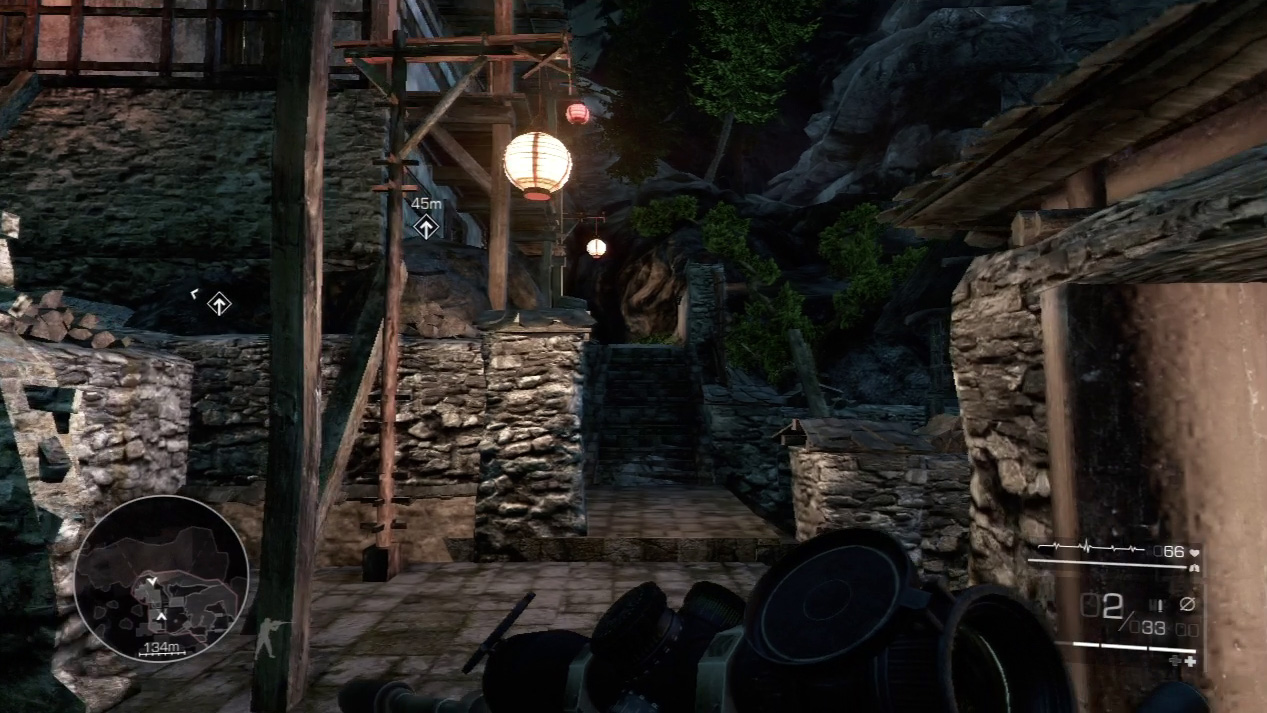
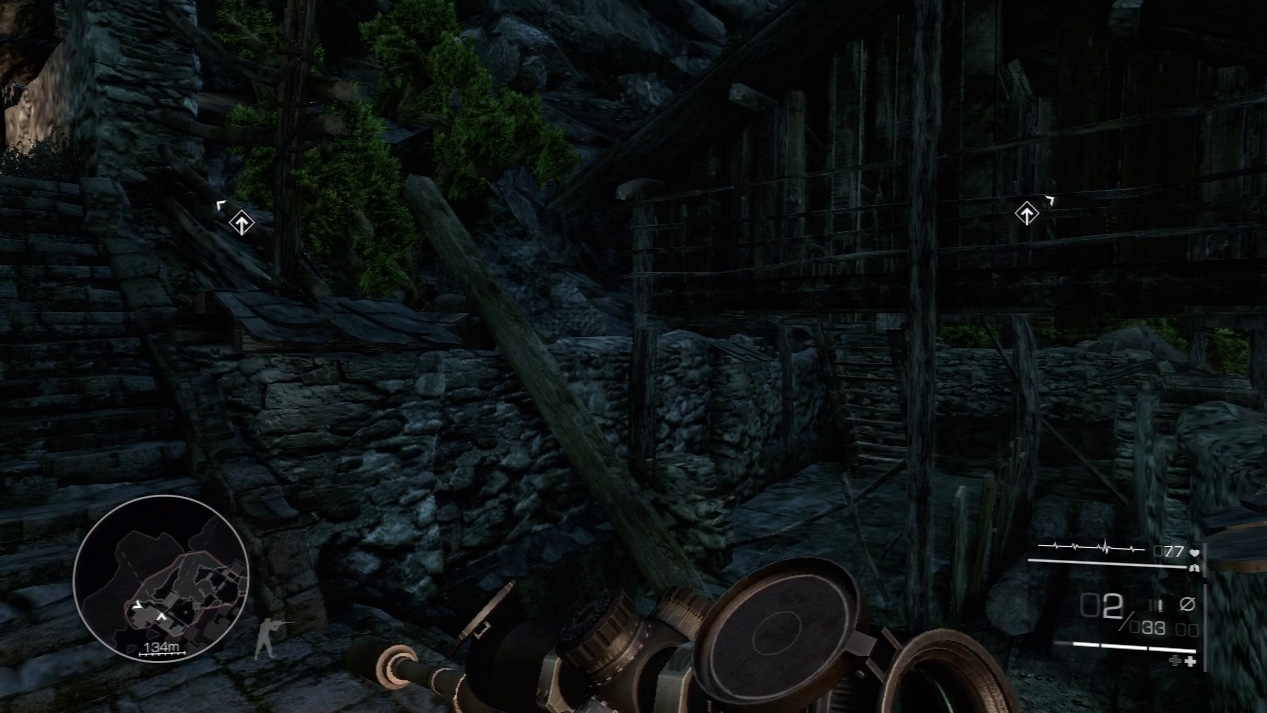
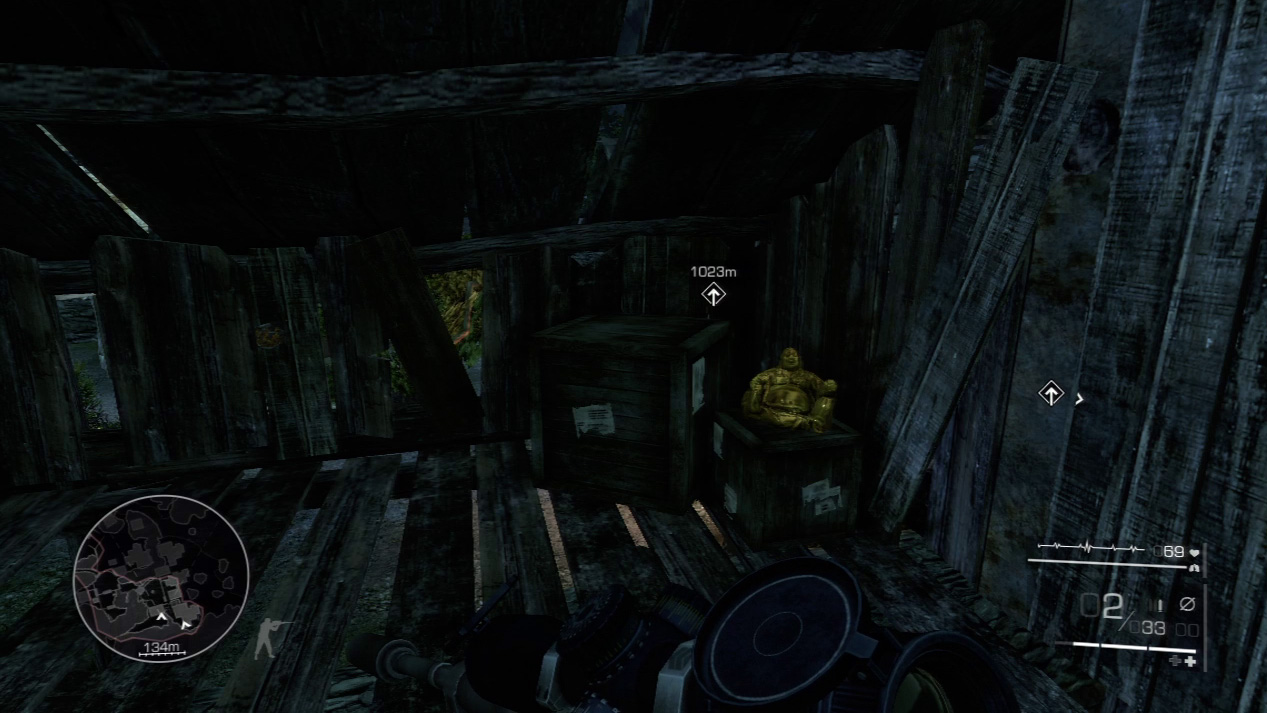
You can easily miss the final secret in mission 7. Just before you take the stairs up to the communication station, look for a rundown storage shed to your right.
Jump off the main path and slosh through water to reach the shed ladder. Climb the ladder and you’ll find the monk statue hidden inside the shed.
Waypoint 15
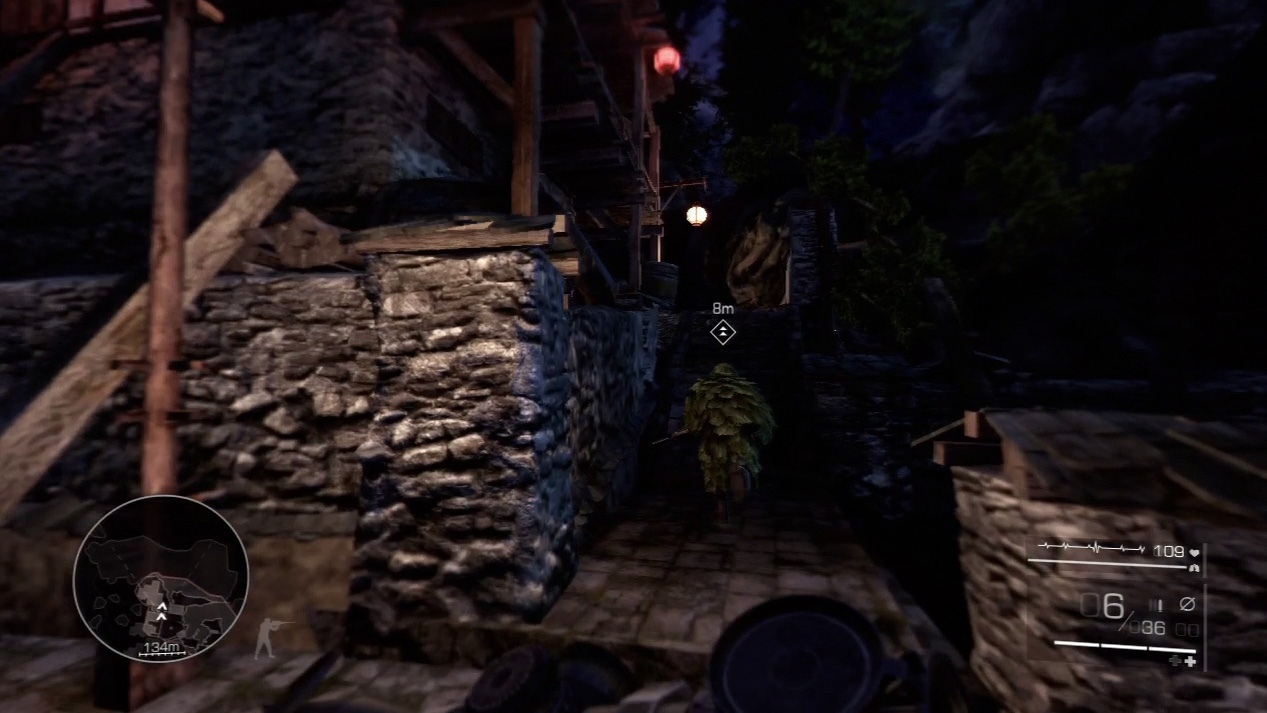
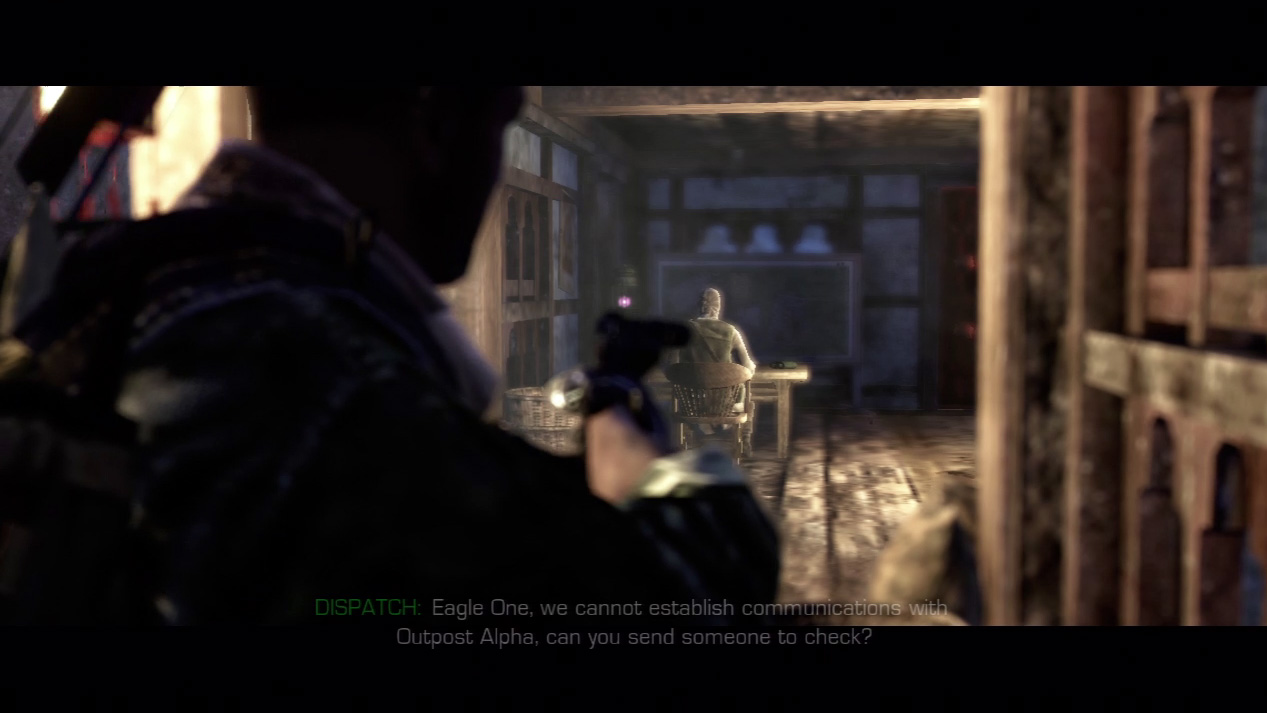
Ascend the stairs up to the communications station behind Diaz. You sneak into the station and ambush the telegraphist.
With a gun to his head, the telegraphist reveals the location of the bio-agent, but you’ll have to travel through an underground maze to reach it.