
Sniper Ghost Warrior 2 Guide Walkthrough Mission 5: And Justice for All
5.3 Waypoints 8-14
Waypoint 8
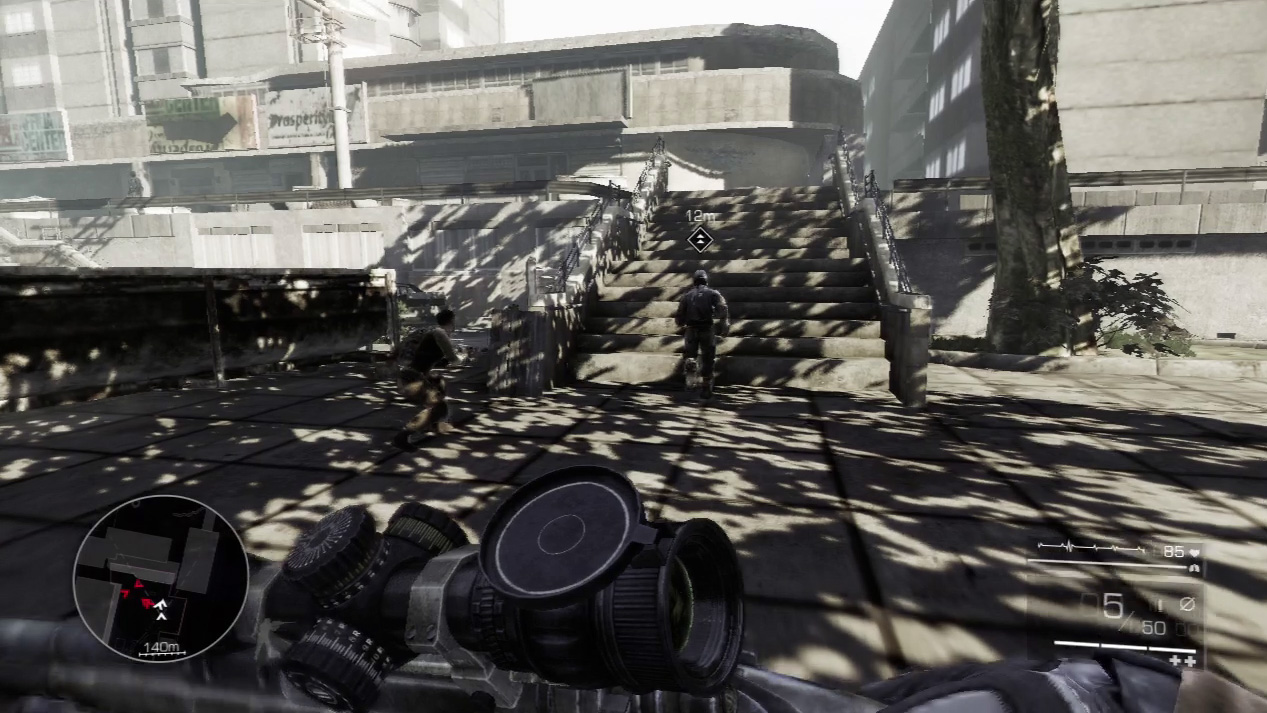
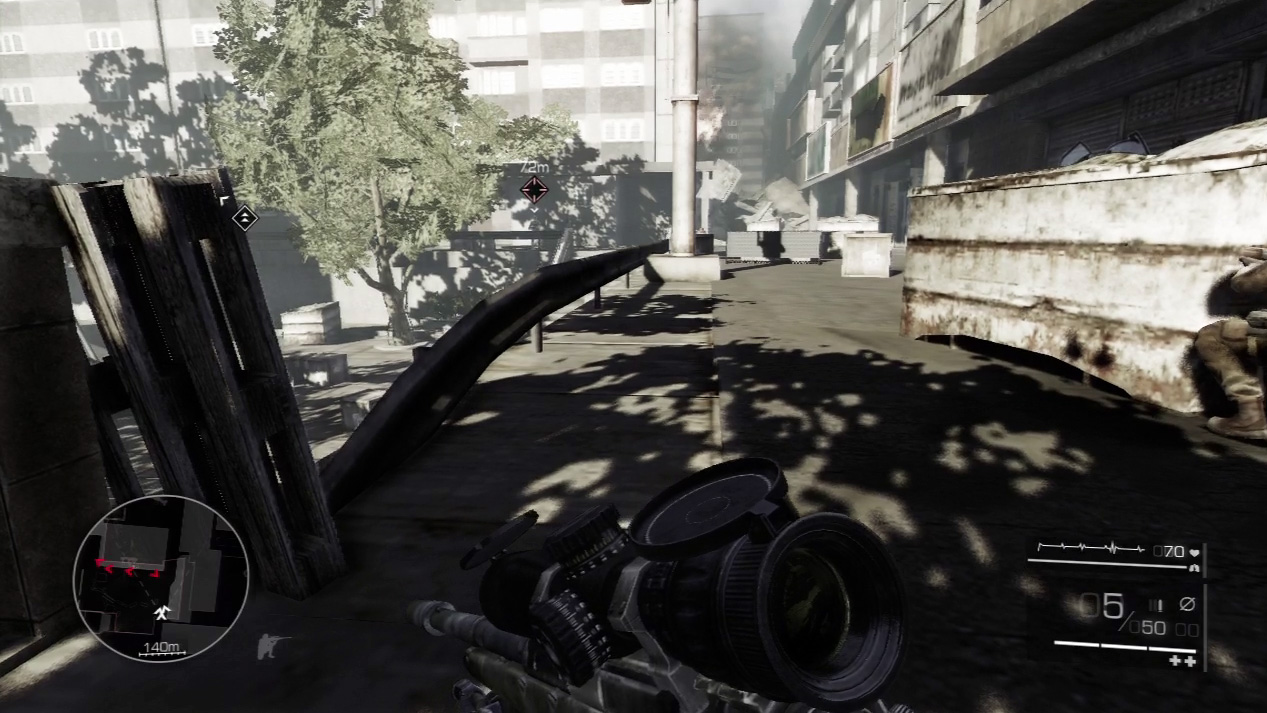
Head up the stairs after Merinov. Fortunately for you, an explosion rocks the plaza to your left and draws the attention of enemies in that area. However, one enemy still lingers on the top level of the plaza.
Special Shot: Moving Target
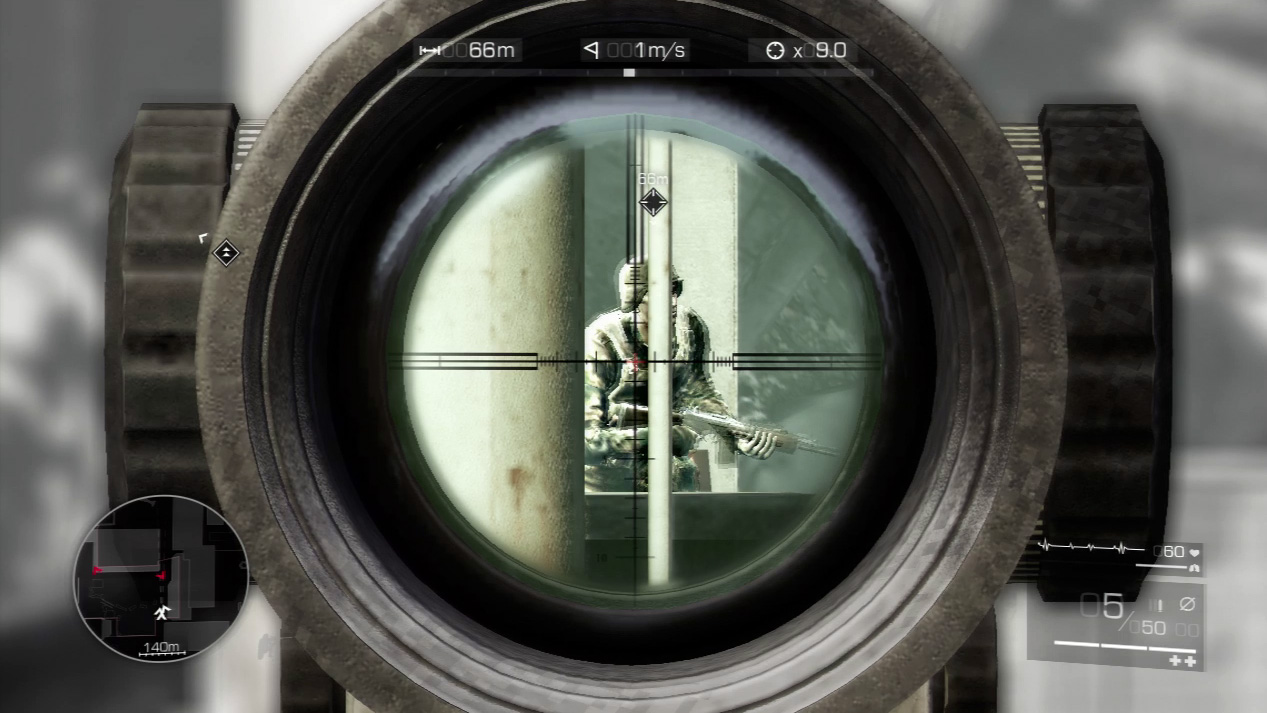
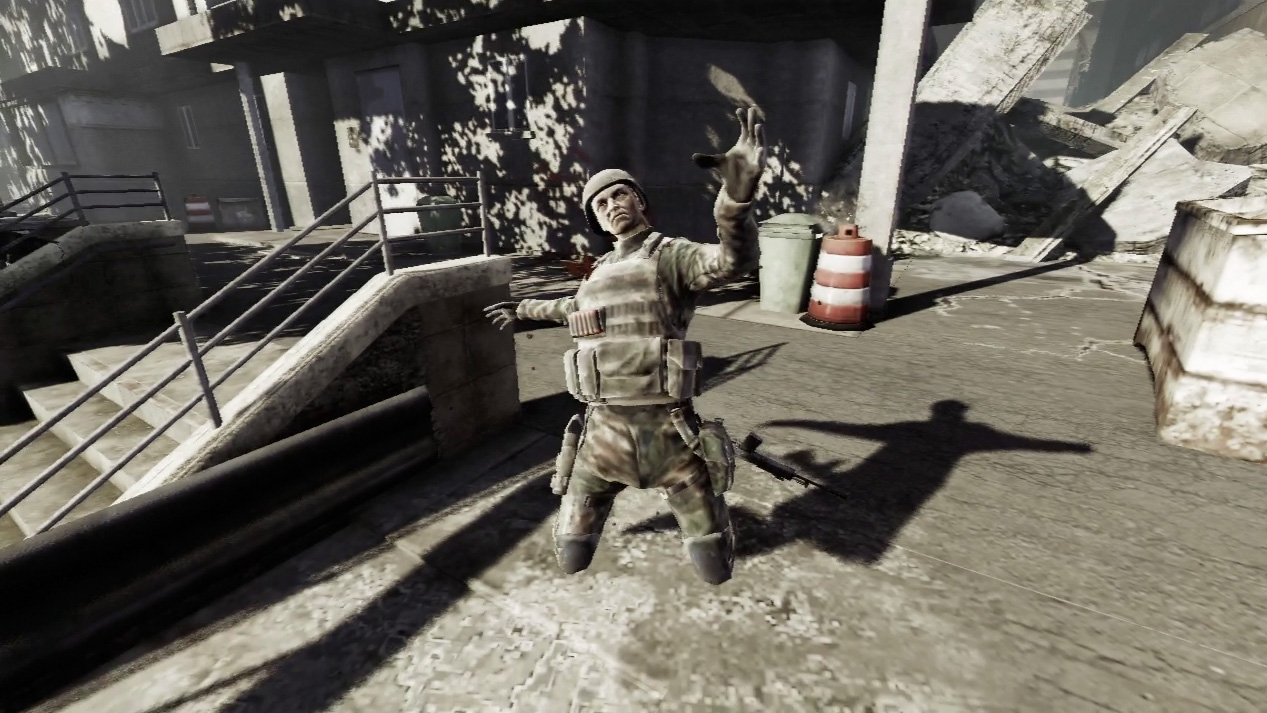
The enemy on the plaza’s top level runs toward the corner and will eventually alert others in the area if left unchallenged.
To down an enemy in motion, track your bull’s-eye a meter or so in front of the target and hold your breath.
When time slows down, hold the reticle still and let the enemy move into your sights. Bang.
Waypoint 9
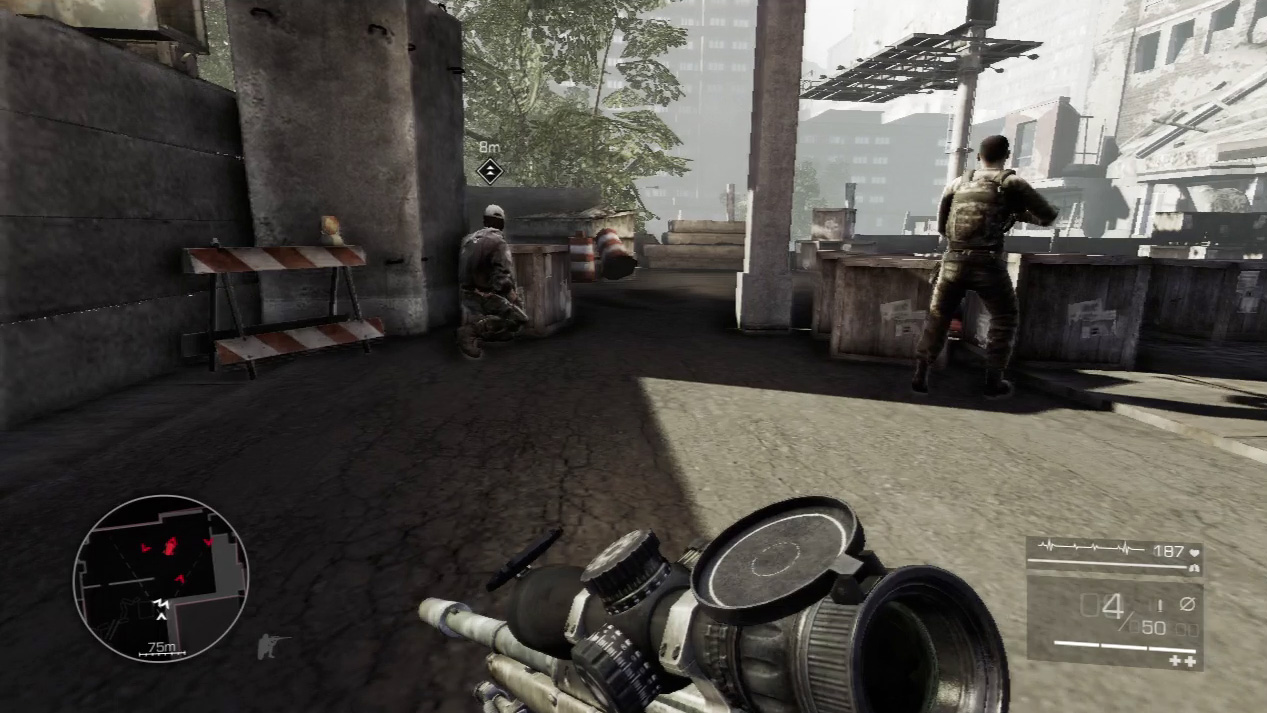
Continue to follow Merinov as he leads you into the area in front of the large warehouse. When he stops, slow to a crouch and sidle up to the line of crates between you and the next enemy.
Expert Mode
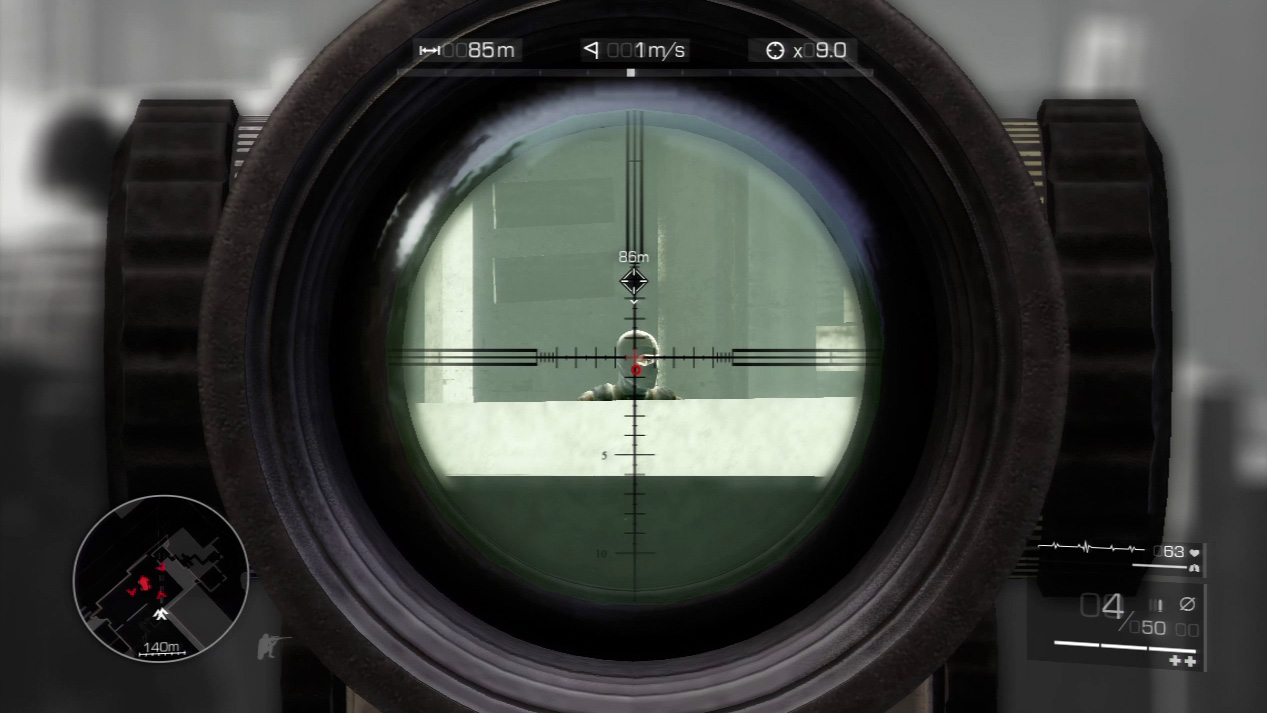
- Distance: Approximately 65 meters
- Wind: 1 meters/second (blowing left)
- Magnification: 9x
The wind barely stirs the air on this shot, so line up your bull’s-eye on the center of the target. Gravity will cause the bullet to drop down about one reticle line. If you aim near the forehead, you should still score a headshot.
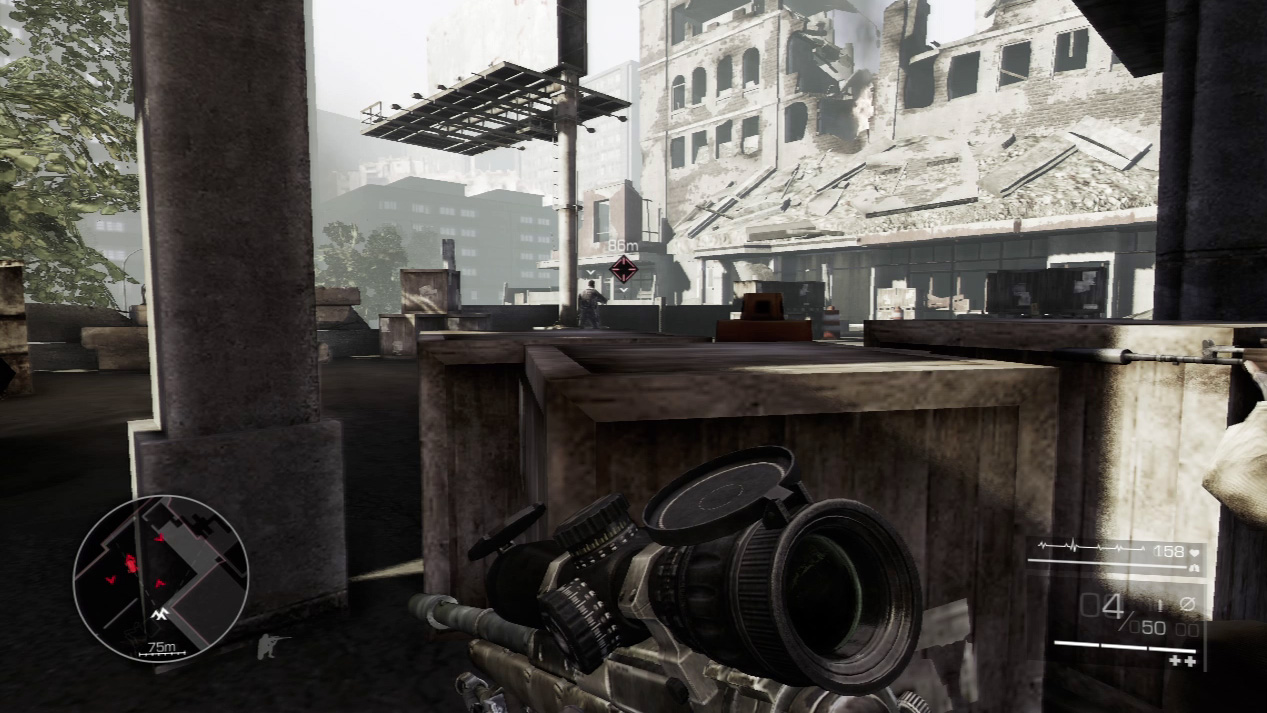
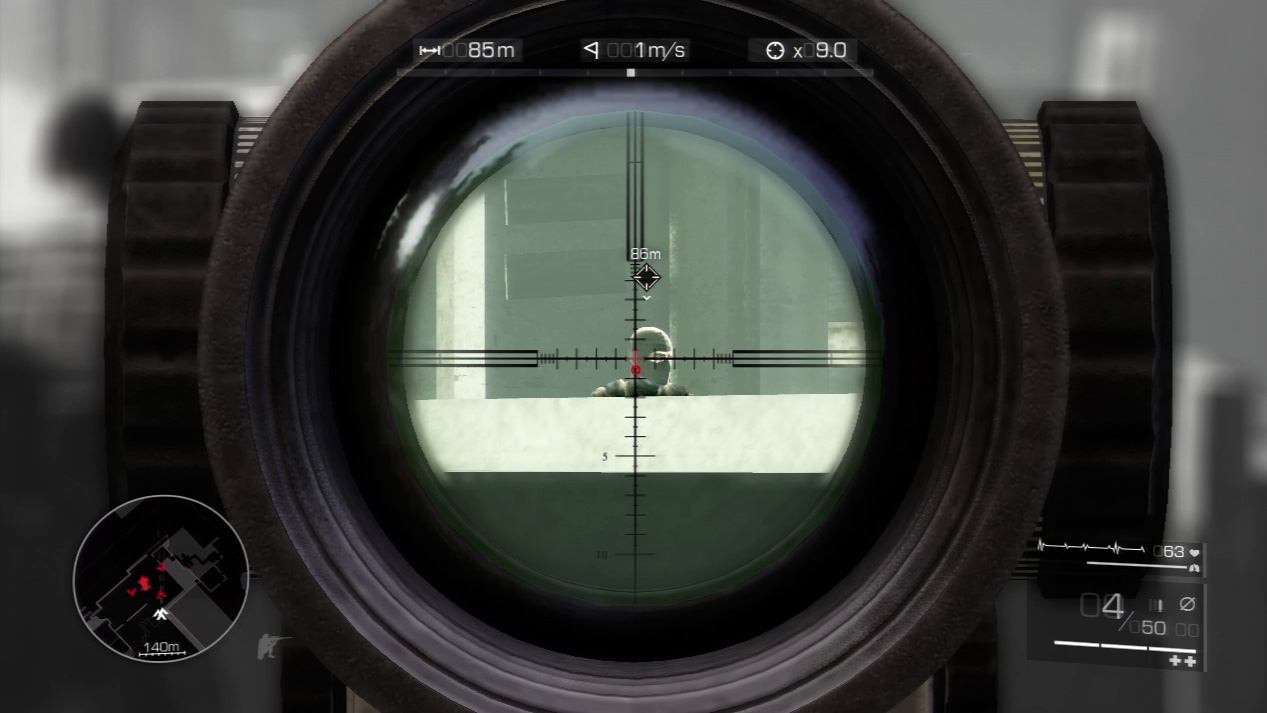
This next shot is tricky. You don’t want to shoot the near enemy, or his partner on the far side in front of the warehouse entrance will spot you. Instead, you must shoot over the closer man’s shoulder to strike the far enemy. At the same time that you snipe the farther enemy, Maddox will gun down the closer enemy.
Waypoint 10
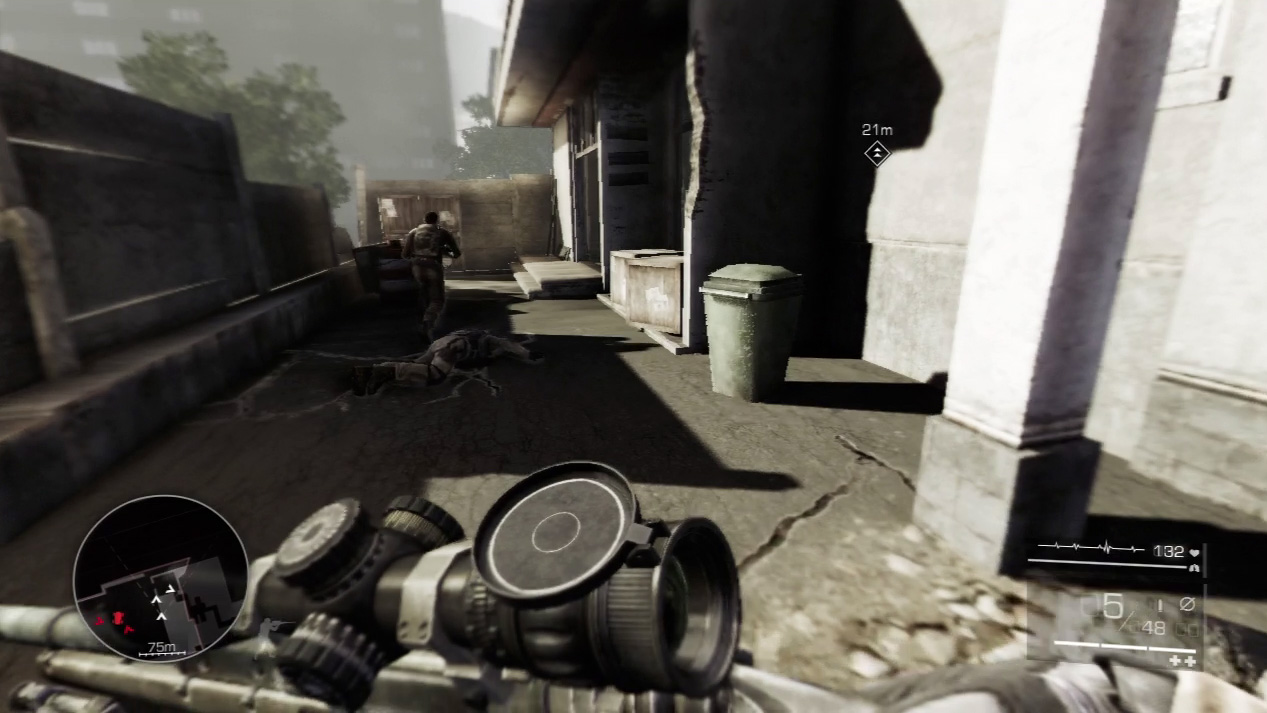
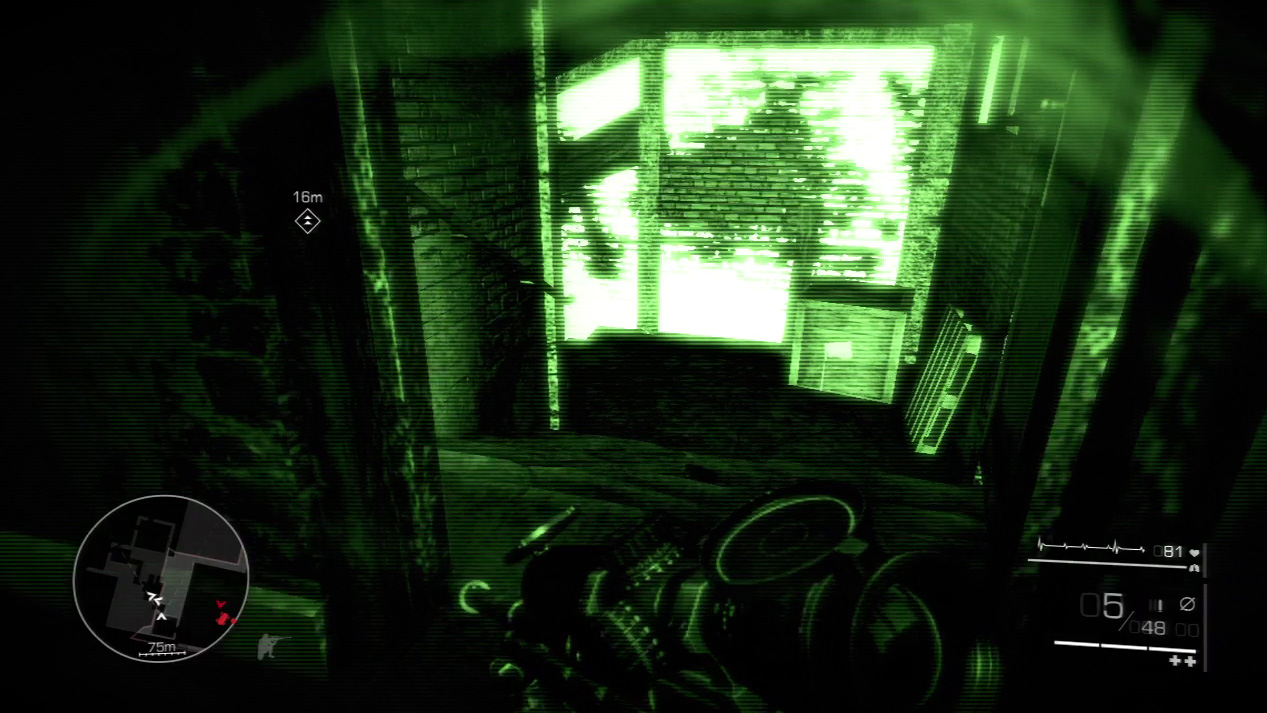
Sprint to the warehouse entrance. Once inside, flick on your night vision so you can see the stairs winding down.
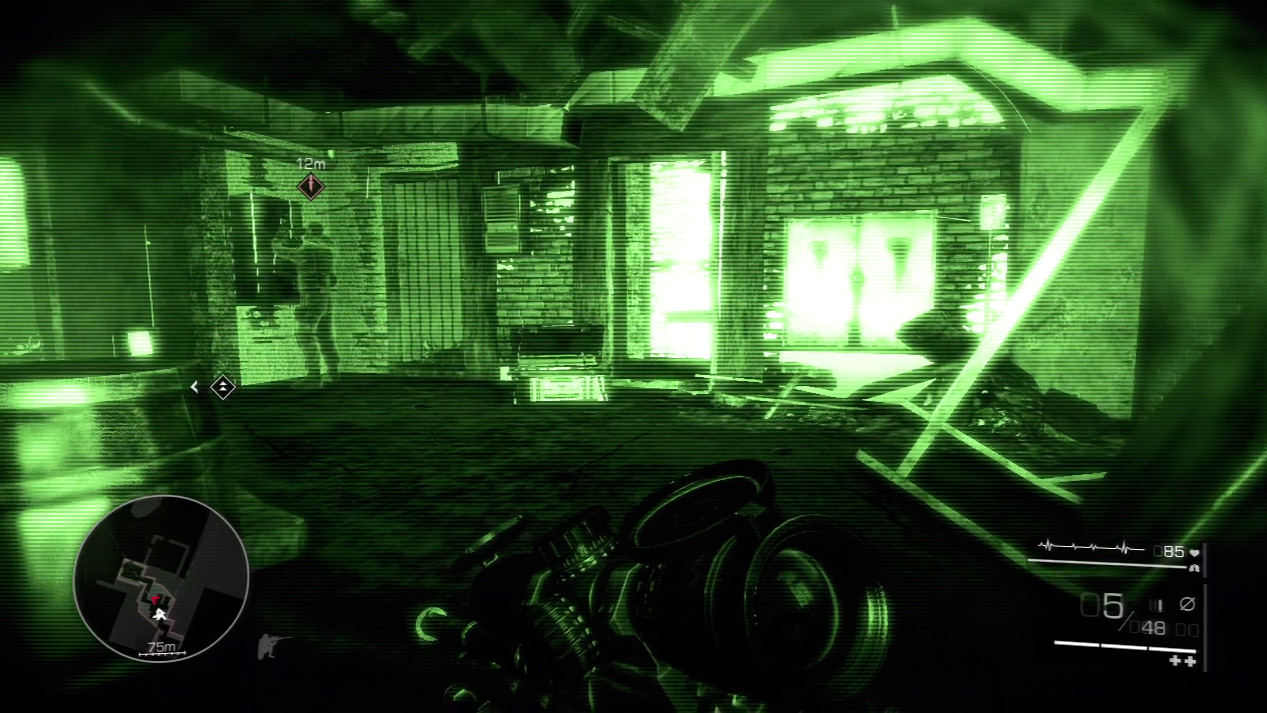
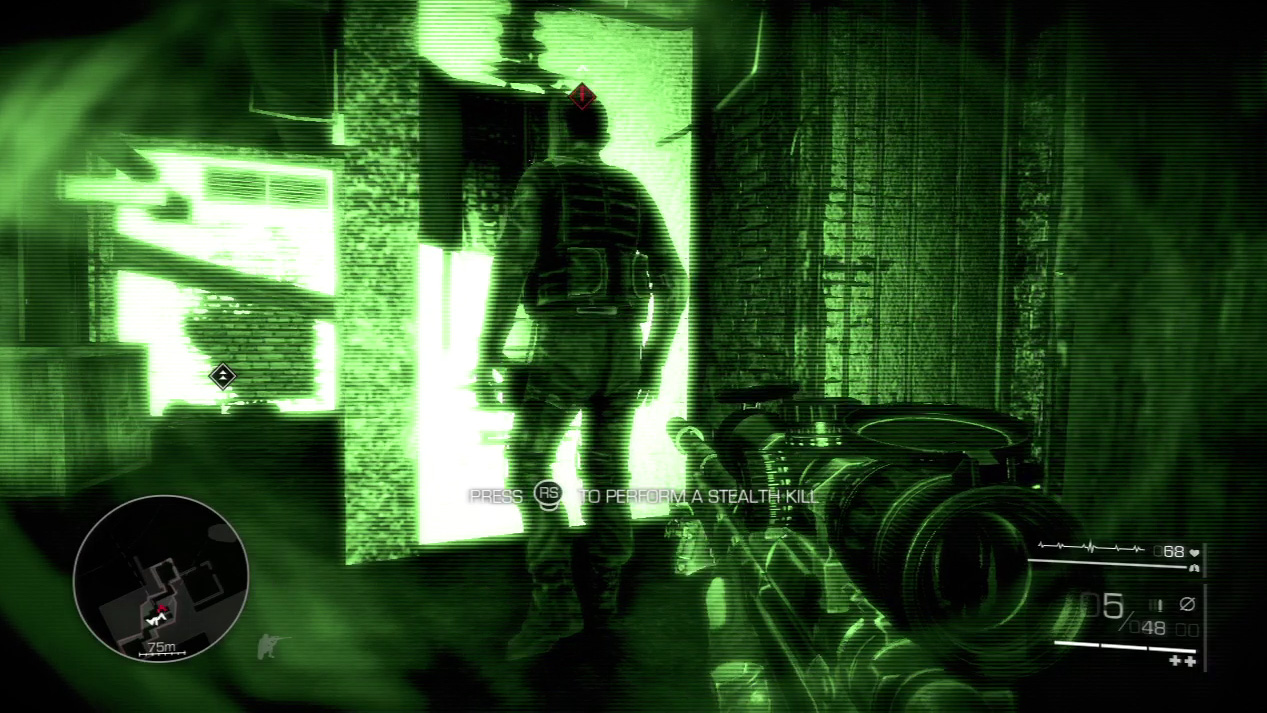
A single enemy repairs a broken circuit box in the basement area. In the dark, with your Night Vision Goggles equipped, you have the advantage. Sneak up behind him and take him out quietly with another stealth kill.
Waypoint 11
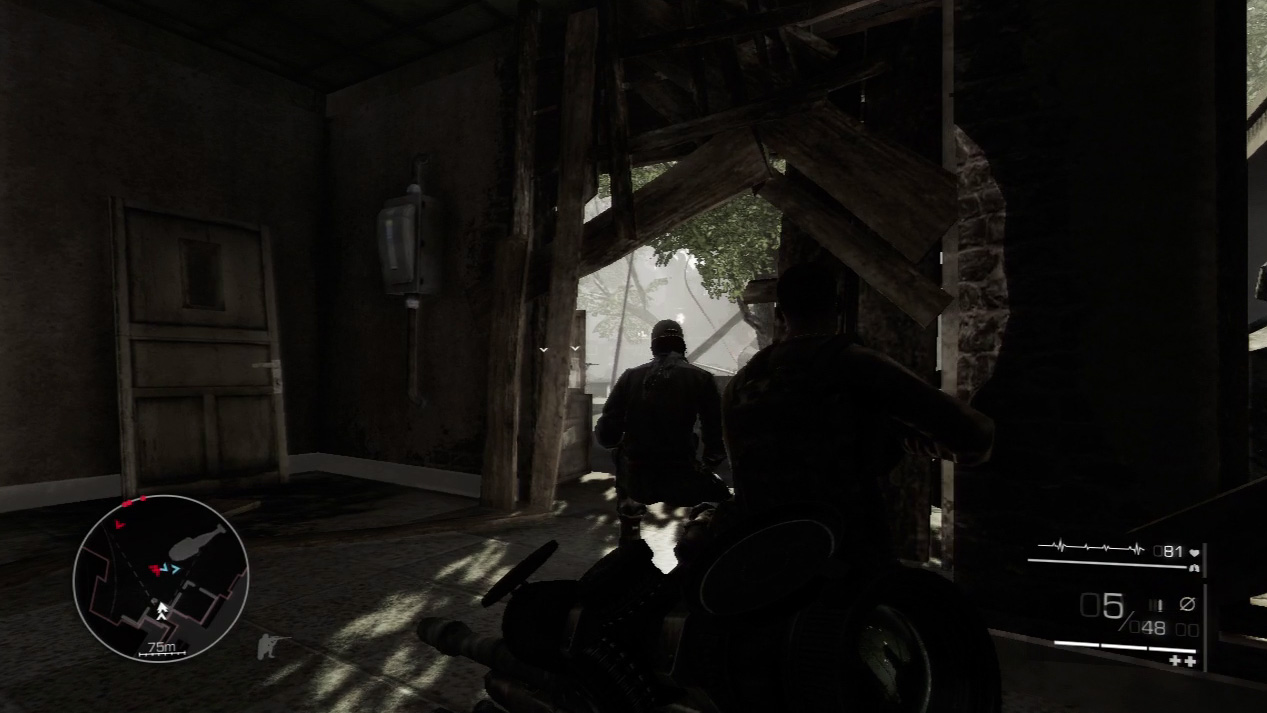
As you attempt to exit the building, Merinov spots two enemies that he knows. Before you can pull him back, he says he’ll talk his way through them and walks out to meet them.
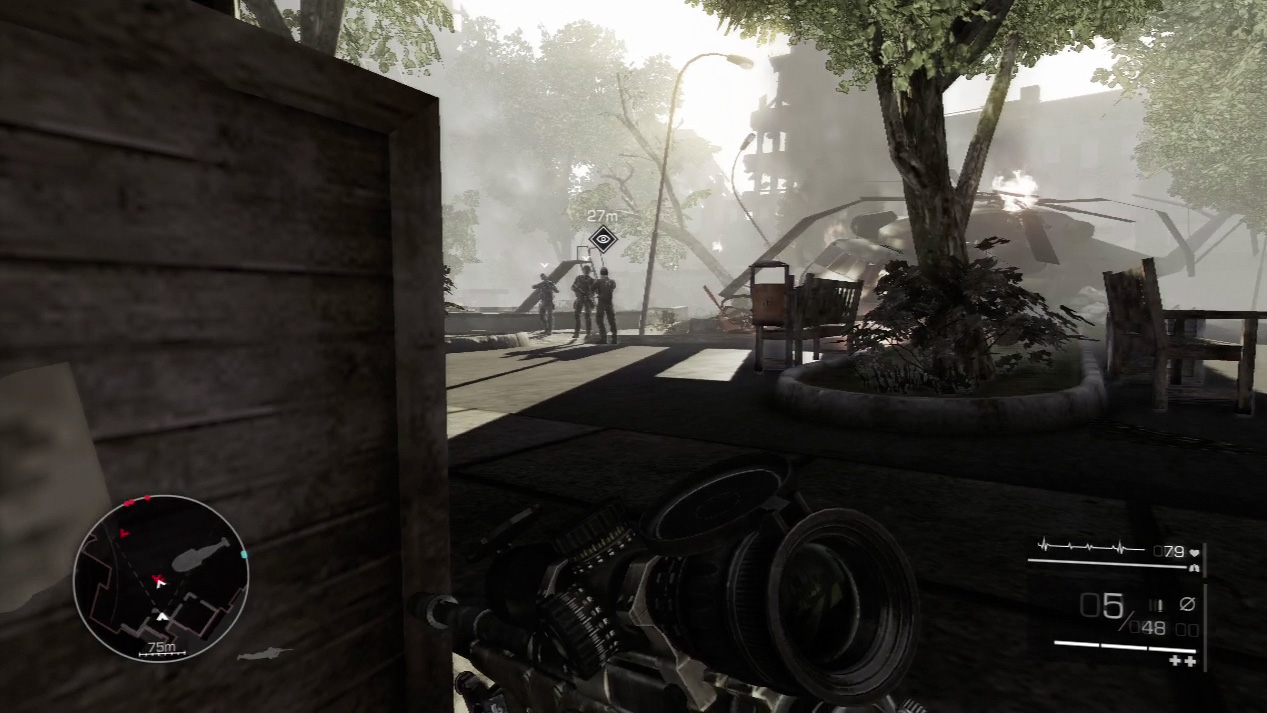
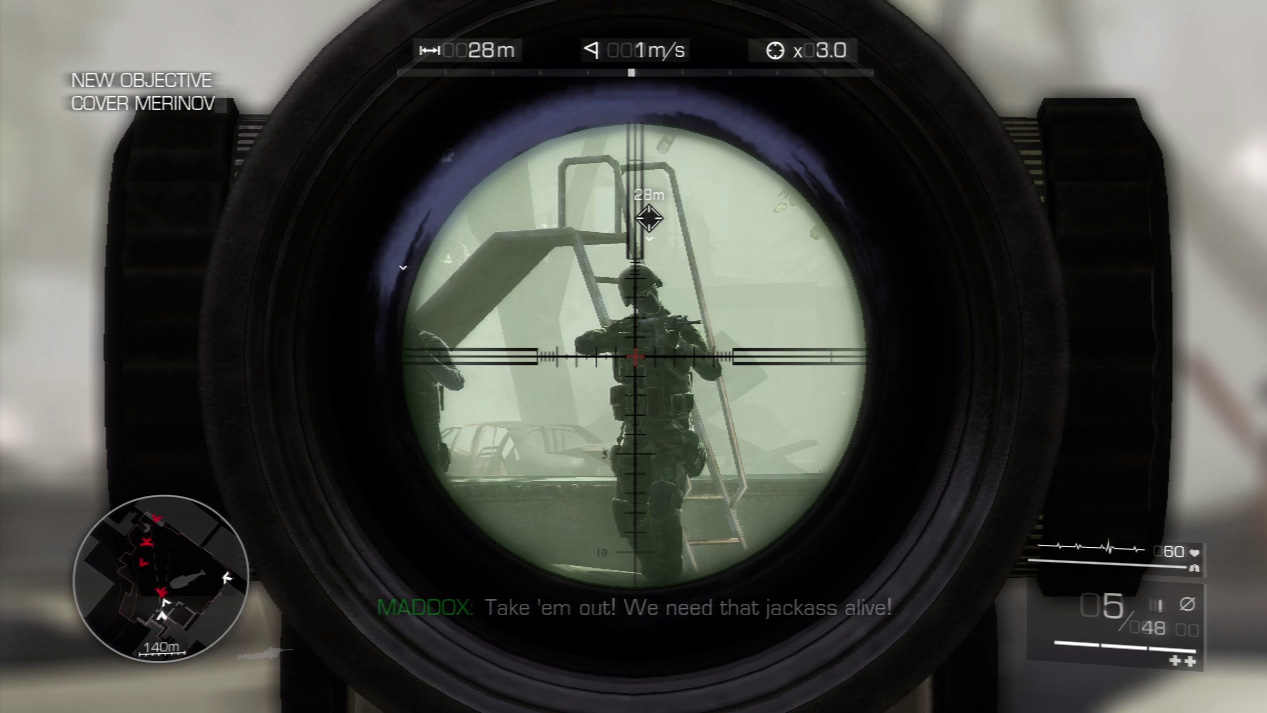
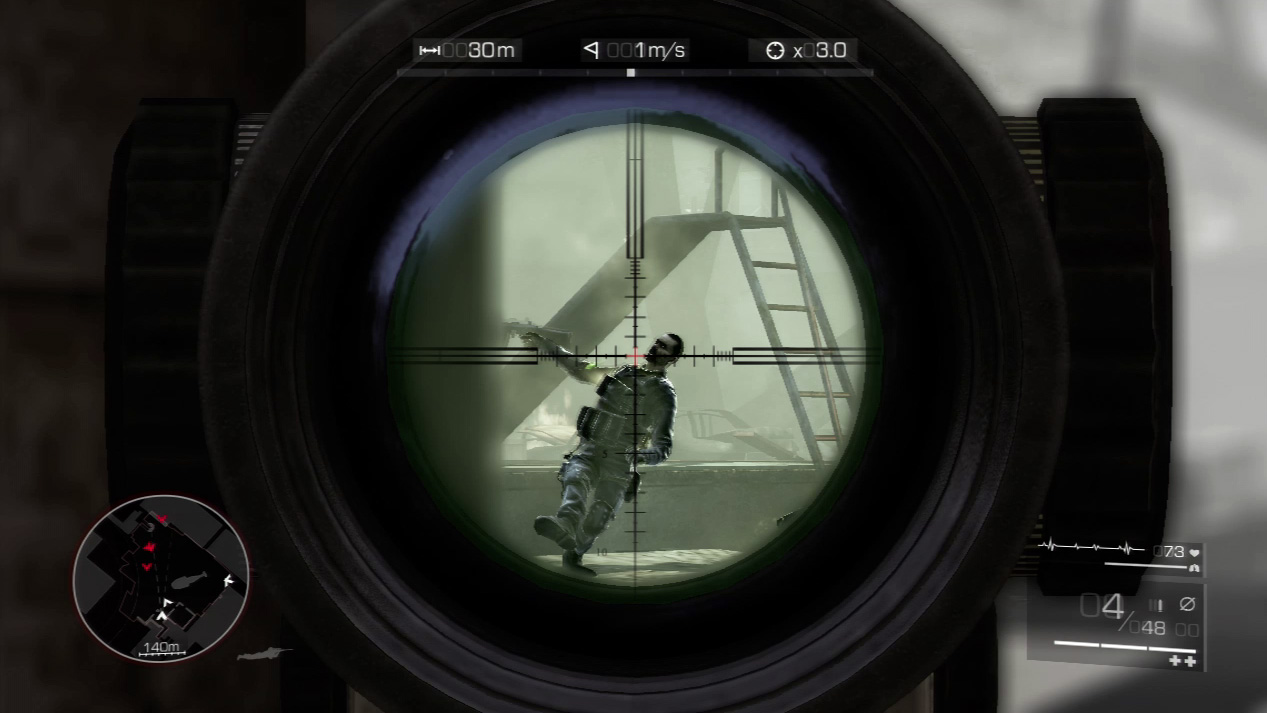
Something goes wrong and the trio begin arguing. When the enemy soldier pushes Merinov away, zoom in on him and fire.
The two enemies will shoot Merinov dead in a few seconds unless you eliminate them both first.
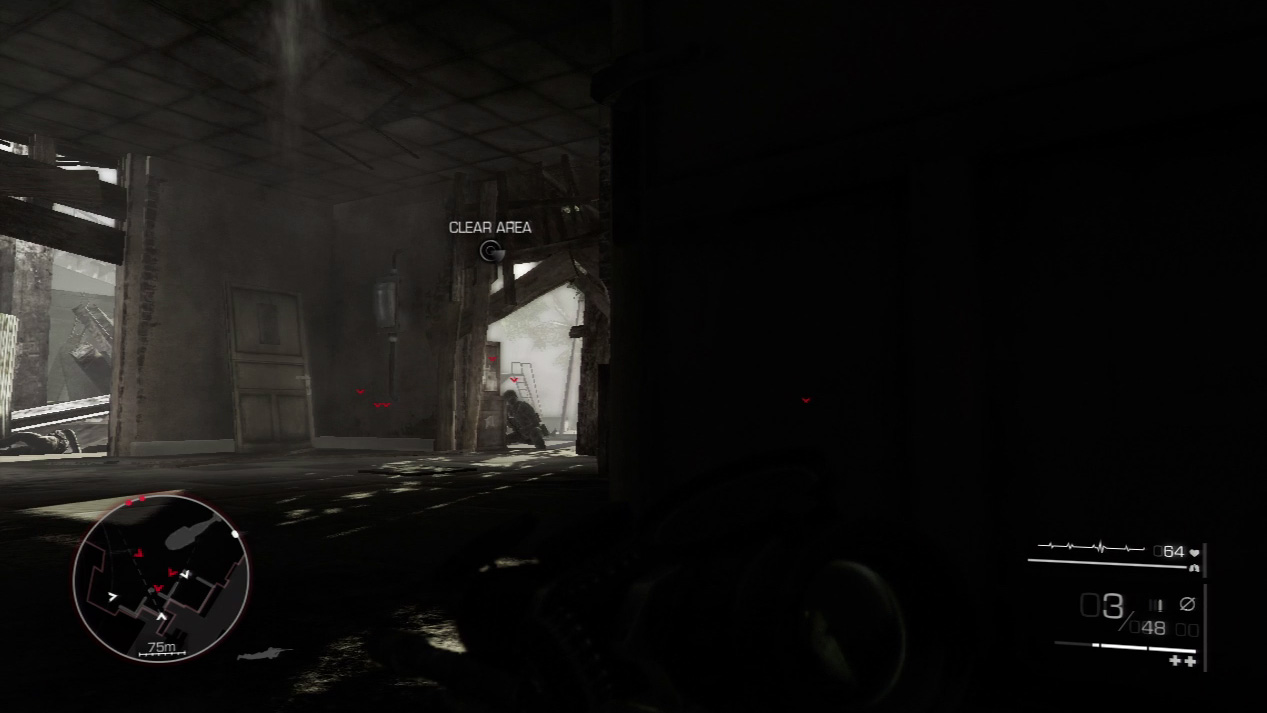
The attack brings all surrounding enemies down on you. Expect heavy reinforcements from the other side of the courtyard. Before you are overwhelmed, retreat to the basement stairs and set up a defensive position where you can see both exit points easily.
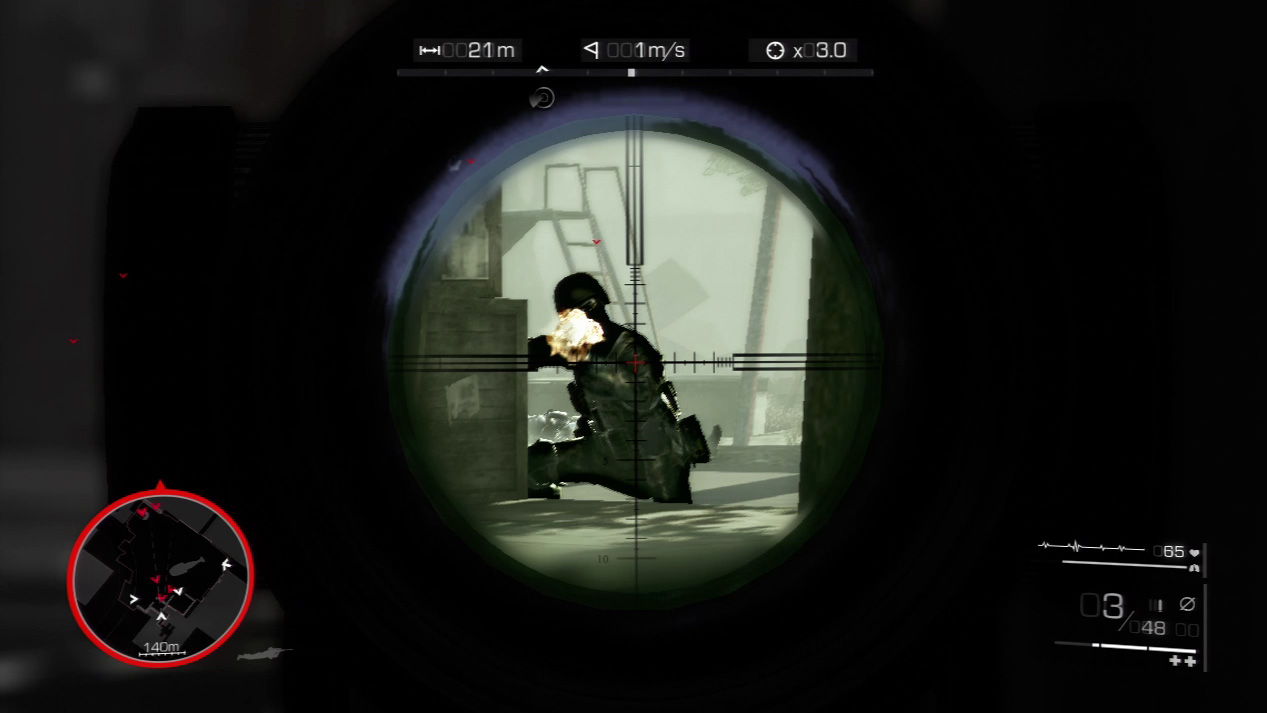
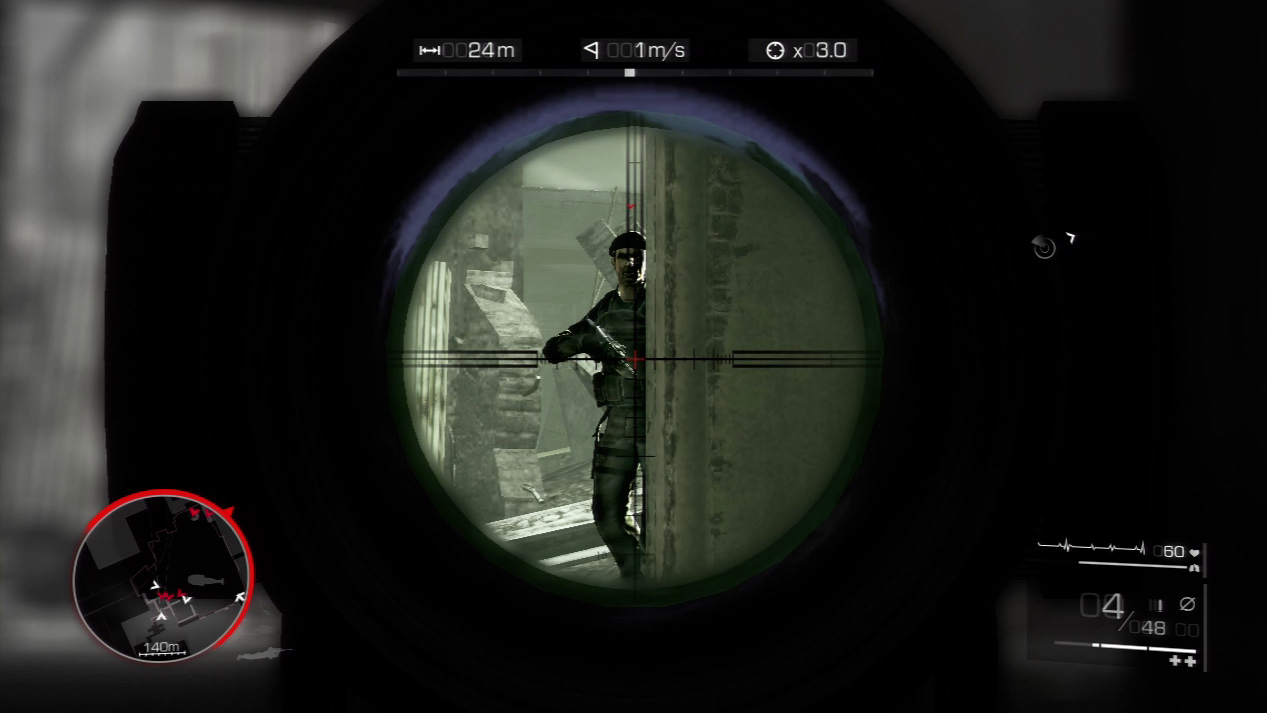
Bounce your attention from one exit to the next until enemies show up. As soon as they cross into view, hold your breath to slow down time and zero in on a kill shot.
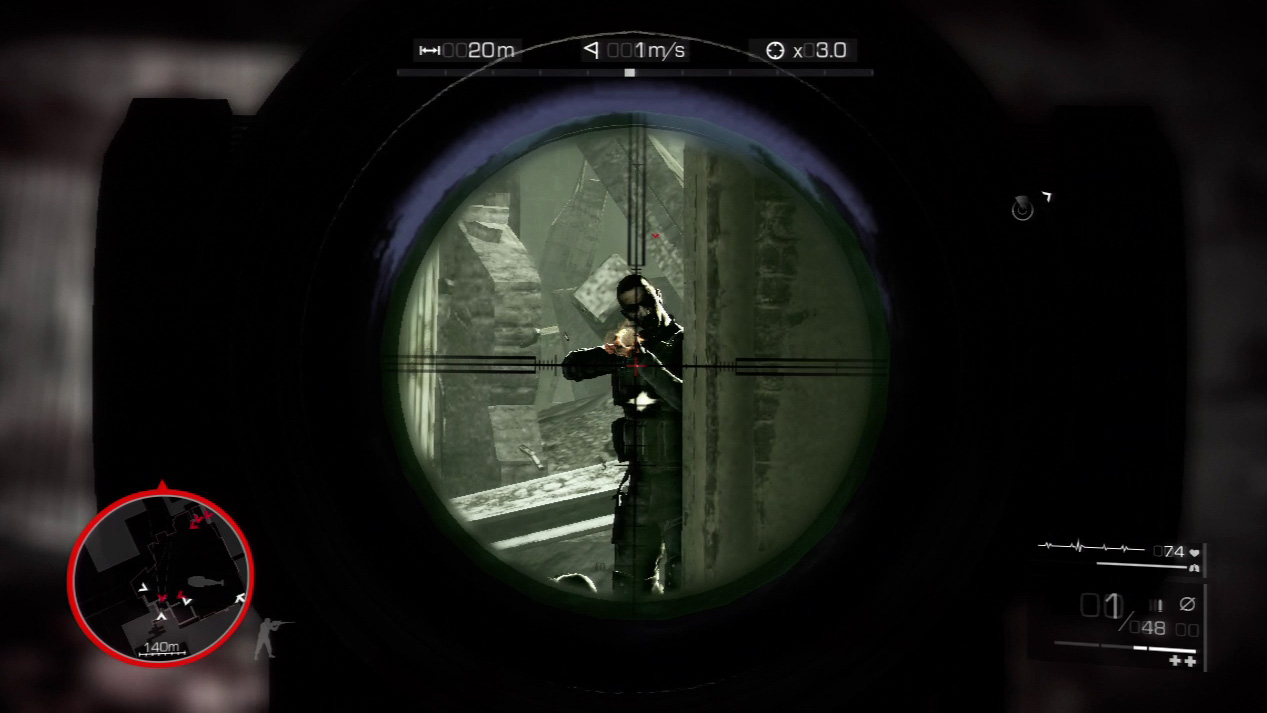
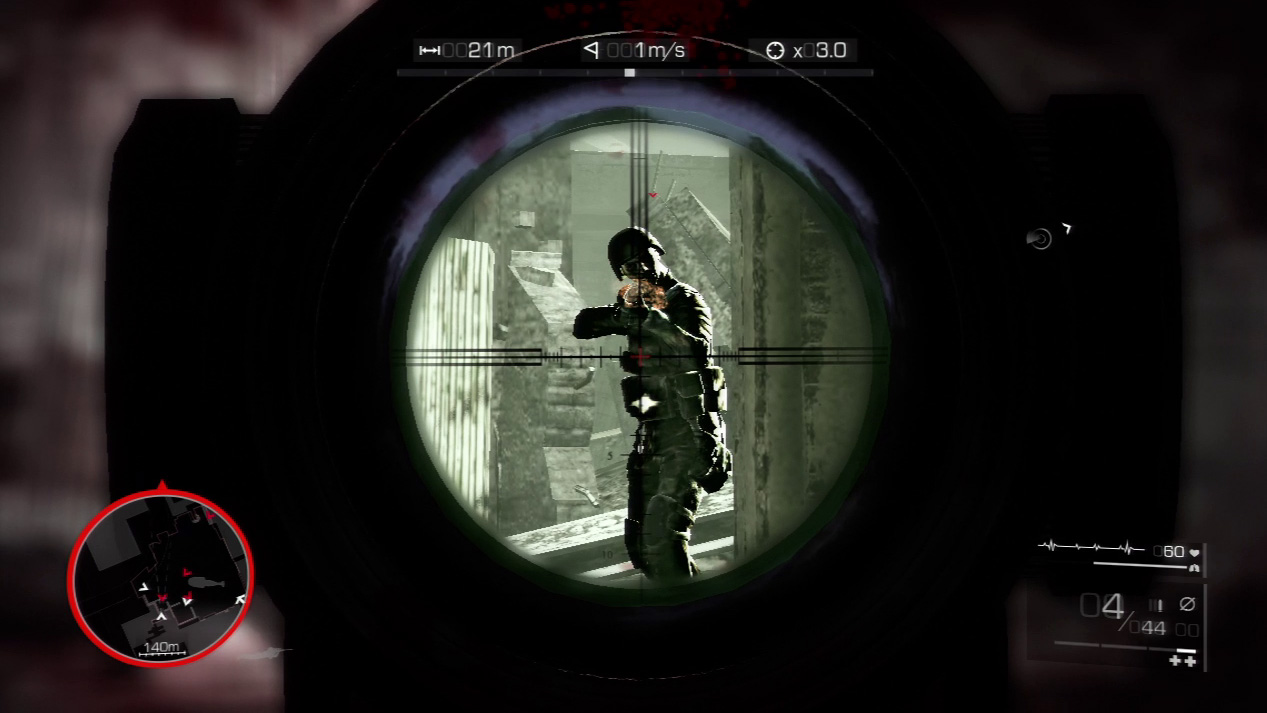
Even prone in the cover of the stairwell, you can be hit. Enemies will come in with guns blazing. When you’re low on health, use a medkit to jump back to full.
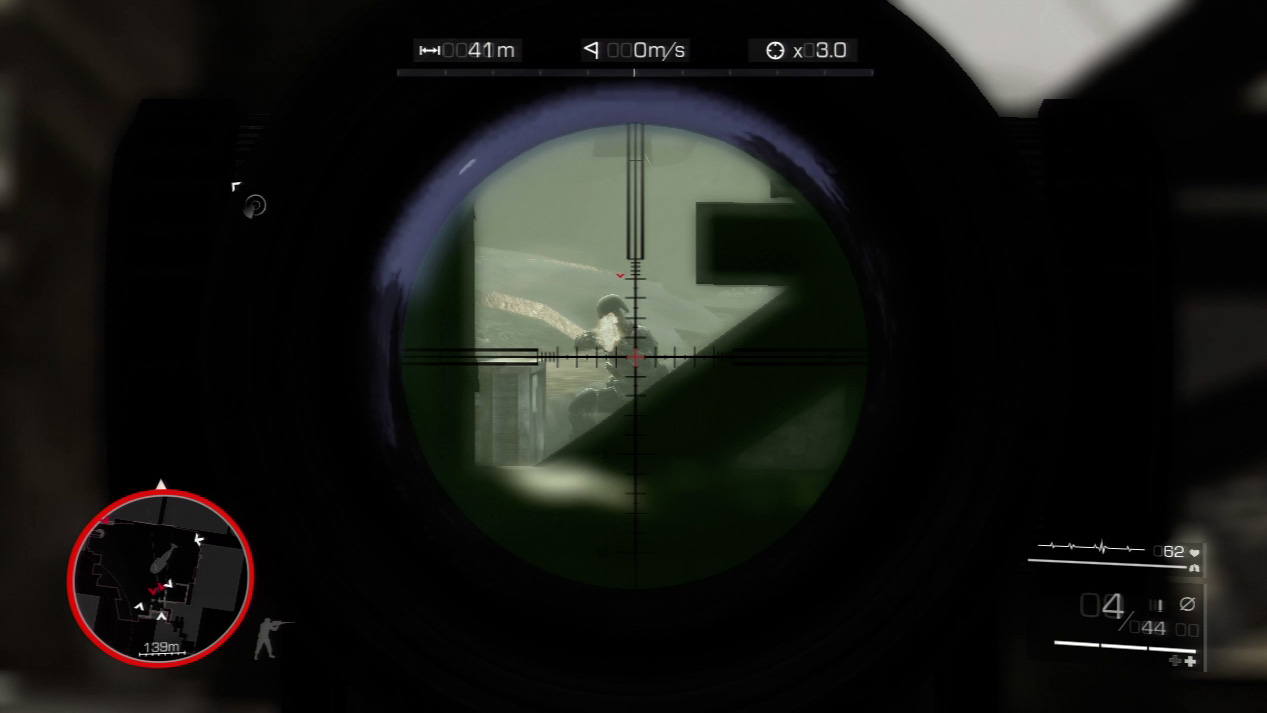
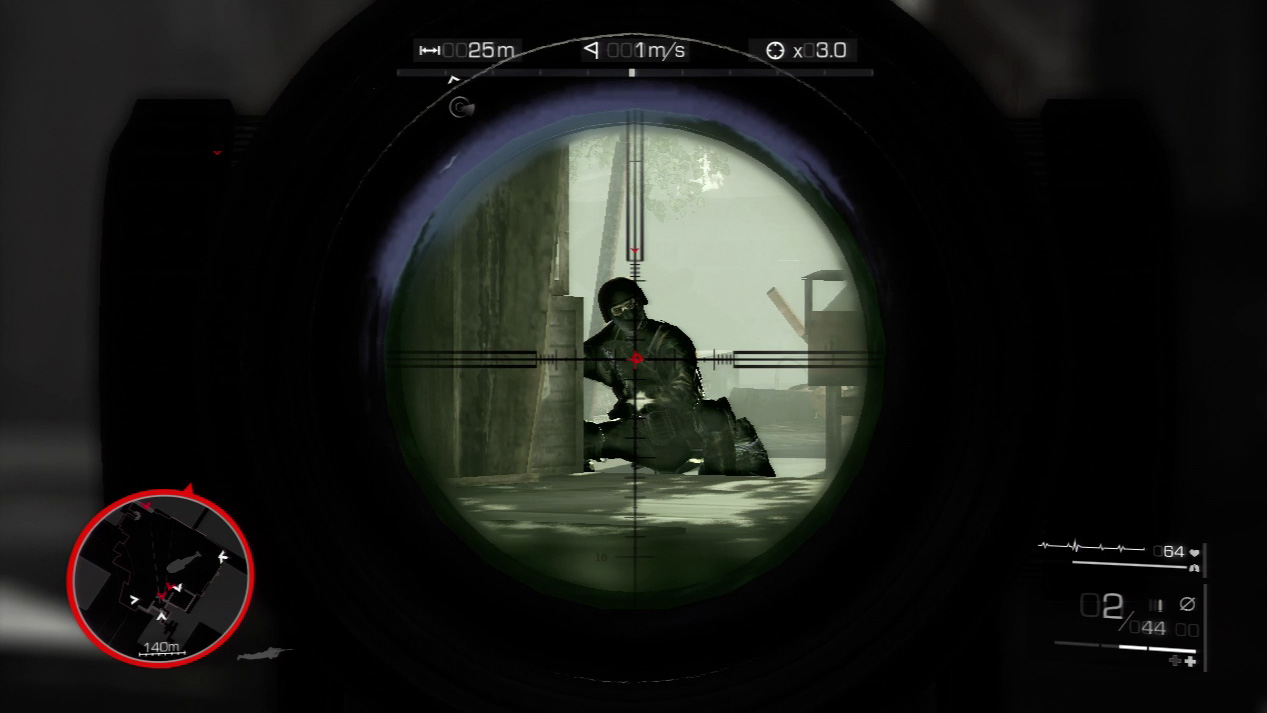
As you whittle down the enemy reinforcements, inch out and search for new targets through the debris. Keep one eye on the exits in case anyone new arrives.
Expert Mode
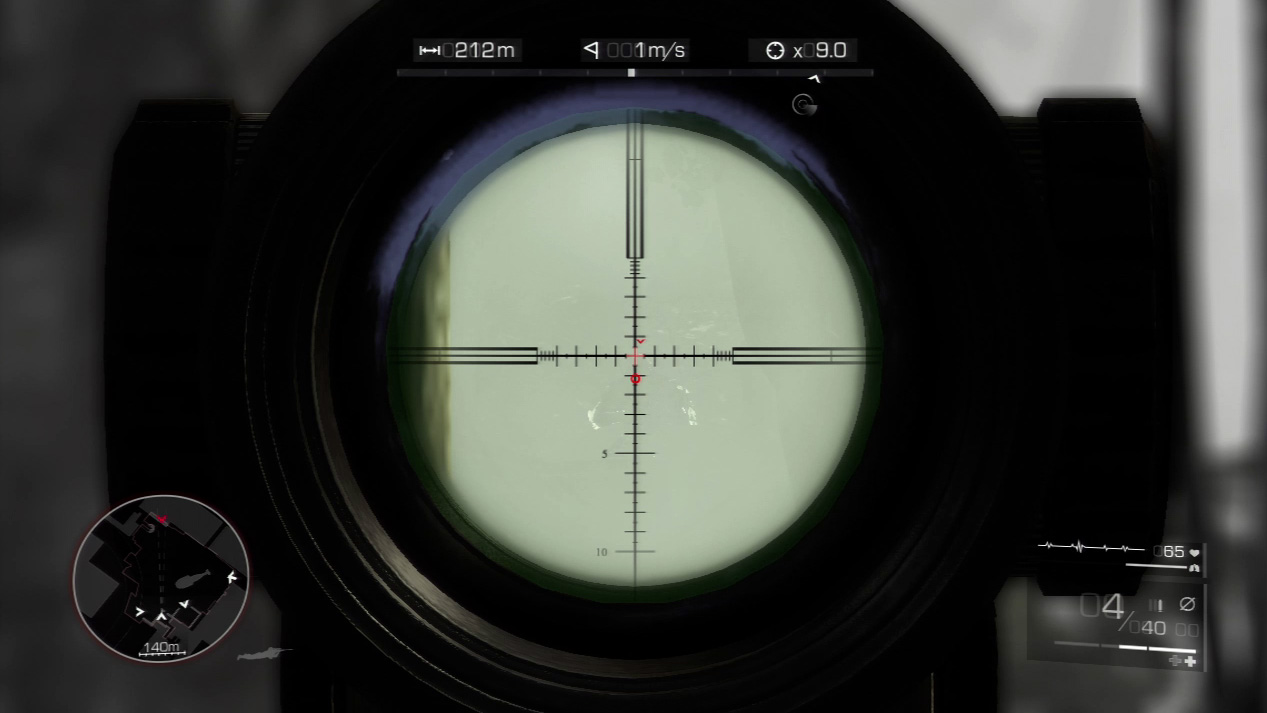
- Distance: Approximately 210 meters
- Wind: 1 meters/second (blowing left)
- Magnification: 9x
As with your last long-range shot, wind is not a factor. Gravity will tug your bullet down below the first reticle line. Aim for the head or high torso to ensure a kill.
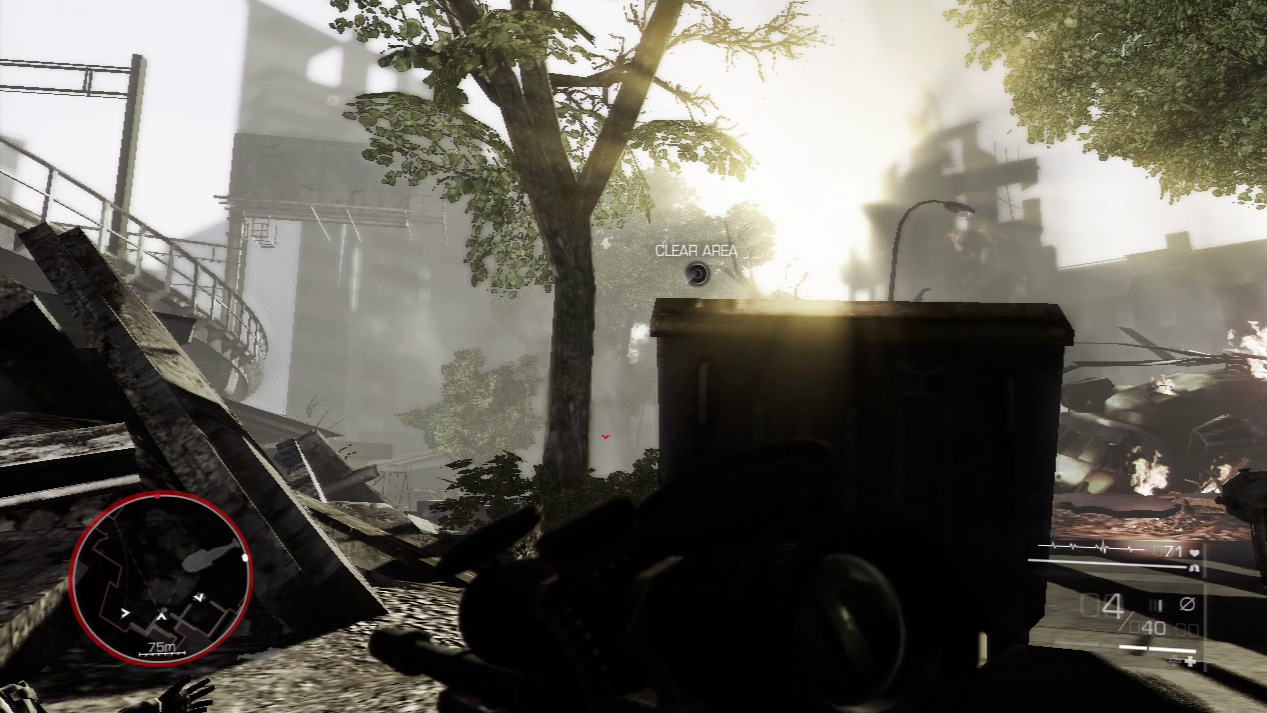
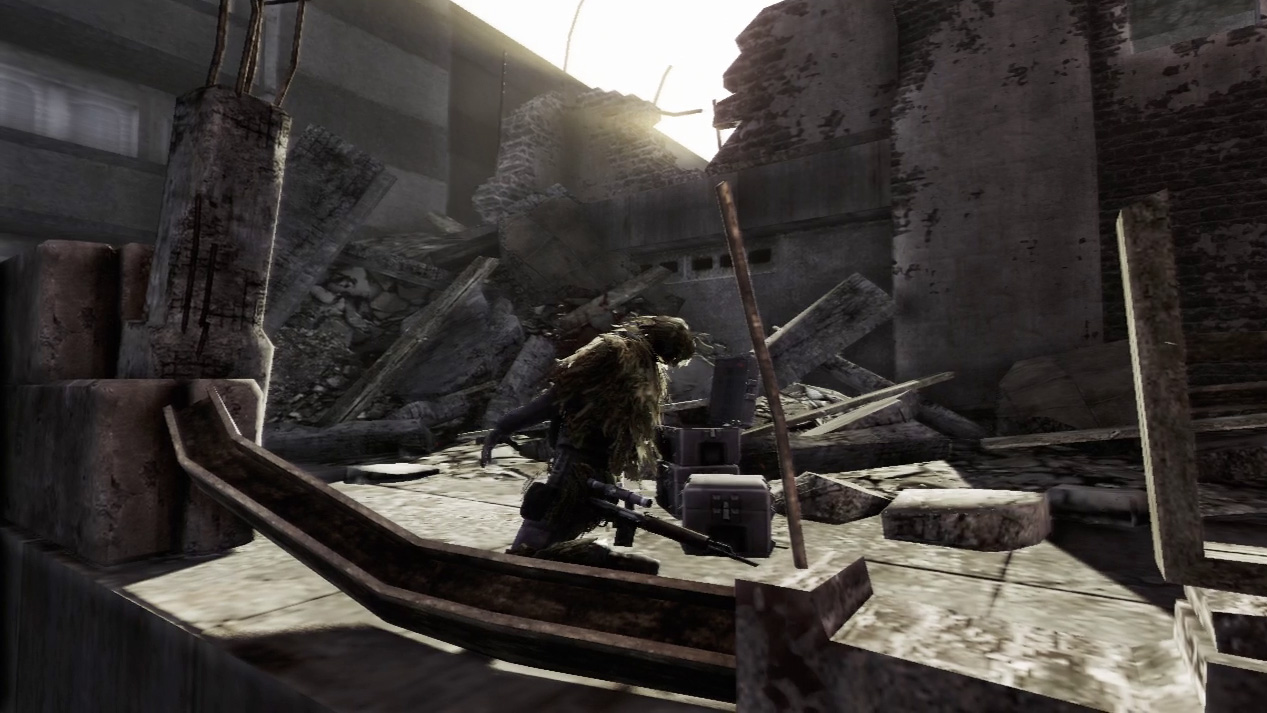
Once you’ve cleared all immediate threats, exit via the large hole in the wall on the left. Using the dumpster as cover, sight on the enemy sniper in the distance.
One very long-range shot through the smoke and haze will bring him down if you account for gravity pulling down your bullet.
Act 2 Secret 6
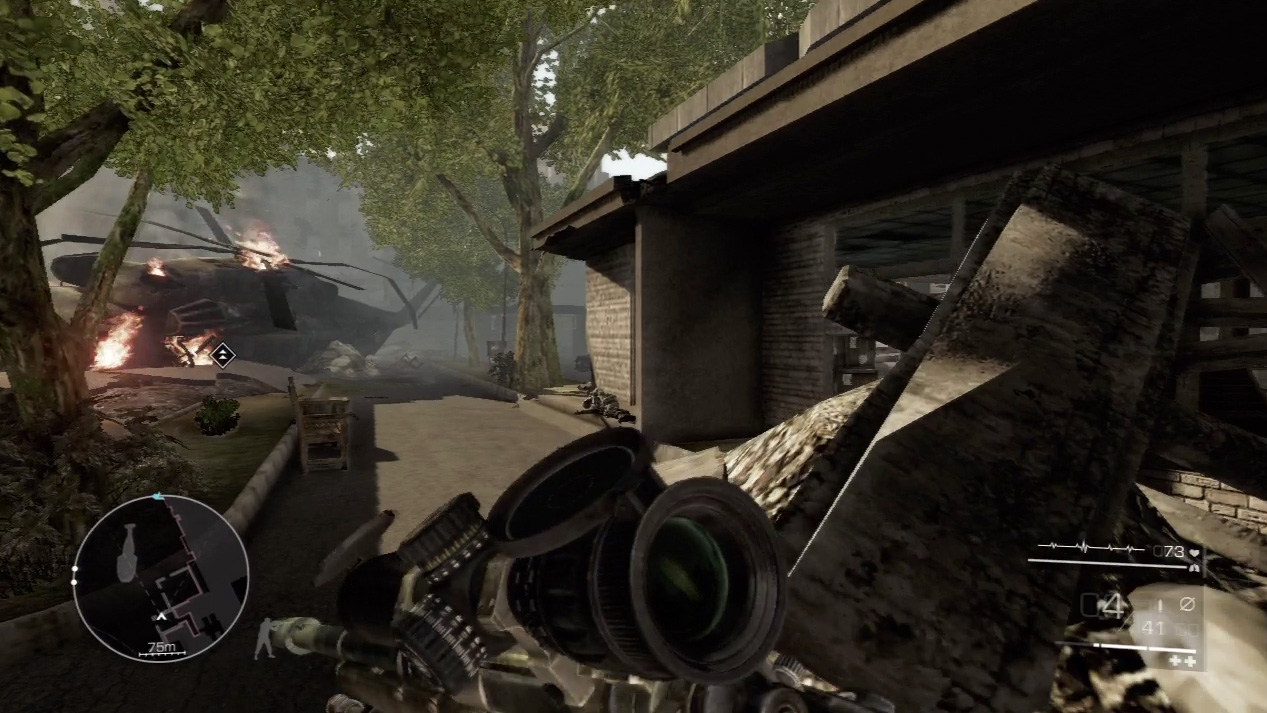
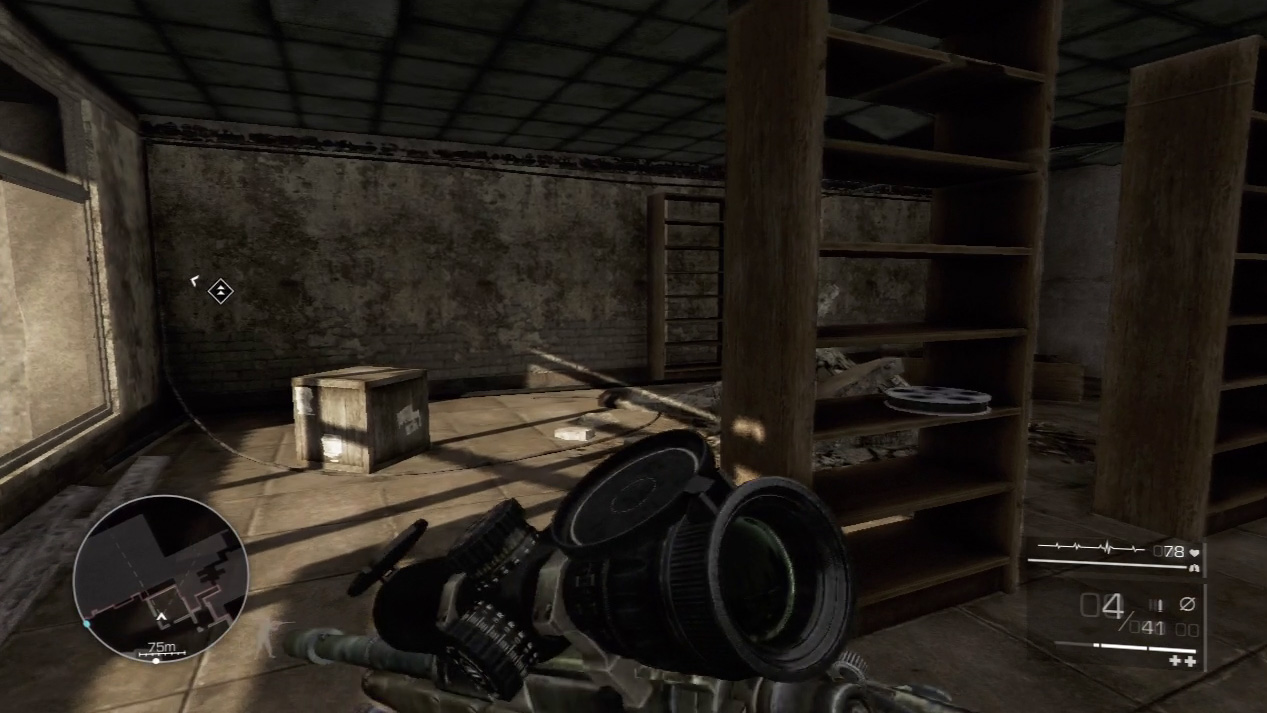
Look for the second secret of the mission next to the downed helicopter. After you defeat the enemies that Merinov thinks he knows, search the ruined building to the right of the helicopter. You’ll discover the film reel on a bookshelf inside the building.
Waypoint 12
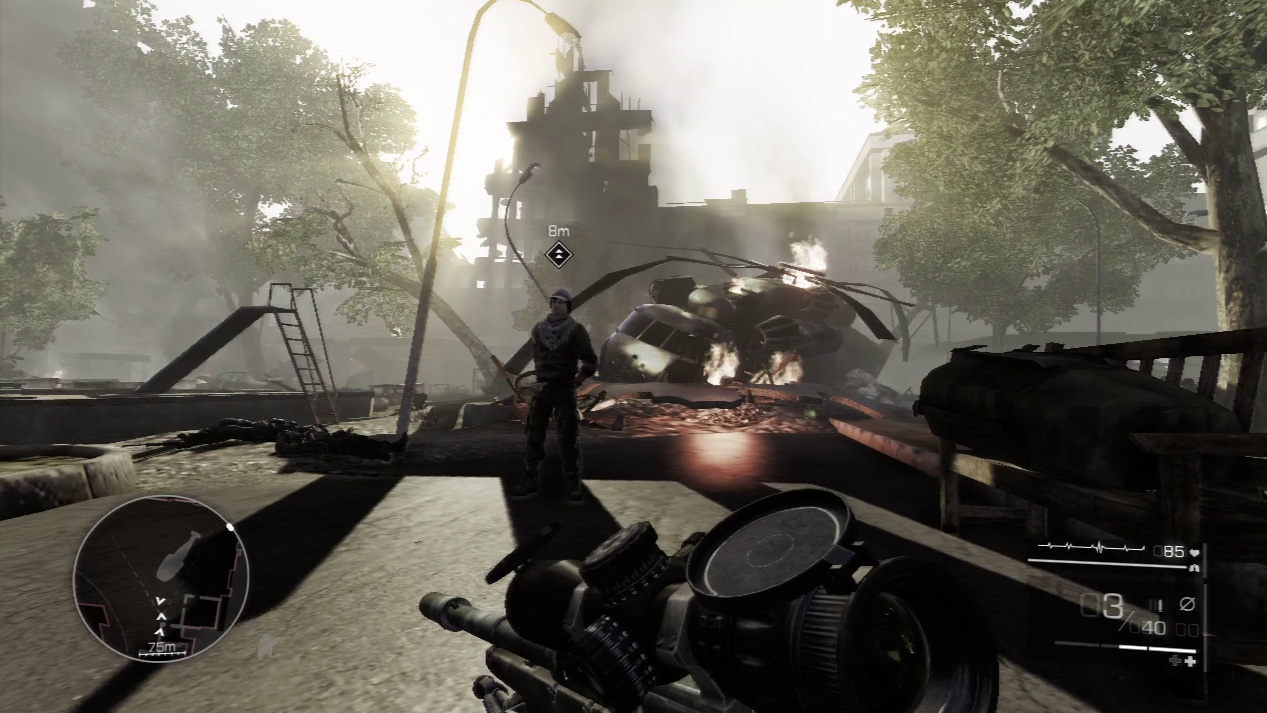
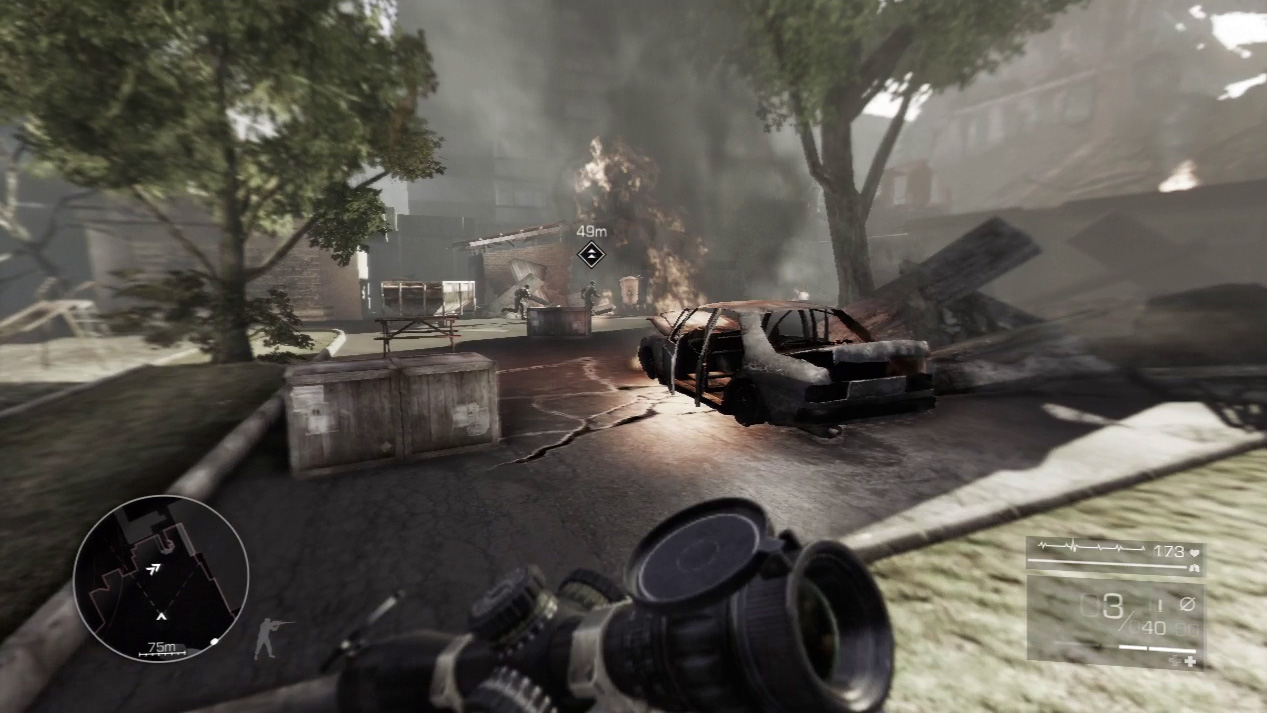
After chewing out Merinov for his foolishness, follow him through the fire-ravaged street to the garage. He makes another mistake here: He says the place is always deserted, but today it’s chock full of enemies.
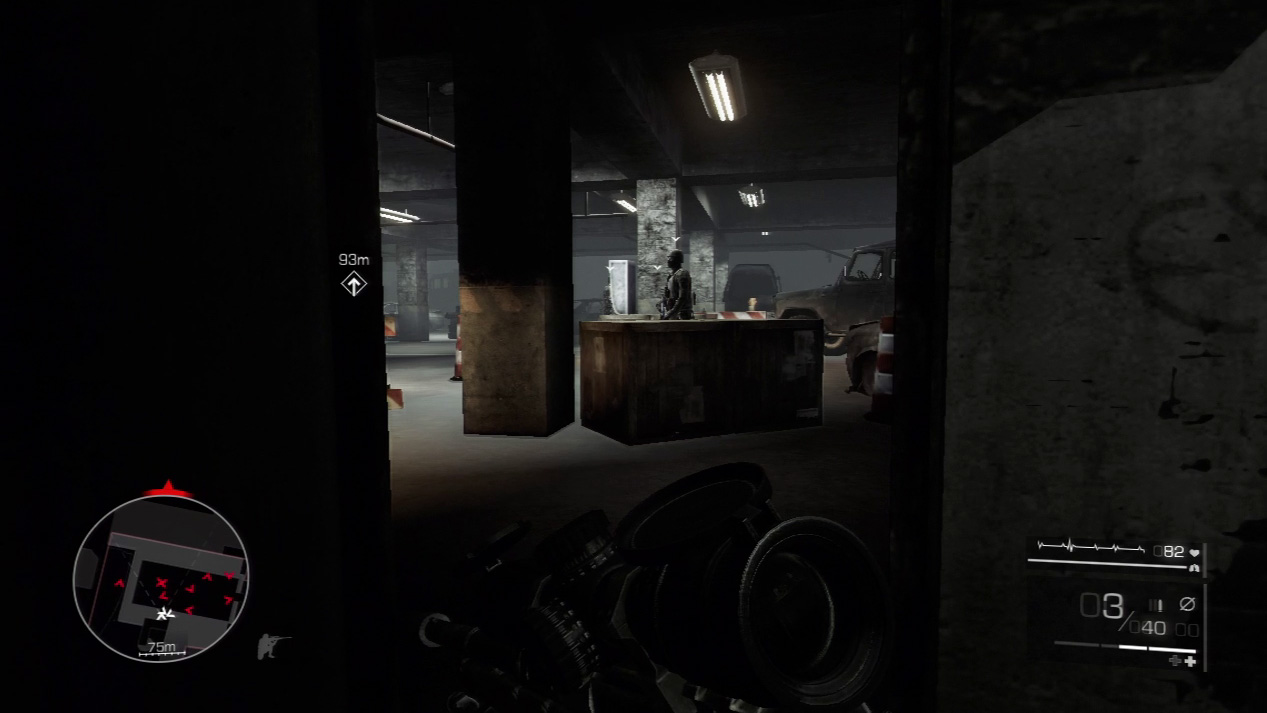
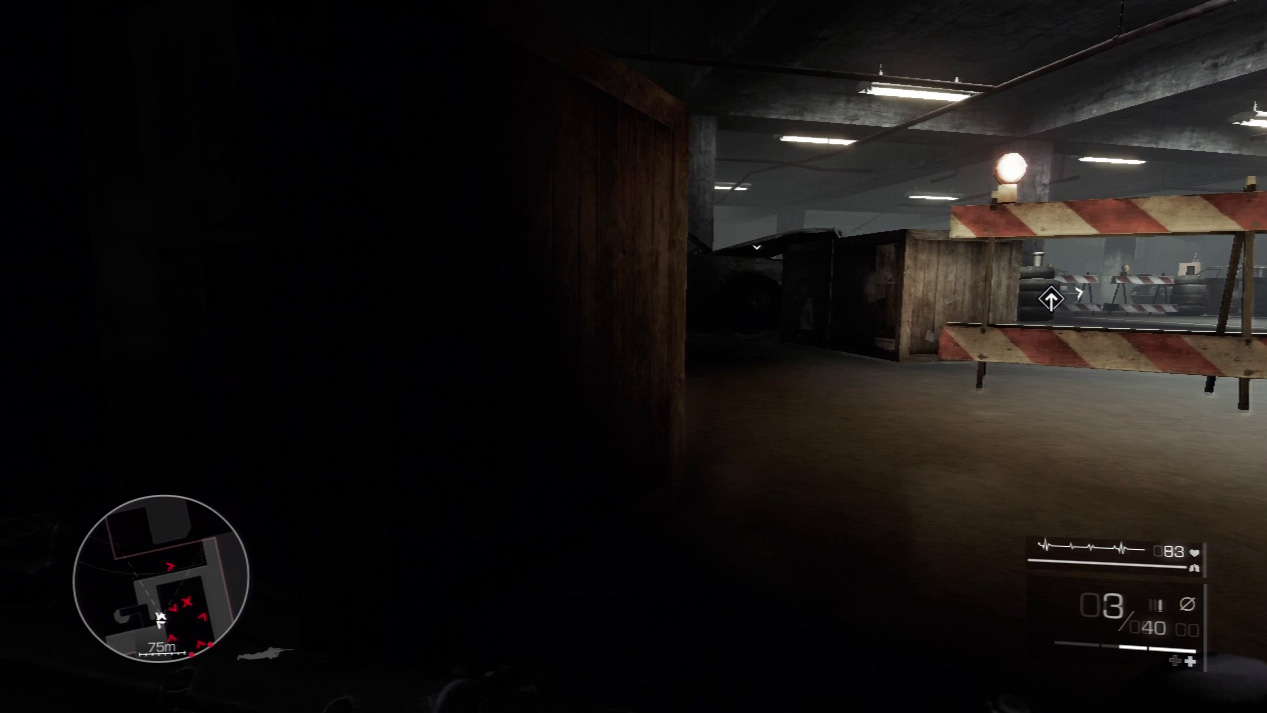
You decide to sabotage the circuit box to shut off the lights and sneak through. Wait by the garage doorway for the first enemy to pass by.
Once you’re sure he can’t spot you, drop prone and crawl out to your left. Steer around the crates and hug the wall as soon as possible.
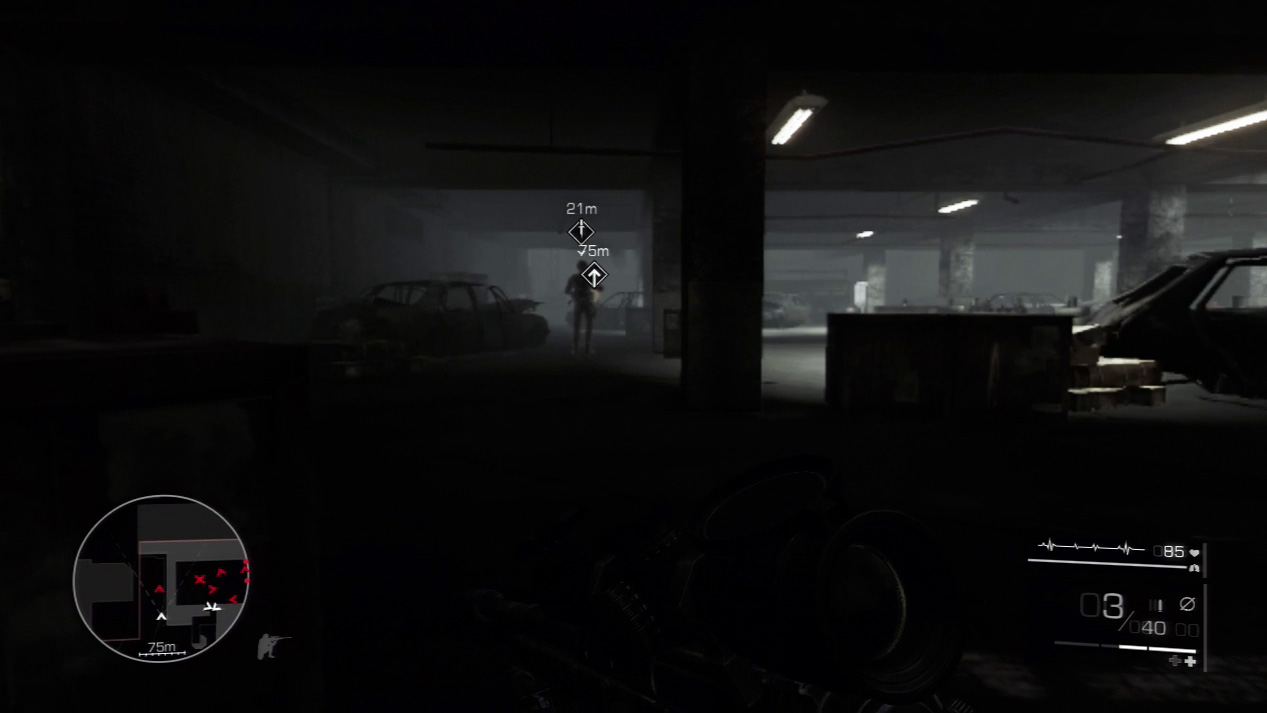
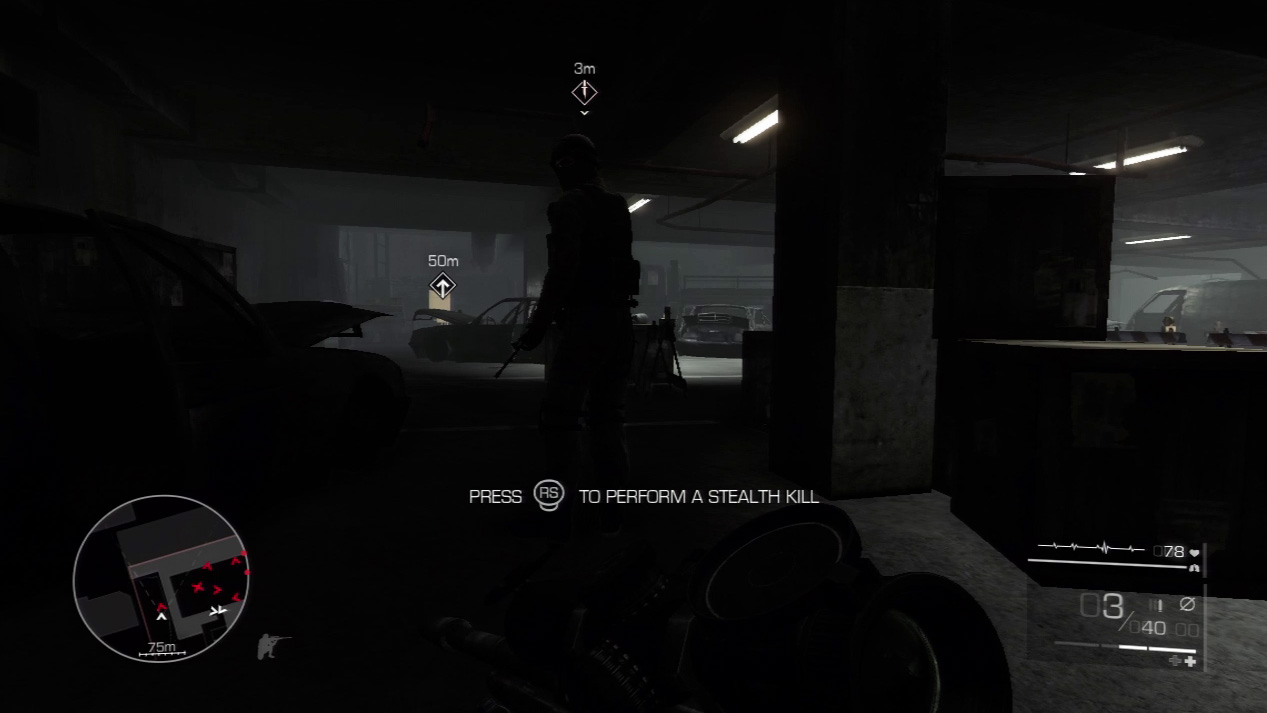
Stay in the shadows until you get to the corner. A guard stands in your way. Fortunately, he’s rather passive and has his back to you. Sneak up behind him and silence him with your knife.
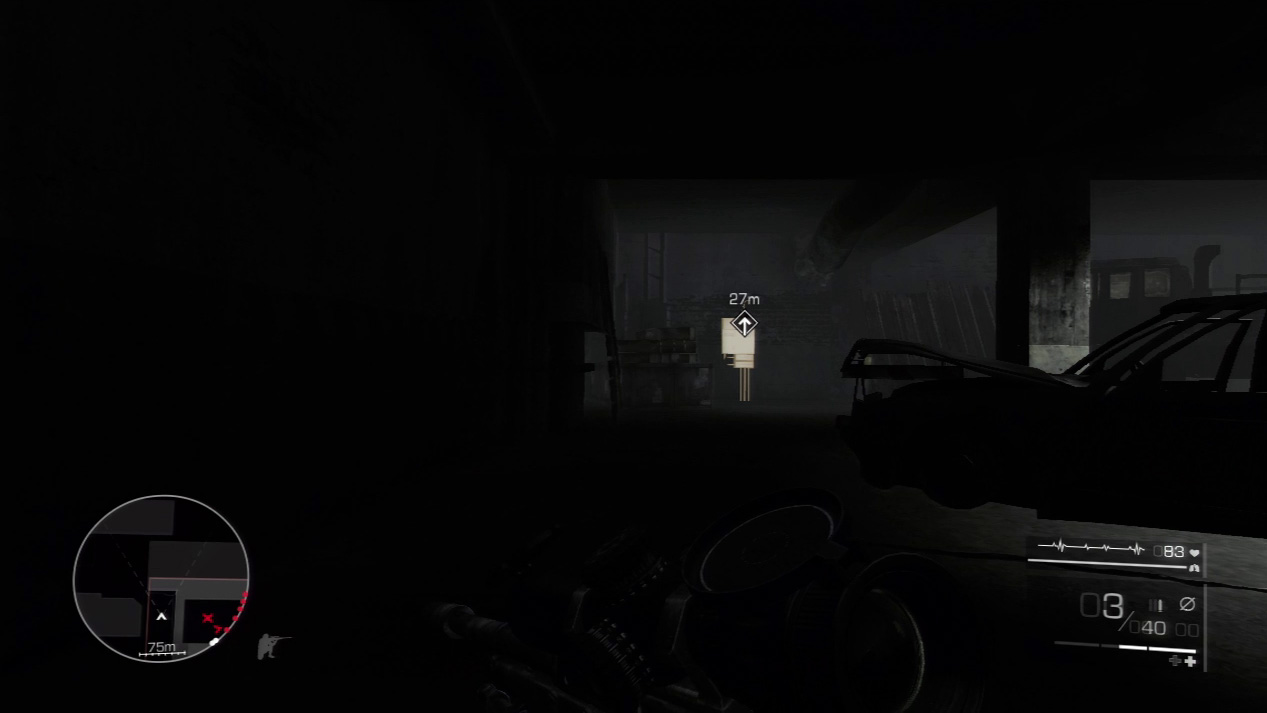
Creep along in the darkness until you find the circuit box in the back corner. Cut the wires to plunge the garage into darkness.
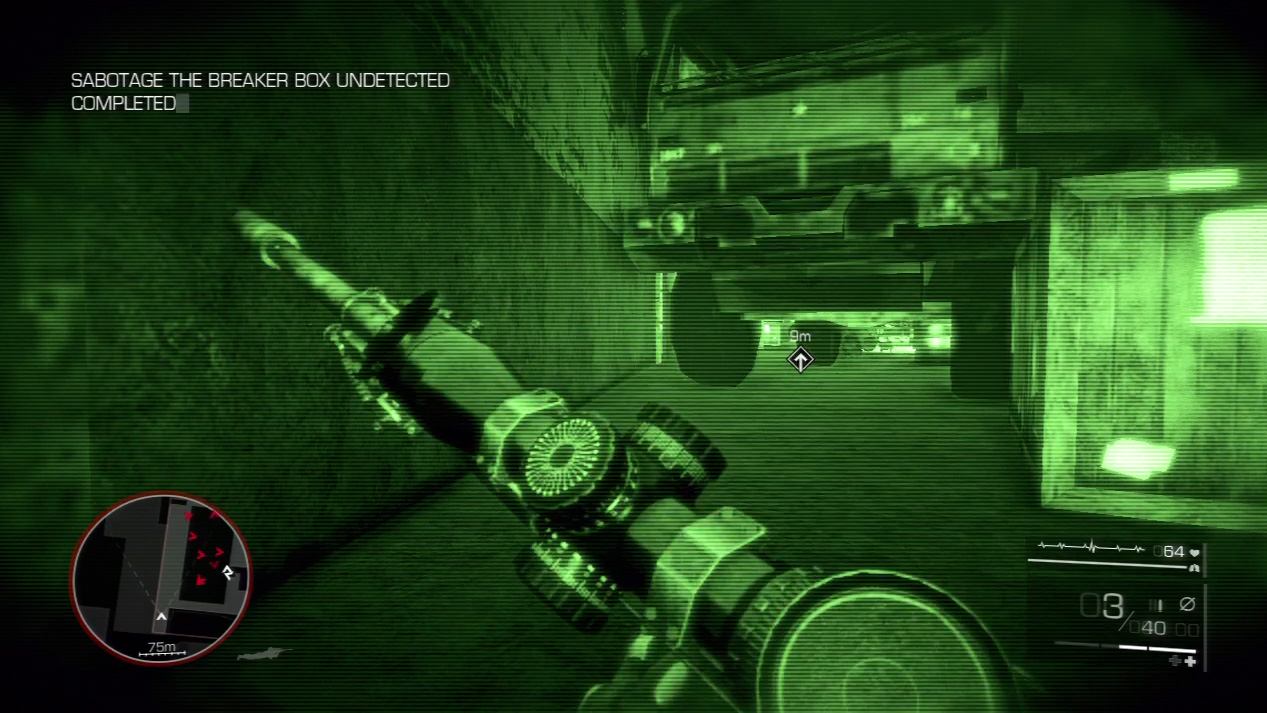
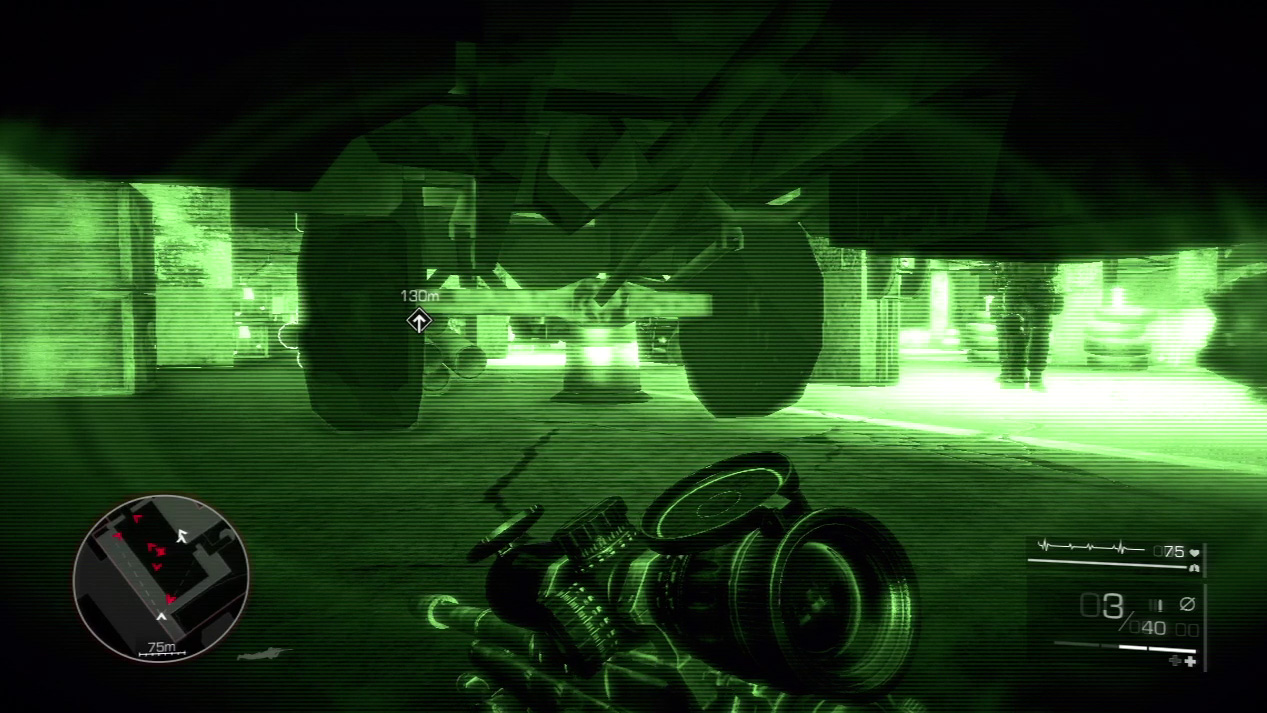
Switch to night vision as soon as you cut the power. This gives you the distinct advantage: Enemies can’t see you, but you can see them. Go prone and crawl under the truck to your right before two enemies arrive to check out the power failure.
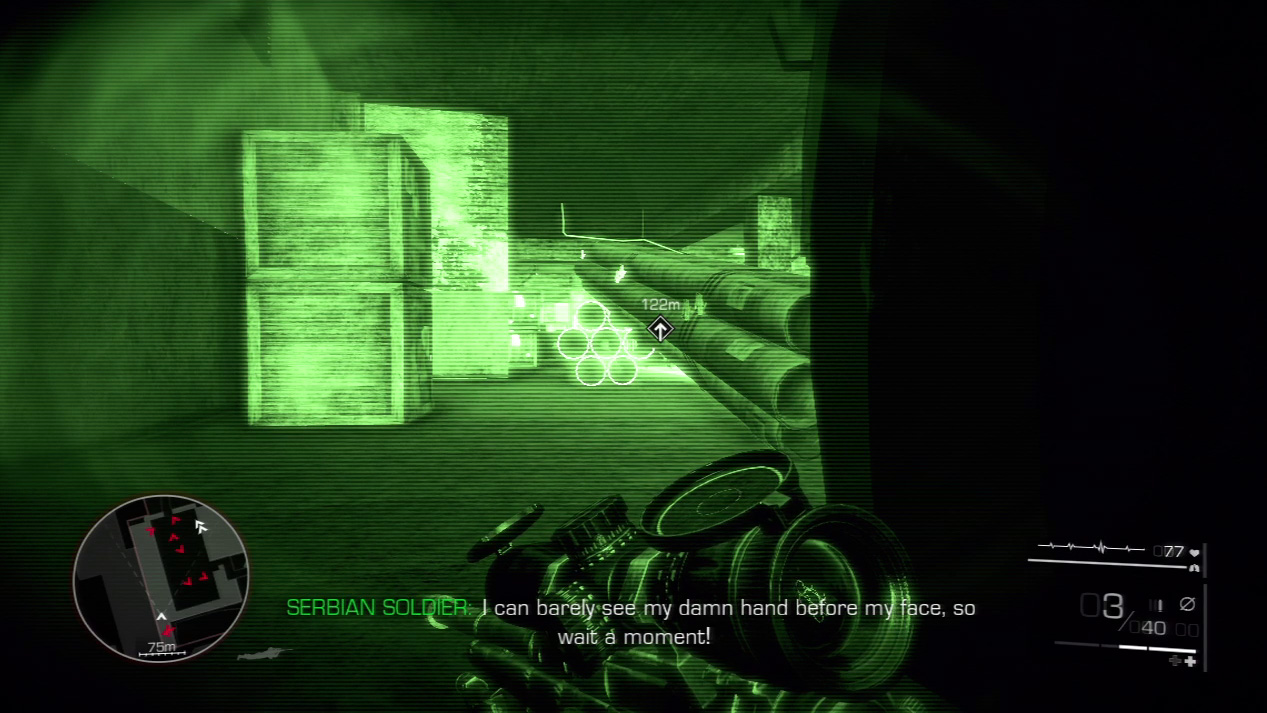
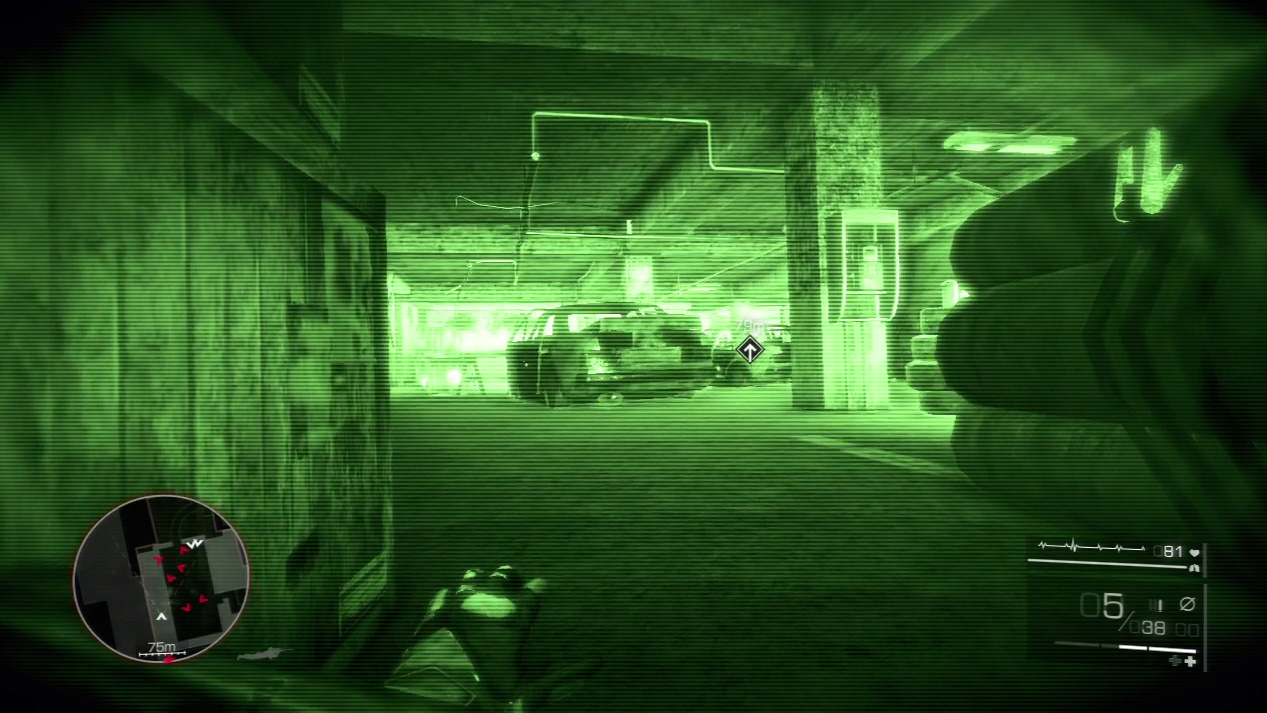
Crawl forward and stay to the left of the tube stacks. Stay as close to the wall as you can.
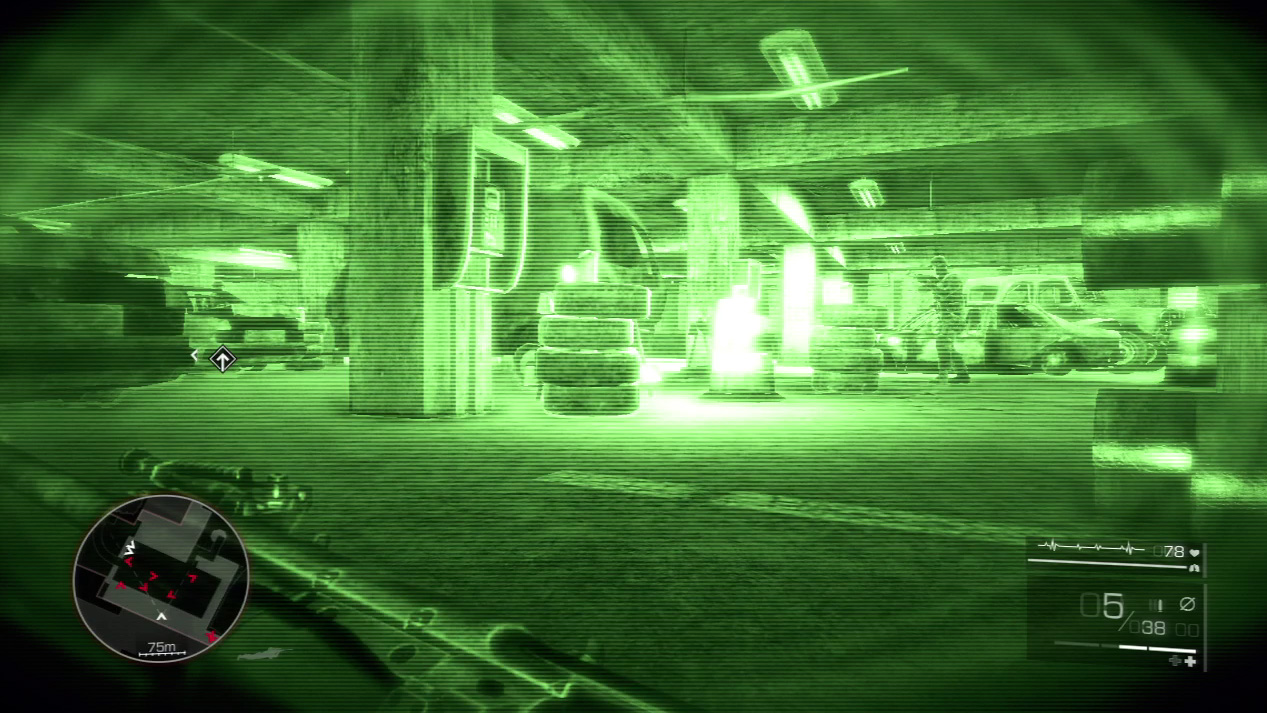
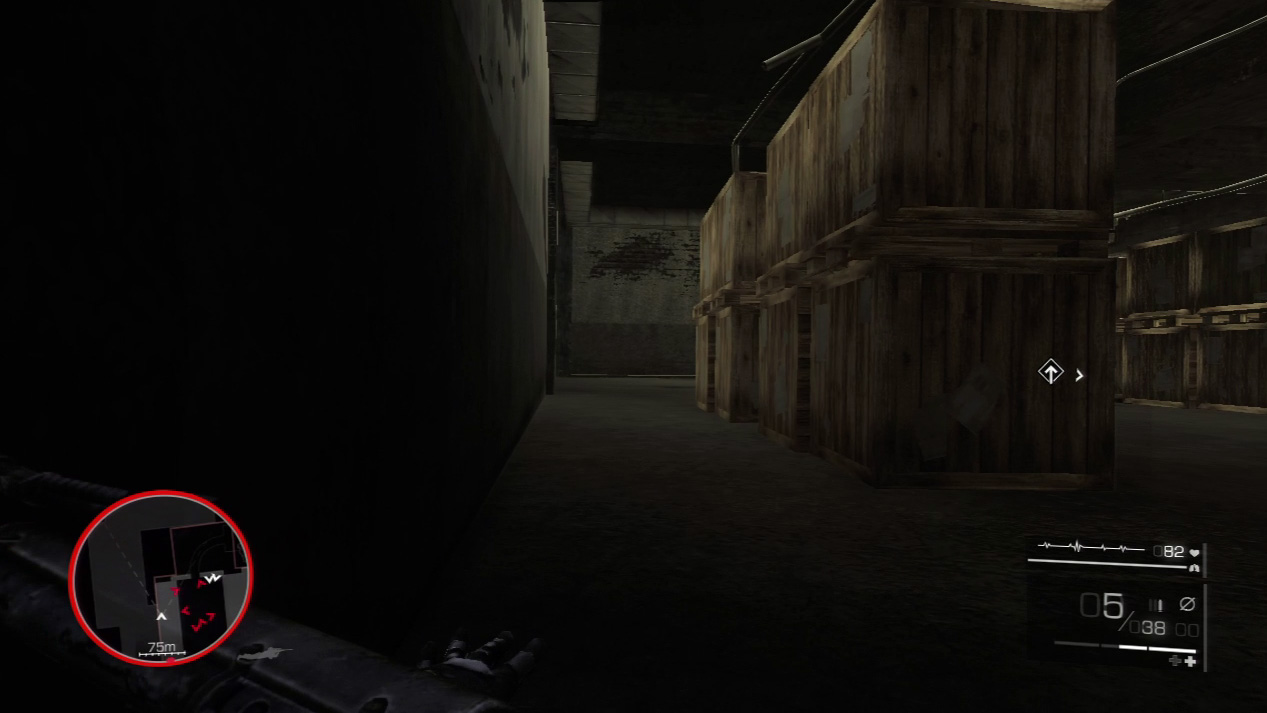
Searching enemies won’t see you in the dark. You can safely crawl unseen until you reach the area where the lights have been switched back on. Use the crates in the corner to hide yourself from enemy view.
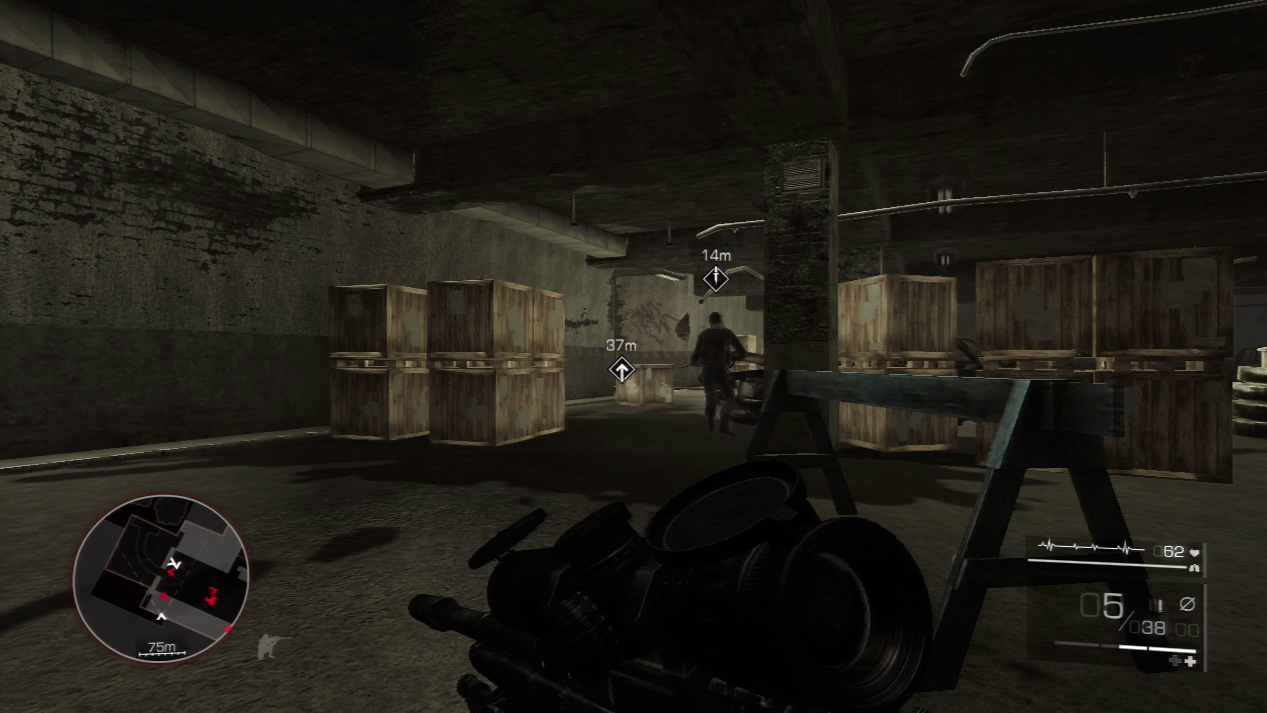
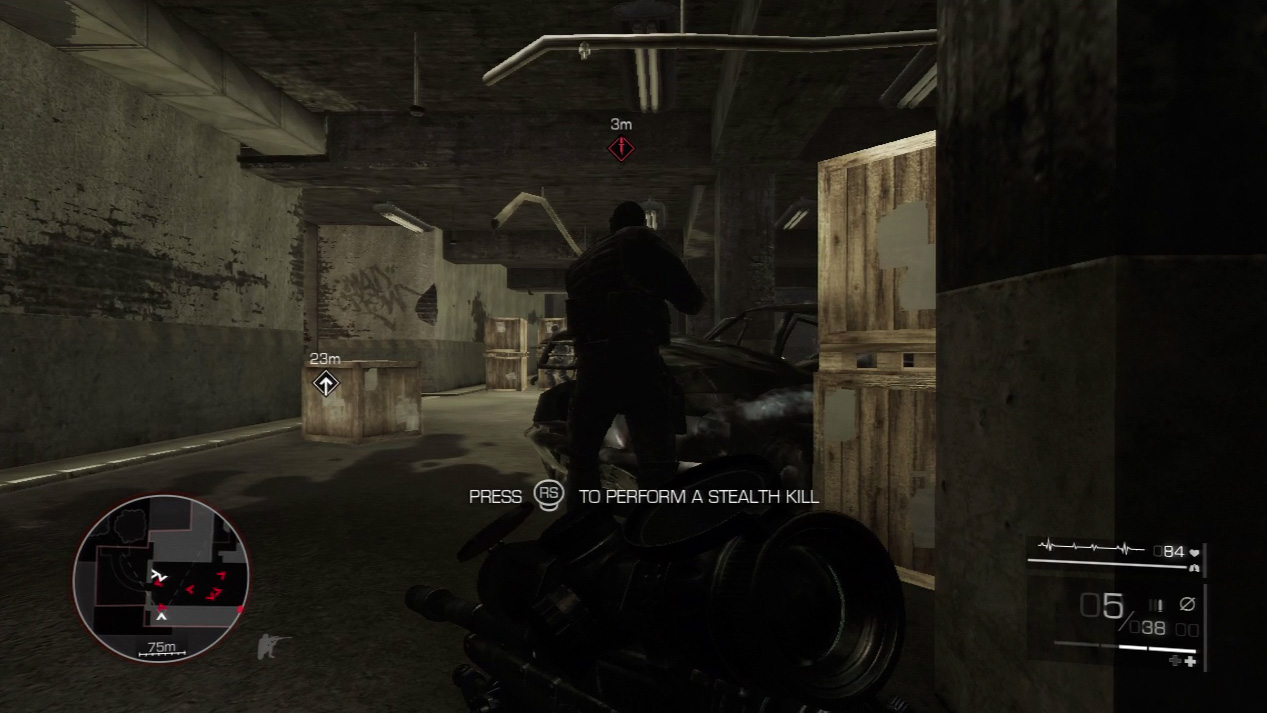
Come up behind the last guard and off him with a stealth kill.
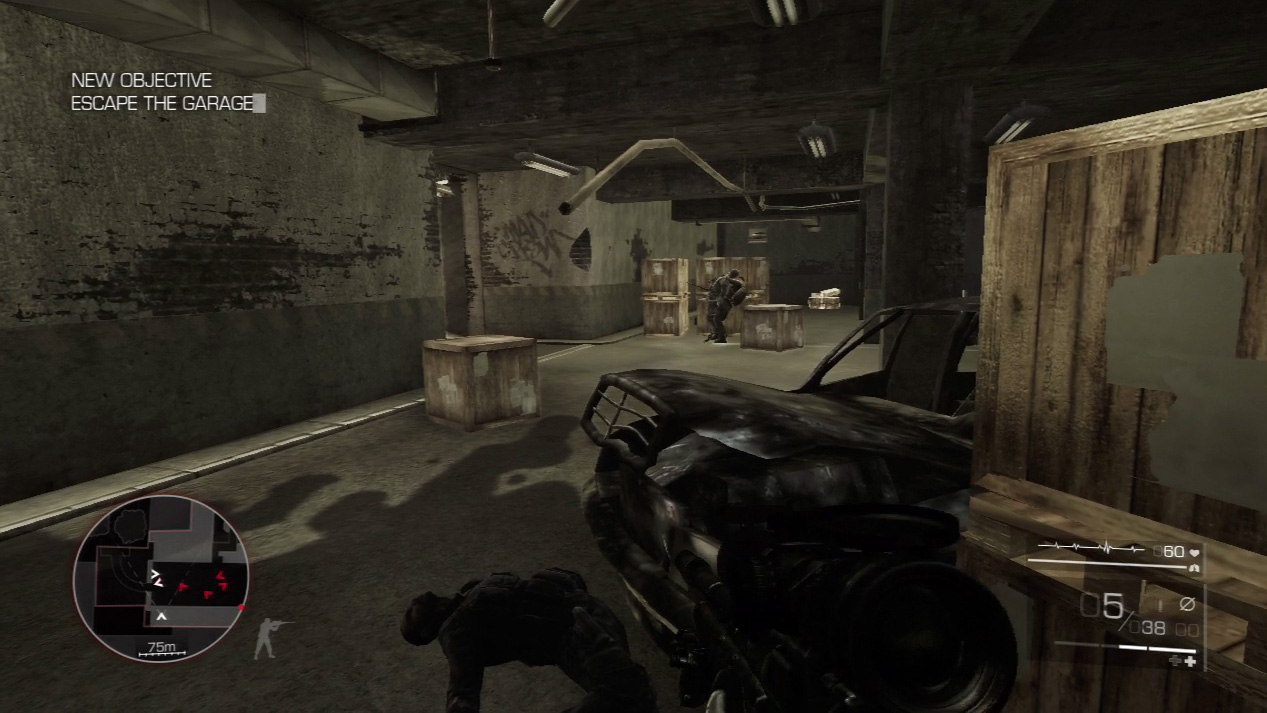
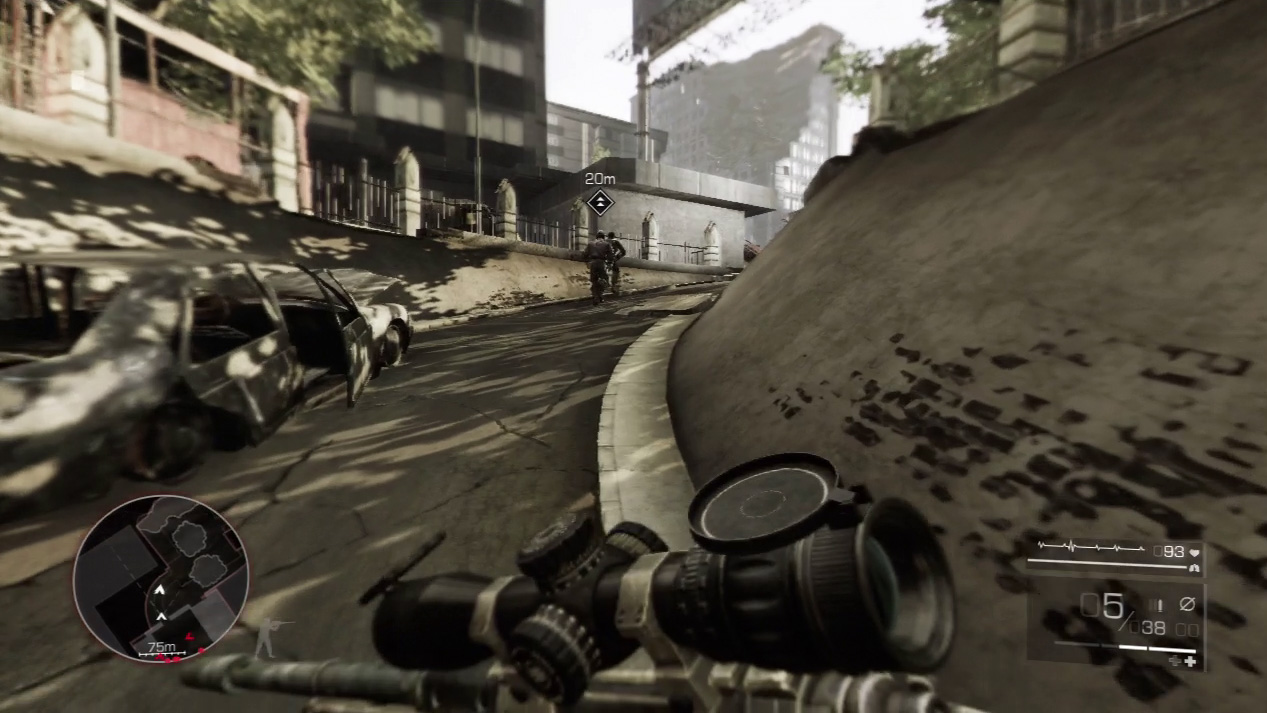
Maddox leads Merinov out of their hiding spot. He will kill the guard near the exit ramp right after you stealth kill your guard. As soon as you see him do this, sprint for the ramp. Keep running up the ramp and to safety.
Act 2: Secret 7
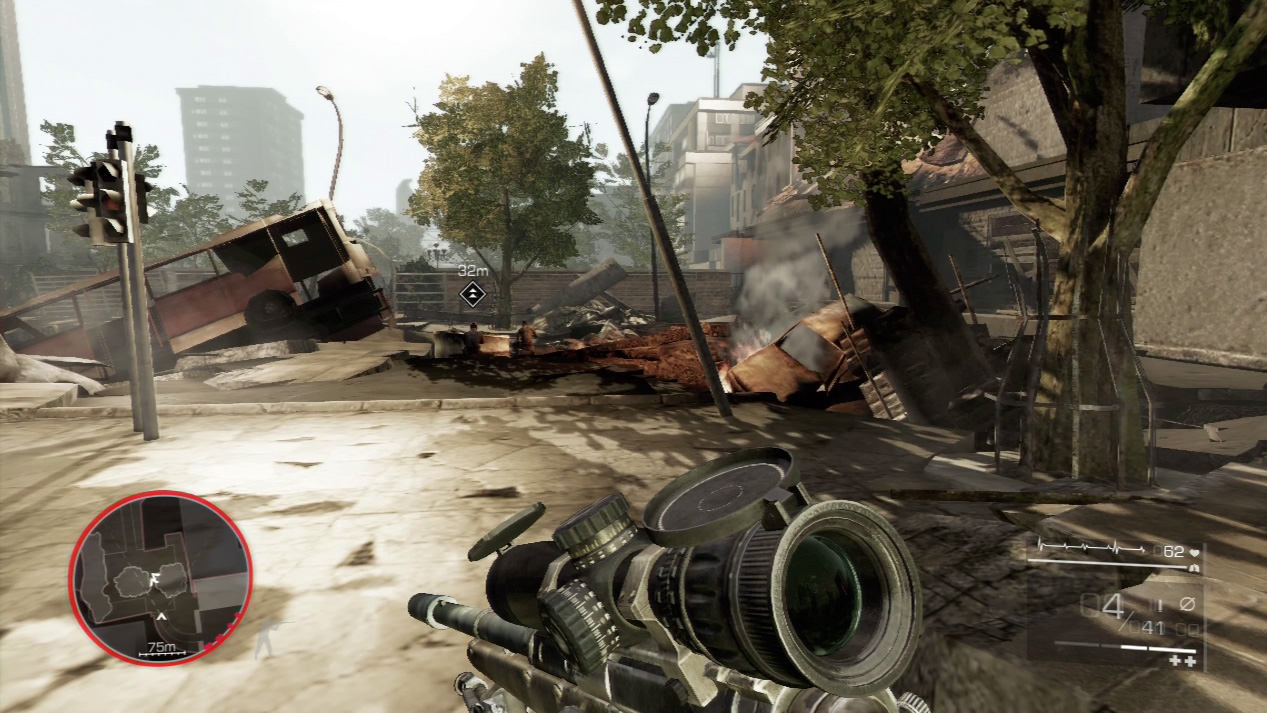
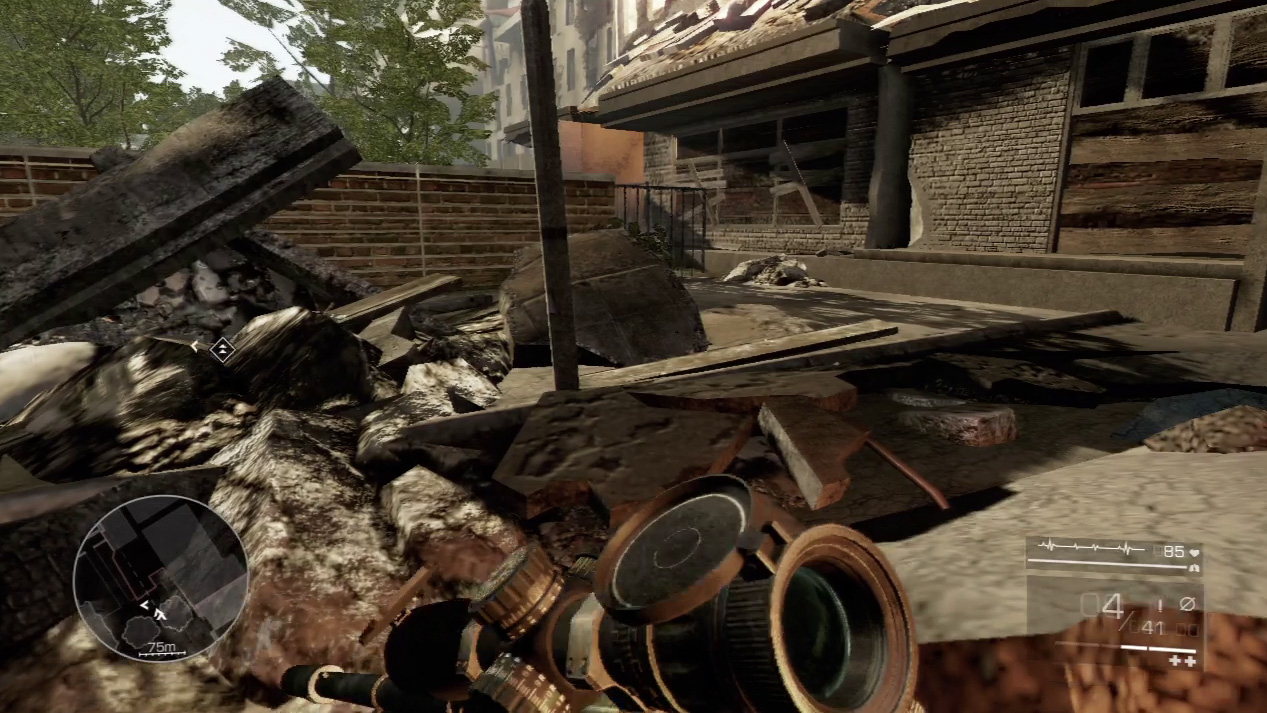
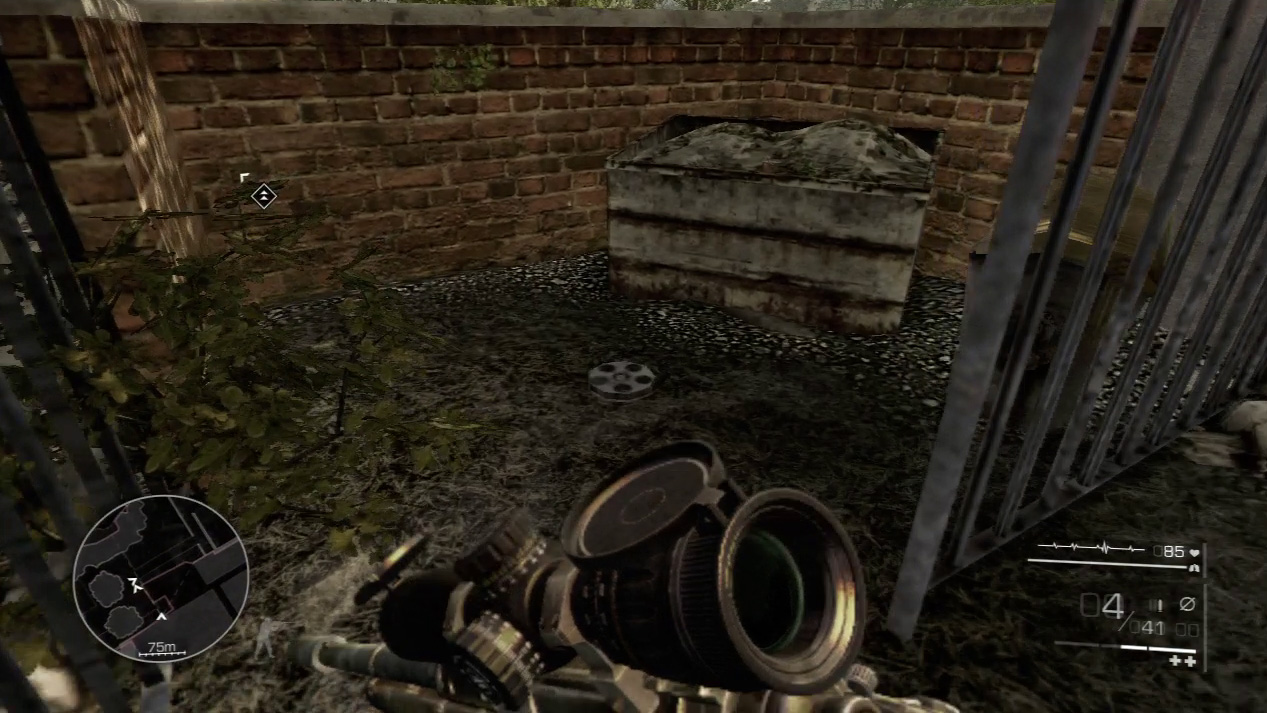
After you leave the garage, but before you enter the park, search for the third secret on this level near the fire-strewn crater. Pass the crater and climb over the rubble toward the end of the brick wall in the courtyard’s far corner.
You’ll find the film reel lying on the ground in a small alcove at the end of the brick wall.
Waypoint 13
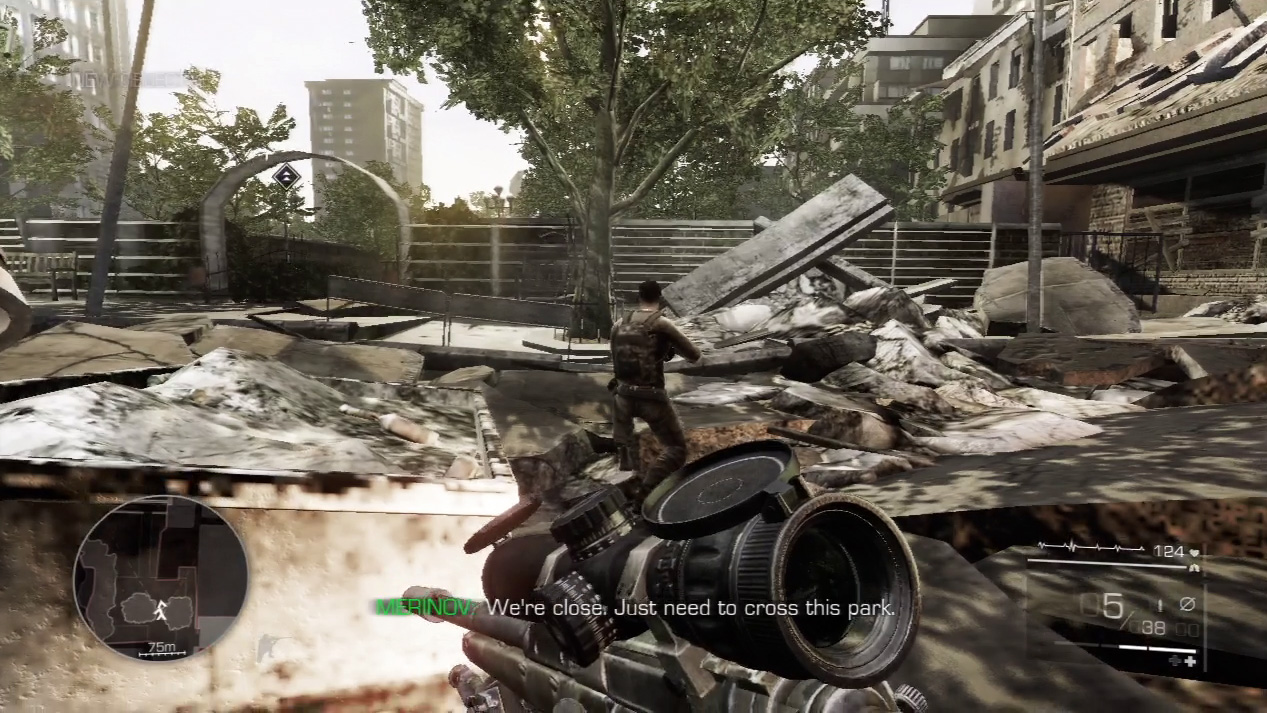
Cross the rubble-strewn courtyard outside the garage and stop in front of the park. The open terrain in the park can be extremely dangerous; listen to Maddox’s voice cues and use all available cover to its utmost effectiveness.
Expert Mode
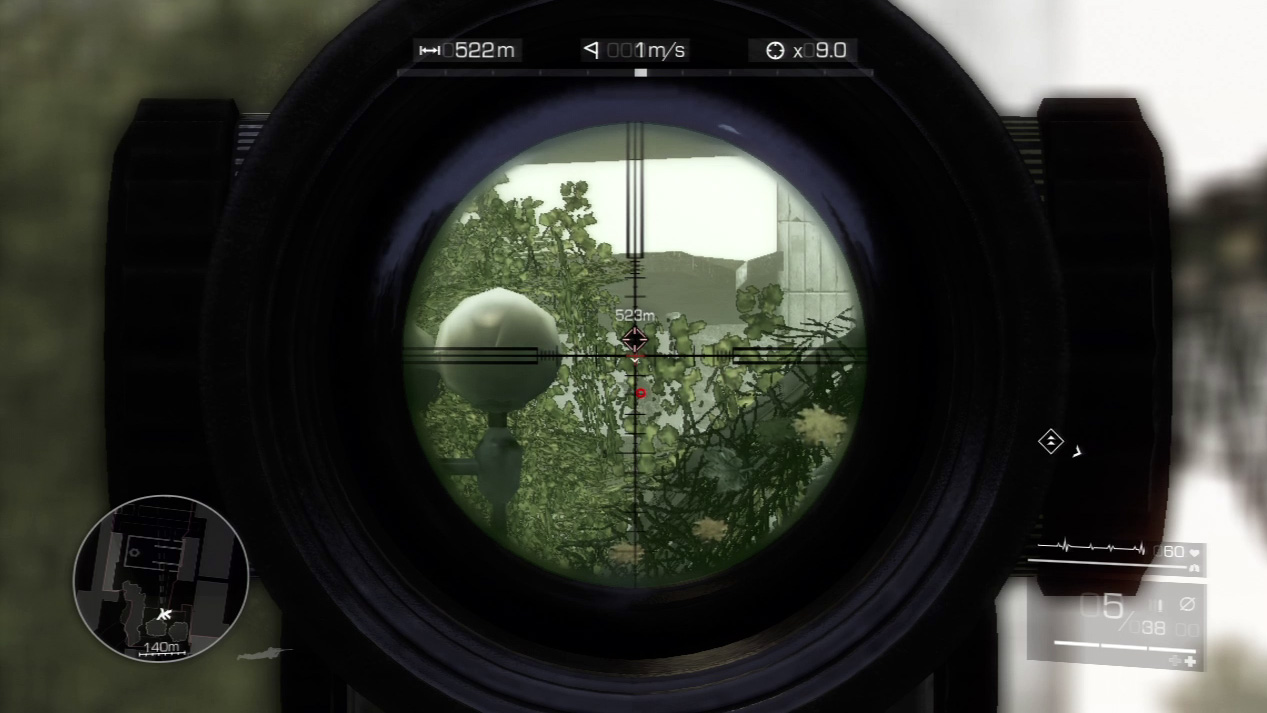
- Distance: Approximately 520 meters
- Wind: 1 meters/second (blowing right)
- Magnification: 9x
This is a difficult shot because of the foliage obstructing your view. You will have to shoot blind through the trees. With little wind, your bullet won’t stray left or right. Keep the shot centered and adjust for gravity, which will lower the bullet down to around the second reticle line.
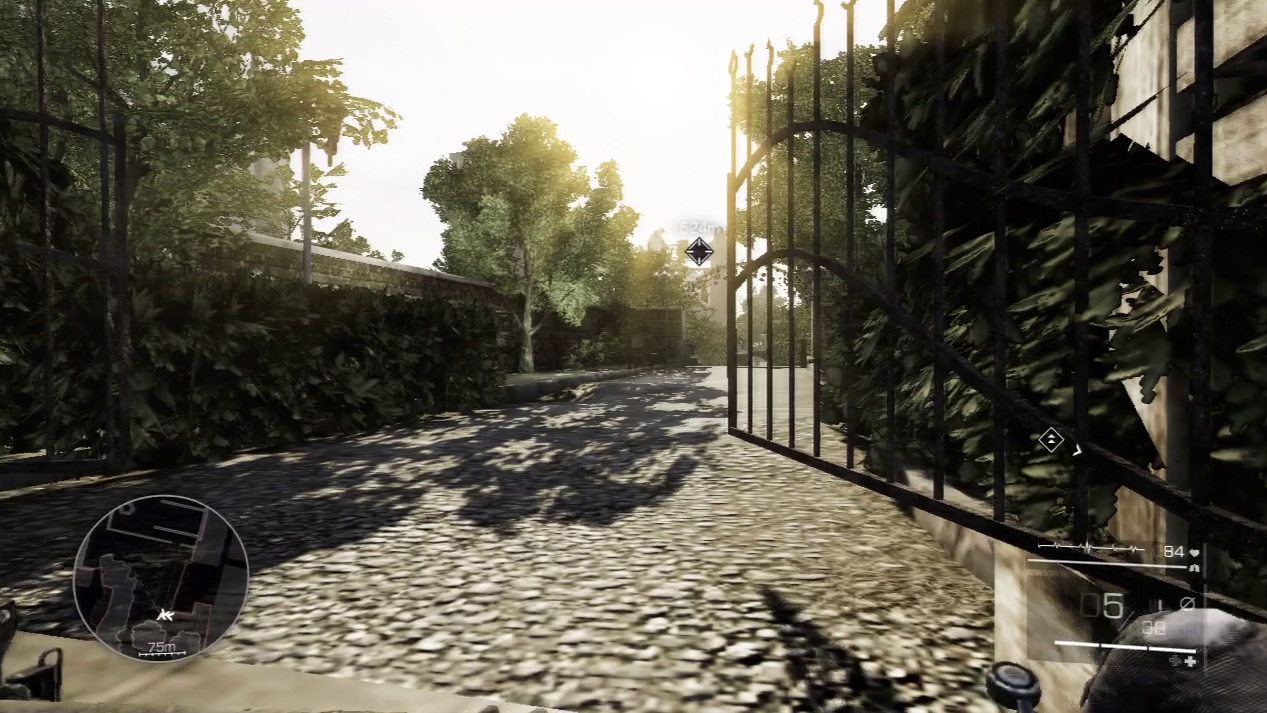
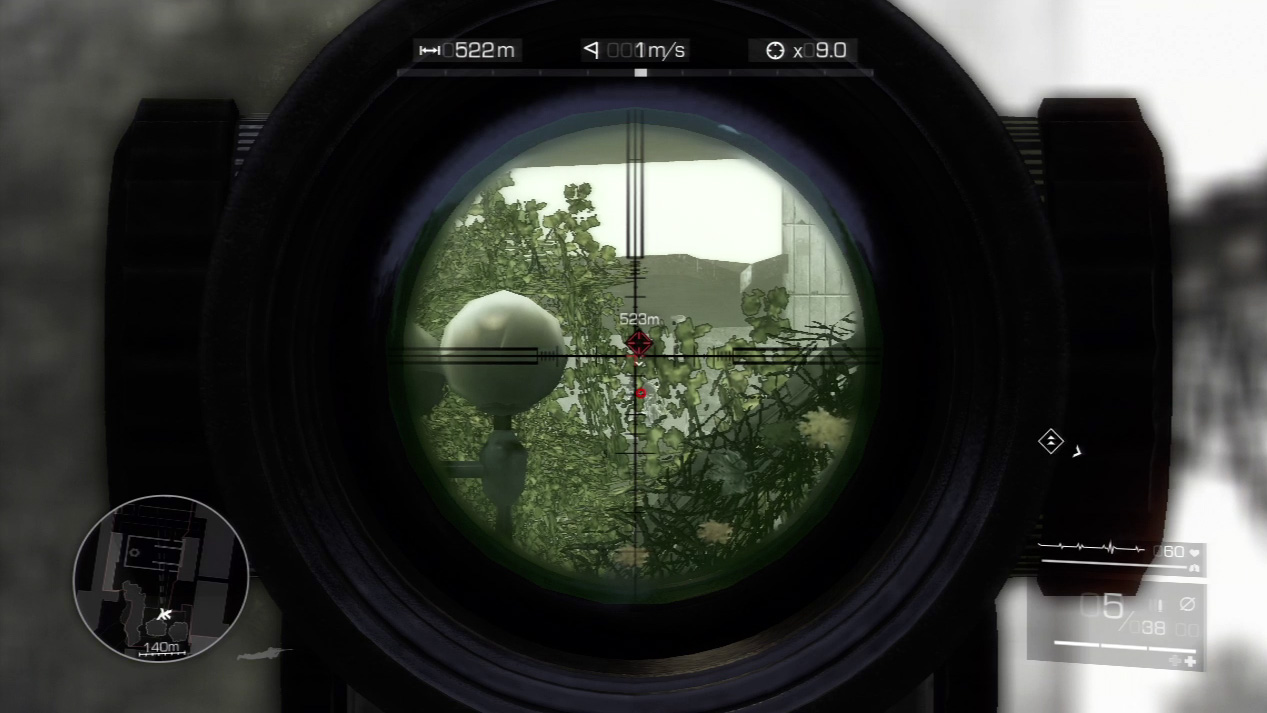
Before you even step foot inside the park, you have to deal with the sniper on the far side of the grounds. Zoom in on the treeline in front of the sniper and wait for your Hit Indicator to glow red.
Pull the trigger with a glowing indicator to send a bullet rocketing through the leaves and into the sniper’s body.
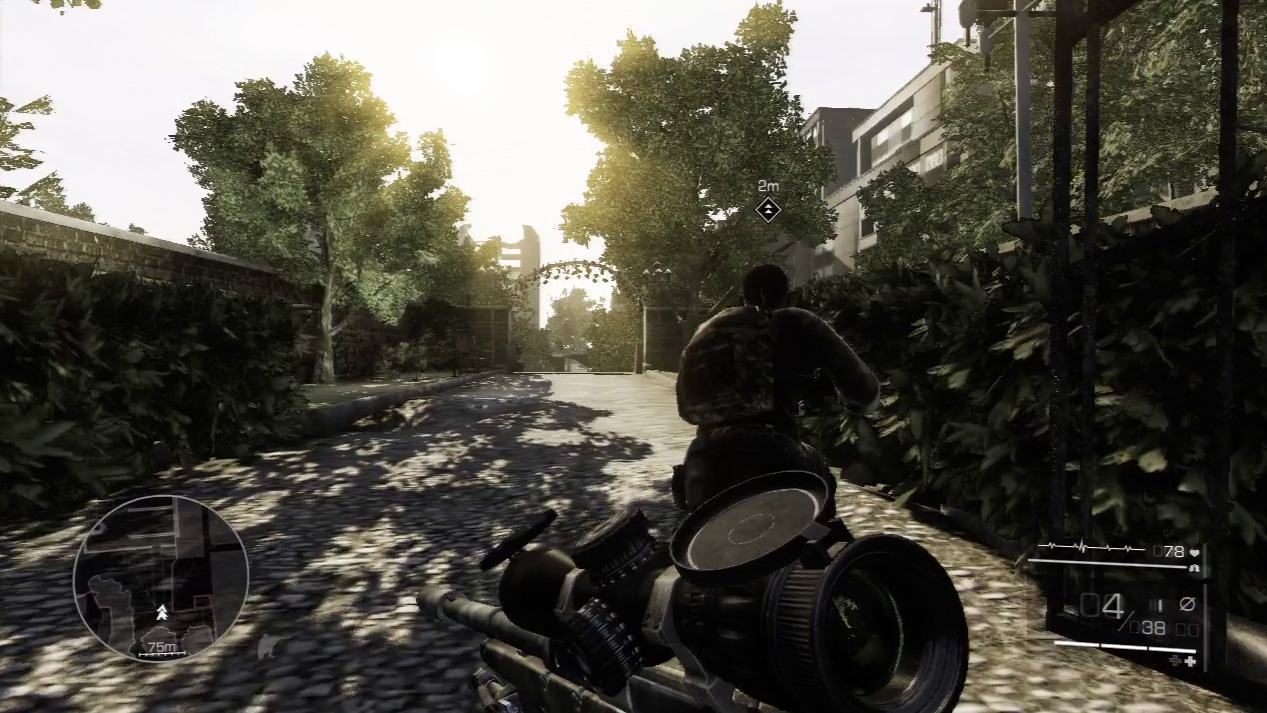
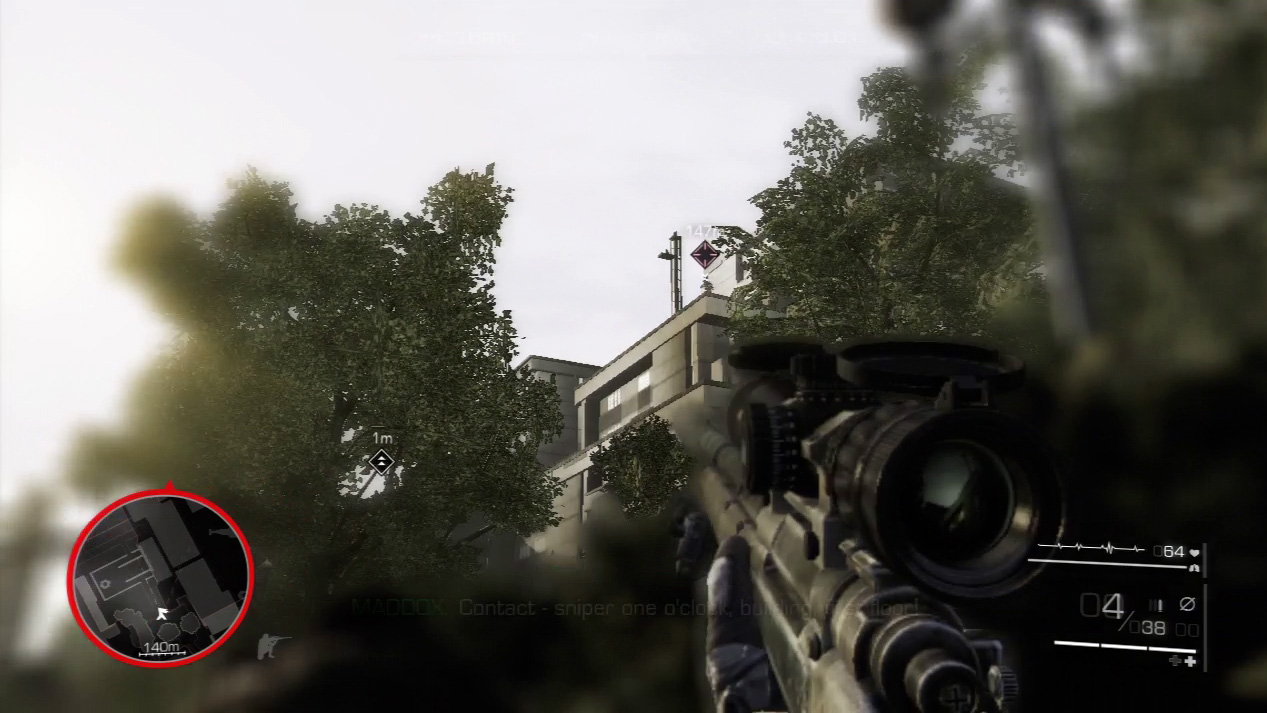
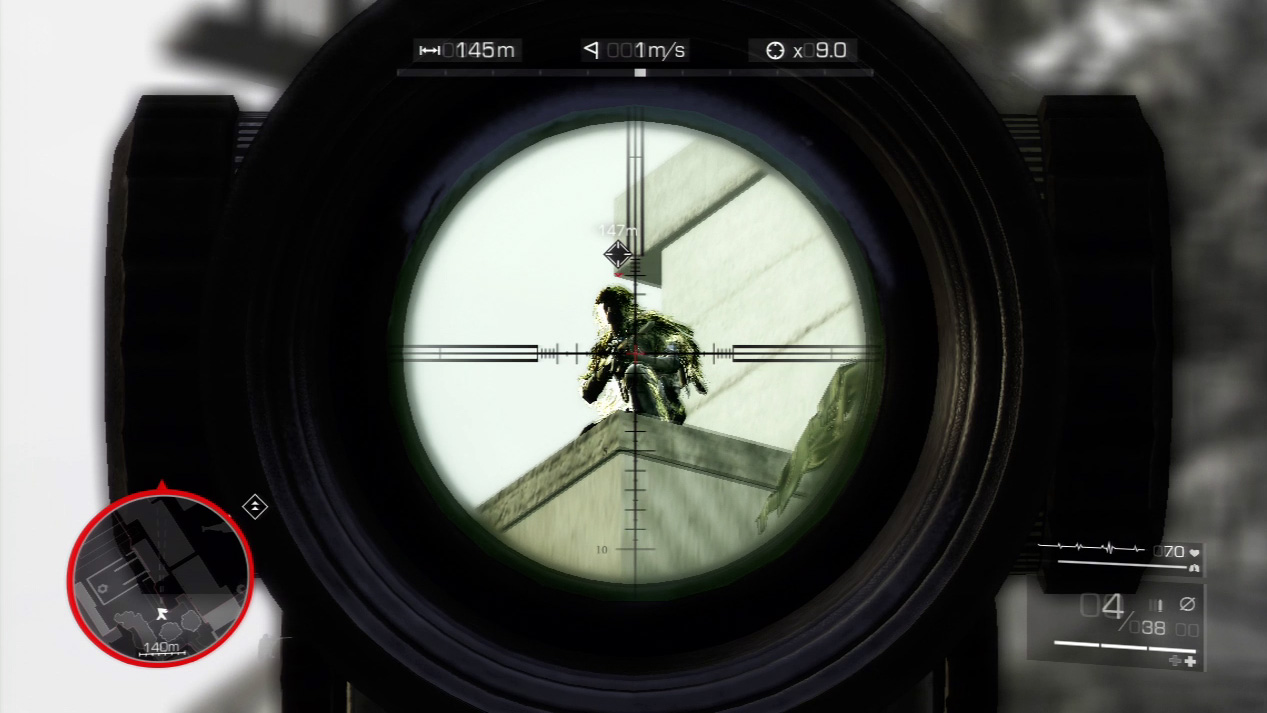
Stay close behind Maddox as he cautiously enters the park. Another sniper will attempt to wing you from the rooftop to your immediate right. Focus over the hedges and clip him with a deadly bullet.
Waypoint 14
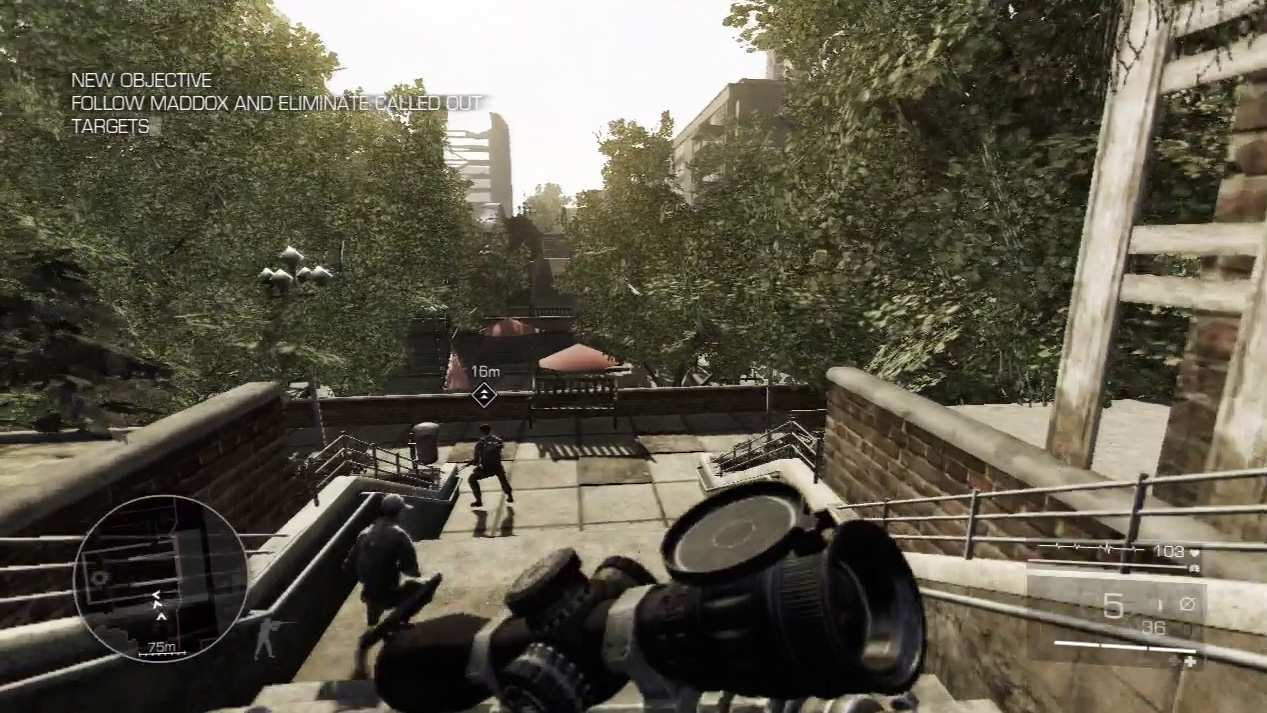
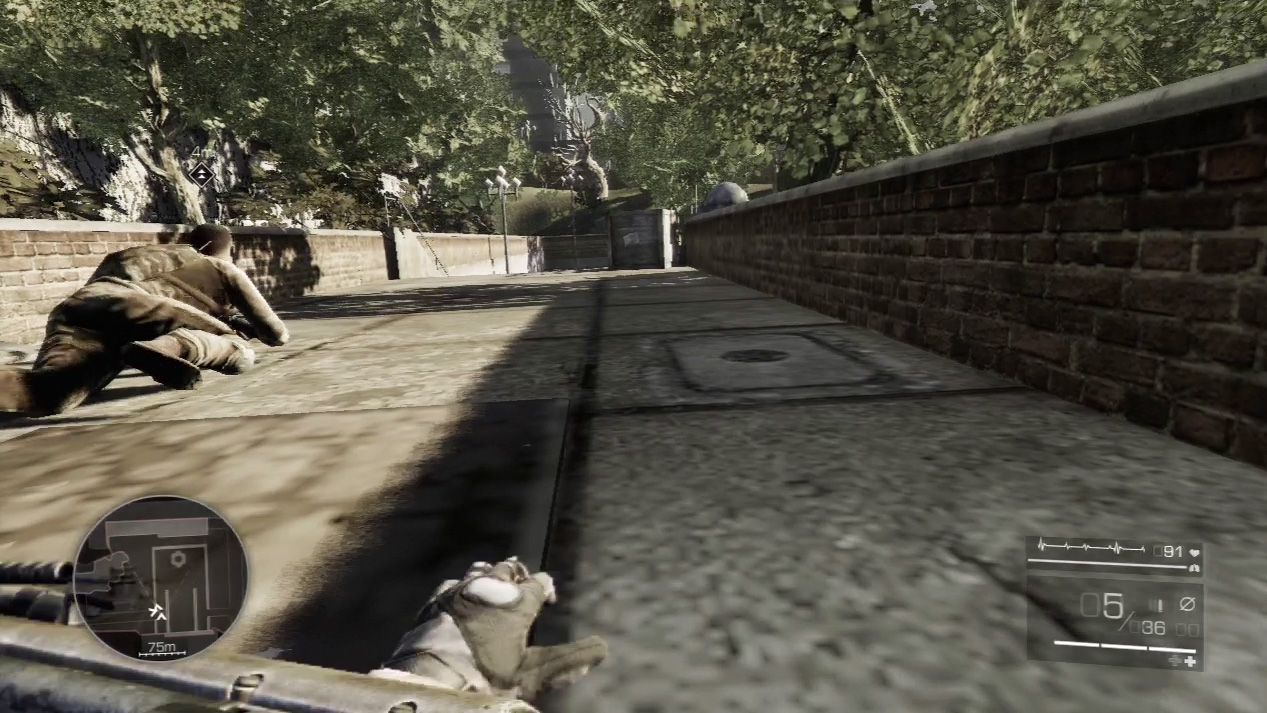
Run with Maddox till you descend the next staircase. Enemies patrol the area below the staircase landing; you want to drop prone on the landing and crawl with the small wall offering you protection.
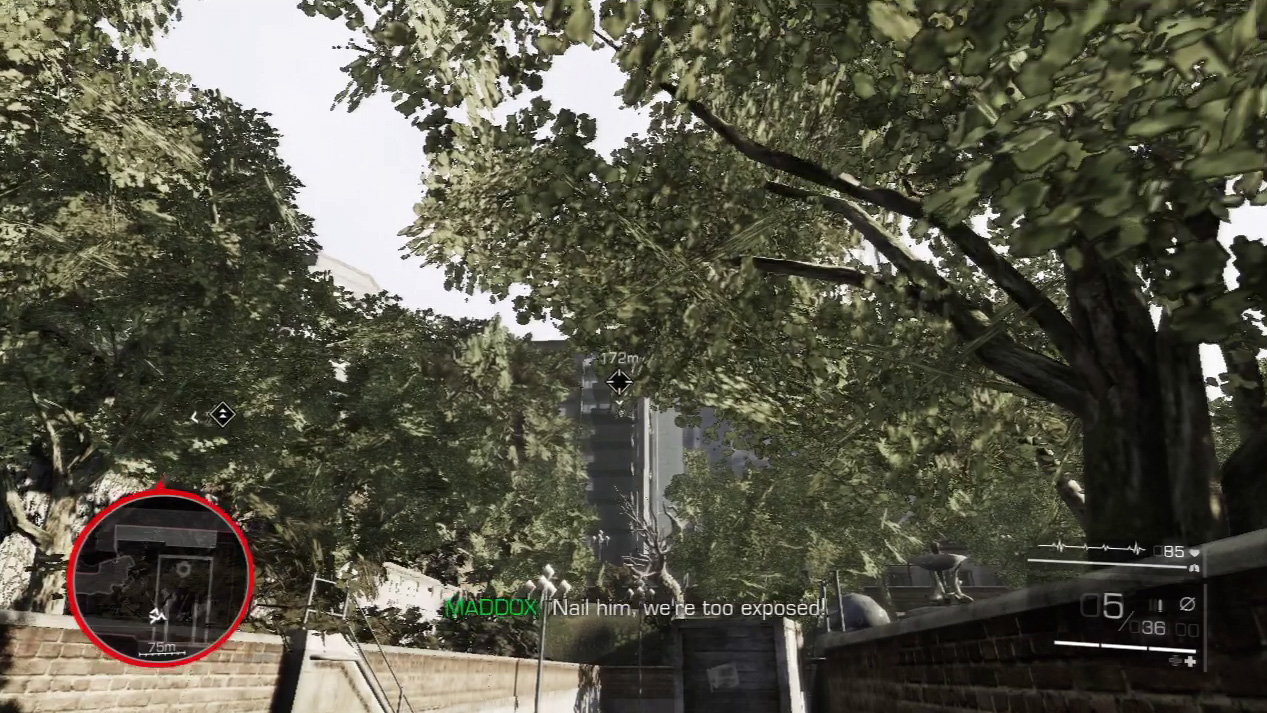
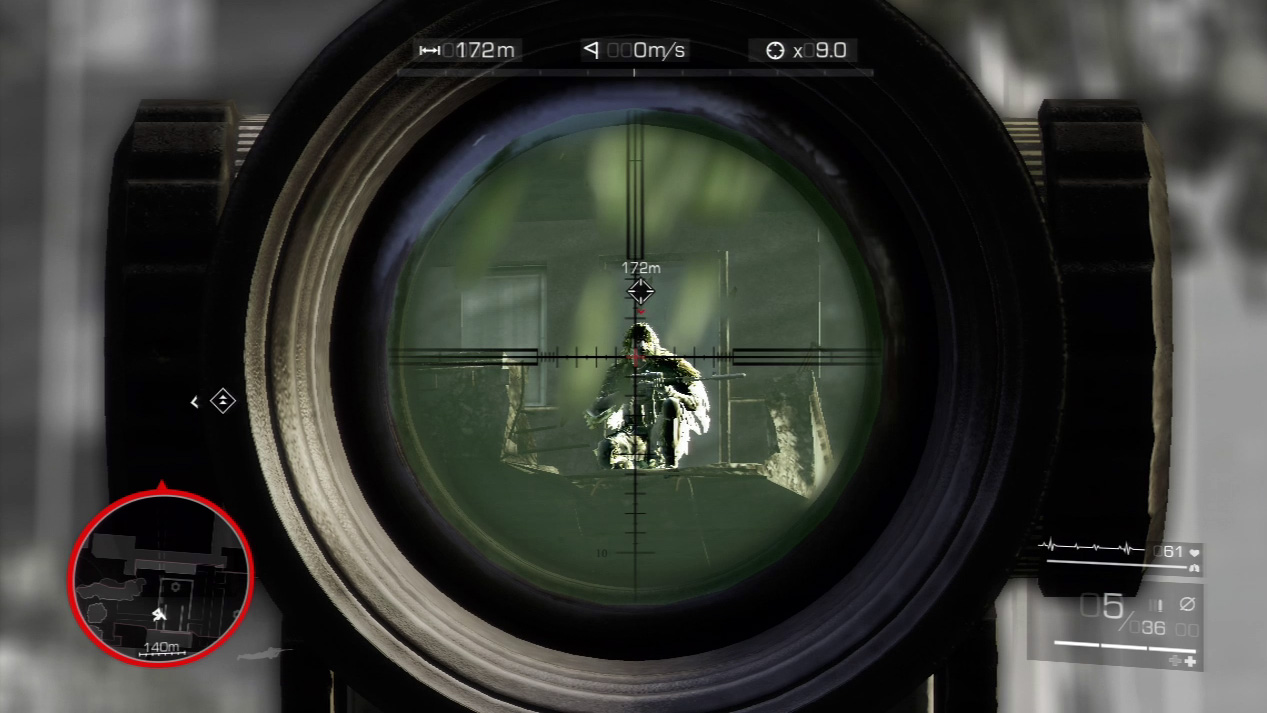
Unfortunately, an enemy sniper in the apartment complex across the street has a great view of your sidewalk. You won’t have much time to zoom in on the top of the apartments and kill the sniper on the balcony before he can kill you.
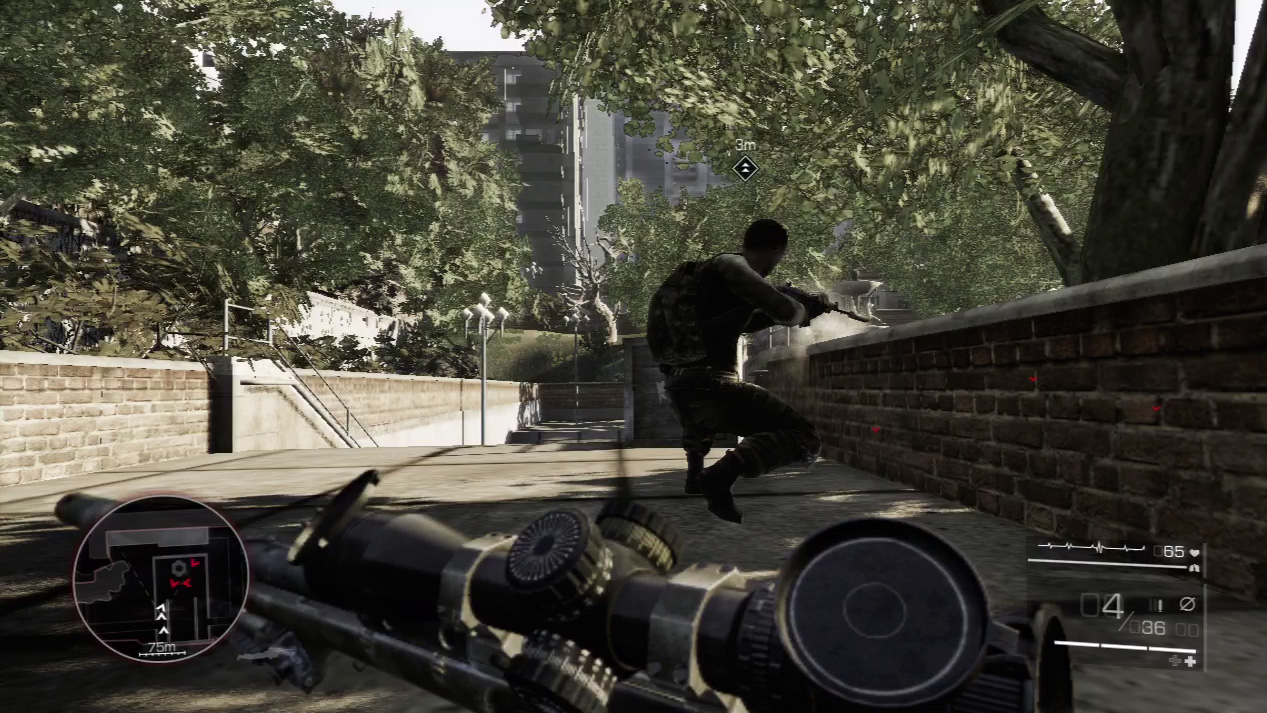
Near the end of the small wall, Maddox begins to unload on the nearby enemies. Jump up into a crouch and help him eliminate the enemy trio before leaving your cover spot.