
Sniper Ghost Warrior 2 Guide Walkthrough Mission 10: No Loose Ends
10.2 Waypoints 1-7
Waypoint 1
You climb up a steep cliff face to reach the mission entry point. Lock and load, then follow Diaz to your first enemy encounter.
Waypoint 2
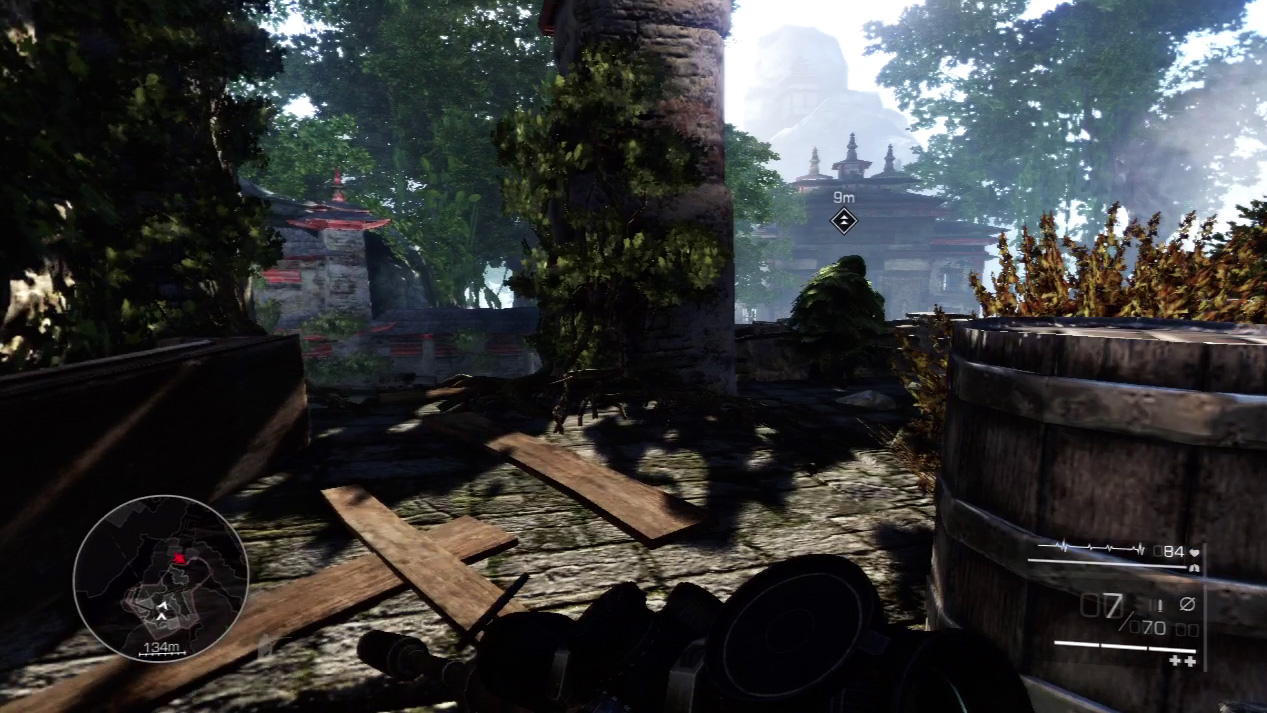
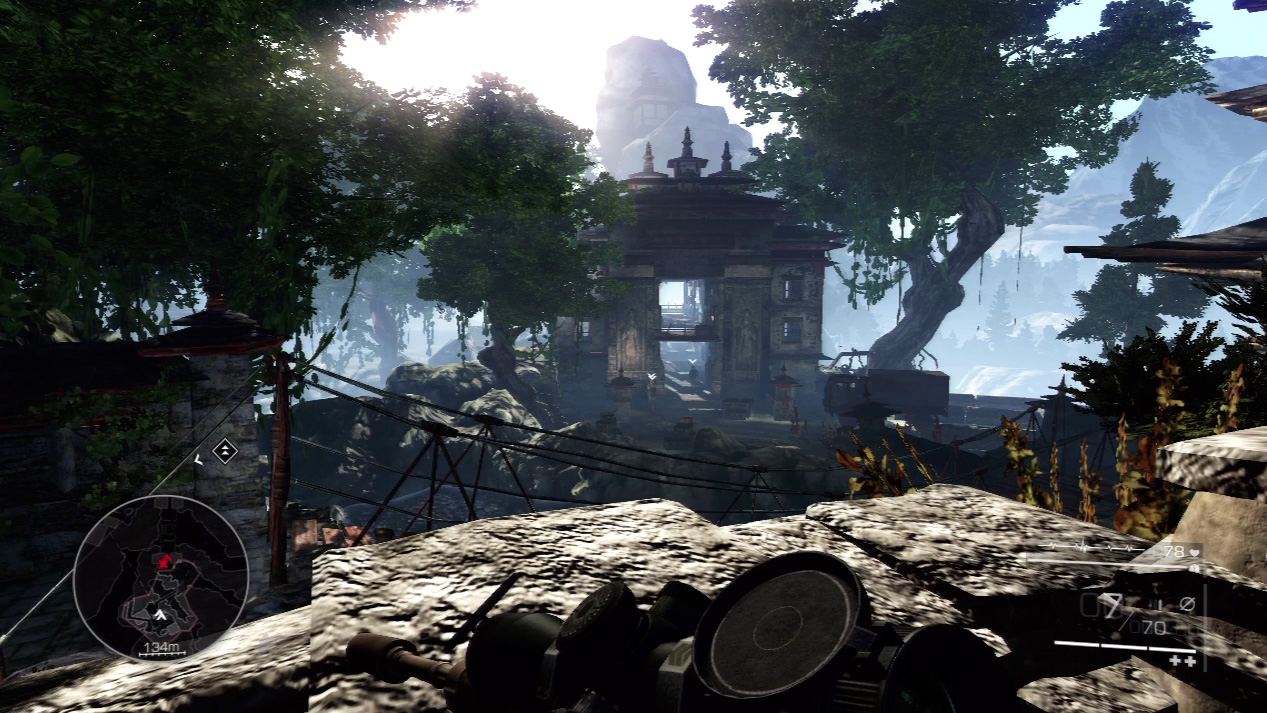
Crouch next to Diaz atop the balcony and survey the scene in front of the first bridge. Three enemies guard the approach. One walks back and forth between the distant pillars, and two talk in the foreground.
If you shoot any one of them, without a little subterfuge, the other two will go into defensive mode and you’ll have a firefight on your hands.
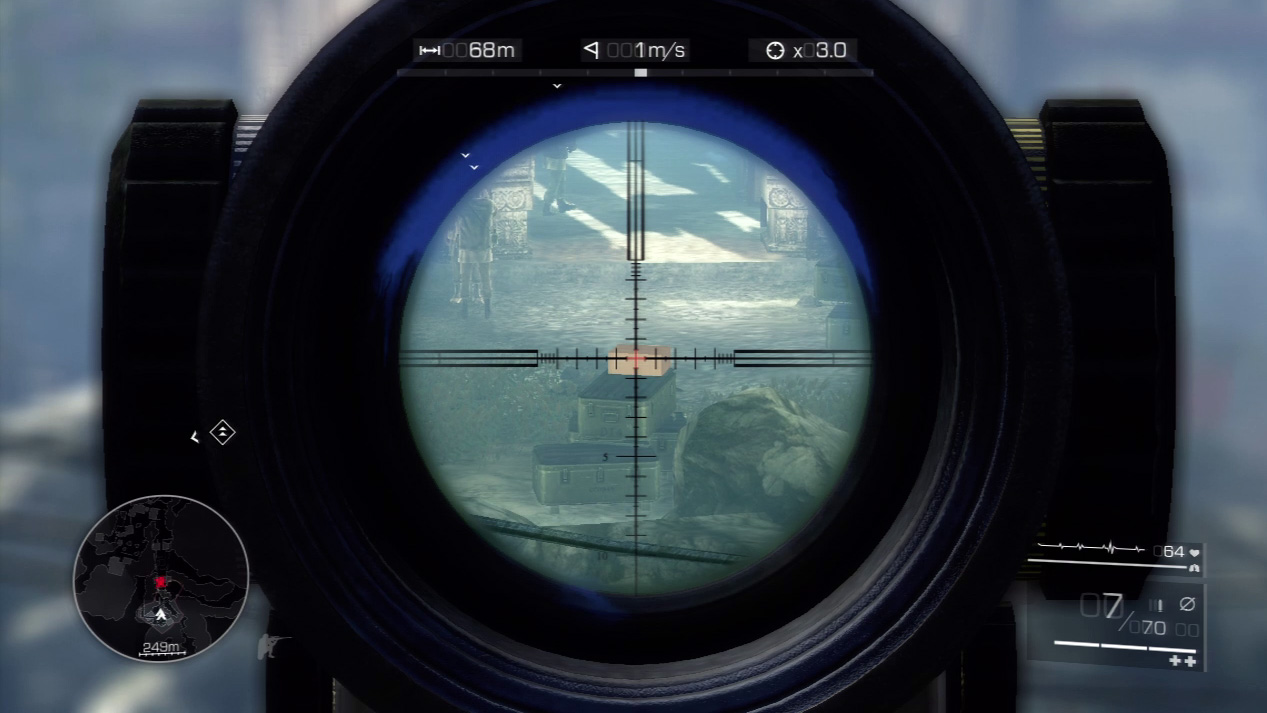
There’s an answer to your dilemma in the form of the electronics on top of the chests in front of the talking guards. Shoot the radio to cause a distraction.
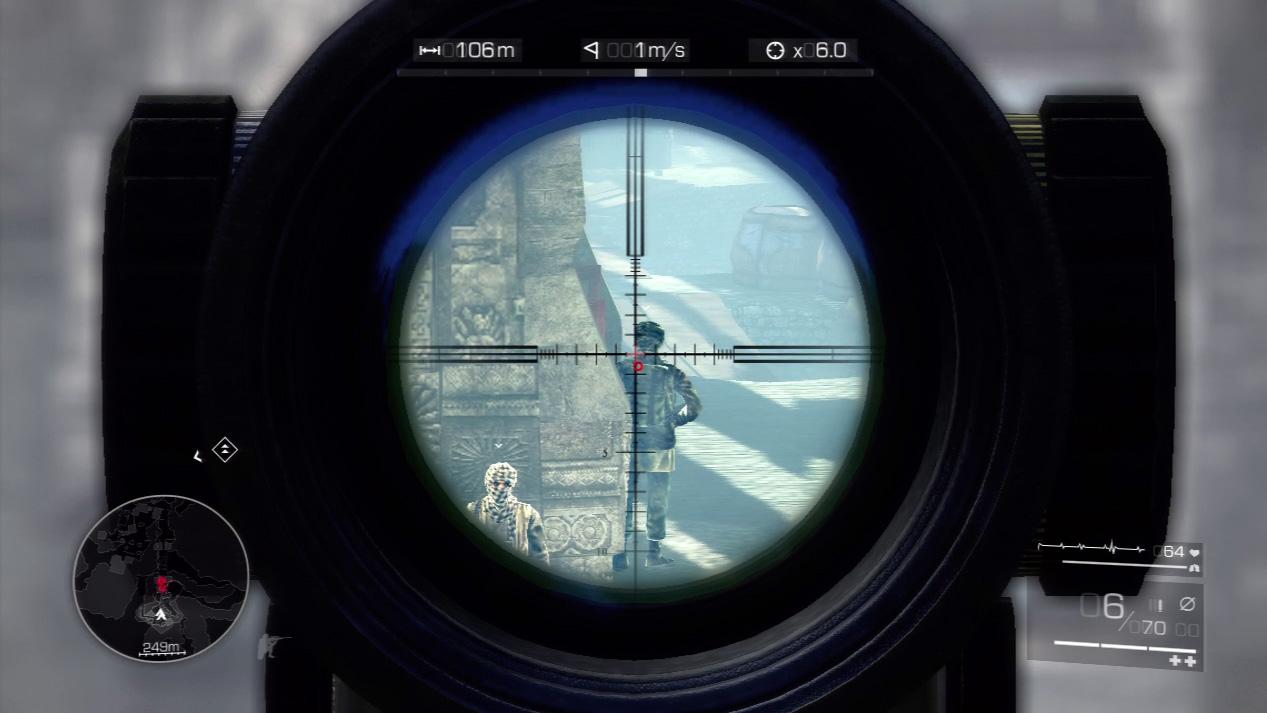
One of the talking guards breaks off and investigates the radio. While he walks over to it, sight on the rear guard. Pick him off behind the others and no one but you will notice.
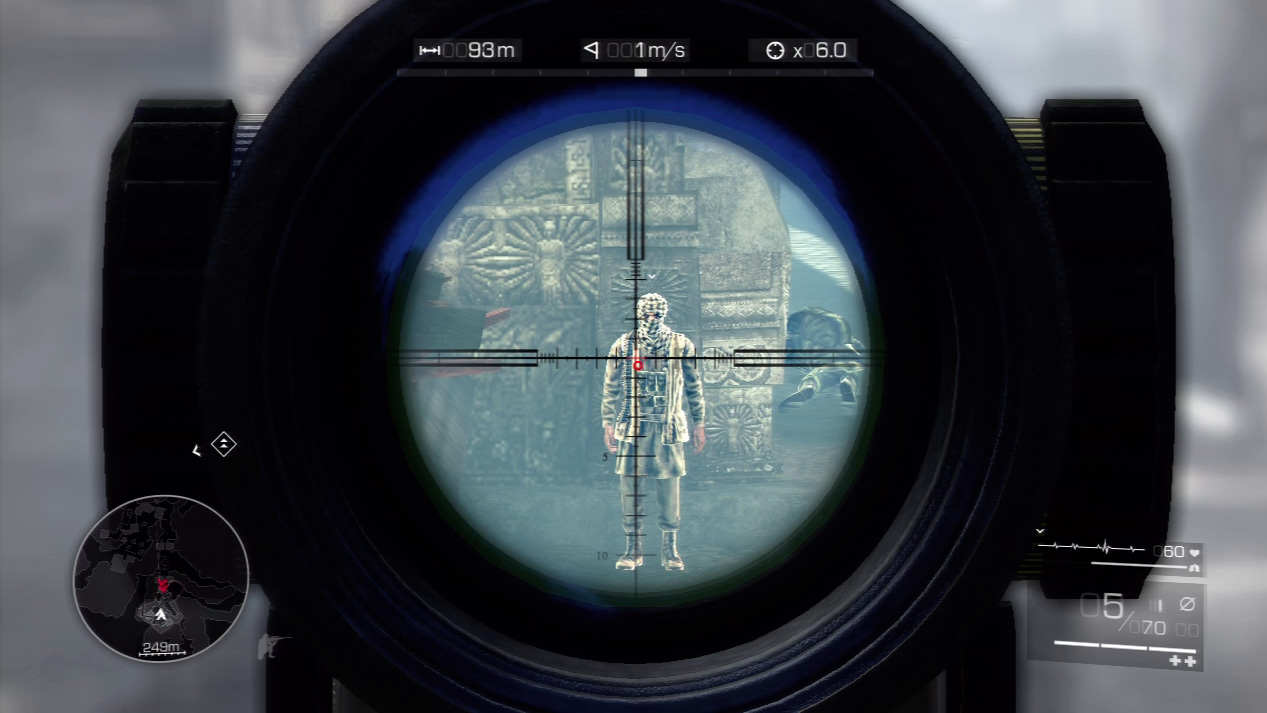
Next, zoom on the second guard. If you shoot him while the third guard checks out the radio, you can succeed with a second quiet kill.
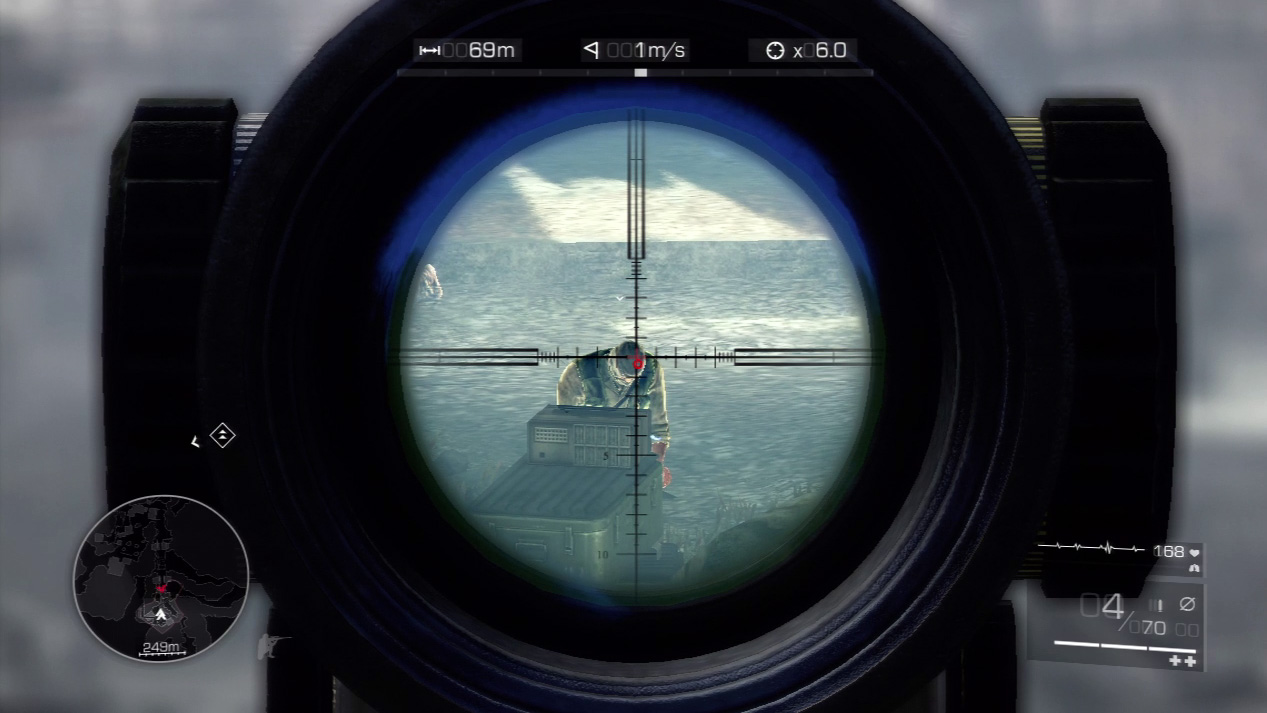
Finally, zoom on the third enemy squatting by the radio. He’s be oblivious to the carnage behind him. End it with a single headshot.
Waypoint 3
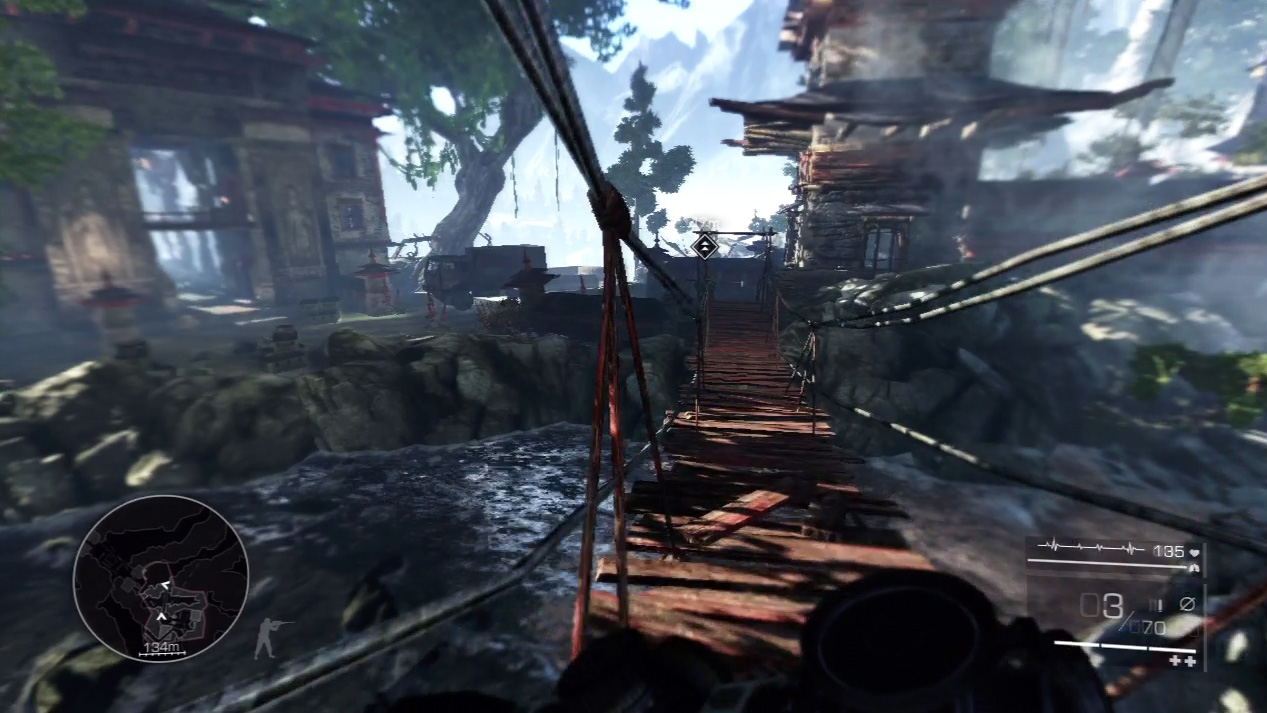
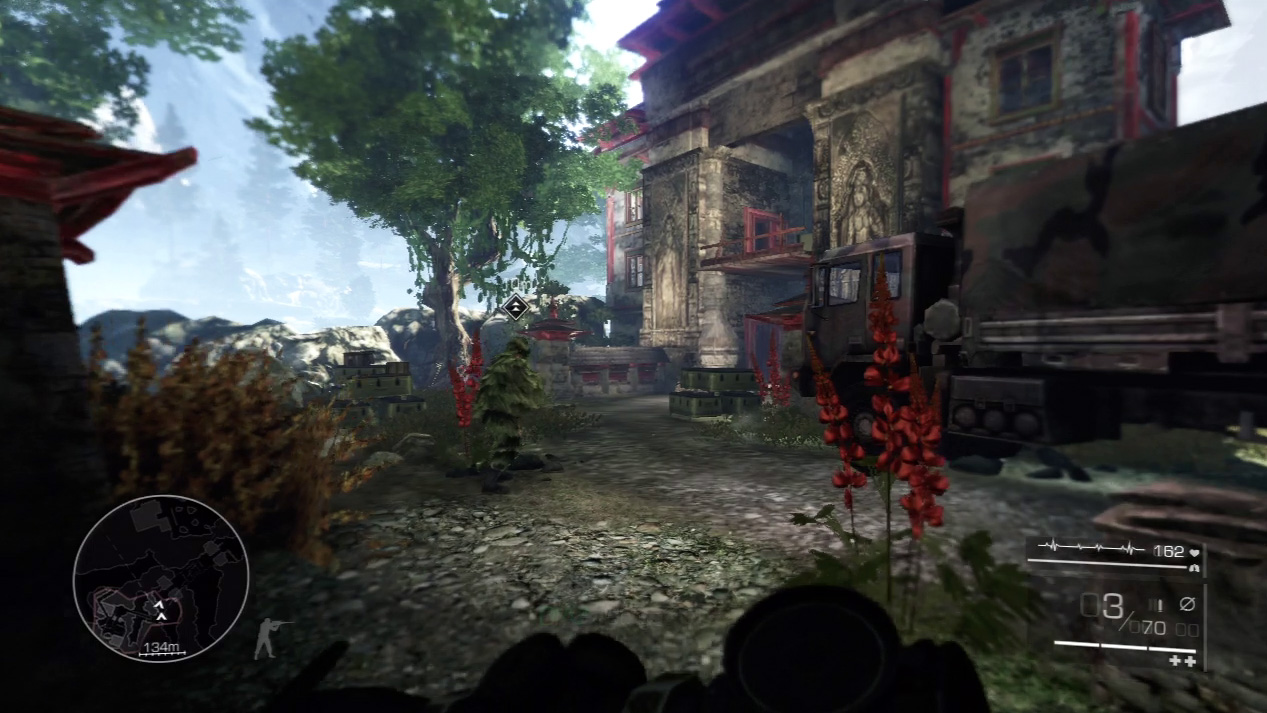
Cross the first bridge and run after Diaz to the ruins. As you approach, Maddox makes first contact with you. He’s not happy.
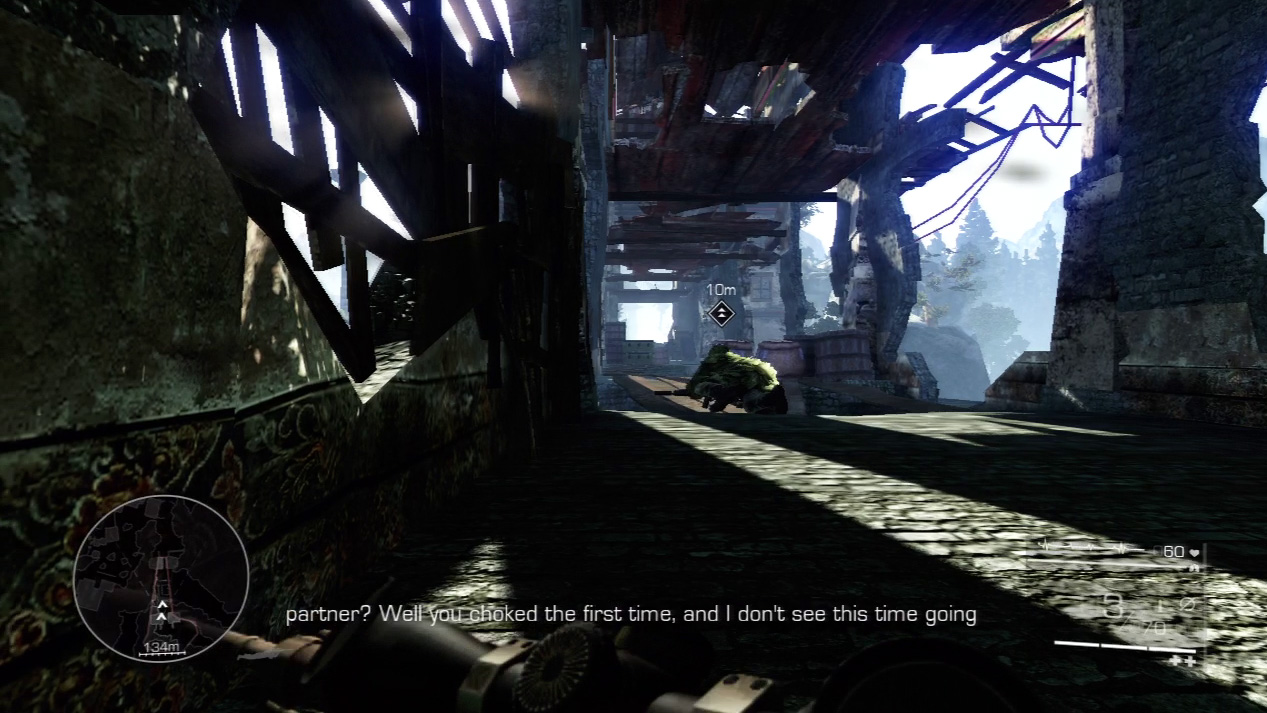
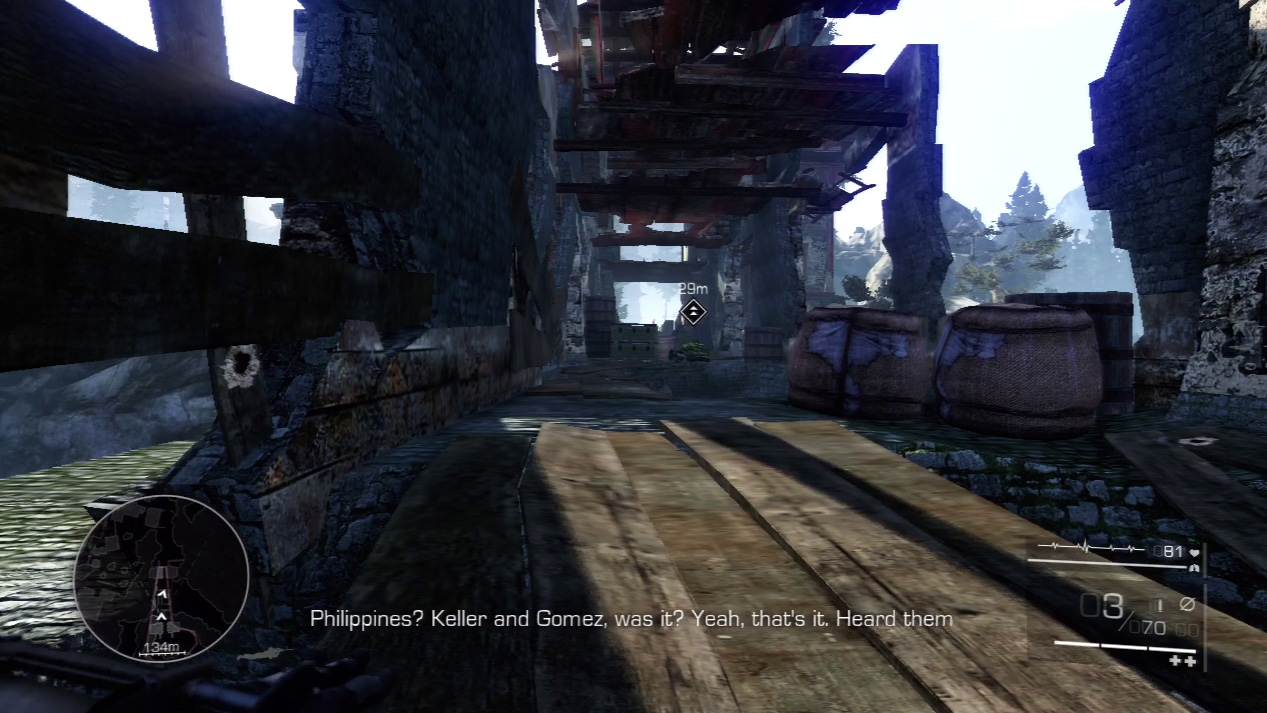
Drop into a crawl as Maddox opens fire on you. Because you can’t spot him, you’re dead meat if you attempt anything but the prone position. Elbow by elbow, inch forward and cross over the wooden planks that bridge the gaps in the stone walkway.
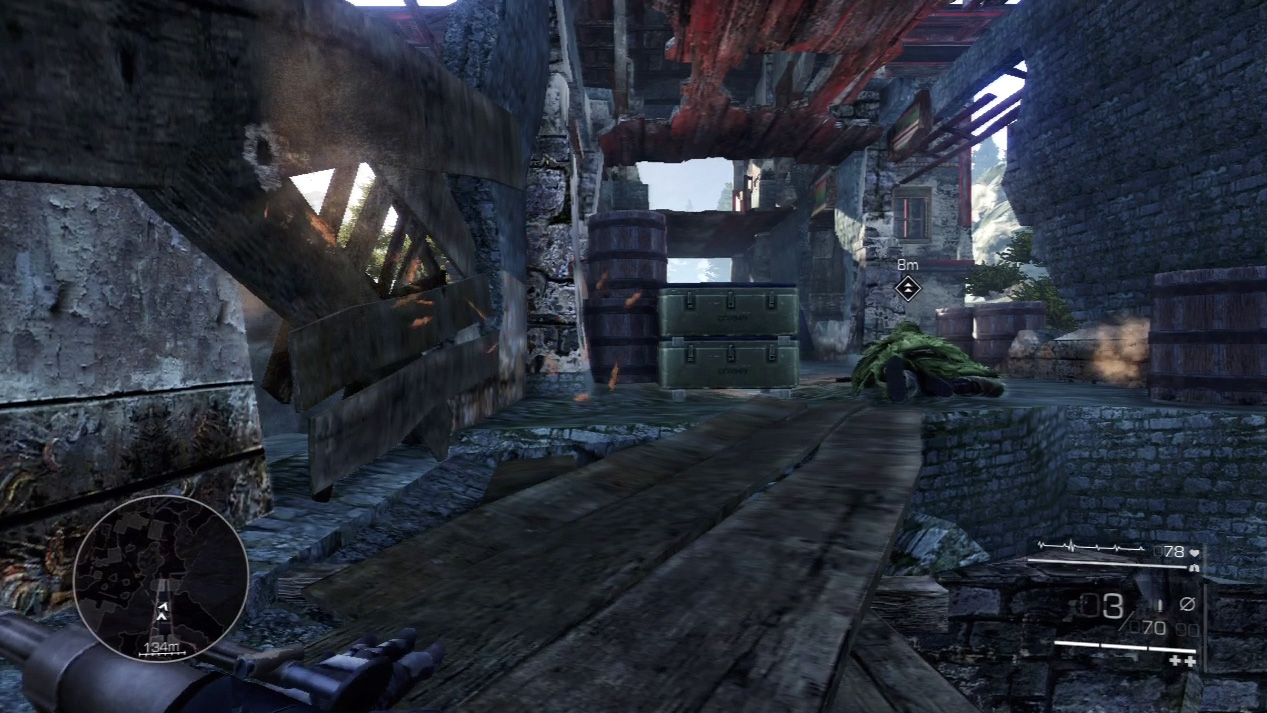
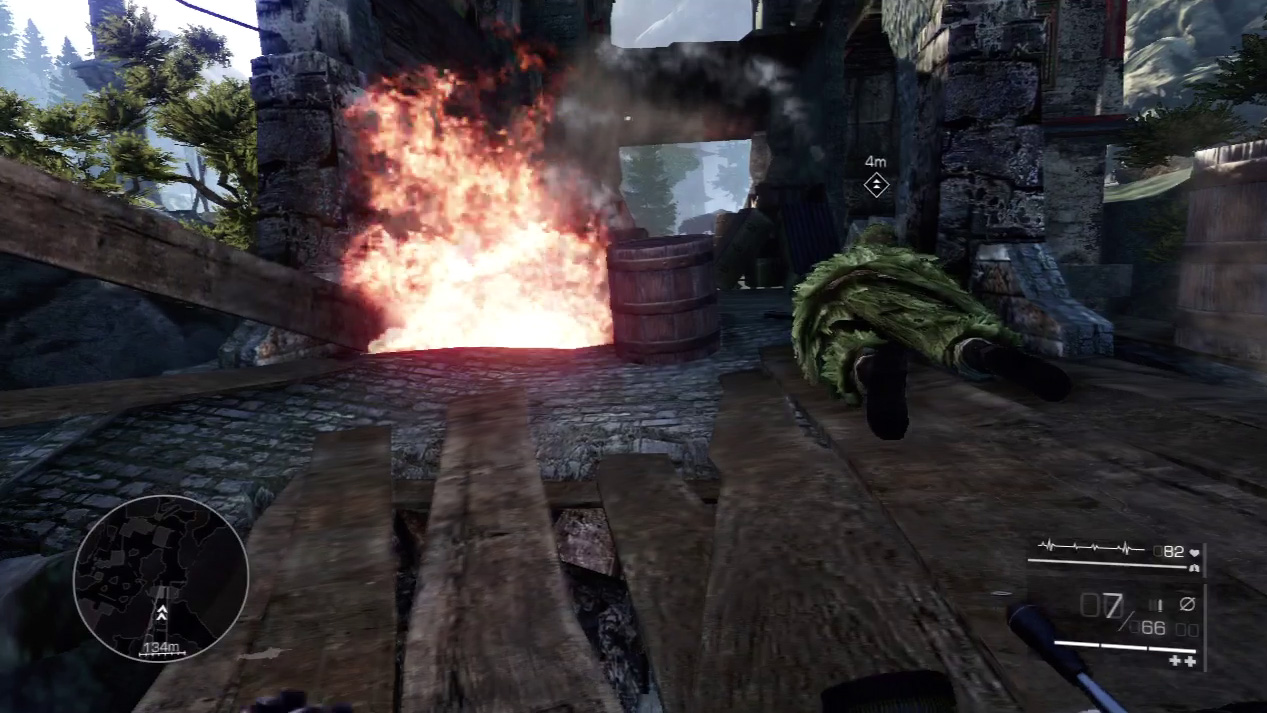
Continue forward, even as Maddox’s bullets whiz by you. One of Maddox’s bullets explodes a flammable barrel near the end of your crawl. After you pass the burning barrel, you can rise to a crouch again.
Waypoint 4
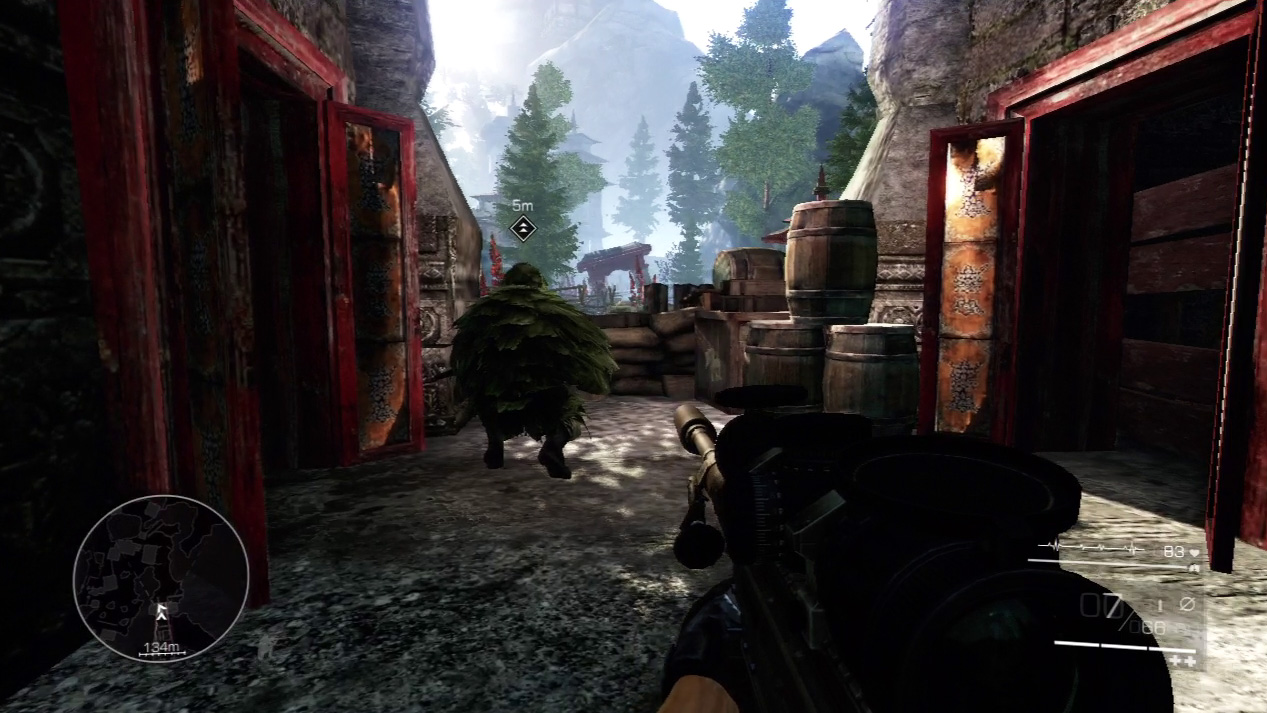
You face a big expanse at the end of the ruins. From Maddox’s vantage point, he will murder you if you attempt to cross it out in the open.
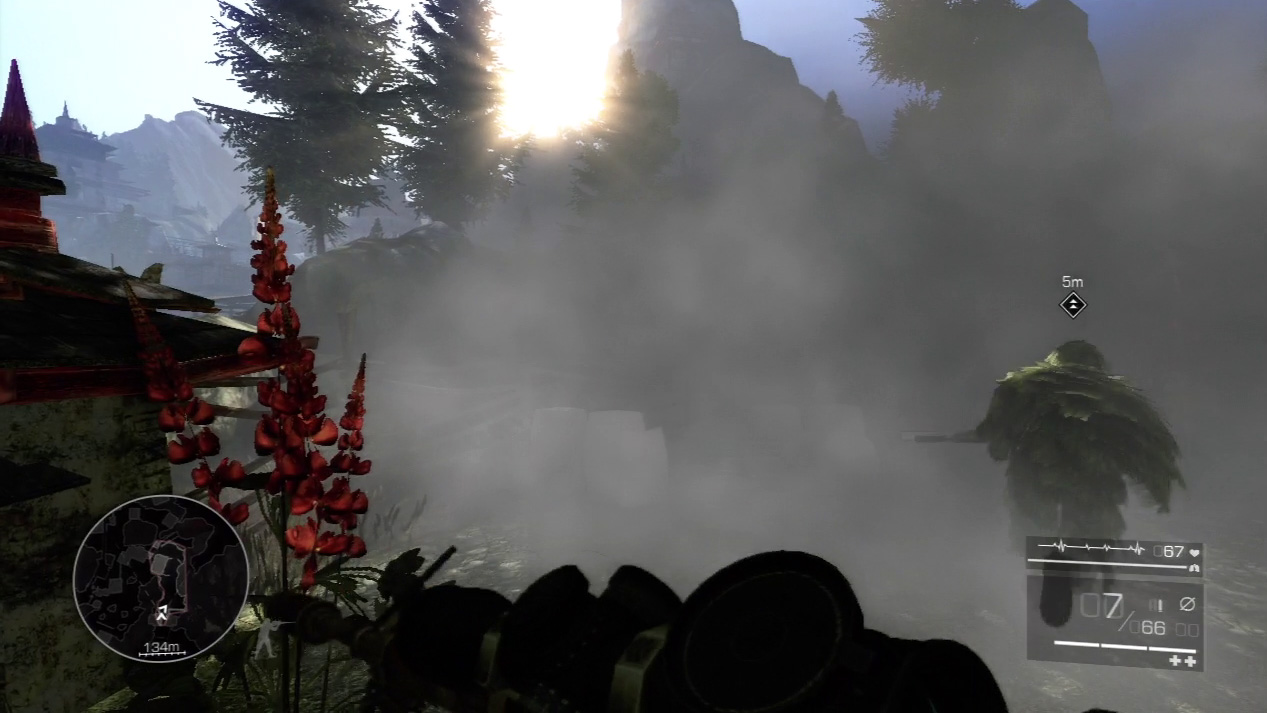
Diaz has an idea and lobs a gas canister ahead. When you see the smoke billowing up, hop the sandbags and sprint after Diaz.
So long as you race through the smoke and cross the field under the gray cover, you’ll be fine.
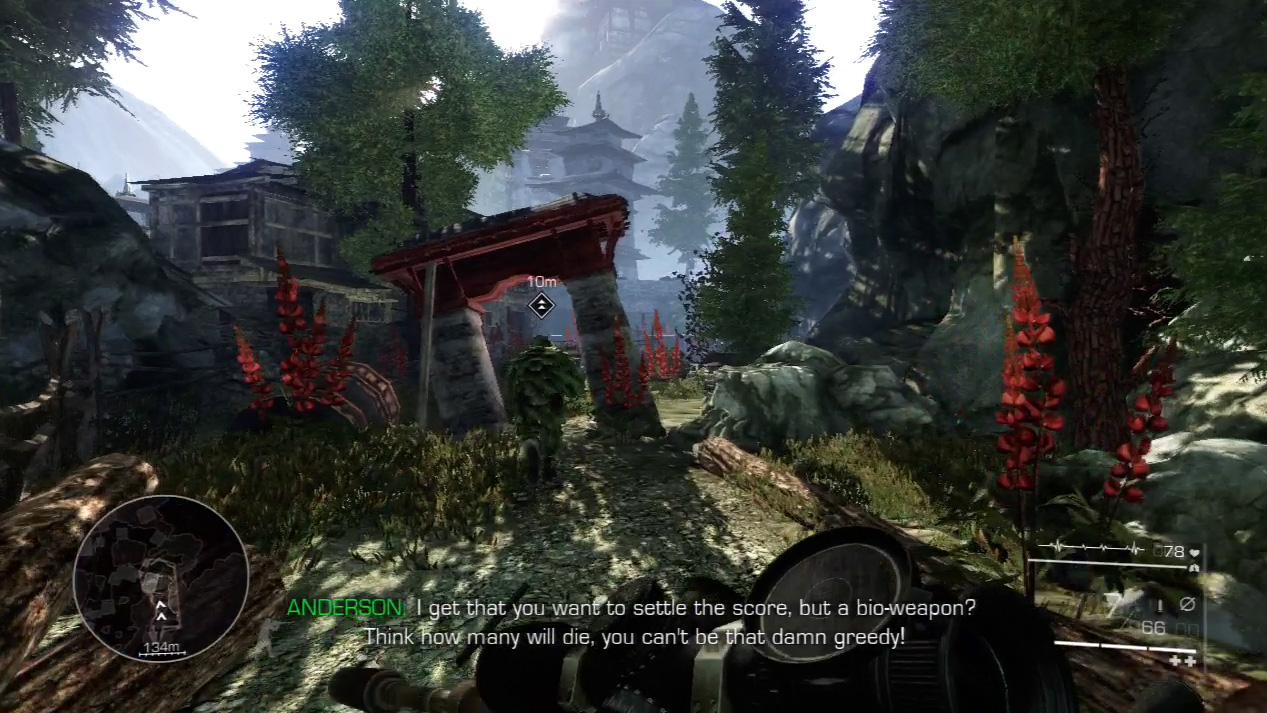
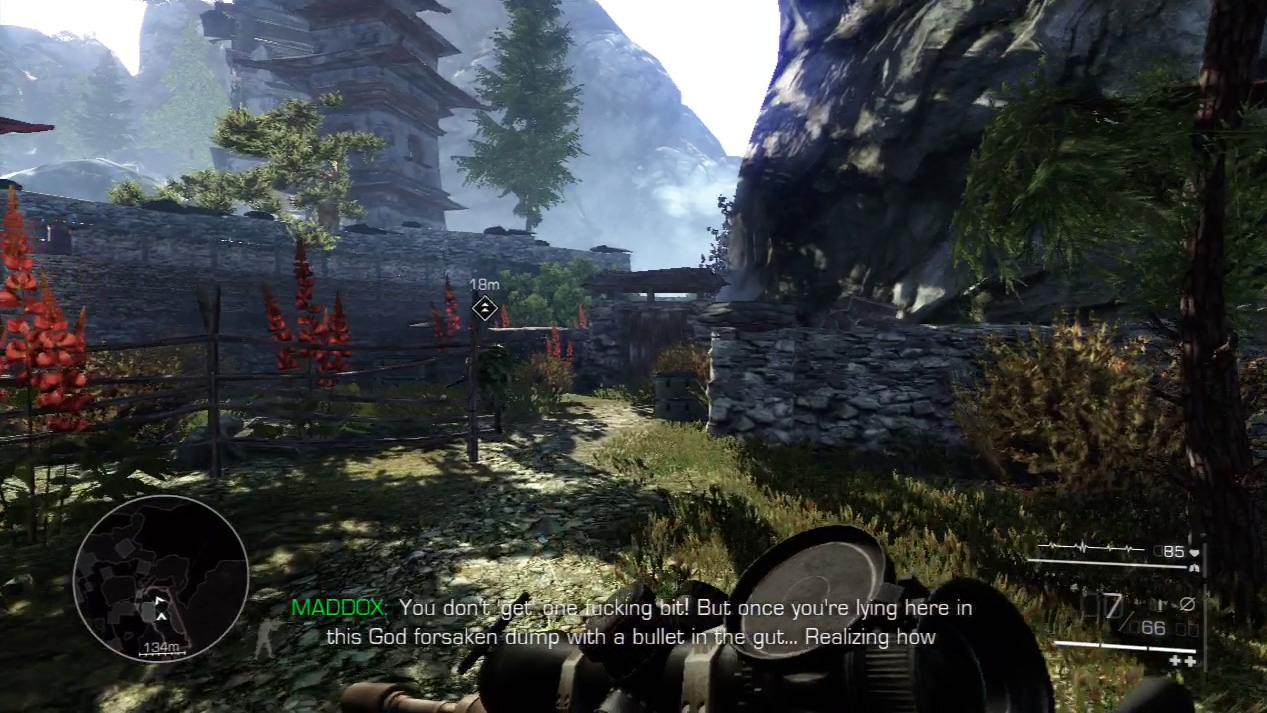
Follow Diaz through the temple grounds. Maddox will keep taunting you as you approach the next enemy encampment.
Act 3: Secret 13
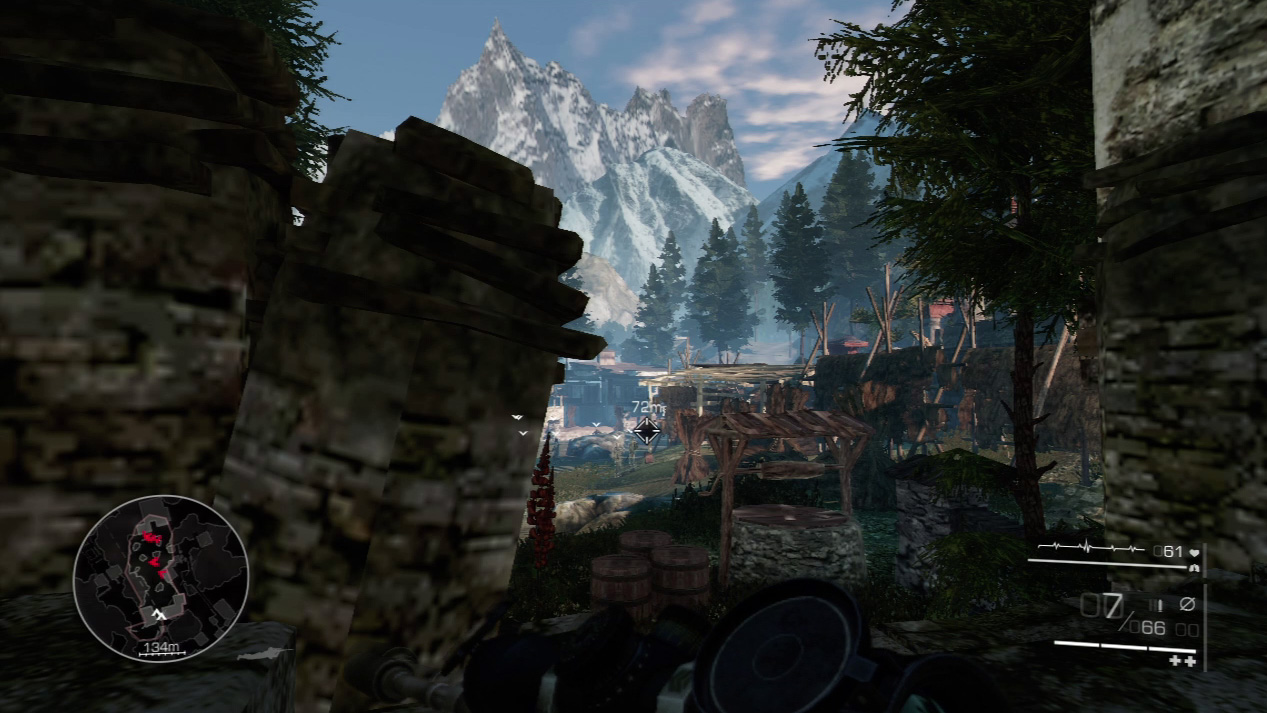
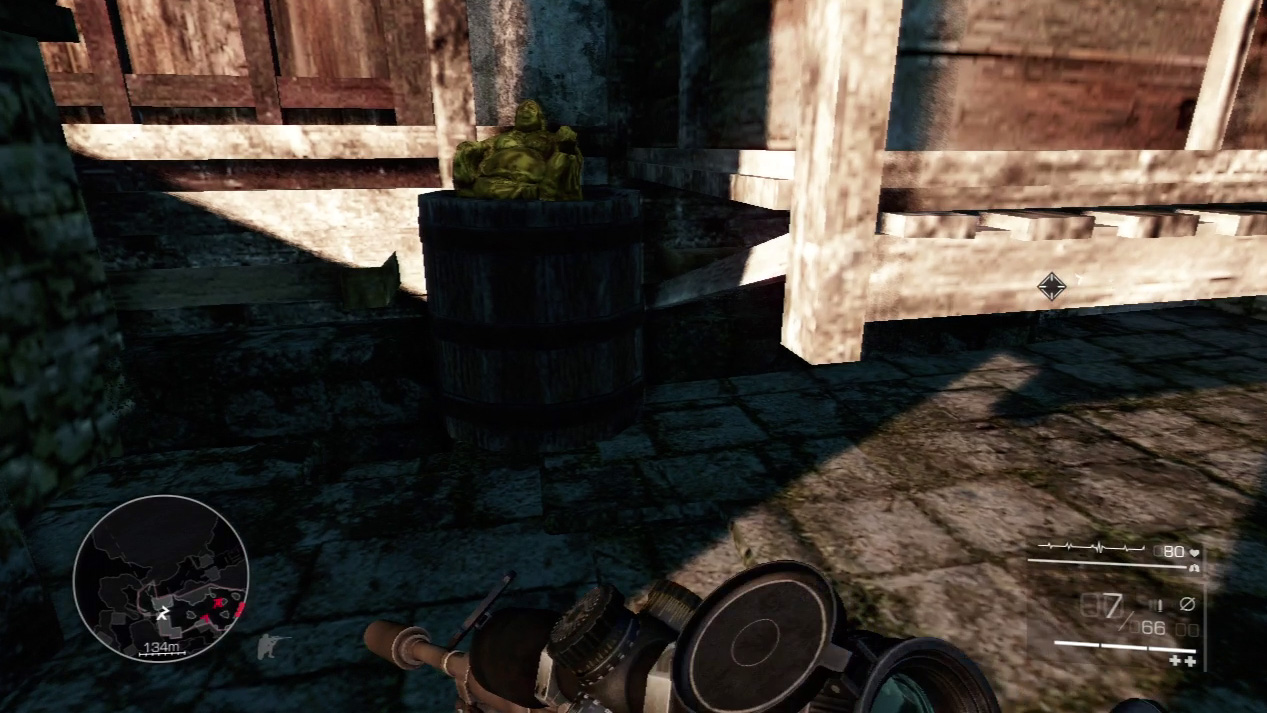
Before you destroy the fuel canister and engage all the enemies in the field, pick up the first secret of mission 10.
The monk statue rests in a small alcove to the left as you enter the balcony overlooking the field, or directly behind you from your sniping spot to take out the fuel canister.
Waypoint 5
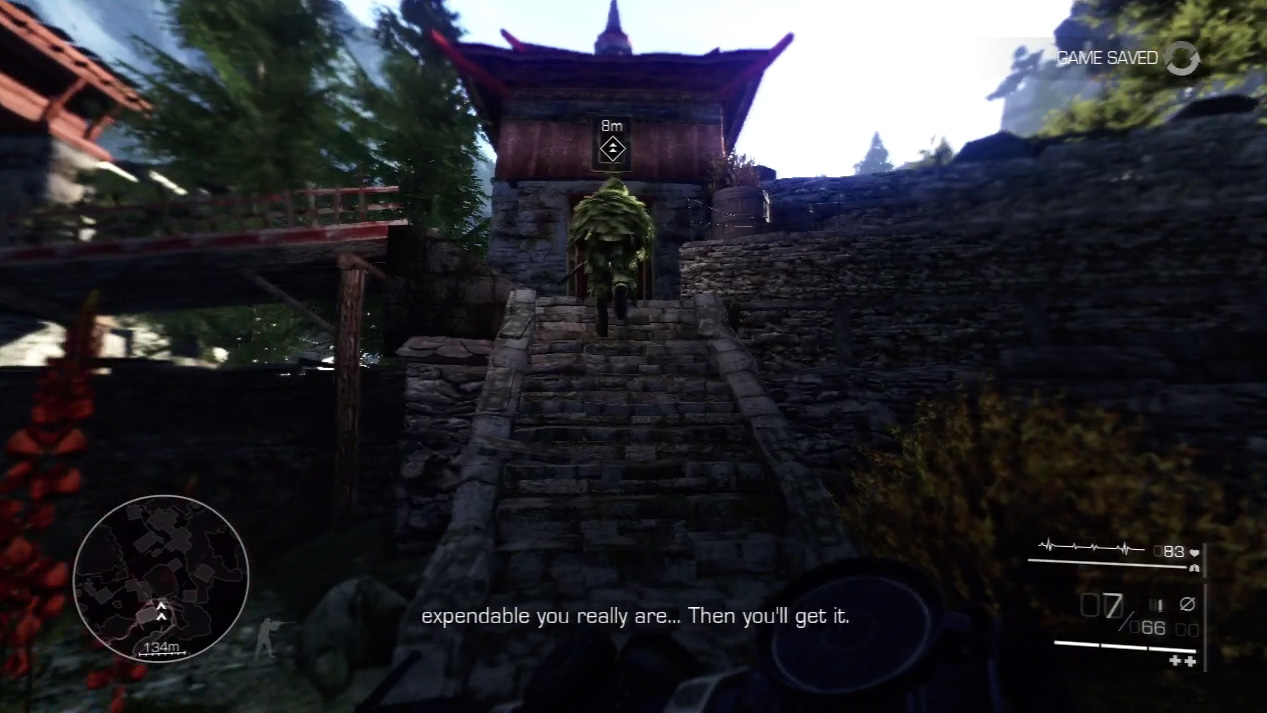
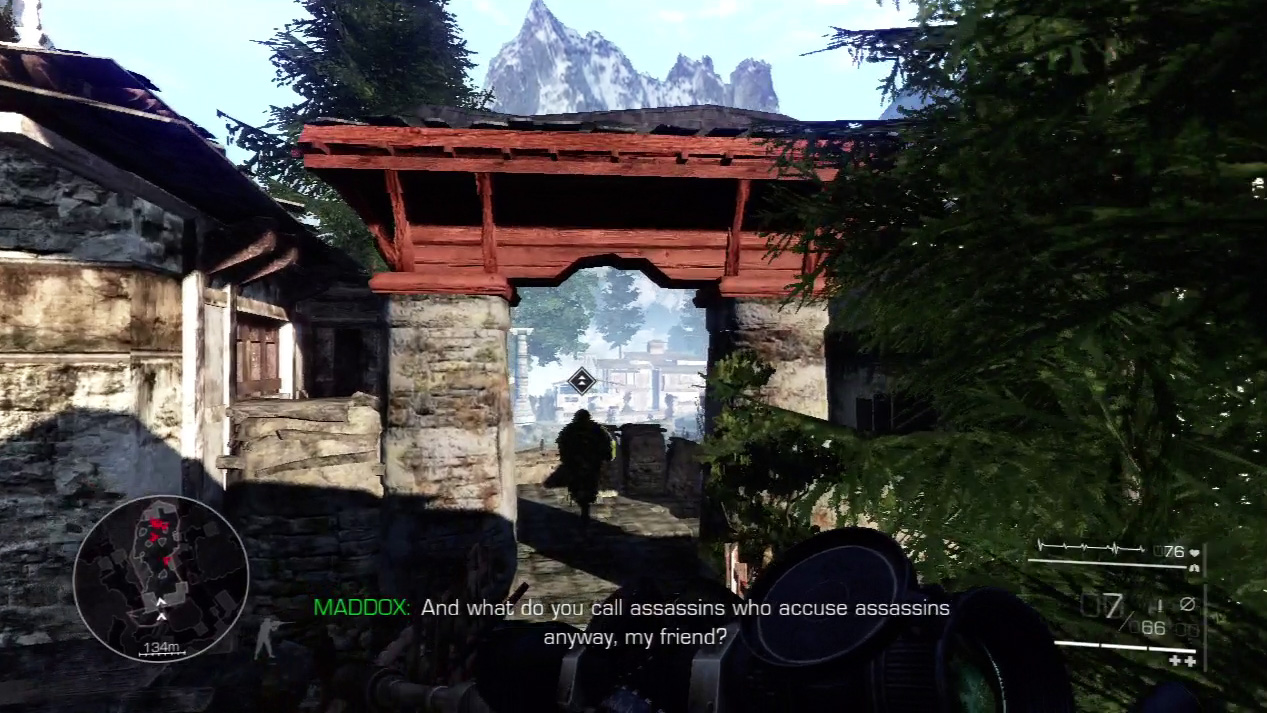
Take the stone stairs up to the balcony area overlooking an open field with several enemies.
Drop prone as soon as you come into sight of the enemy; many look in your direction and will spot you within seconds if you don’t find immediate cover.
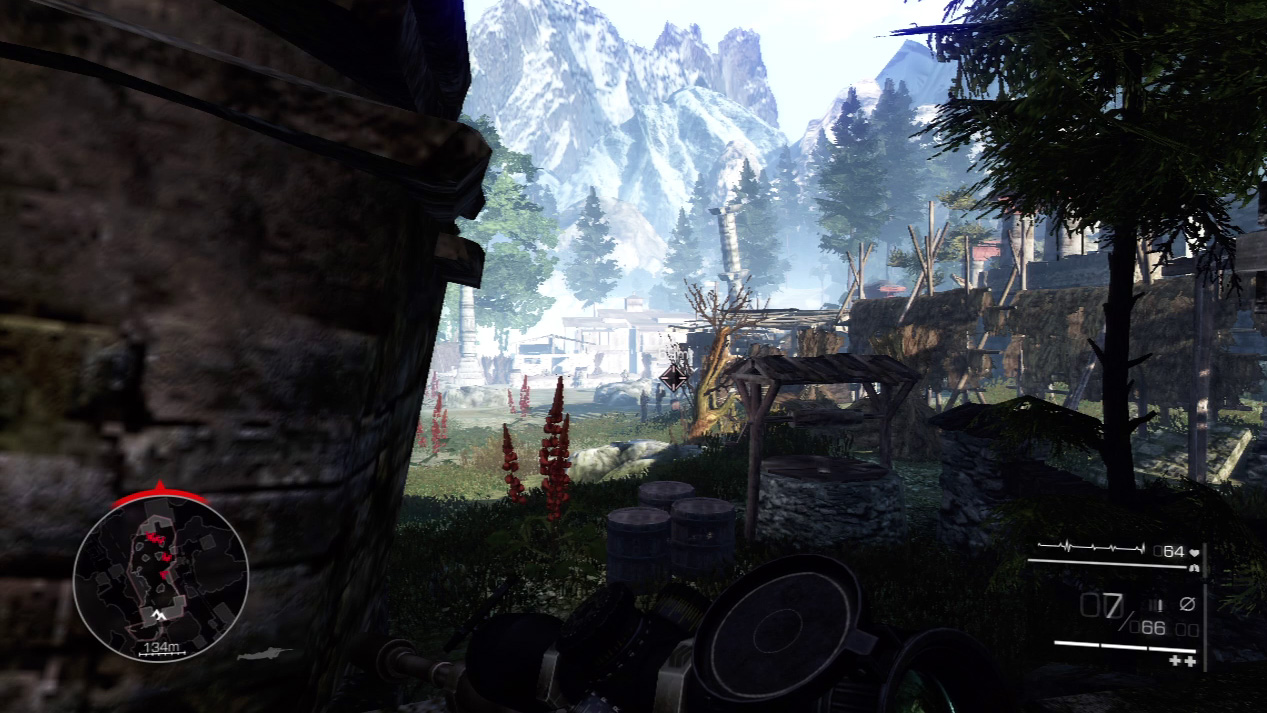
Because of enemy position, stealth is not an option in this fight. Diaz suggests a more aggressive approach, and he’ll back you up when you’re ready.
Scan the field and focus on the right side, where two enemies talk next to a flammable canister.
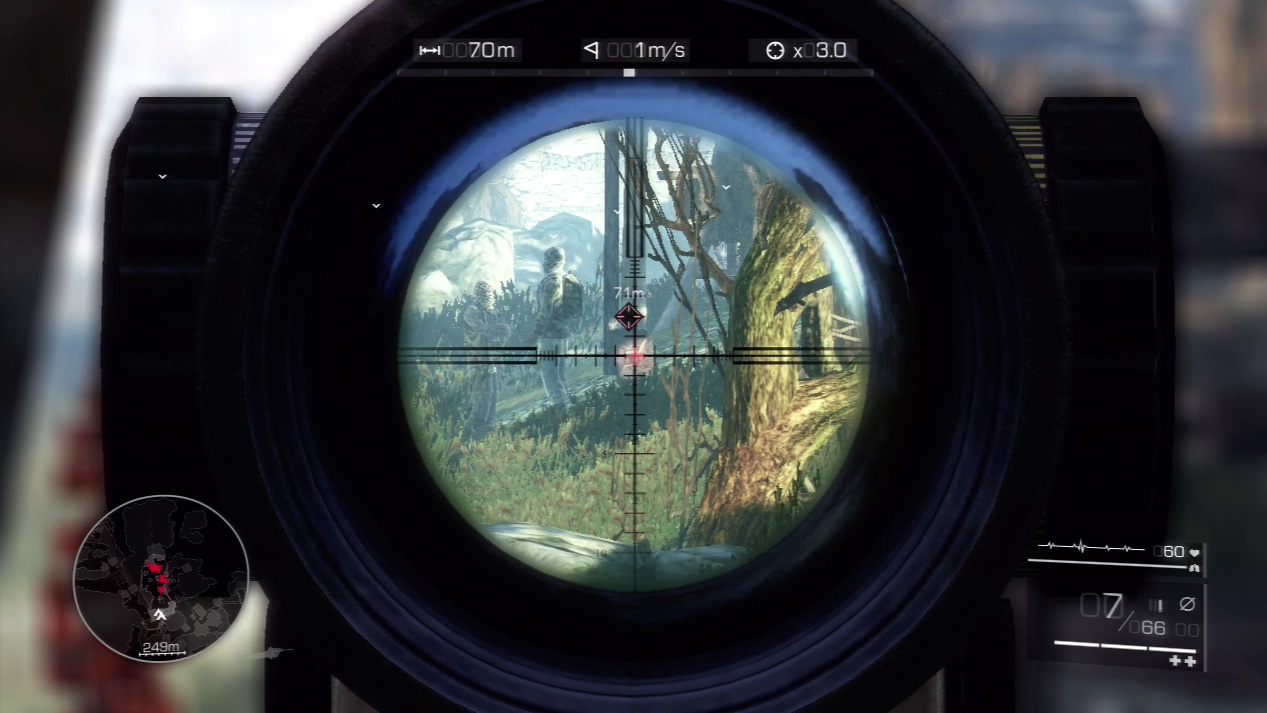
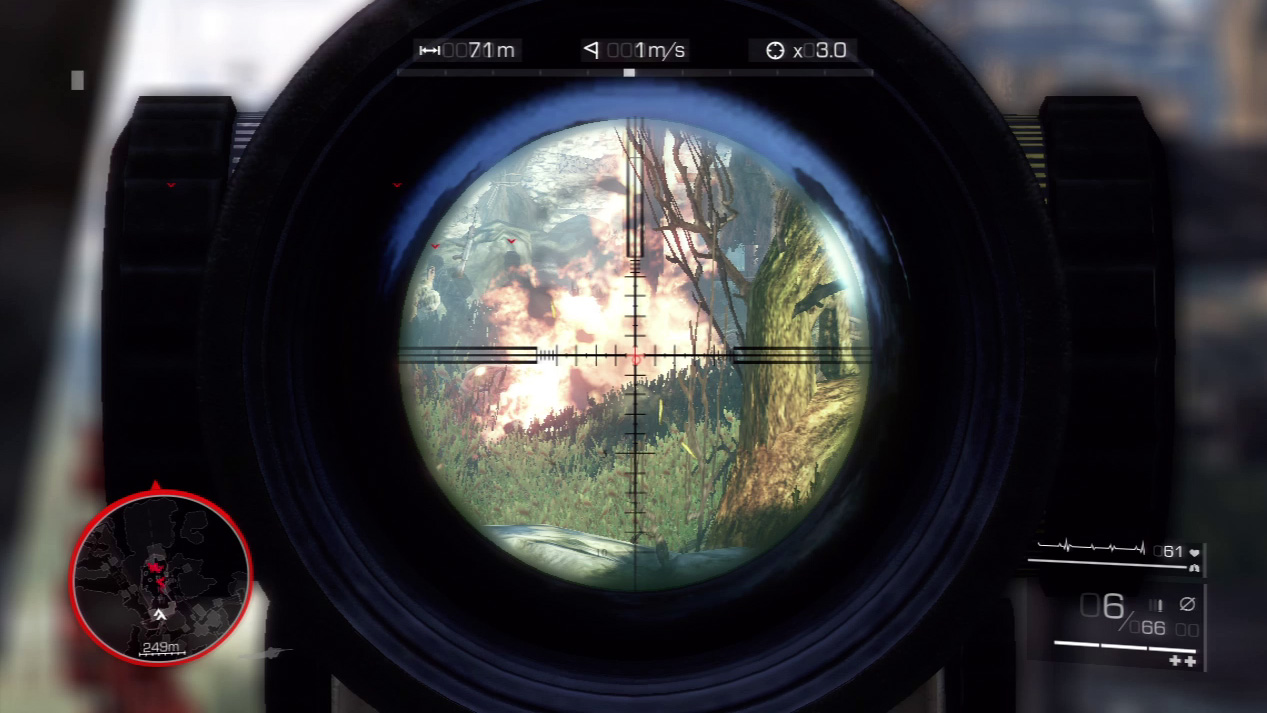
Shoot the canister. It explodes and engulfs the two talking enemies in flames. Though it alerts the other enemies in the area, you manage to subtract two quickly from the forces against you.
Expert Mode
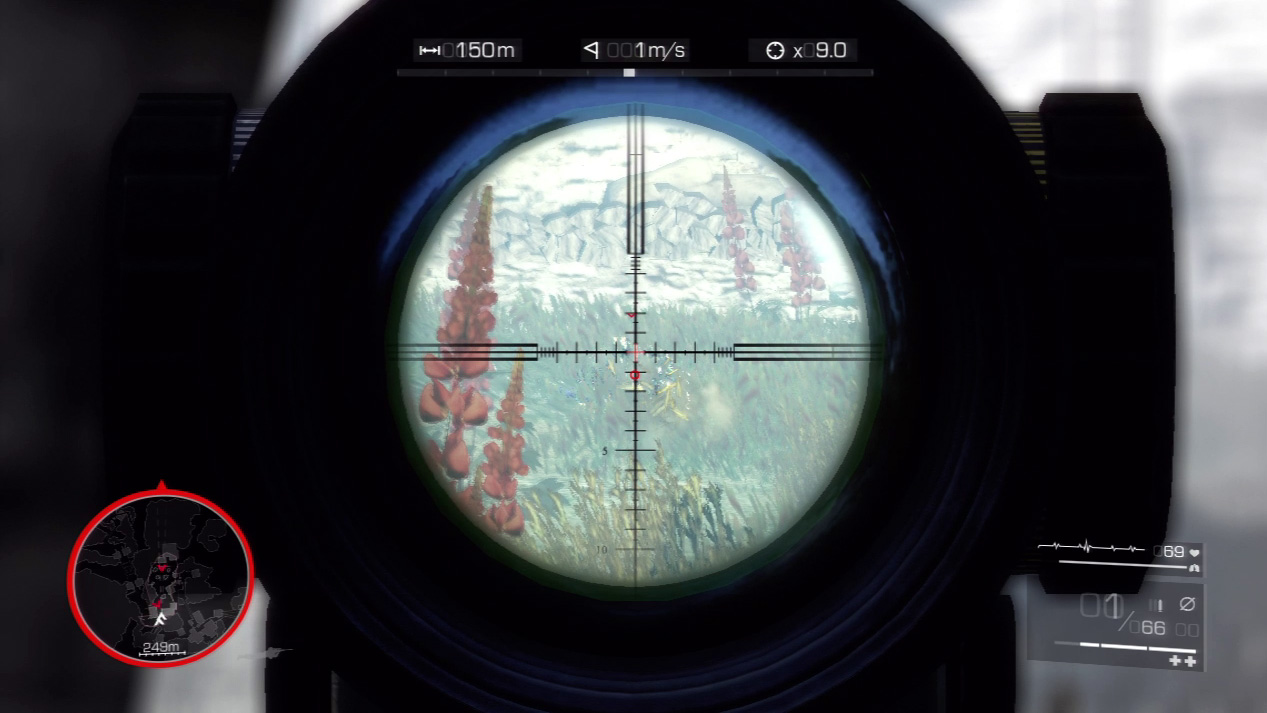
- Distance: Approximately 150 meters
- Wind: 1 meter/second (blowing left)
- Magnification: 9x
With no wind, your shots won’t drift far from the vertical reticle.
You’ll sight on enemies at different ranges during the fight at the field; however, most of your bullets will drop about one reticle line down.
Plan accordingly.
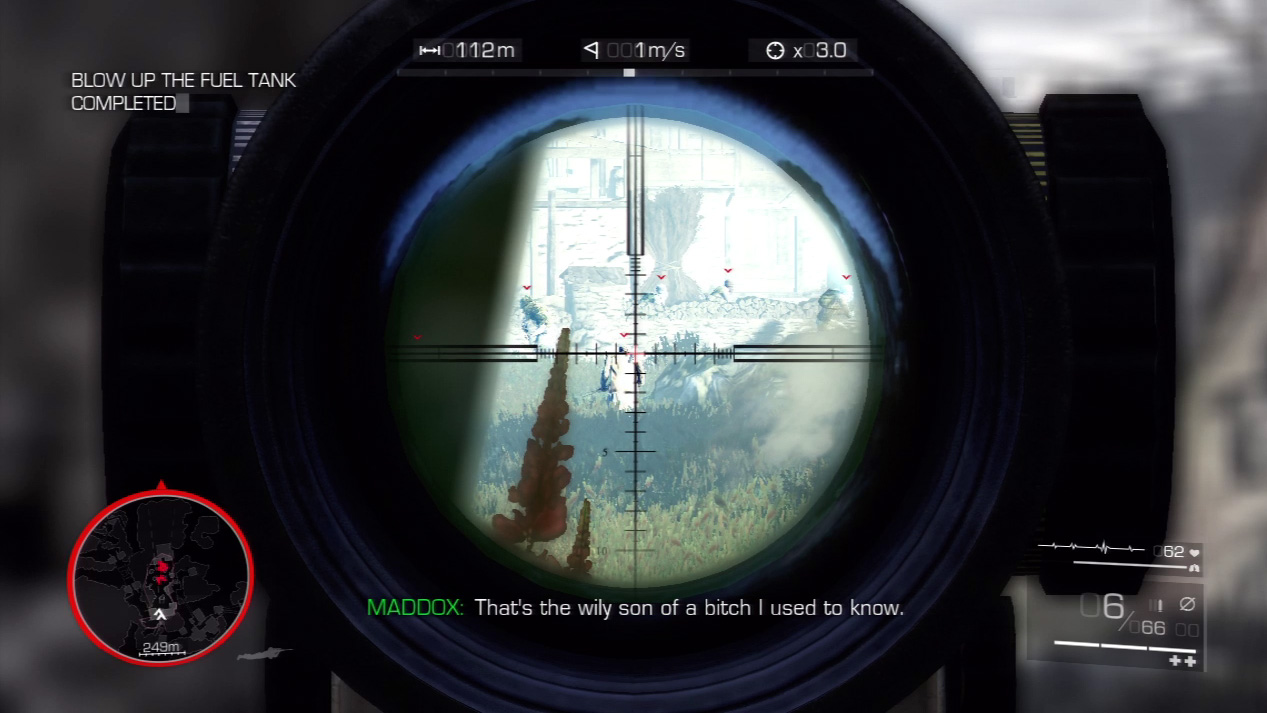
When you blow up the canister, it’s like stirring a hornets’ nest: The nearby enemies start buzzing around, looking to attack the invader who dared to disturb their domain.
Try to pick off as many as you can while the enemies are on the move. The more you down before they take cover or charge right up to you, the better your odds of surviving this tough encounter.
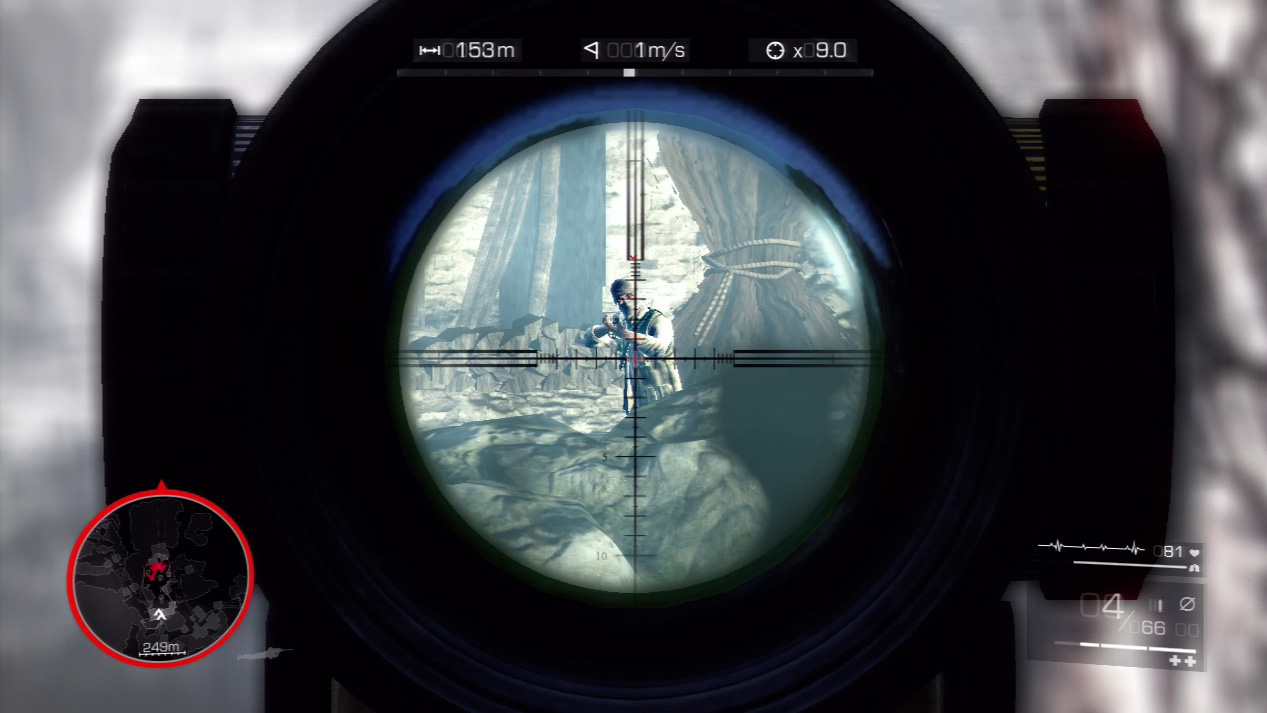
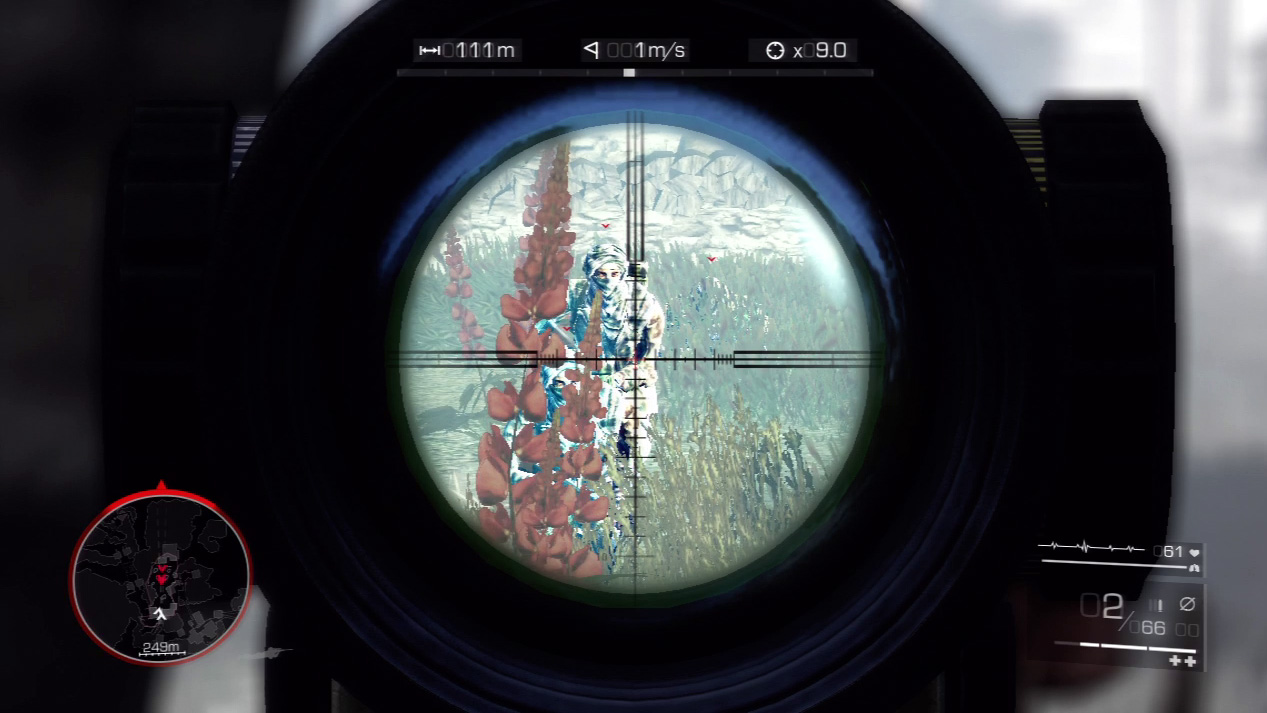
Once enemies duck for cover, you’ll have to be patient. Locate each one and wait for him to pop up for a shot. Zip a bullet into head or torso before the enemy can return fire.
If an enemy breaks from cover, he is most likely charging you; watch the minimap and if he reaches the grass in front of the stairs, switch to your pistol and take him down as he runs up to the balcony.
Act 3: Secret 14
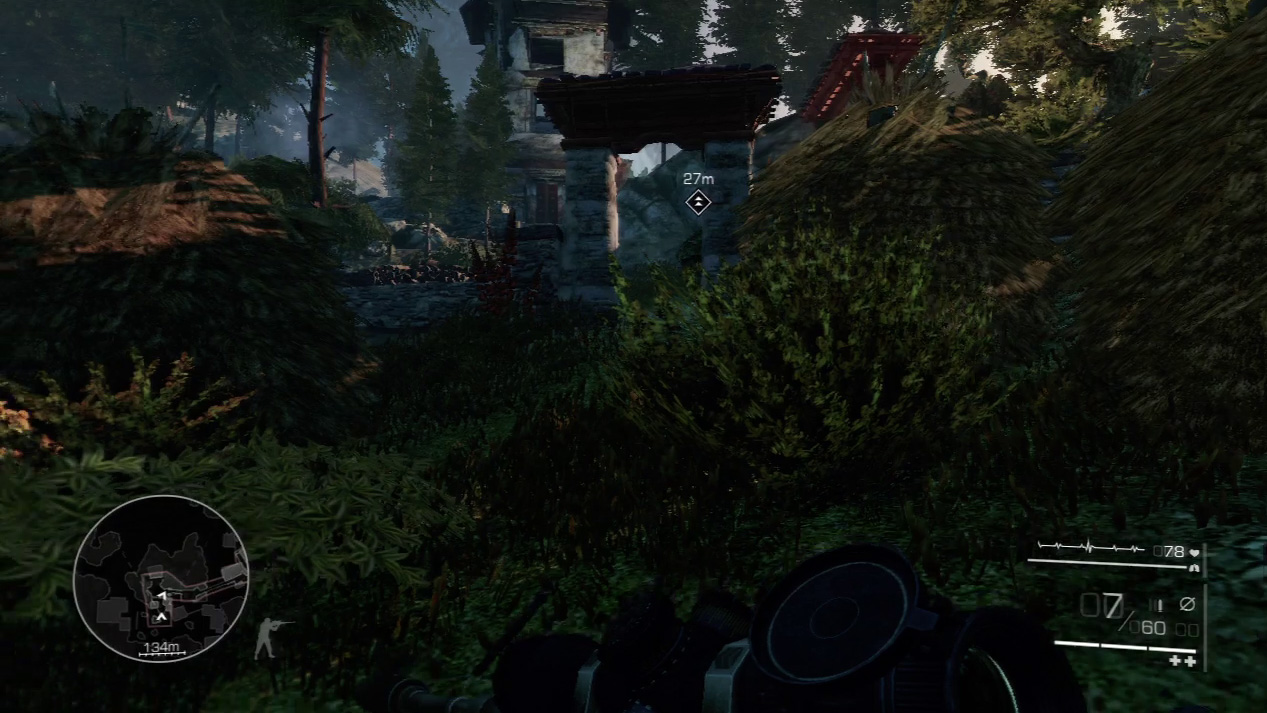
After you defeat the enemies in the field, follow Diaz to the next encounter.
However, after he ducks through the arch and heads off to the right where you encounter two more enemy snipers, take a quick detour to the left.
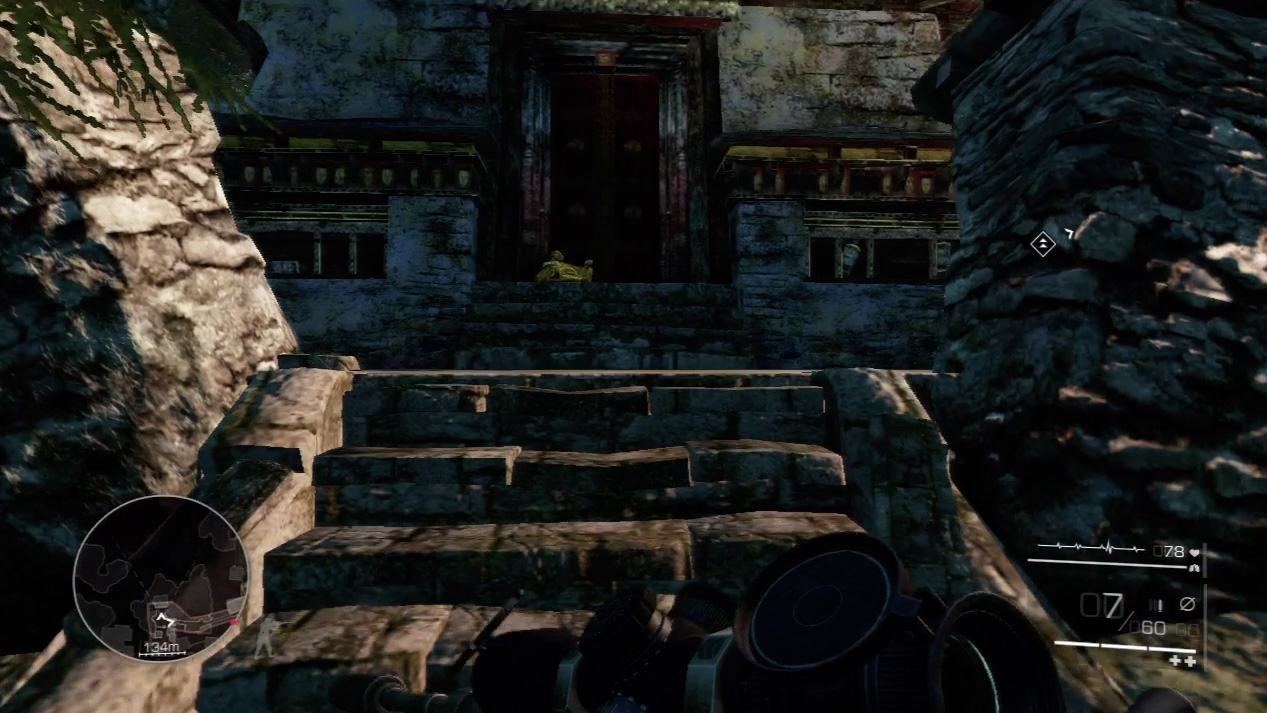
Run up the stairs to the nearby temple and you’ll discover another secret in front of the red door.
Waypoint 6
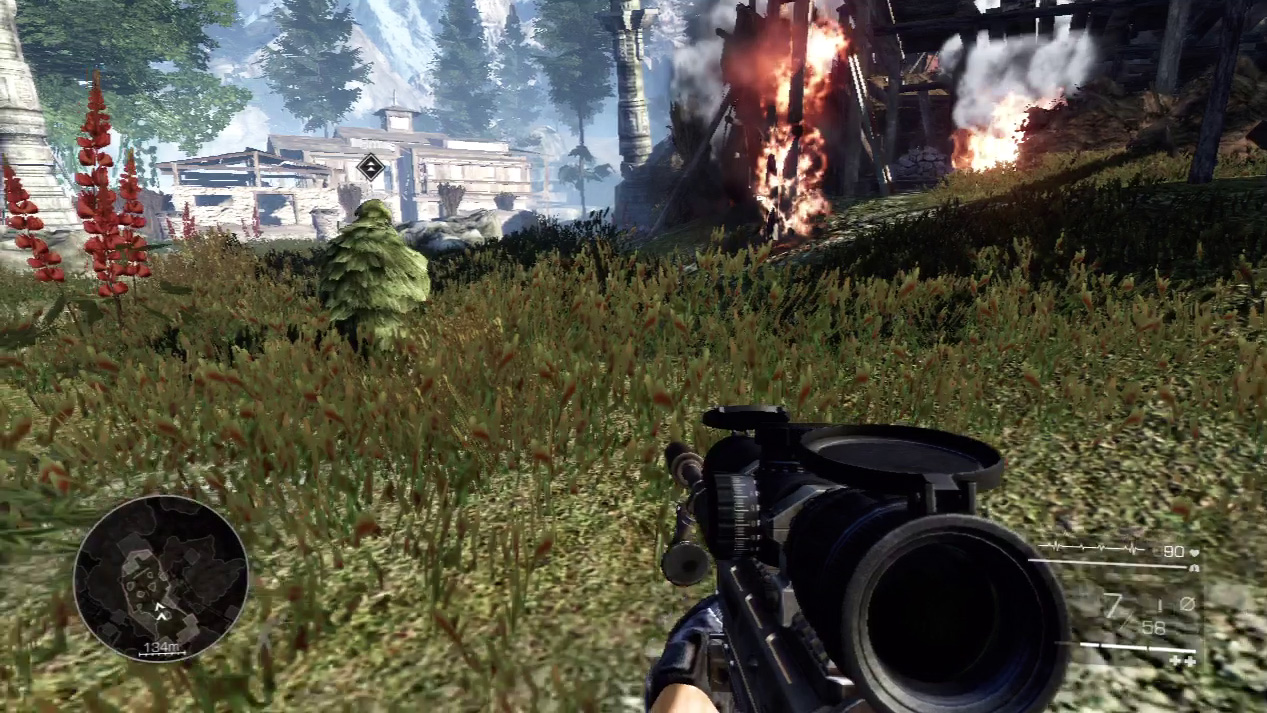
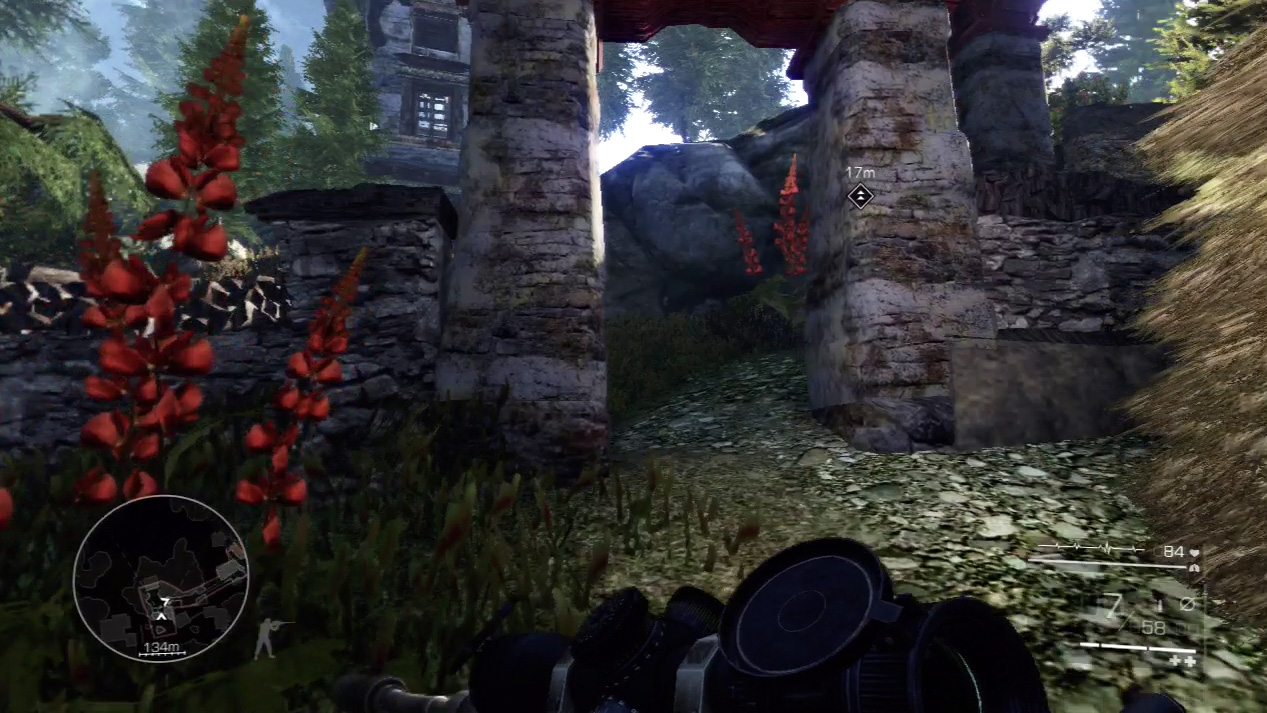
Once you’ve eliminated all the enemies in the field, dash off after Diaz and pass by the burning hillside (the fire was caused by your shot into the flammable canister). Follow Diaz up the hill.
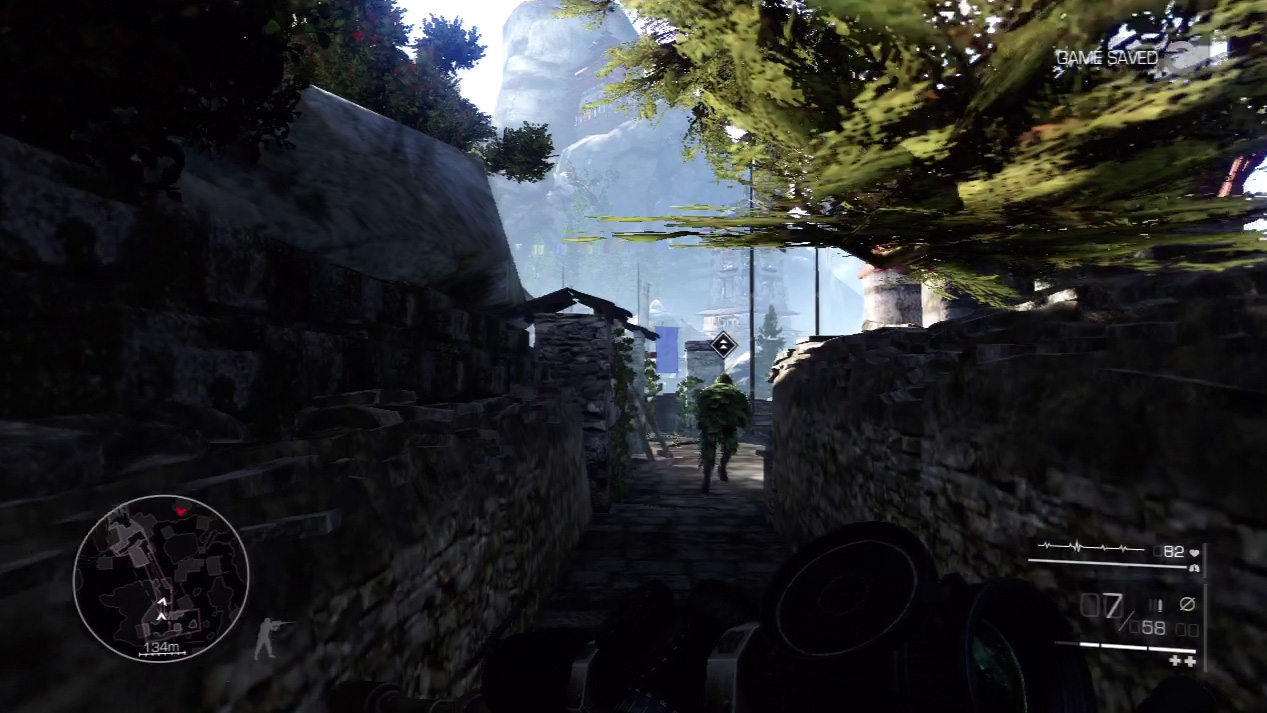
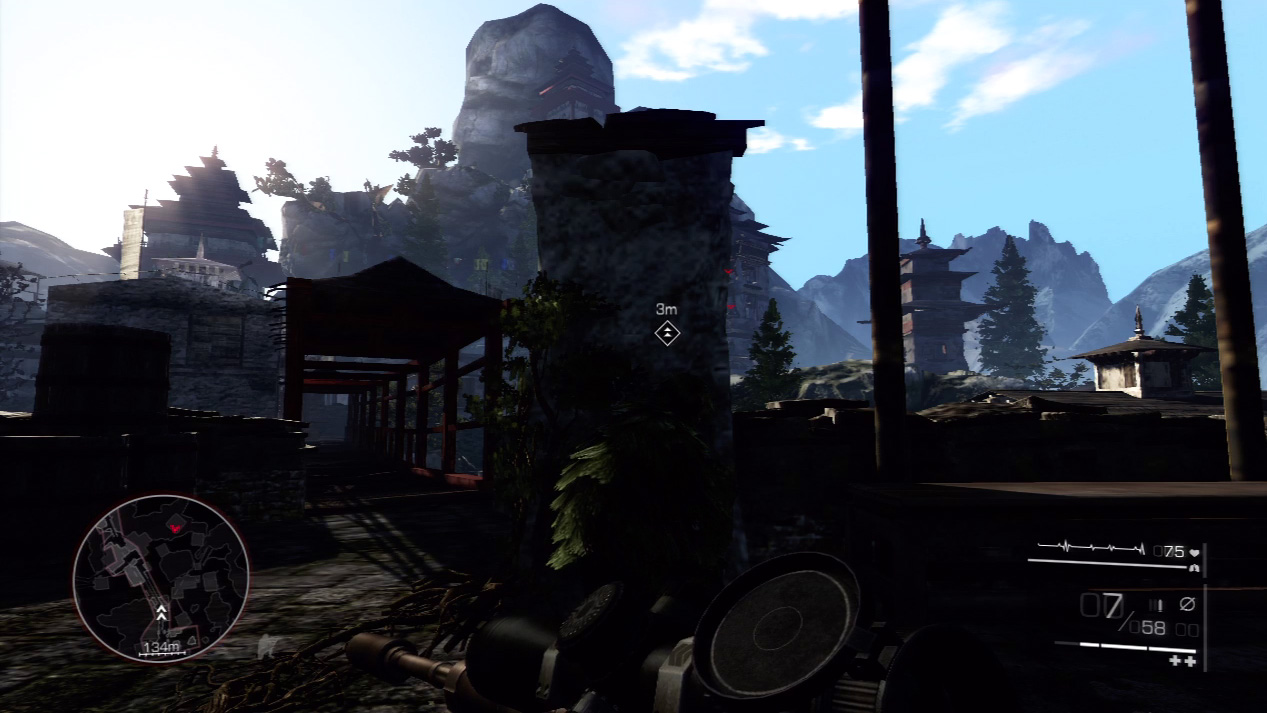
After you run through the walkway flanked by stone walls, seek cover from two enemy snipers in the distance. The best spot is behind the stone pillar in front of the next bridge.
Expert Mode
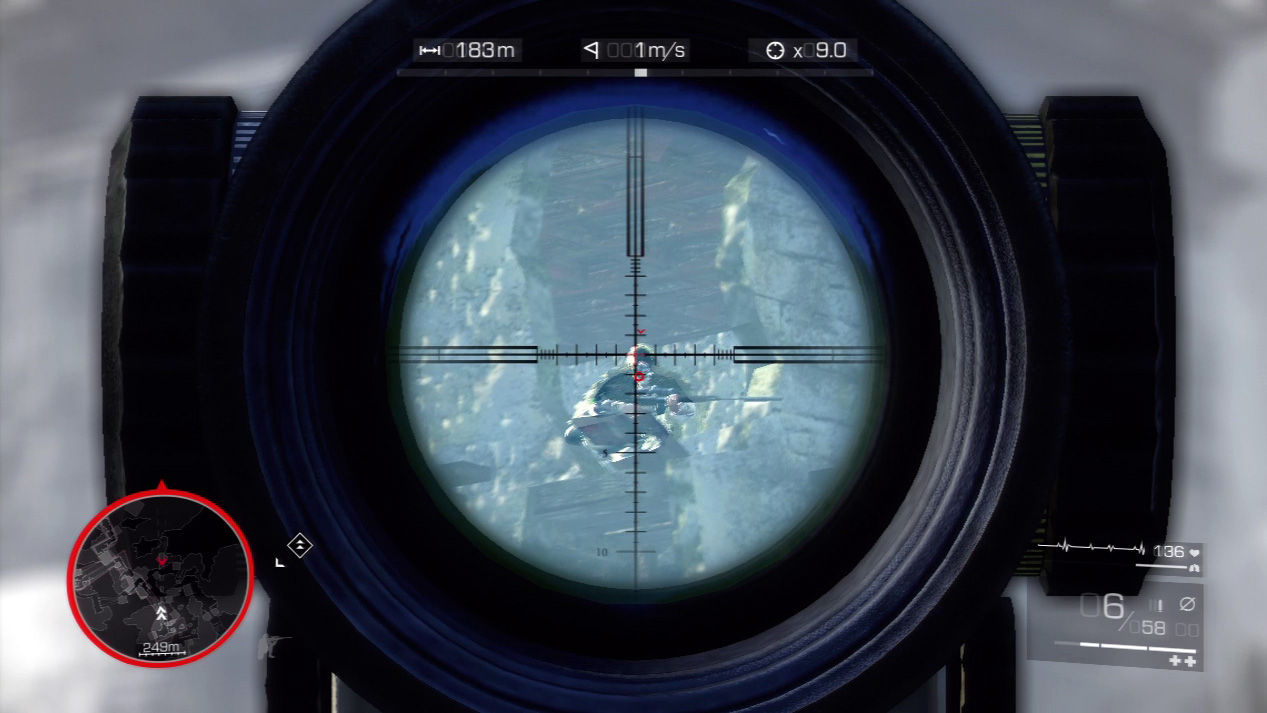
- Distance: Approximately 185 meters
- Wind: 1 meter/second (blowing right)
- Magnification: 9x
Wind will push your bullet only slightly right, though gravity will pull on the bullet a little more. Look for you bullet to drop just below the first reticle line.
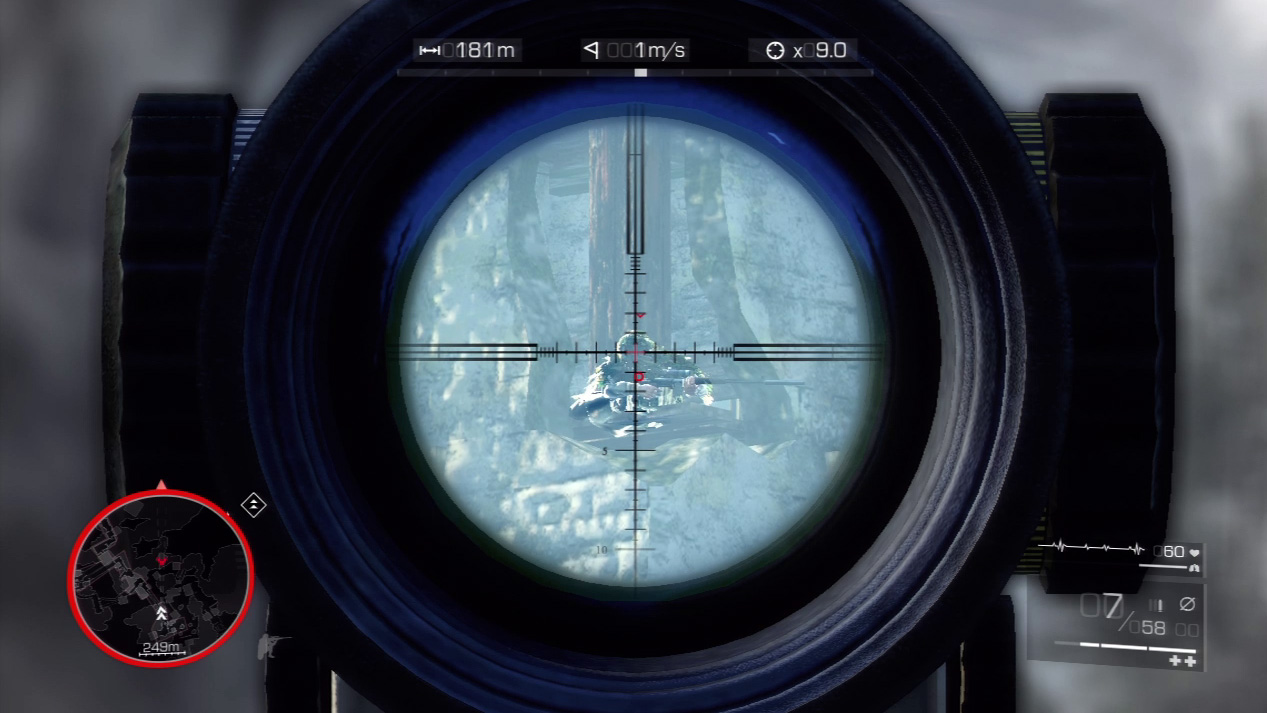
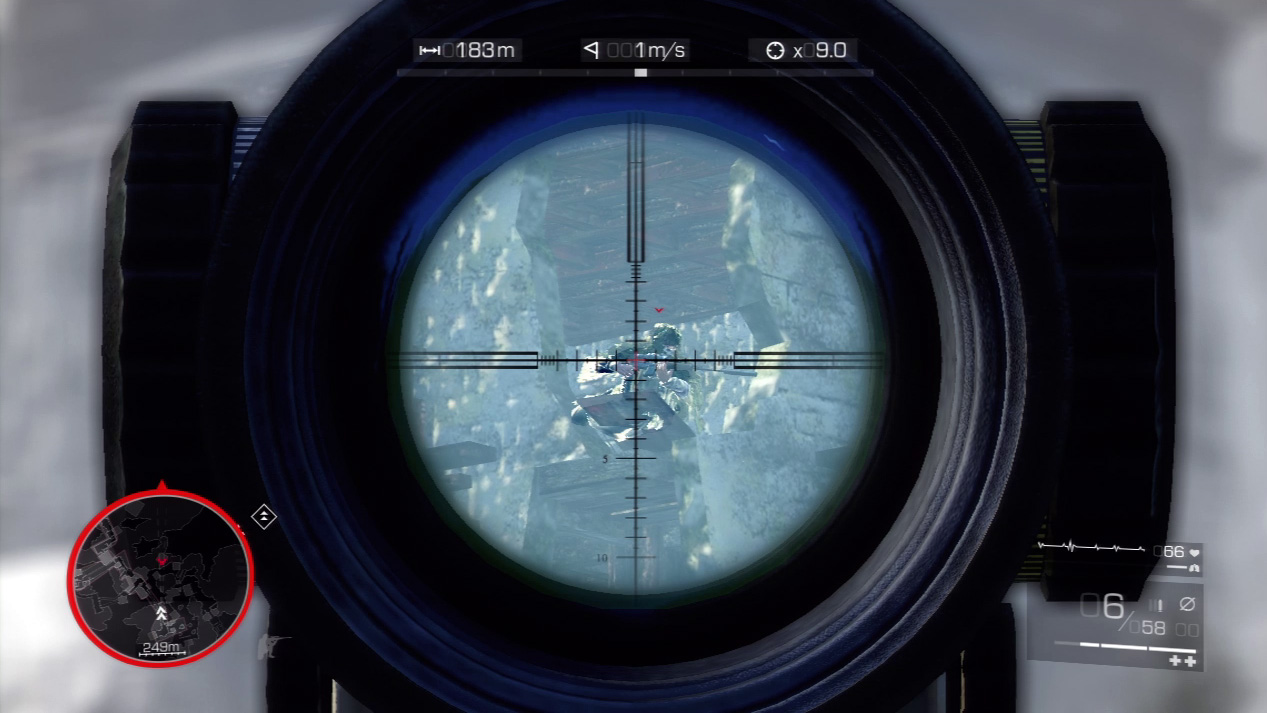
The two enemies have a bead on you, so only break cover to go for a kill shot. Inch out from the stone pillar and sight on the snipers right away.
As soon as you spot the first one, hold your breath to give you a little extra time to line up a deadly shot. Repeat on the second sniper before moving on.
Waypoint 7
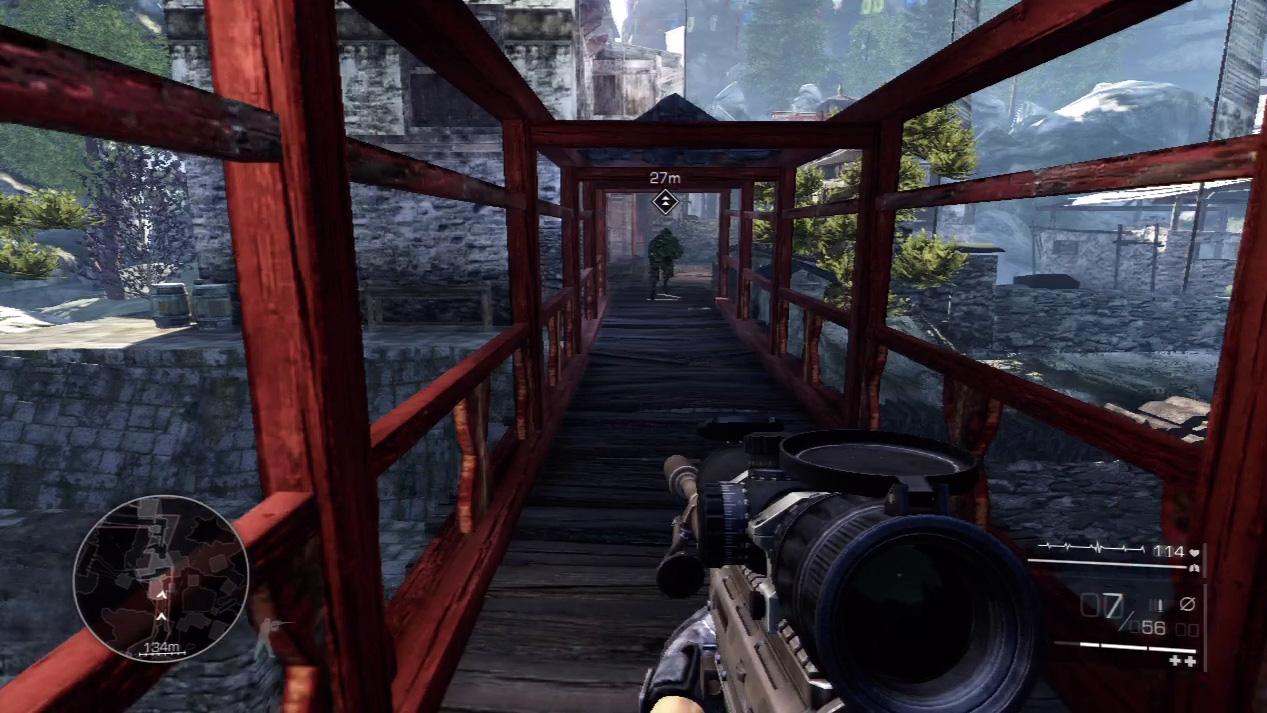
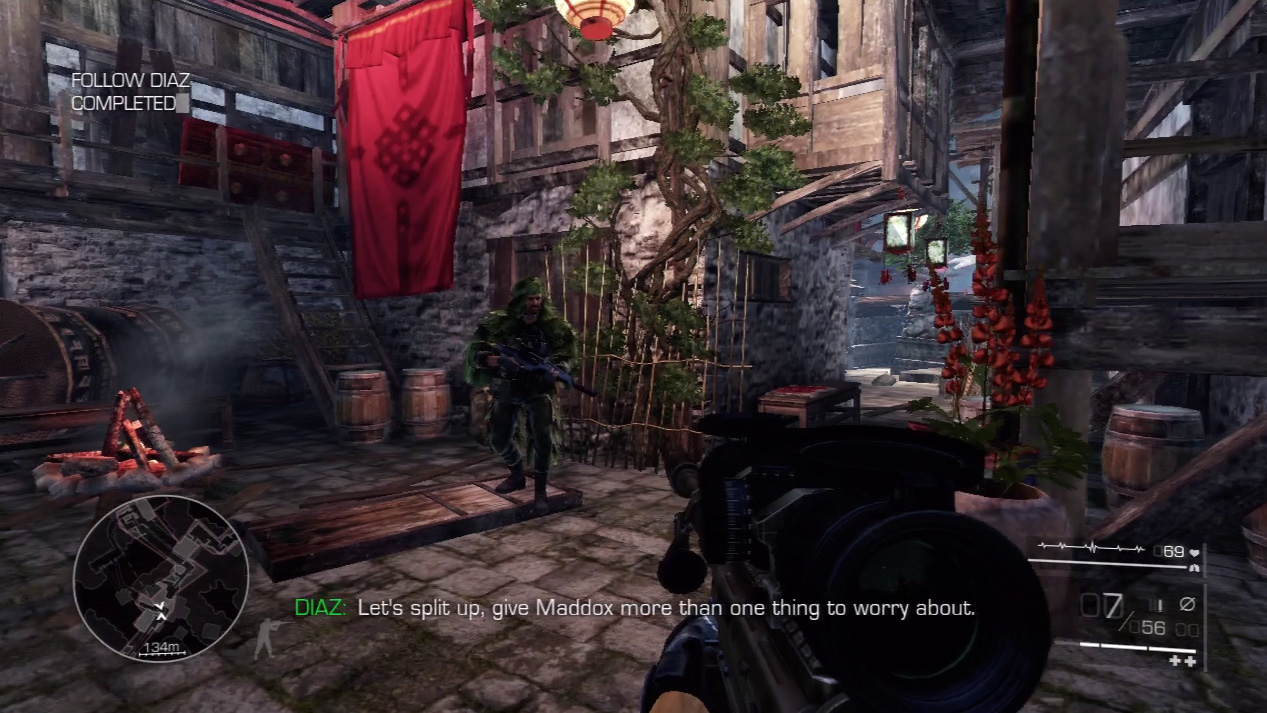
Cross the bridge and trail behind Diaz as he leads you into the village area. When he stops, Diaz suggests that you split up so that you’ll be more difficult for Maddox to track.
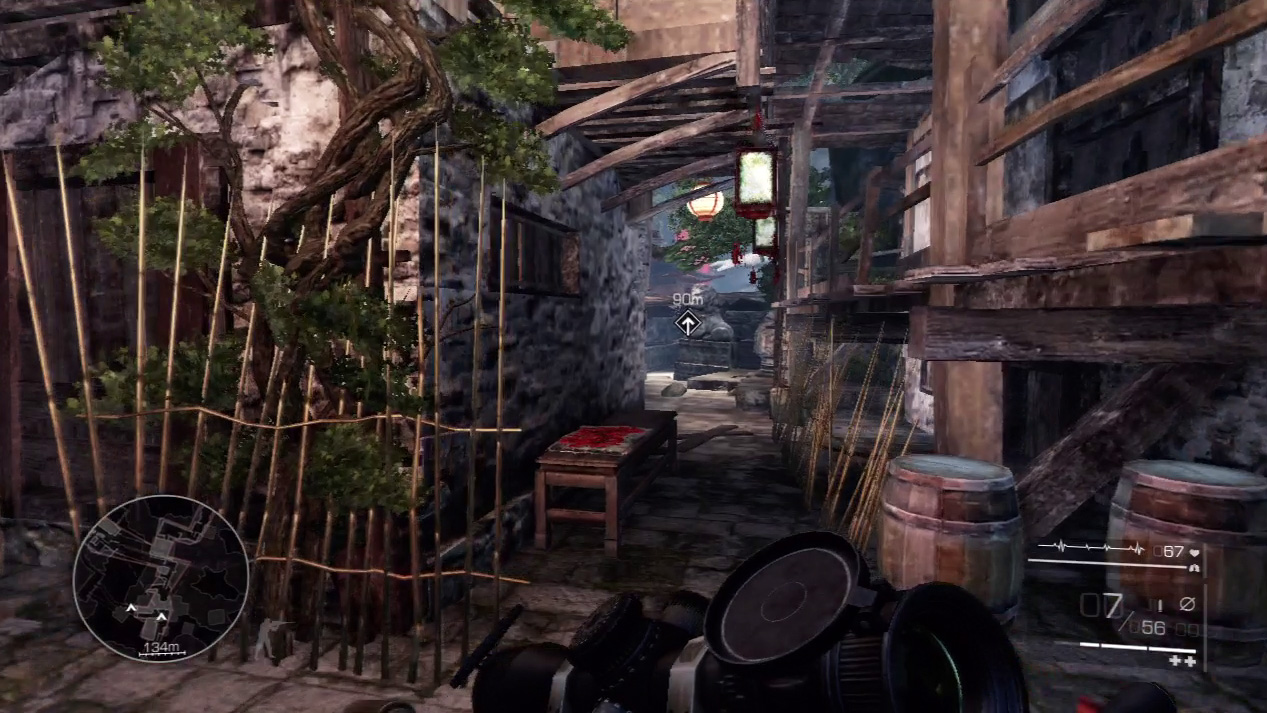
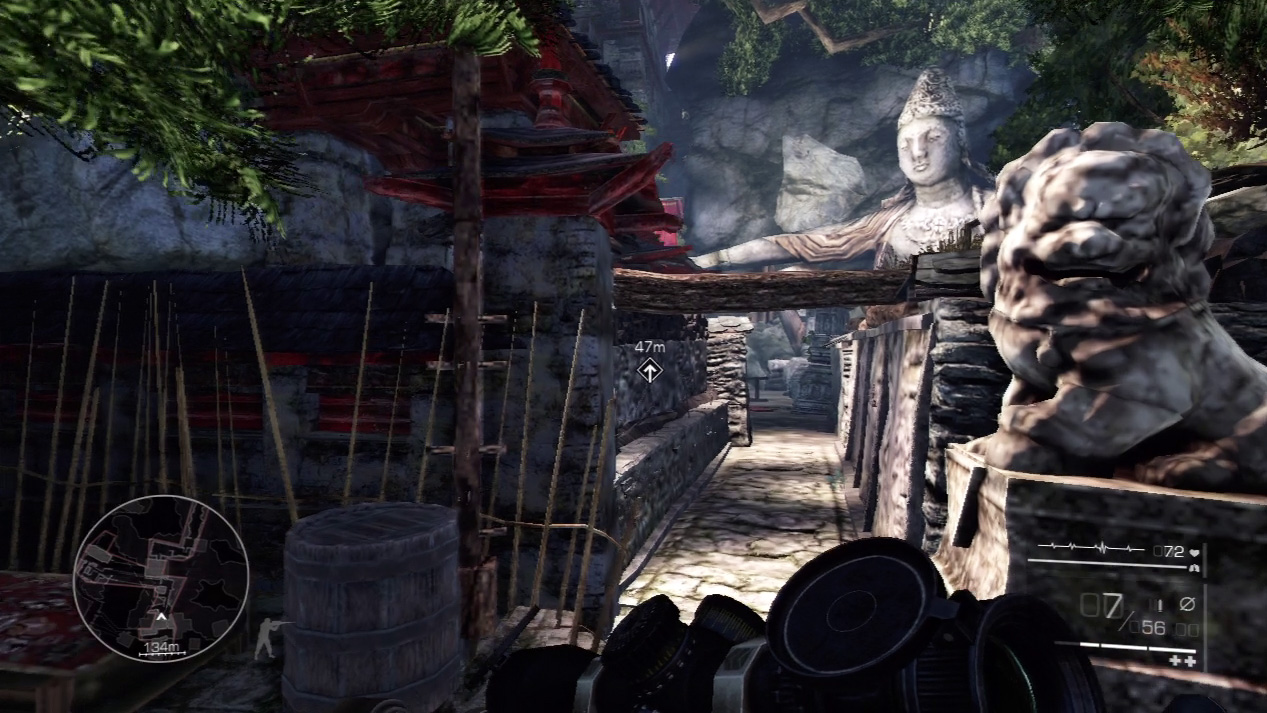
Take the alley to the right of Diaz as he flanks left. Cut through the alleys behind the houses and hustle toward the next bridge.