
Sniper Ghost Warrior 2 Guide Walkthrough Mission 7: Knife in the Dark
7.2 Waypoints 1-7
Waypoint 1
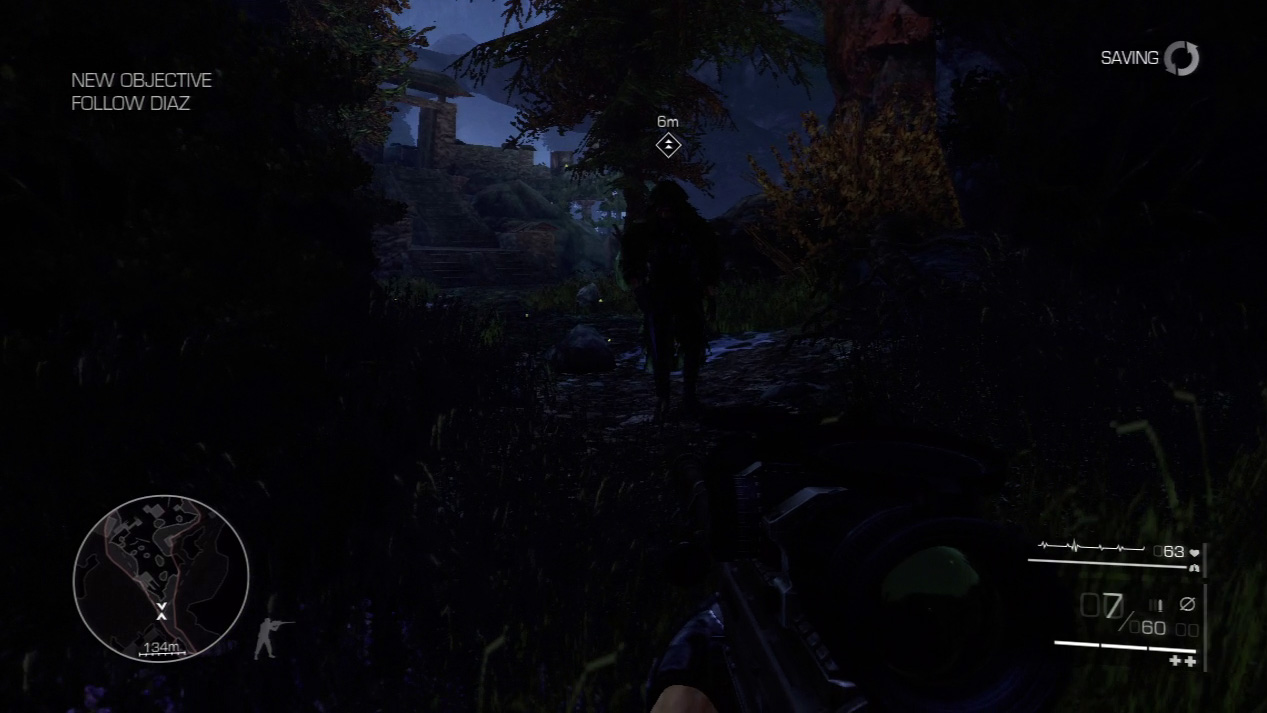
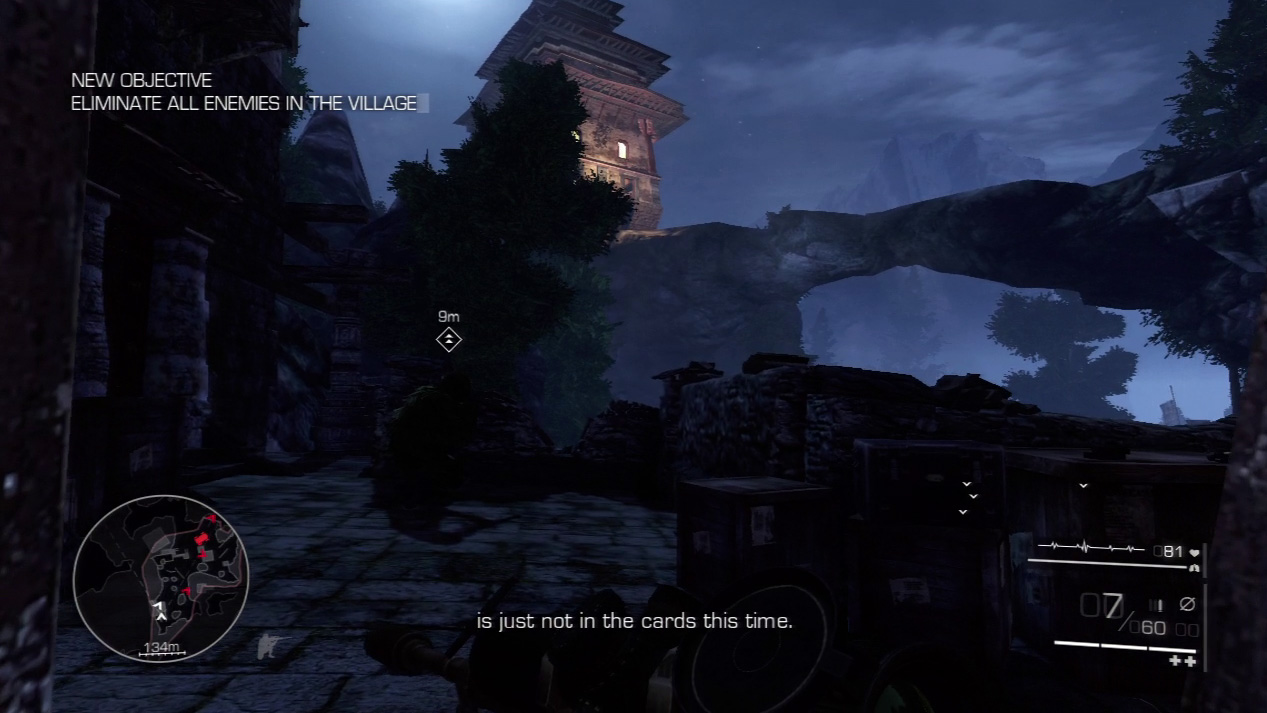
When you arrive in Nepal with Diaz, your first order of business is to find some solid intel on the bio-agent’s whereabouts. Follow Diaz from the starting point and up to the first sniper spot overlooking the bridge into Merinov’s encampment.
Waypoint 2
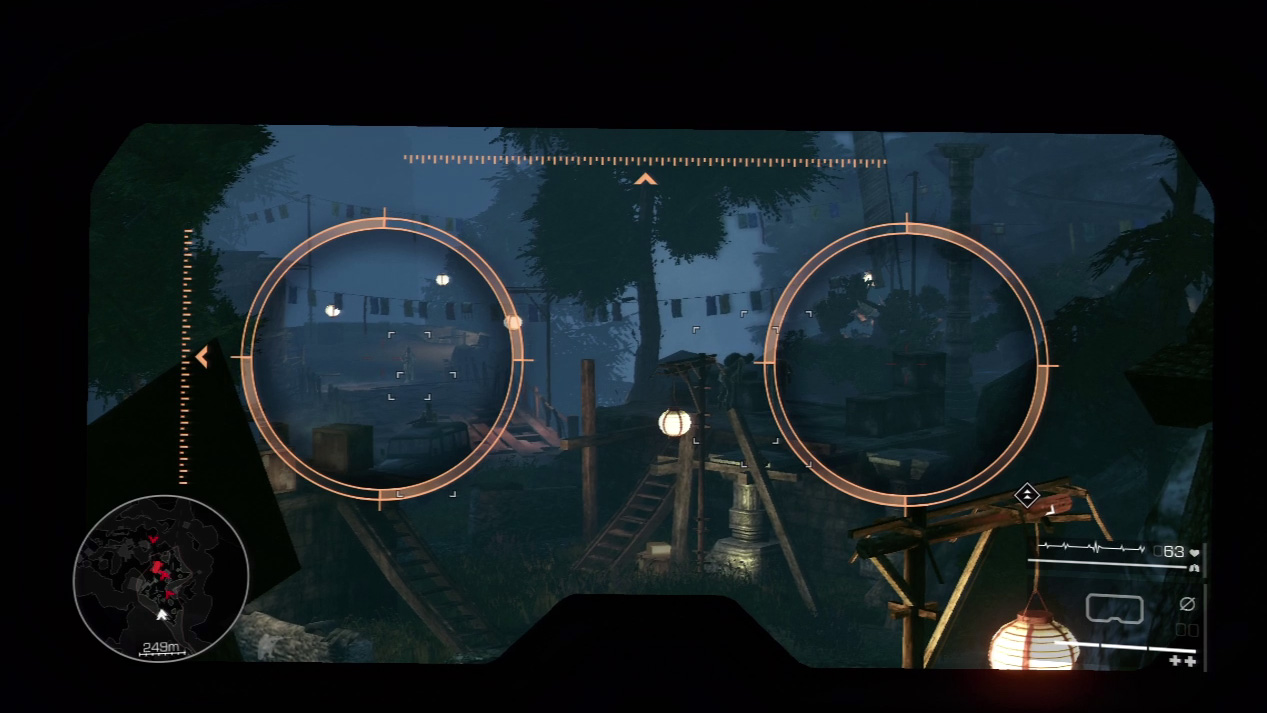
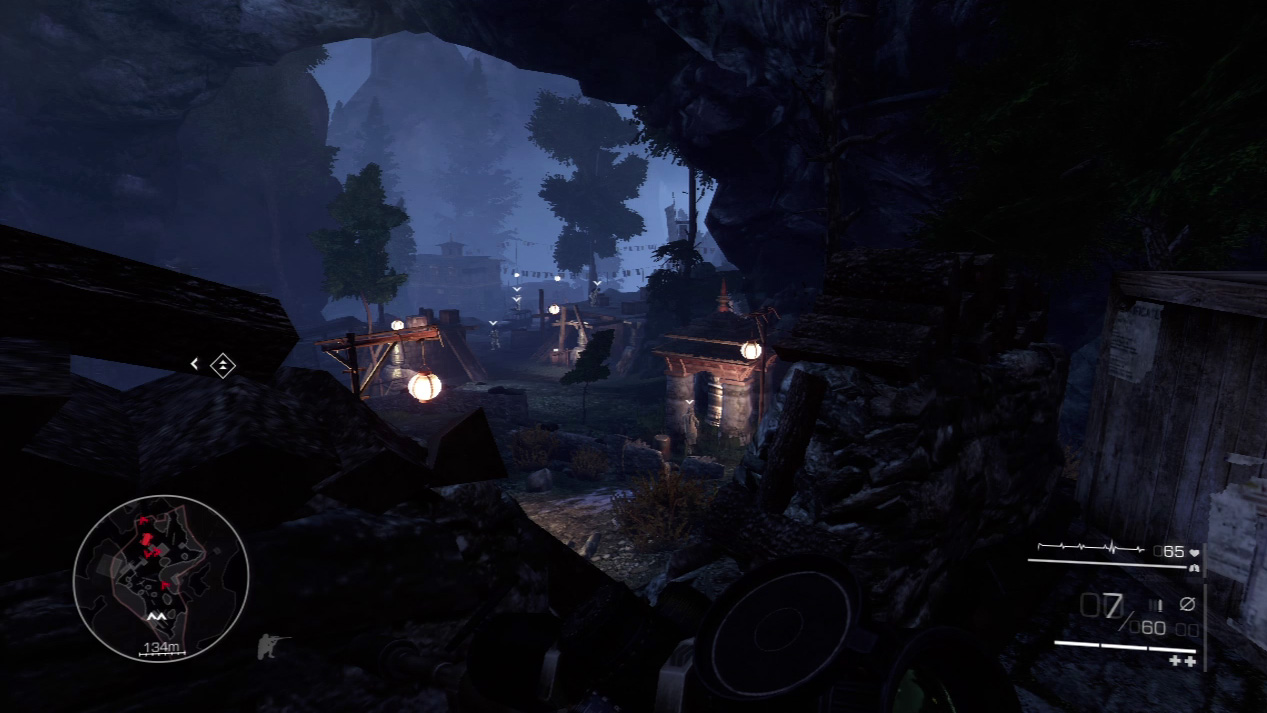
Survey the bridge scene with your binoculars. Note the positions of the five enemies: one at the near building, one on the platform, one patrolling around the platform, one in the vehicle, and one patrolling on the bridge behind the vehicle.
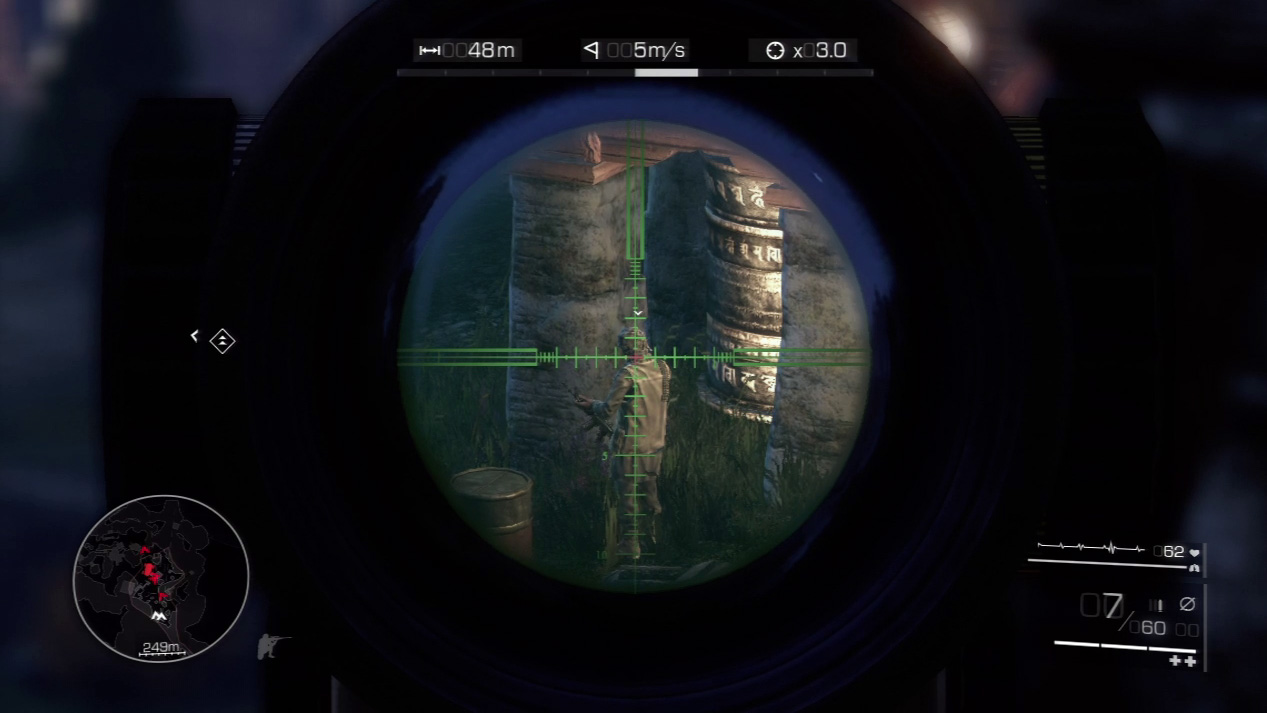
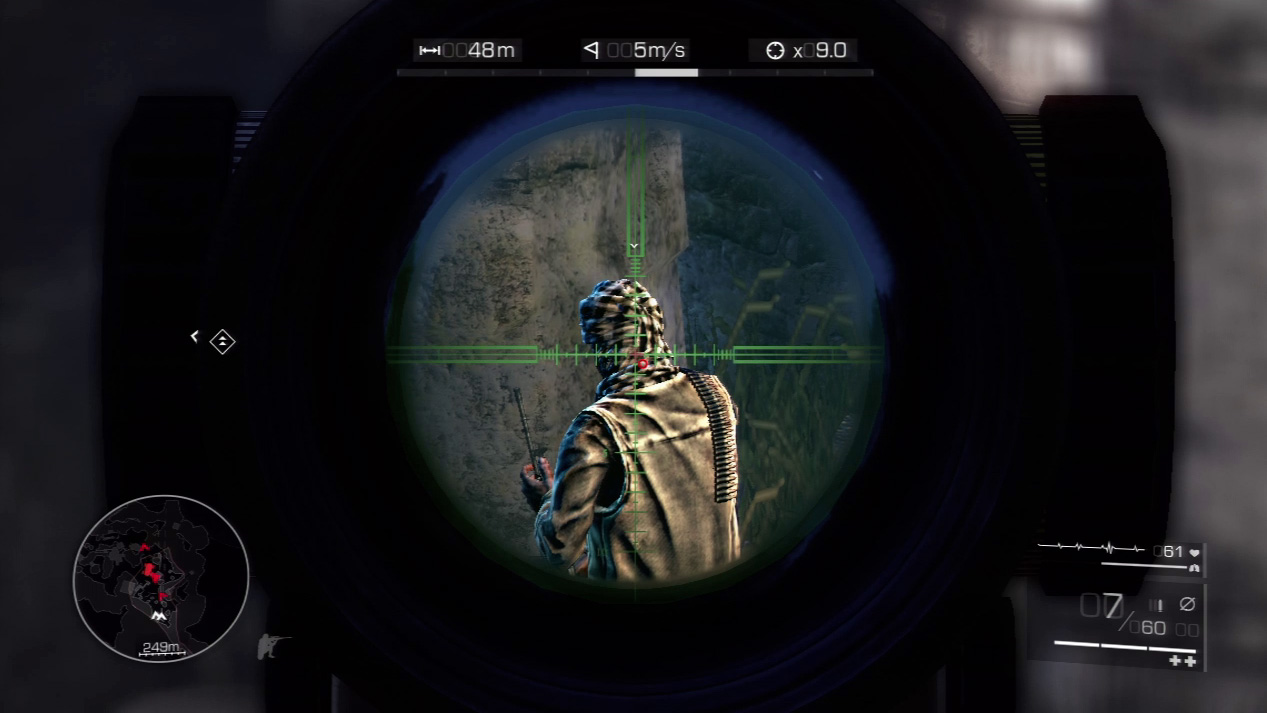
Take out the closest enemy first. If you remove him with a clean shot, his body will drop down in the grass by the building and won’t be seen by the others.
Expert Mode
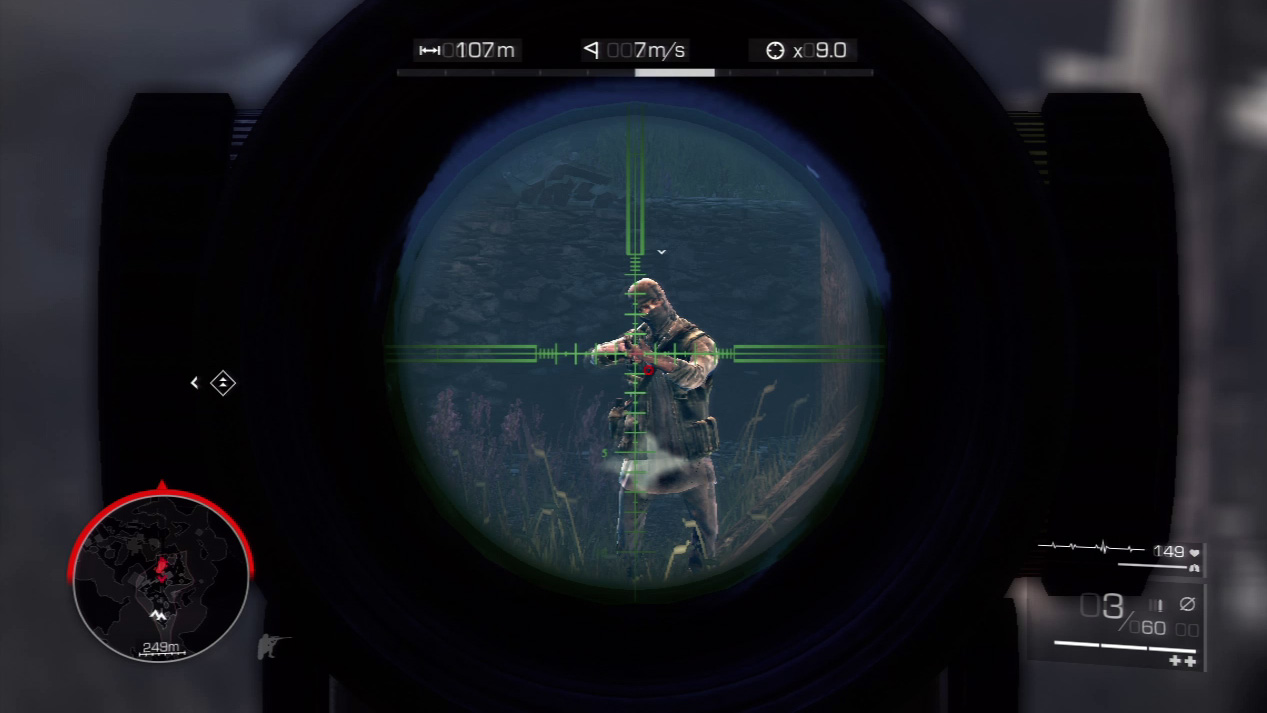
- Distance: Approximately 110 meters
- Wind: 7 meters/second (blowing right)
- Magnification: 9x
The farther your shots go against the bridge enemies, the more your bullet will move down and to the right. For the closer kills, look for the bullet to slide to about the first reticle line down and the first reticle line to the right.
For the longer kills, especially the guard out on the bridge, expect the bullet to fall between the first and second reticle lines for both down and right.
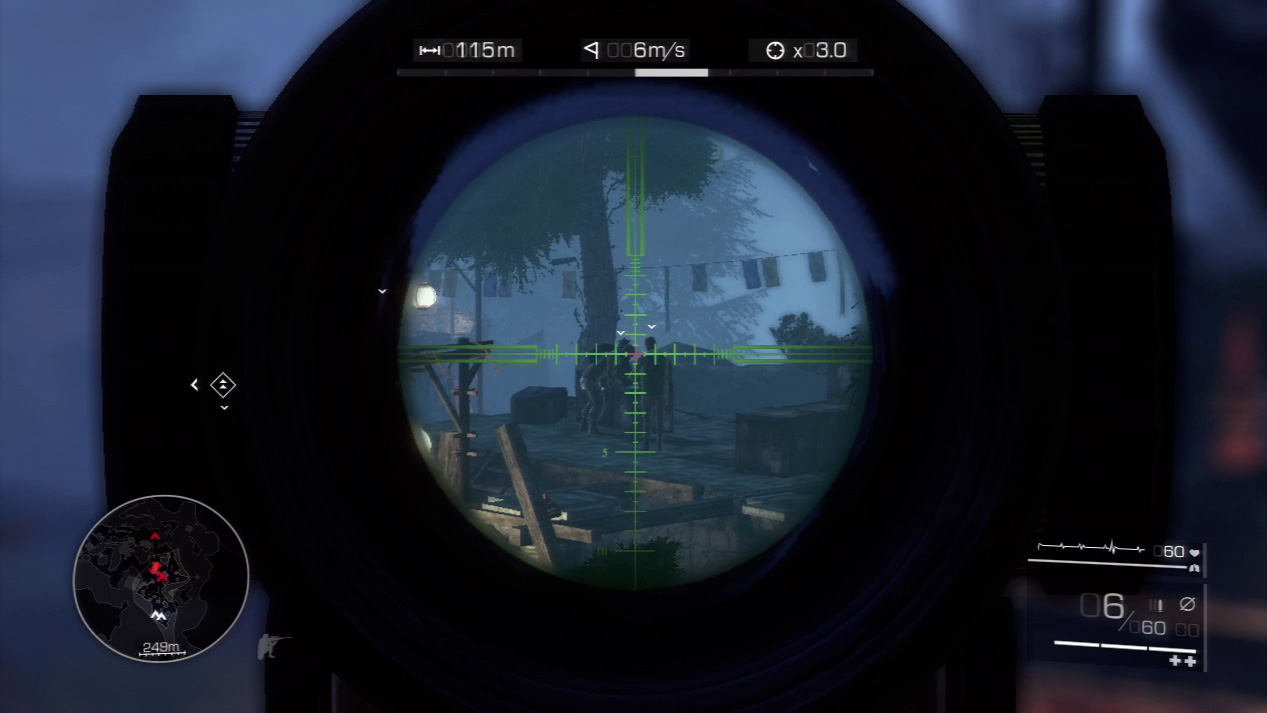
The second guard is reading a piece of paper up on the platform. The third guard patrols from the vehicle to the platform, and will climb up on the platform to speak with the second guard. Wait for the third guard to leave before you make your next move.
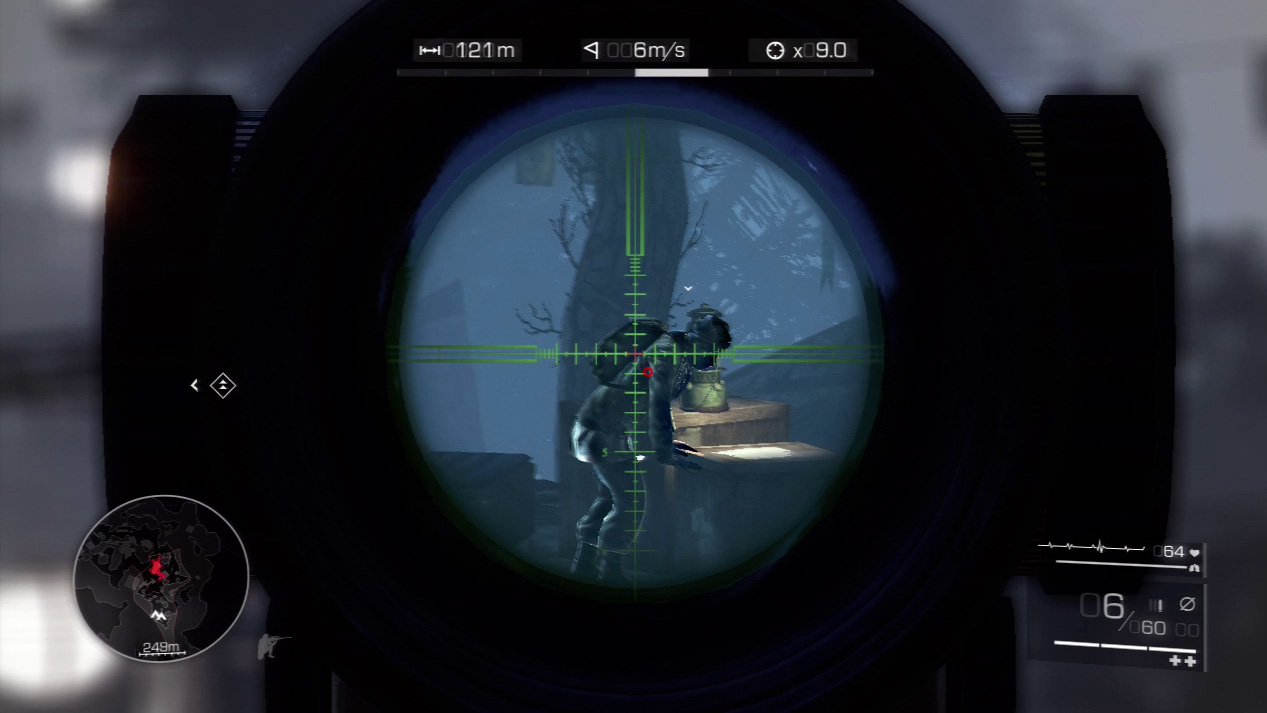
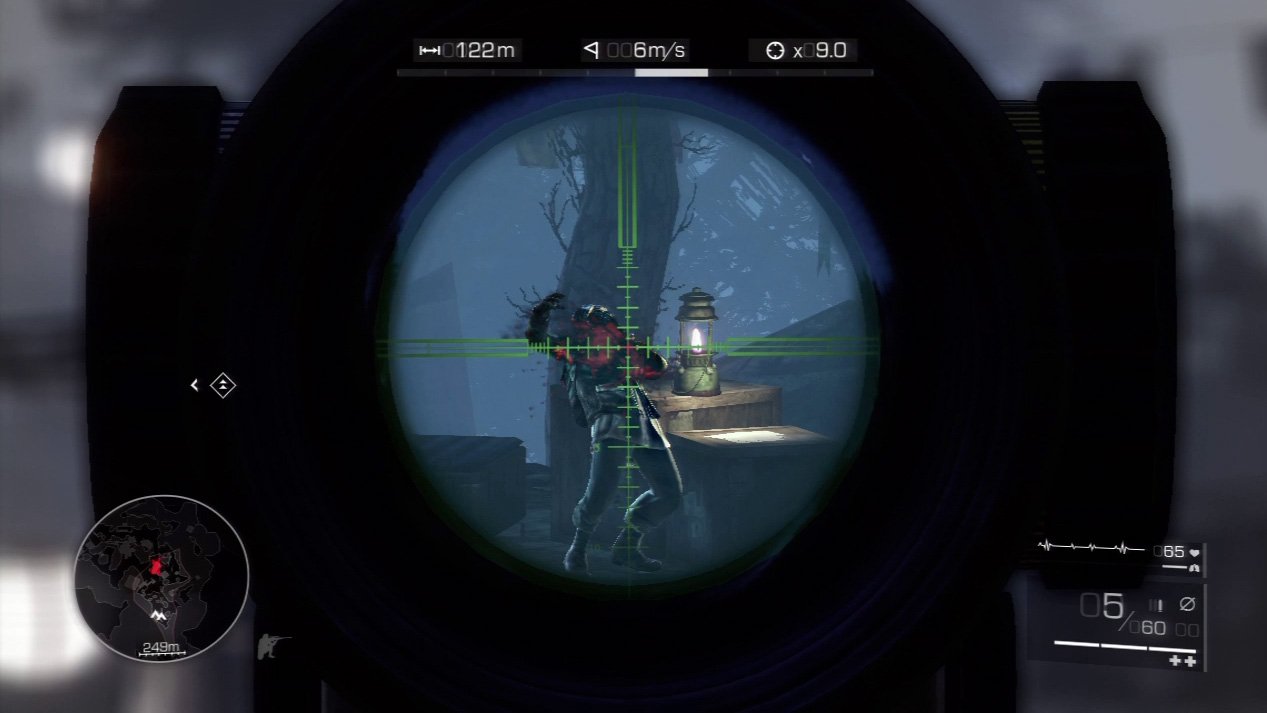
While the second guard stands alone up on the platform, zoom in and splatter him with a single, deadly bullet.
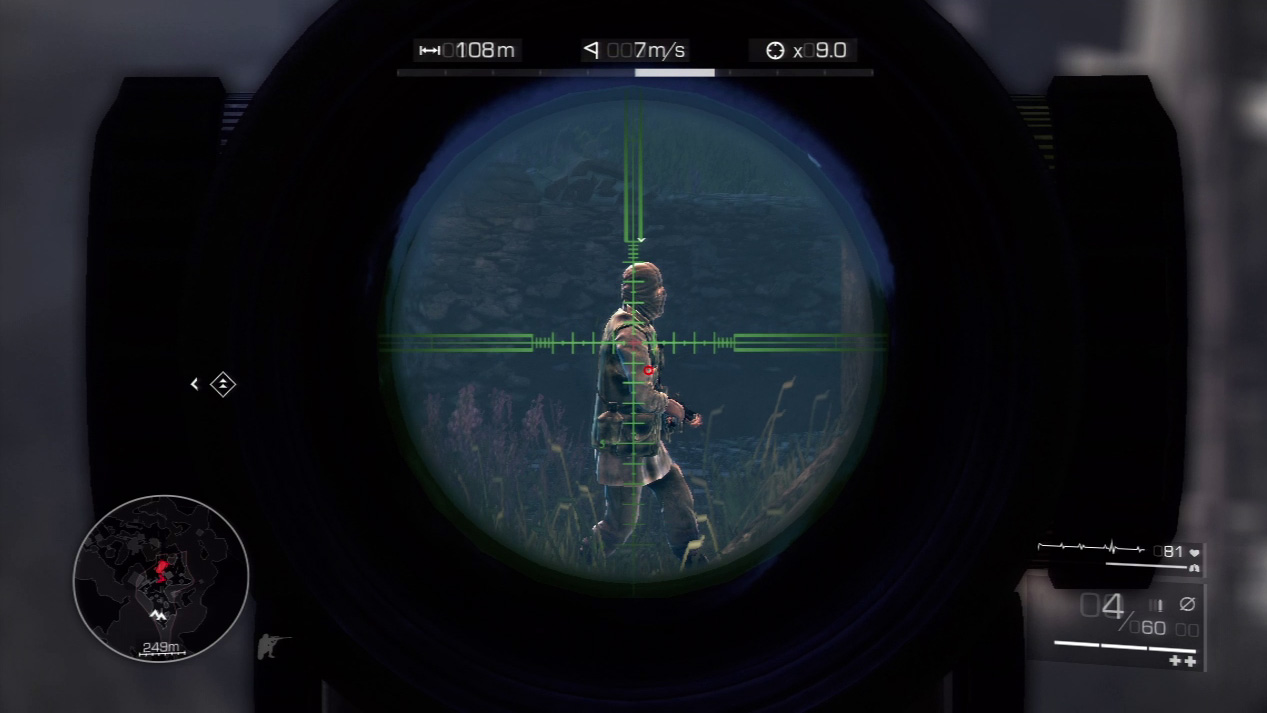
The third guard eventually returns to the platform on his patrol. Snipe him at the base of the platform before he can notice anything amiss.
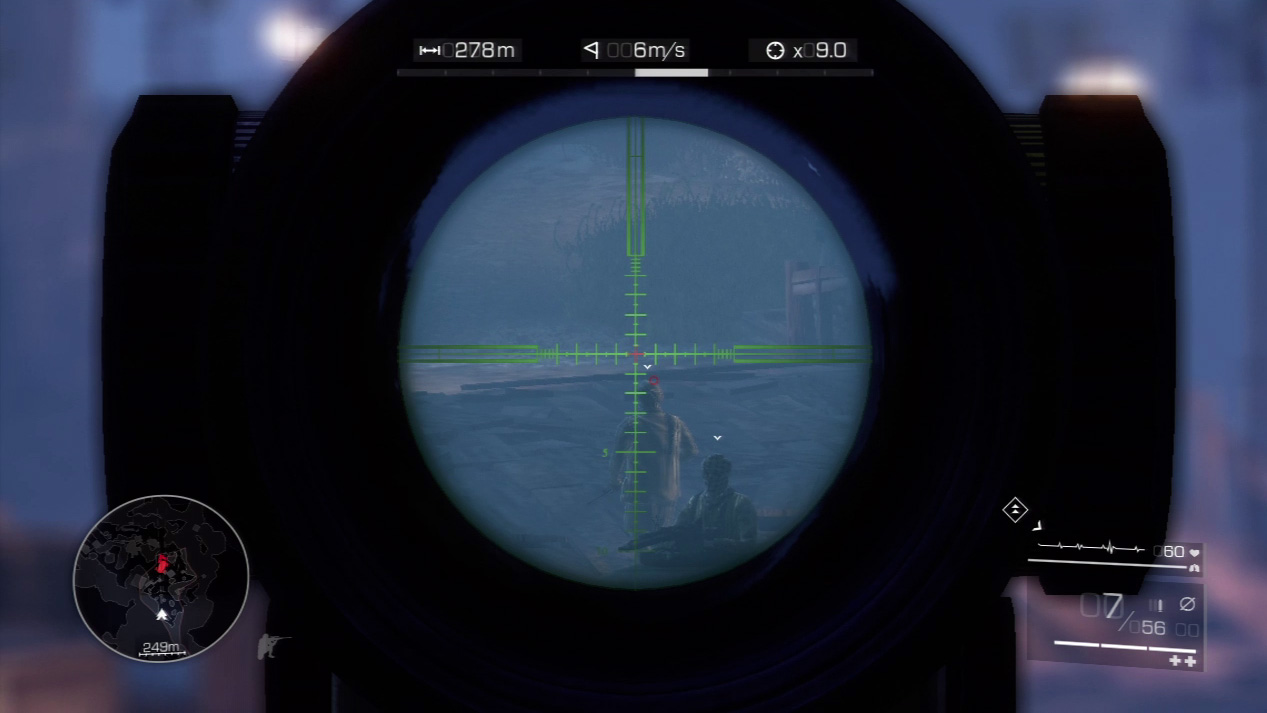
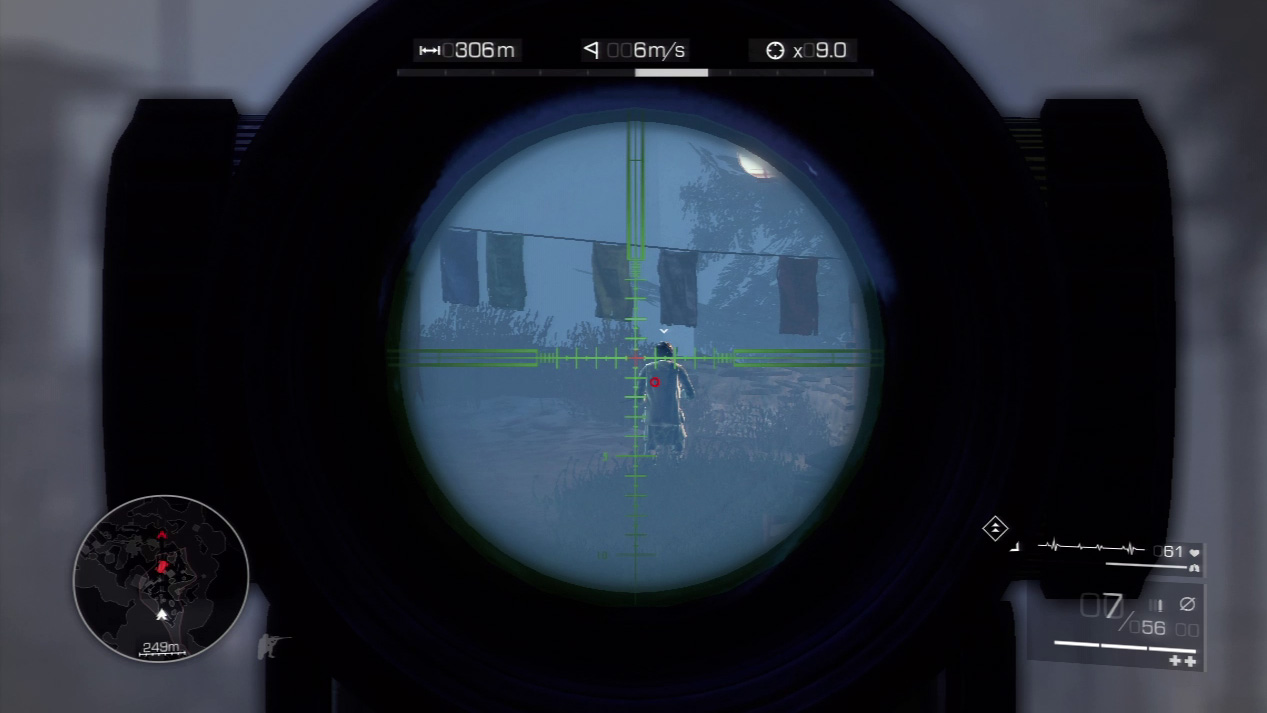
The final two bridge guards can be taken out in either order. If you go for the far guard first, let him walk out on the bridge far behind the vehicle guard. Down him so that his body drops into the grass beneath the makeshift clothesline.
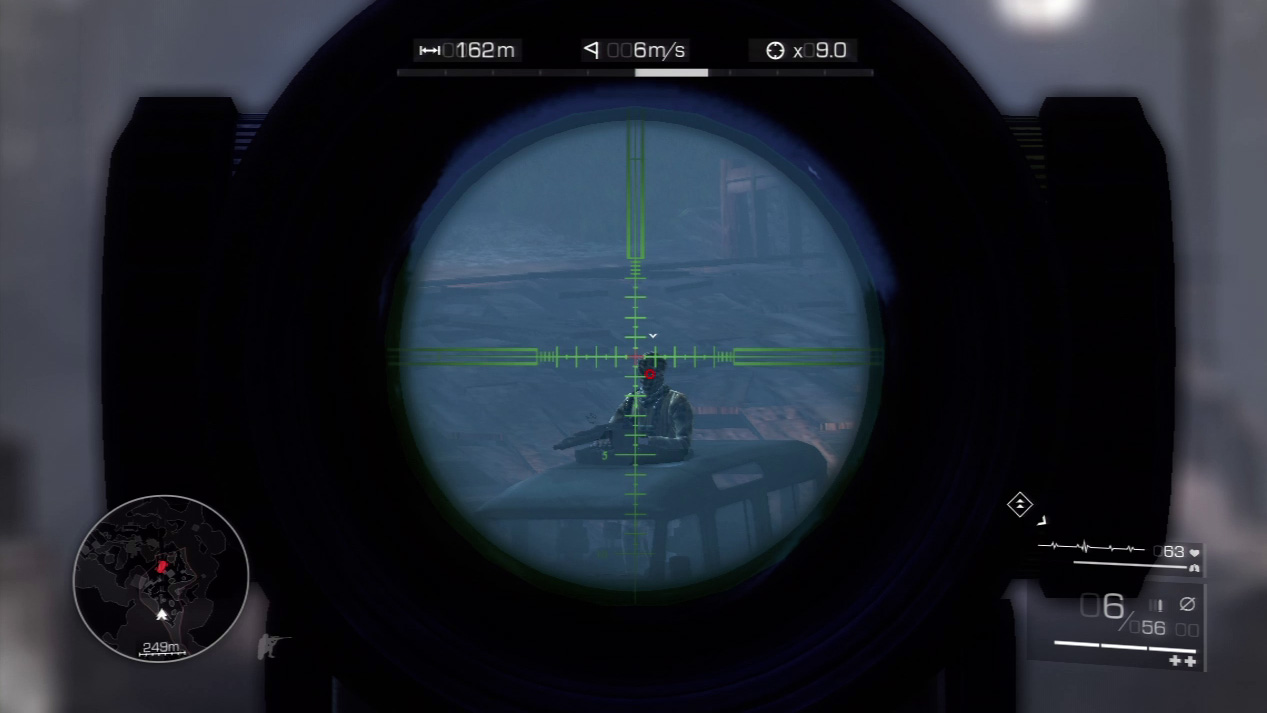
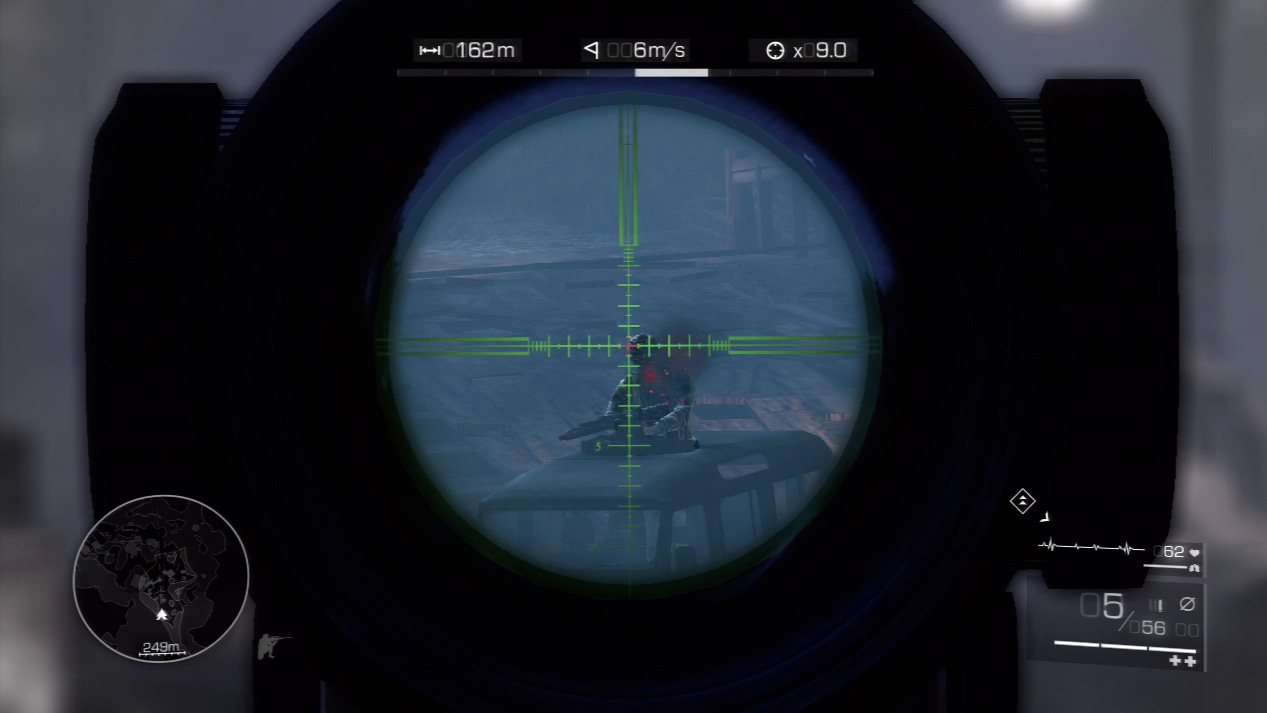
Finally, aim for a headshot on the vehicle guard. Squeeze the trigger when you have him dead to rights, and when his body slumps, you complete the objective and can move on with Diaz.
Act 3: Secret 1
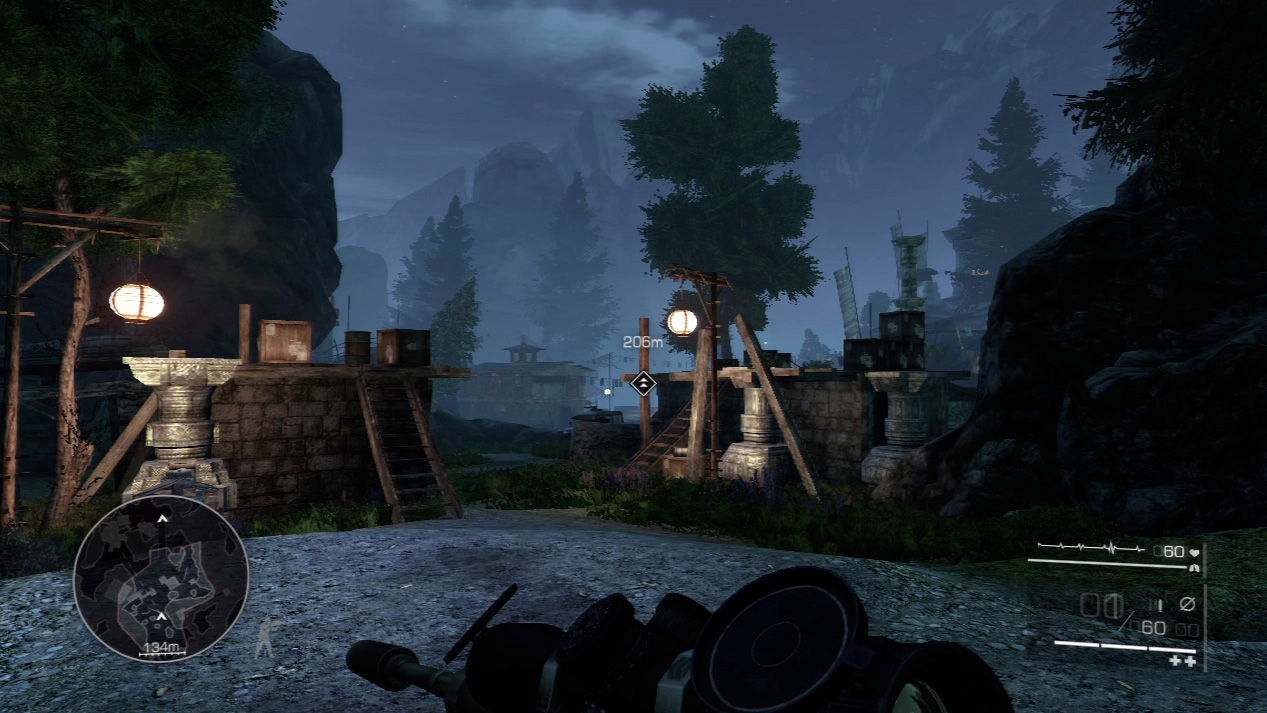
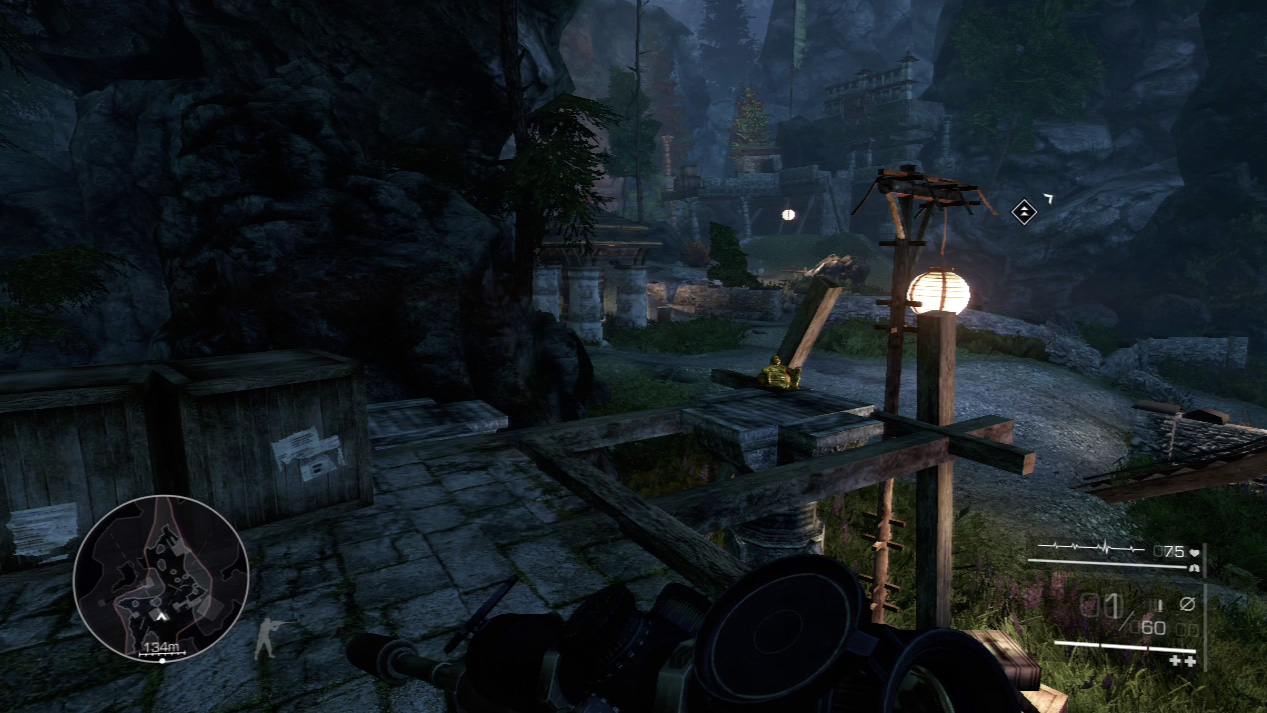
The first secret in Act 3 can be found on one of the platforms near your first encounter at the bridge. Take the stairs up to the platform where you killed the second guard and turn back toward your original sniping spot.
You’ll see the secret resting out on the wooden beam near the edge. Carefully walk out and pick it up. All secrets in Act 3 appear as a monk statue.
Waypoint 3
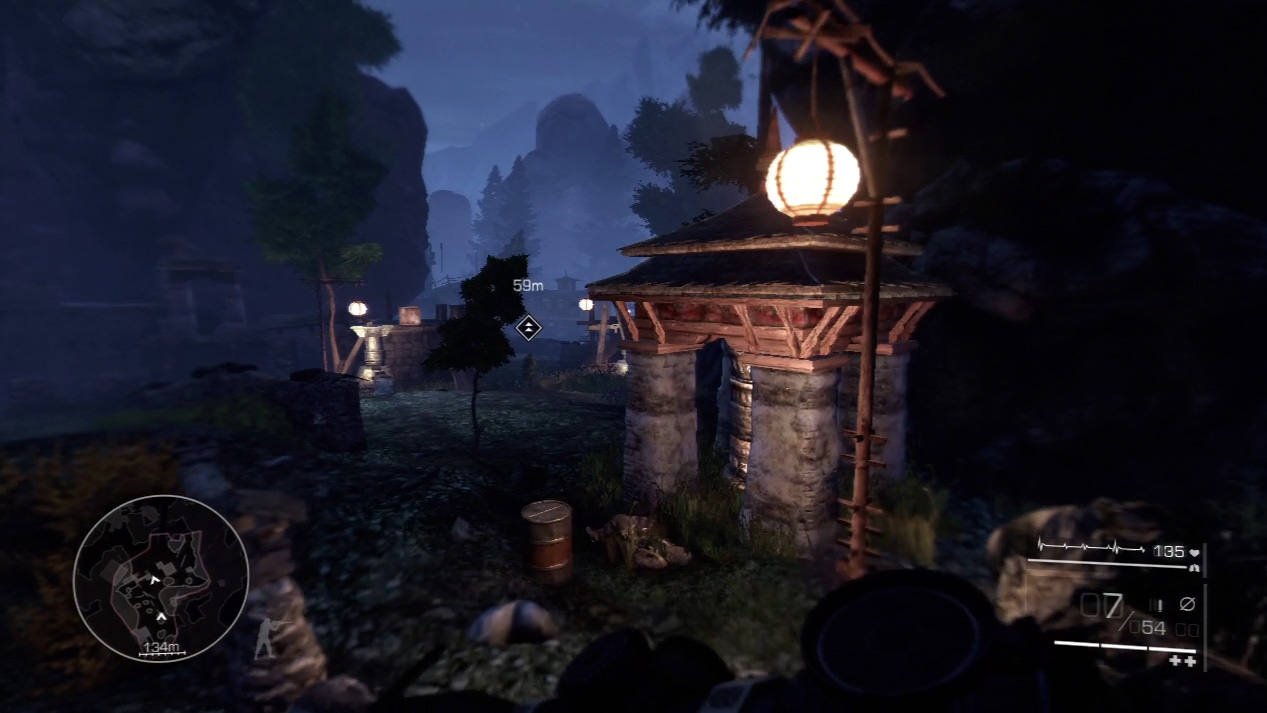
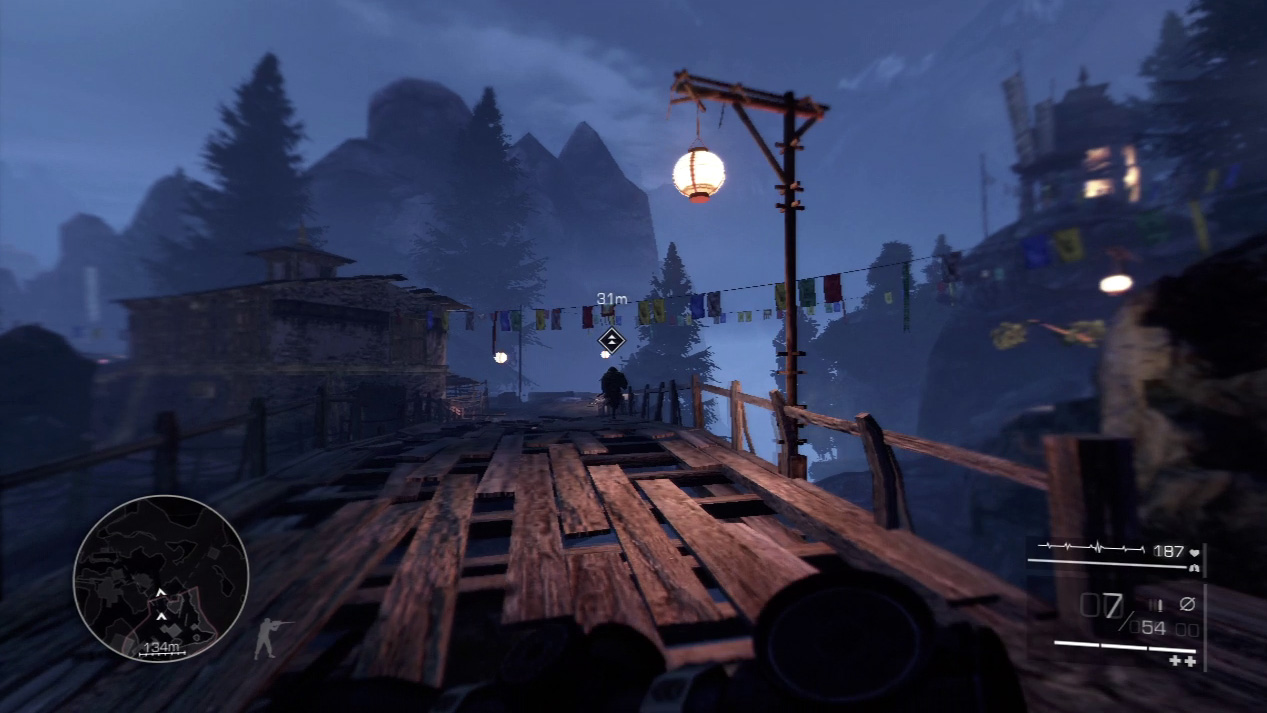
Run after Diaz as he cuts through your recent carnage and over the bridge.
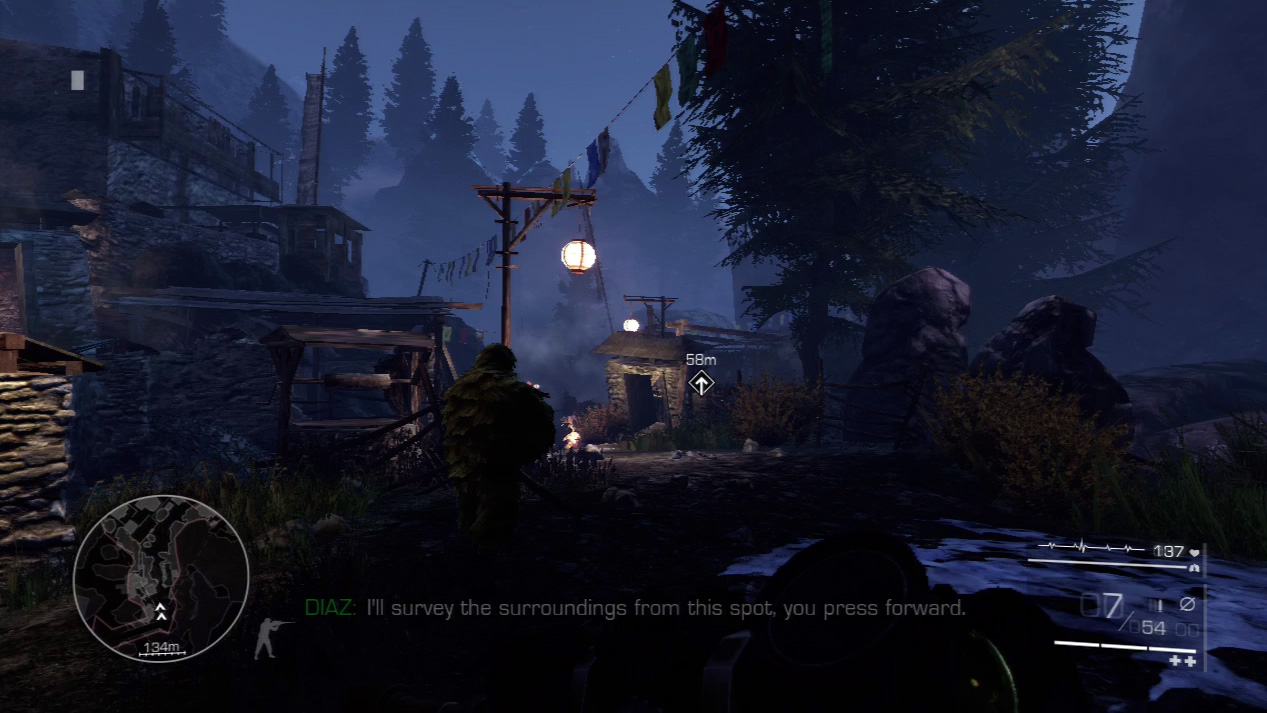
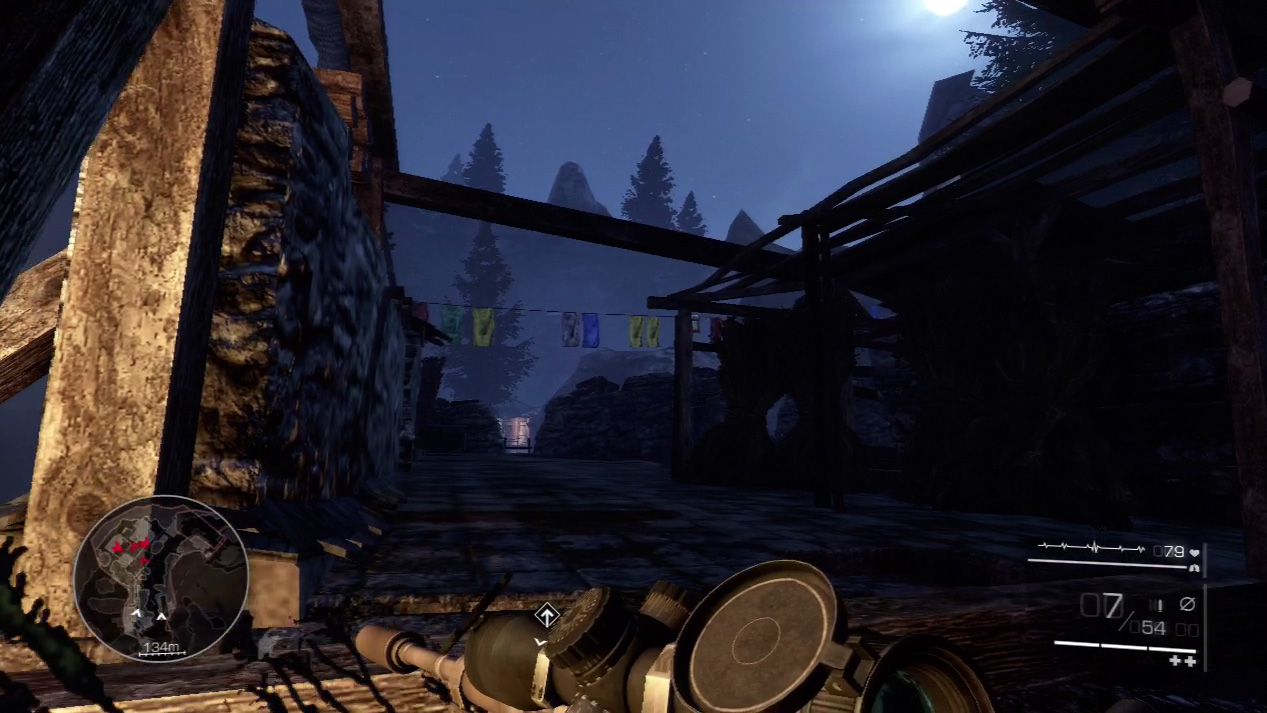
On the far side of the bridge, Diaz breaks off to scout ahead and lets you tackle the village alone. Carefully move up to the landing overlooking the village and drop prone before you reach the rock wall.
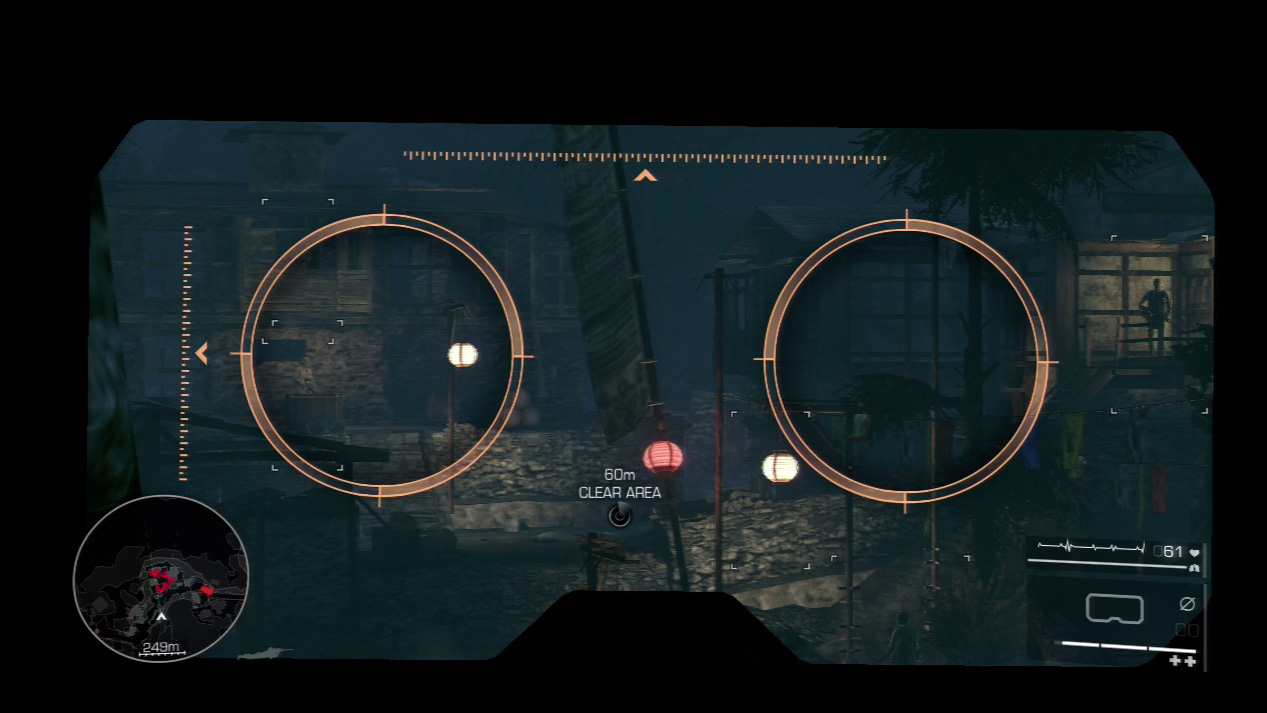
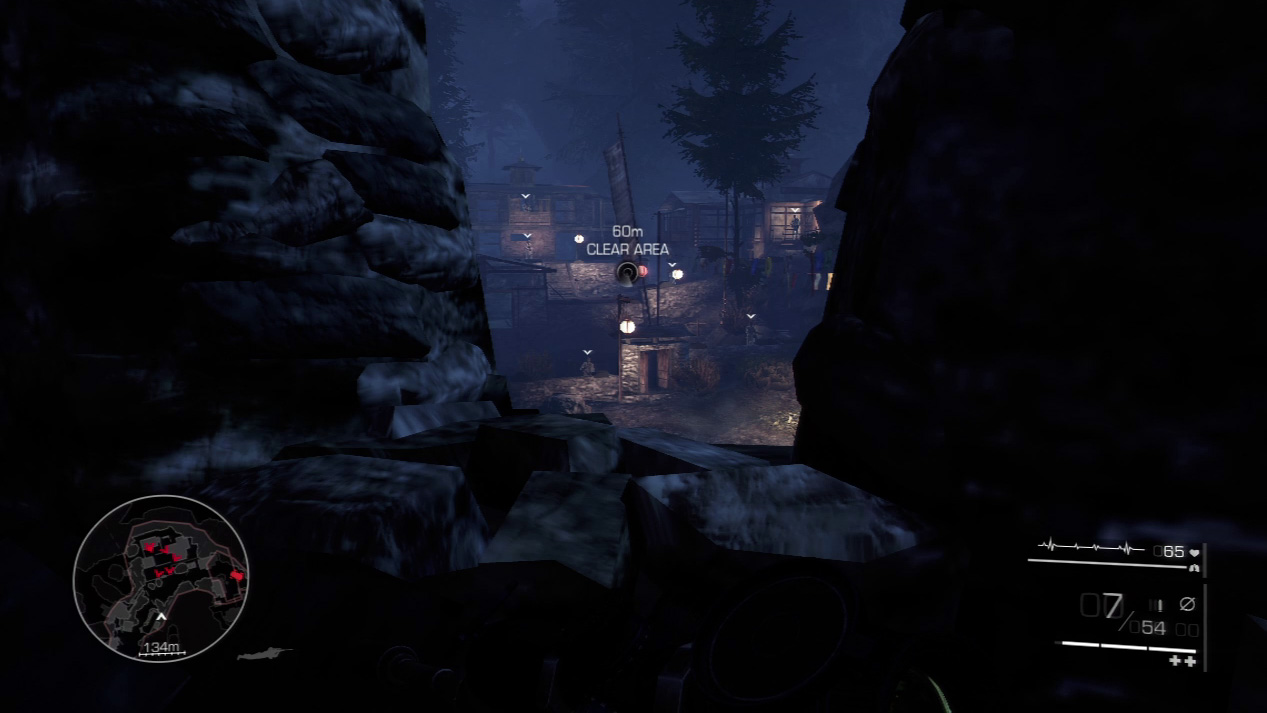
As with the bridge attack, use your binoculars to gauge all enemy positions and time their movements. Once you have all six enemies accounted for, slide up to the gap in the rock wall and prepare for a strategic takedown.
Expert Mode
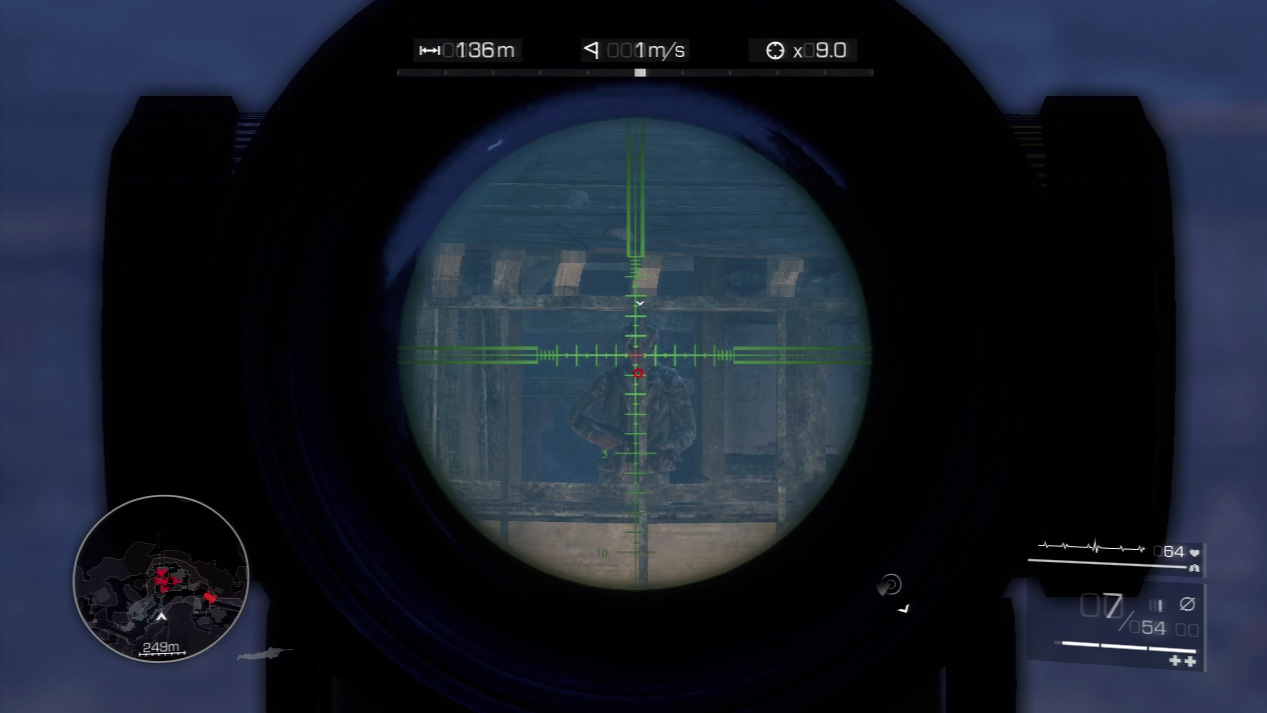
- Distance: Approximately 135 meters
- Wind: 1 meters/second (blowing right)
- Magnification: 9x
Wind will not affect your shots in the village. Gravity has only a slight effect, dipping the bullets down one reticle line. Keep your bull’s-eye on your target’s face and you should always hit.
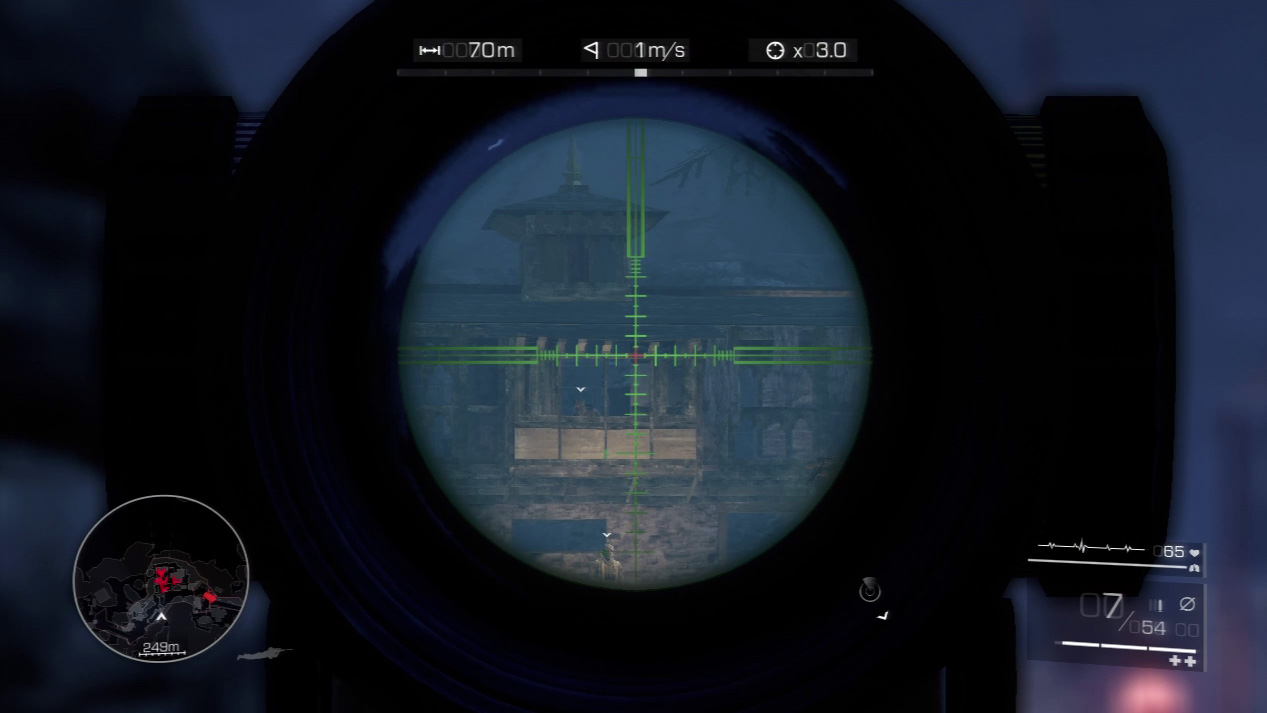
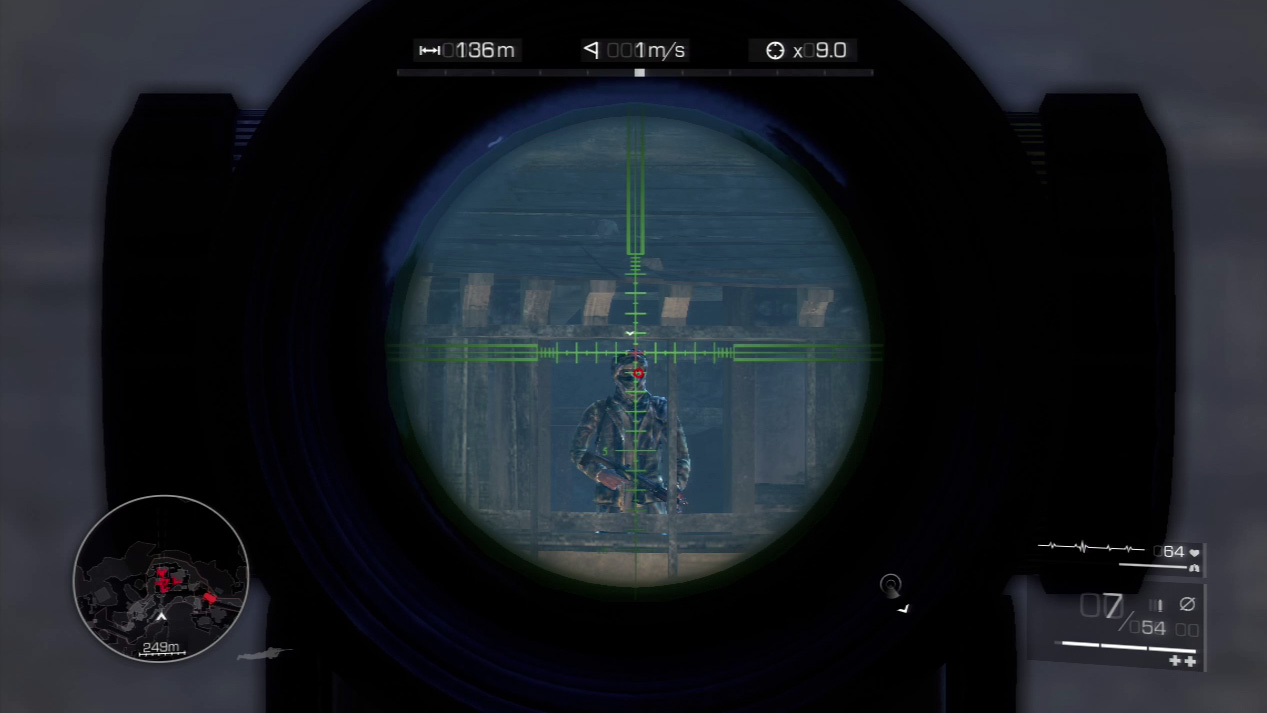
You need to eliminate the village targets in descending order, from the top to the bottom. Target the guard in the tower to your left. He’s the highest enemy and can see all other enemies, so he needs to go first. Zoom in and zip a bullet through the window for your first kill.
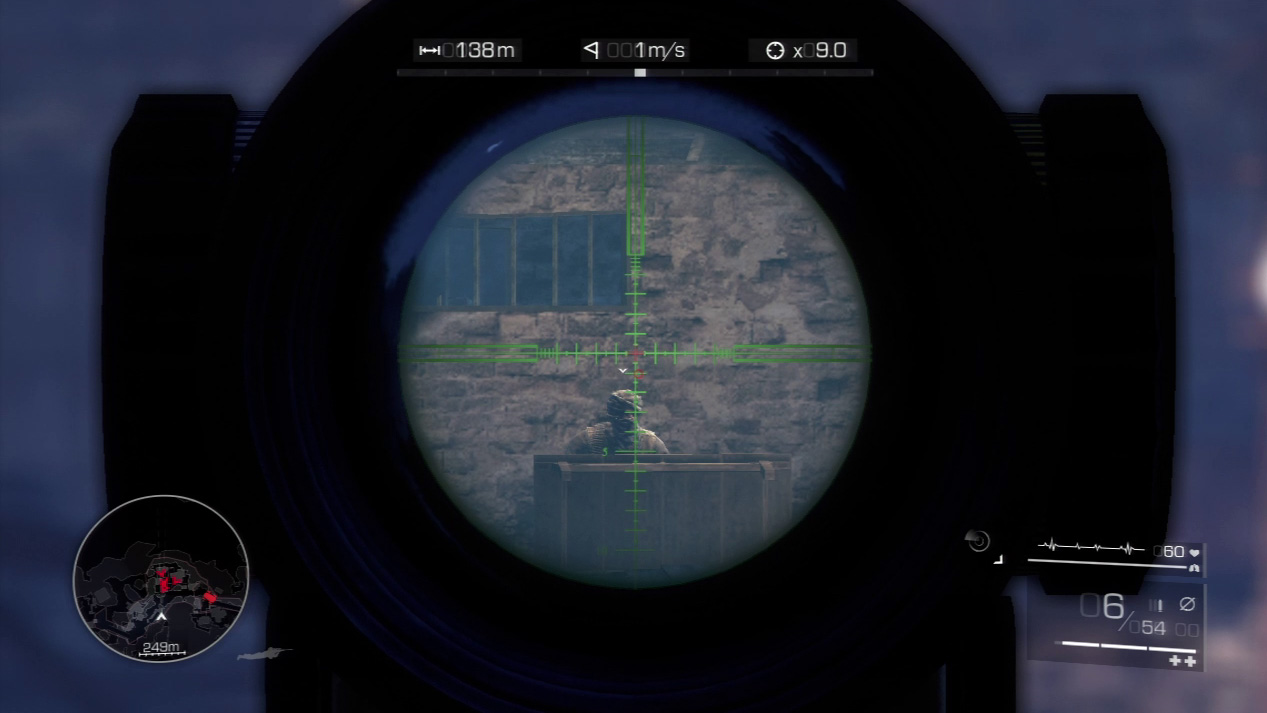
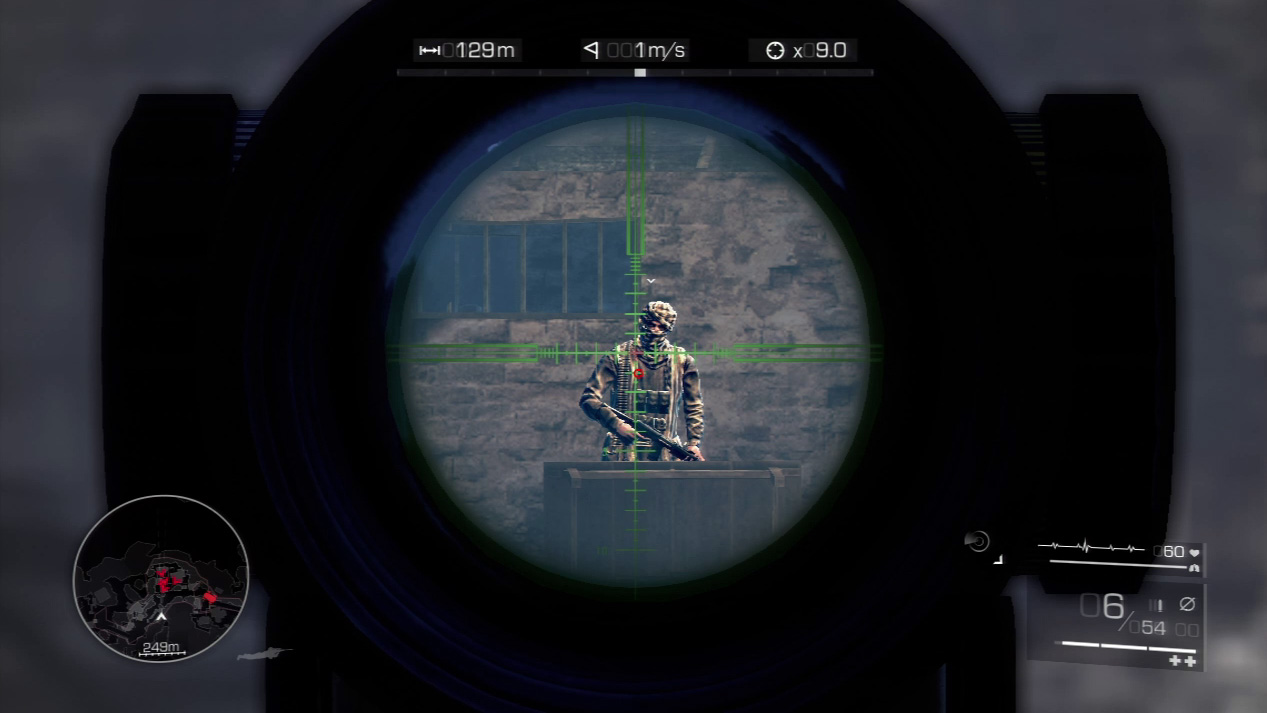
Slide your focus directly below the tower for the second enemy. He stands in front of a crate. Sometimes he will duck behind his crate, so to avoid a mistake, wait for him to rise from behind the crate before you zero in on him.
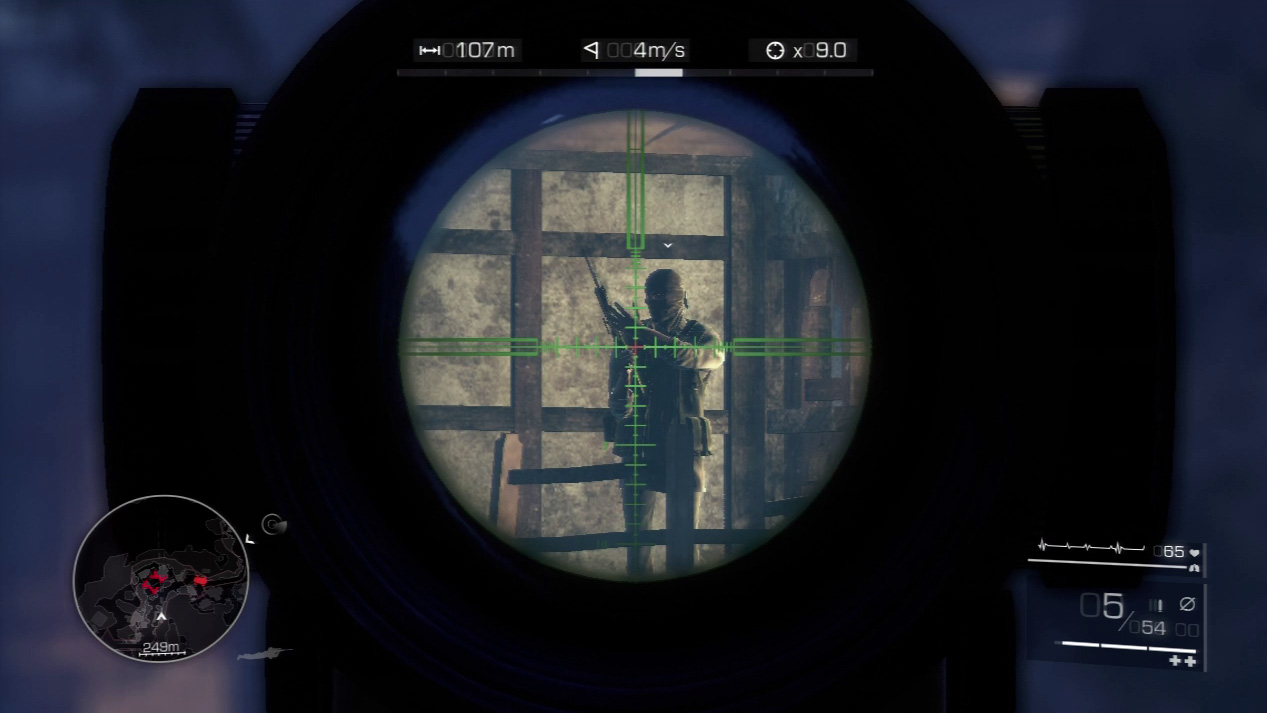
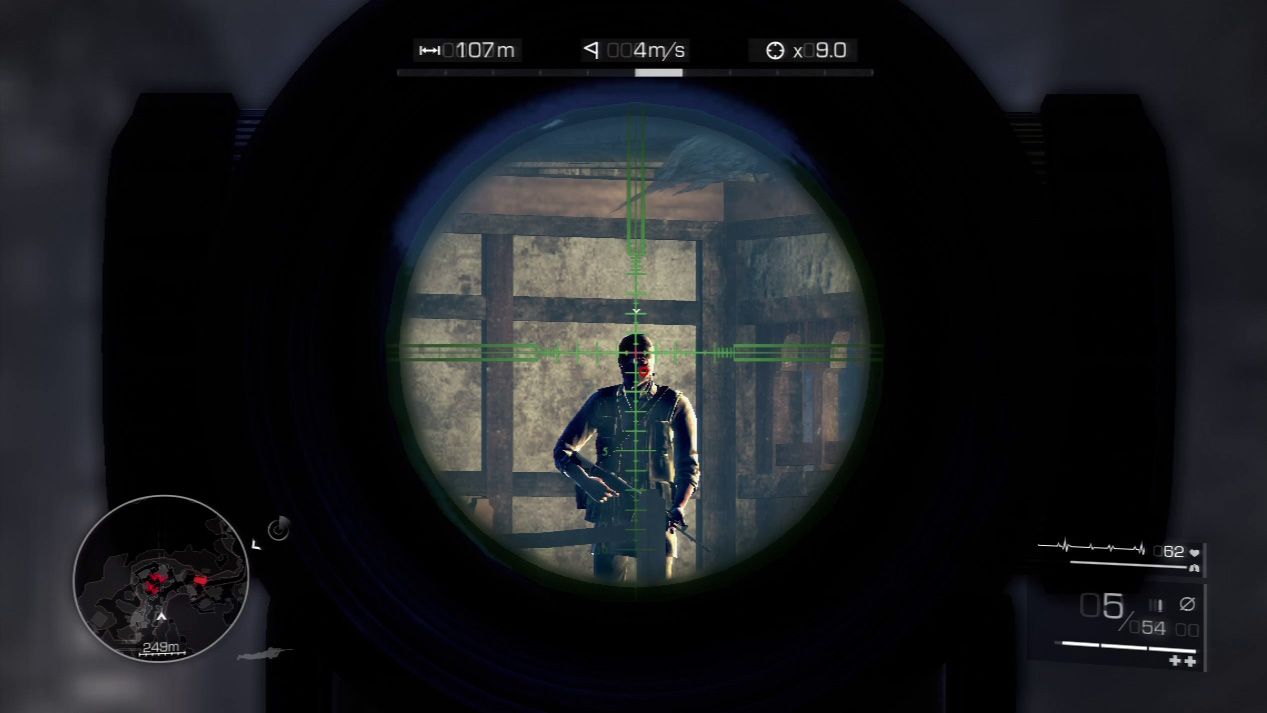
Next, scan to the right and look for the enemy standing up on the well-lit porch. Pick out his silhouette and silence him with a single shot.
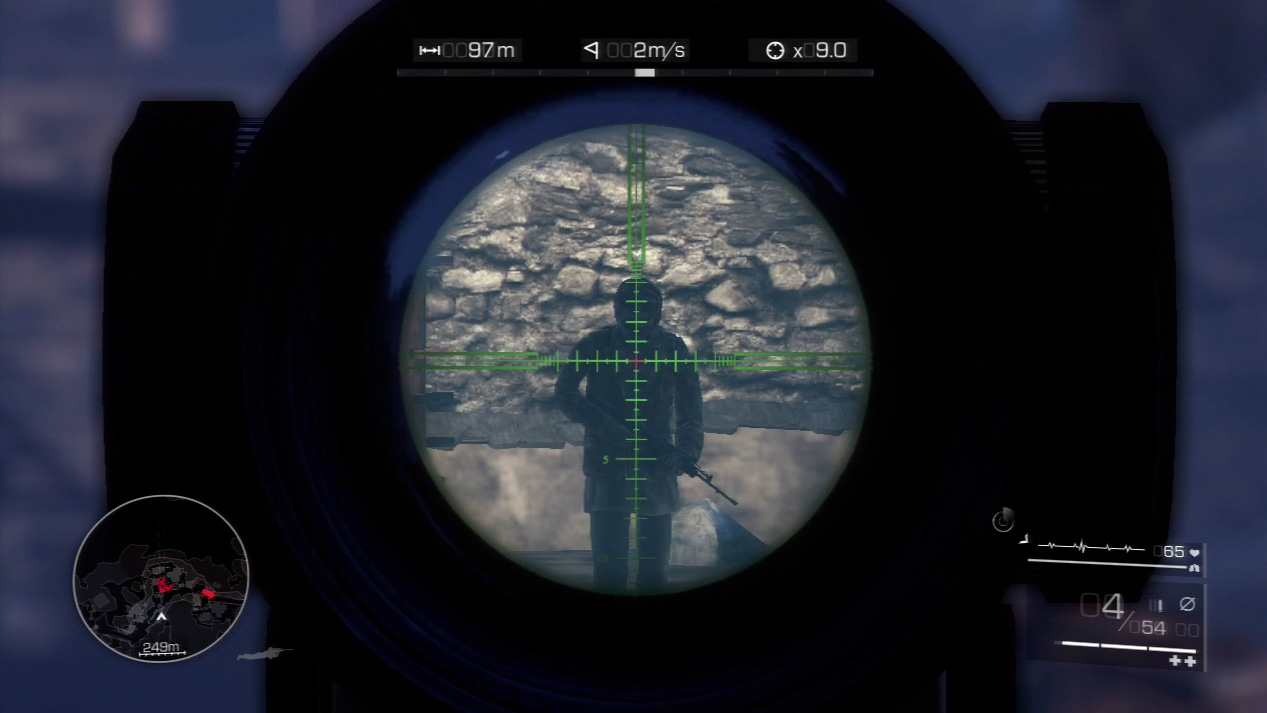
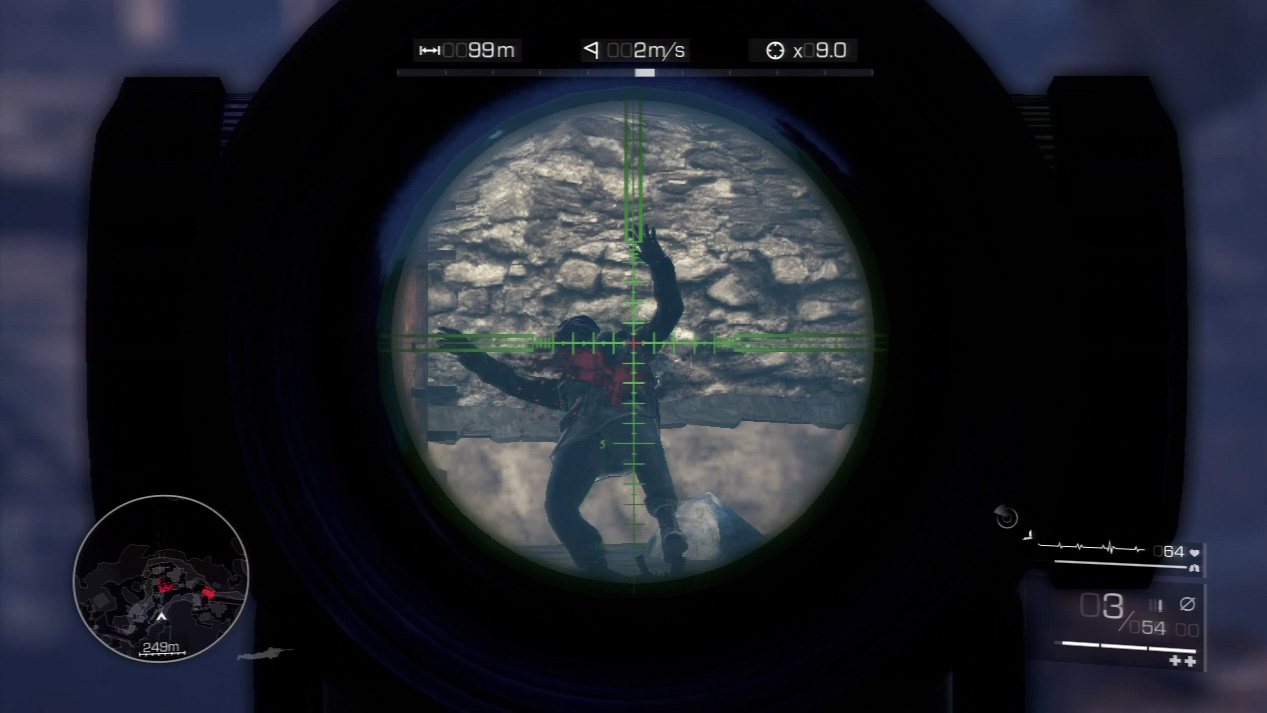
The enemy on the middle level walks back and forth. Stay patient and hit him at either his far left post or his far right post when he pauses momentarily.
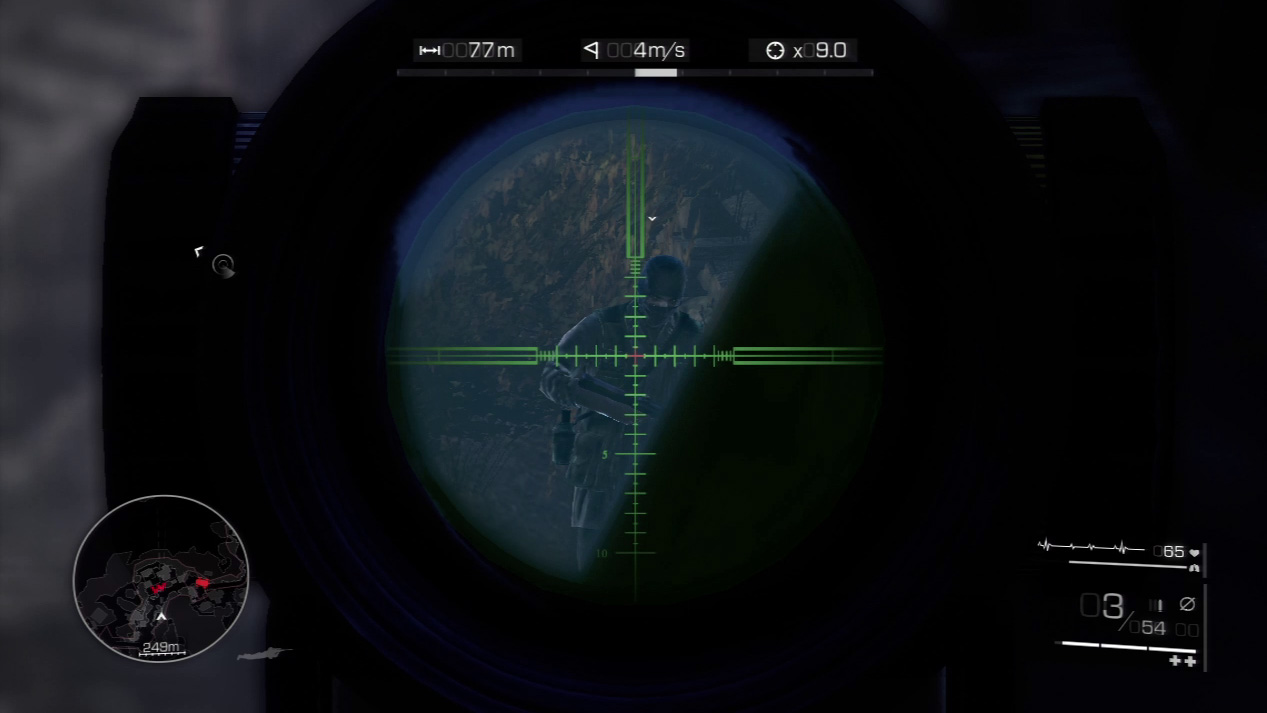
The enemy on the bottom right part of the village can sometimes be the hardest enemy to spot from your prone position against the rock wall. Inch out from the wall until you have him in your sights and kill him quickly.
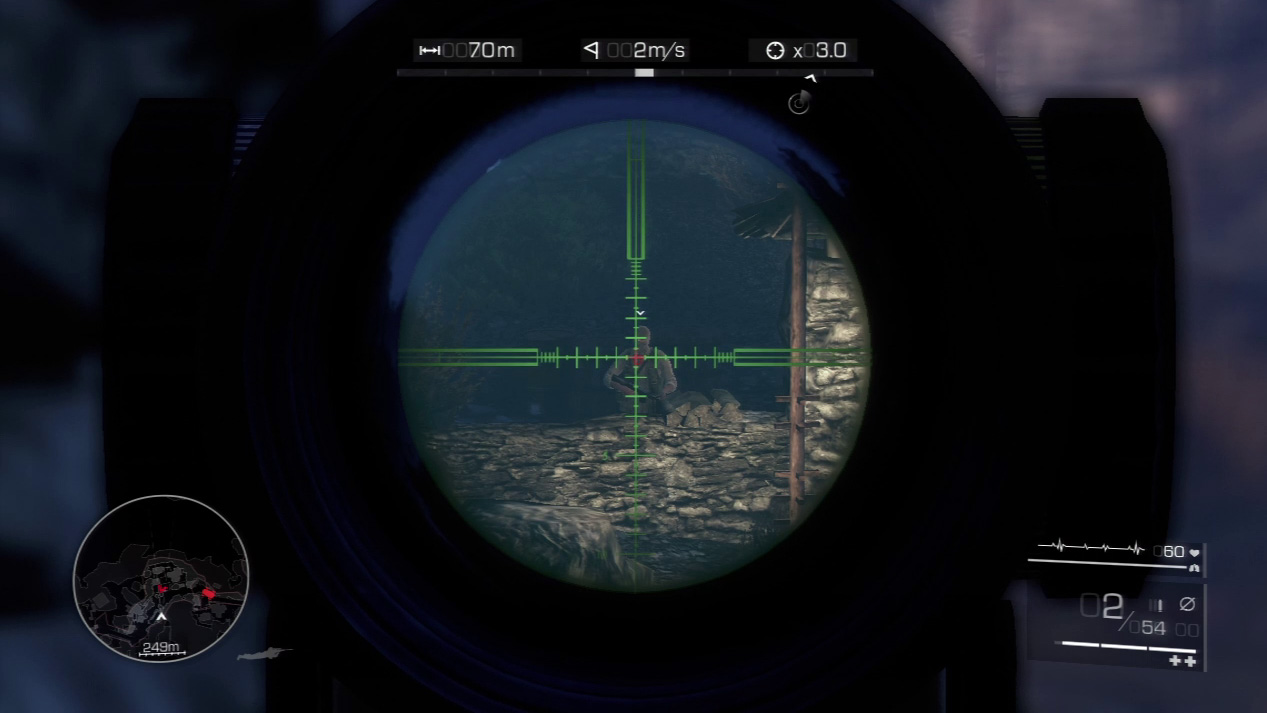
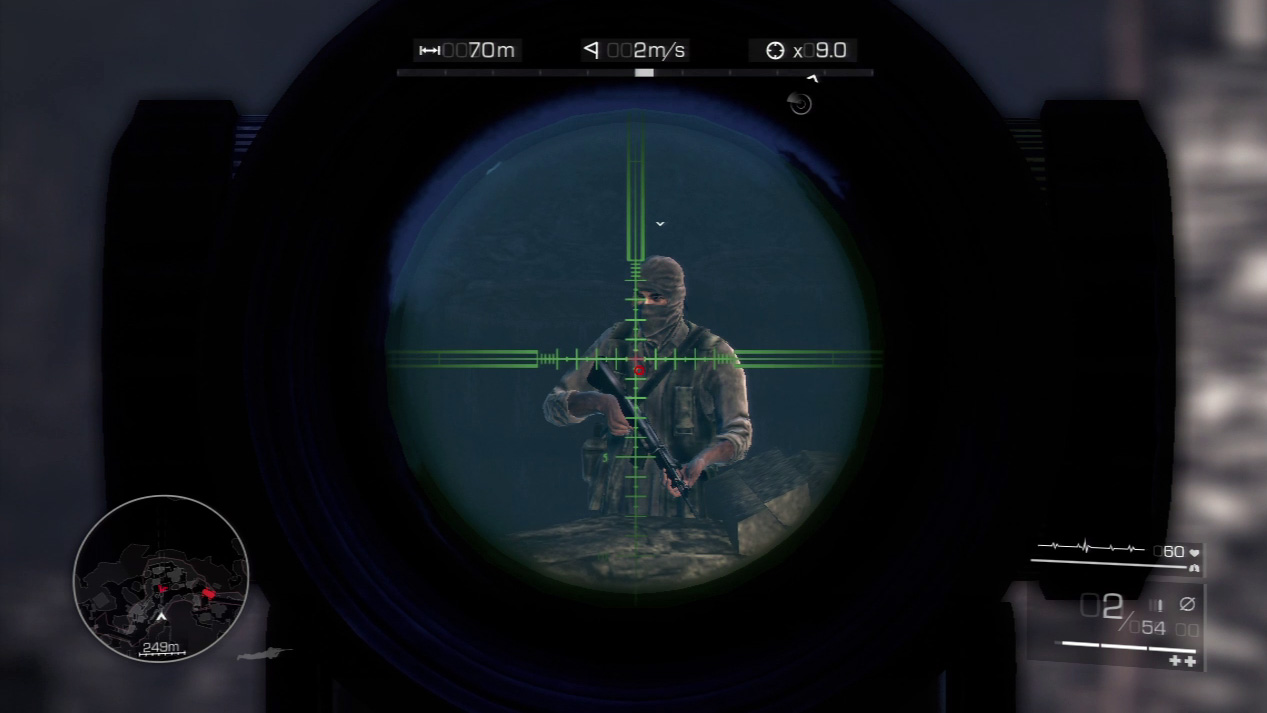
If you’ve done your job correctly, the final guard will be completely unaware of what has gone on around him. Draw a bead on his position behind the wall to the bottom left and finish him with a bullet to the chest or head.
Waypoint 4
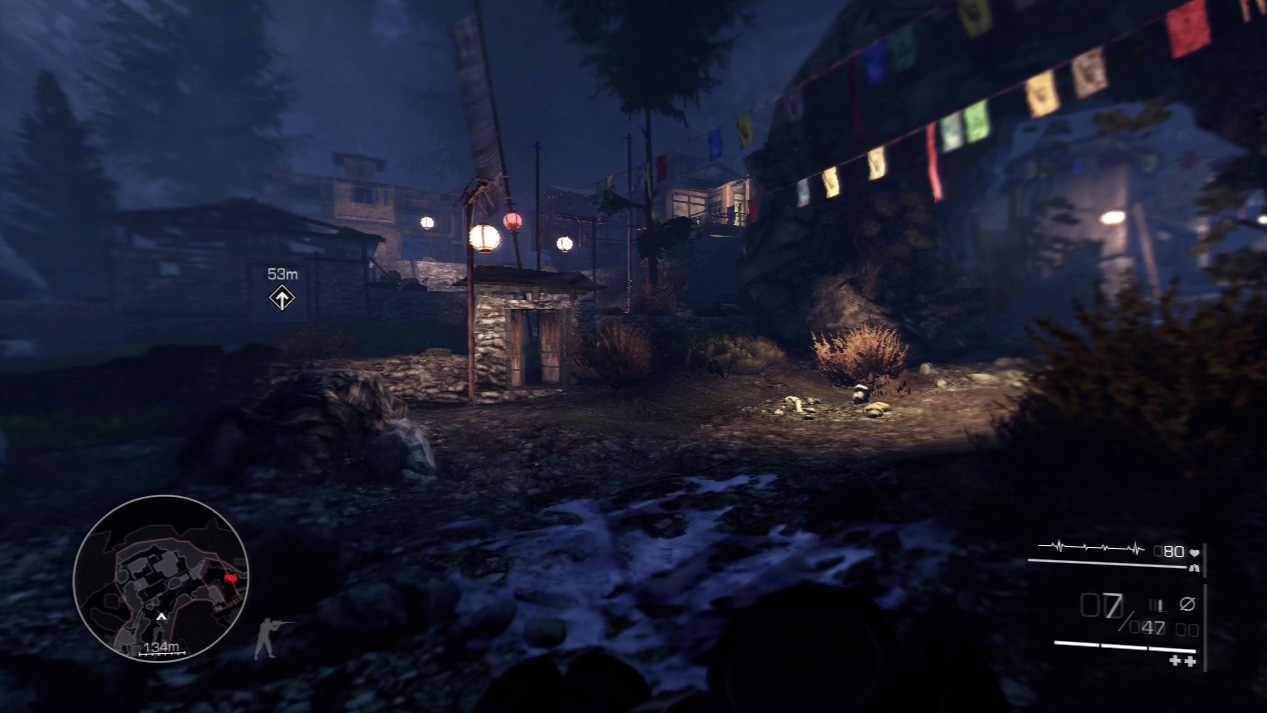
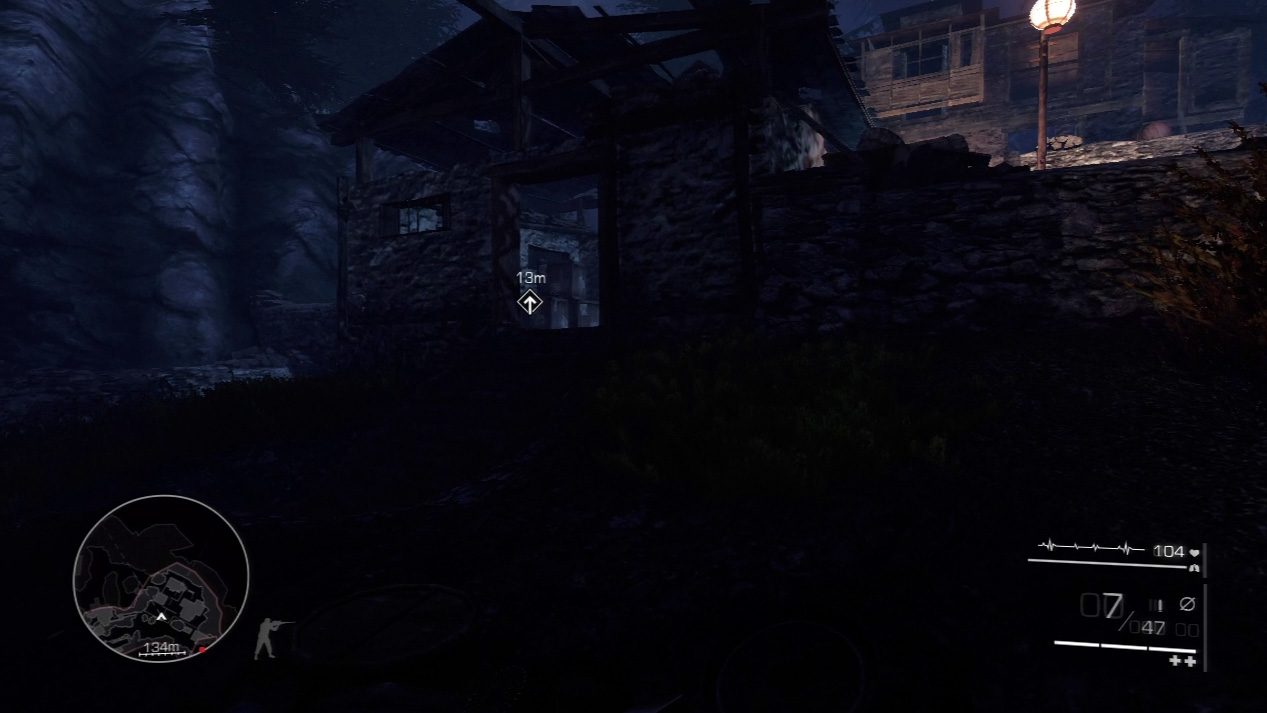
As soon as you attempt to cross through the village, an enemy vehicle arrives on the scene. Run through the village’s front gate and veer left to the ruined shack before the vehicle pulls to a stop at the gate.
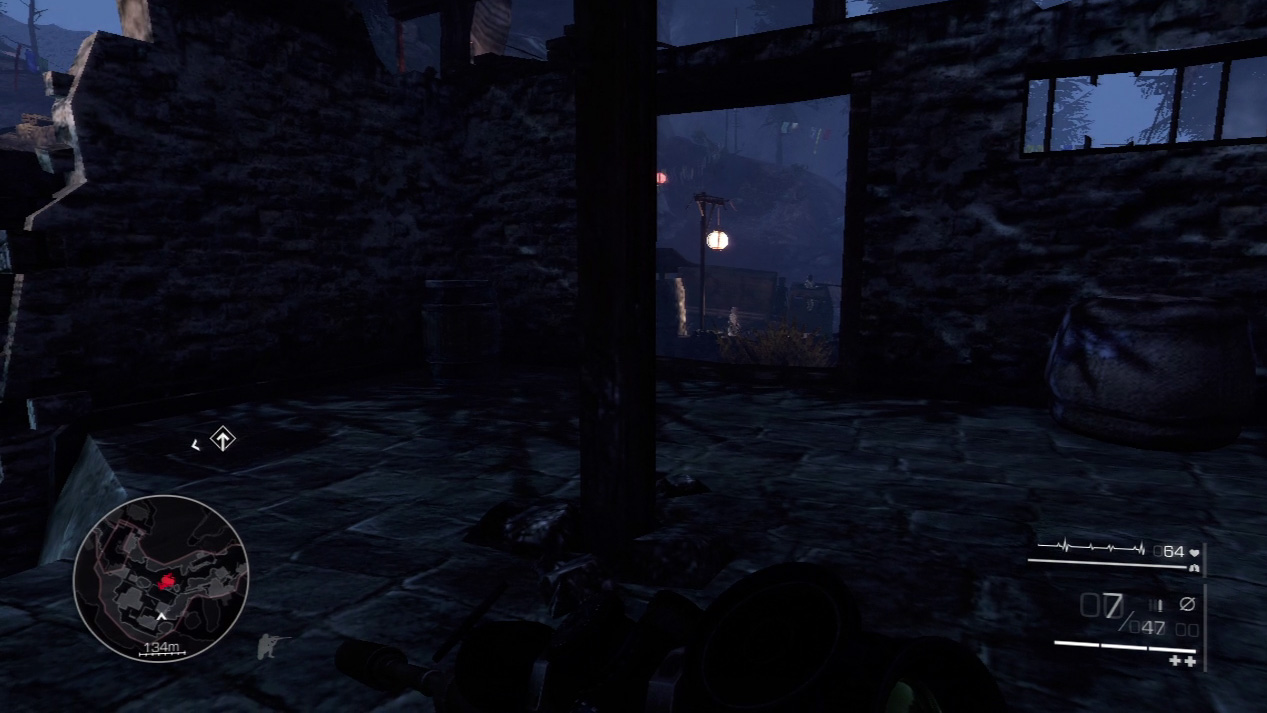
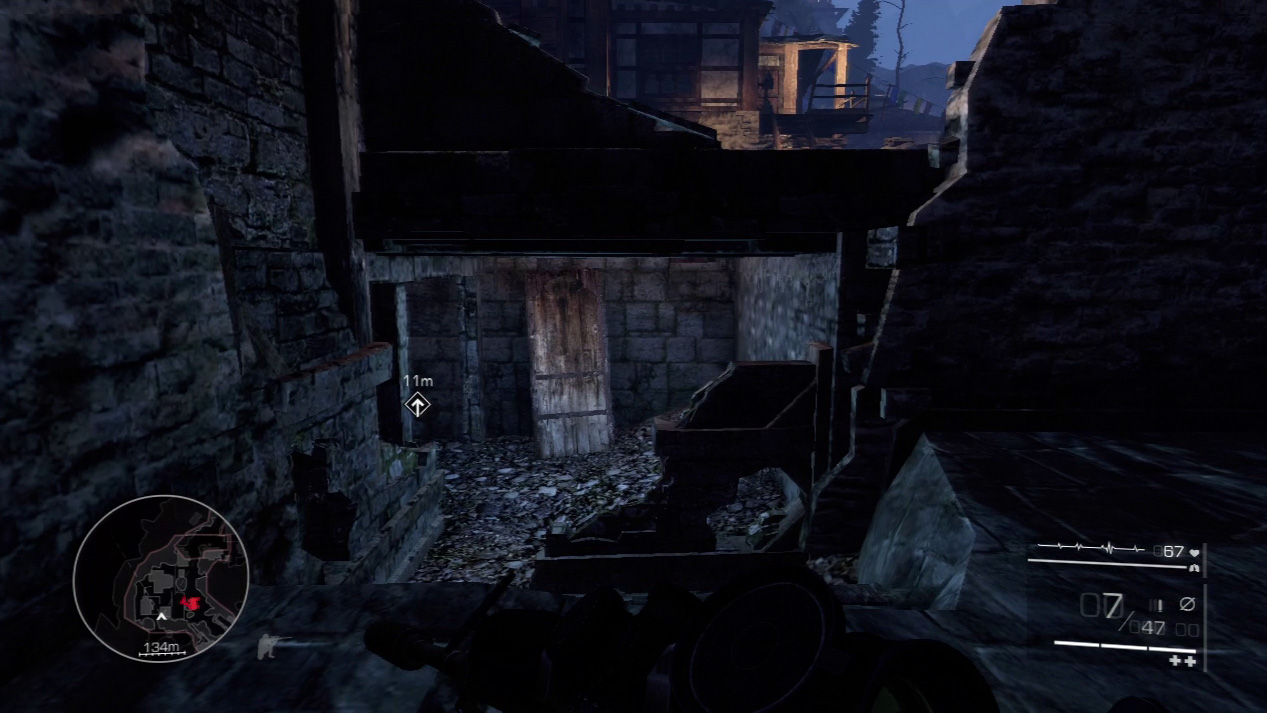
Hide in the shack and don’t let the patrol catch sight of you. The guards fan out, looking for signs of intrusion, and eventually one of them will walk right into the shack. Be gone before then by taking the back exit.
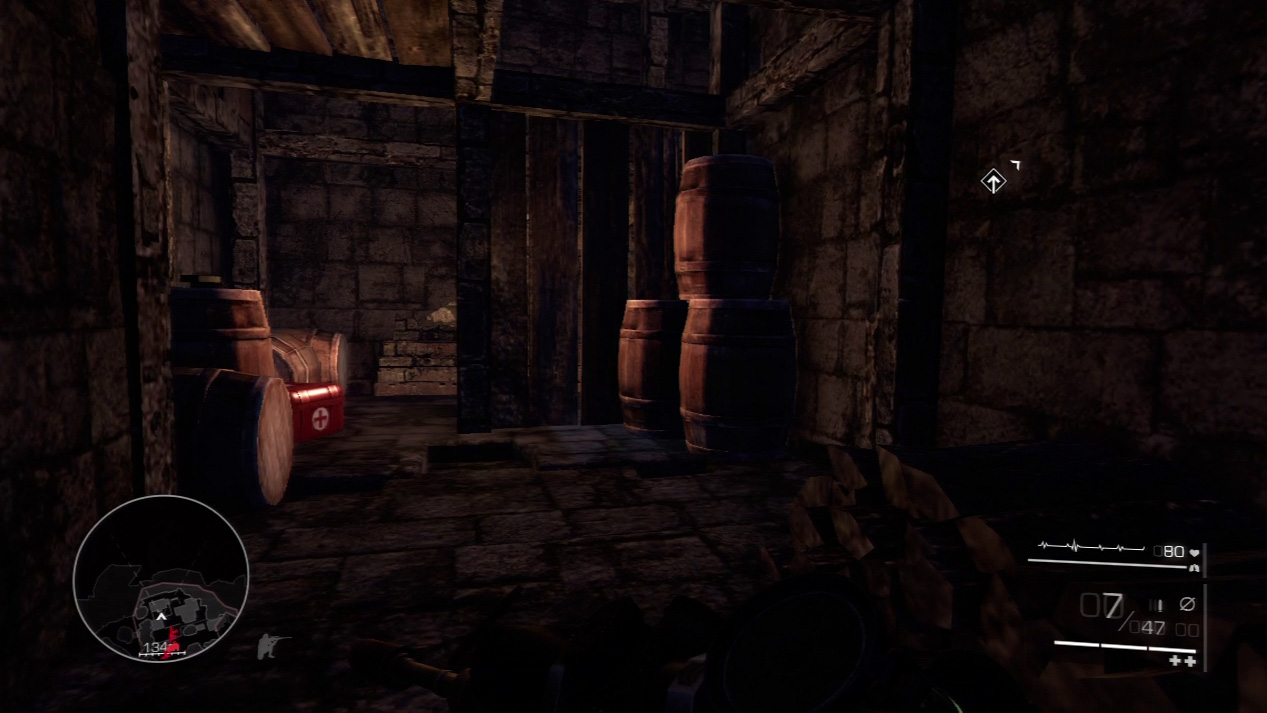
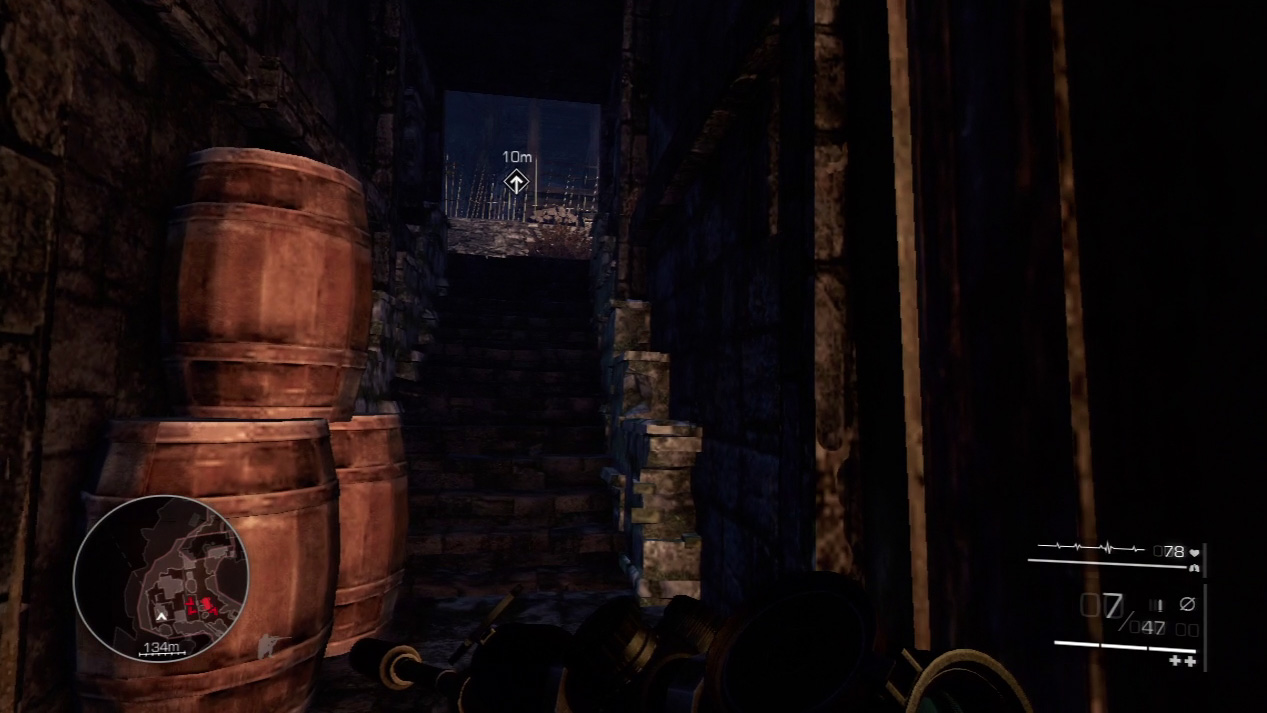
Cut through the storage room and pick up an extra medkit if you’re in need. Turn right and climb the steps leading outside again. The enemy patrol can’t see you yet.
Waypoint 5
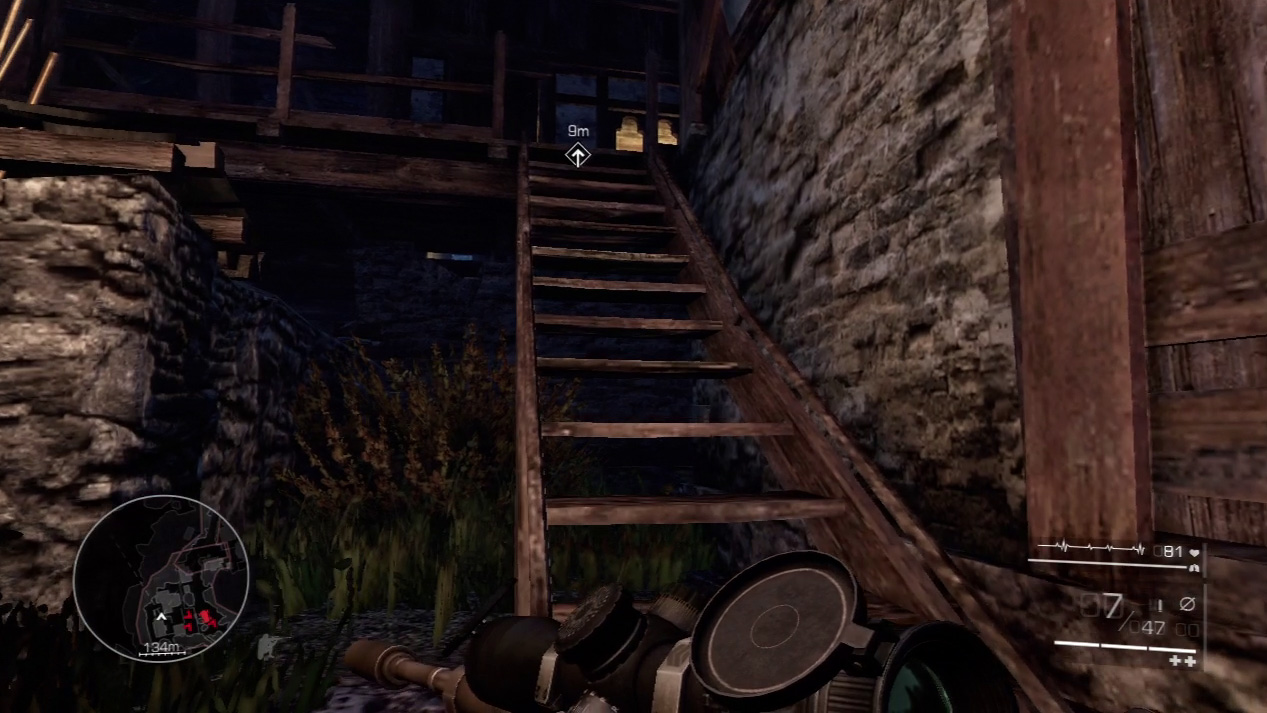
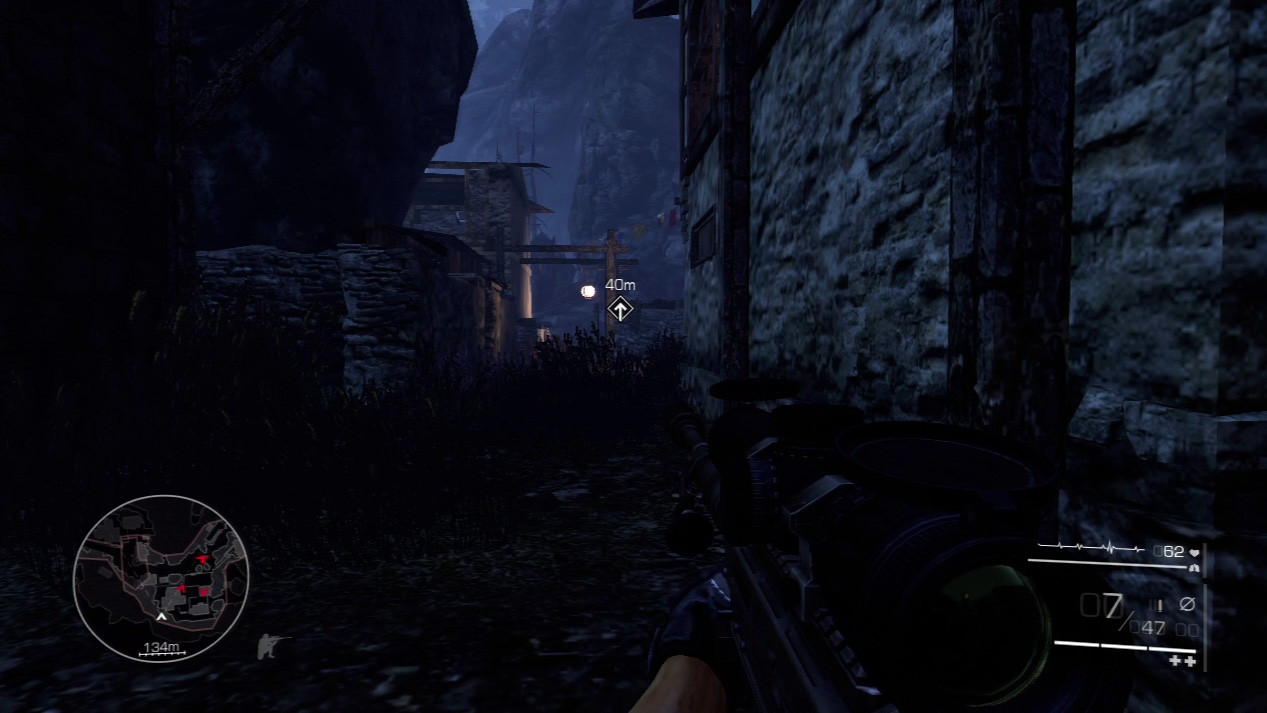
Listen to Diaz as he guides you through the village and informs you of the enemy patrol’s current position.
Climb up the stairs to the porch at the back of the village and then drop off the back of the porch to reach the alley out of sight from the enemy patrol.
Waypoint 6
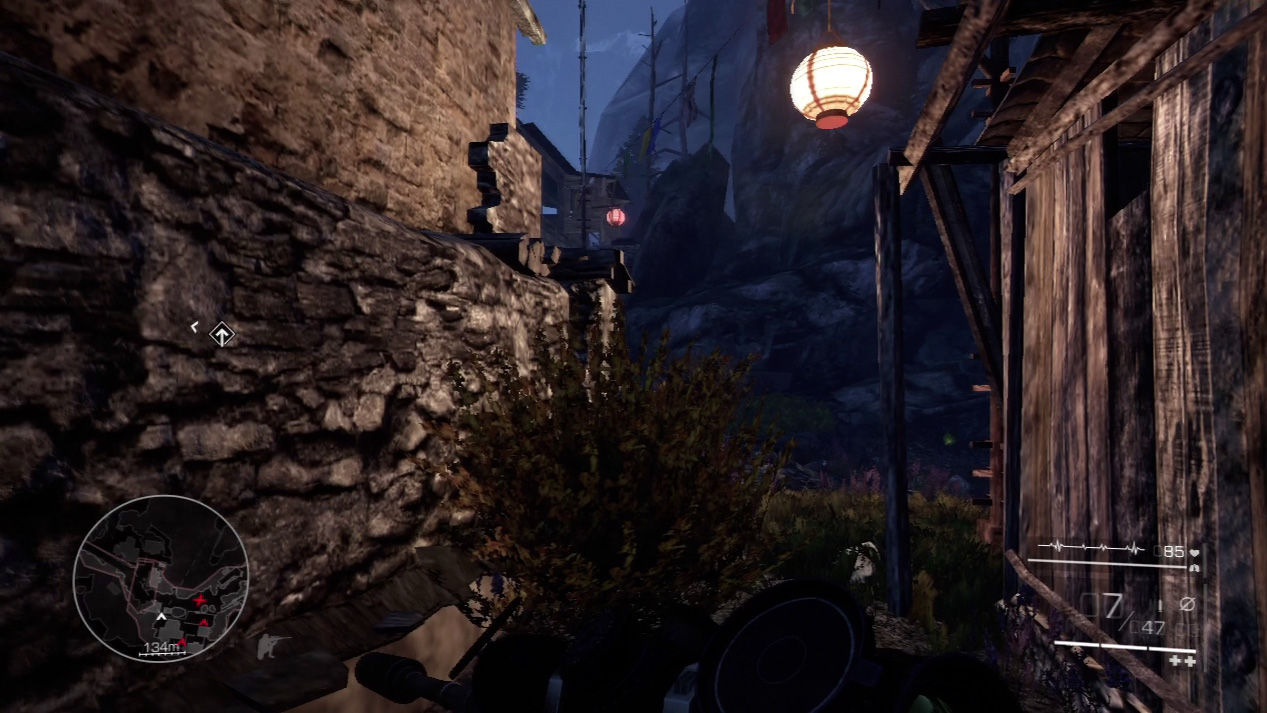
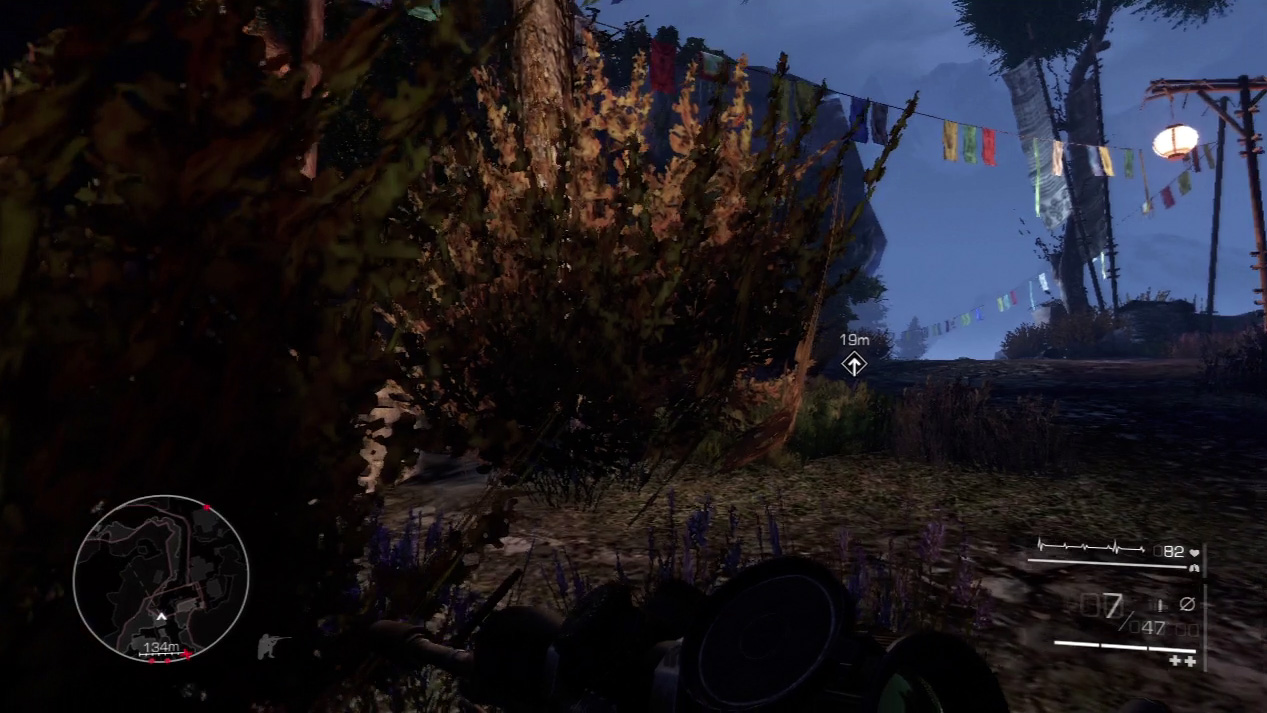
Be careful as you reach the end of the alley.
The enemy patrol scours the path to your right. Stay near the wall as you turn left and hustle up the hill to put some distance between yourself and the patrol.
Stay in the foliage, and when Diaz warns of an approaching enemy helicopter, stay in the shadows or hidden by vegetation until the chopper passes.
Act 3: Secret 2
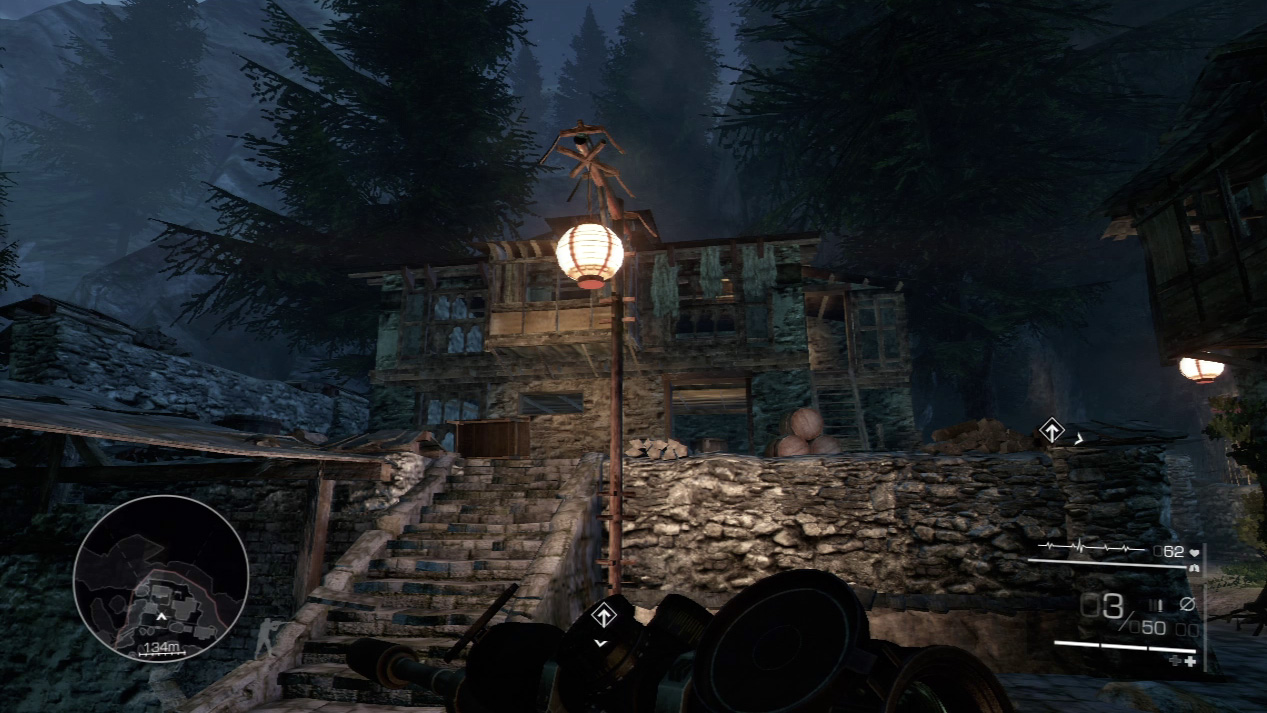
You’ll have to break from the mission route to collect the second Act 3 secret. Rather than hide from the enemies that arrive in the vehicle, eliminate them all and then search the village.
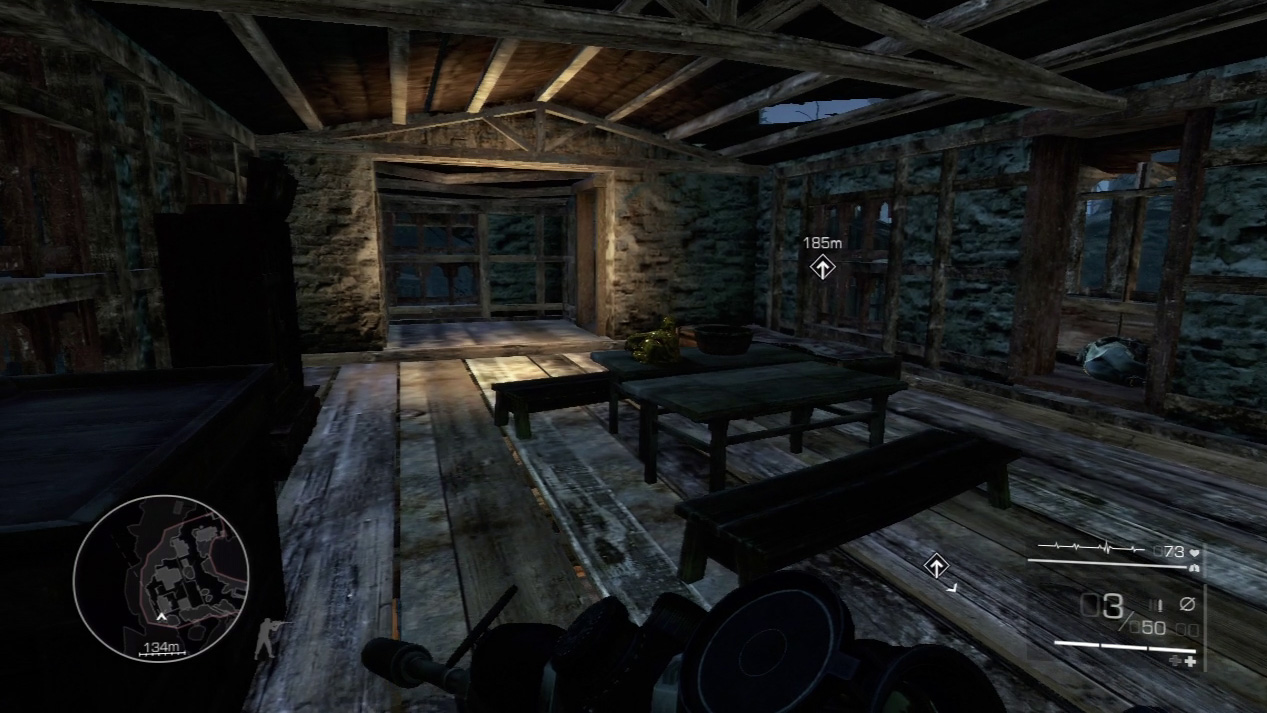
Enter the house at the top of the hill (where you shot the first two enemies in the village), climb the stairs to the second floor and collect the statue on the table inside.
Waypoint 7
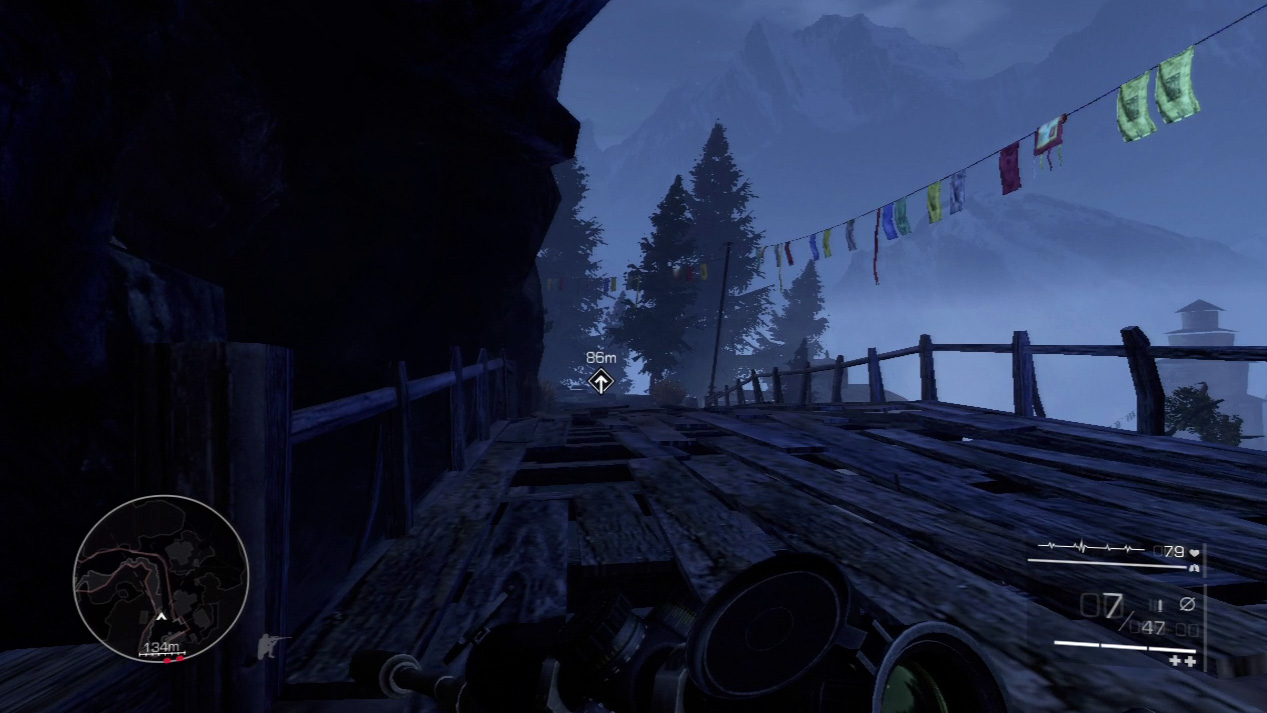
Cross the bridge at the top of the hill and slow down as you near the next bend.
Expert Mode
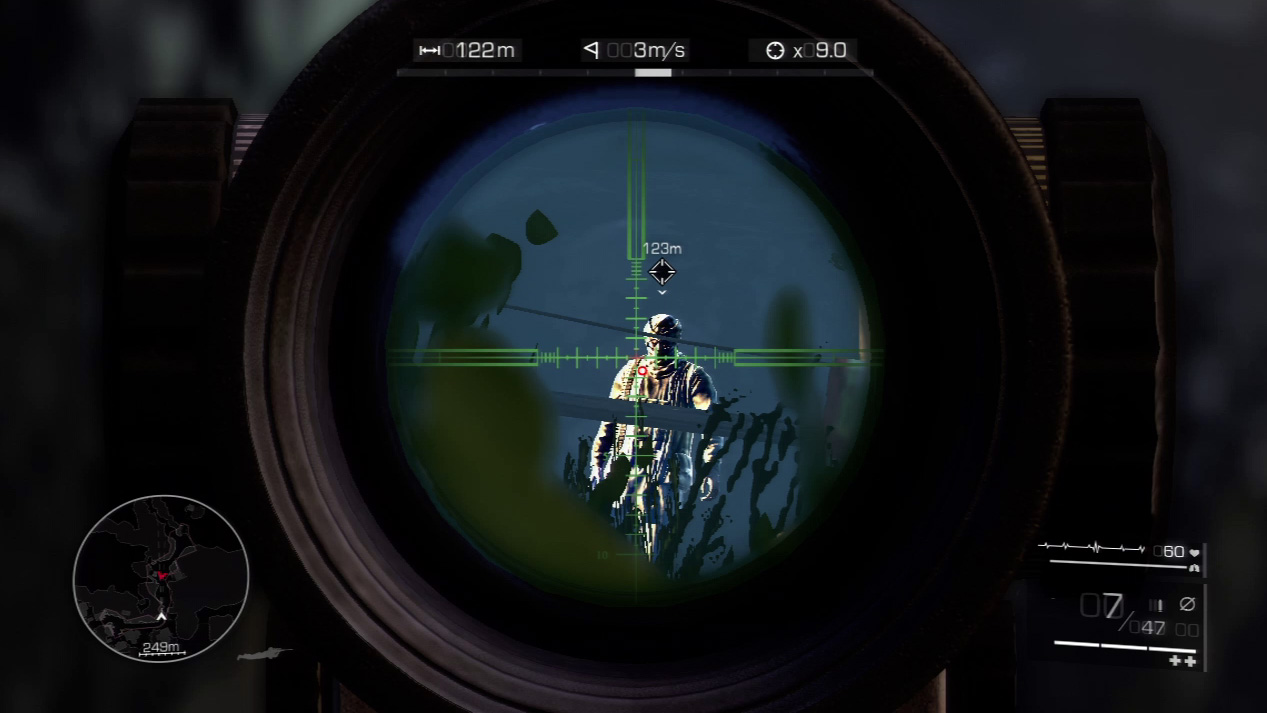
- Distance: Approximately 120 meters
- Wind: 3 meters/second (blowing right)
- Magnification: 9x
Your bullet will drift slightly to the right because of wind when you fire on the first guard at the top of the hill.
Gravity tugs the bullet down a little as well, dropping it just above the first reticle line. Because you have as much time as you need, this shouldn’t be a difficult shot for you.
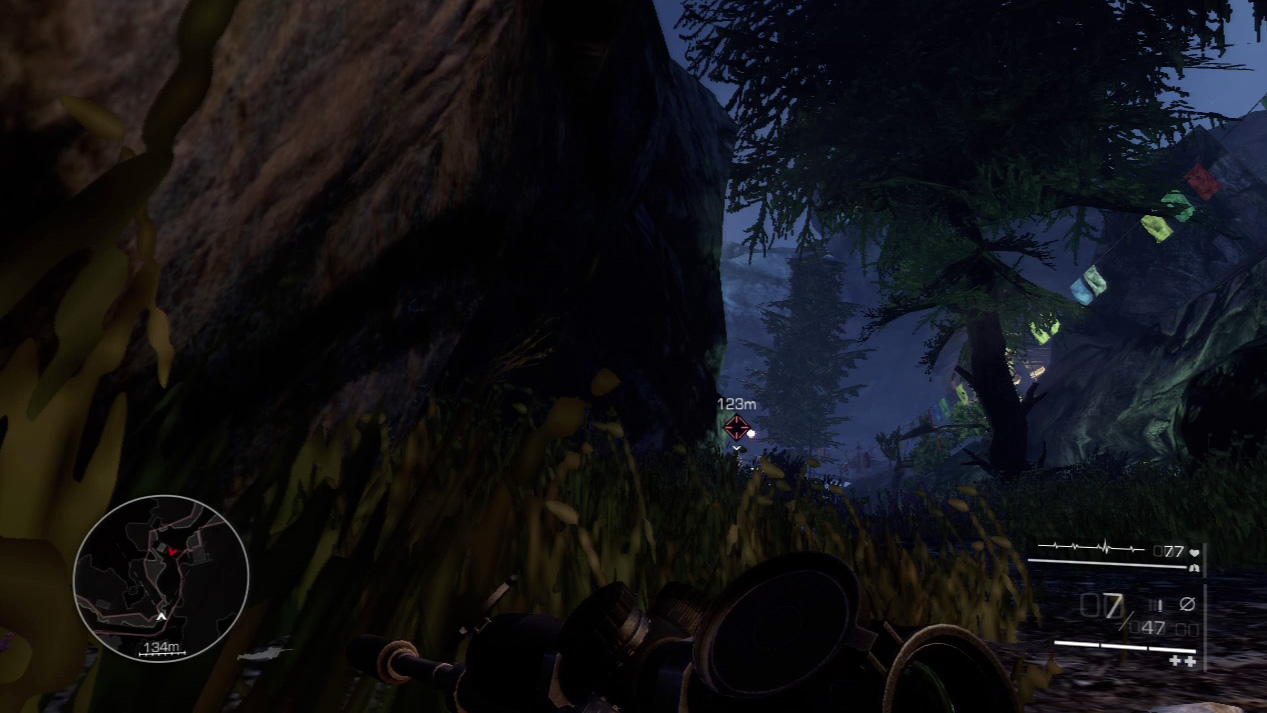
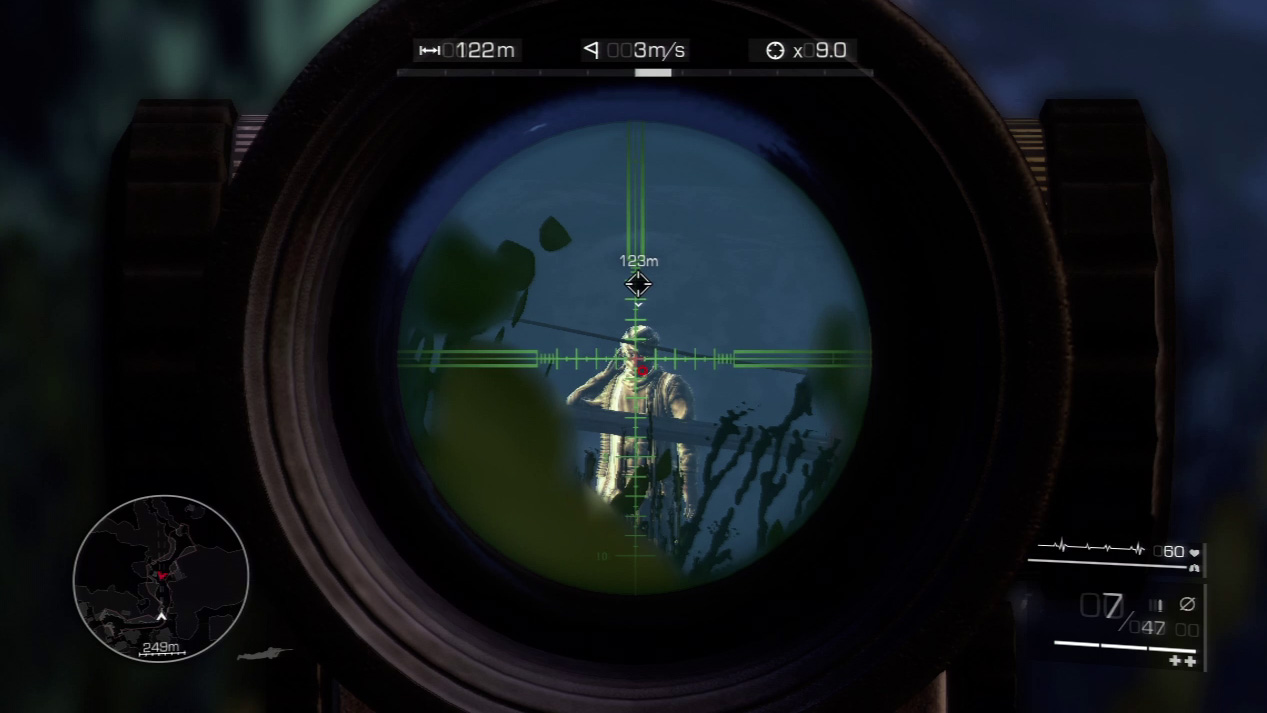
Drop prone at the bend and crawl through the grass until you spot the first enemy on top of the hill. Zoom, hold your breath, and fire when the crosshairs are centered on the tango.
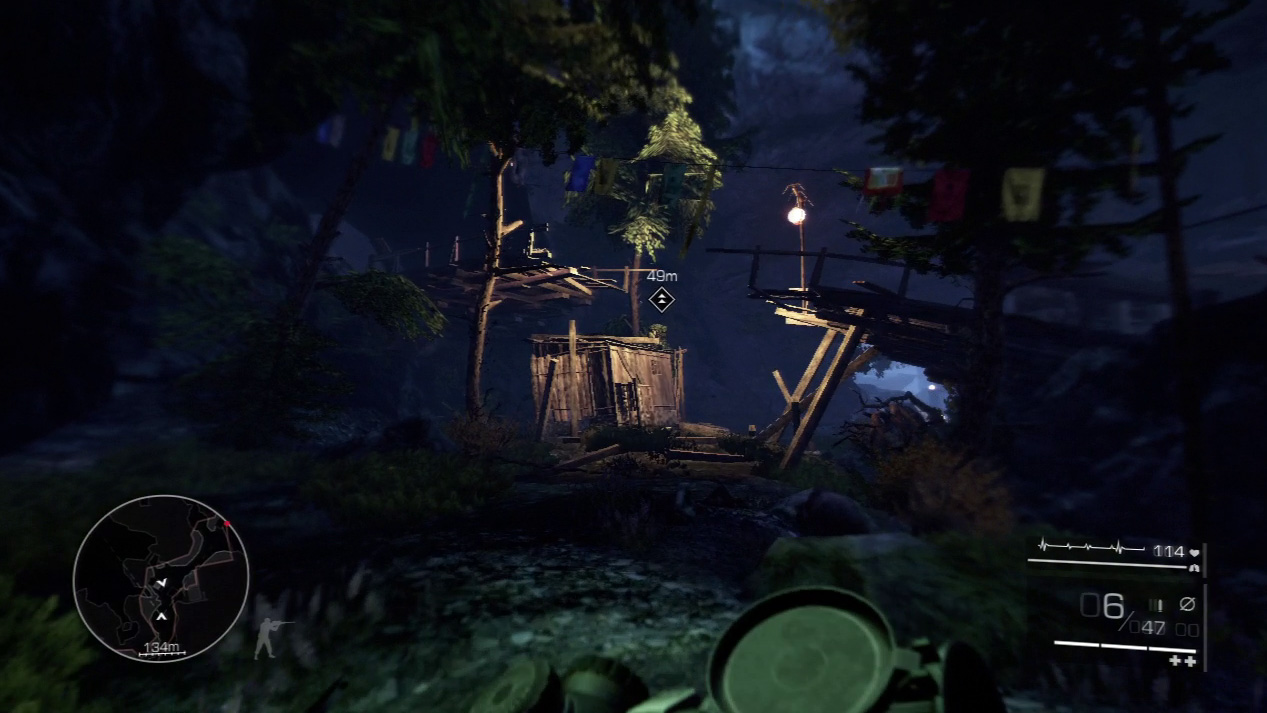
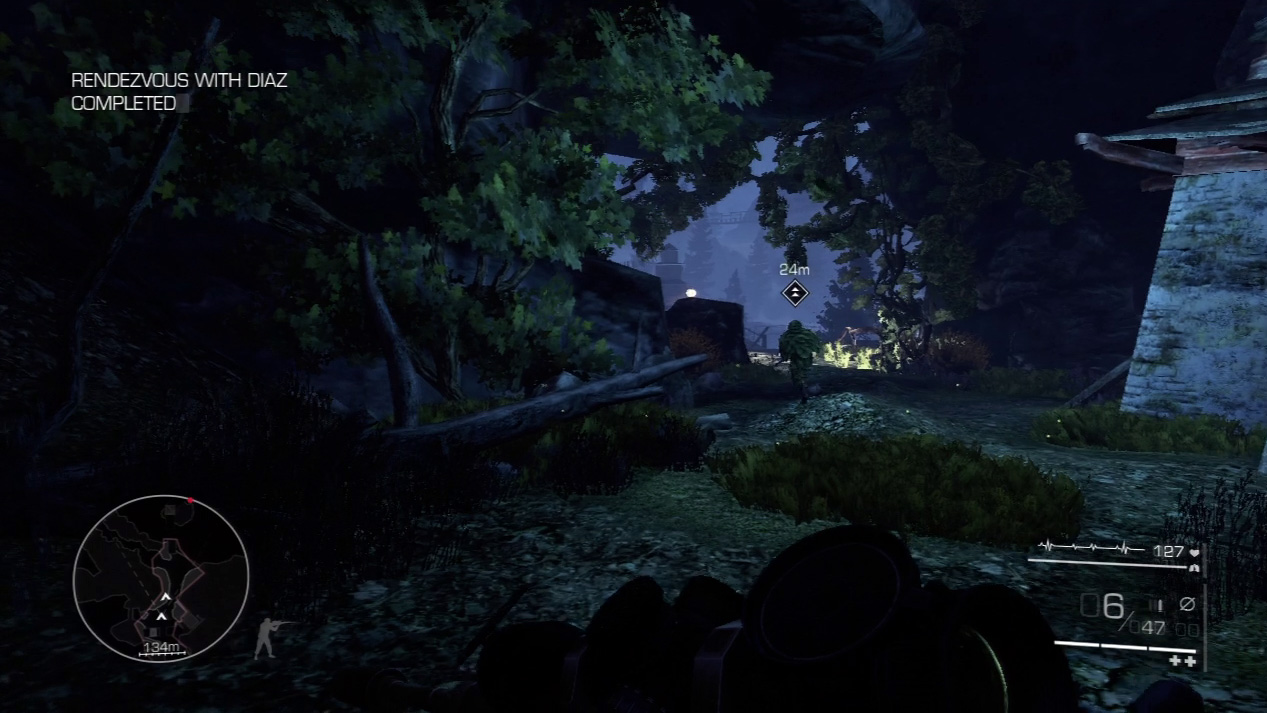
A second enemy waits at the broken bridge, but you don’t have to concern yourself with him. Diaz eliminates the enemy as he meets back up with you. Follow Diaz until he stops in front of an open field—it’s a deadly kill zone surrounded by enemy snipers.