
Sniper Ghost Warrior 2 Guide Multiplayer Mutliplayer
Multiplayer - Sarajevo Downtown
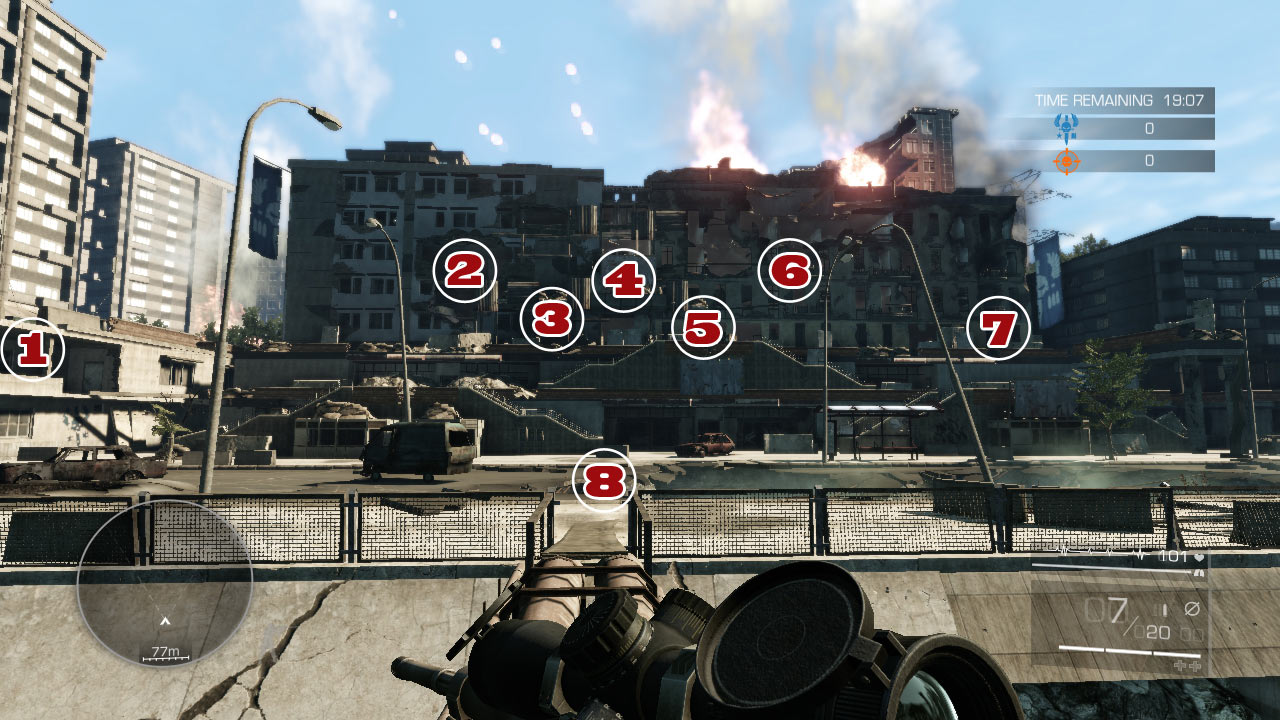
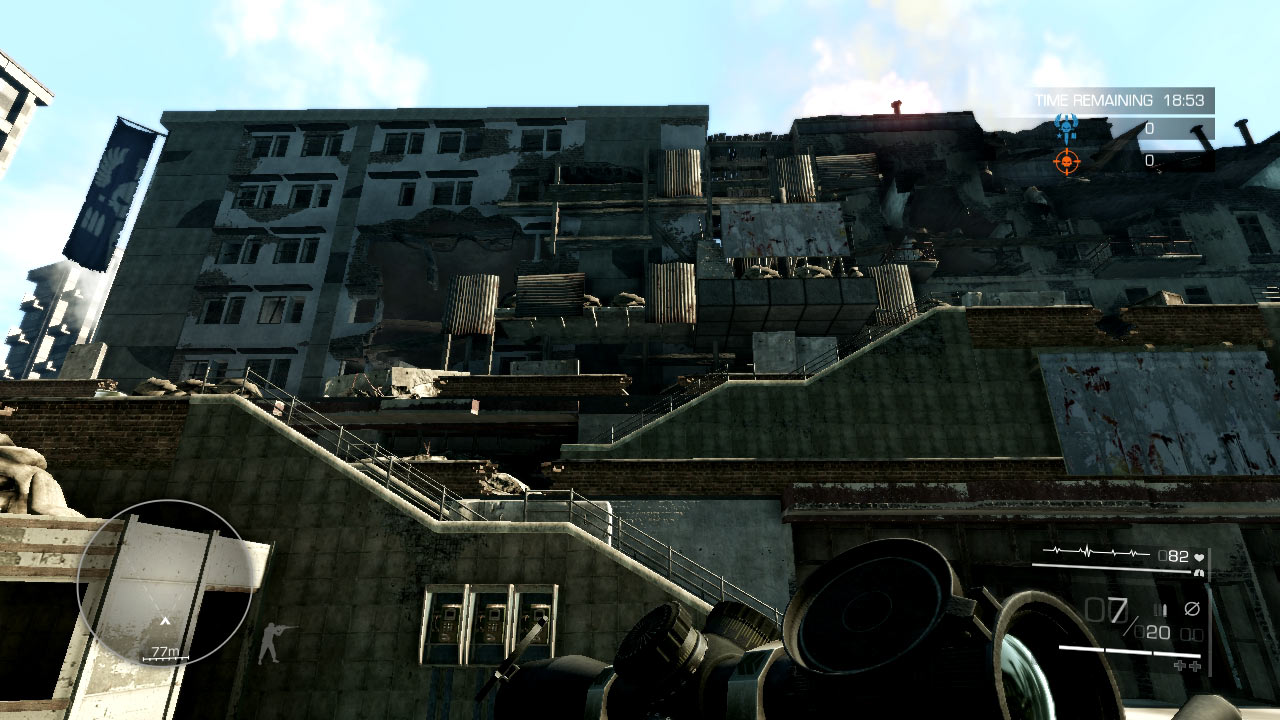
A large, destroyed building is your home—and also the headquarters of your enemy. Though you’ll find the majority of foes somewhere in the building on the opposing, mirrored side, tracking movement amid the ruins is challenging at best.
Sniper Point 1: Adjacent Building
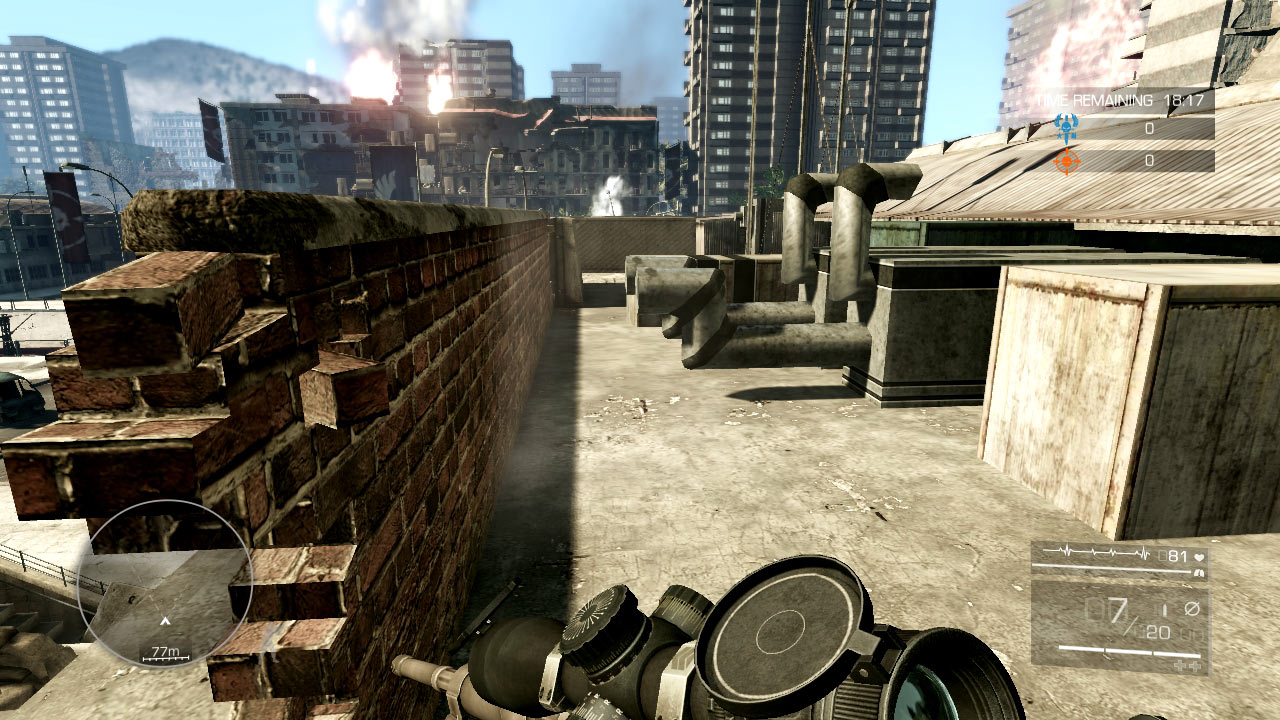
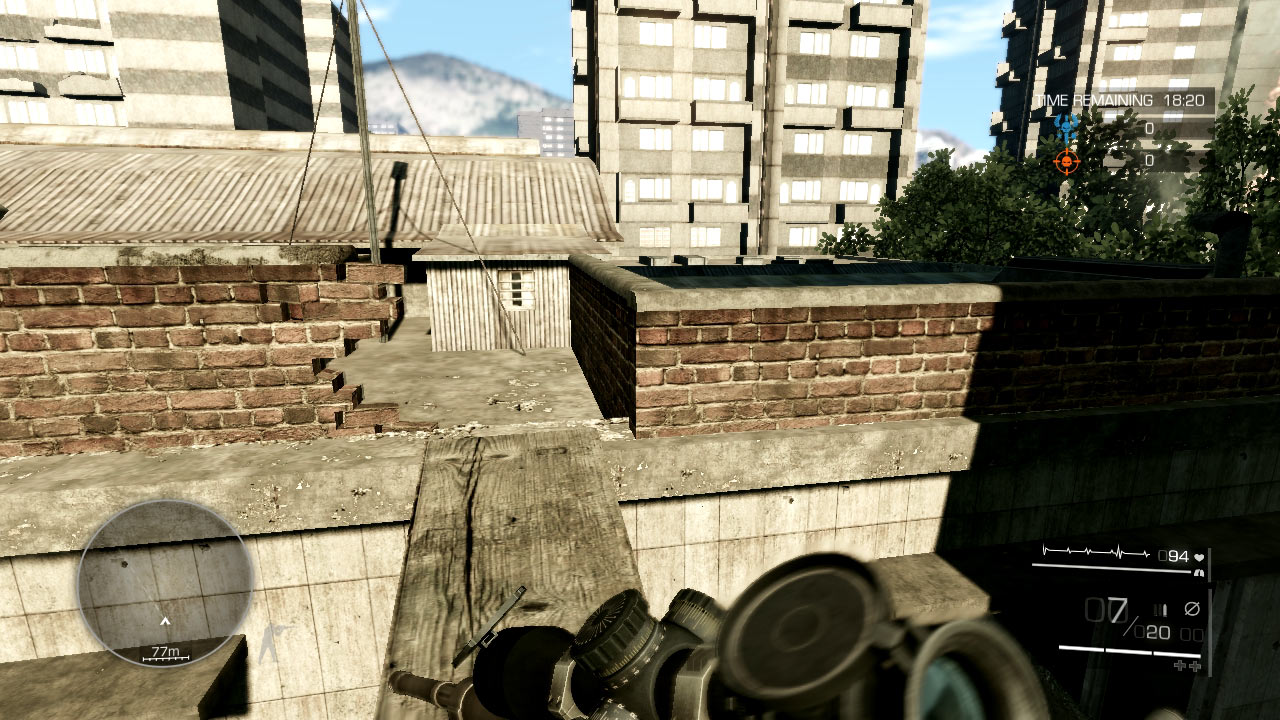
One of the few places to seek cover outside the main building, the rooftop on this adjacent building can be a surprising, if somewhat exposed, point of attack. Run to your far right (facing the enemy) and across the wooden plank to reach the balcony’s low walls and concrete dividers to hide behind them.
Advantages
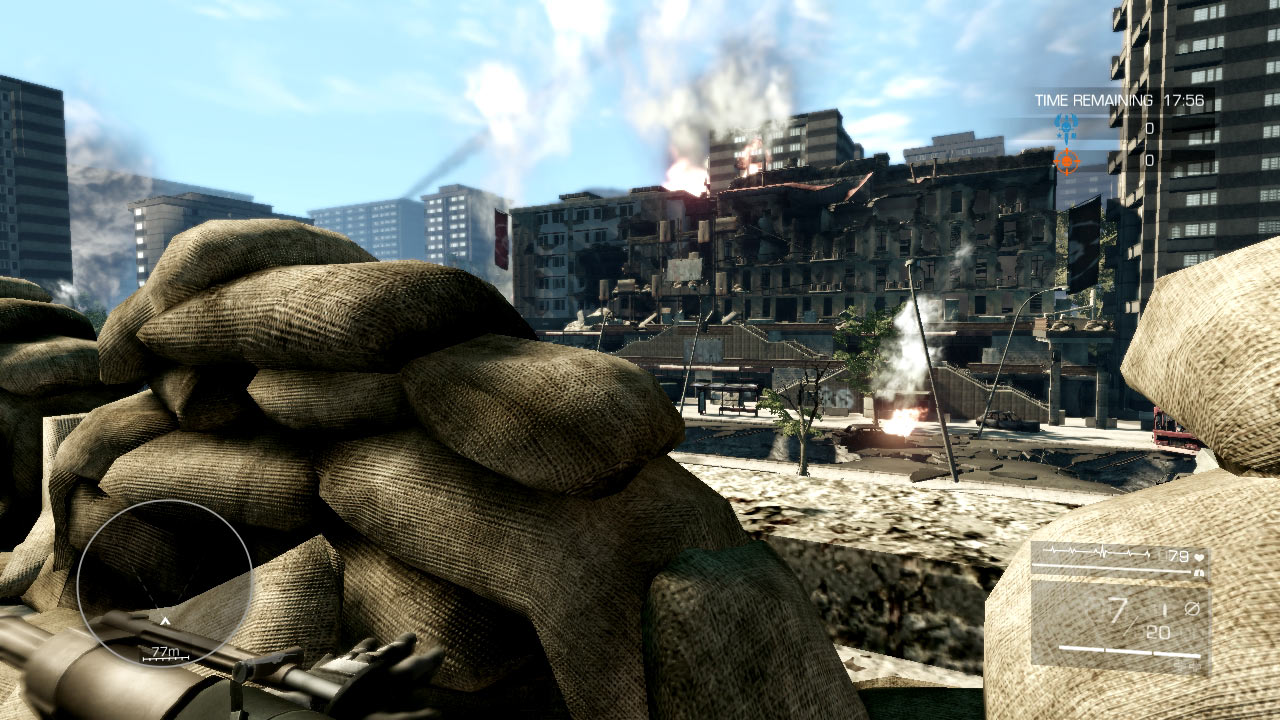
The element of surprise can be huge; while everyone is looking at the main buildings, you can sometimes move around unseen off to the side. Unlike many of the tight hiding spots in the main building, you have a lot of room to maneuver on the adjacent building. The sandbags up front give you a particularly good view of everything.
Disadvantages
You have to do a lot of moving to reach the adjacent building, and you’re seriously at risk while you do so. Once you settle in, you can get off some attacks, but you’ll still be exposed unless you change positions on the roof often. Because of your angle off to the side, it’s difficult to shoot at enemies deep inside the main building, and you can’t easily see your opposing sniper point 1.
Tactics
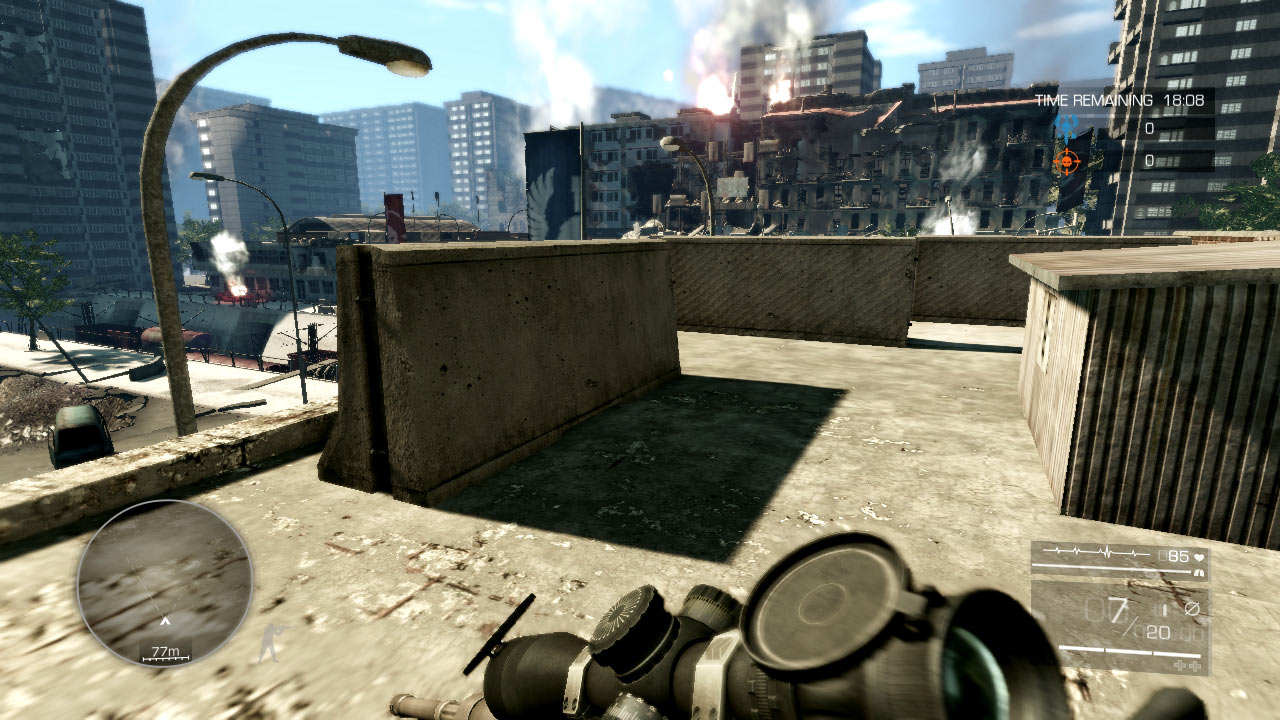
If you want this surprise position, sprint to the rooftop at the start while everyone is scrambling for initial sniping spots, or later take off if you’re sure enemies are engaged elsewhere.
Once you reach the roof, crawl along from one cover spot to the next to set up new firing angles and to cause the enemy grief whenever you suddenly disappear and then reappear at new sniping spots.
If you’re under heavy fire, drop prone and wait it out. Ideally, a coordinated attack with your teammates will distract enemies and allow you to pick off unsuspecting tangos.
Sniper Point 2: Gaping Hole
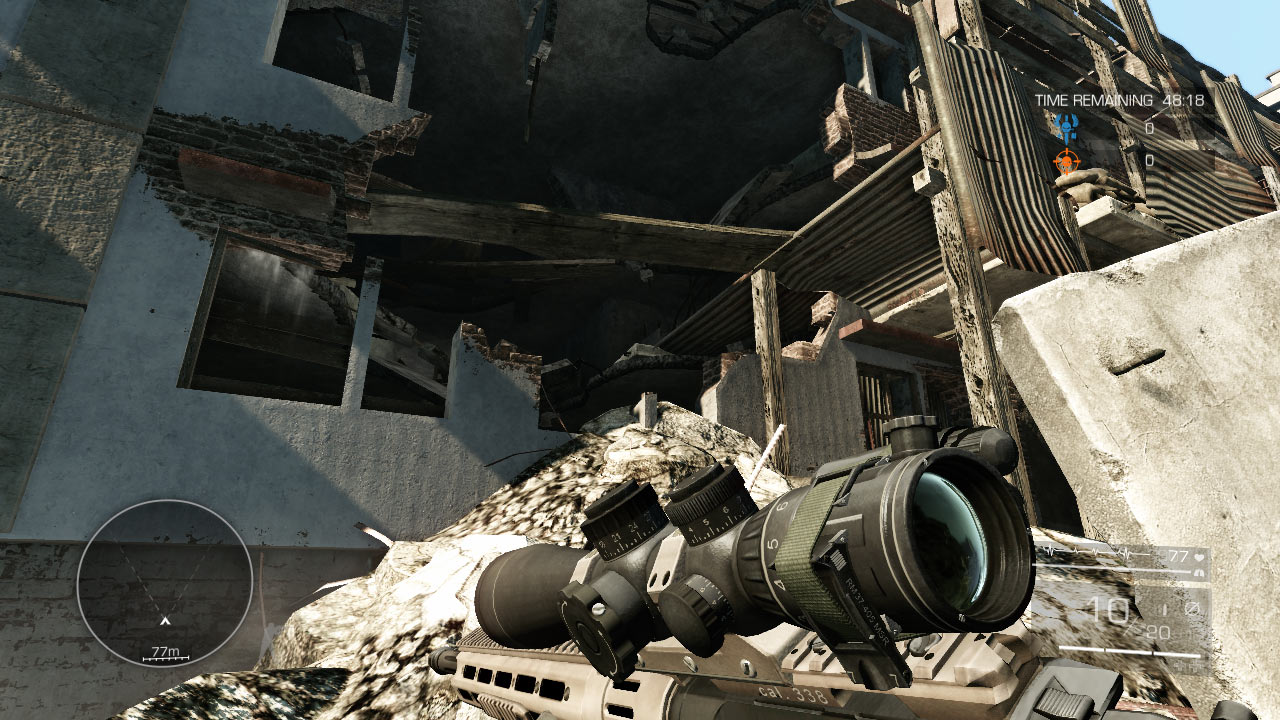
Climb through the gaping hole in the building façade and take the stairs to the third floor. Navigate around the hole in the floor and move to the back of the room in the shadows. Drop prone and inch up until your field of vision encompasses most of the enemy building.
Advantages
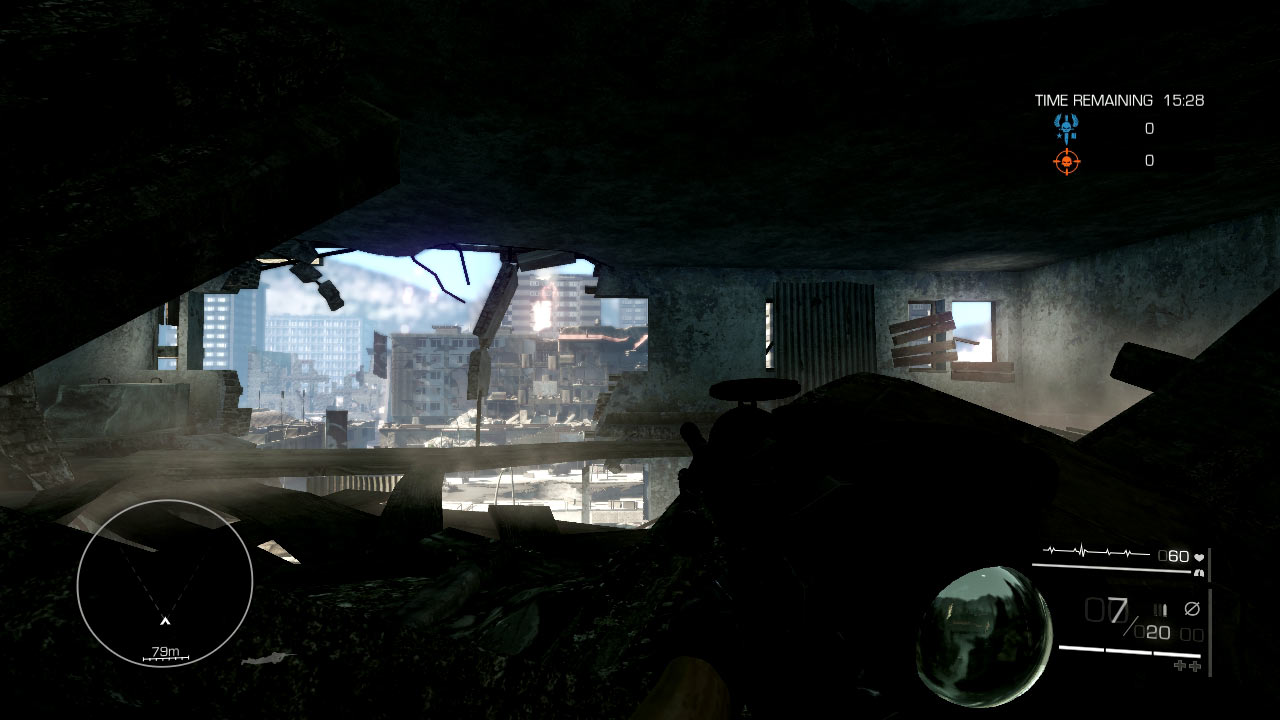
This is one of the most defensive positions on the map. You can fire from deep within the building, and if you lie prone, it’s difficult for enemies to spot you. Focus on sniper points 4 through 7; you have straight shots on all these.
When an enemy sights on you, it’s possible to quickly drop down through the room’s hole and relocate. You can also line up shots from the window in the room’s right corner or down below on the hole in the second floor.
Disadvantages
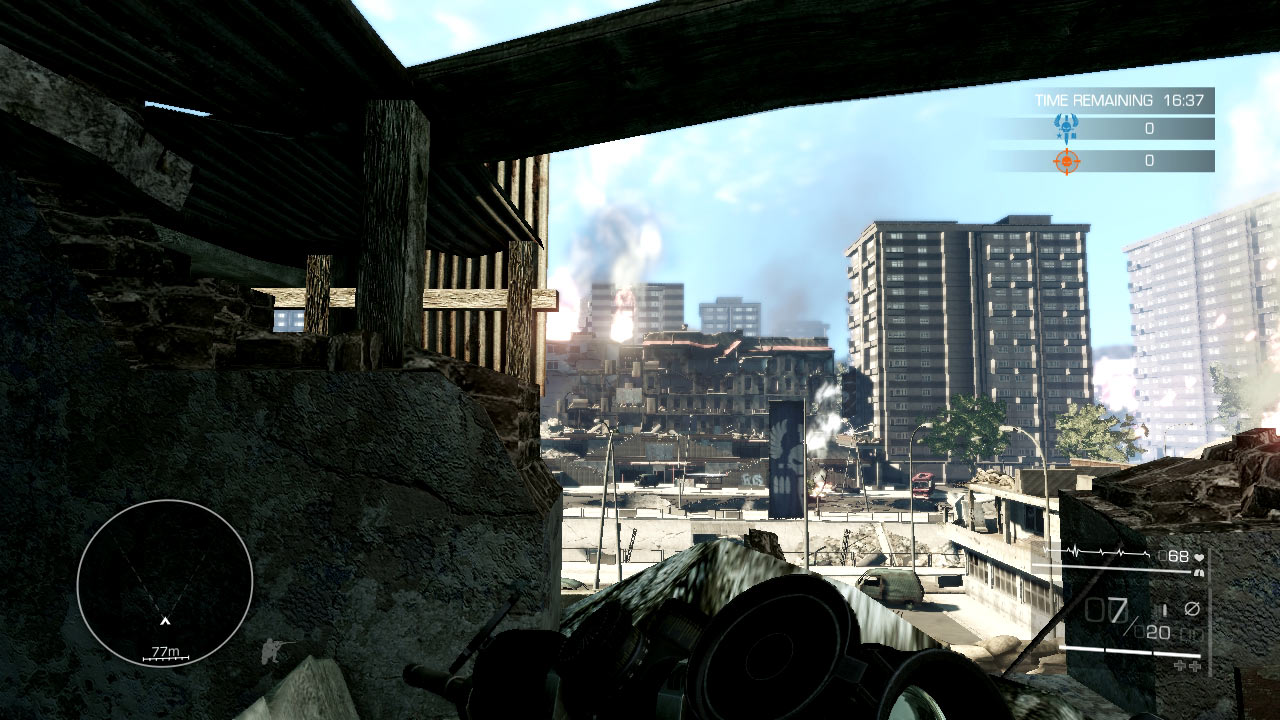
It takes a little longer to reach this third-floor perch than some other spots. While you position yourself behind the hole, you have to expose your back to the action—which is never a good thing. Because you’re set back in the building, you can’t see sniper points 1 and 8 at all.
Tactics
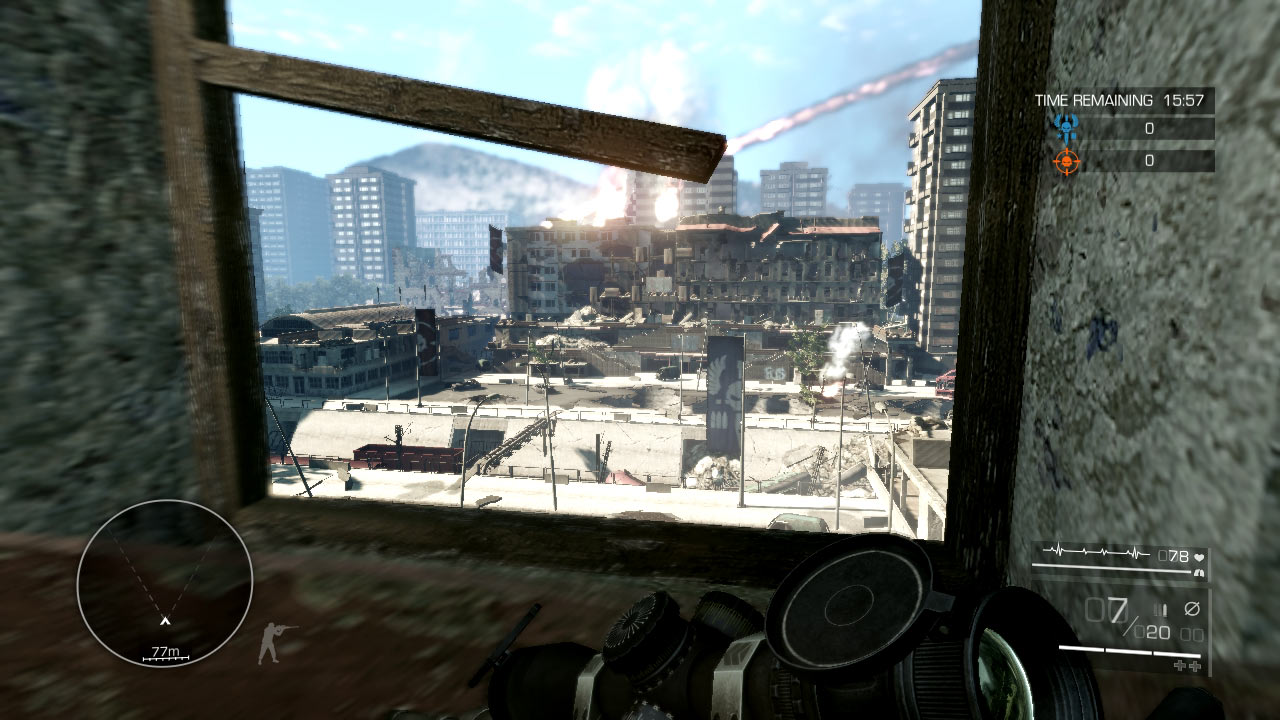
Scramble into the building through the gaping hole and sprint up the stairs and to the third-floor sniping spot in the shadows. Immediately sight on the windows opposite your position and scan for movement; the enemies that can fire directly through the gaping hole need to die quickly to preserve your safety.
Once you’re confident that enemies can’t directly clip you, inch forward to improve your firing angle or rise to a crouch.
Sniper Point 3: Collapsed Stairs
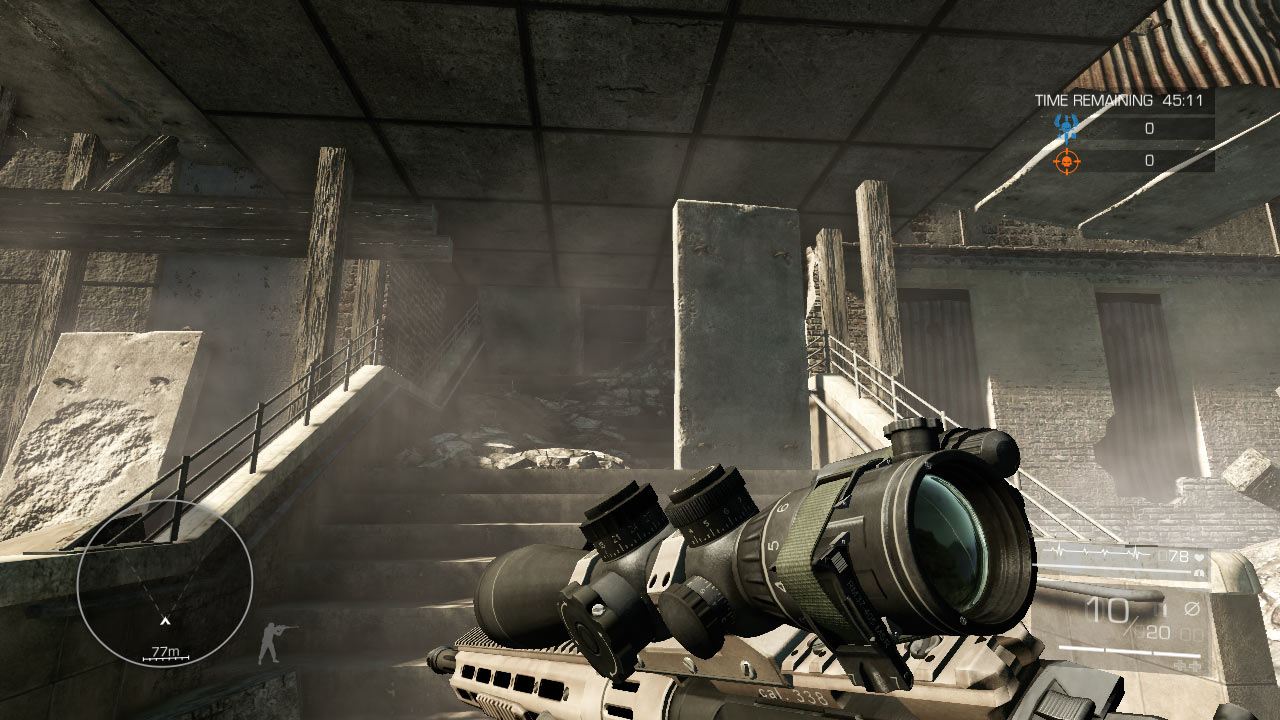
Jump up the rubble pile on the right side of the main staircase and then disappear into the darkness. There’s an alcove in there from which to launch attacks, and you’re shielded by a toppled concrete divide on your left side.
Advantages
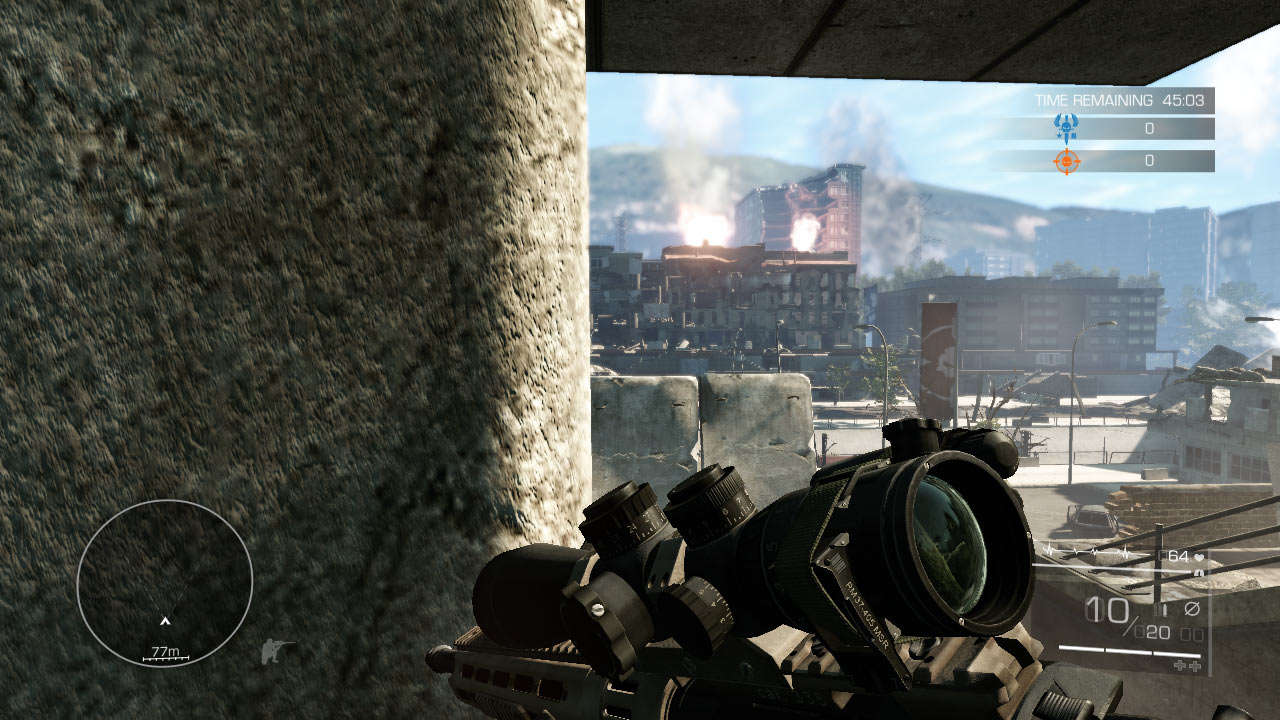
If you’re under fire from the left side of the enemy complex (sniper points 1 through 3), this is a fantastic spot to hunker down; the fallen concrete divide protects you from virtually all shots on that side. You have straight shots at sniper points 4 through 7 and can deliver some sneaky kills from within this secluded area.
Disadvantages
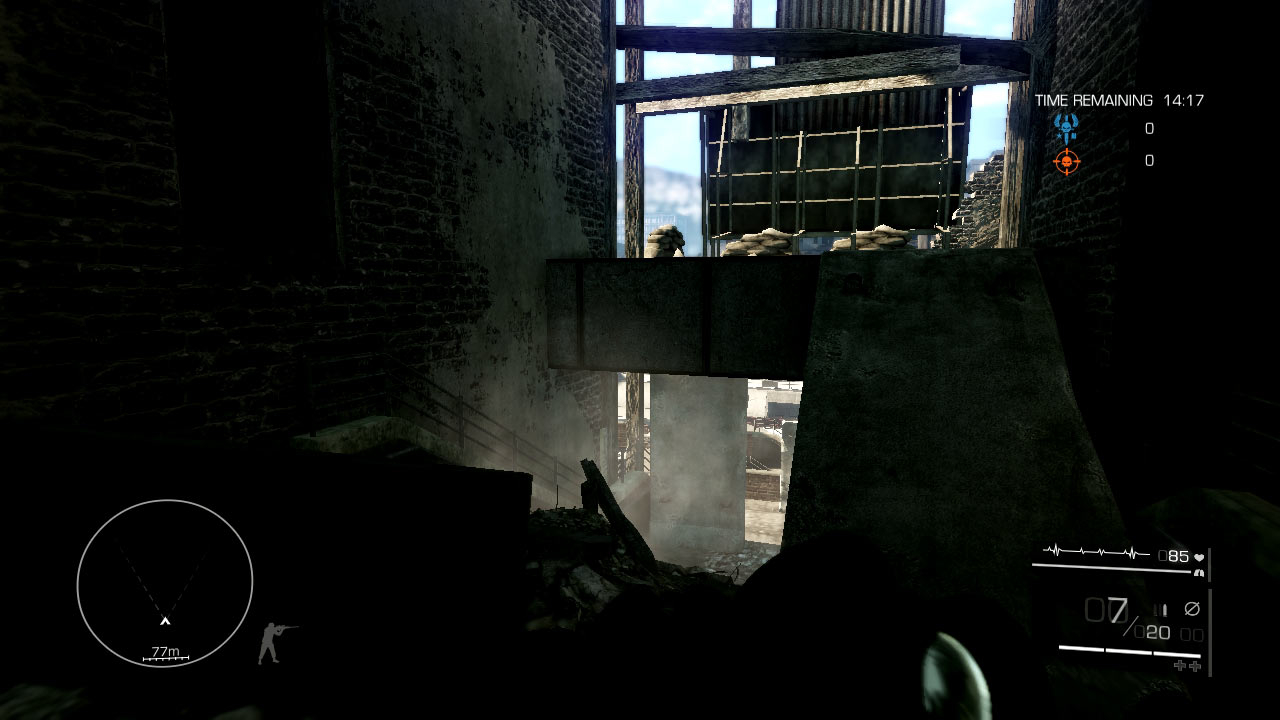
While you may be protected from the left side, the right side (sniper points 4 through 7) enemies have relatively clear shots at you. To survive, you must snipe them before they can snipe you.
The concrete abutment on the concourse in front of the position blocks your view of the bridge; you won’t have any idea what’s going on down there unless you advance on the abutment and risk full exposure.
Tactics
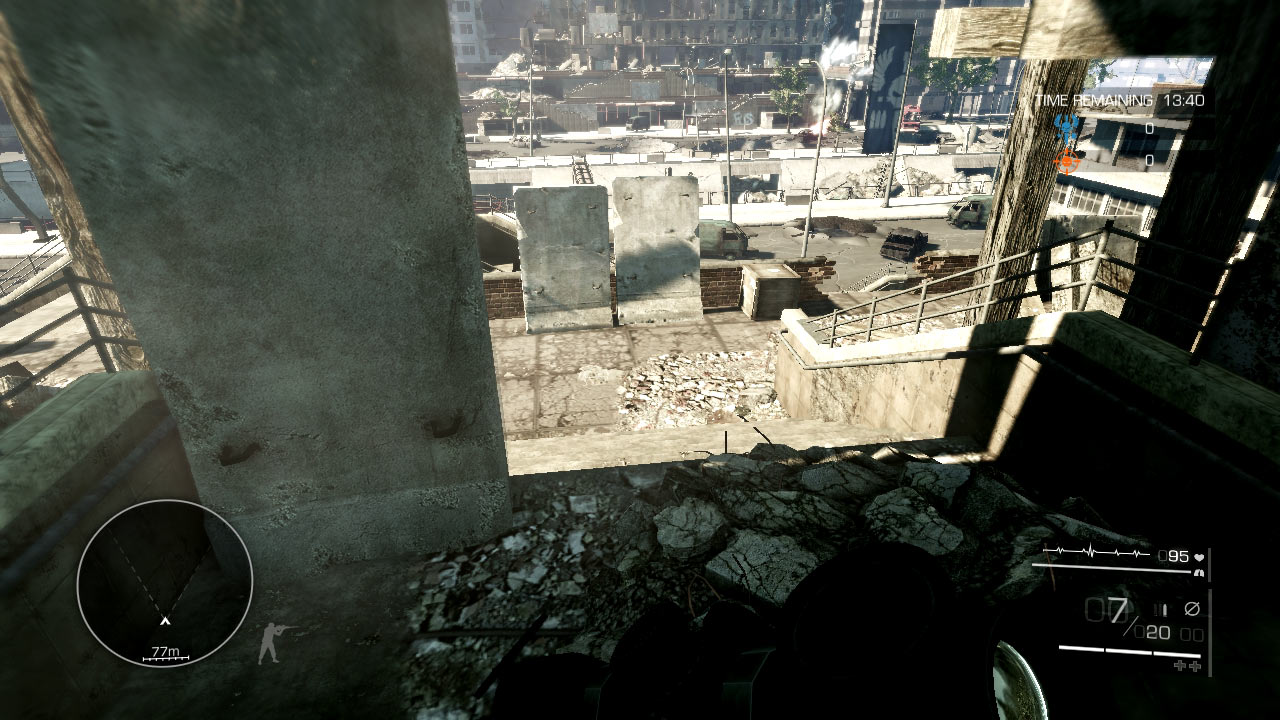
This position is reached easily from the main staircase (sniper point 5) and will be a popular defensive stance against sniper points 1 through 3. Use the concrete divider as a shield and inch out if you need to return fire on sniper points 1 through 3. You have a much easier time gunning down enemies in sniper points 4 through 7; however, they have the same easy access to you, so be quick on the trigger.
Sniper Point 4: The Billboard
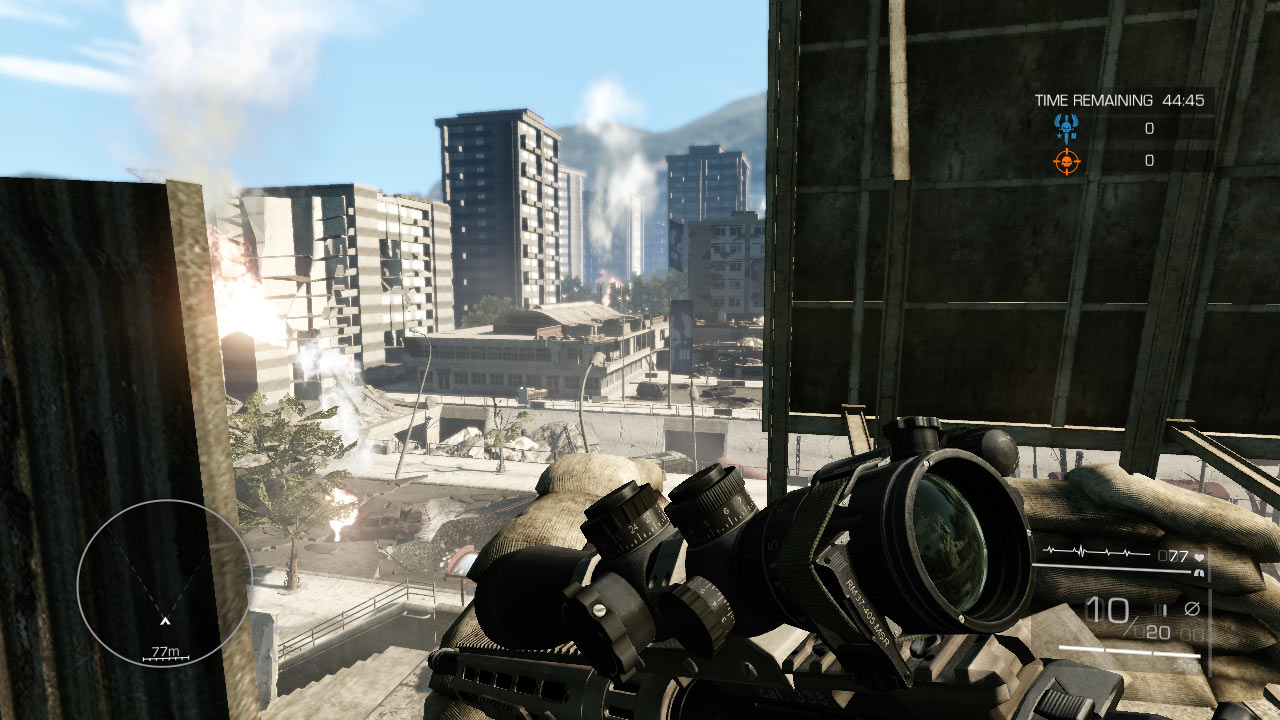
Enter the building near the main stairs and climb the inside staircase to reach the second floor. Exit the building to the balcony where a large billboard obscures most of the view.
Advantages
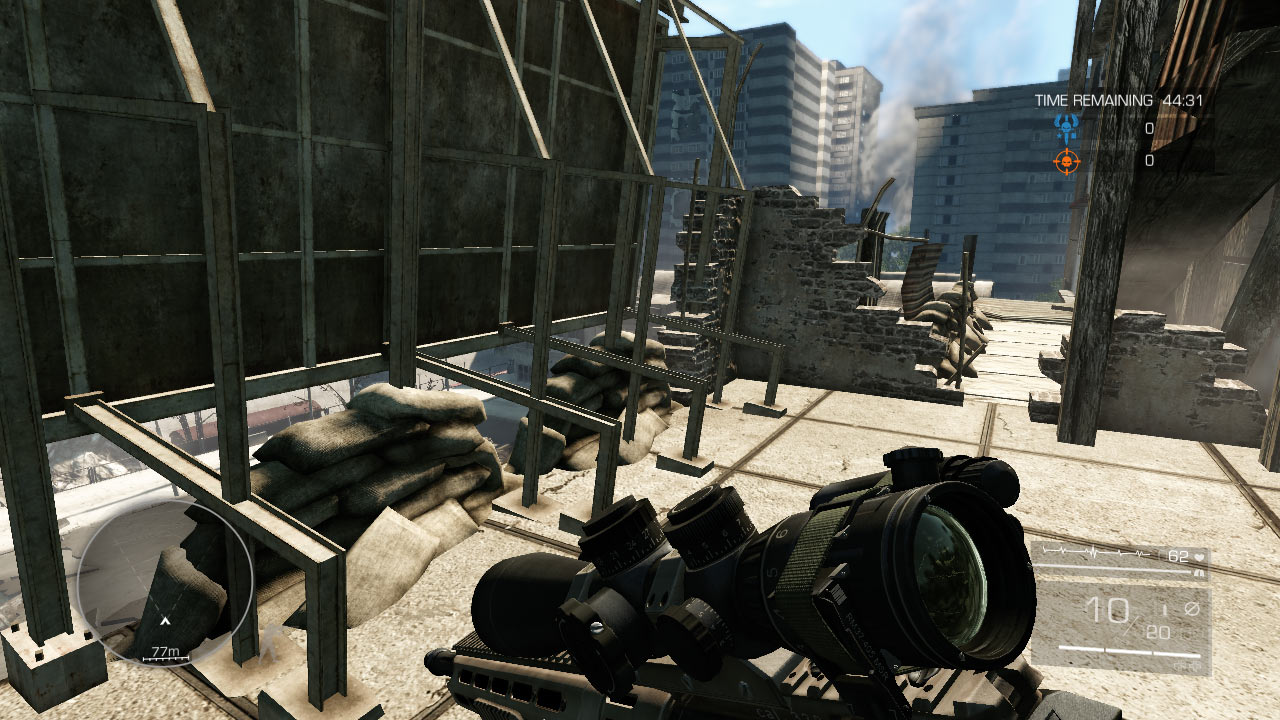
You are shielded by the large billboard, so your movement is mostly concealed. Peering around the left side of the board, you can home in on sniper points 1 and 2. Peering around the right side of the board you can zoom on sniper points 6 and 7.
Sandbags along the balcony offer some choice sniping spots against sniper points 5 through 8. With a full view of the outside, you’re in a great position as a spotter to communicate enemy movement and as a guard to pick off enemies trying to cross to your side.
Disadvantages
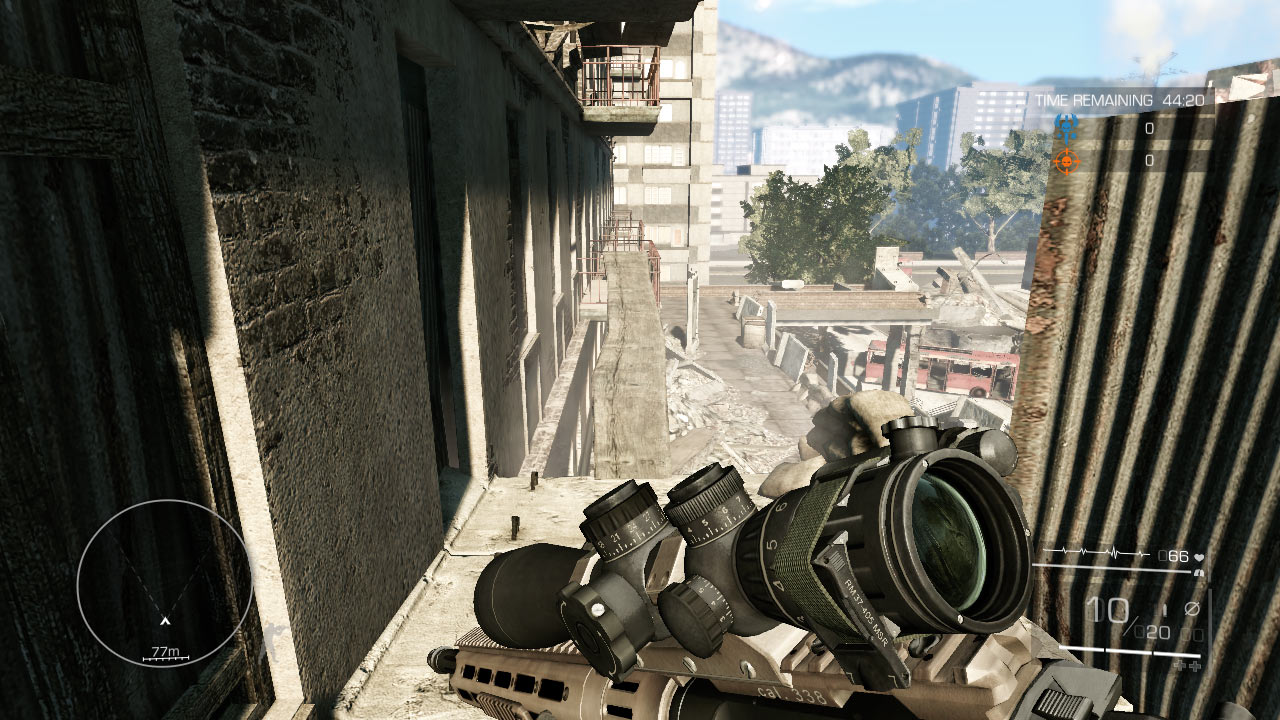
The billboard can obstruct your view as well. If you fire from behind the board, you are restricted from firing against most of the enemy’s middle ground. Plus, it’s nearly impossible to track enemy movement from behind the board. The sandbags offer some protection—only if you’re prone—but you can get clipped easily if you stay out long on the balcony.
Tactics
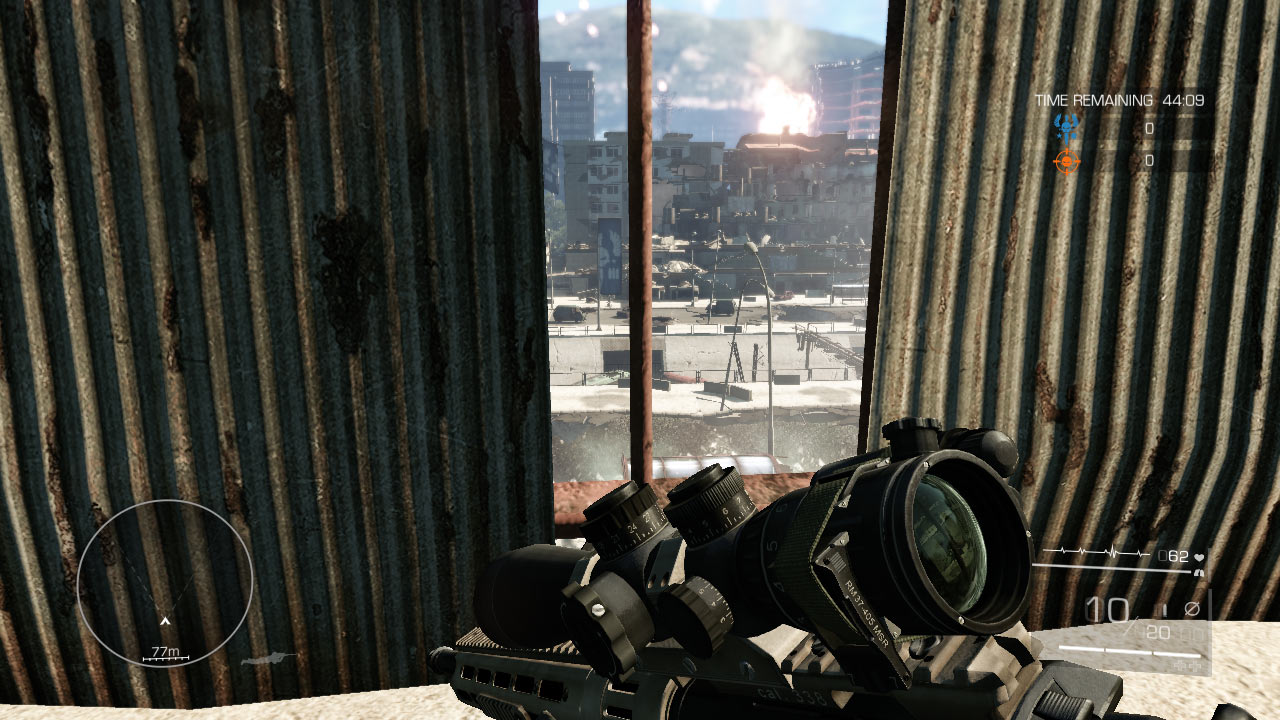
Hide behind the billboard and survey the enemy positions. If you can get a good look at an enemy sniper point, inch out from the billboard and take a quick shot at the enemy before retreating behind the billboard. Never expose more than a fraction of your body when taking shot from the billboard perch.
Fire at sniper points 1 and 2 or 6 and 7 from the billboard, then drop down to use the sandbags if you want to assault sniper points 5 through 8.
As a spotter, use the sides of the billboard to spy out positions or pop up for a second at the sandbags before dropping prone behind cover. You are in a prime position to guard the bridge and provide cover fire for your teammates on the main staircase (sniper point 5) or advancing on the enemy (sniper point 8).
Sniper Point 5: The Staircase
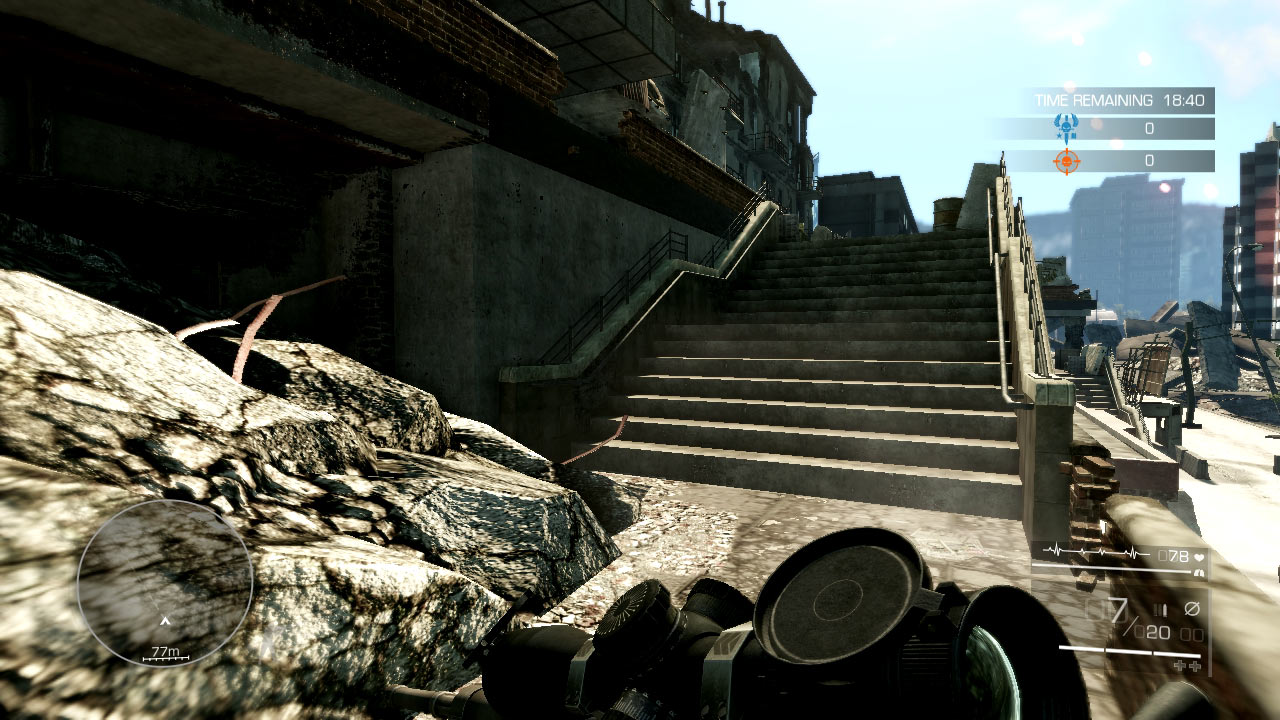
Since it’s the crossroads to accessing the main building, the staircase gets the most traffic. Don’t stay out here long—bullets can come from any angle and drop you quickly.
Advantages
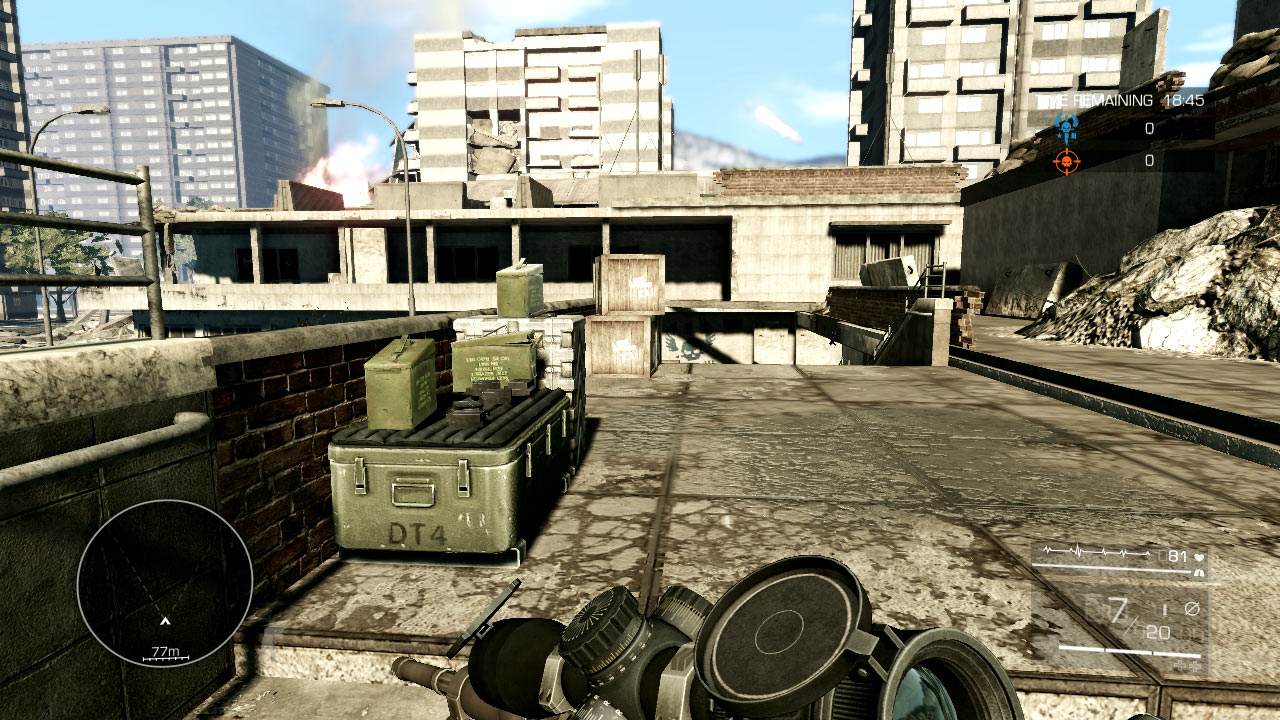
The staircase grants access to the main building, so use it briefly to travel to the other side of the building when inside travel is blocked off. You can fire from the brick wall against any position. There’s also an ammo dump by the stairs for restocking.
Disadvantages
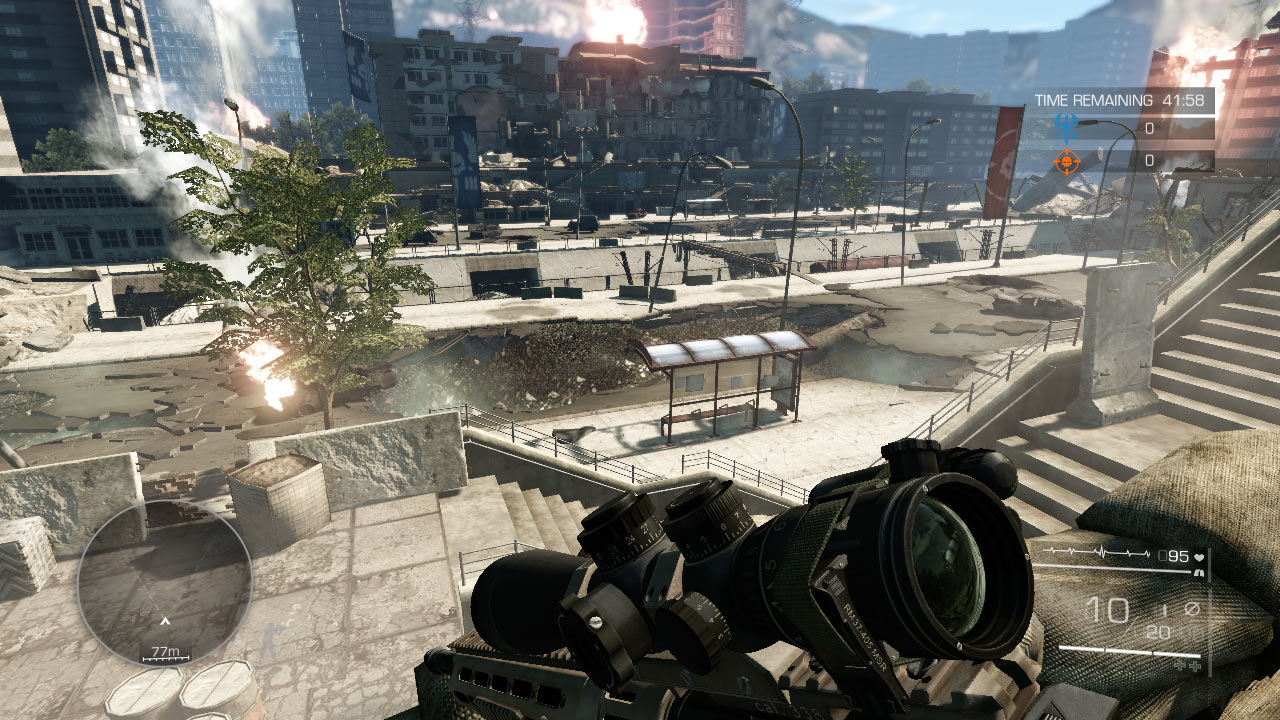
Anyone can fire on you, and they likely have better cover; you are at a disadvantage in almost every situation on the staircase.
Tactics
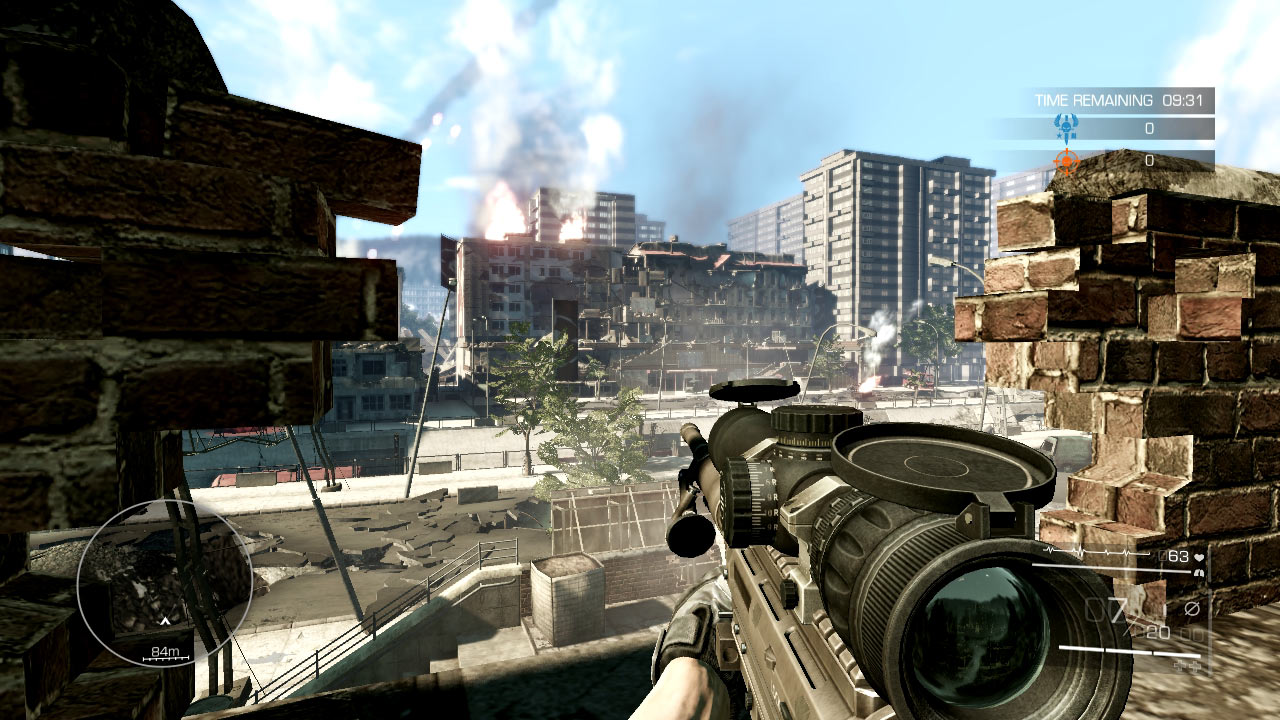
Stay constantly moving while using the stairs; a moving target is much tougher to hit. If you must attack from the stairs, stay concealed behind the bricks and pop out for a quick shot. It’s suicide to stay here for any length of time, so disappear into the building as soon as you can.
Sniper Point 6: Upper Floors
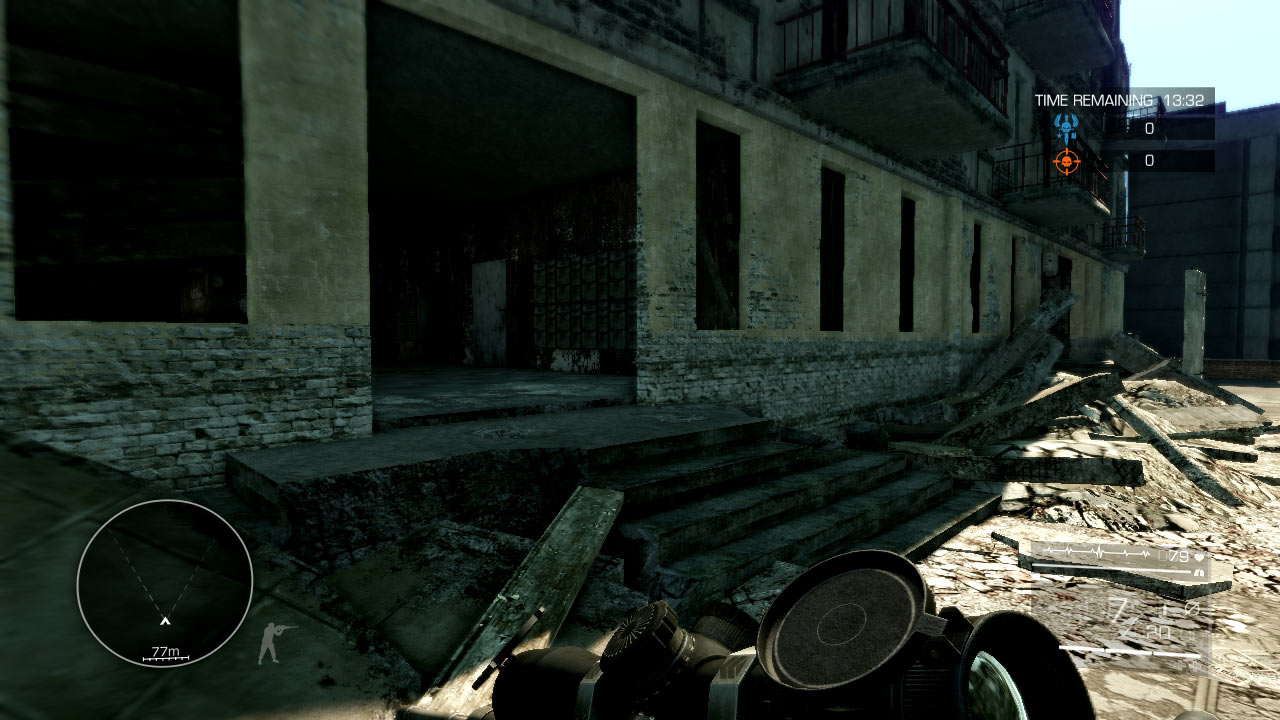
You can reach the outer balconies by walking the wooden plank from the billboard at sniper point 4. You can also use the open doorway on the concourse and take the stairs to the upper floors.
Advantages
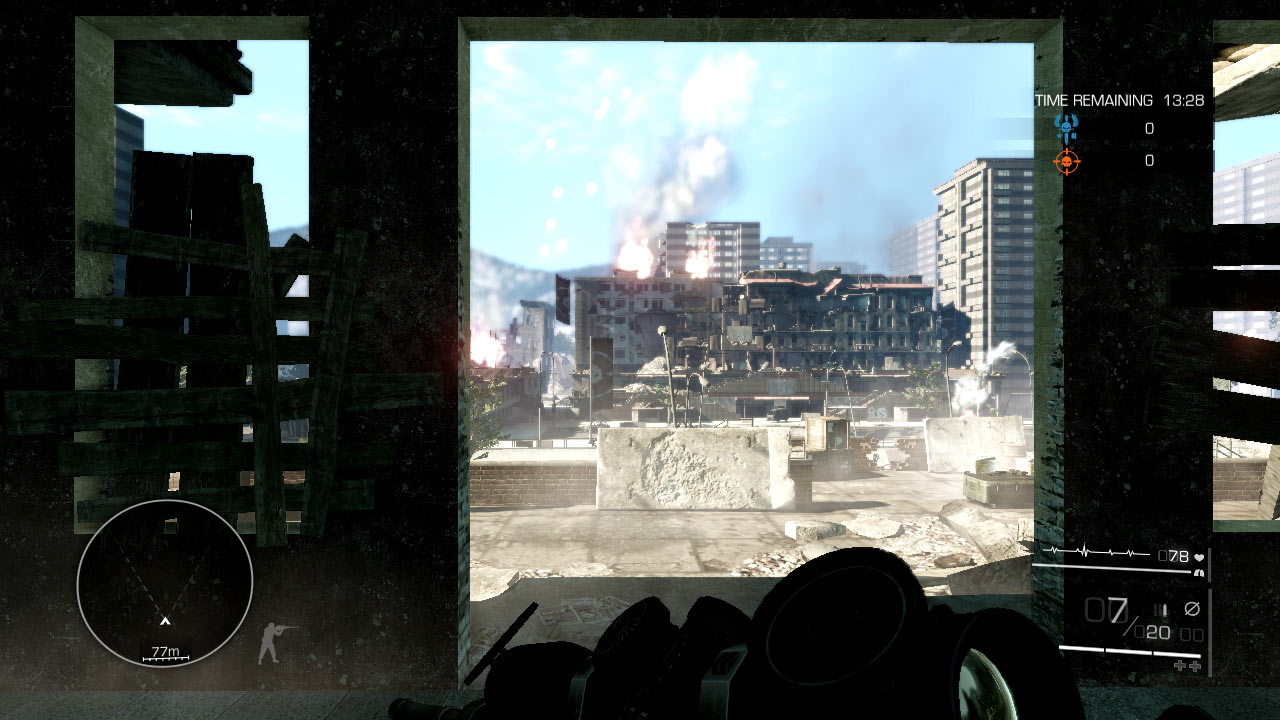
Gaining elevation will give you a superior angle against foes on the ground and an even shot against enemies across the street in similar positions. The myriad shooting spots in the crumbling building make it nearly impossible for an enemy sniper to pick you off quickly. You generally have a good shot against the middle sniper points (4 through 6 and 8).
Disadvantages
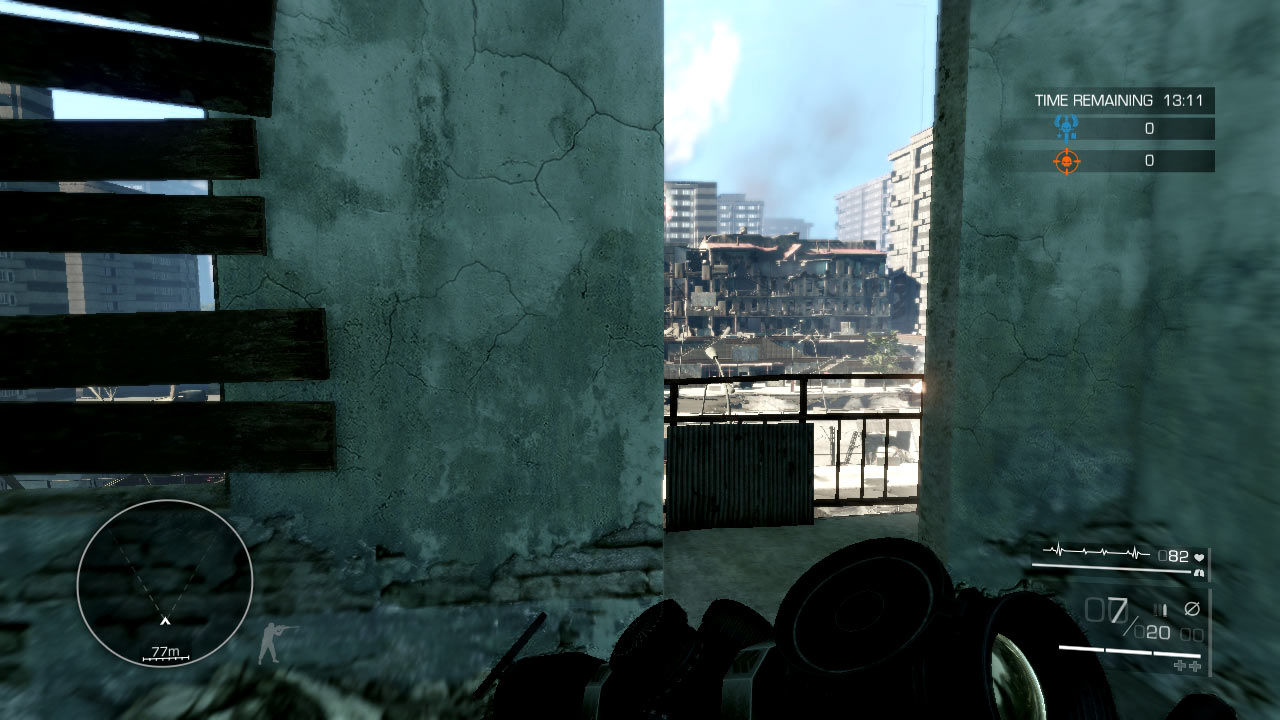
It will take some time to set up your first shot, and while you move within the building to new positions, the enemy positions might change and cause headaches. It can be problematic to see what’s going on if action occurs on the outer perimeter, and sniper points 3 and 7 are hard to hit.
Tactics
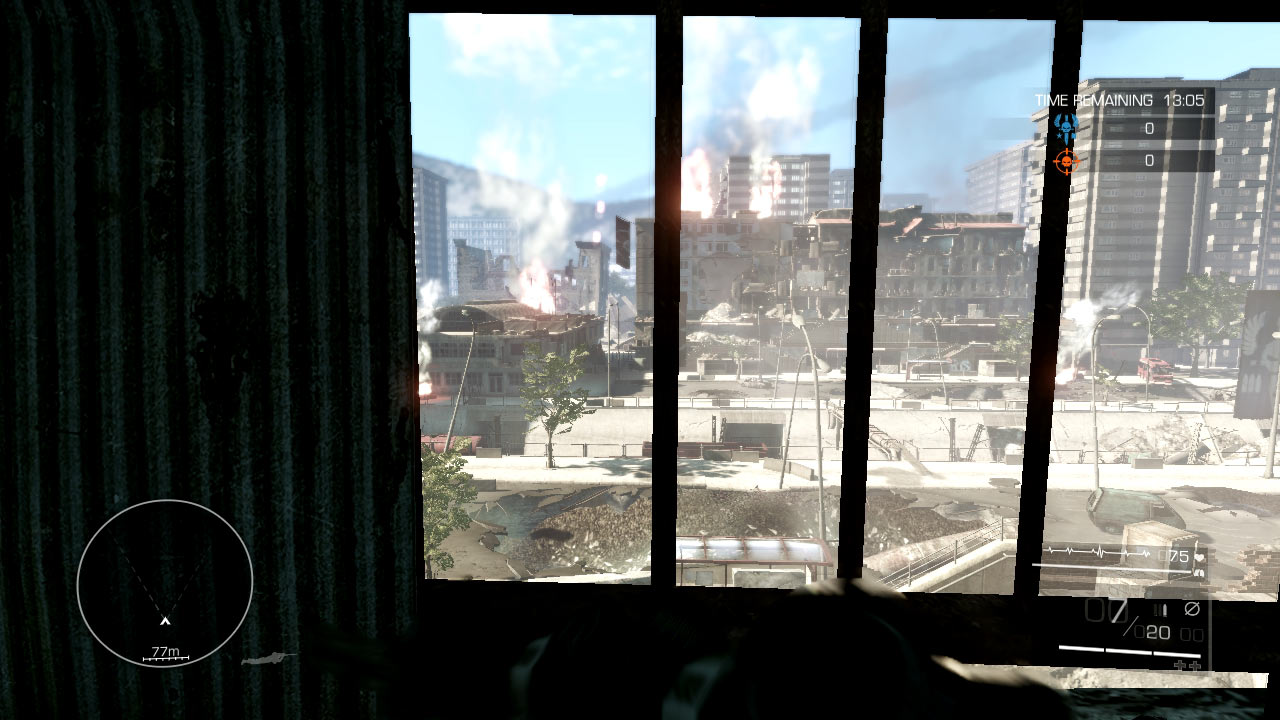
There are many windows and holes to peek out and fire on your enemies. Rotate through your favorite kill spots so that you’re never at one location for too long. You can venture out onto the balconies for a wider view. Keep in mind, though, that you have limited mobility out on the small balconies.
Sniper Point 7: Boarded-up Window
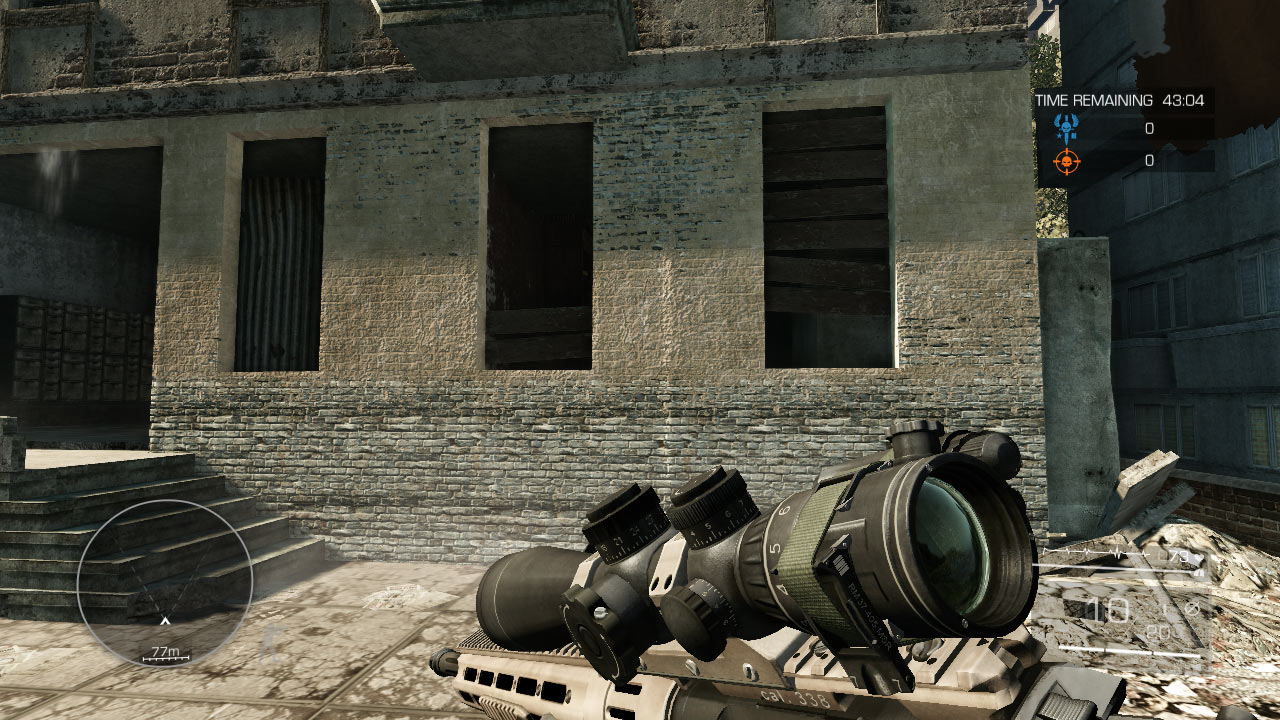
The boarded-up window you want is the farthest window on the ground floor to the left (facing the enemy). Sprint down the main concourse and into the nearby doorway quickly to avoid unnecessary exposure.
Advantages
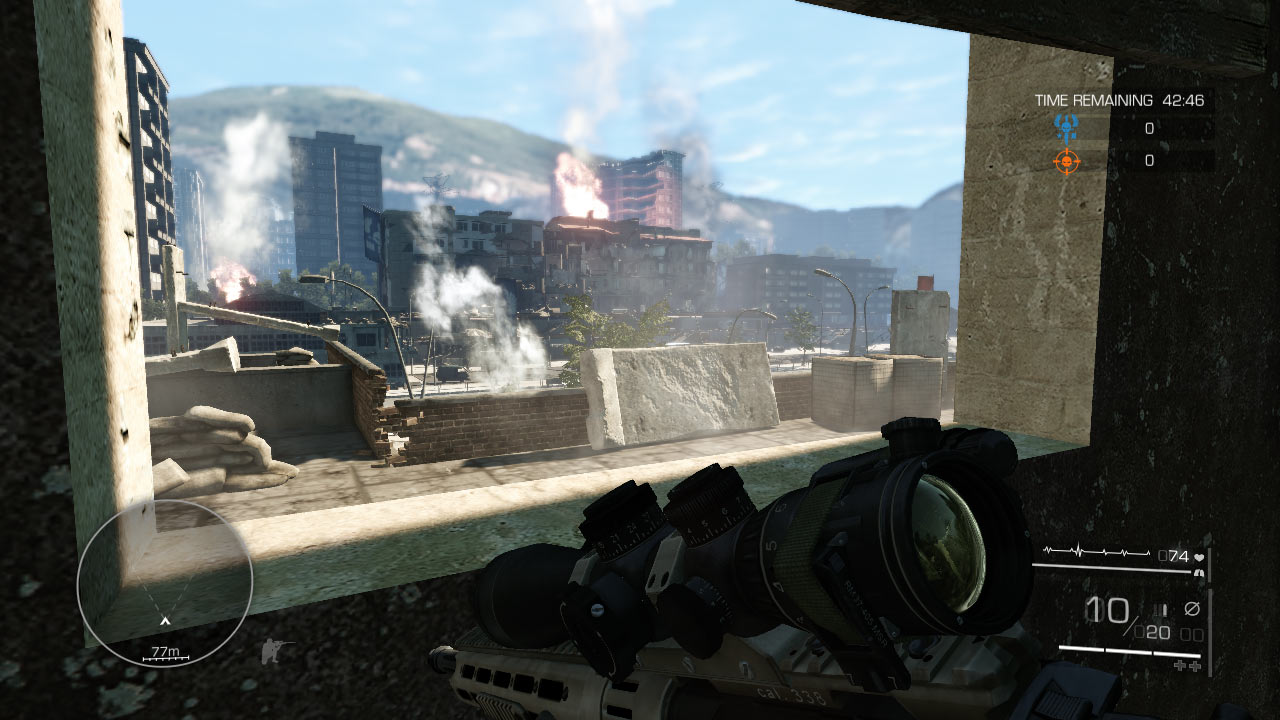
You can snipe away at all sniper points except anyone who is concealed toward the rear of sniper point. Because you are off to the side and hidden partially behind the boards, most enemies will not spot you right away.
By shifting to your right you have almost 100 percent cover, so it’s difficult for enemies to hit you if you stay concealed. To change your firing angle, you can dart outside and drop prone at the gap in the brick wall’s corner.
Disadvantages
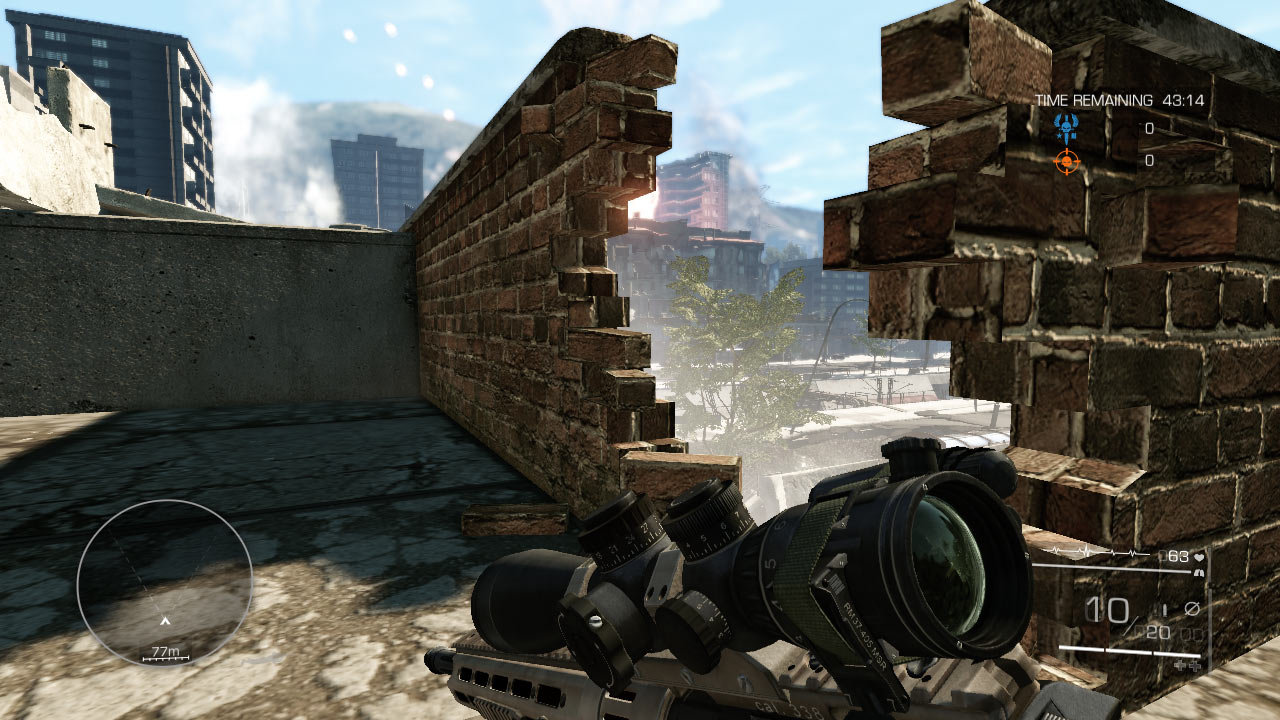
You can’t see the grounds around the bridge very well, and if enemies cross to your side you will have no idea they are coming down the main concourse at you.
Off to the side, you don’t have straight-on shots at most targets, which makes it slightly more difficult to bring down your foes. It’s also a very long and challenging shot against your counterpart at sniper point 7.
Tactics
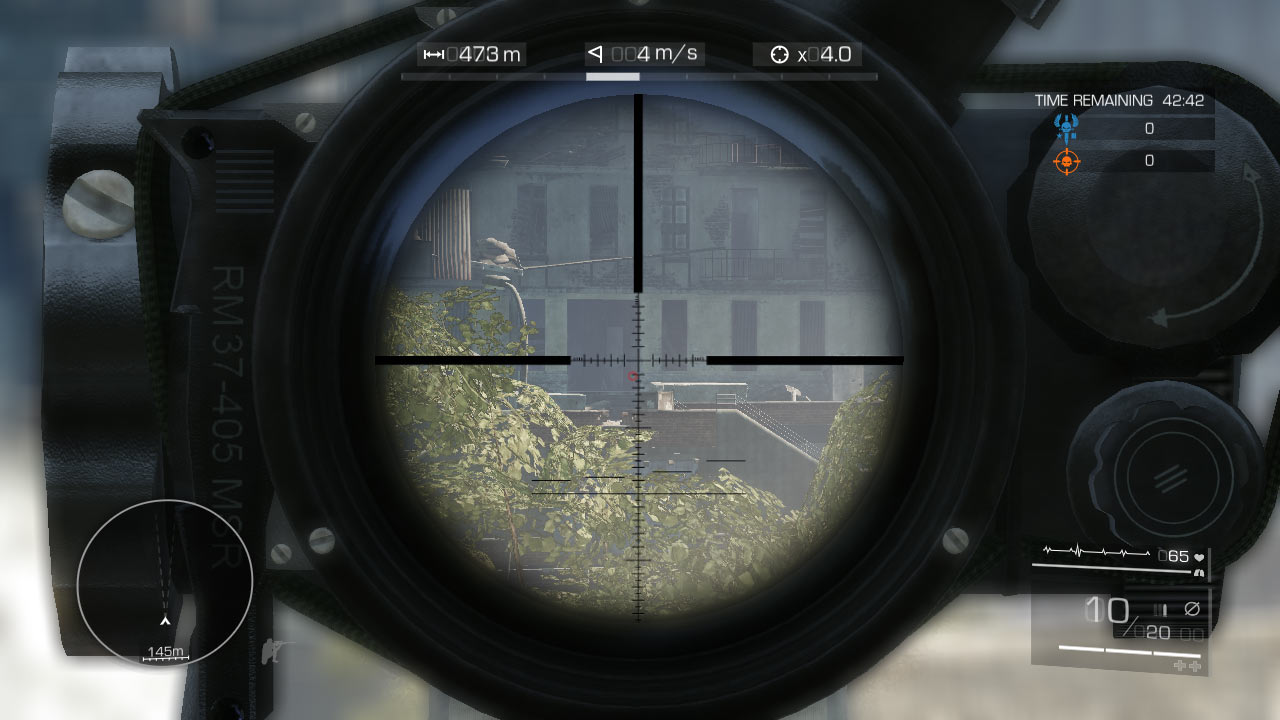
Get to the boarded-up window as quickly as possible. If no one sees you duck inside the far corner of the building, it will be difficult for anyone to notice where your shots are coming from. Crouch in the window to snipe, then retreat to the shadows if multiple tangos aim at you.
You can also use the brick wall in front of you. Sprint quickly out onto the main concourse and go prone behind the wall. Crawl to where you want to shoot, rise to a crouch to unload, then drop back into a crawl to move to a new position.
The broken corner of the brick wall gives you a great shot at the bridge (sniper point 8) and sniper point 6; however, experienced players will be watching for movement at the corner, so be cautious.
Sniper Point 8: The Bridge
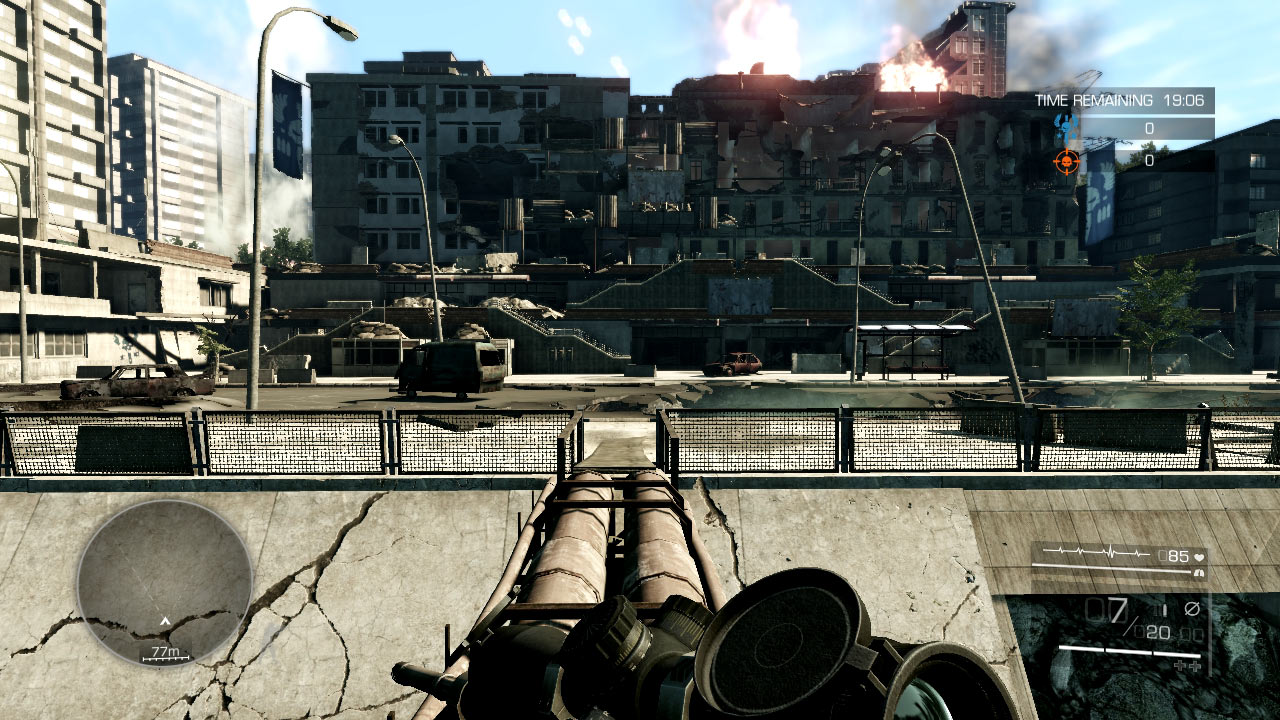
Piping stretches from one side of the street to the other and connects both player areas. You can cross the bridge to reach the enemy side, but if you fall off the pipes, you’re toast.
Advantages
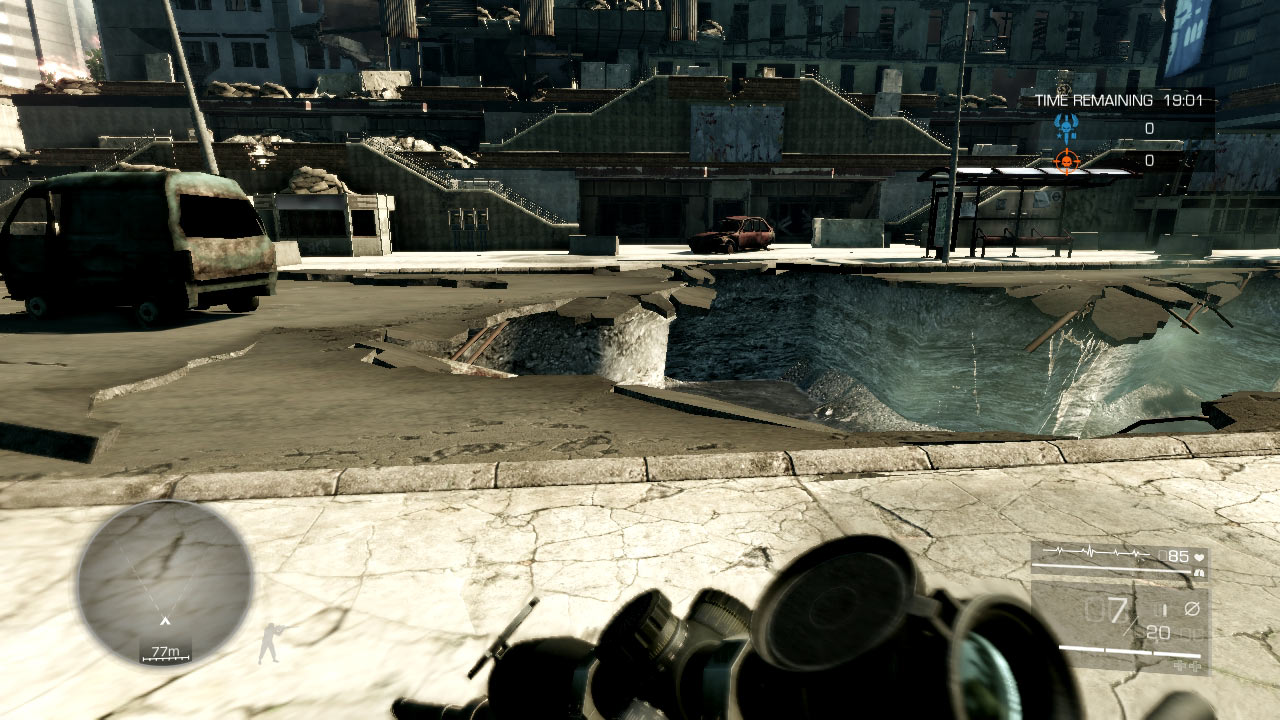
You don’t have many advantages. If you have to fight here, seek what little cover there is. You can hide in behind cars on the street or go prone and crawl in front of the nearest object.
Disadvantages
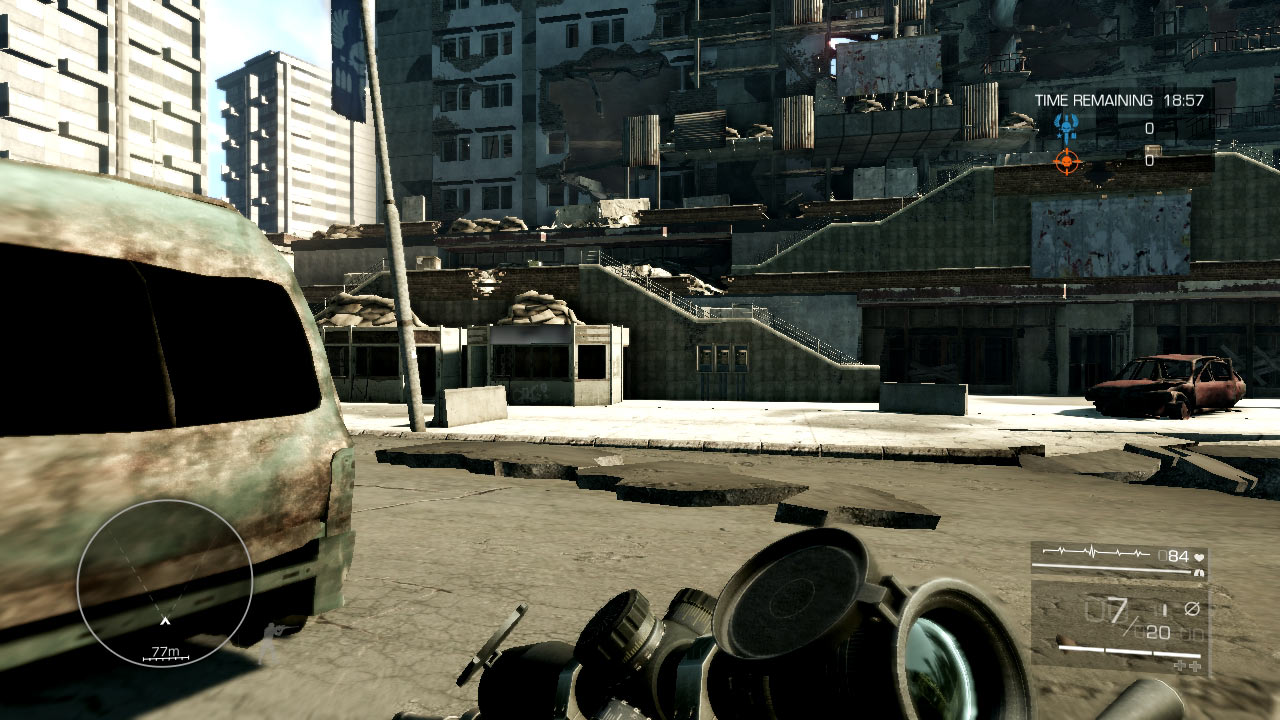
You have many disadvantages here: The open ground can be targeted from multiple sniper points. Avoid exposing yourself out by the bridge except in making a push forward.
Tactics
Unless you’re making an assault on the bridge, you shouldn’t be out here. Period.