
Sniper Ghost Warrior 2 Guide Walkthrough Mission 3: Leave No Man Behind
3.3 Waypoints 8-13
Waypoint 8
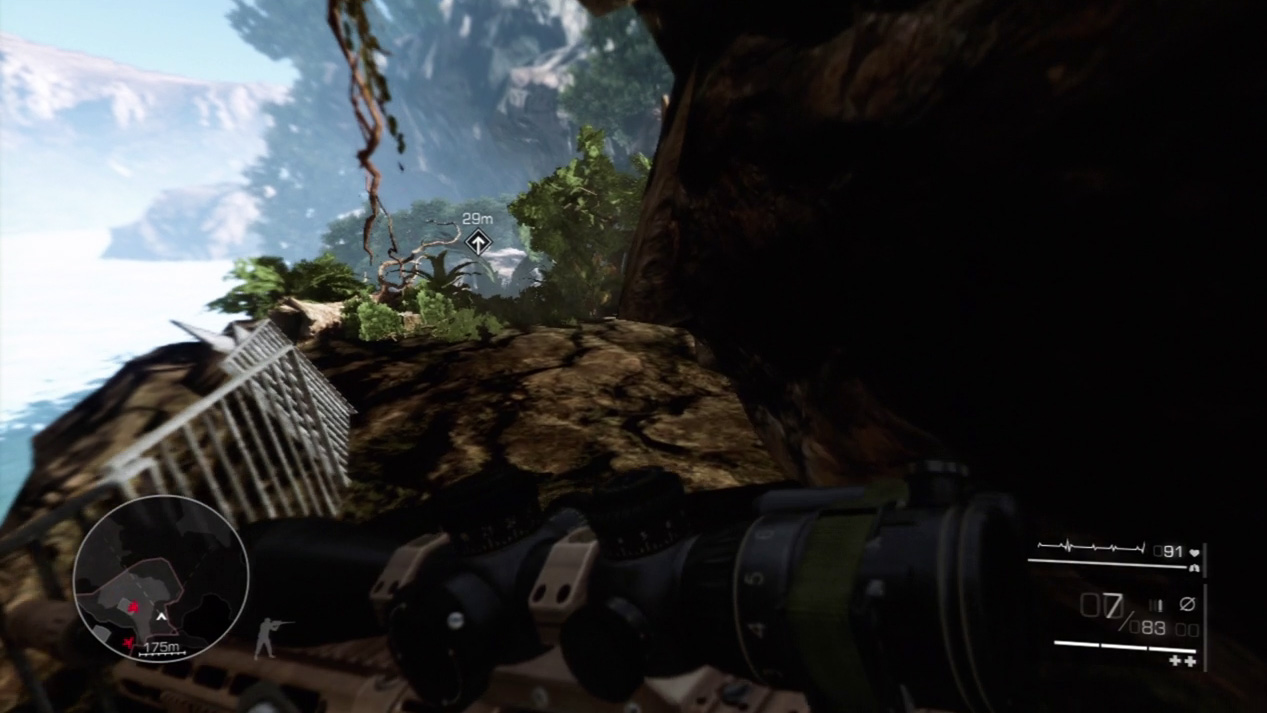
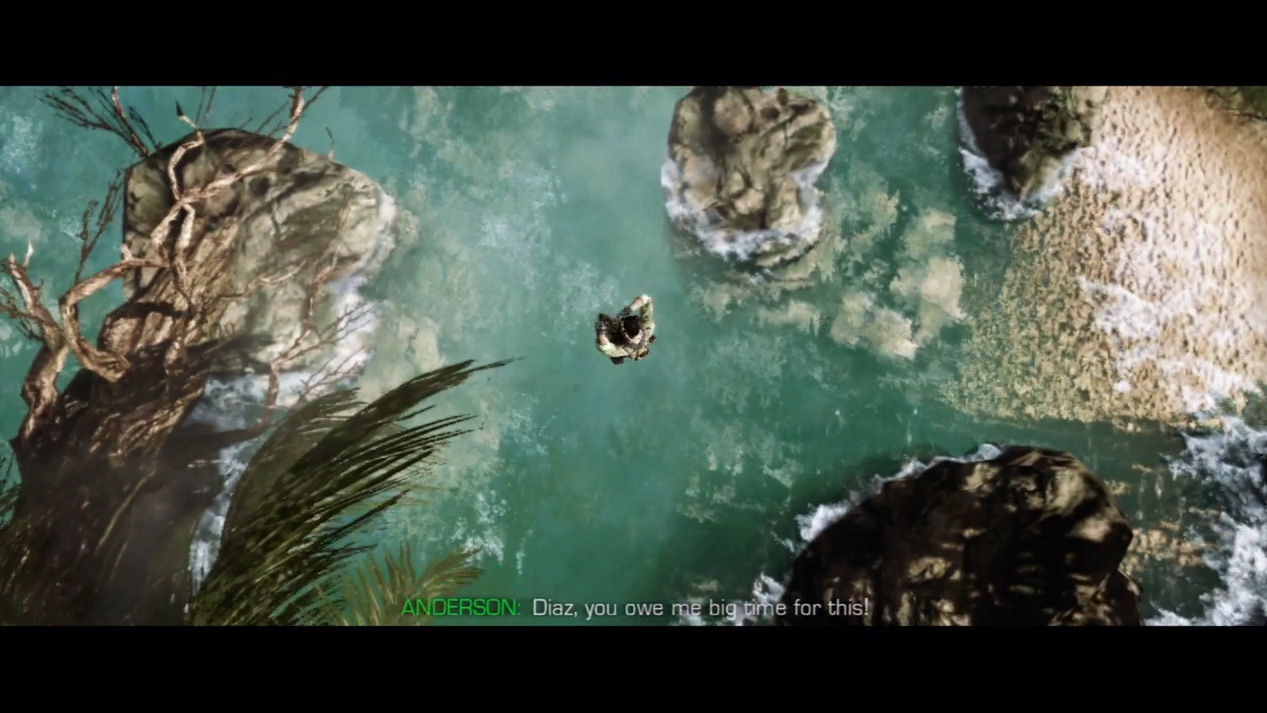
No enemies can spot you on the balcony, so you’re free to stand up. Sprint along the balcony and jump off the edge into the cool, blue waters below.
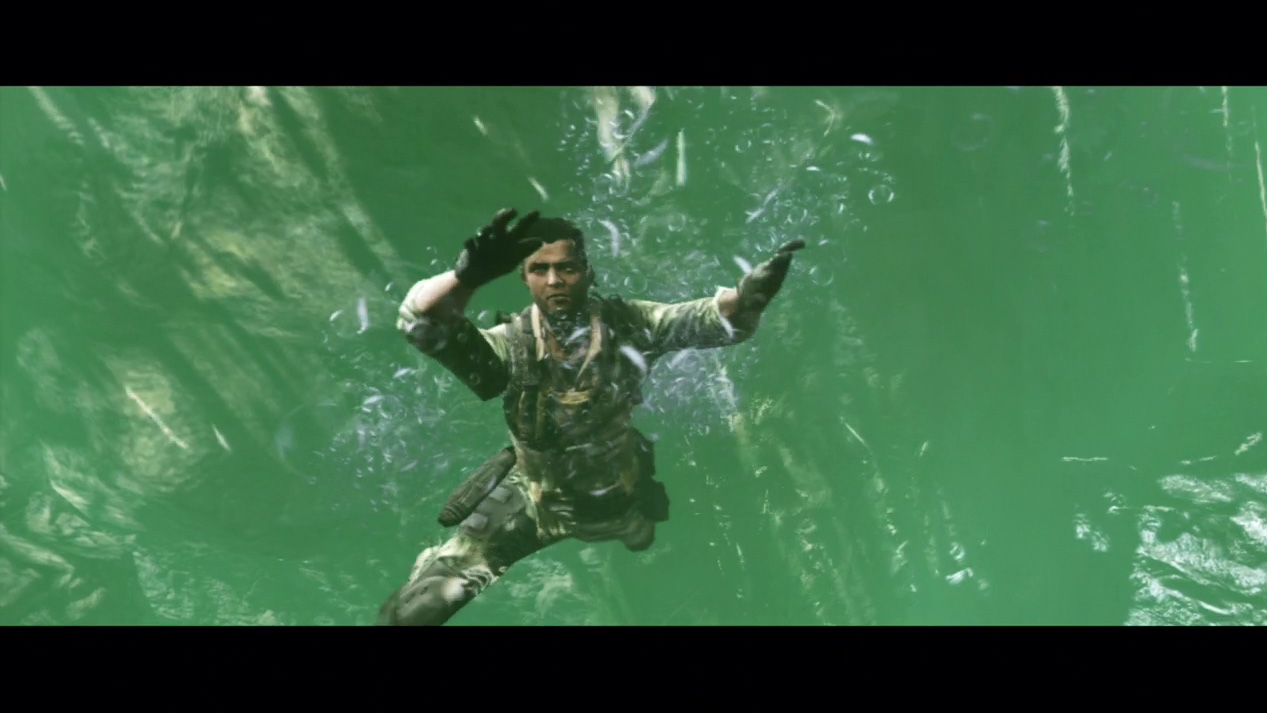
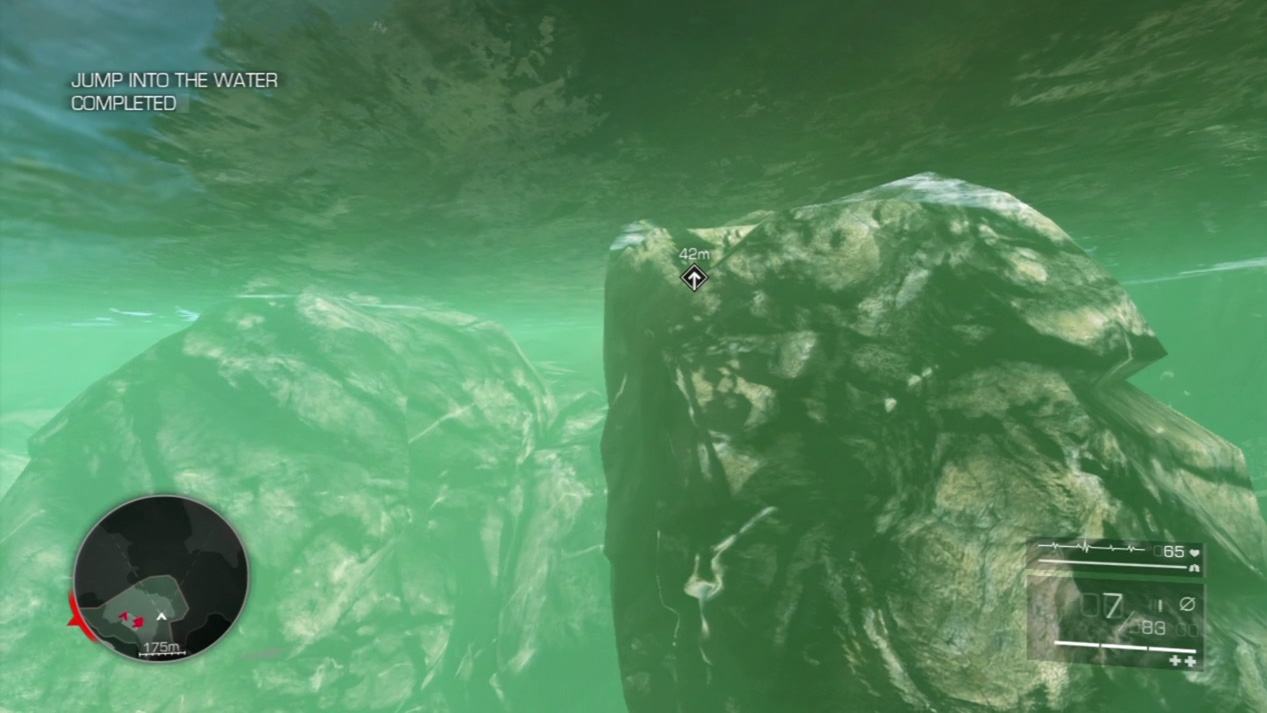
Stay underwater and swim toward the far shore. Cut between the two large rocks and come up as close as you can to the grassy area on the shore so you can hide right away.
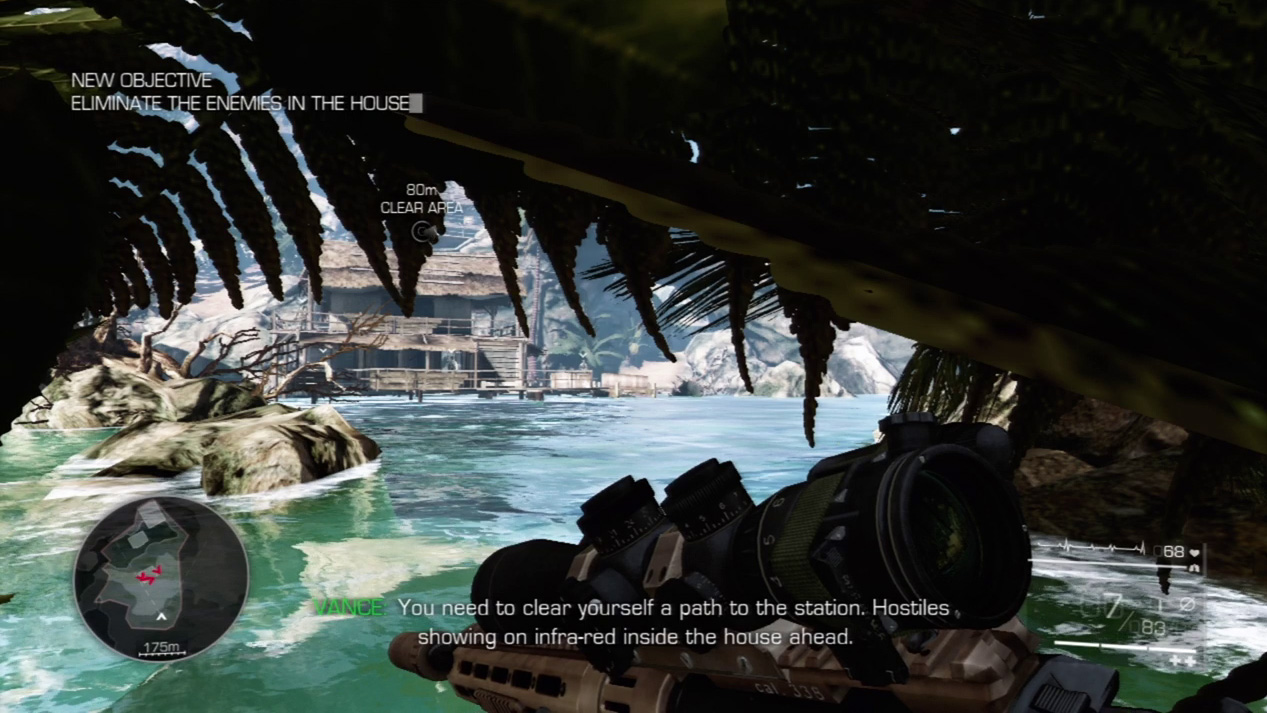

From the cover of the overhanging ferns, sight on the guardhouse across the water. Pull out your binoculars to identify all enemies before setting up your shots. You’ll have to drop the five enemies in exact order to avoid sounding the alarm.
Expert Mode
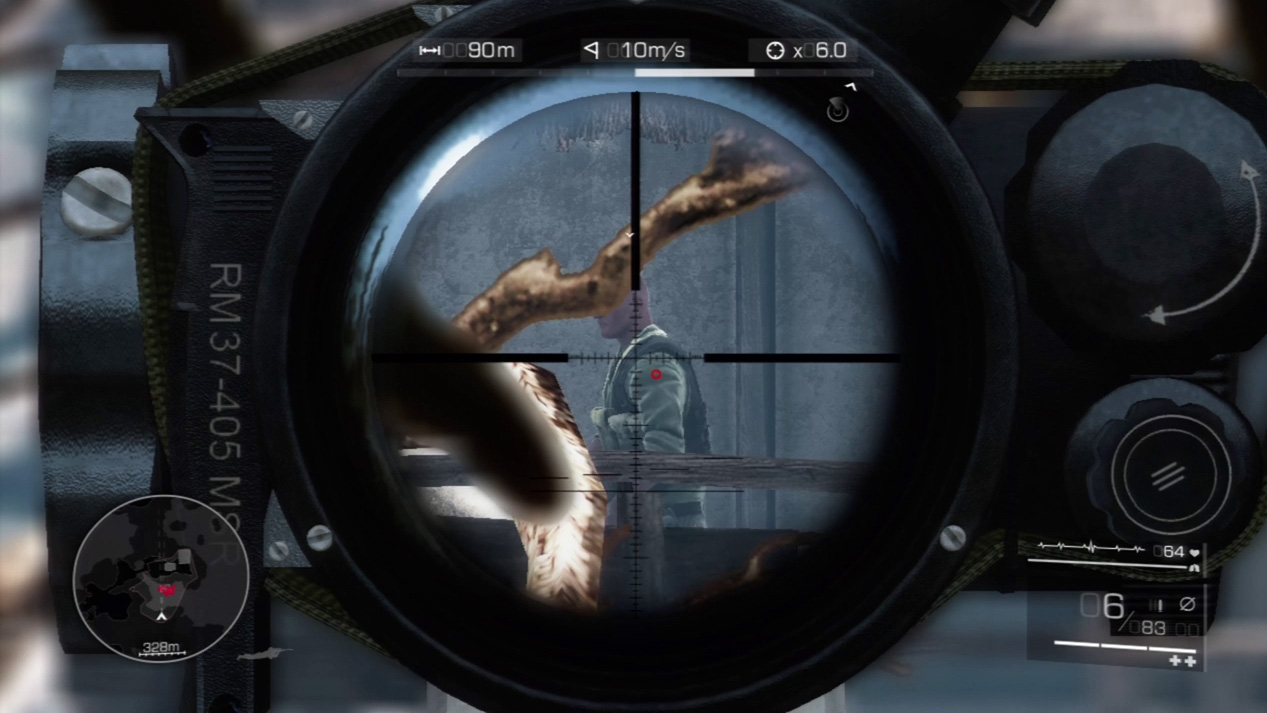
- Distance: Approximately 90 meters
- Wind: 10 meters/second (blowing right)
- Magnification: 6x
If you can’t wait for the Hit Indicator, or are playing on Expert Mode, most shots are not far off from the center crosshairs.
The wind blows at 10 meters per second to the right; however, these are medium-range shots, so the bullet will fall only about two horizontal reticle lines to the right and one vertical reticle line down.
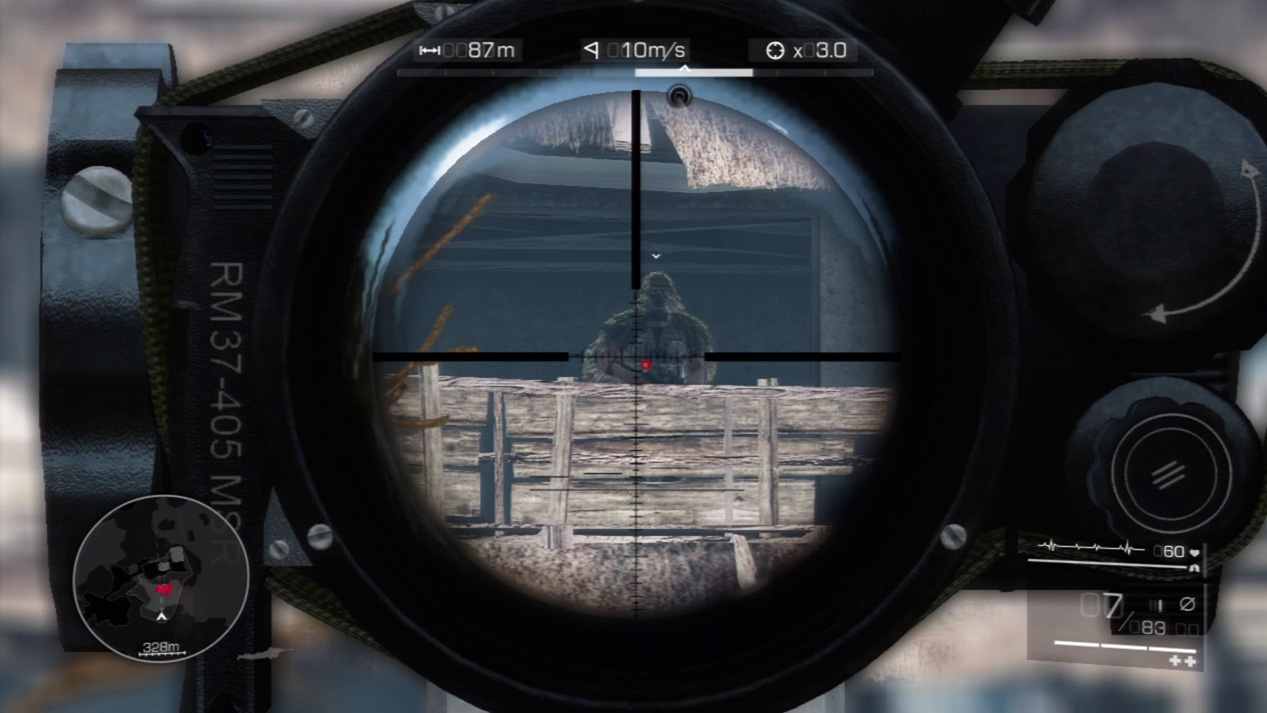
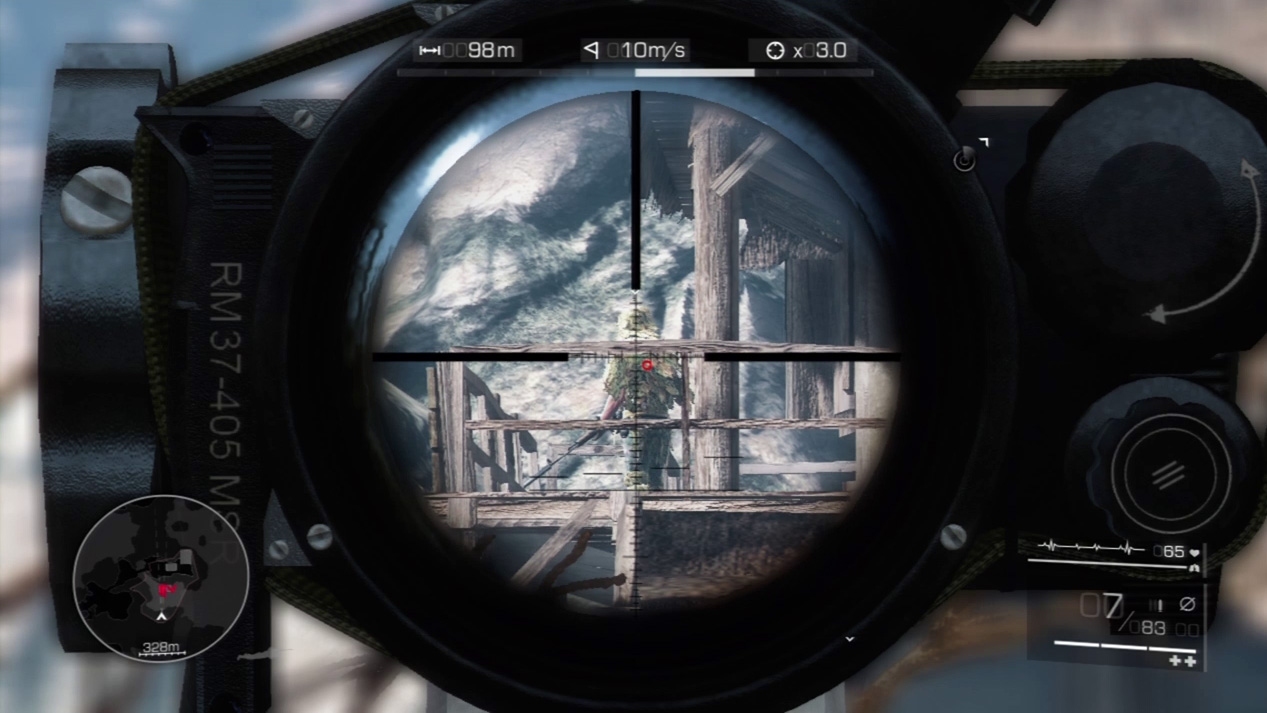
Two snipers watch from the house’s top floor. Wait for the walking sniper to disappear around the left corner and then zip a bullet through his partner. Before the walking sniper returns and sees the body, zero in on him, too.
Special Shot: Double Kill
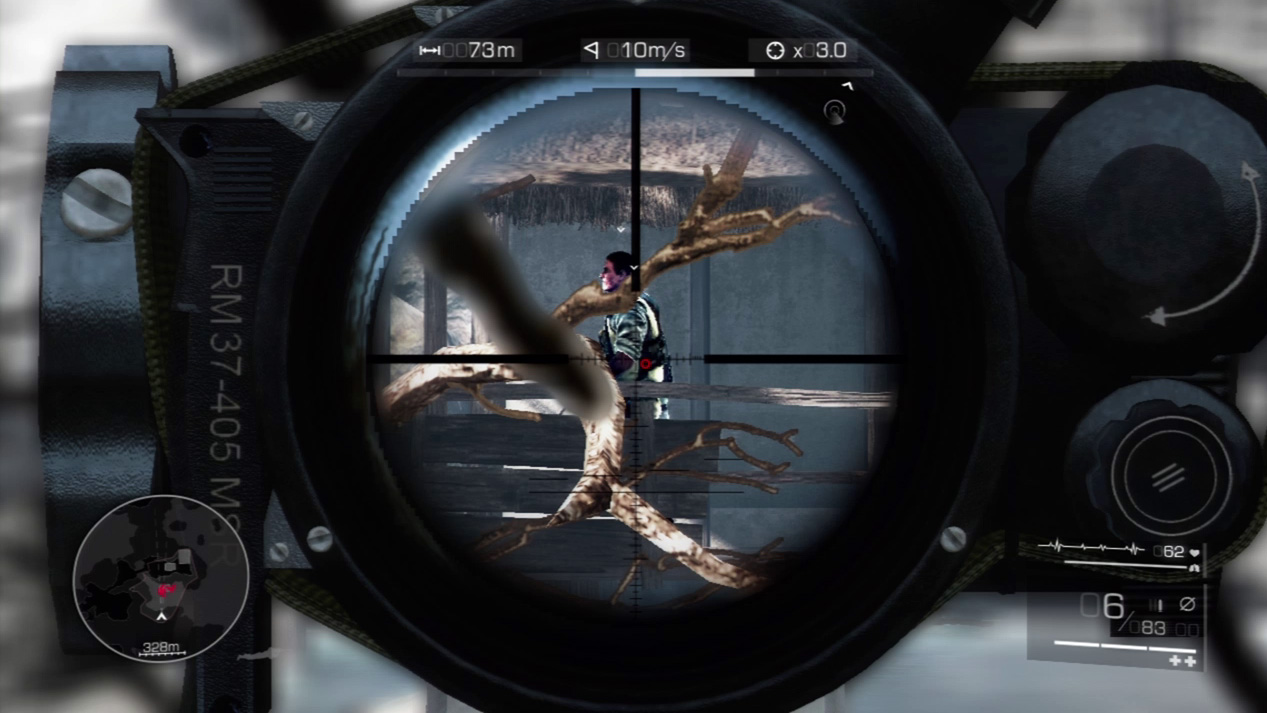
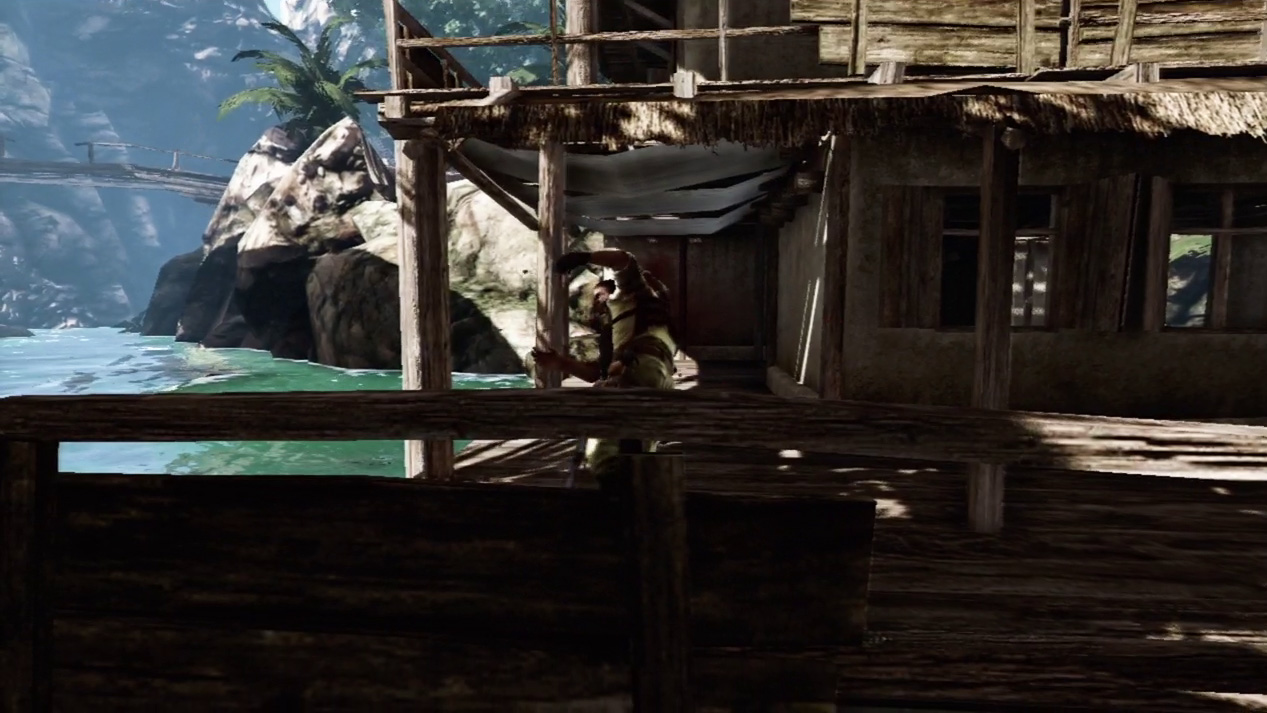
On the bottom level, two guards stand at fixed posts with a third guard walking between them. He doesn’t quite reach the guard on the far right; however, he does overlap with the guard on the far left. Wait for him to cross in front of the left guard and shoot them both with a single bullet.
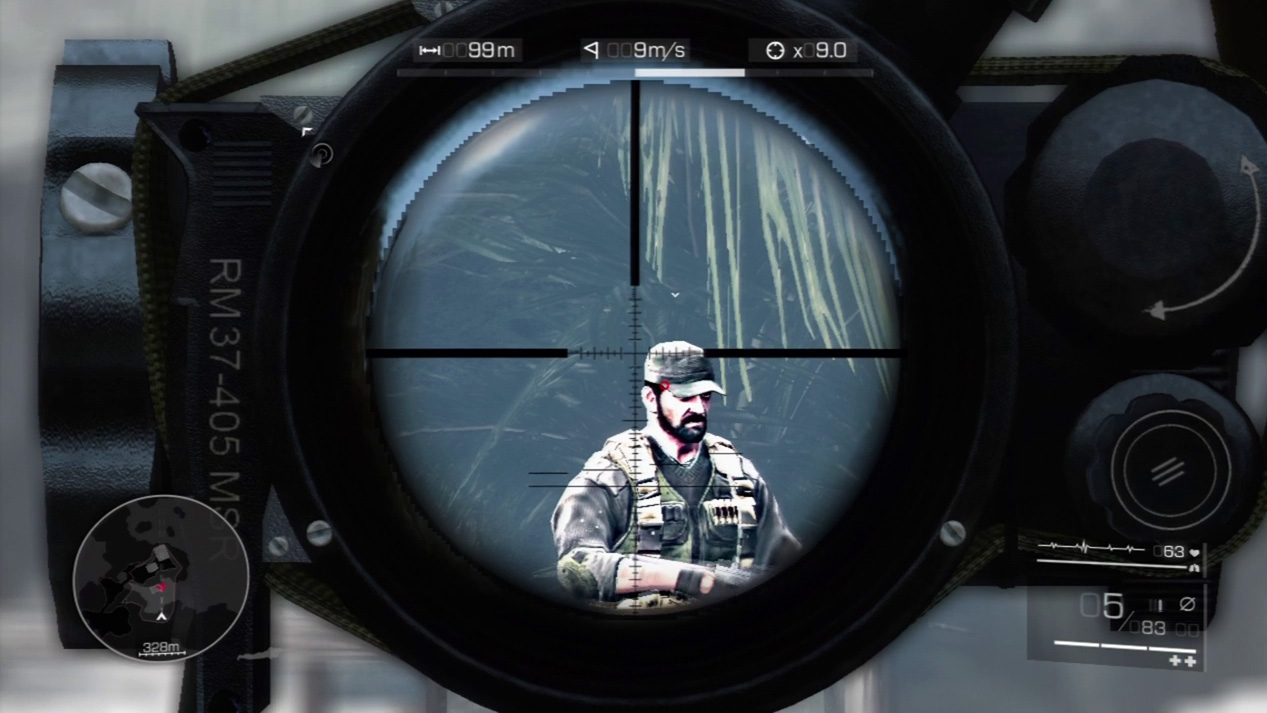
You have an easy shot for the final kill. Sight on the guard out to the right on the pier and wipe him out with a headshot to clear the area.
Act 1: Secret 10
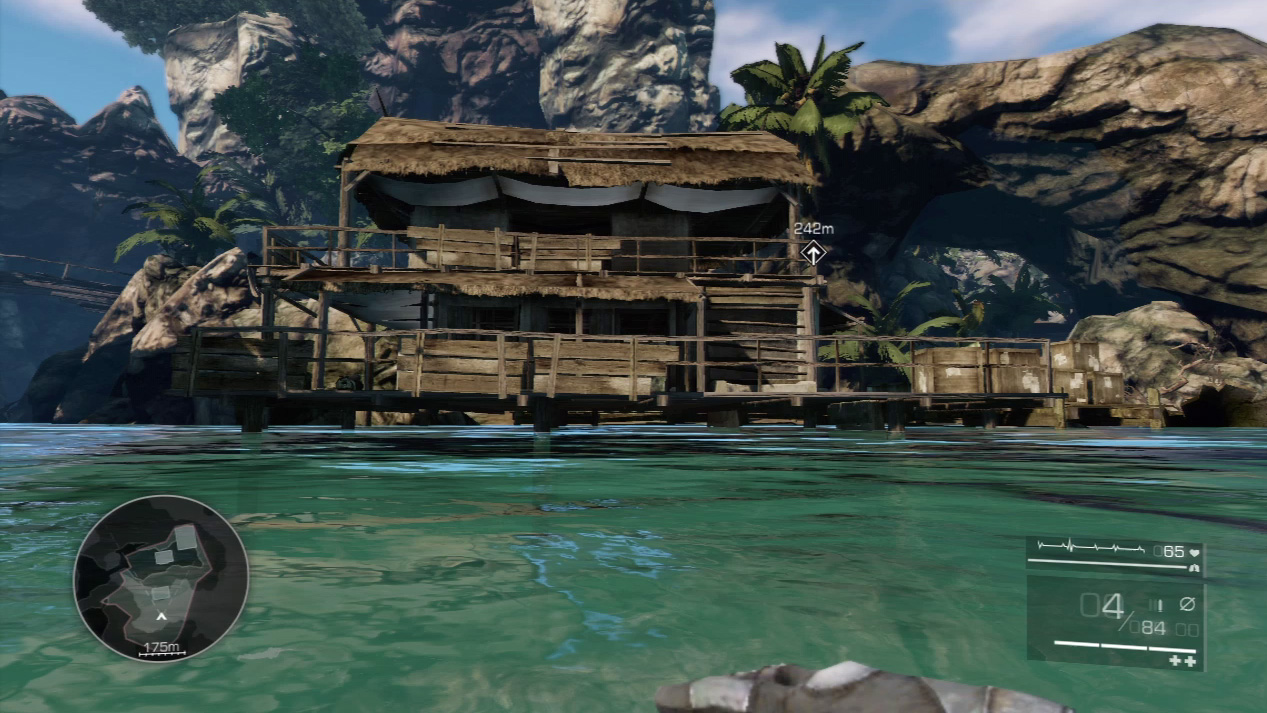
After your jump into the waters and eliminate the four enemies guarding the area, swim across the water to the beach house.
Climb up through the hole in the ground floor and take the stairs to the upper floor. You’ll find the statue standing on a trunk in the corner.
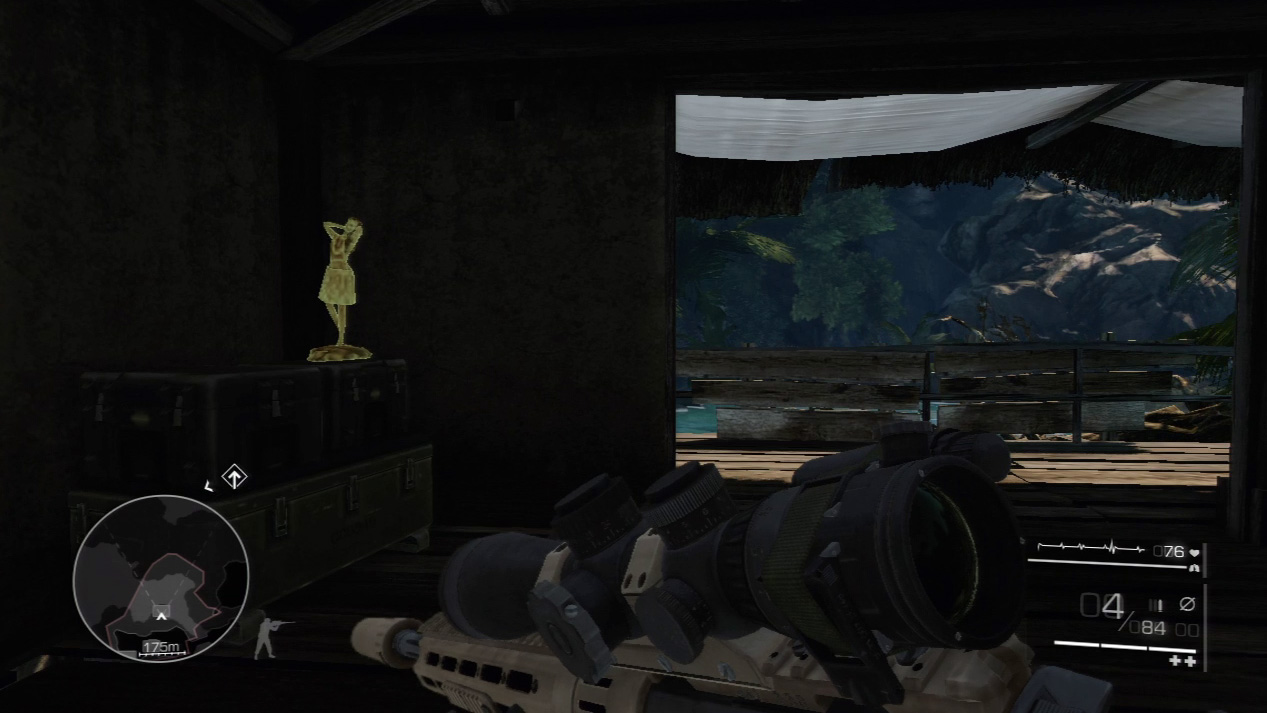
Act 1: Secret 11
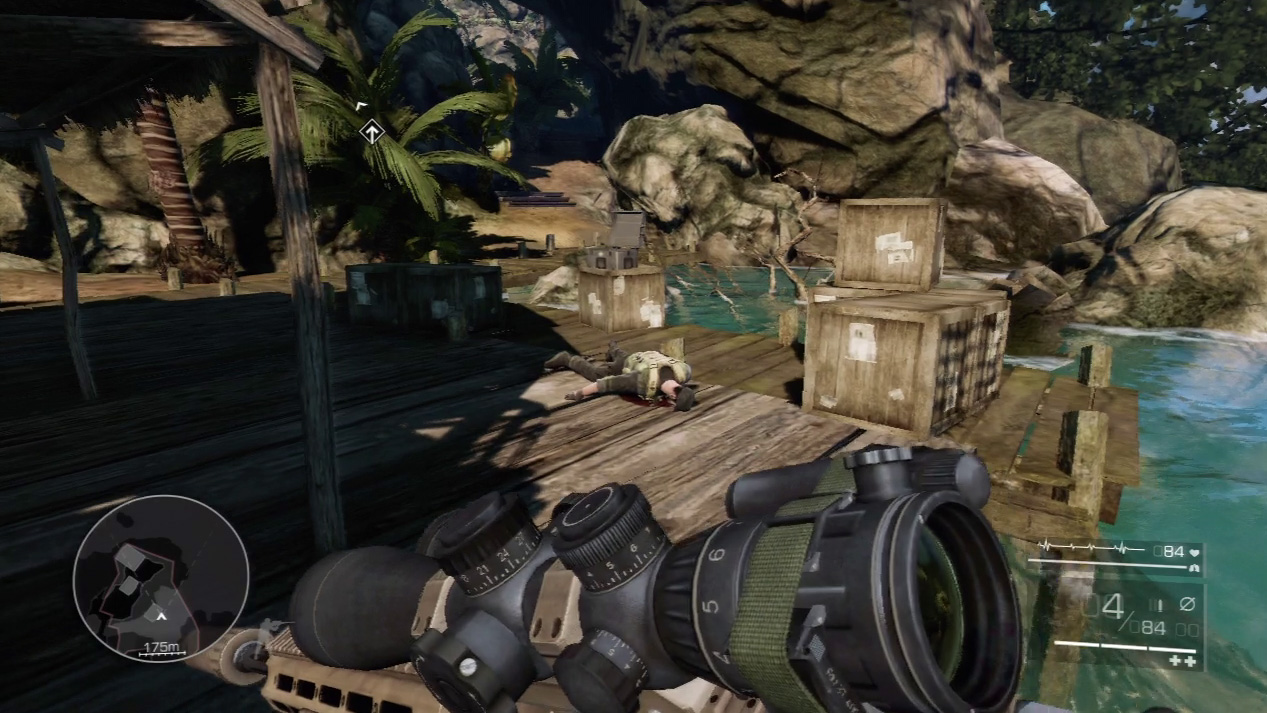
There are still no enemies to worry about between the beach house and the cable car.
Run up the hill and search the cable car’s control room at the lower platform. The eleventh secret for Act 1 lies toppled on one of the desks.
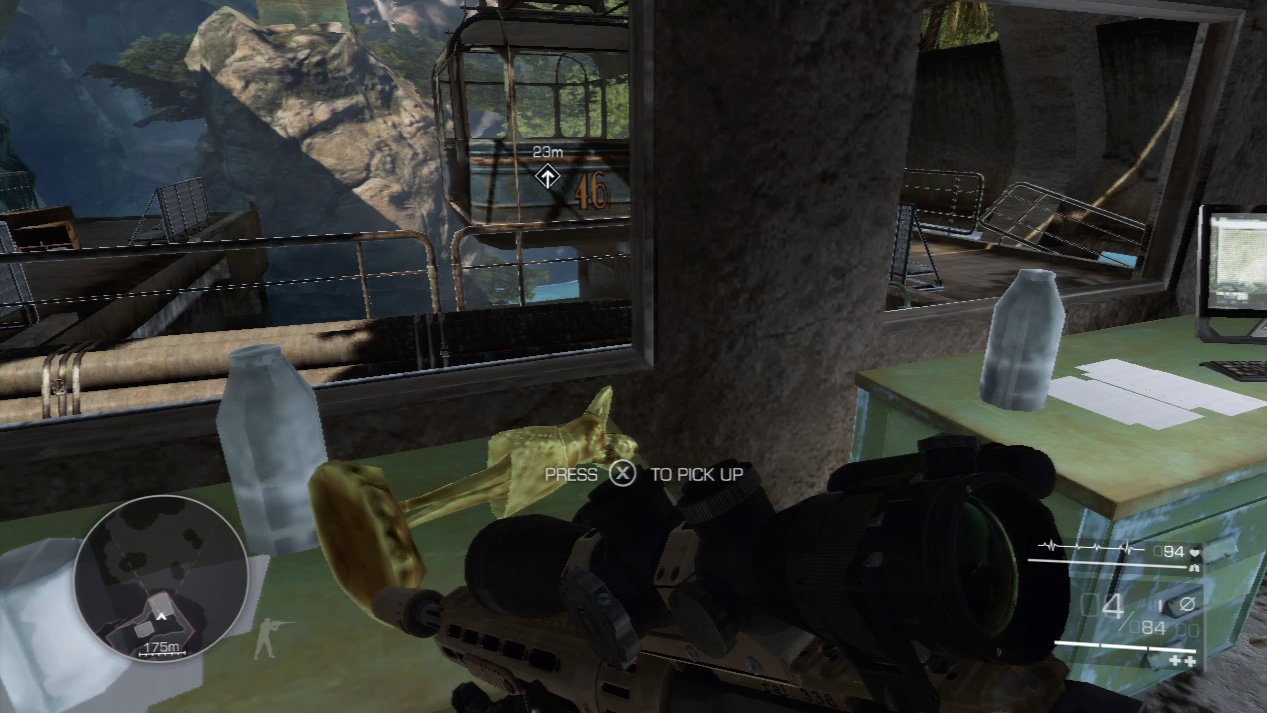
Waypoint 9
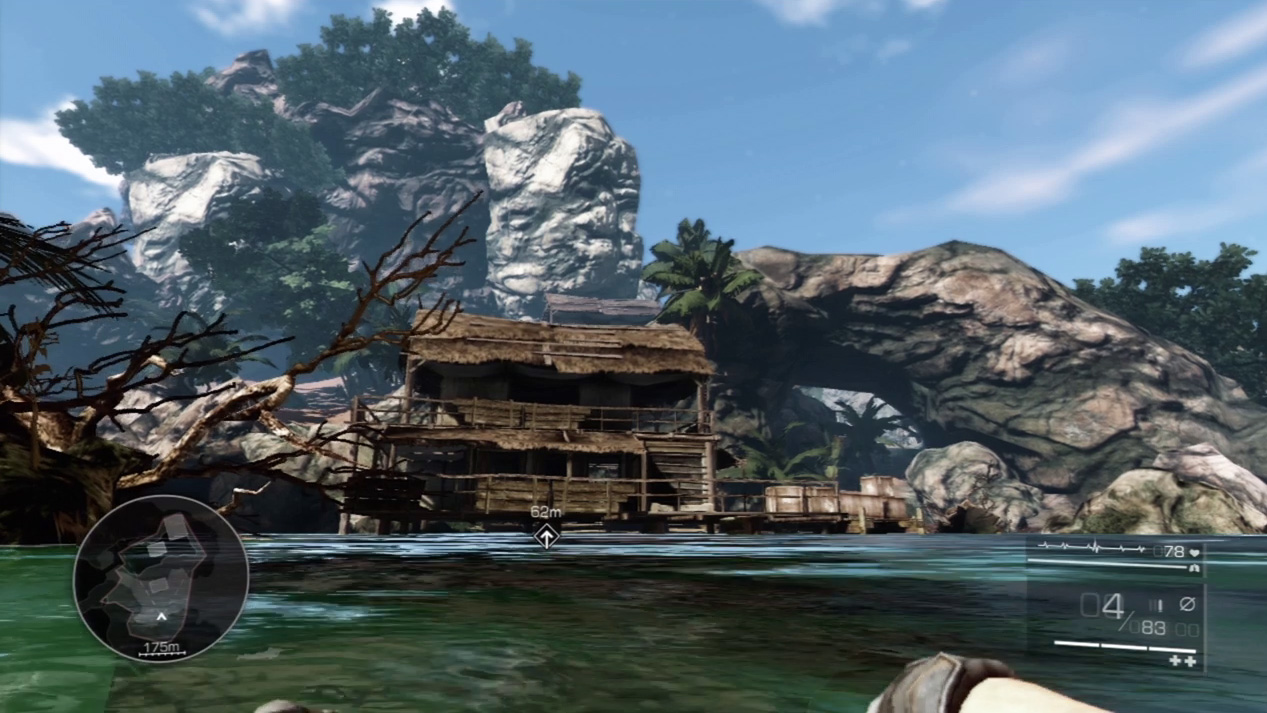
Once the enemies in the guardhouse are down, swim over to the house and climb inside through the hole in the ground floor.
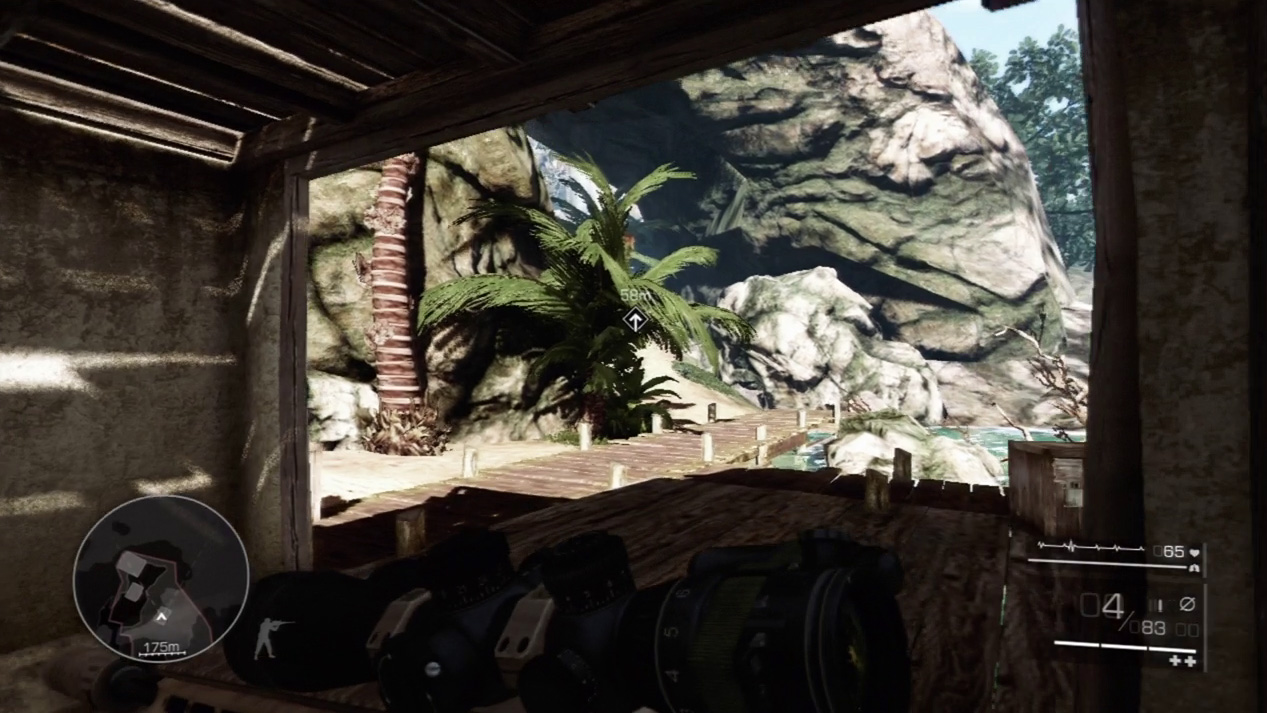
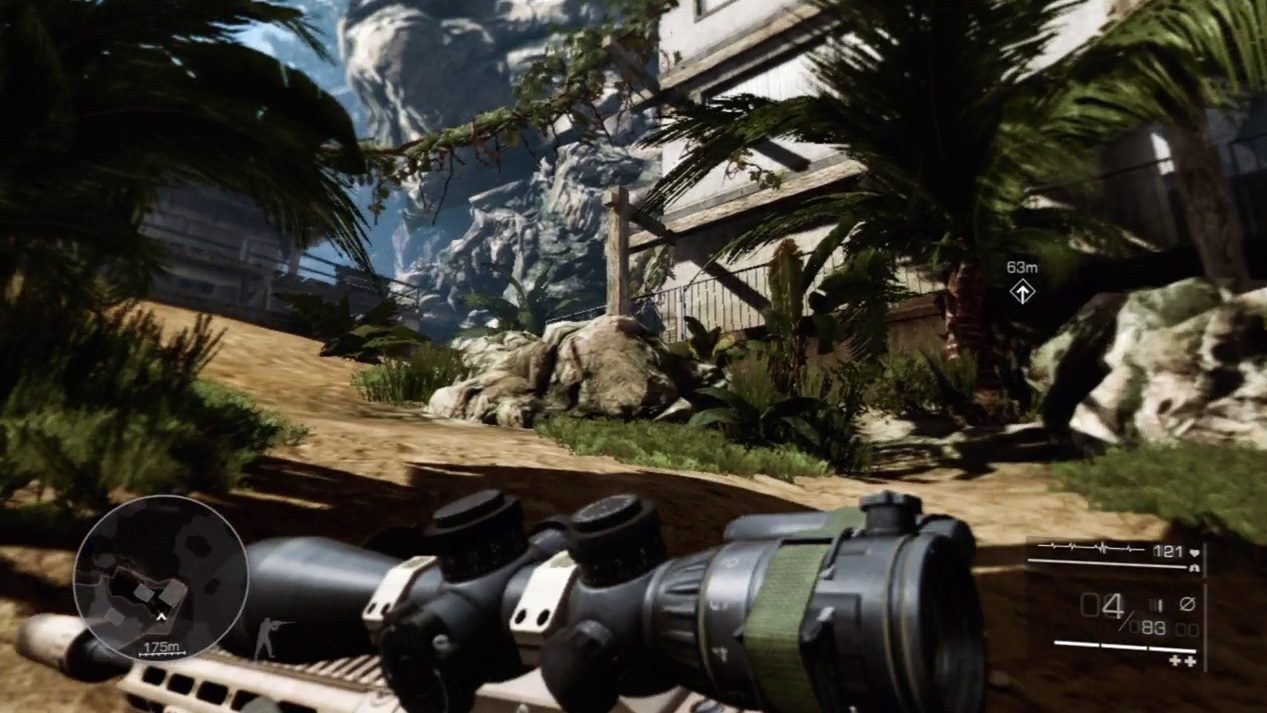
Spring along the pier and up the path between the rocks. There are no enemies from here to the cable car so you can run without looking over your shoulder.
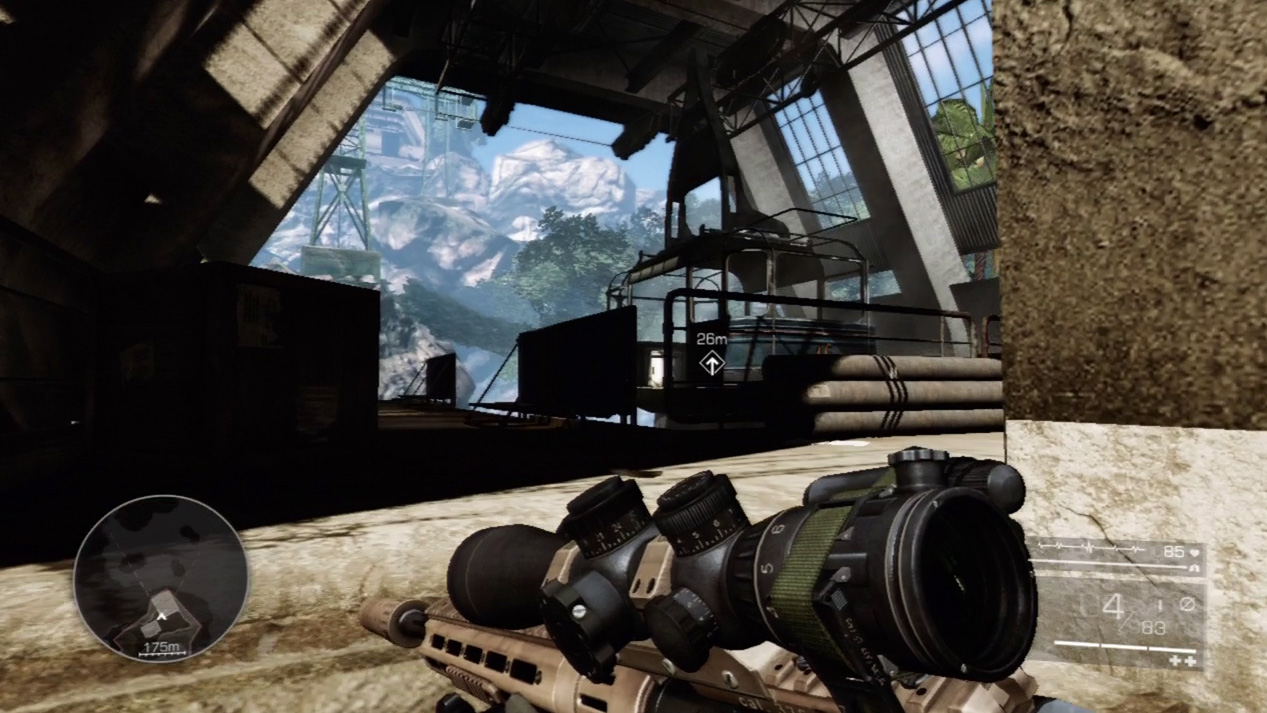
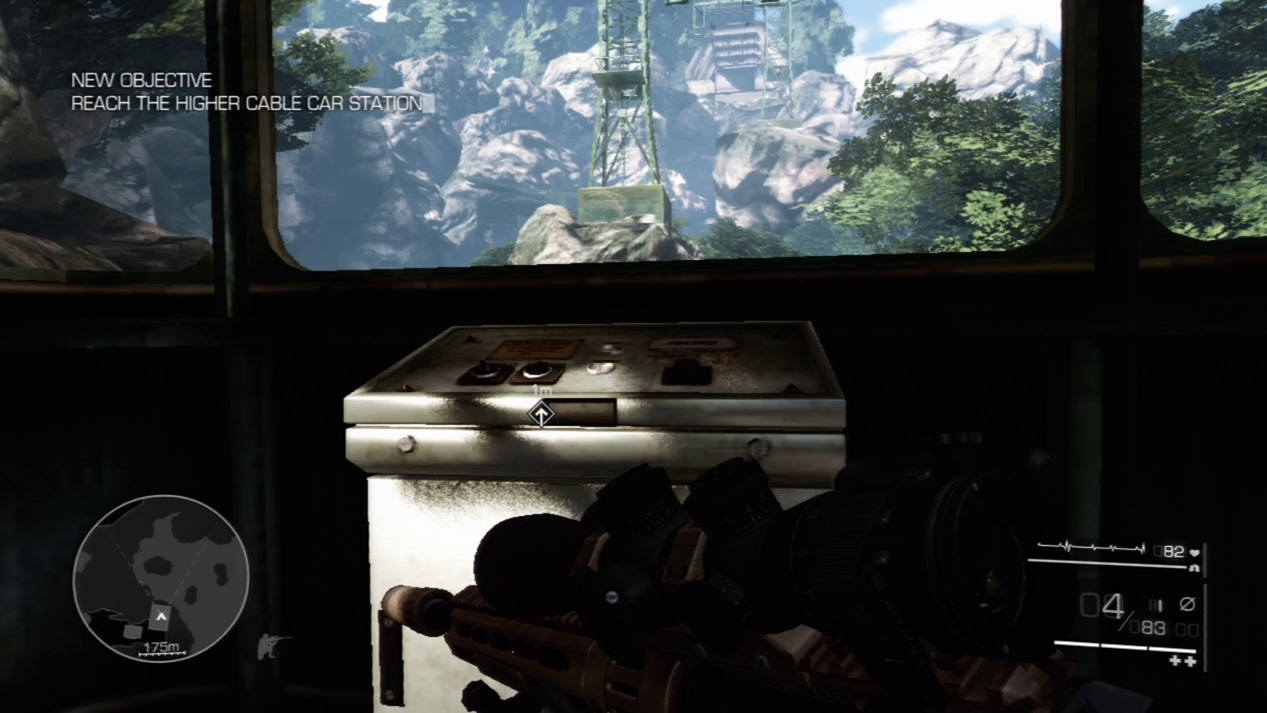
Get into the cable car and press the control panel to start it rolling up to the mountaintop.
Expert Mode
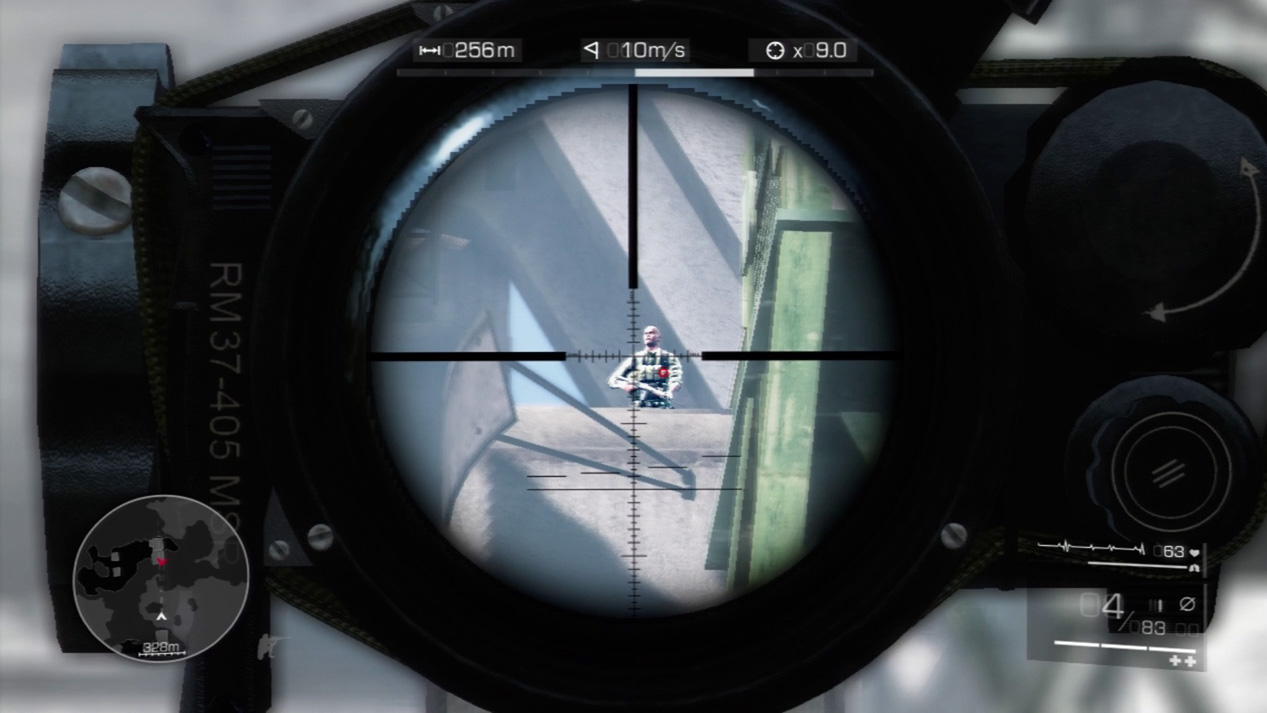
- Distance: Approximately 255 meters
- Wind: 10 meters/second (blowing right)
- Magnification: 9x
Without the aid of the Hit Indicator, the shot on the cable car enemy becomes even tougher. It may not be an extreme shot; however, the wind blows strongly to the right. Look for you bullet to fall between the fourth and fifth horizontal reticle line to the right and between the first and second vertical reticle line down.
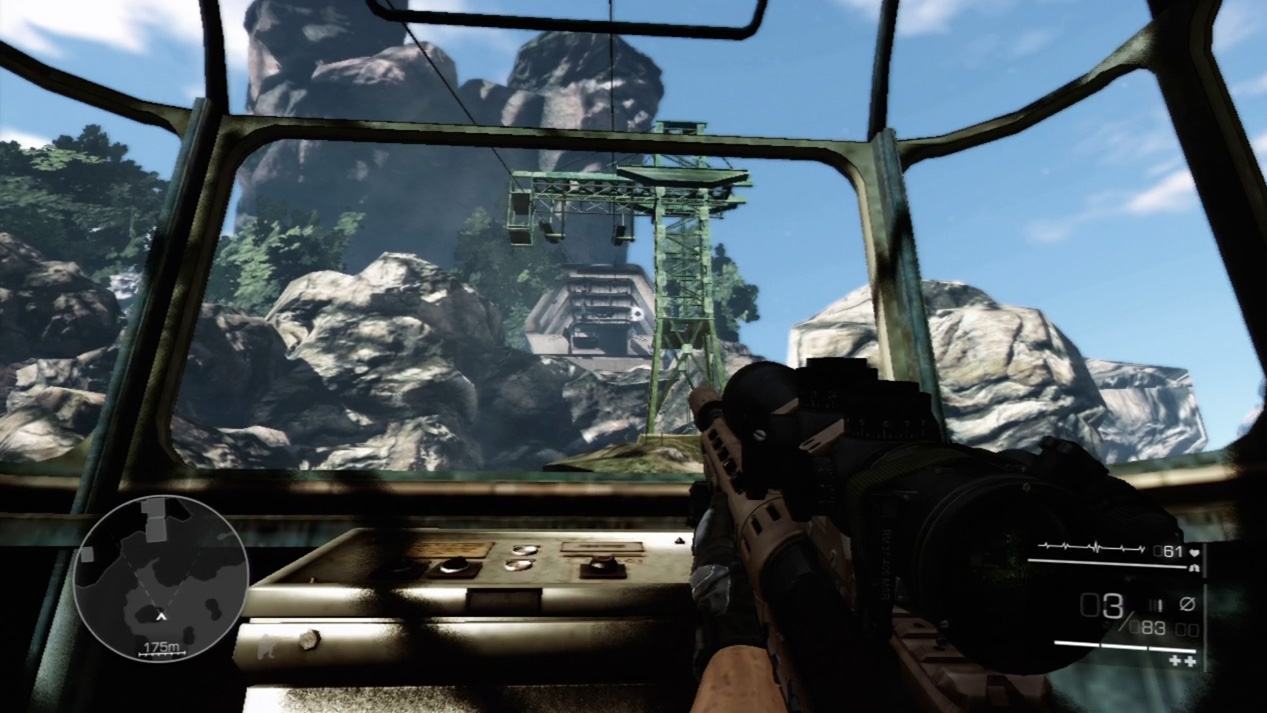
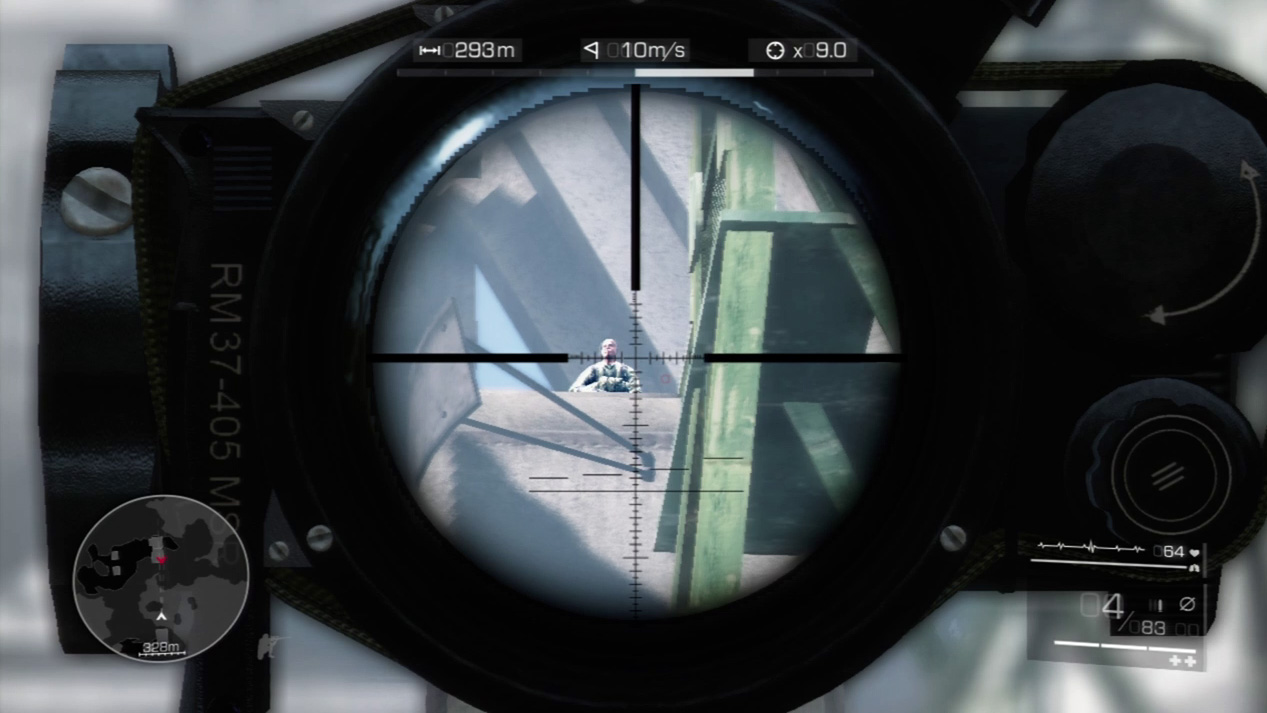
This is a very difficult shot. As you ascend, a guard pops out on the balcony at the top of the cable ride. He has direct line of sight with the cable car and will spot you very quickly when you near the top. He doesn’t stand on the balcony long; you barely have enough time to zoom on him and wait for the Hit Indicator before pulling the trigger.
Waypoint 10
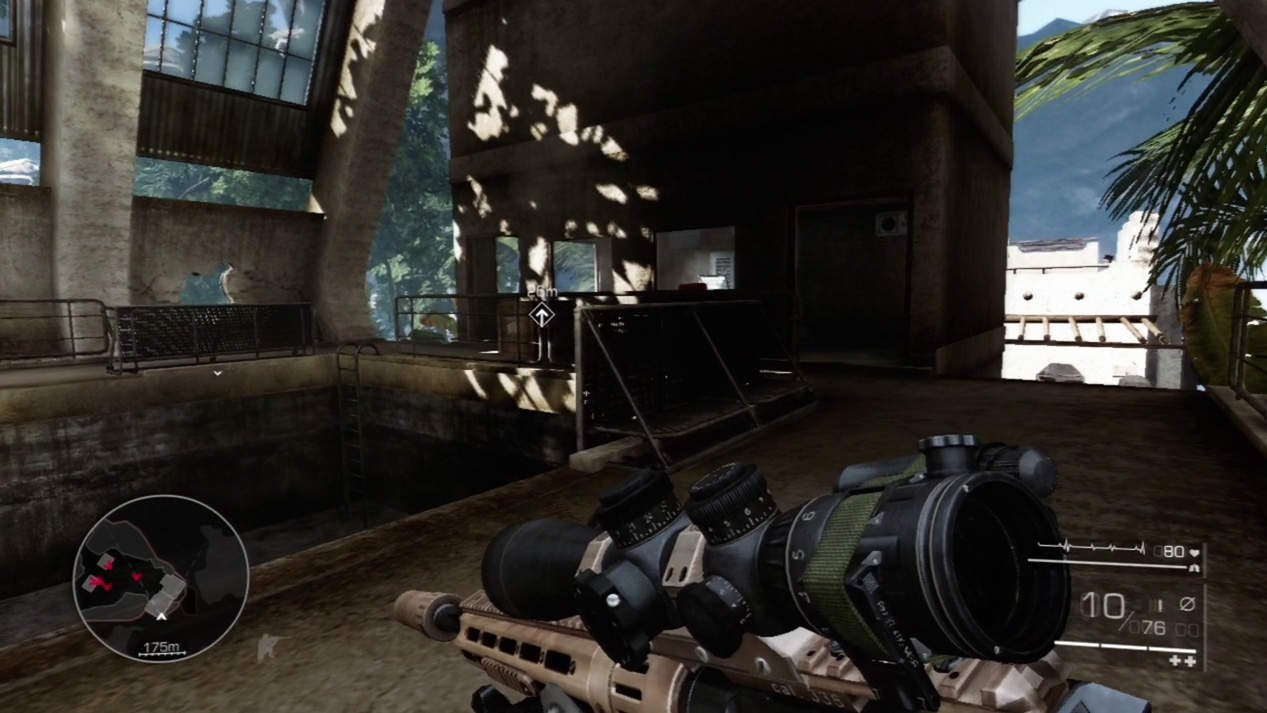
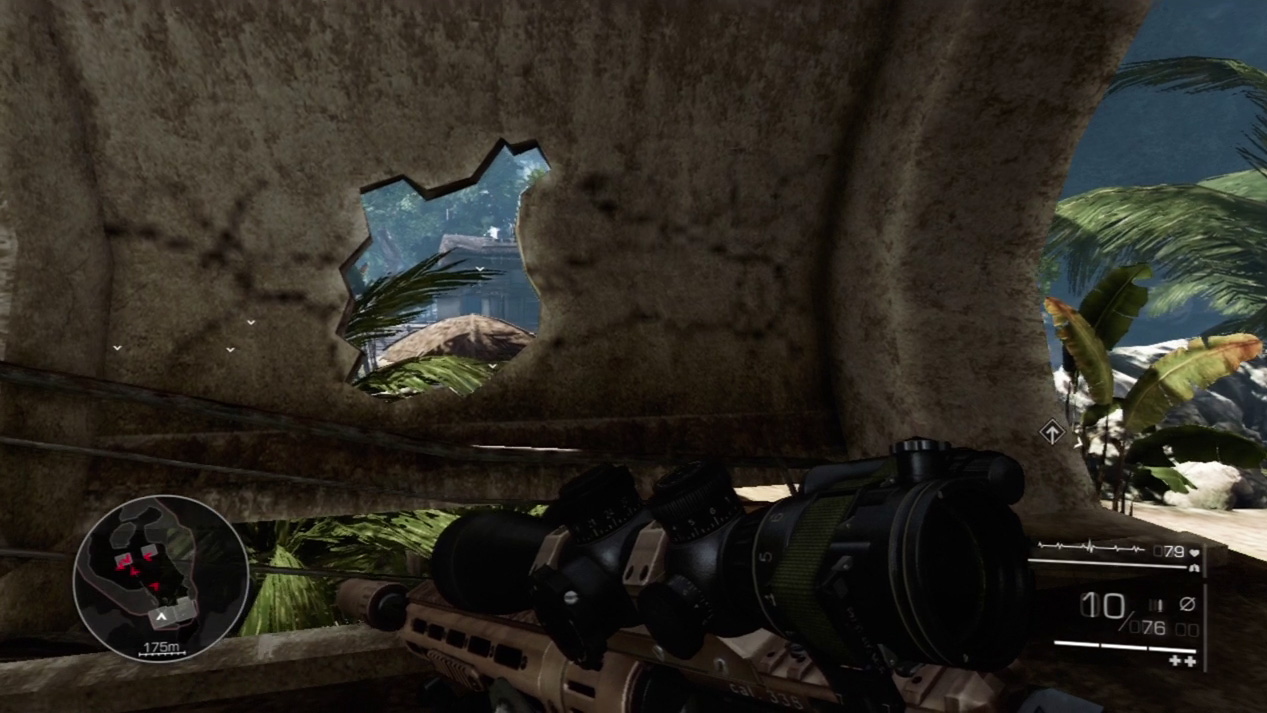

A whole enemy patrol guards the grounds just outside the cable station. You don’t even want to approach the stairs or they’ll spot you quickly. Instead, set up a sniper spot by the gaping hole in the cement wall. You can pick off all the nearby enemies from here.
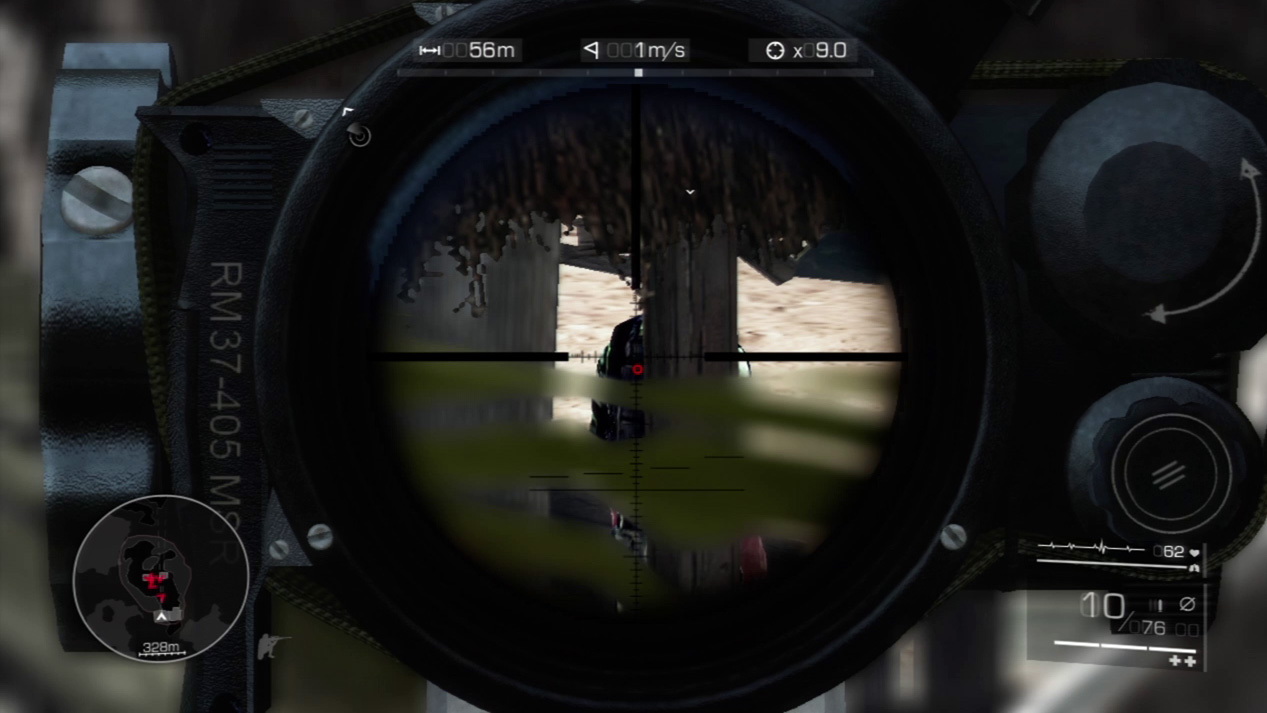
Look for the first enemy down and to your right. He is standing near the corner of the building closest to the main stairs. You can pick him off here, and his body drops against the building and out of the others’ sight.
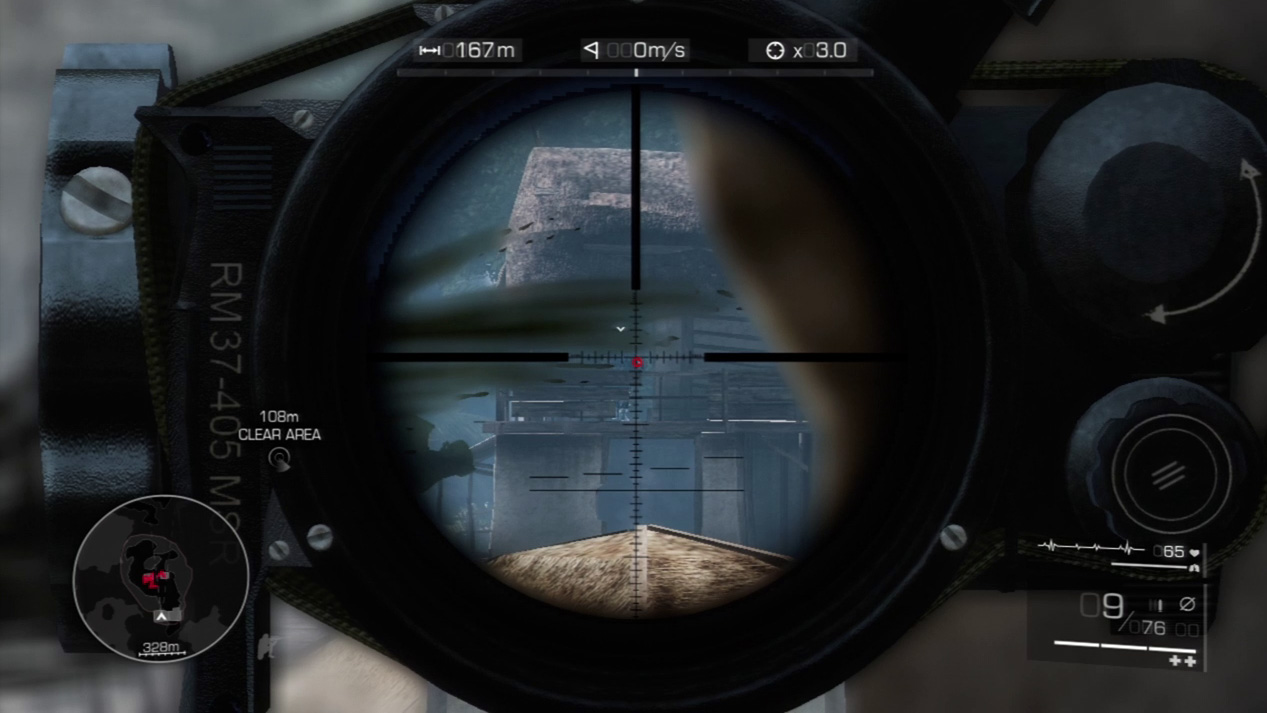
Now scan the building directly opposite you. Two enemies are stationed on the top floor. Silence the enemy on the left when he enters the doorway. His body falls out of sight.
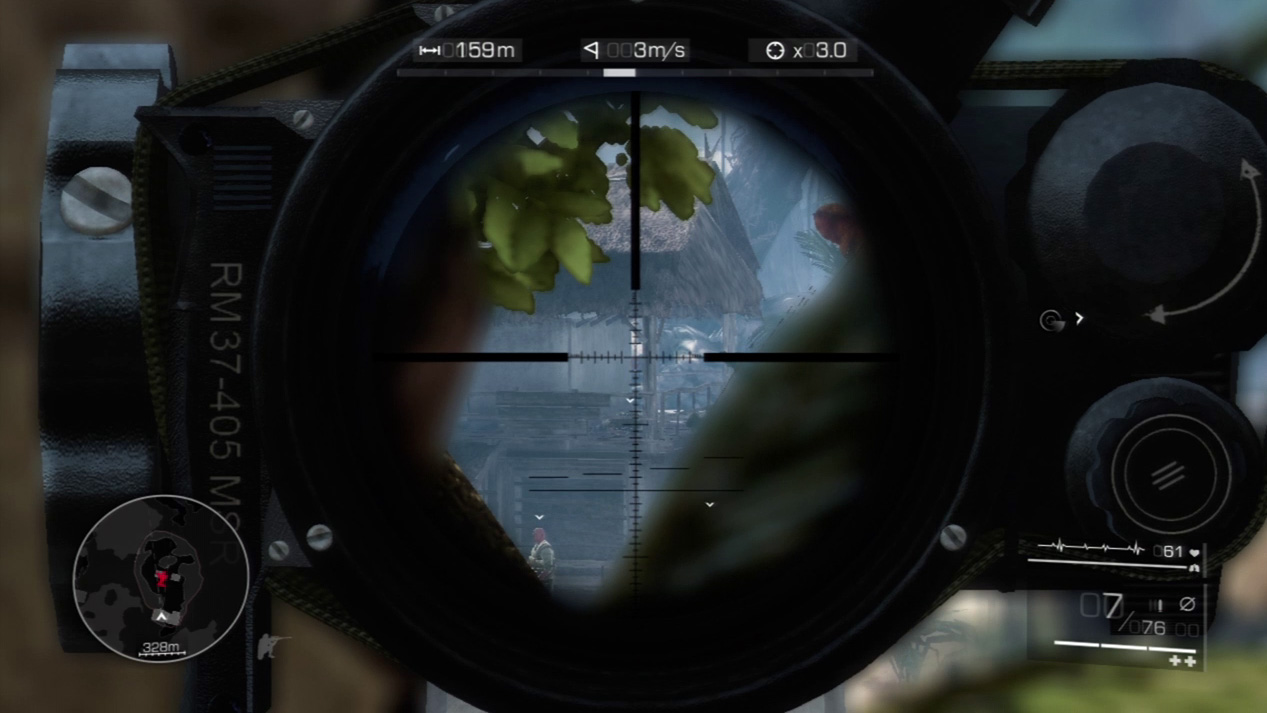
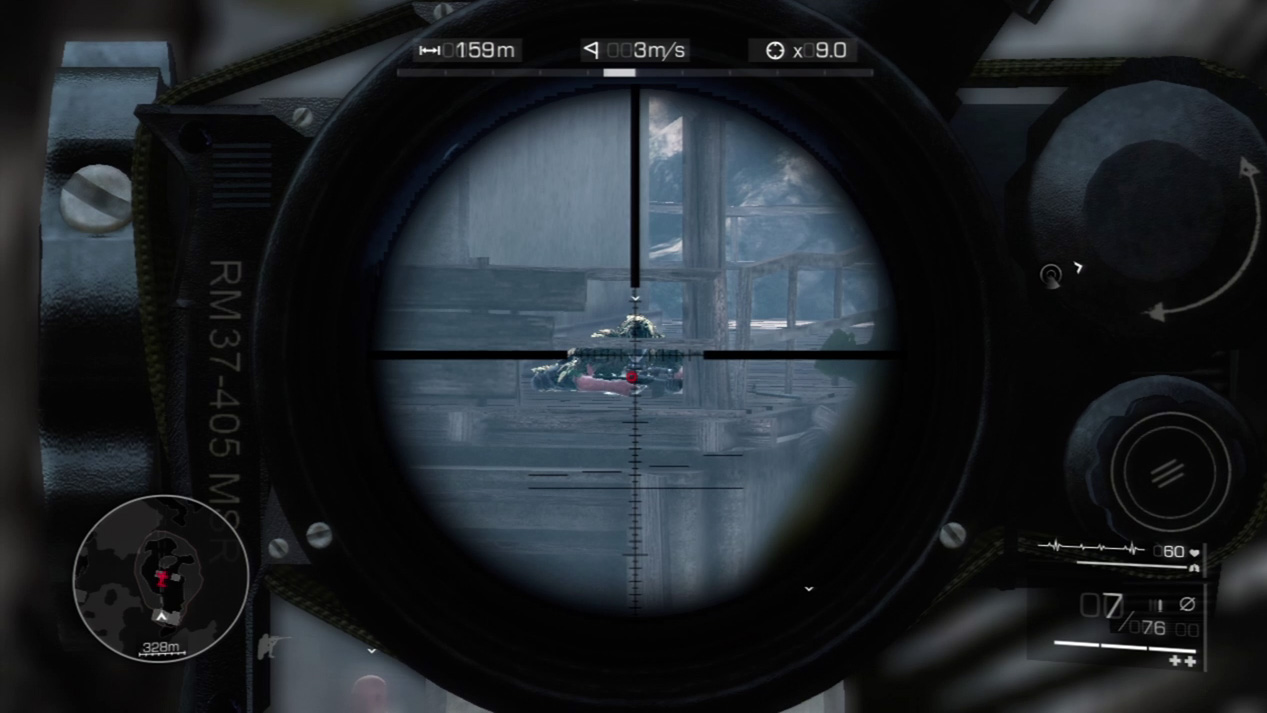
An enemy sniper lies prone at the building’s right top corner. He can’t see you from your present position, so you can take your time to line up a good kill shot between the building’s wooden rails.
Special Shot: Double Kill
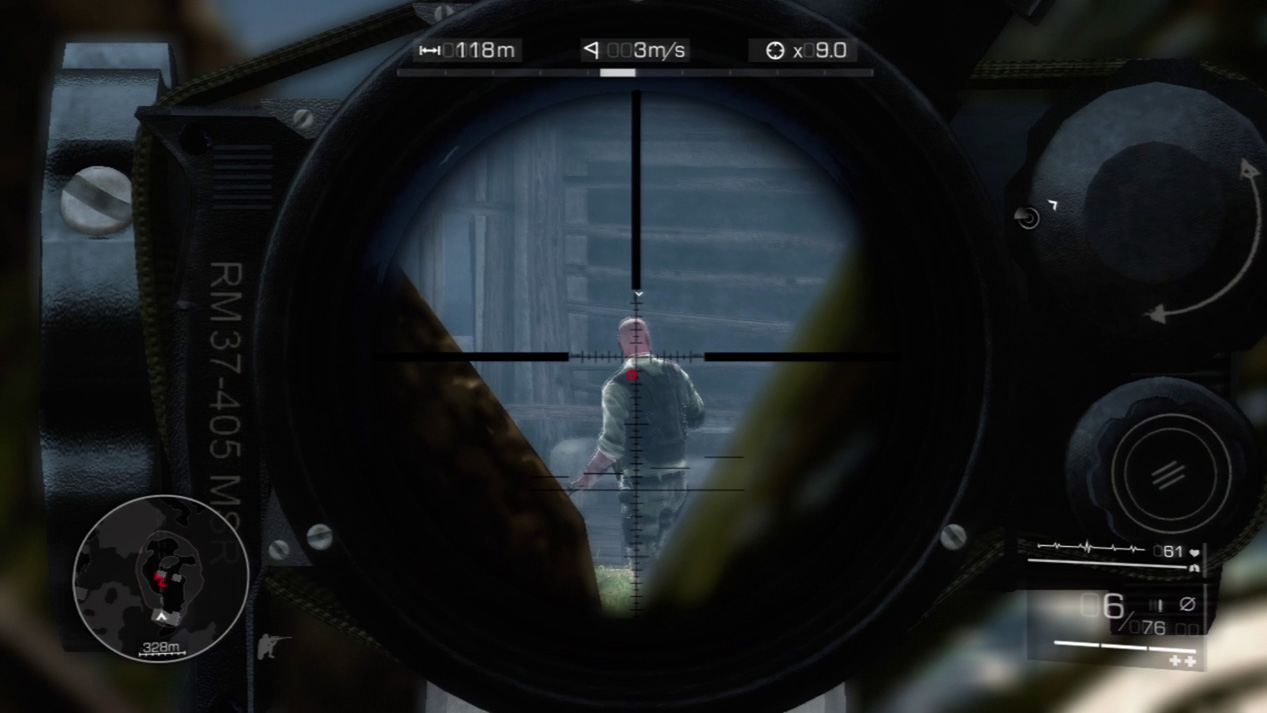
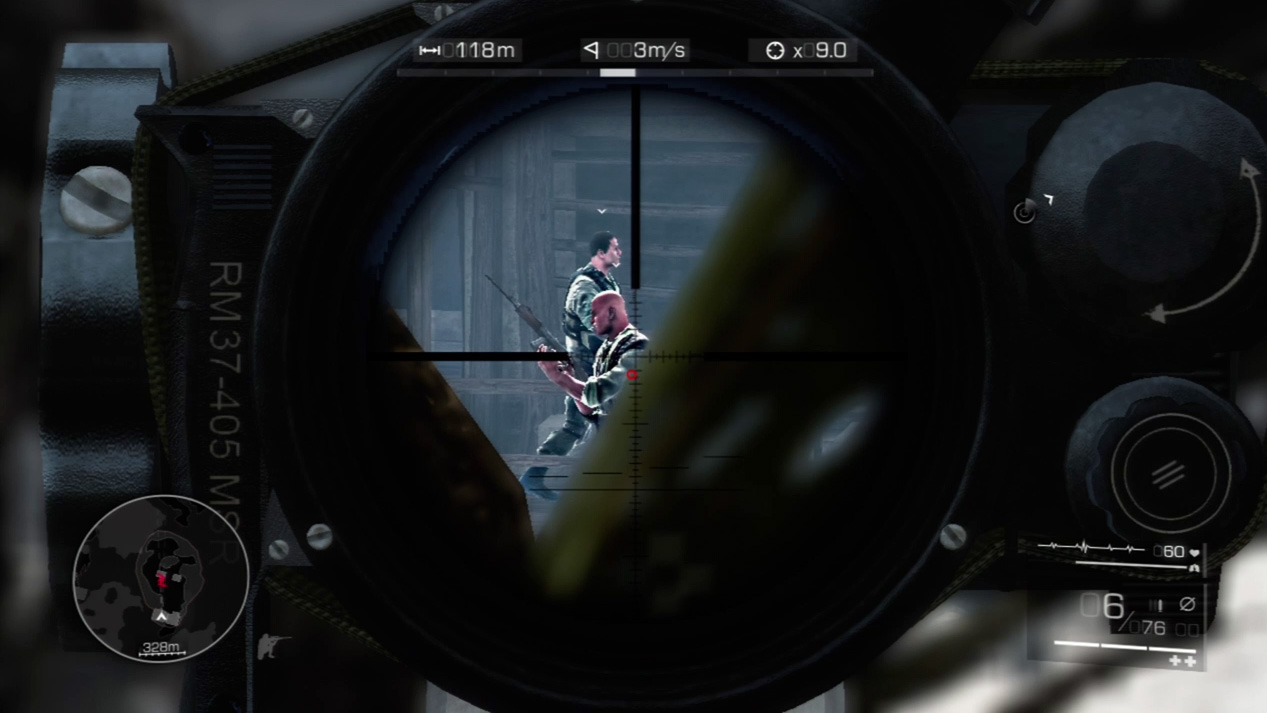
You can’t pull off a double headshot from your position, but you can do the standard variety. Wait for the two enemies in the street in front of the building to pass each other. When they overlap, send a bullet through both torsos.
Act 1: Secret 12
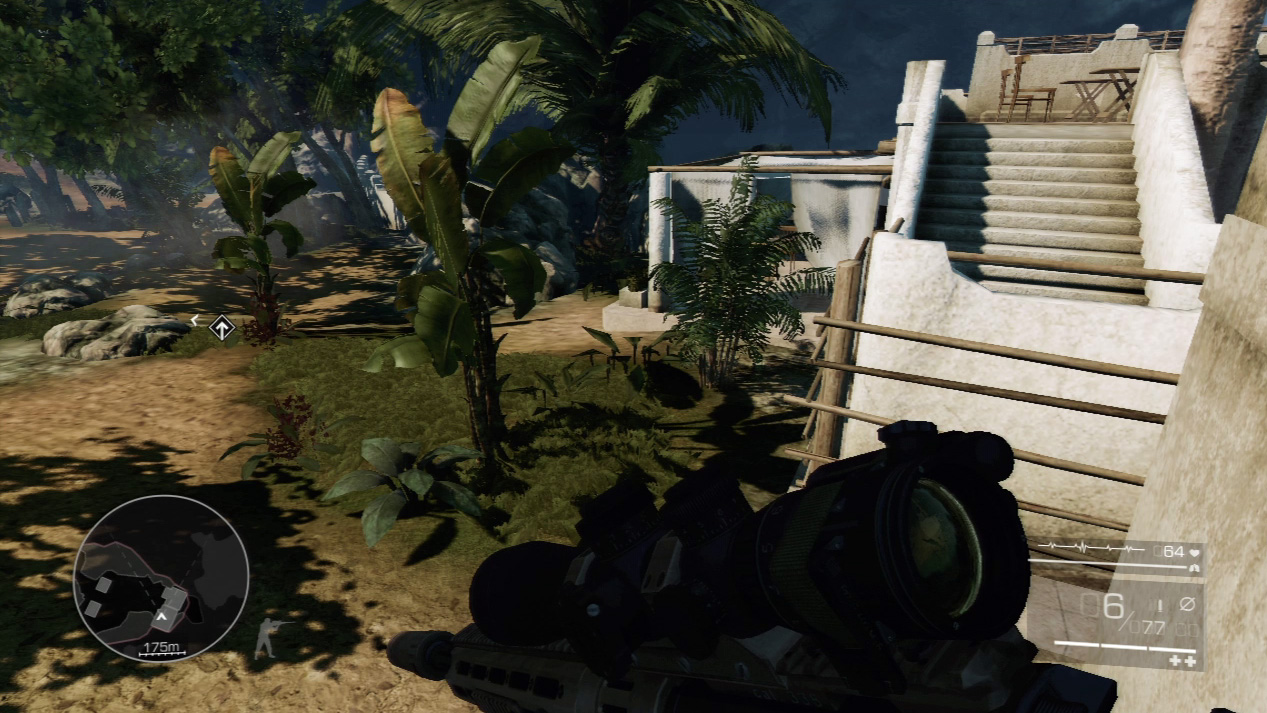
The last secret for Act 1 can be recovered after you defeat the enemies defending the buildings near the upper cable car platform.
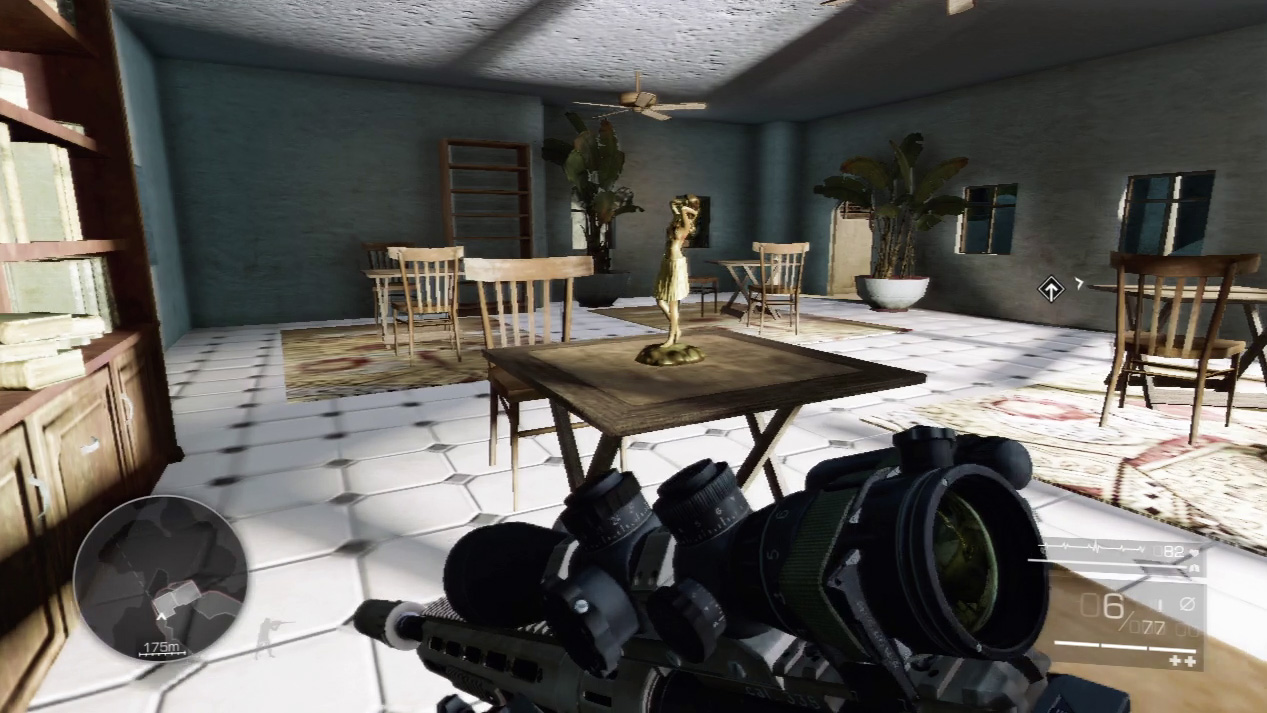
Descend the stairs and look for the structure with the white curtains to your right. Enter the curtains and you’ll discover the statue standing on a table inside the building.
Waypoint 11
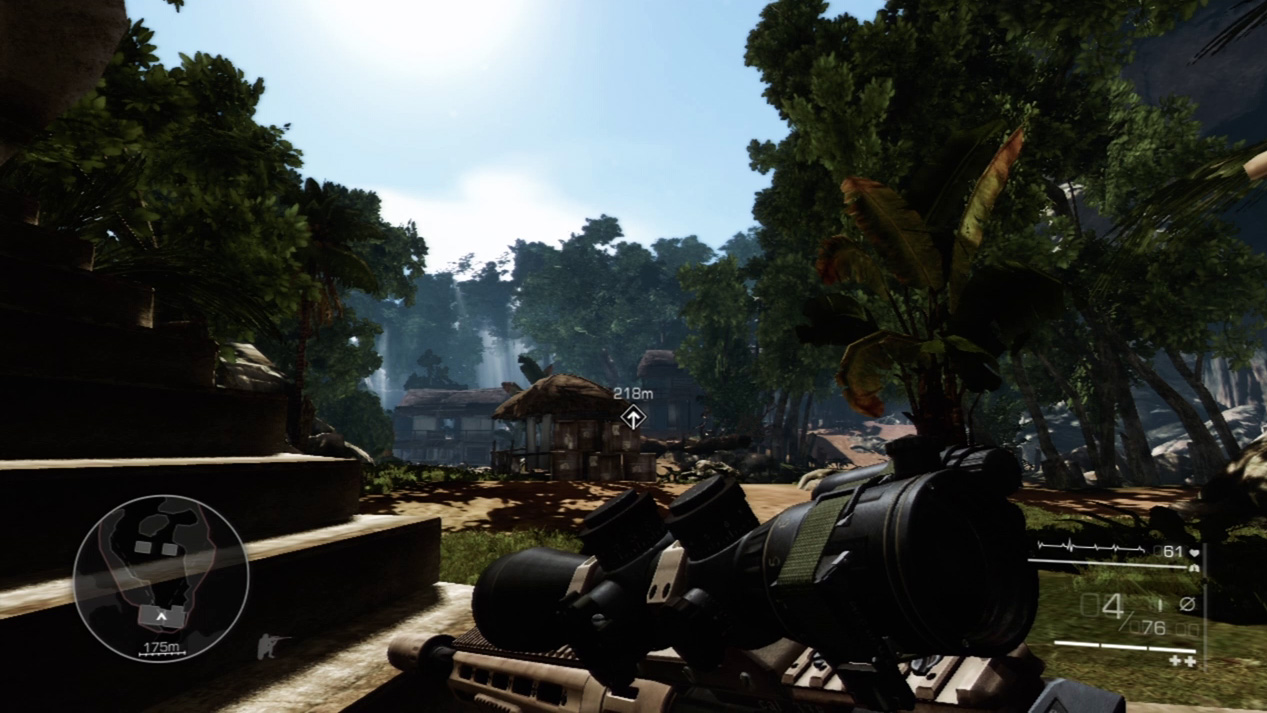
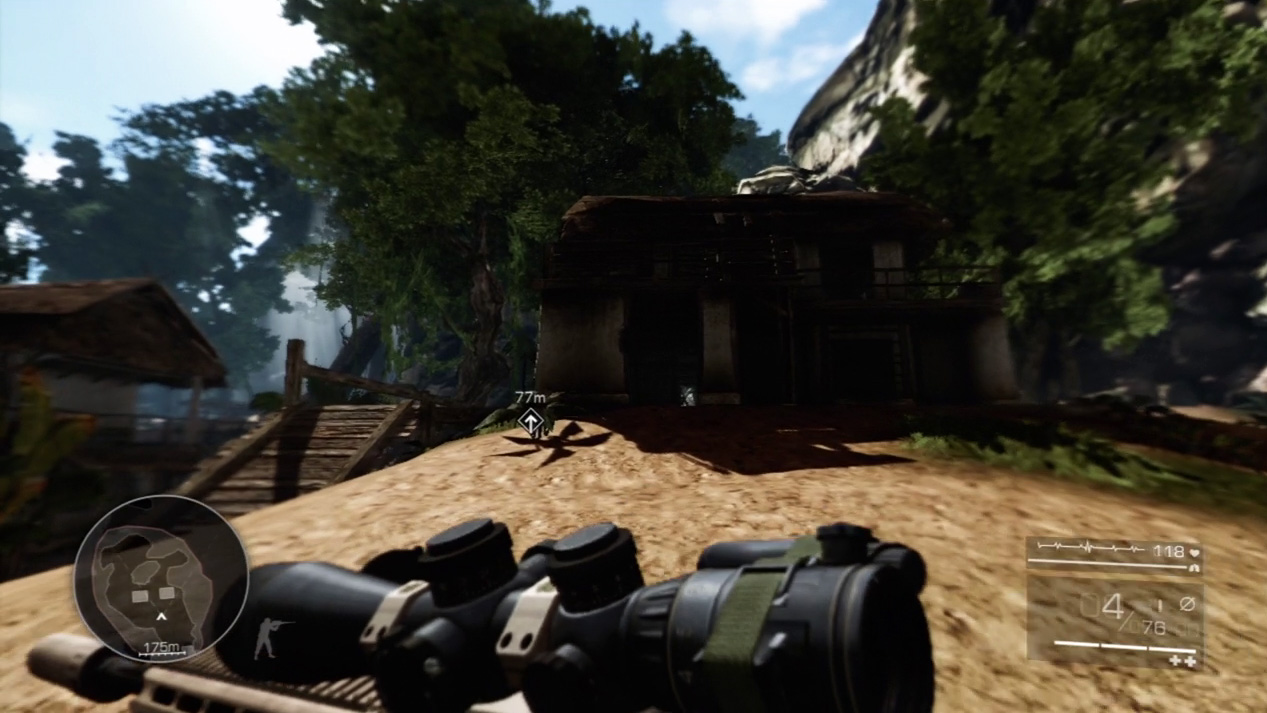
The way is clear to the top of the mountain and a premium sniper spot. Sprint up the hill with all haste.
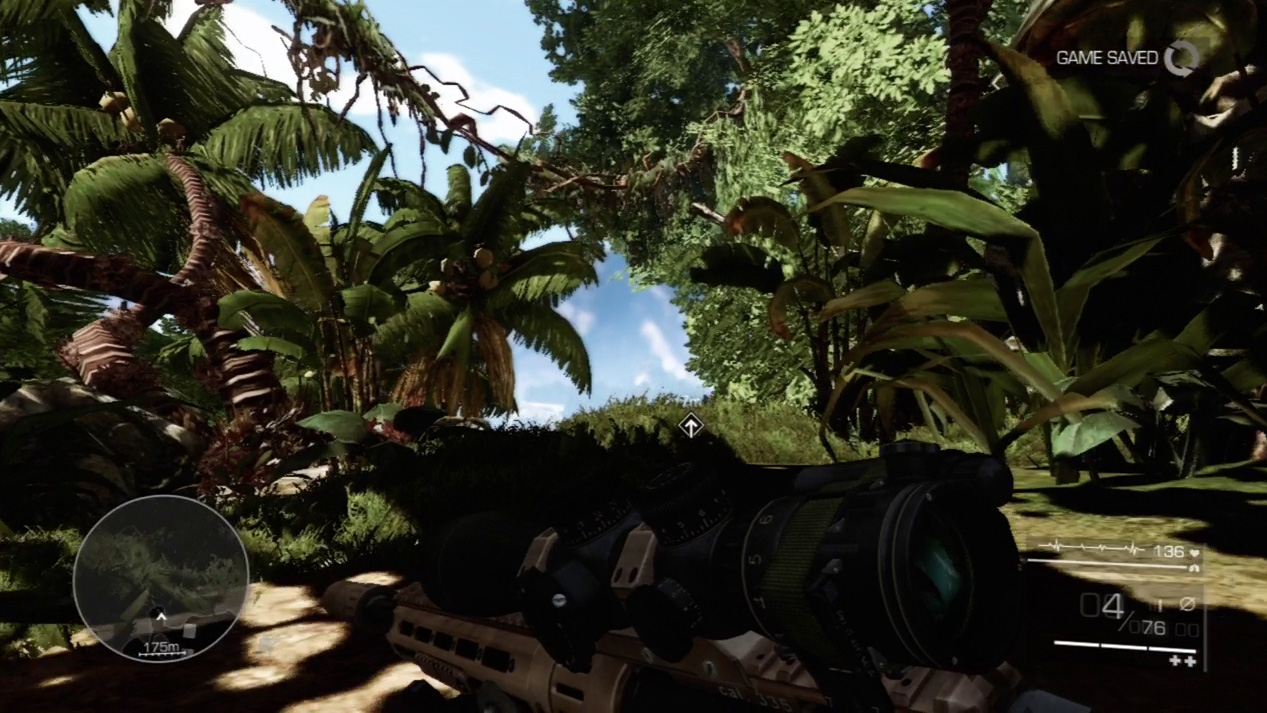
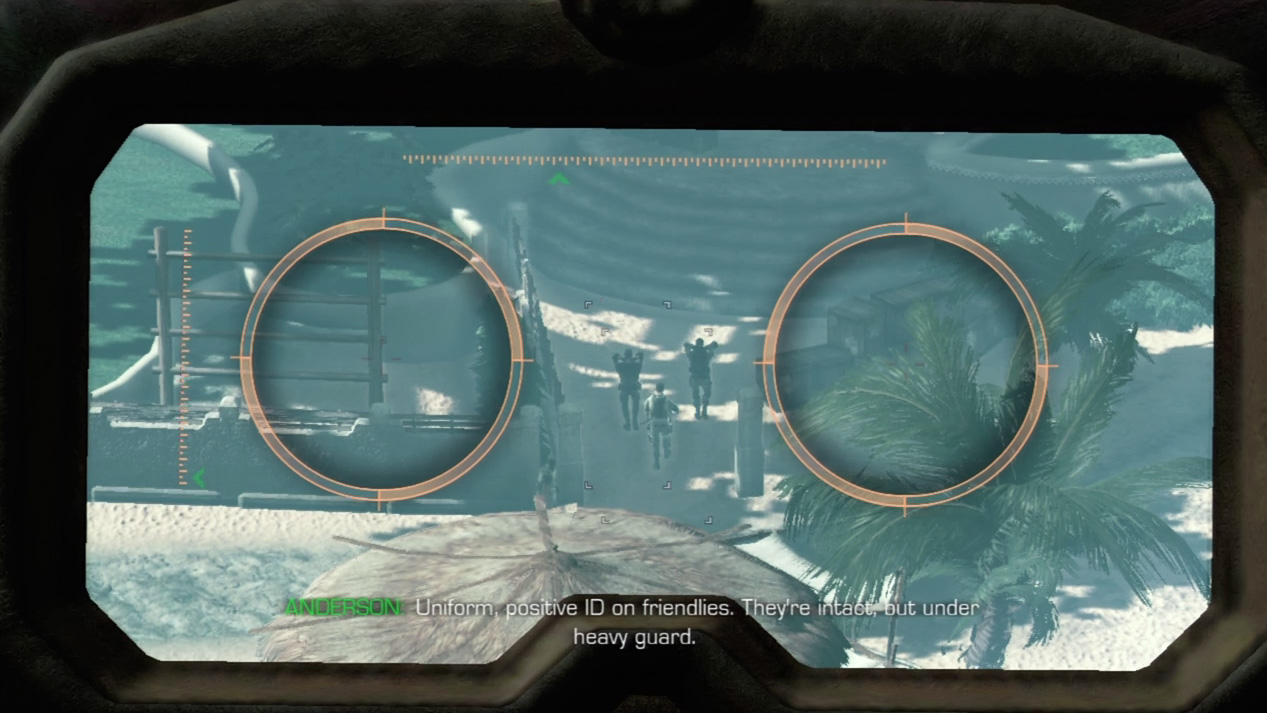
When you reach the sniper spot, pull out the binoculars and survey the situation. Kalalo’s men have Diaz and Nichols, and the bio-agent has arrived on scene.
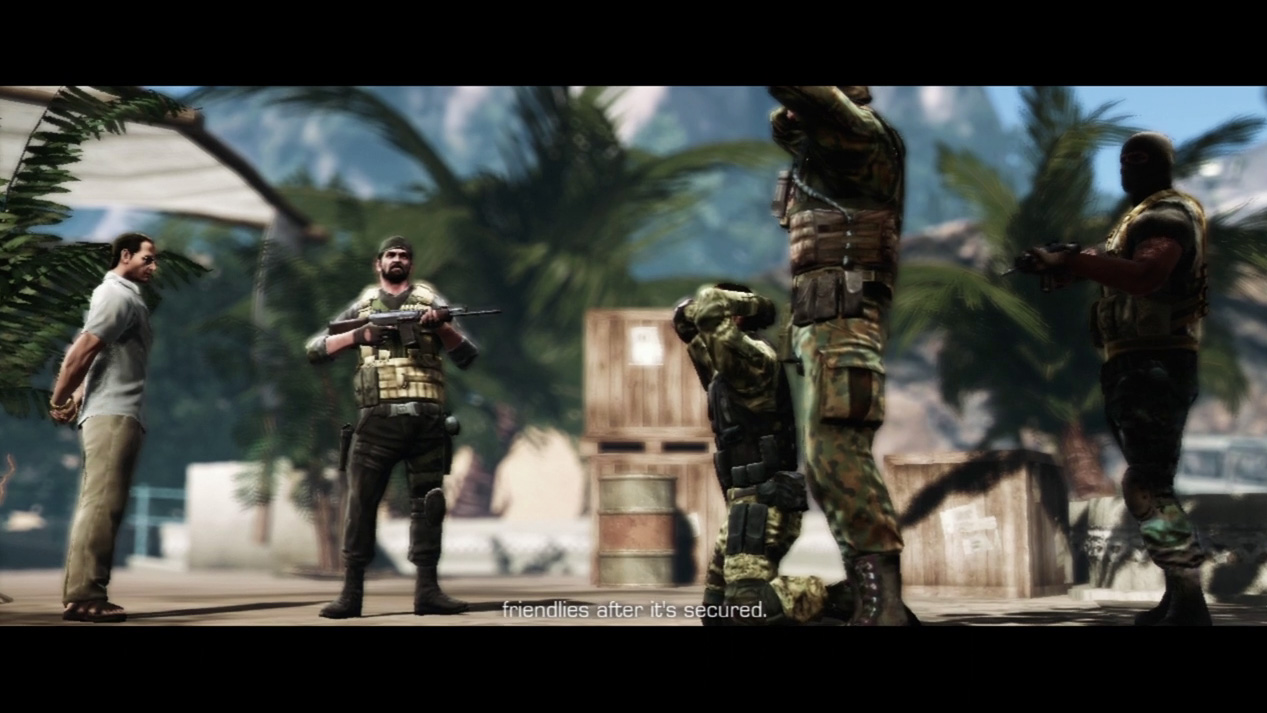
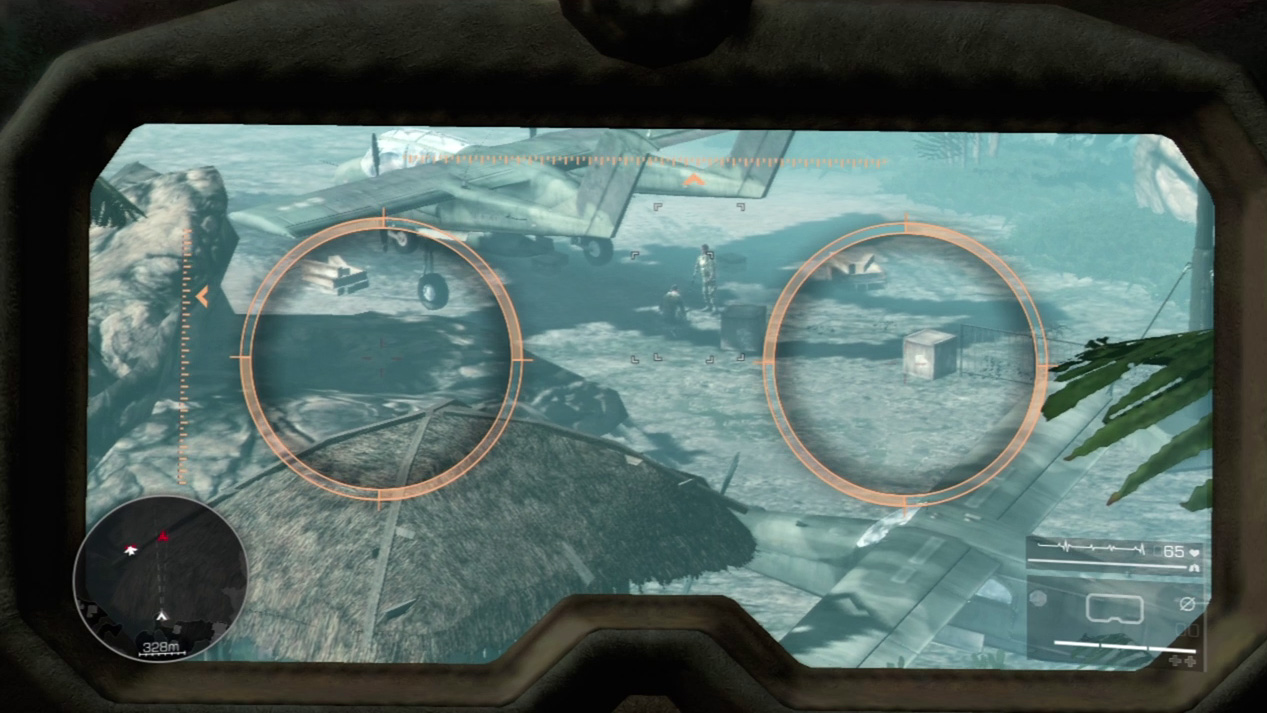
You have a big dilemma: rescue your companions or try to recover the bio-agent. General Wheeler orders you after the bio-agent, but you have other plans. Before you can save both of your companions, however, they execute Nichols.
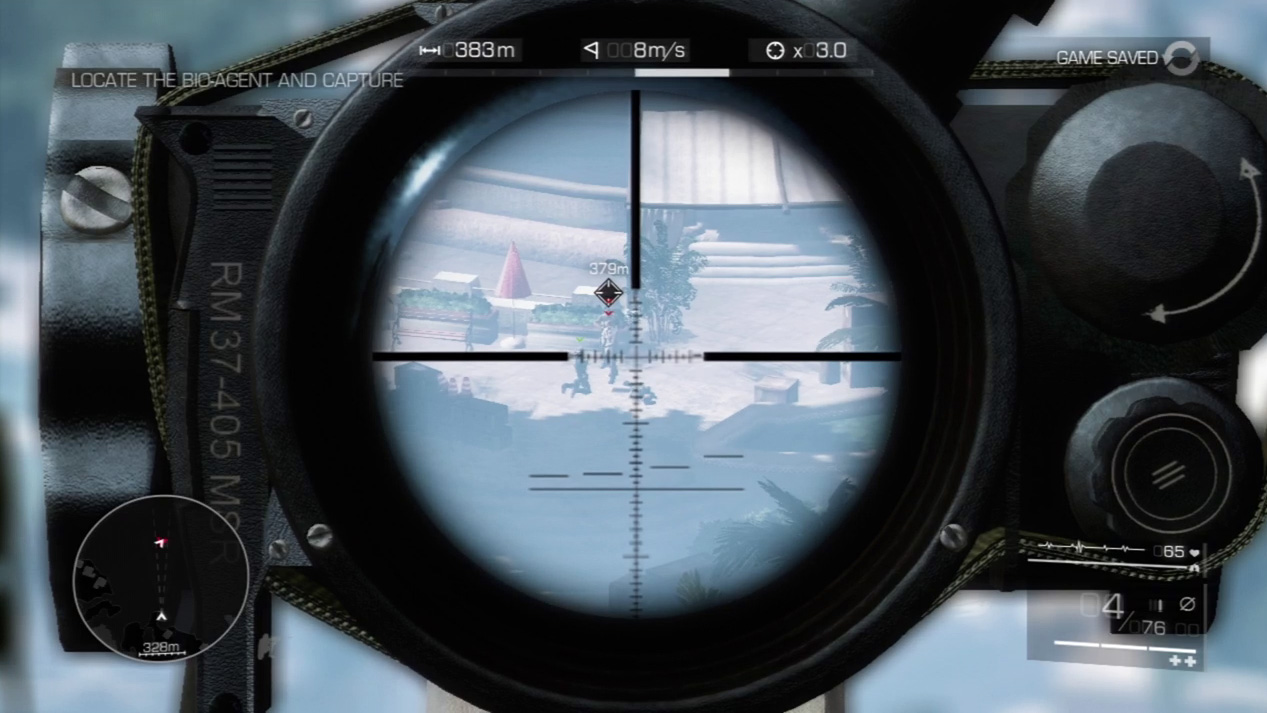
You choose to save Diaz. Zoom in immediately on the two enemies about to execute Diaz. You have only a few seconds to save him.
Expert Mode
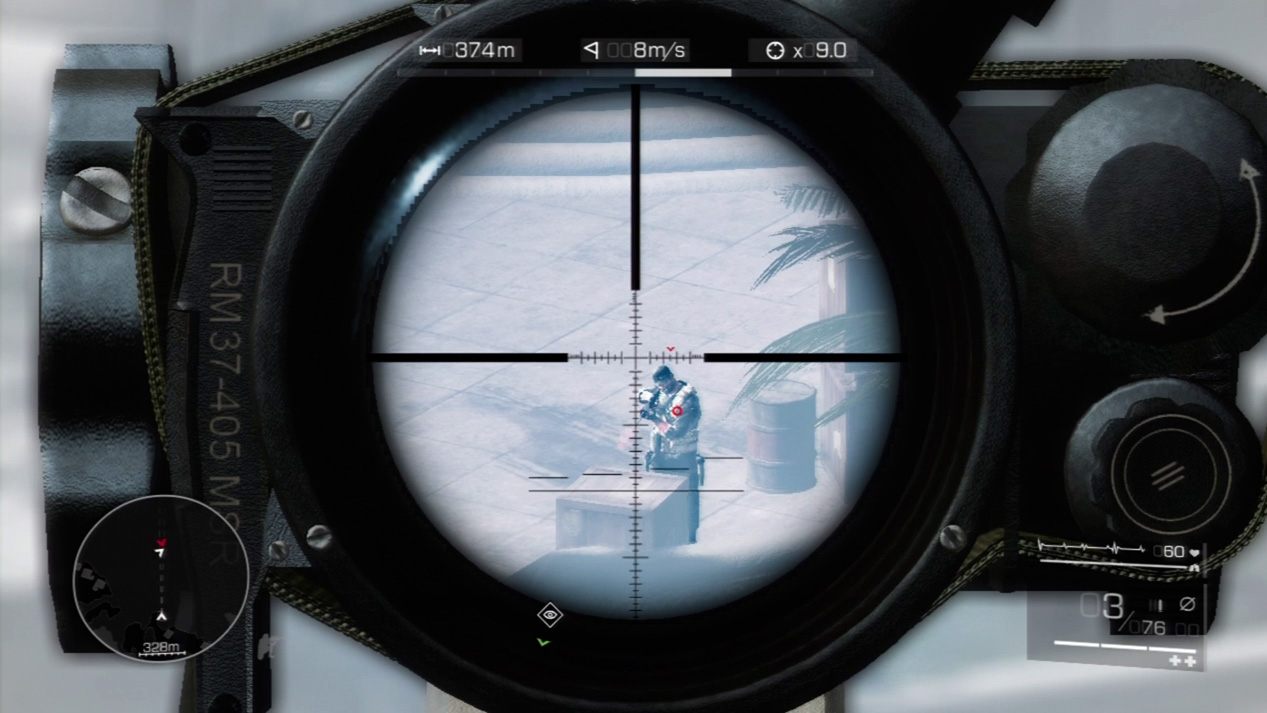
- Distance: Approximately 375 meters
- Wind: 8 meters/second (blowing right)
- Magnification: 9x
You will have to do some rapid-fire sniping to save Diaz’s butt at the enemy airfield. Distance and wind are factors. The distance pushes the bullet down almost seven reticle lines on the vertical axis. The wind slides your bullet approximately five reticle lines on the horizontal axis. It’s not as crucial here to be precise as it is to get shots off quickly and prevent the enemy from gunning down Diaz.
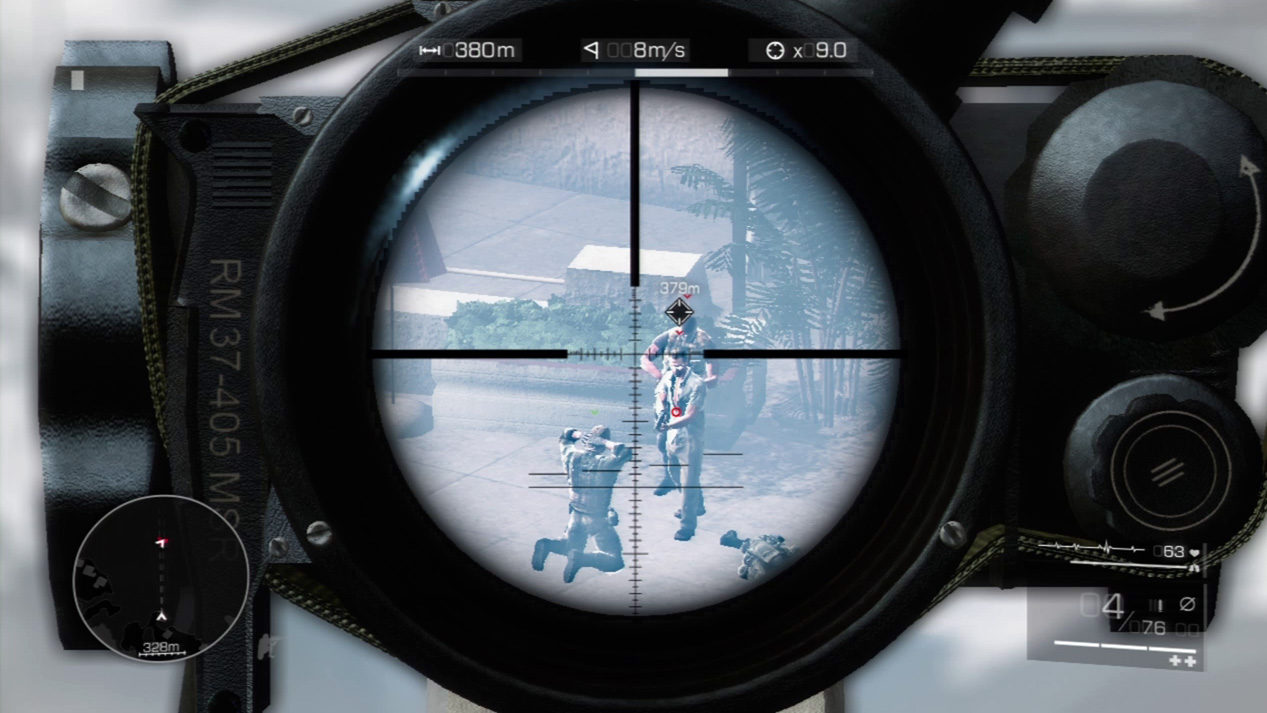
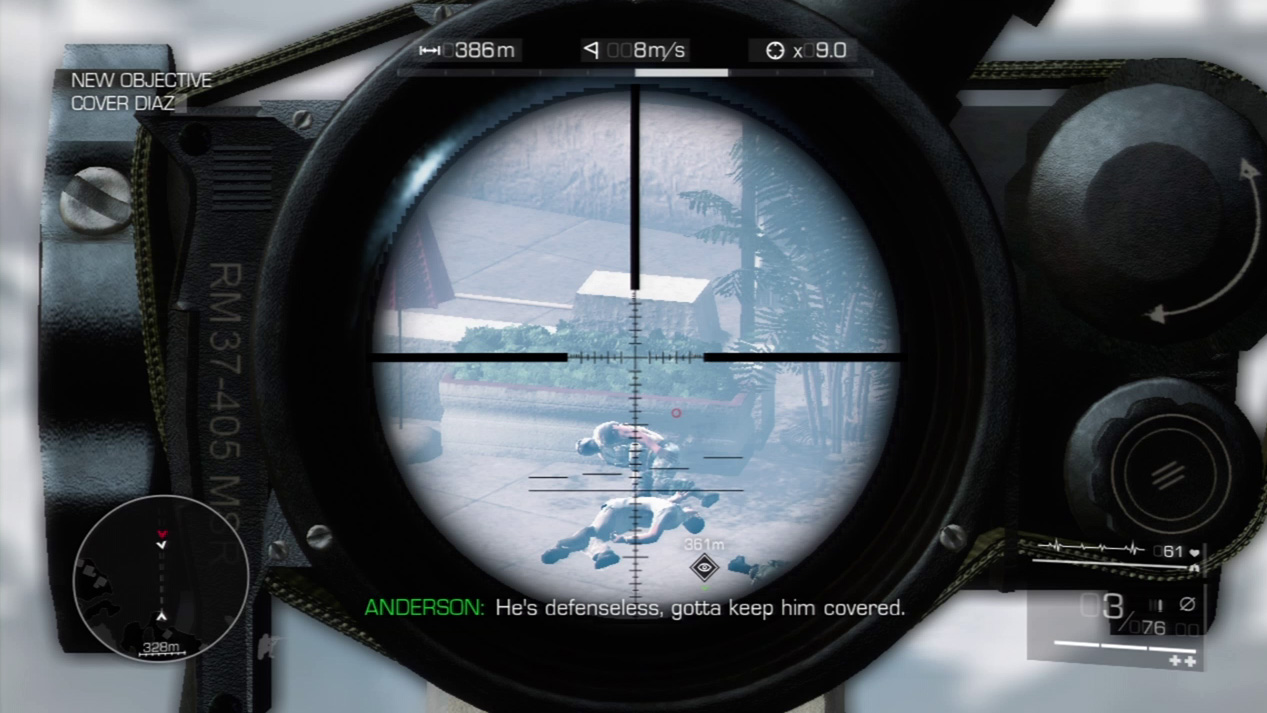
You just have enough time to wait for the Hit Indicator to appear and then fire on the enemies holding Diaz. Make sure you hit with your first bullet. Even better, if you can line up a double-kill shot, go for it. If you take out only one enemy with the first bullet, don’t waste any time downing the second enemy immediately thereafter.
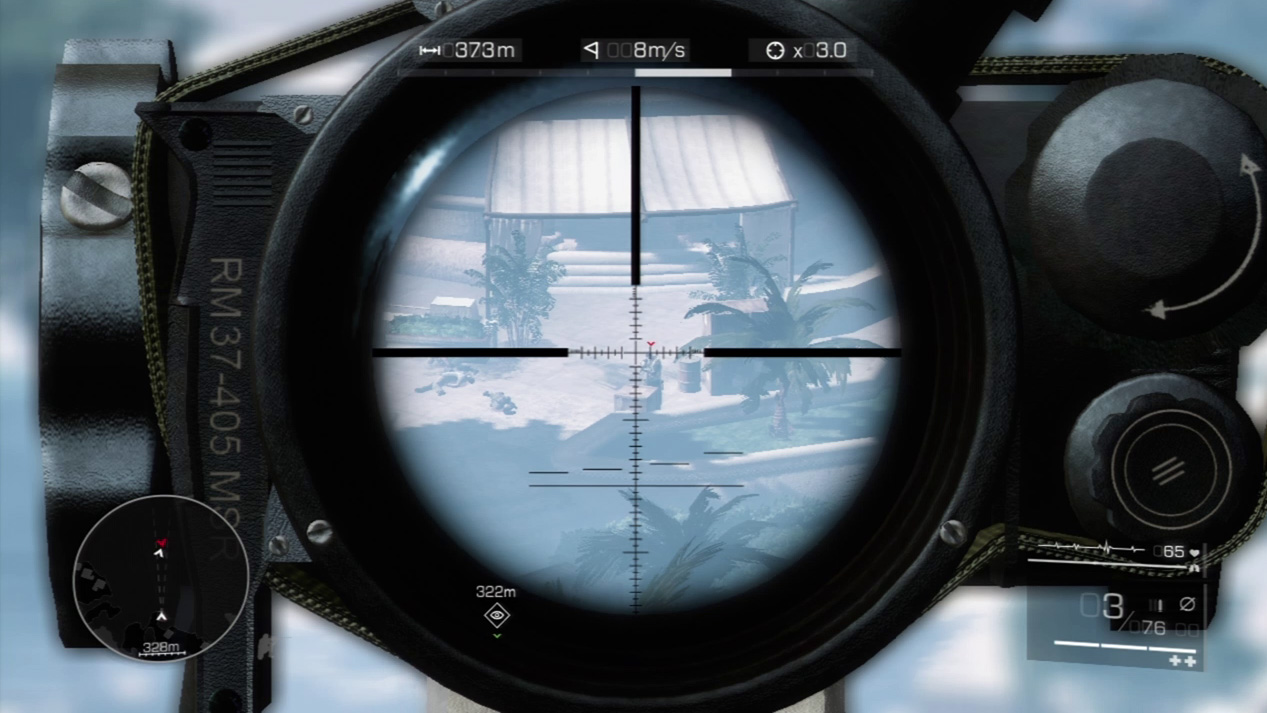
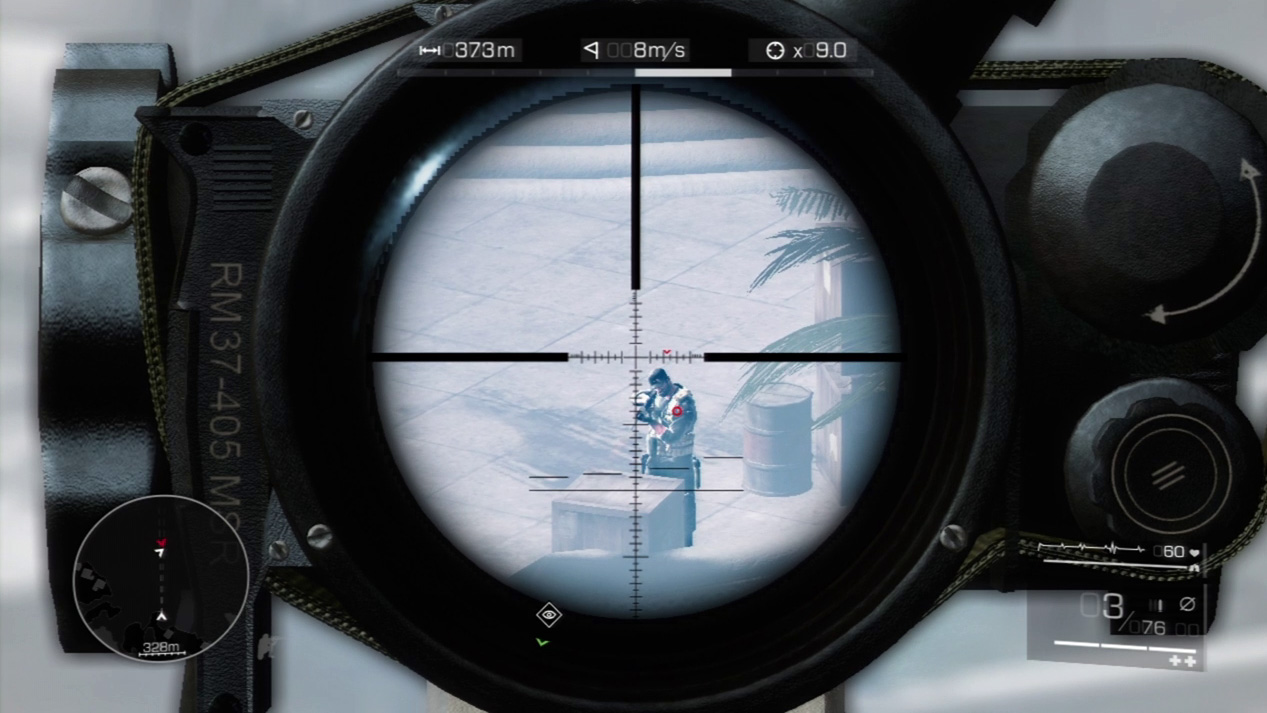
As the enemies assault Diaz, zoom in on them and pick them off. Diaz has no weapon yet, so you must kill the enemies when they appear or Diaz dies.
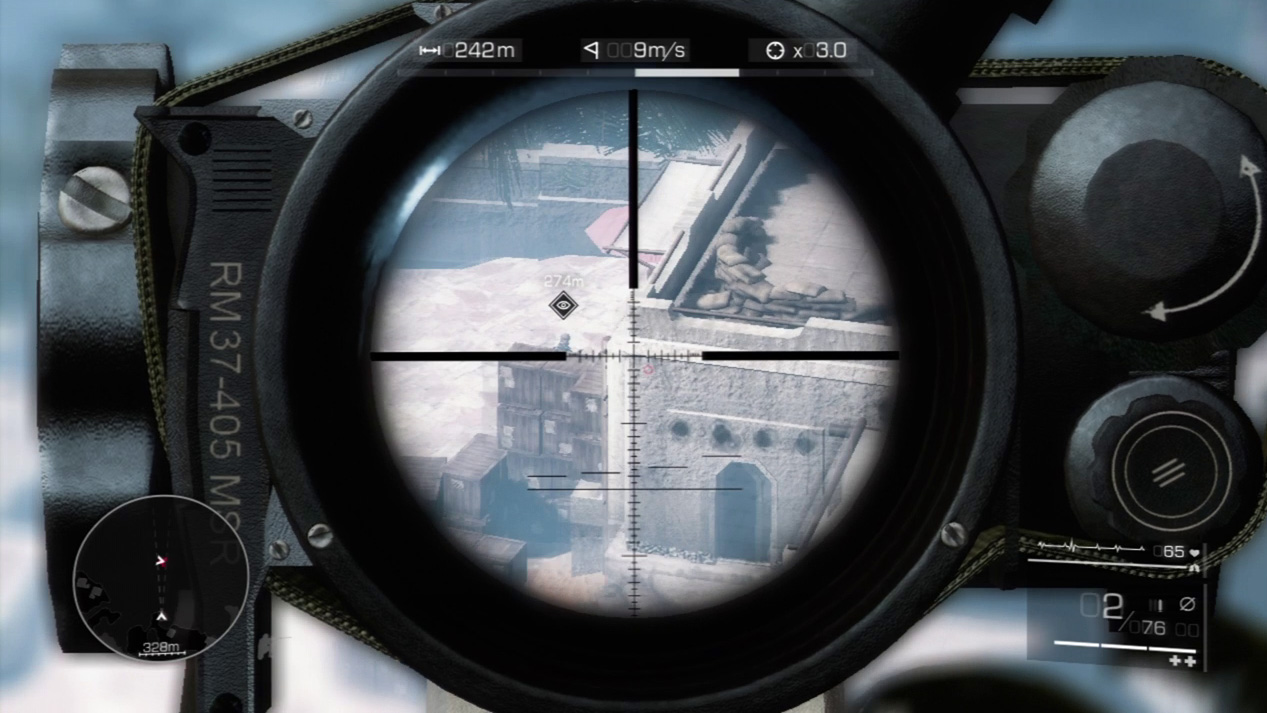
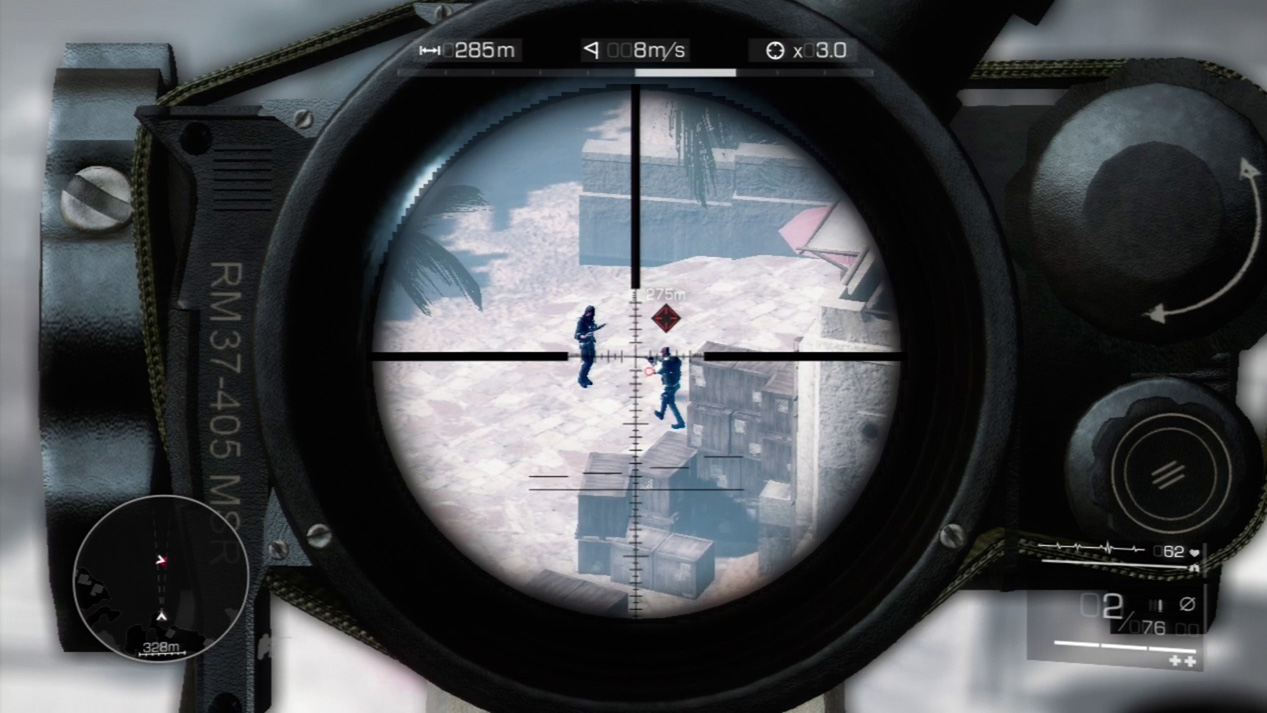
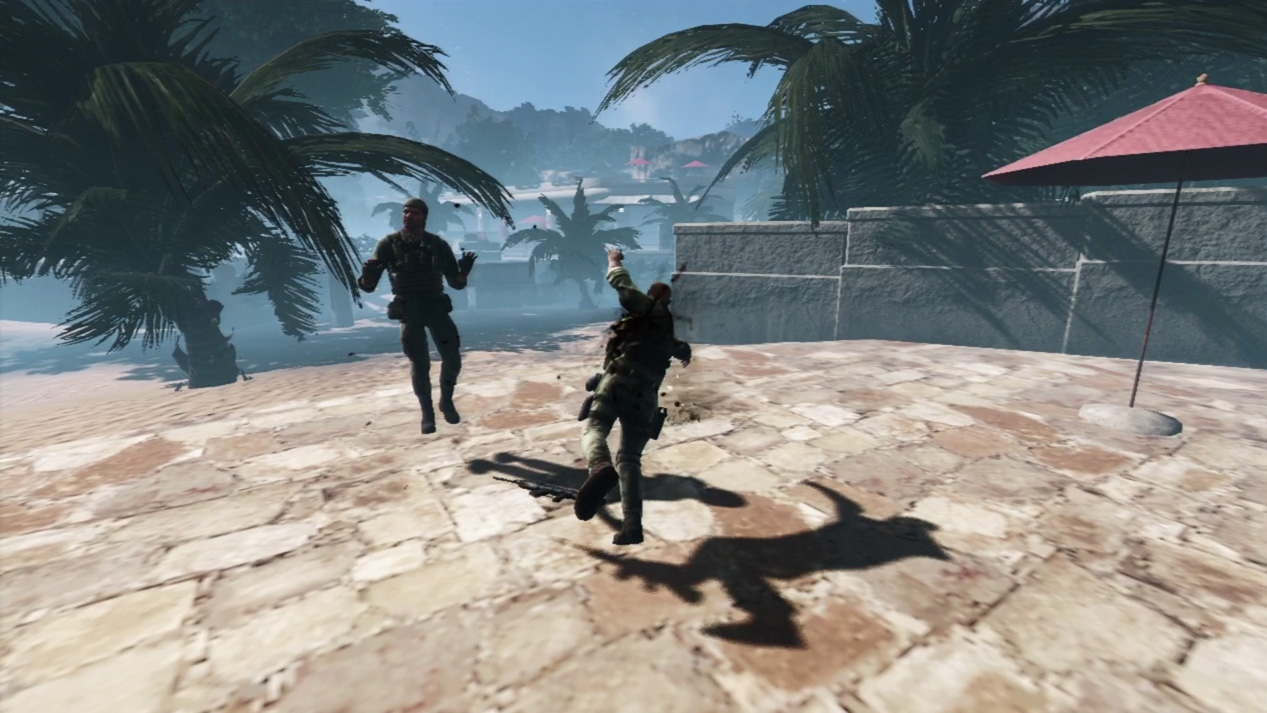
Diaz tries to duck in the nearby building and runs into an enemy at point-blank range. Hands up, Diaz backs out of the doorway and gives you just enough space to send a shot raining down on the unsuspecting aggressor. If you miss, it’s all over for Diaz.
Waypoint 12
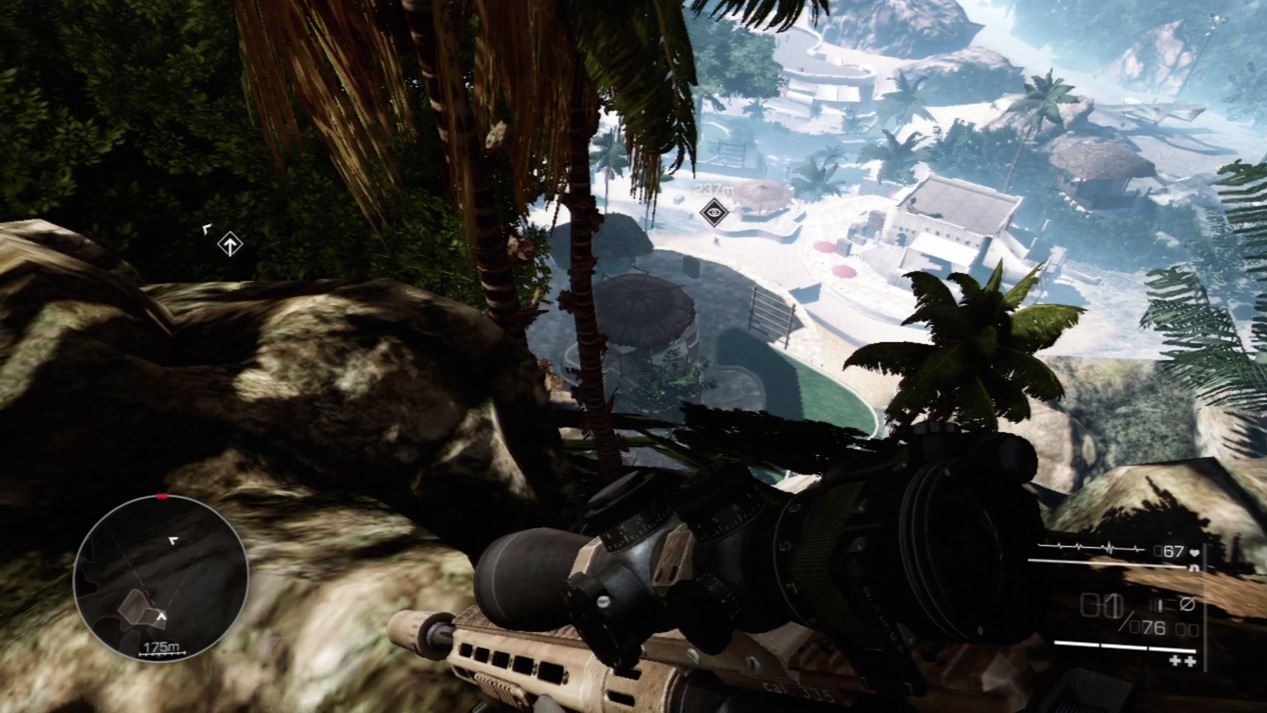
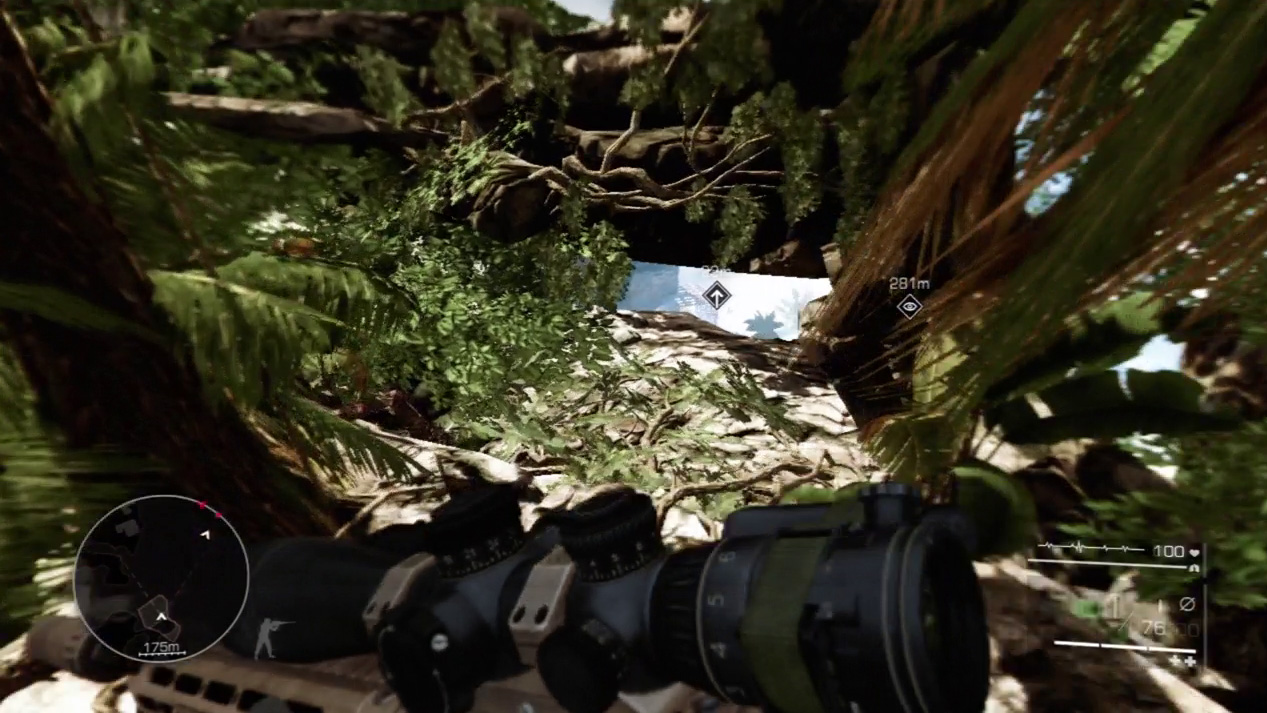
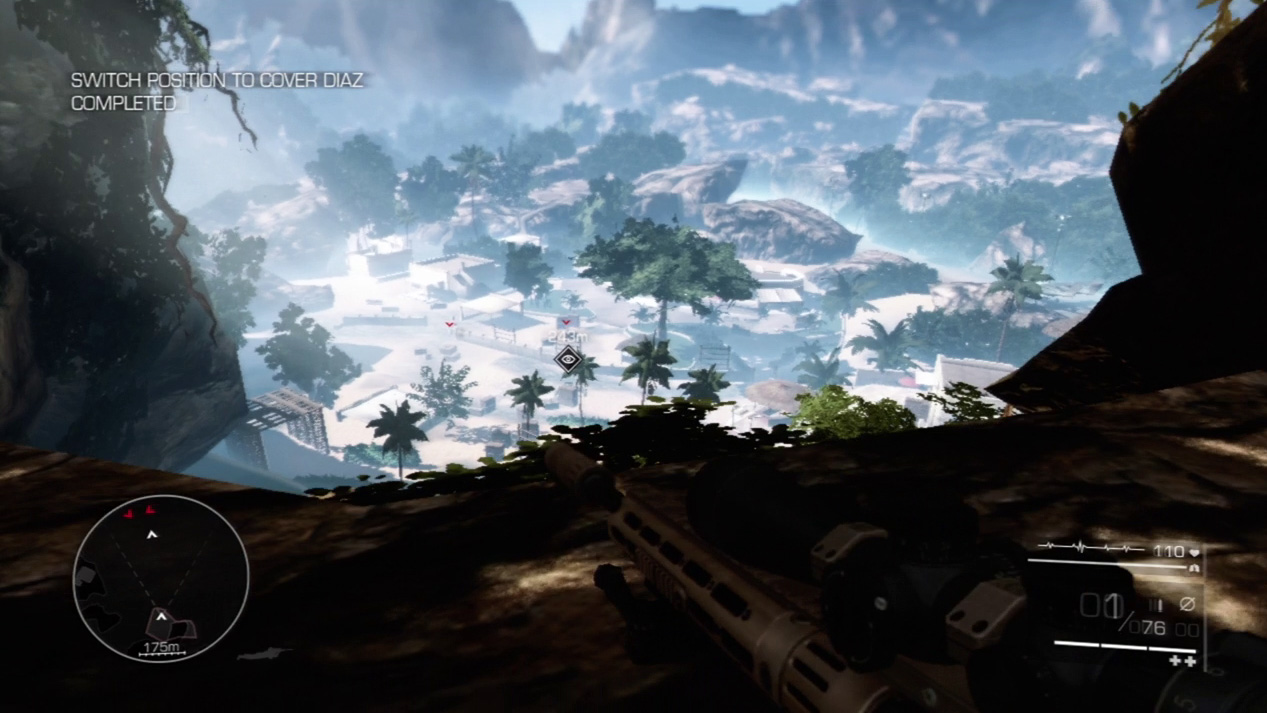
Diaz finally grabs a weapon, but to cover him as he crosses the airstrip complex, you must switch to another sniping spot farther down along the ledge.
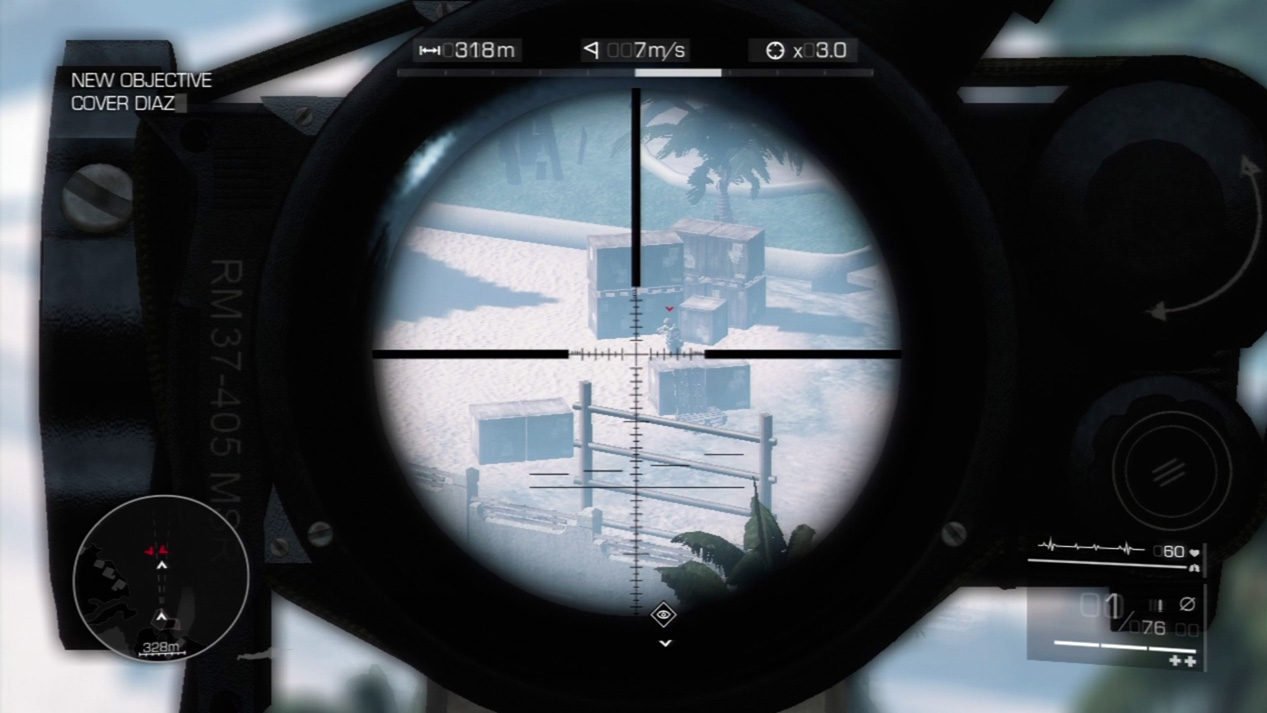
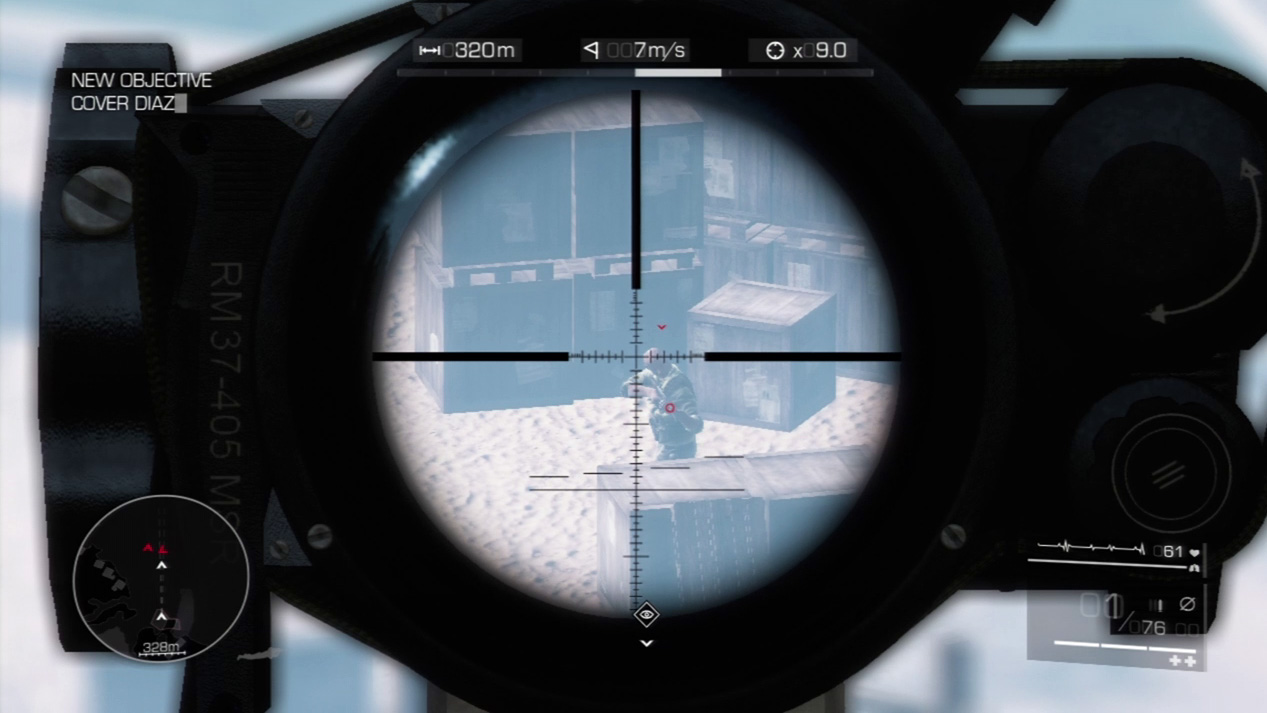
Cover Diaz again from your new vantage point. Despite having a weapon, he’s seriously outgunned. As you spot each enemy, zoom in and kill him quickly.
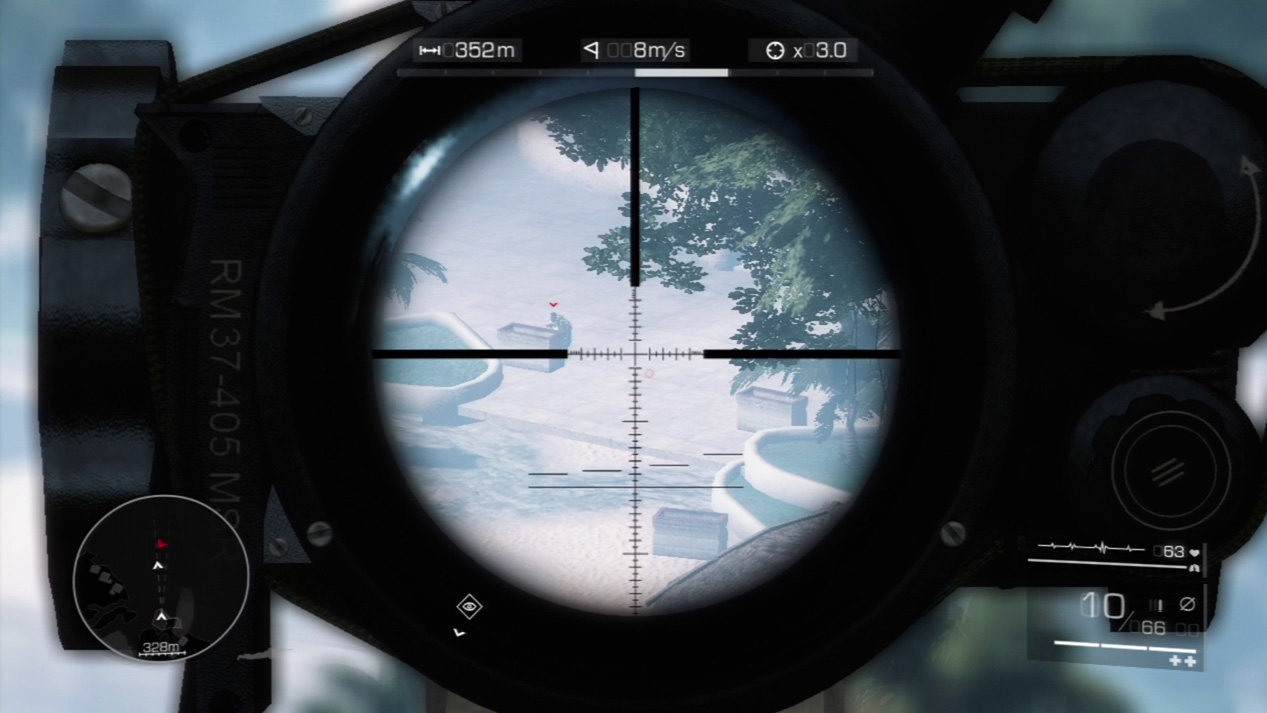
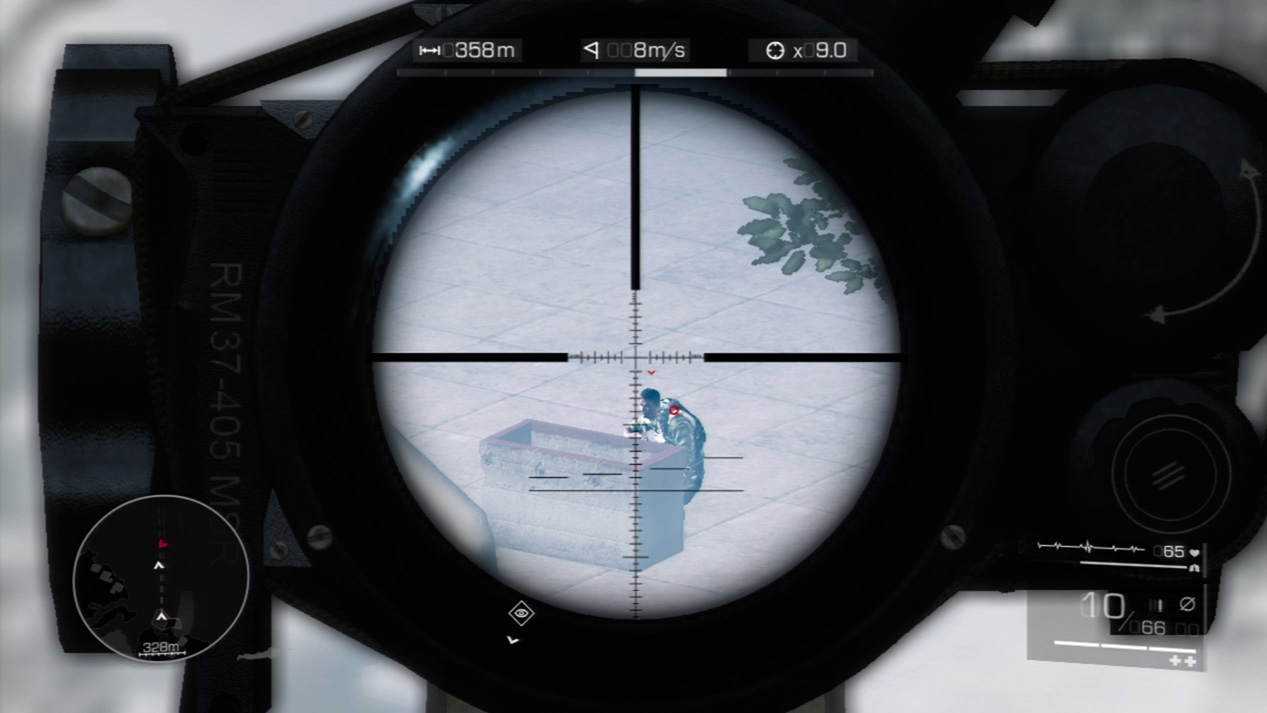
Continue to search around for enemies. They like to hide behind crates while they plug away at Diaz. Your sniping spot, though, gets around the cover effectively.
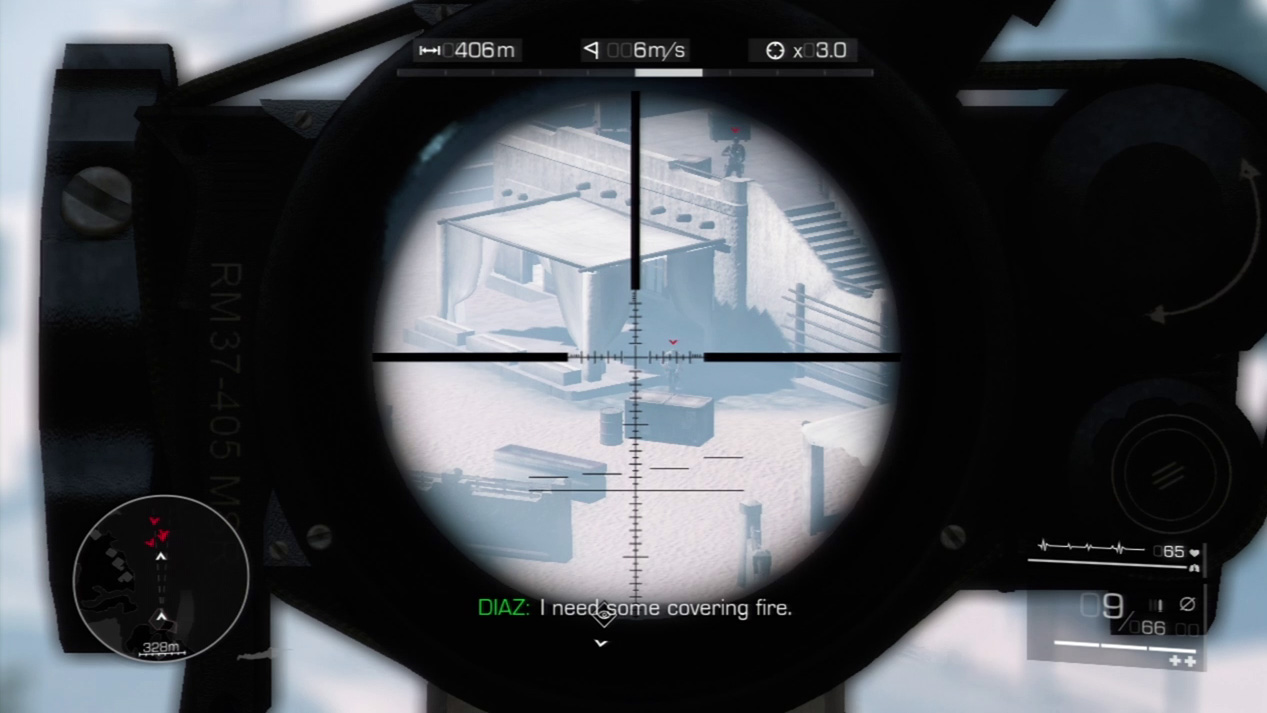
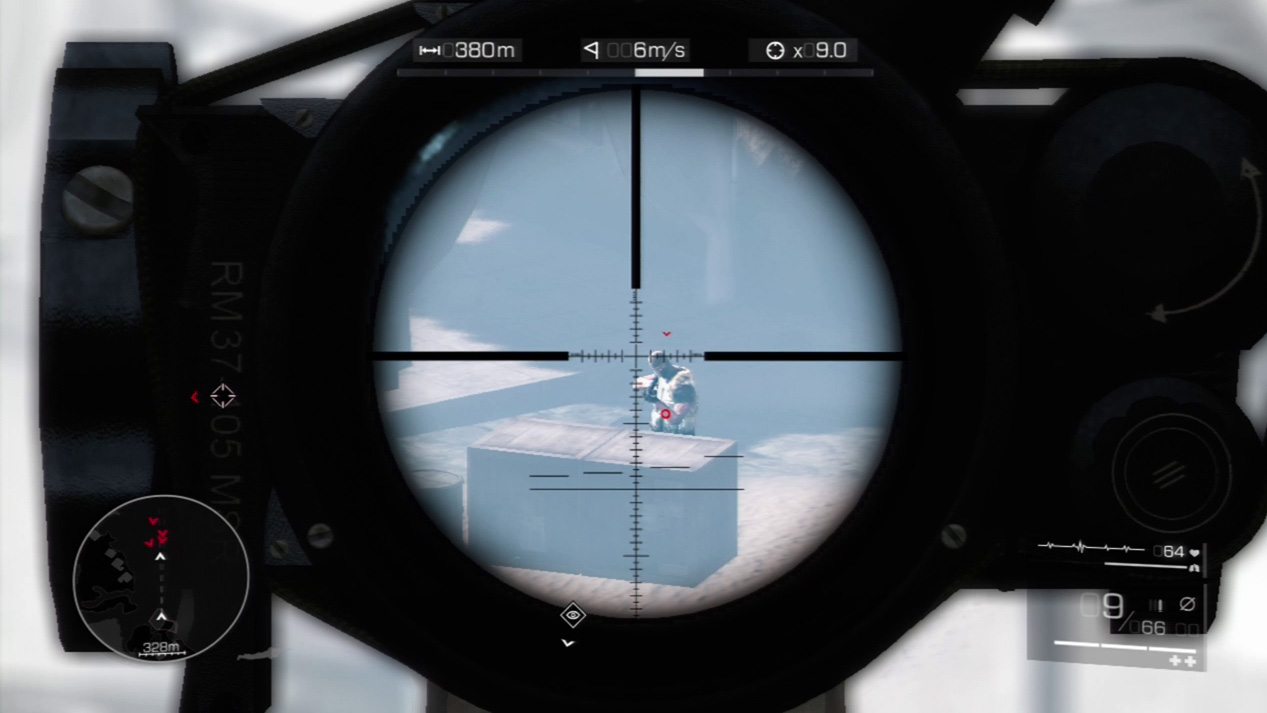
Don’t let the enemies overwhelm Diaz or the mission will end. It starts getting really dangerous by the time the third enemy shows up.
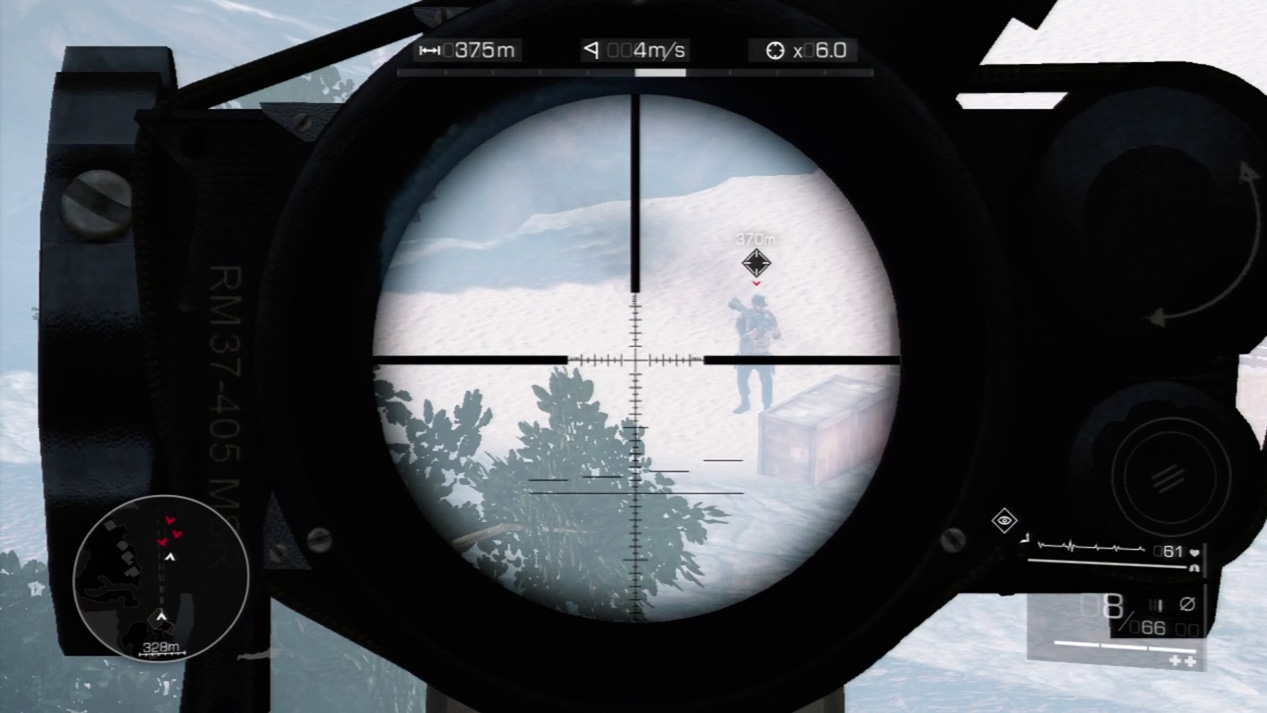
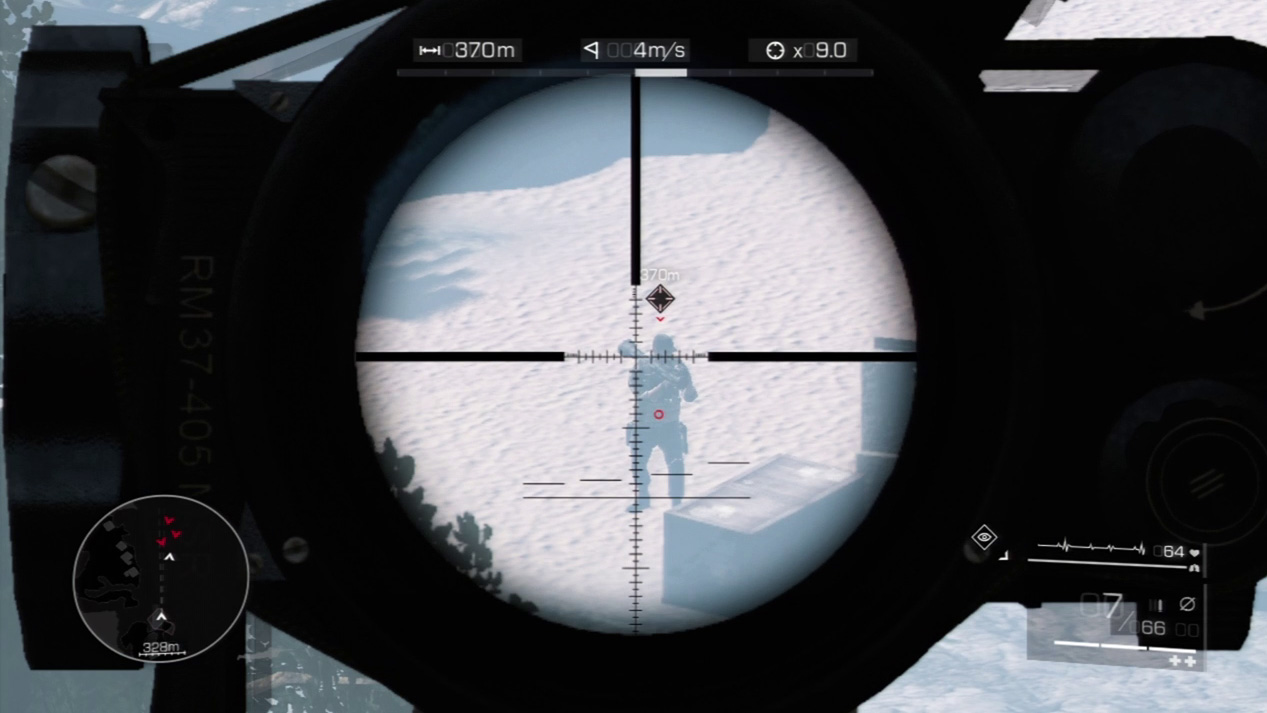
When Diaz calls out to you that he’s spotted an RPG, immediately turn your attention to the enemy holding the rocket launcher. A single blast from that will blow up Diaz and his cover even with a near miss.
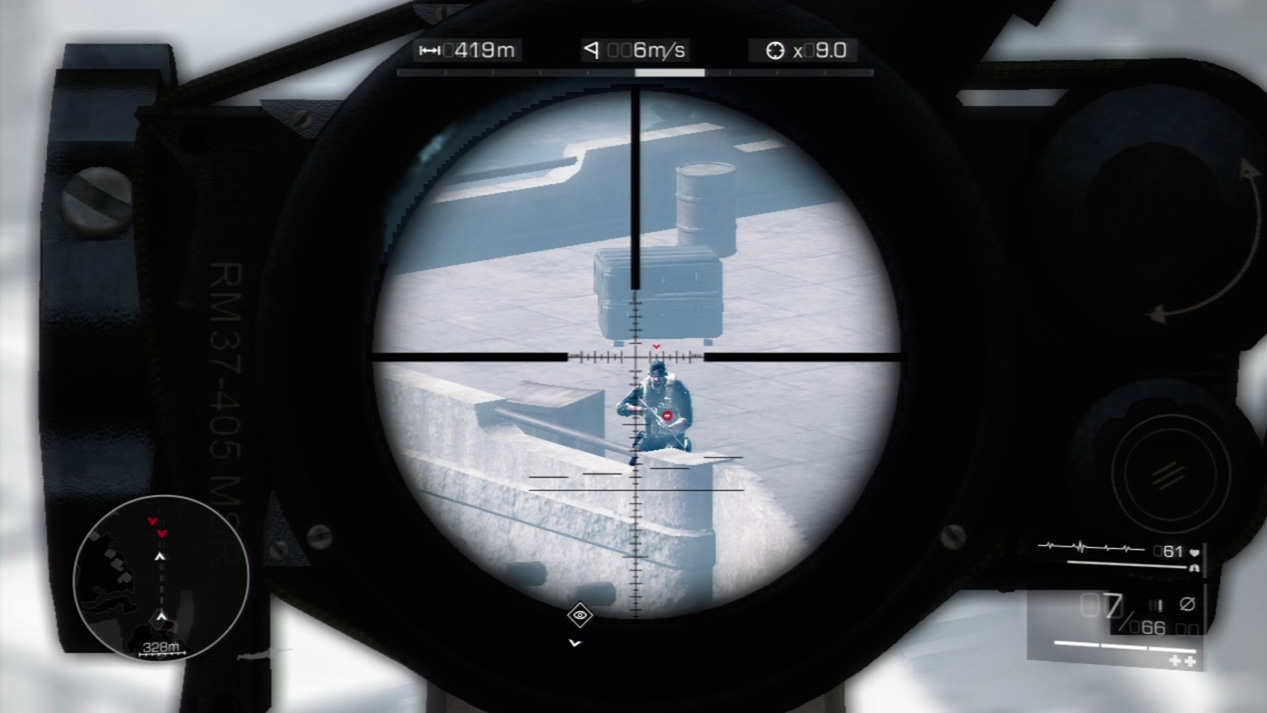
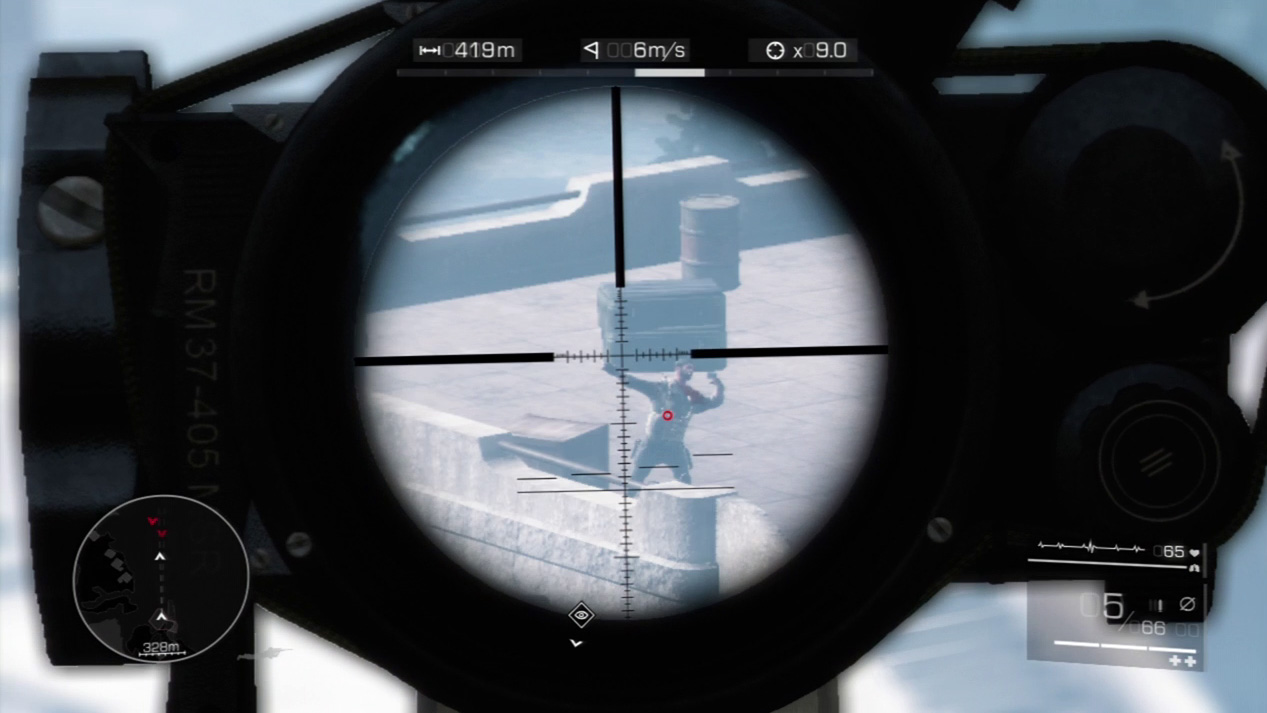
Gun down the farther enemies on the rooftops last. You can spot the first one at the corner with cover only on his lower extremities.
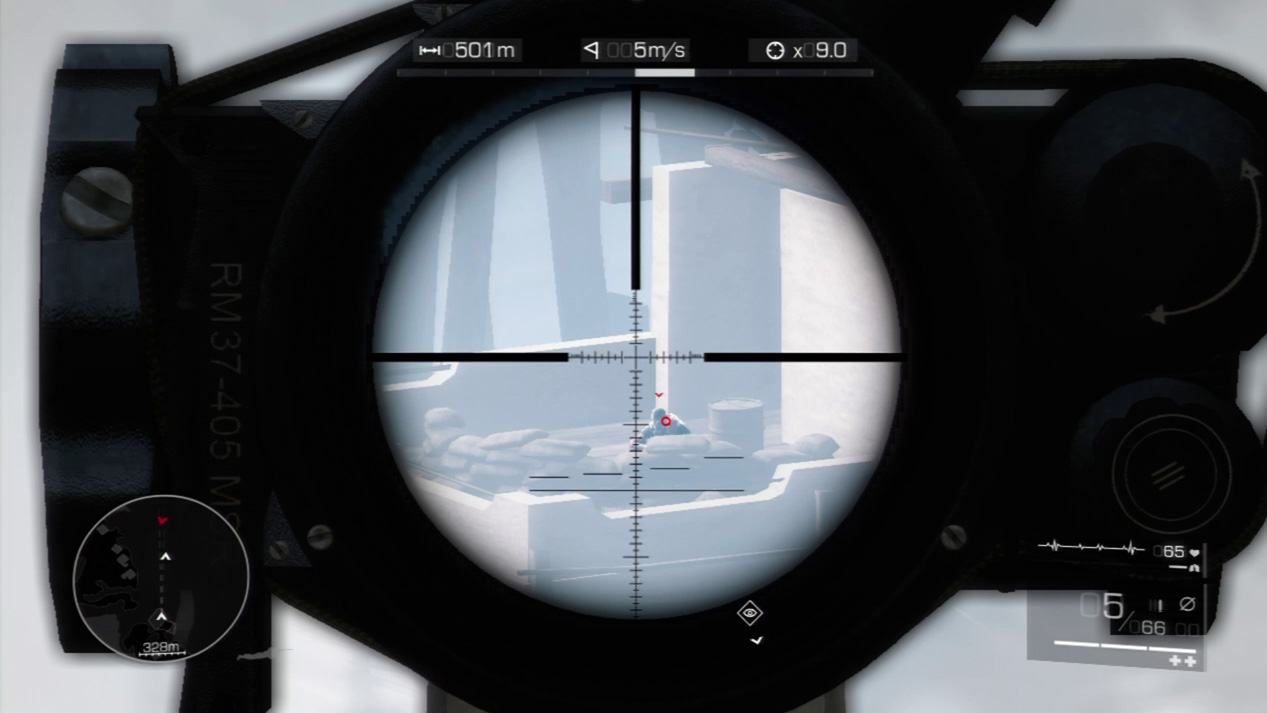

Send your final bullet in the skirmish at the enemy hiding behind the sandbags. With the last airfield enemy dead, Diaz can continue his escape attempt.
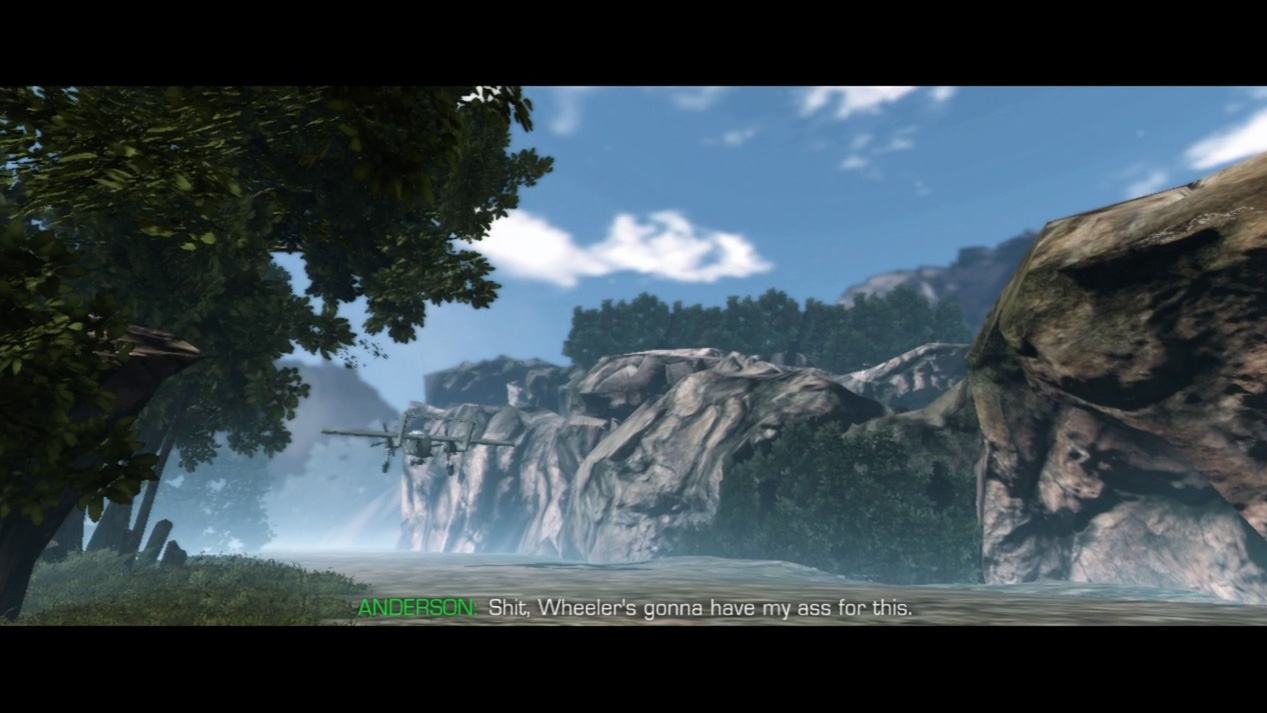
Unfortunately, the plane with the bio-agent gets away while you’re saving Diaz. The brass won’t be happy with your decision, and it will all be in vain if you don’t keep Diaz alive.
Waypoint 13
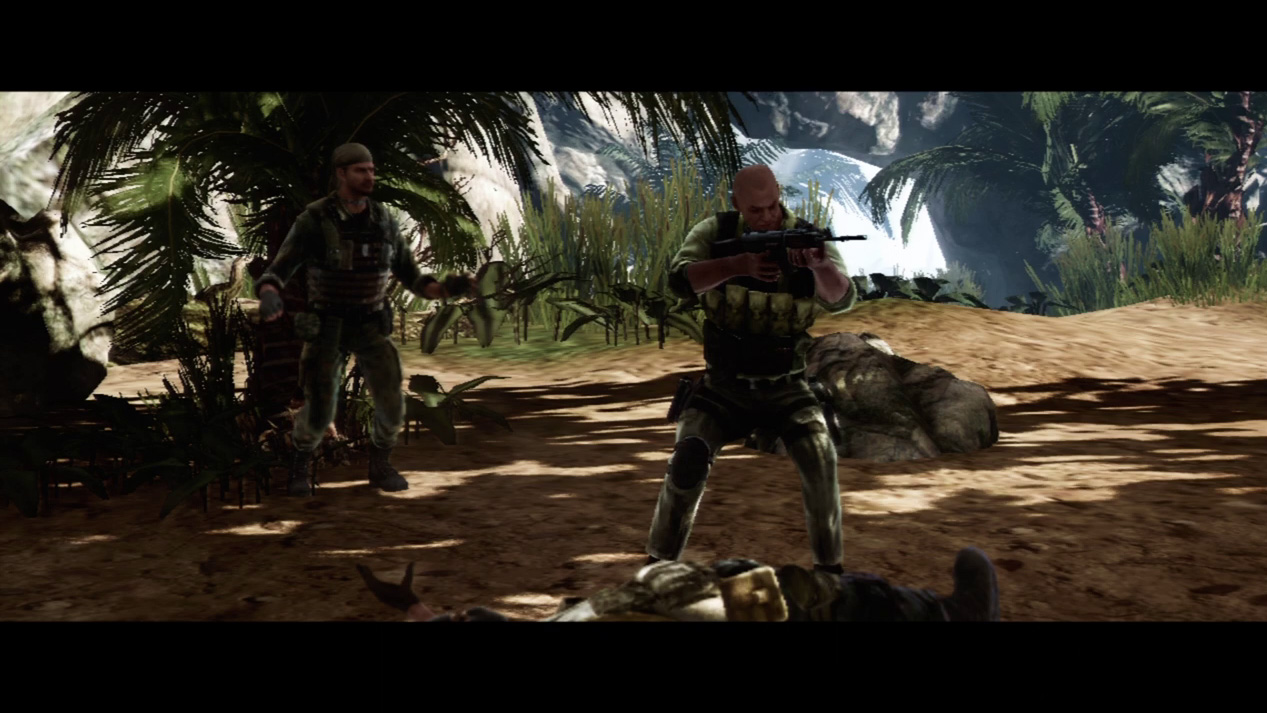
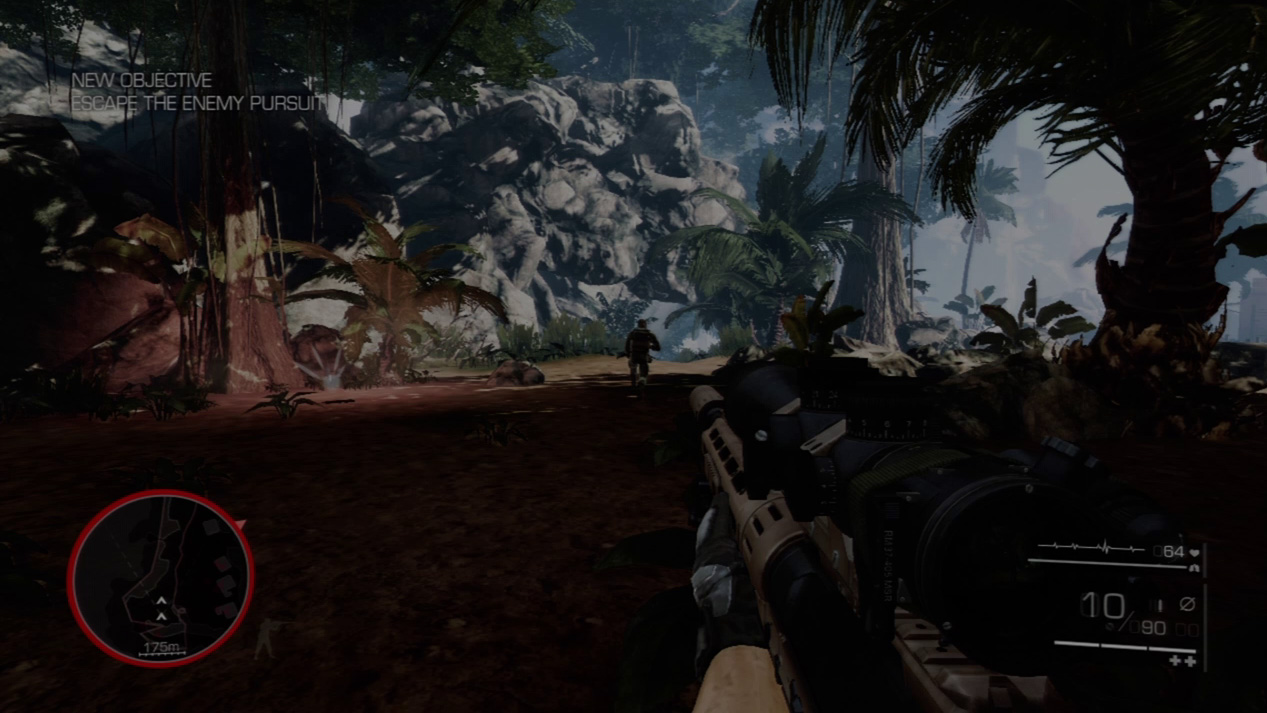
You finally rendezvous with Diaz down near the beach, but the enemy is in hot pursuit. To escape, you must sprint along the beach with bullets spraying all over.
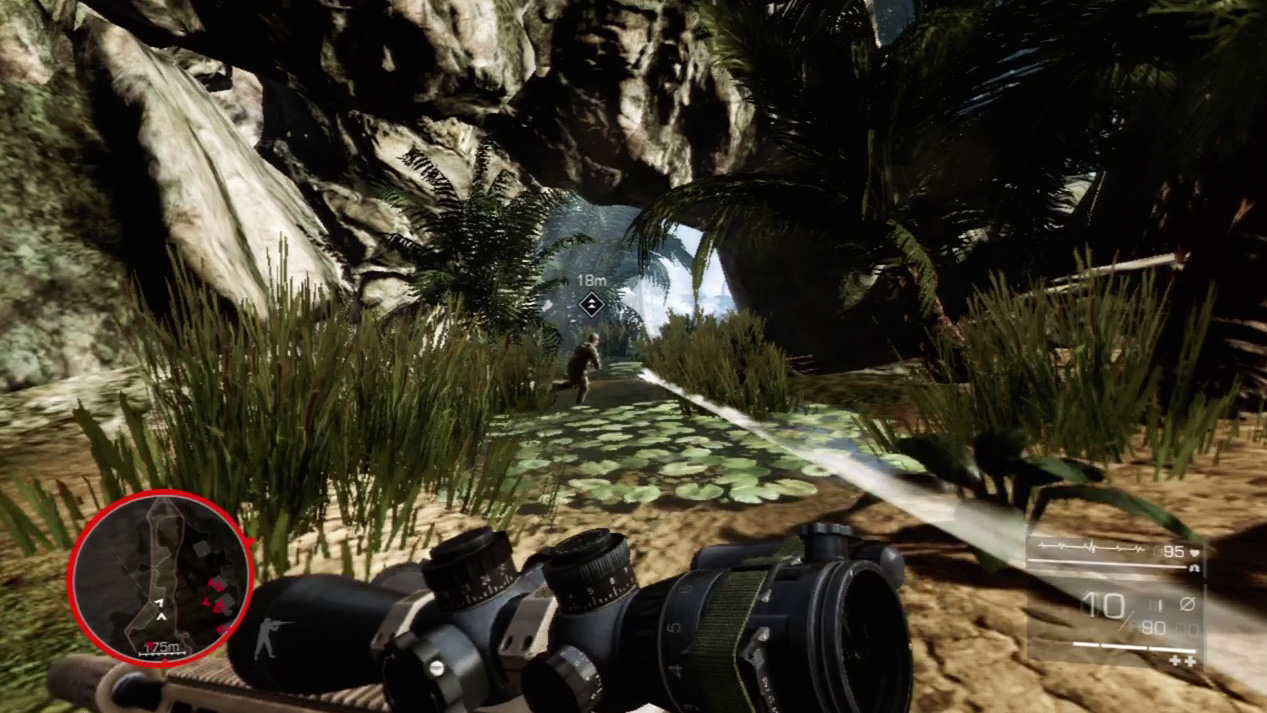
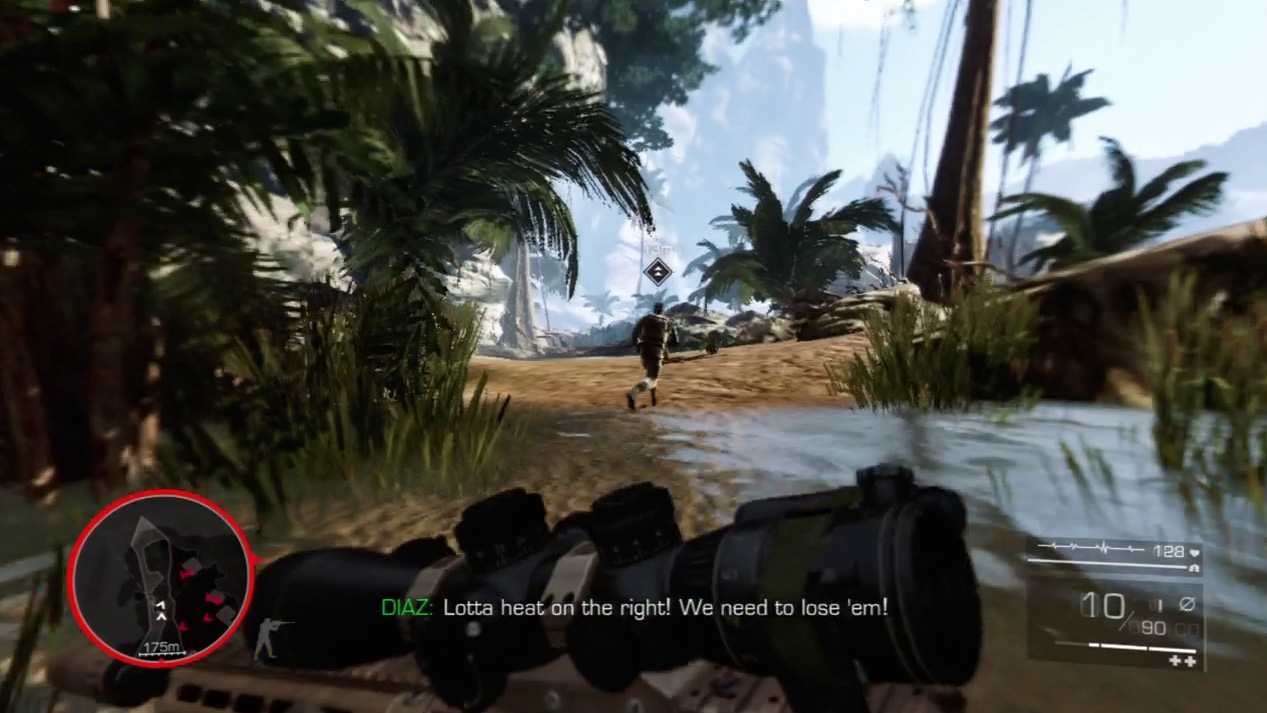
Follow Diaz at a full sprint. If you take a hit or two on the run, use a medkit to recover health right away.
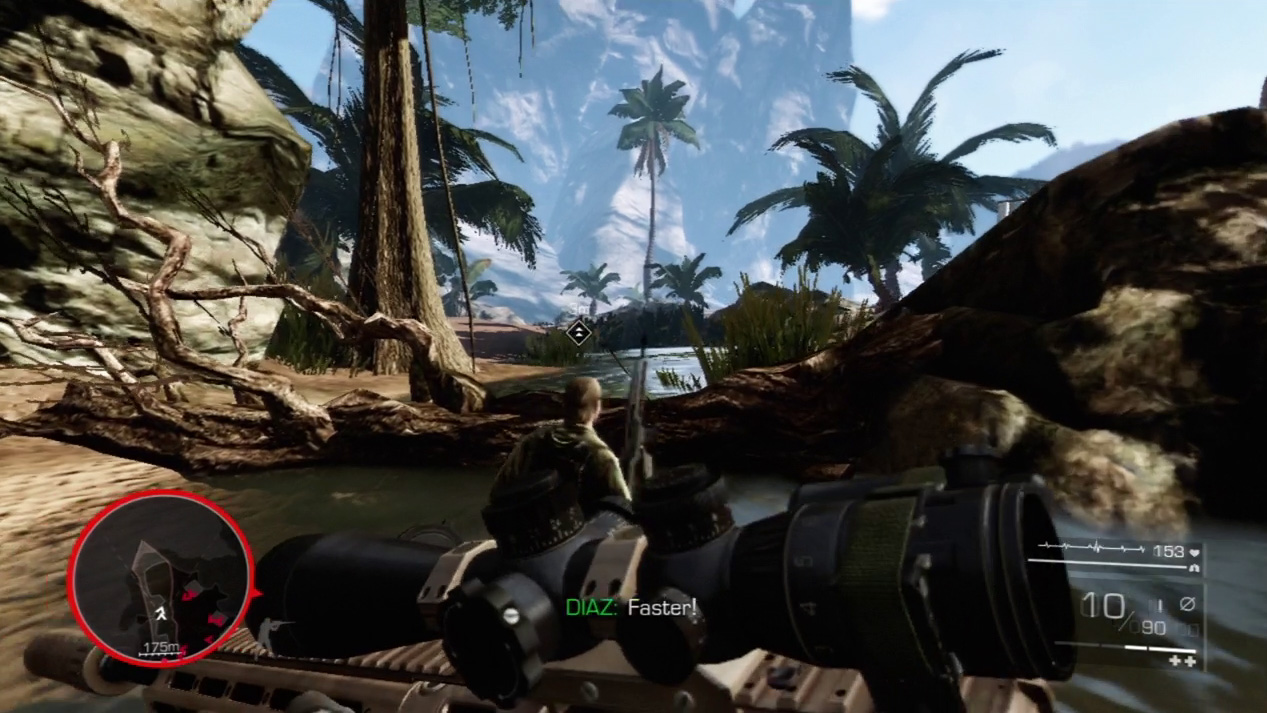
At the end of your escape attempt, you have to jump over fallen tree. Try to time the leap while in a full run. If you don’t clear the log and get stuck, the enemies behind you and to the right will gun you down.
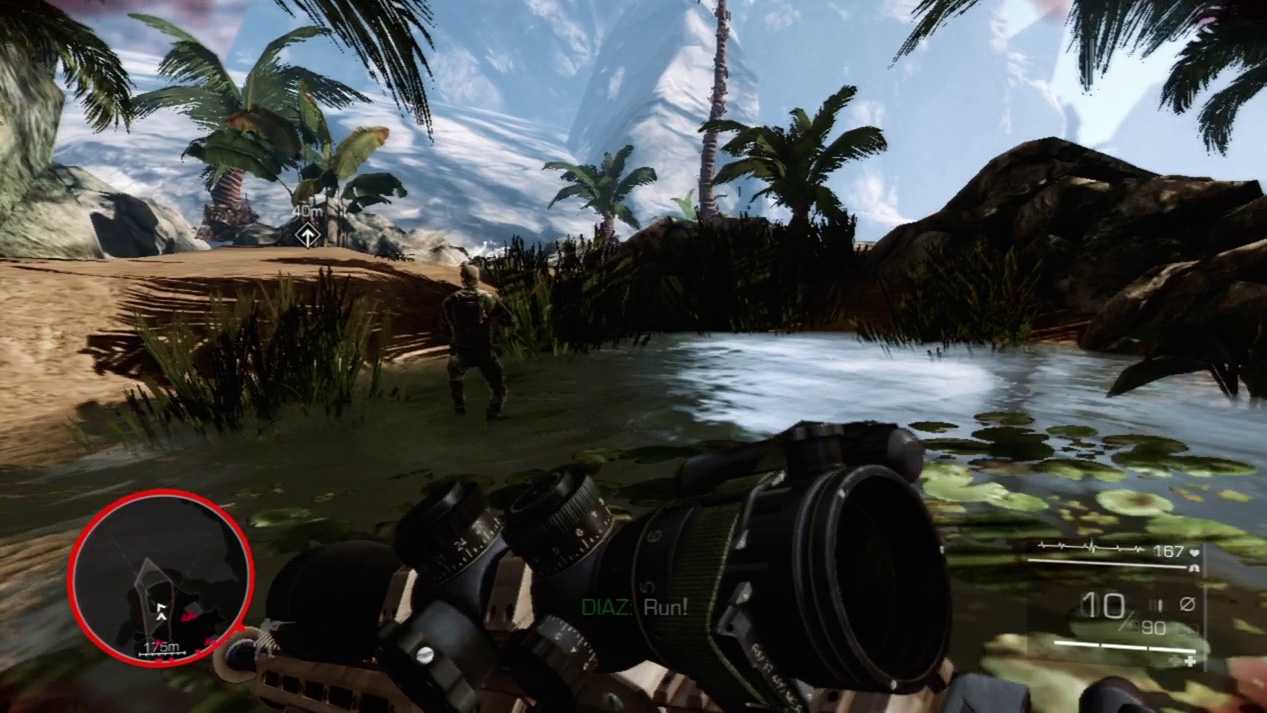
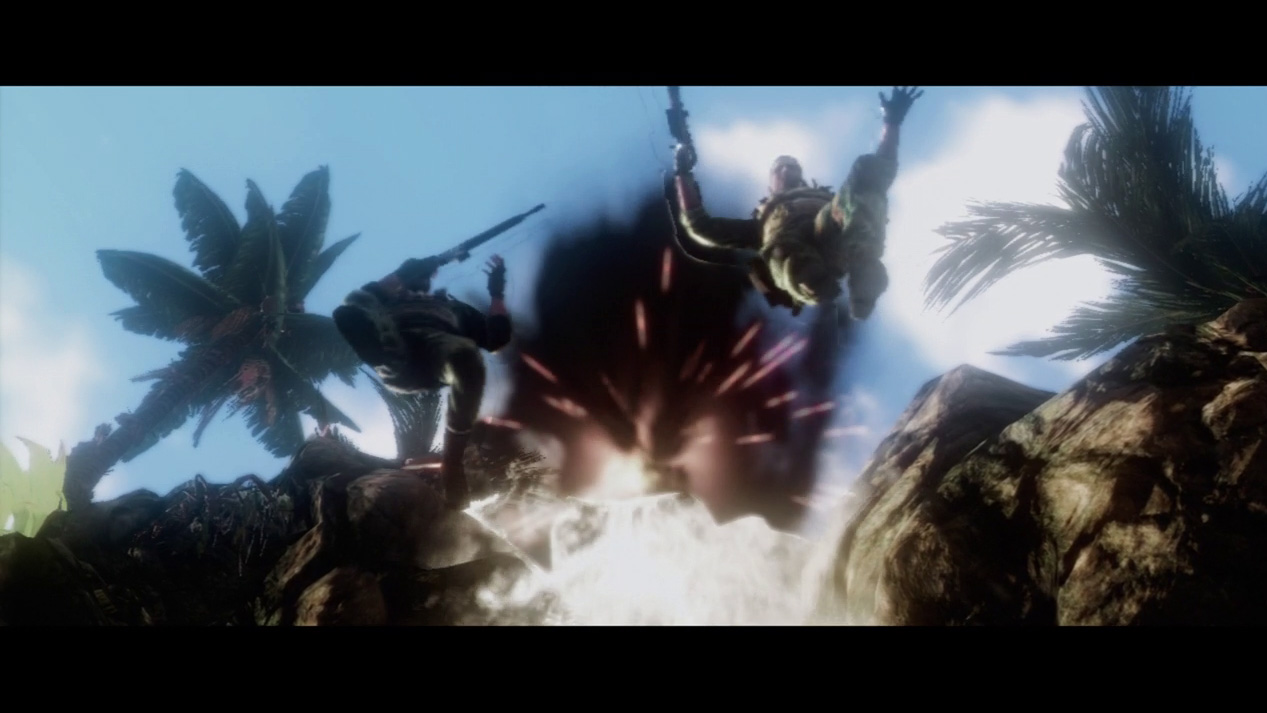
Make the final dash to the rocks on the other side of a small lagoon. If you can outrun the enemy’s bullets, they will bring in the heavy artillery for the kill. Just as you leap to safety over the rocks, an enemy tanks fires on you.
The world explodes around you, and Act 1 ends. Next, you’ll flash back to Sarajevo to learn about the events that ultimately lead you to the mission to retrieve the bio-agent.