
Sniper Ghost Warrior 2 Guide Walkthrough Mission 1: Communication Breakdown
1.4 Waypoints 15-21
Waypoint 15
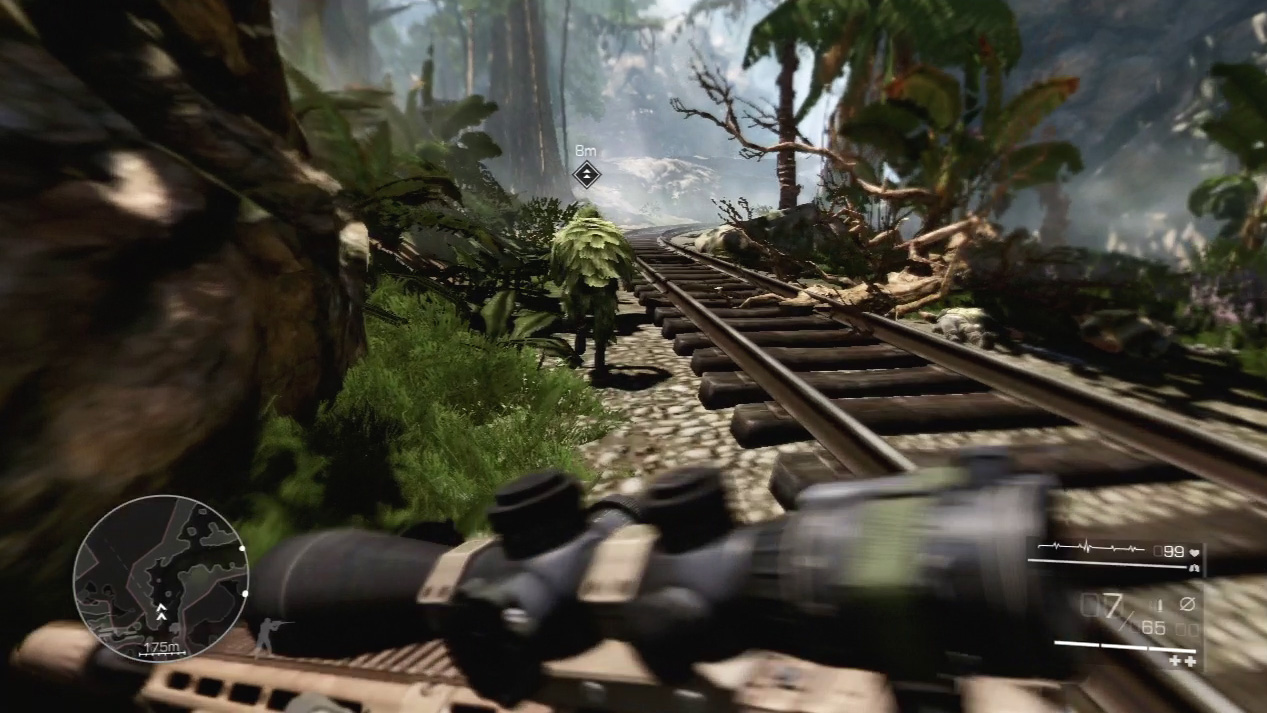
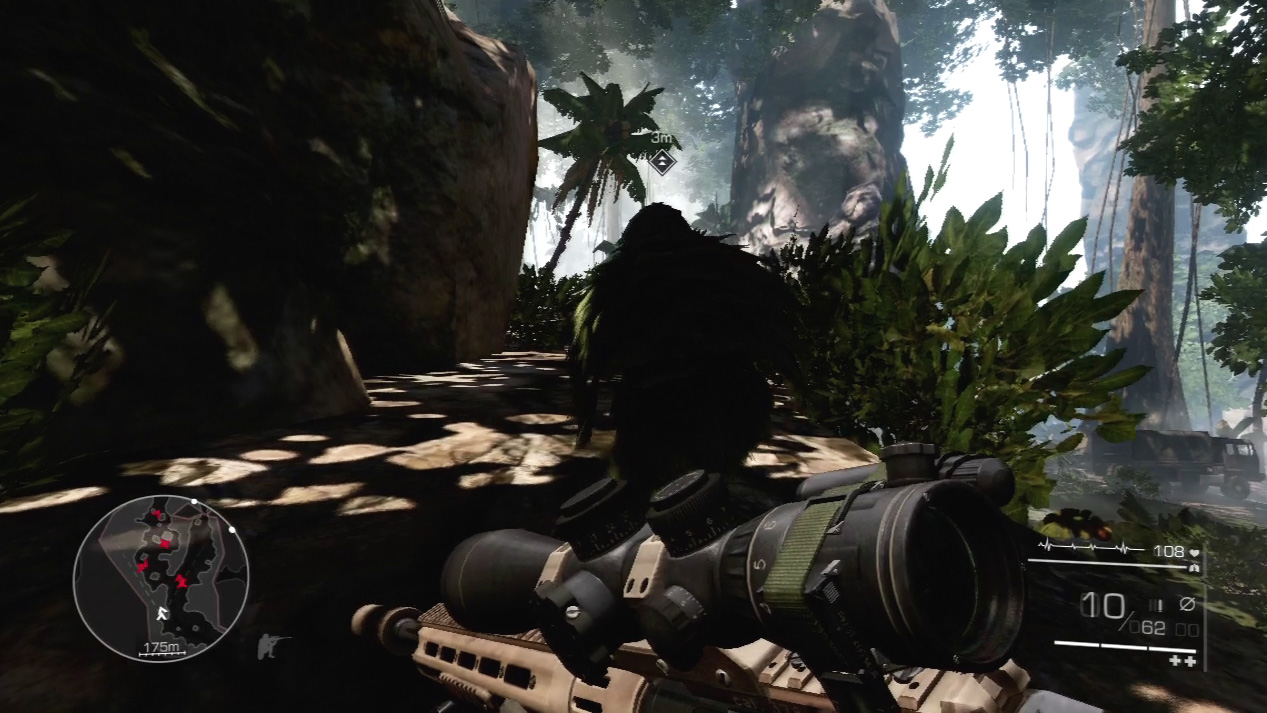
Sprint up the railroad tracks and stay to the left. Run with Diaz up the hill on the left side and then duck into the shadows.
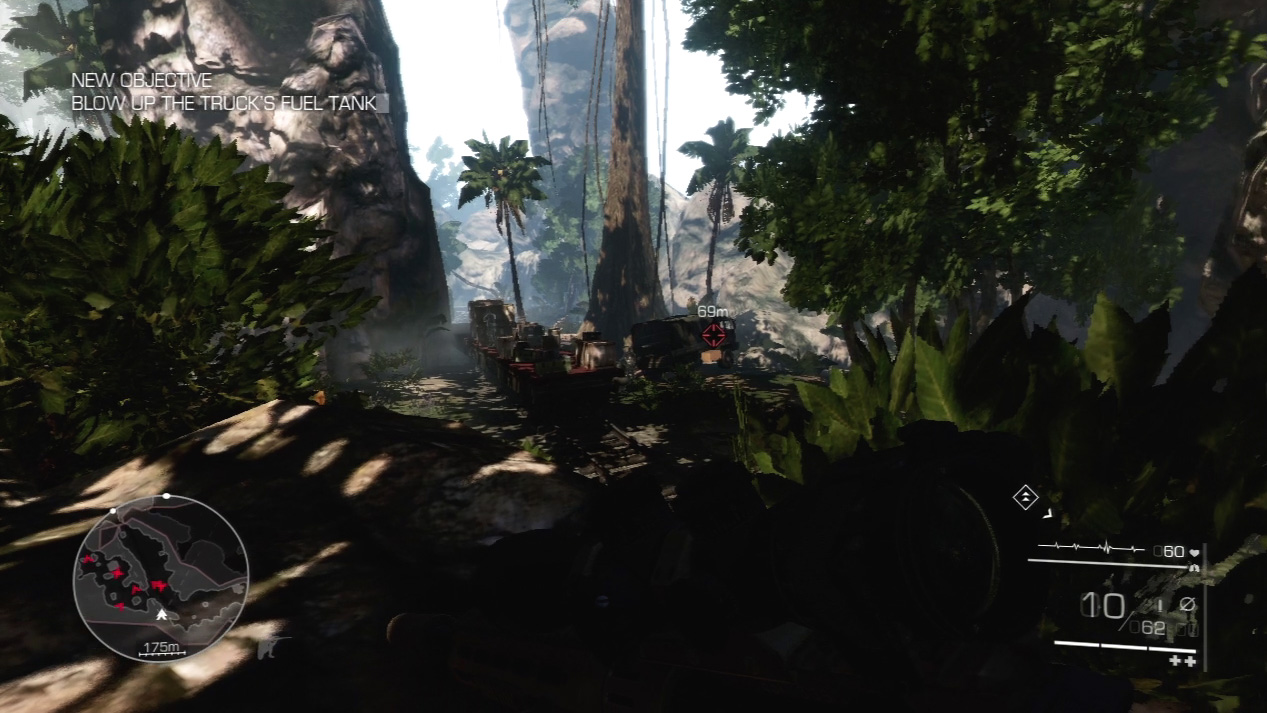
Enemies block you way ahead. Diaz suggests a distraction. Zero in on the truck’s fuel tank in the checkpoint below.
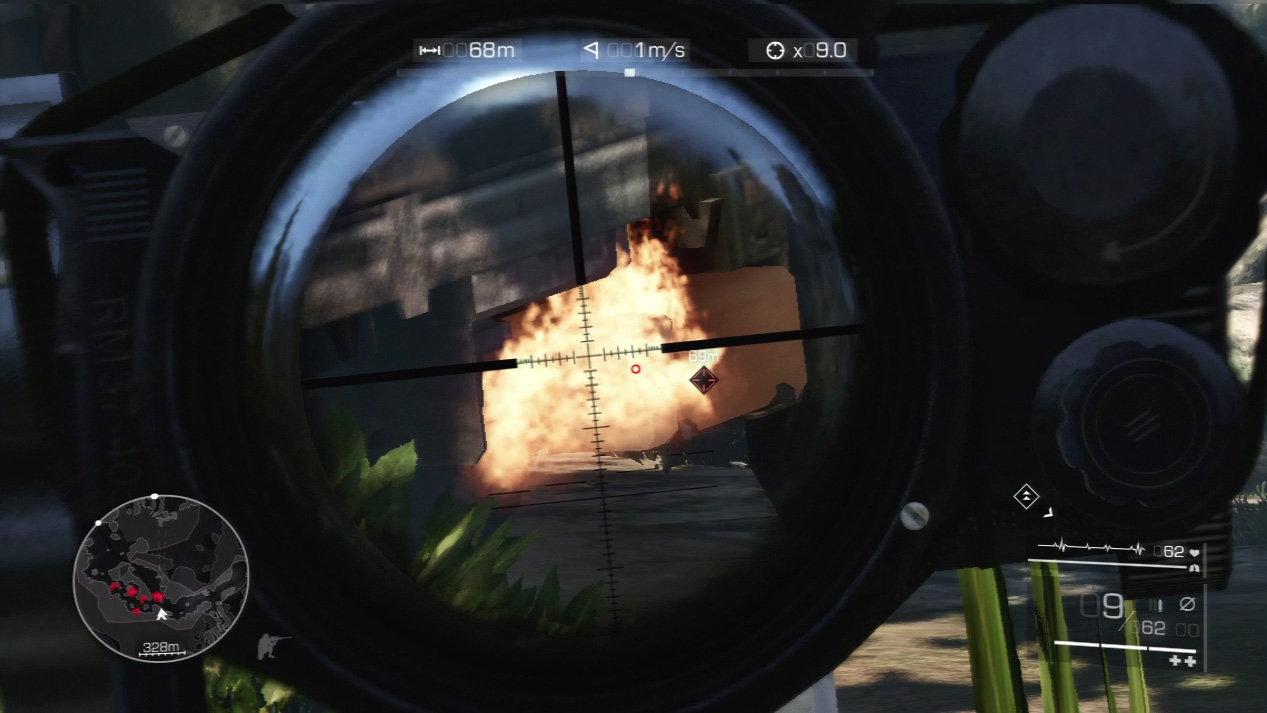
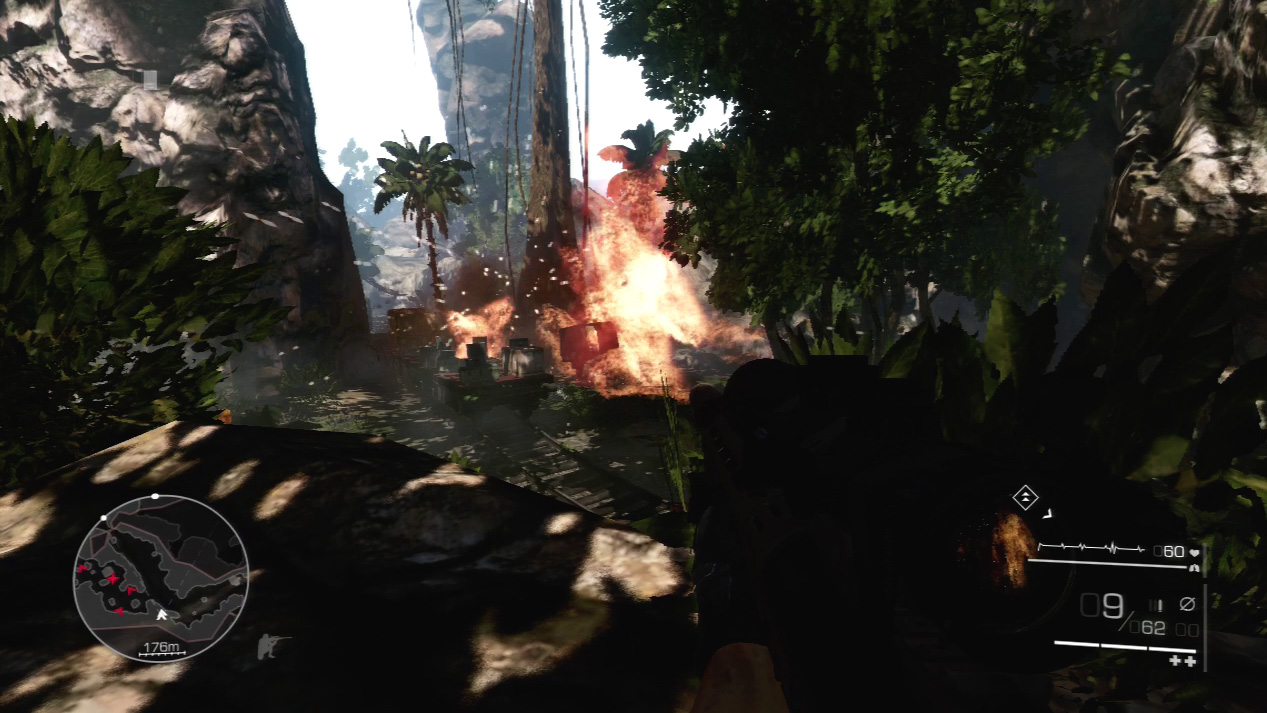
If you strike the fuel tank with a bullet, the spark ignites the tank. The truck explodes in a great puff of flame and draws the attention of all nearby enemies.
Waypoint 16
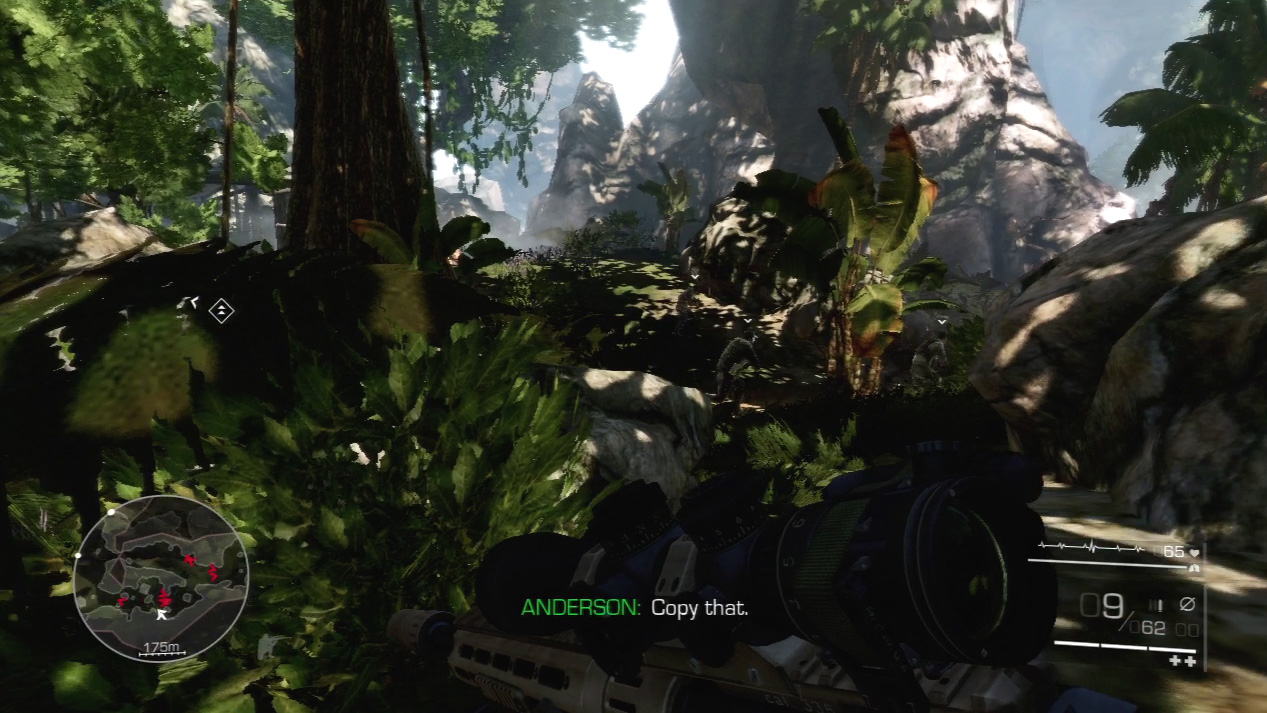
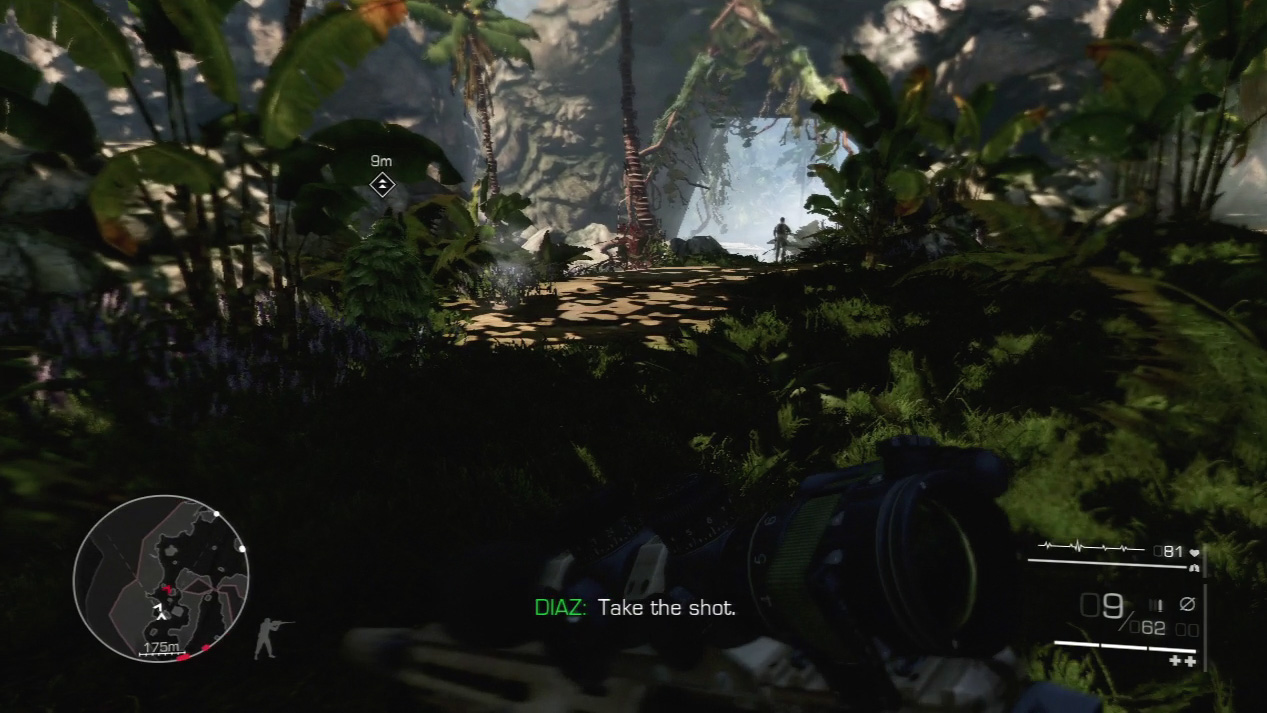
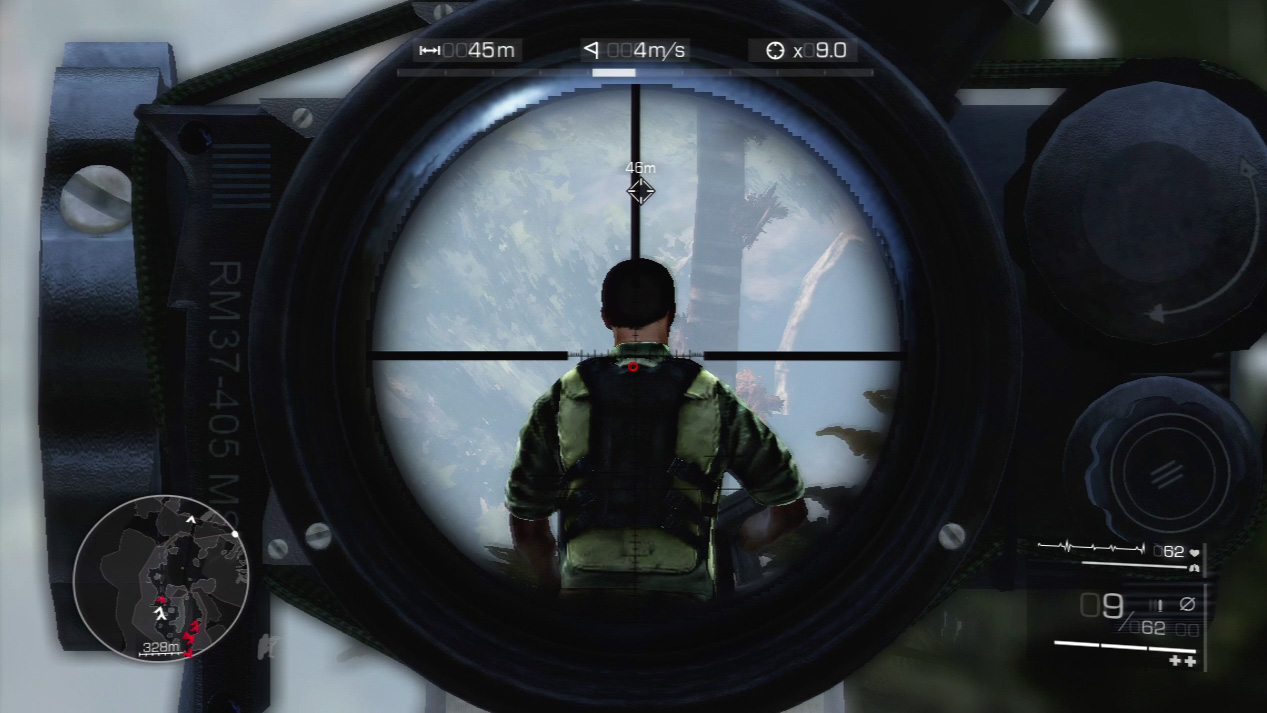
Continue to follow Diaz as he bypasses the enemies searching for signs of who or what destroyed the truck. He leads you to a hill with a lone sentry on top. Make the long-range shot to assassinate the guard so that you can press forward.
Waypoint 17
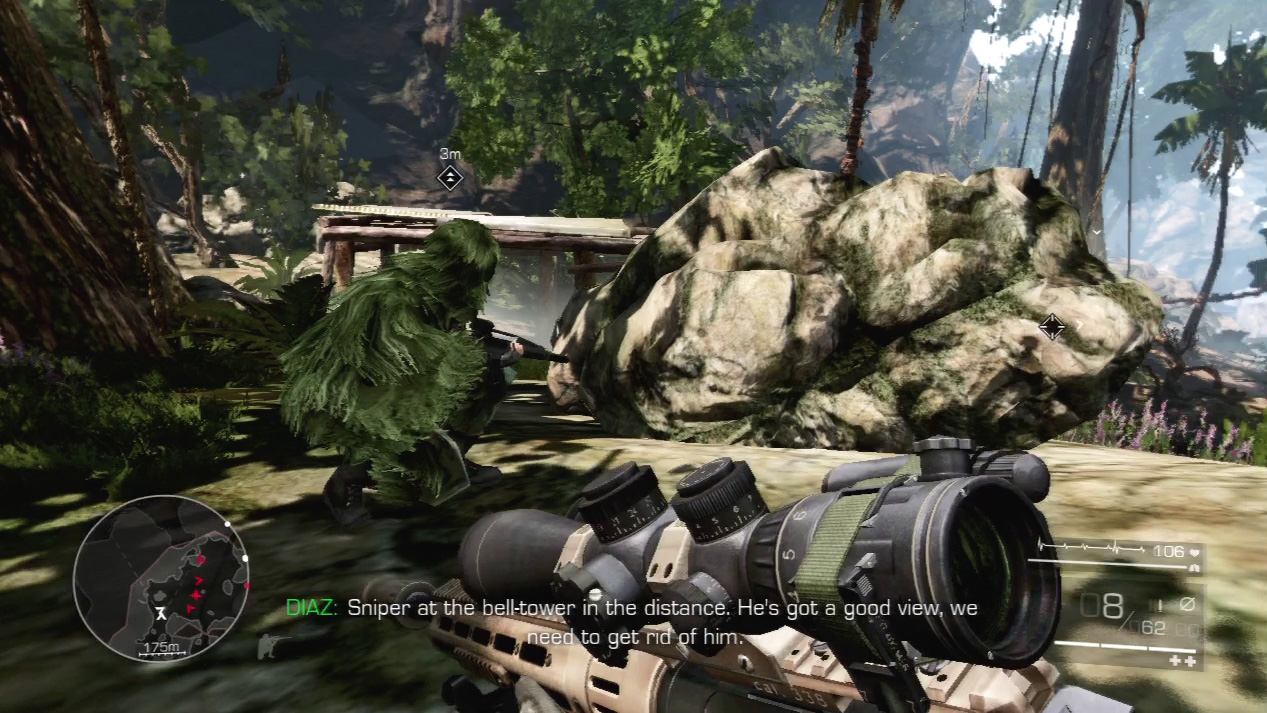
Diaz stops near a rock outcropping in front of another enemy encampment. Before you can attack the encampment, you need to locate and eliminate the enemy sniper overlooking the area.
Expert Mode
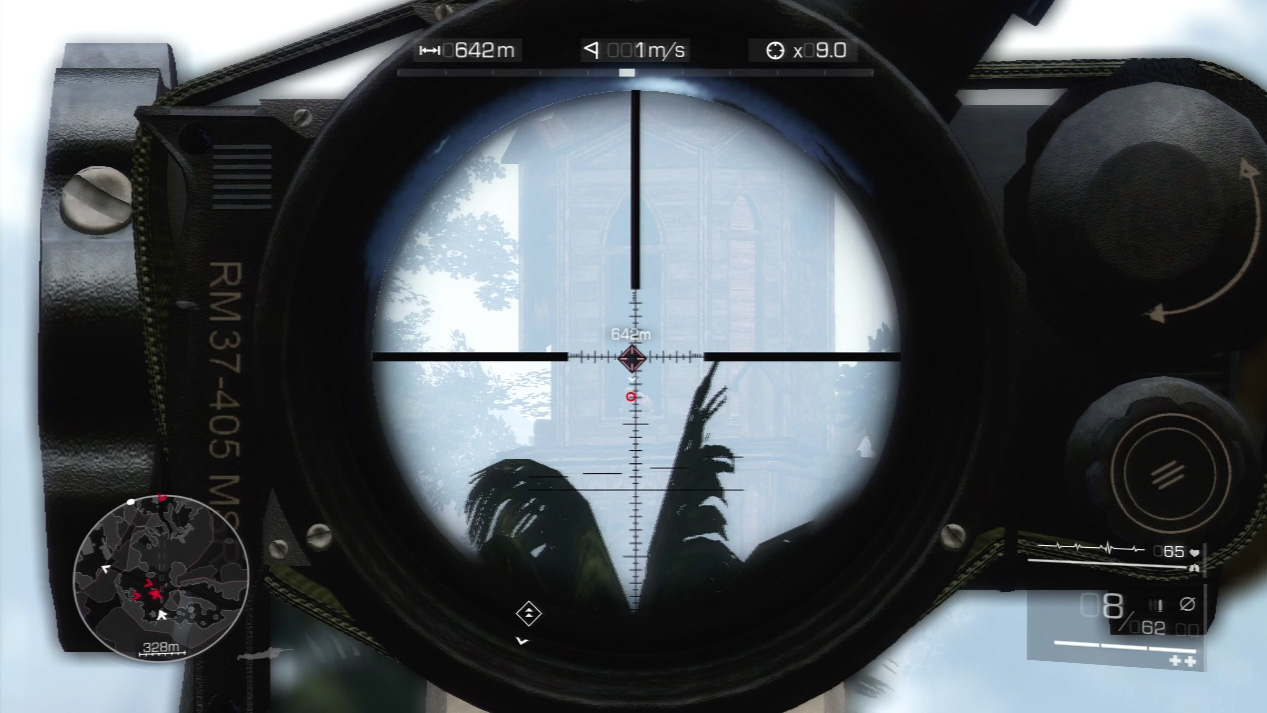
- Distance: Approximately 640 meters
- Wind: 1 meter/second (blowing left)
- Magnification: 9x
Wind is not a factor on this shot either. Because this shot is almost twice as far as the last long shot against an enemy sniper, you would expect the bullet to drop even more, and it will.
From the bull’s-eye, expect the bullet to fall down between the fourth and fifth reticle line. To complicate matters, this enemy sniper will return fire in seconds so you don’t have the luxury of lining up the perfect shot.
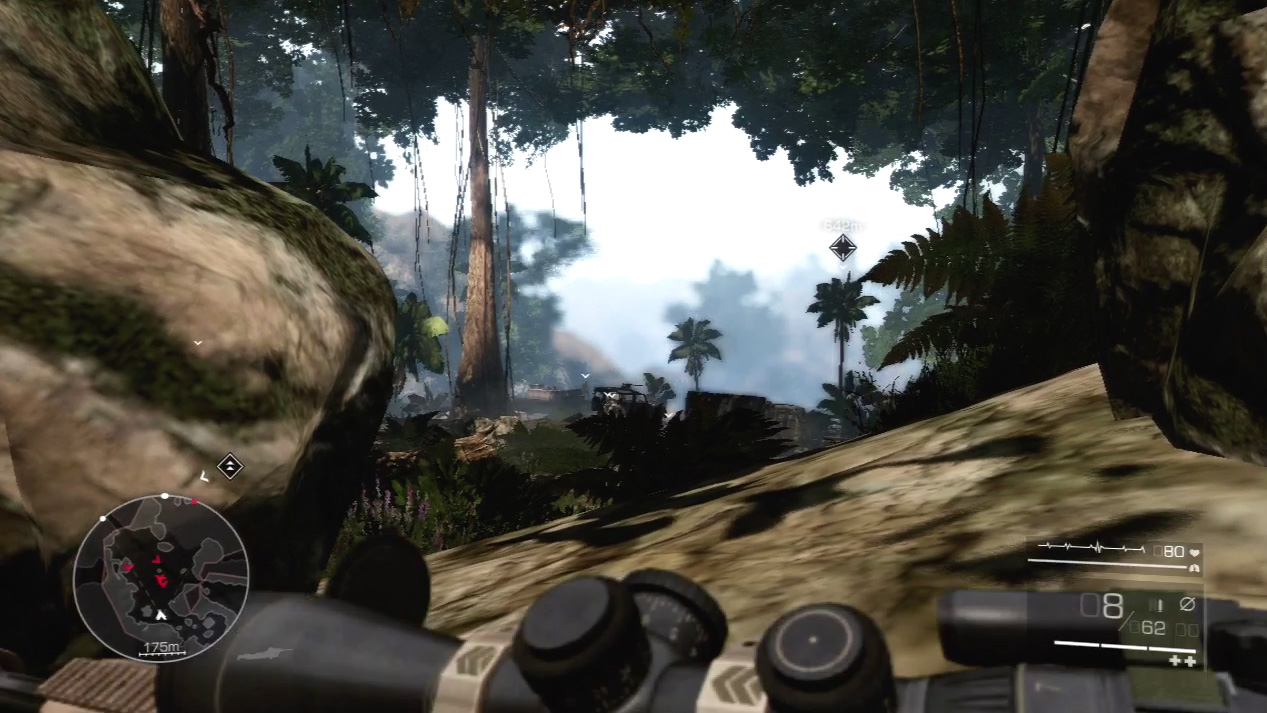
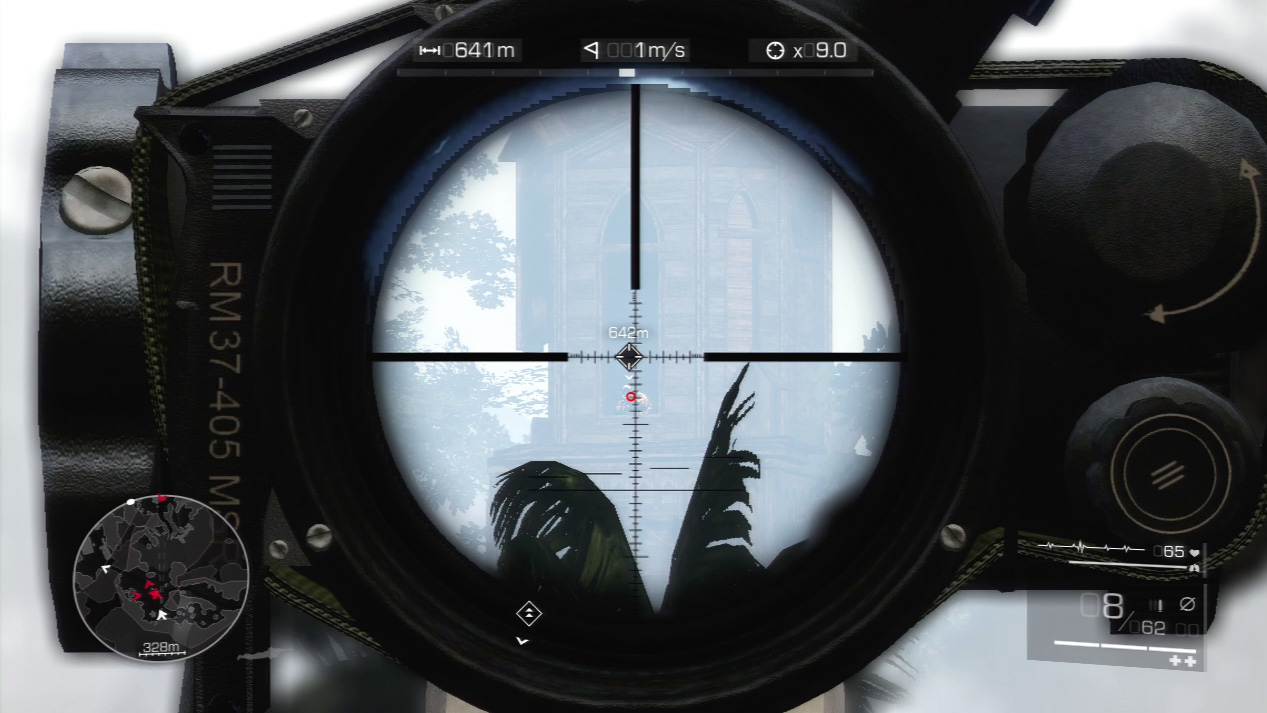
This is your longest shot yet. The enemy sniper sits up in the bell tower over 600 meters in the distance. He will also lock onto you as soon as you inch out into the open. Go prone to gain a little more cover and steady your aim for the long shot.
You must zoom on the sniper and take the shot before your Visibility Indicator lights up and the enemy sniper shoots back at you.
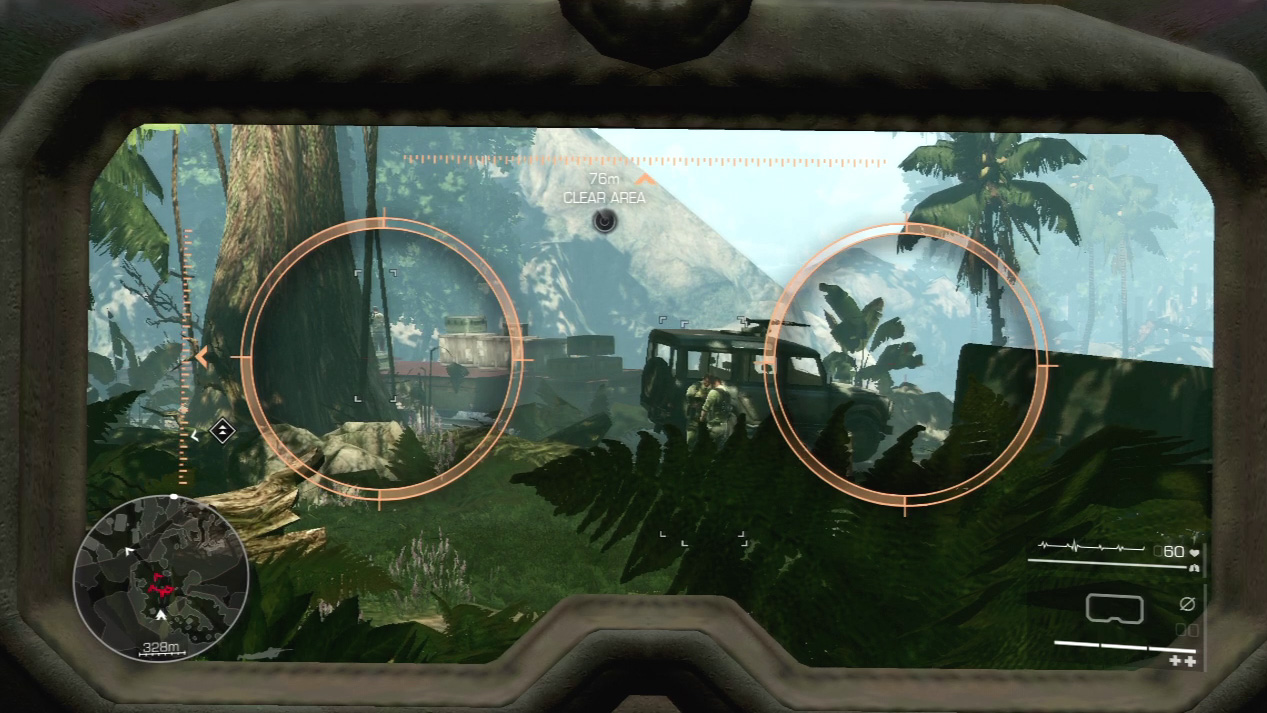
After you kill the enemy sniper, break out the binoculars and survey the enemy camp below. Mark all the enemies and study their routines before you engage.
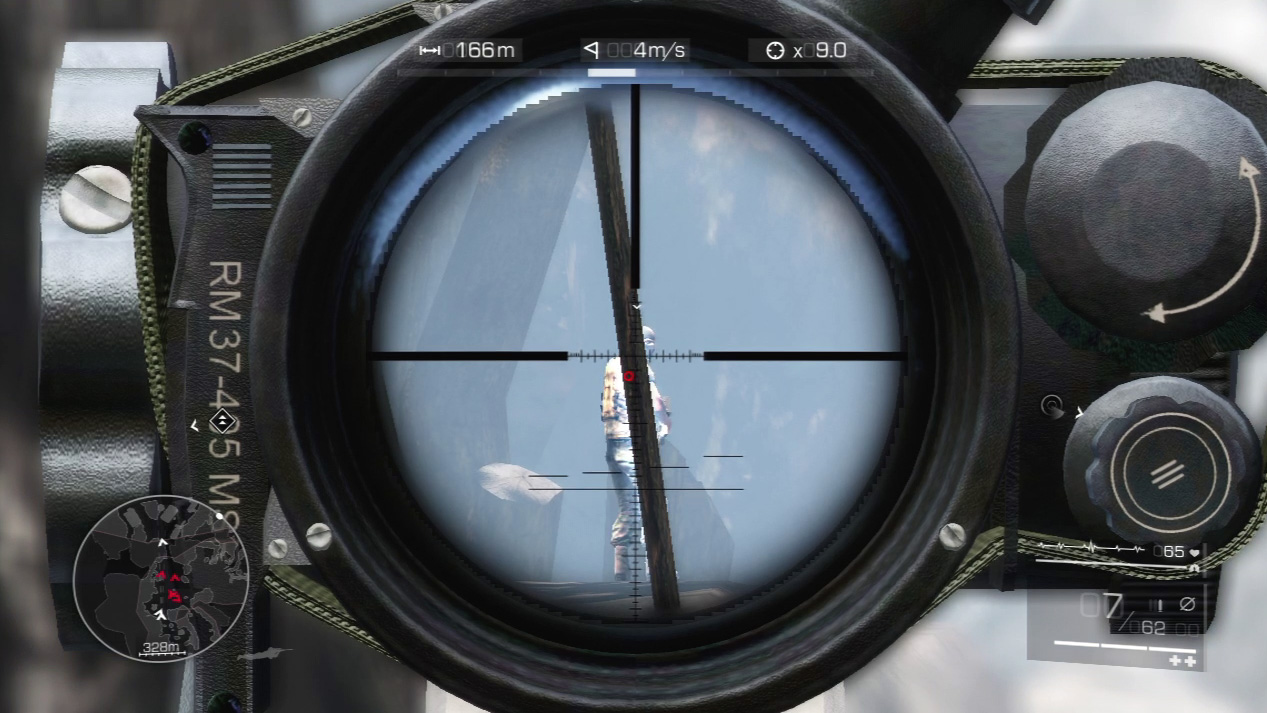
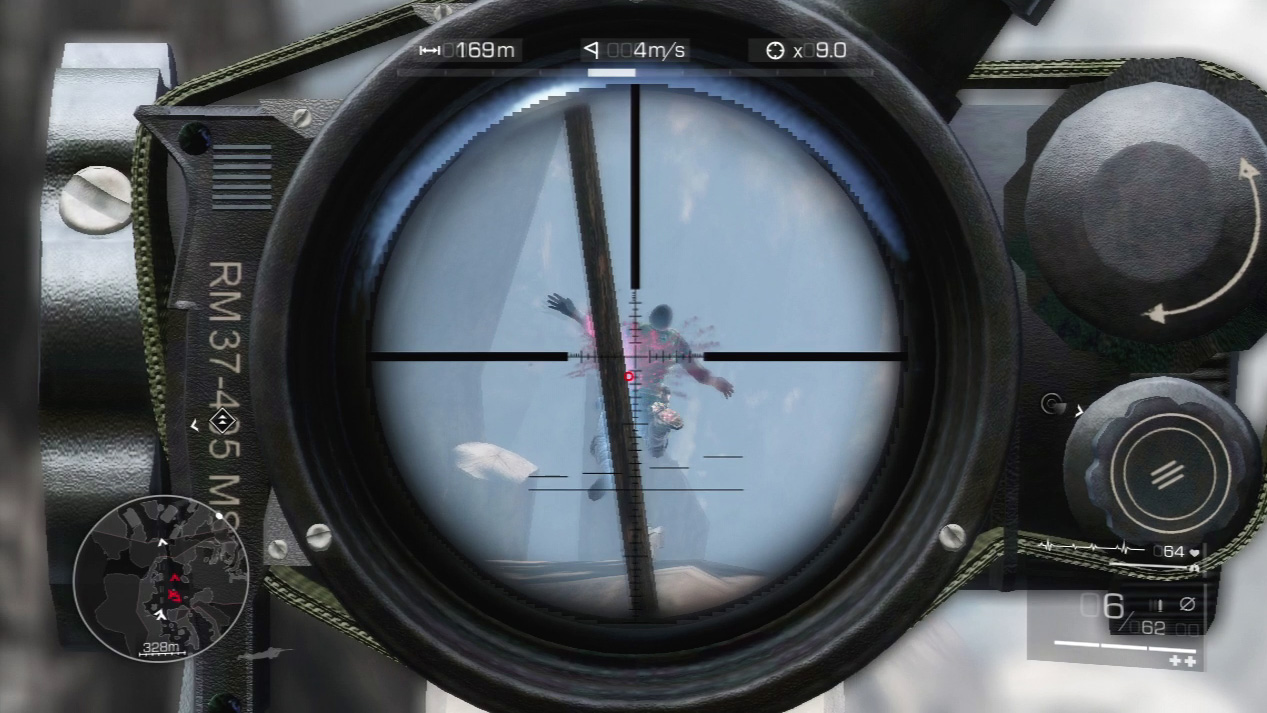
Take out the far-left enemy first. Wait until he marches up to the top of the rock outcropping and then shoot him in the back when he pauses. His body drops over the ledge and out of sight.
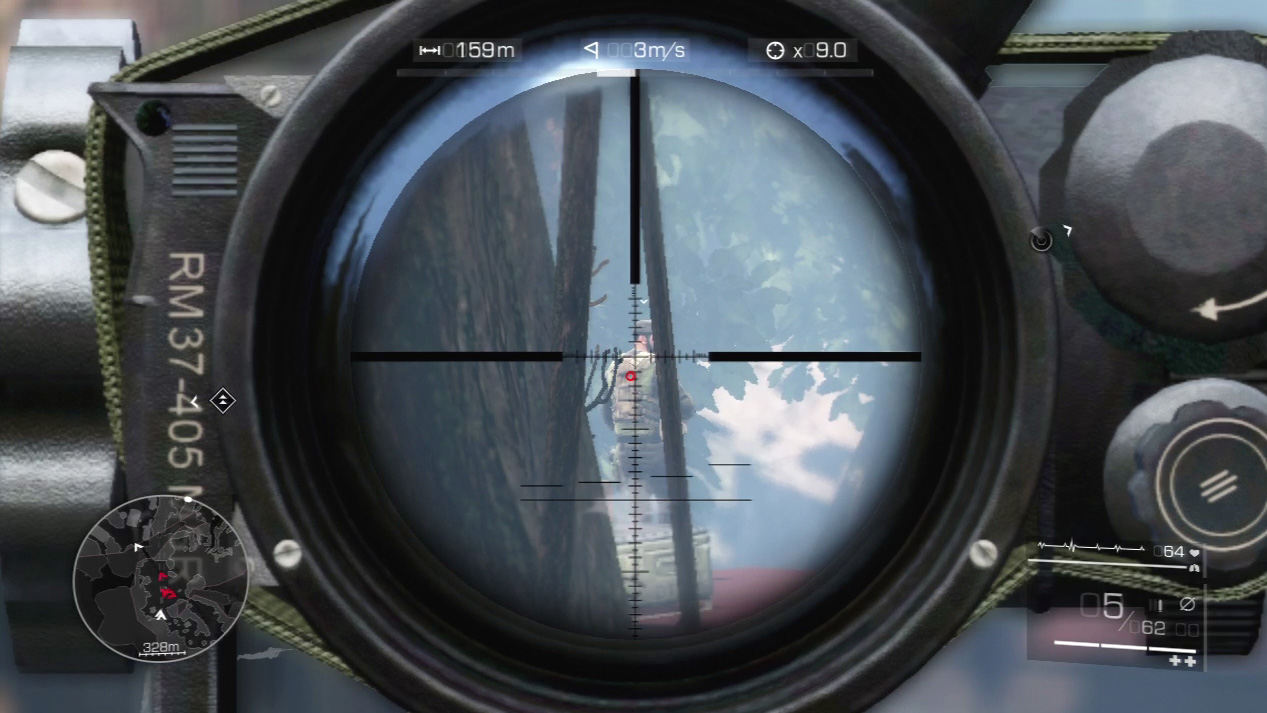
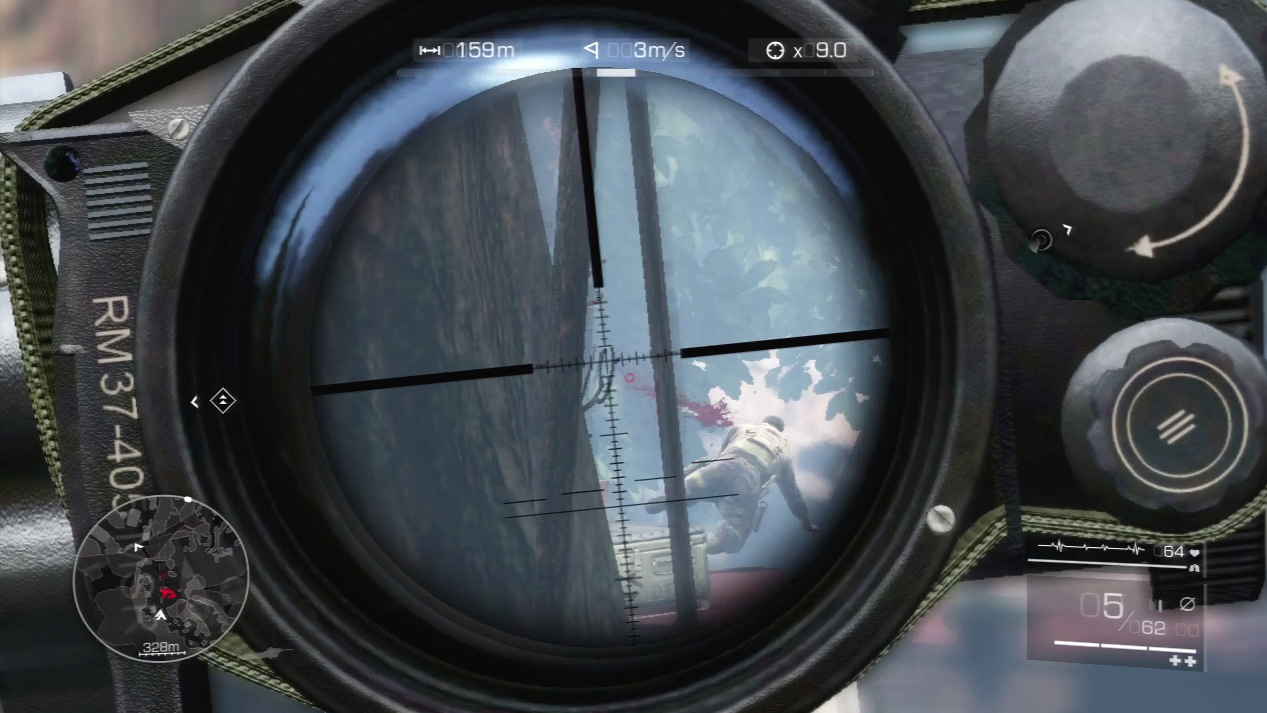
Your second enemy target patrols the middle of the camp on the platform behind the two enemies standing near the truck. Wait for the enemy to cross to the left and pause on the far end of his route. Pick him off there, far away from the sight of the other guards.
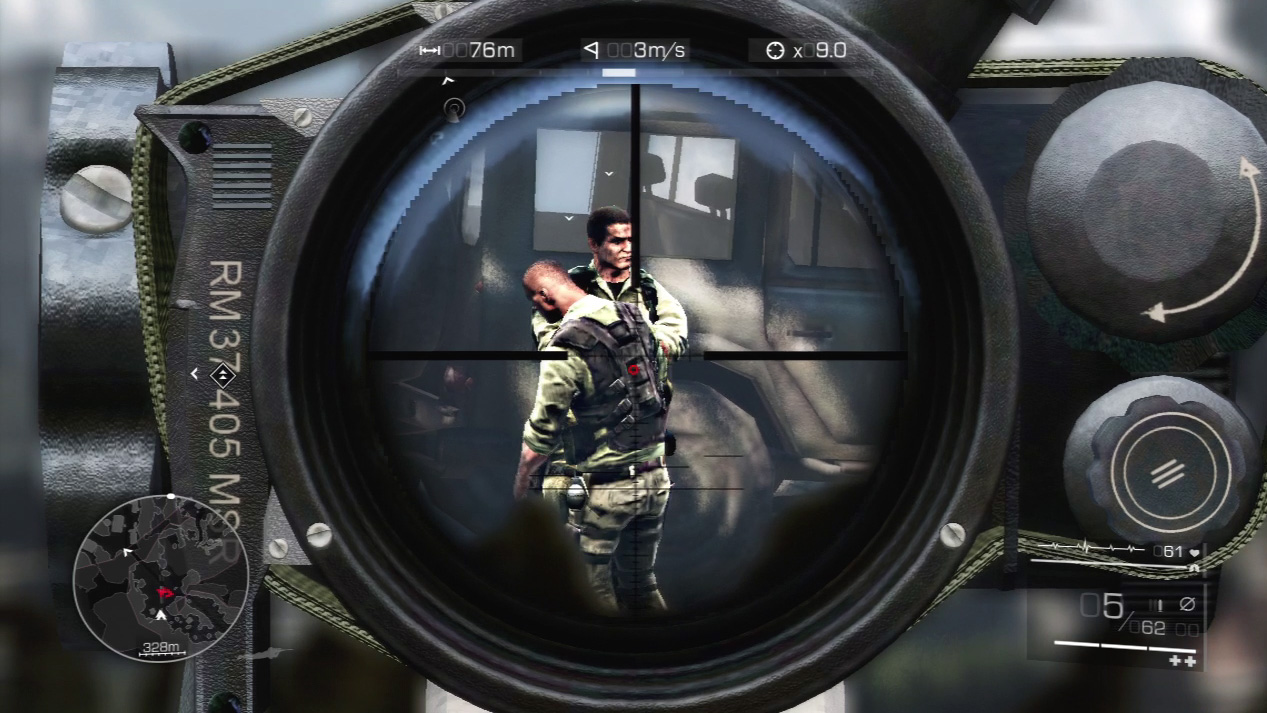
Zoom in on the two guards near the truck. Slide left or right until you can line up a double kill shot on the two guards.
Special Shot: Double Kill Shot
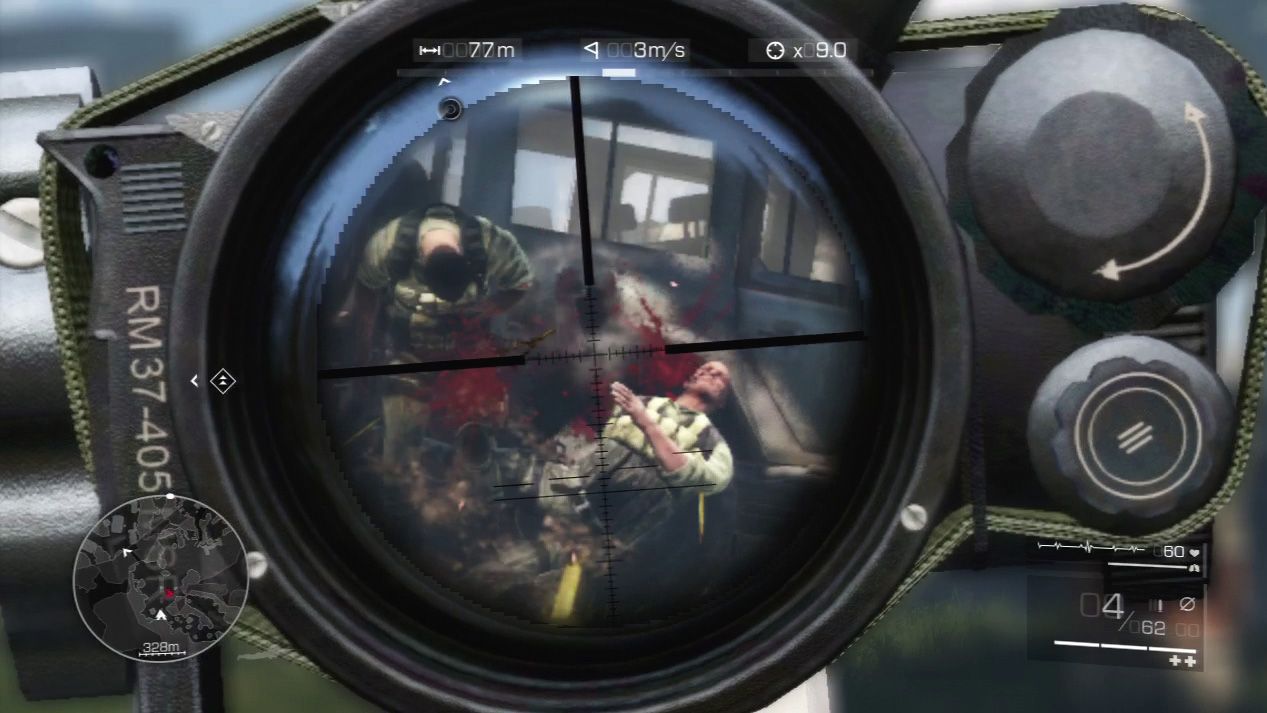
Two guards talk near the truck at the enemy camp. If you haven’t raised the alarm, these two guards are easy to line up for a two-for-one shot. In a prone position, slide to the left or right until you have both enemy torsos in the crosshairs.
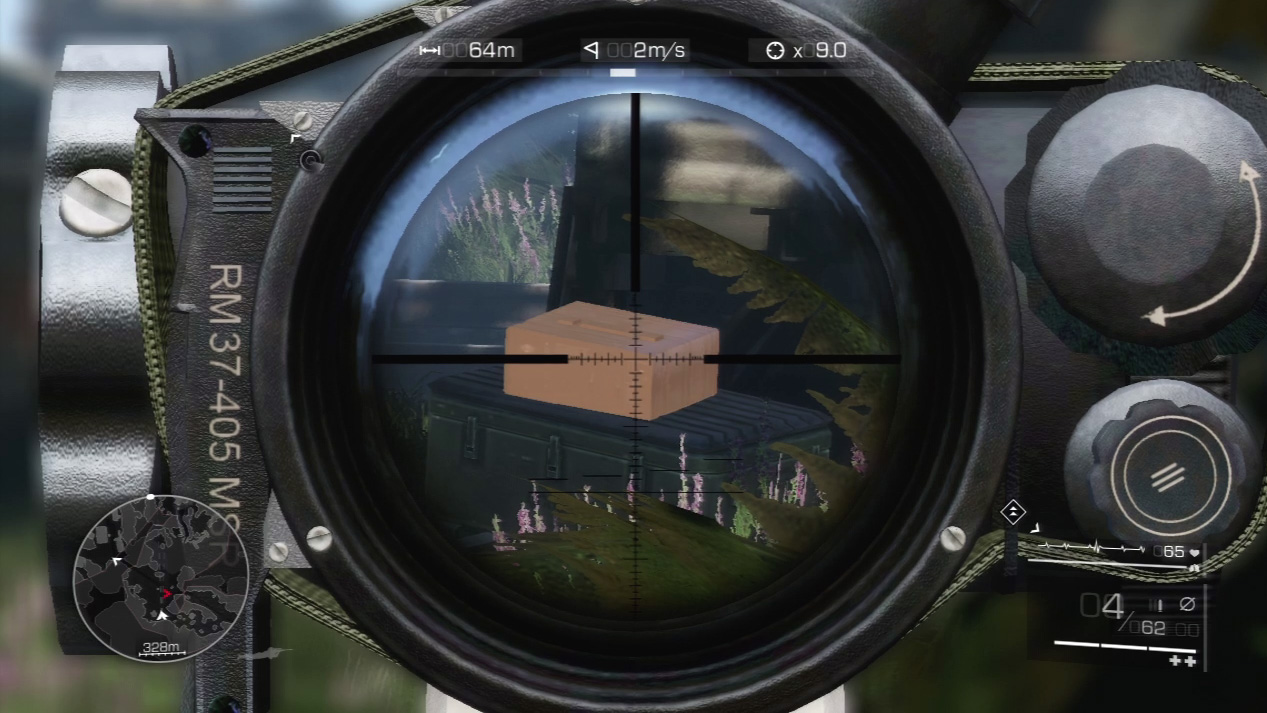
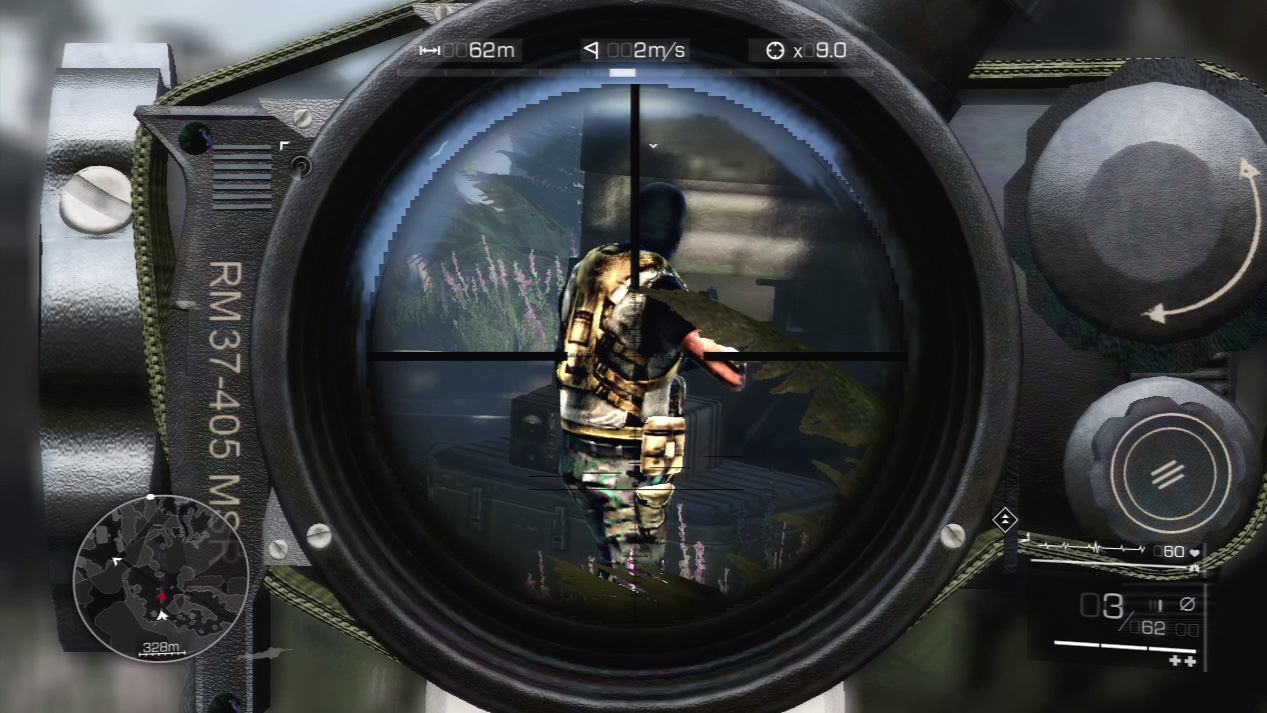
There’s one enemy left, and he is most likely out of sight, patrolling the right side of the camp. If he’s the last enemy in the camp, you can move and take him out, or you can use some trickery to bring him to you.
Target the radio on the back of the truck and shoot it to draw the enemy guard’s attention. When he enters your field of vision, snipe him in the back to clear the area.
Waypoint 18
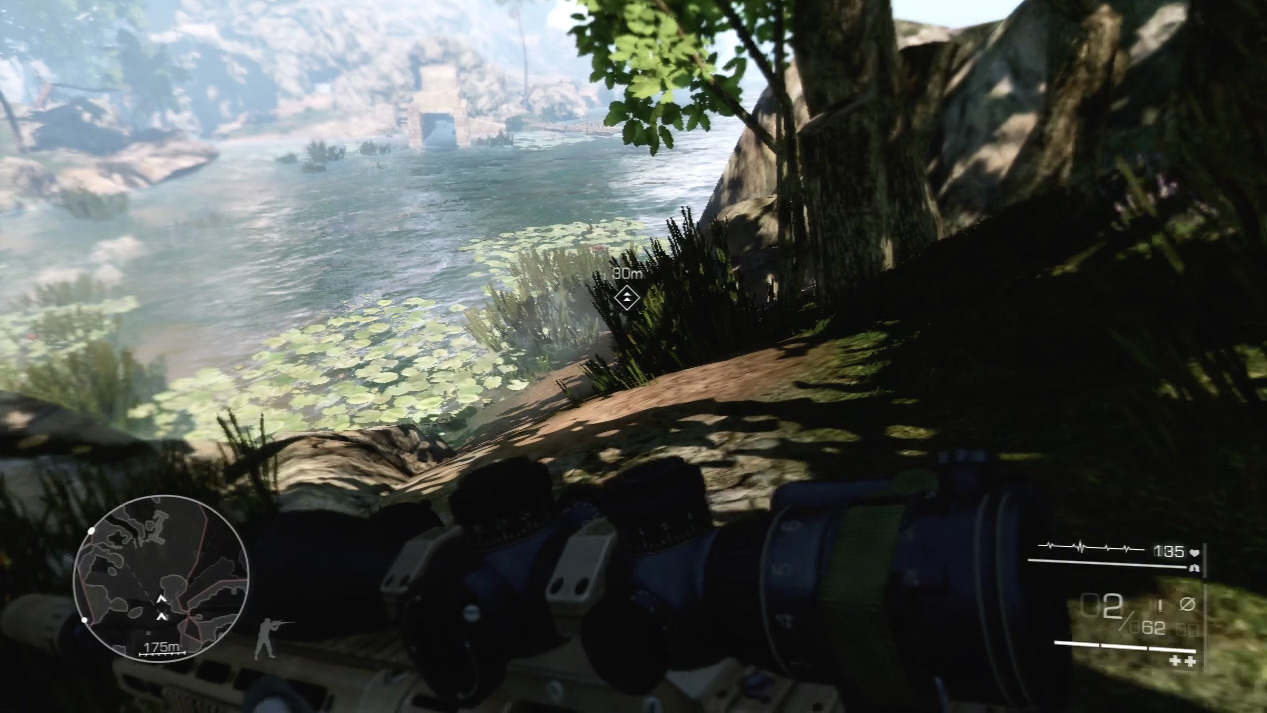
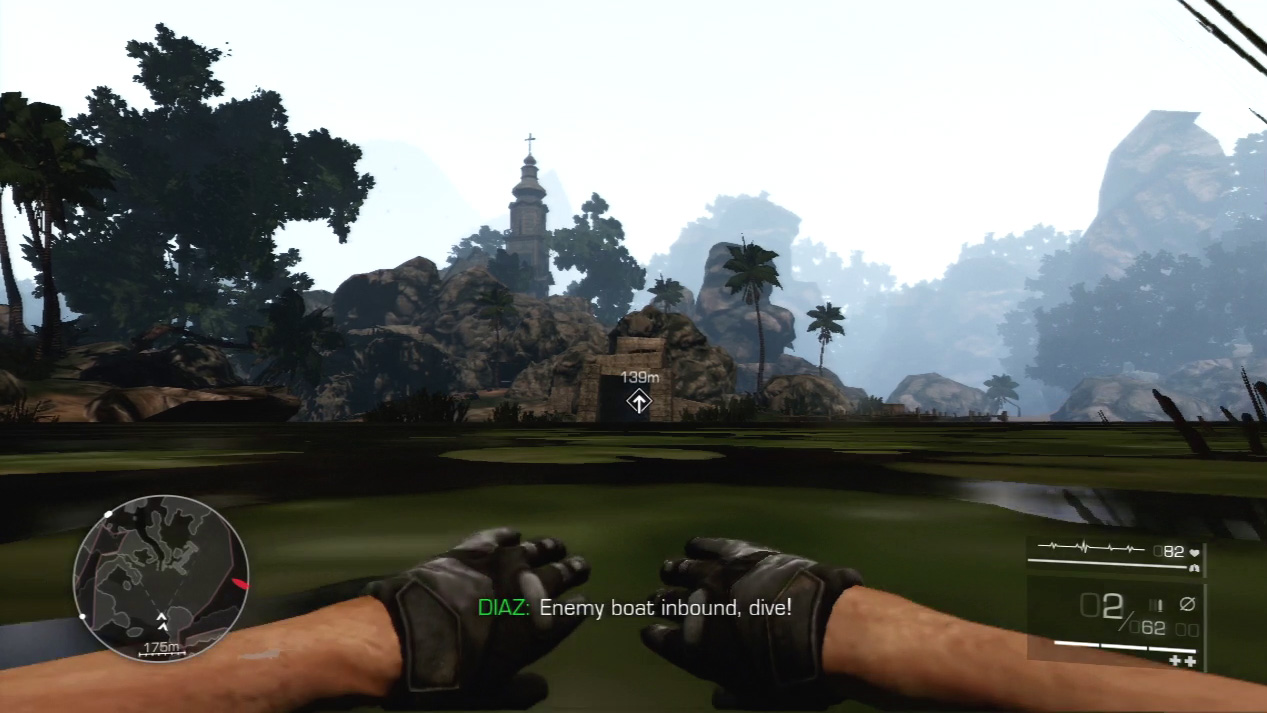
Follow Diaz one last time down to the riverbank. He leaves you here to meet up with the rest of the team. Your new objective is to swim across the water and work your way up to the over watch in the church bell tower.
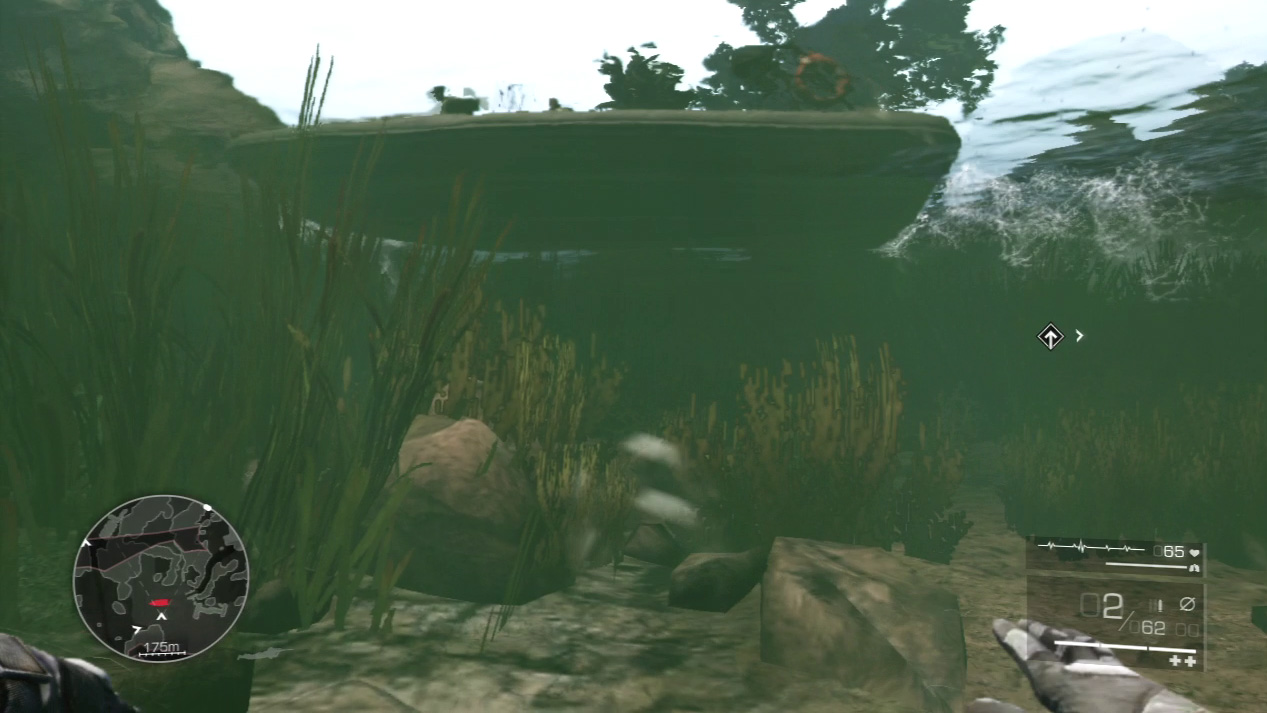
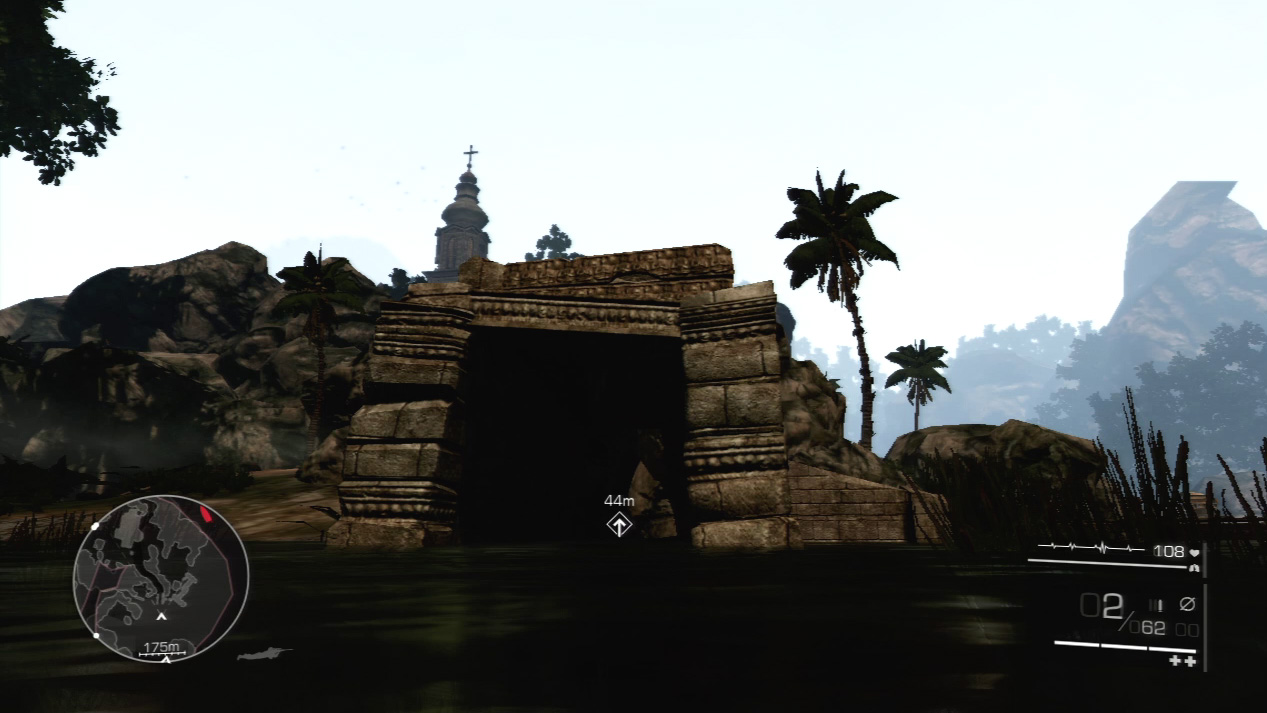
Halfway across the river an enemy boat approaches on patrol. Dive to the bottom of the riverbed and wait for it to pass overhead. The boat loops around you, which tests your ability to hold your breath underwater to the full extent, but you should have just enough air to resurface after the boat passes without taking any damage.
Waypoint 19
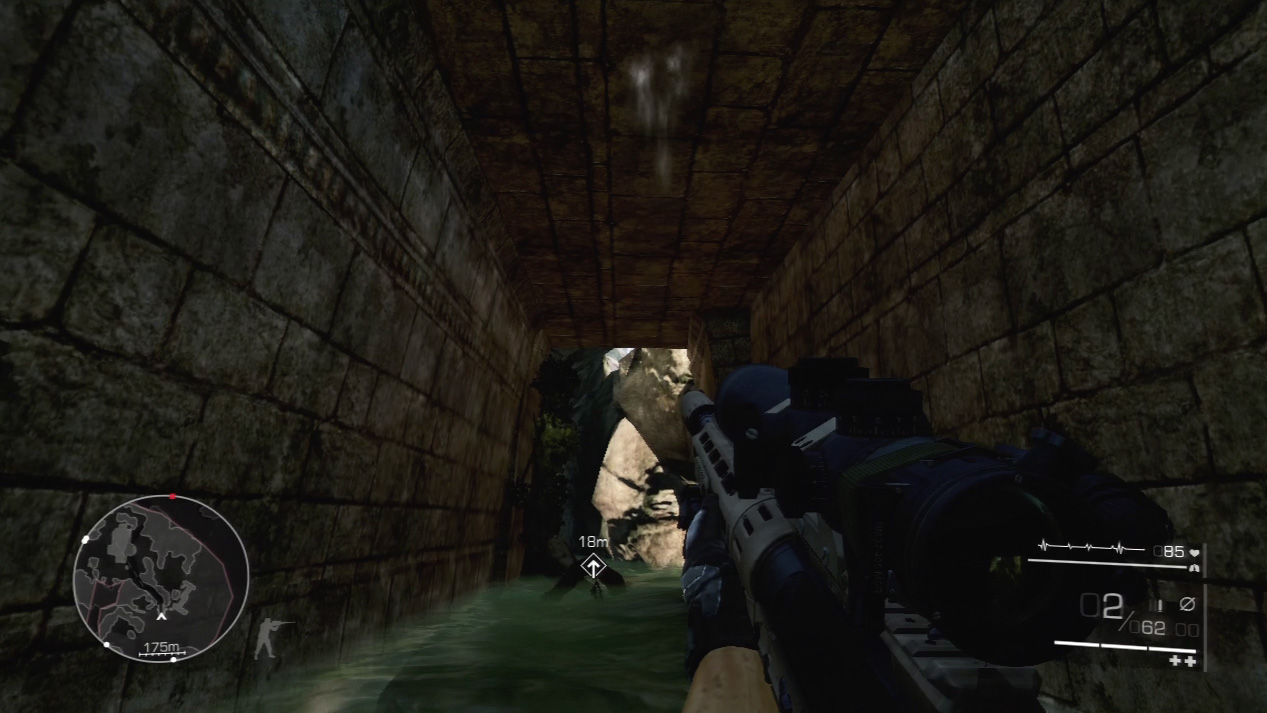
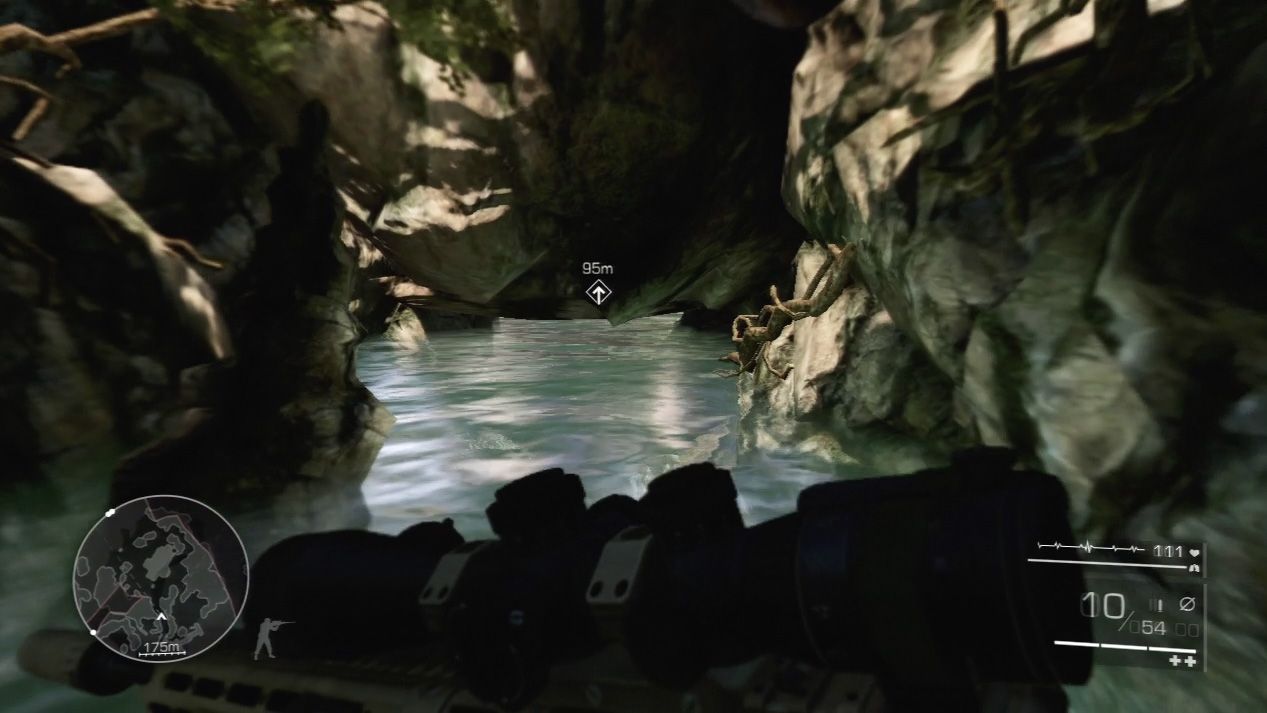
Enter the tunnels on the opposite side of the river. Move forward until the water rises up to the rock shelf.
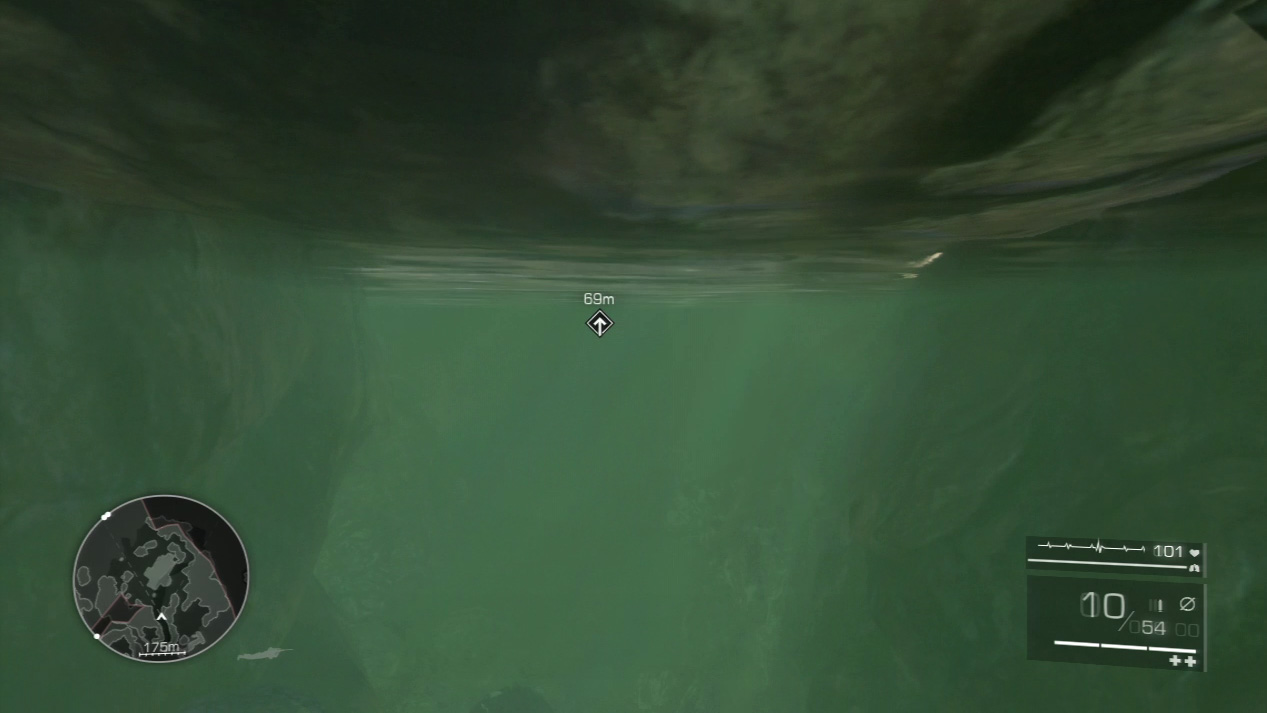
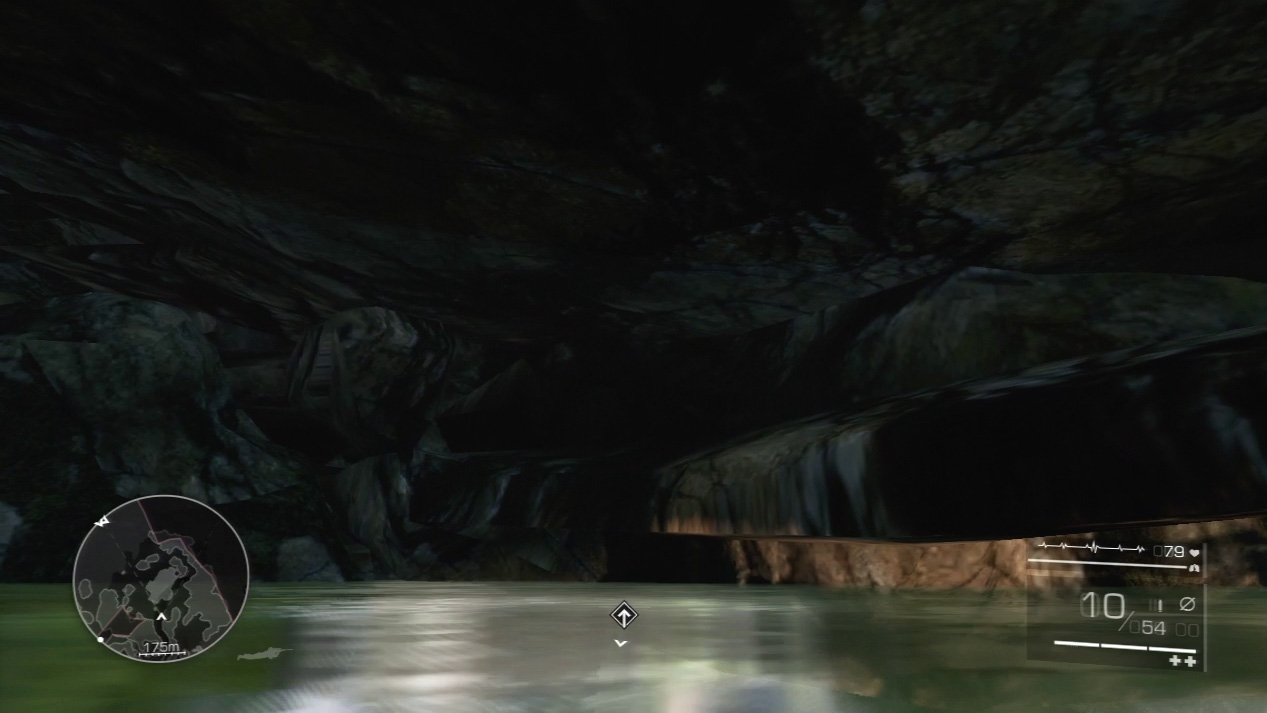
When you can’t go any farther above water, dive and swim underwater until you find an air pocket in the rocks a short distance ahead. Rise above the surface to catch your breath and recharge.
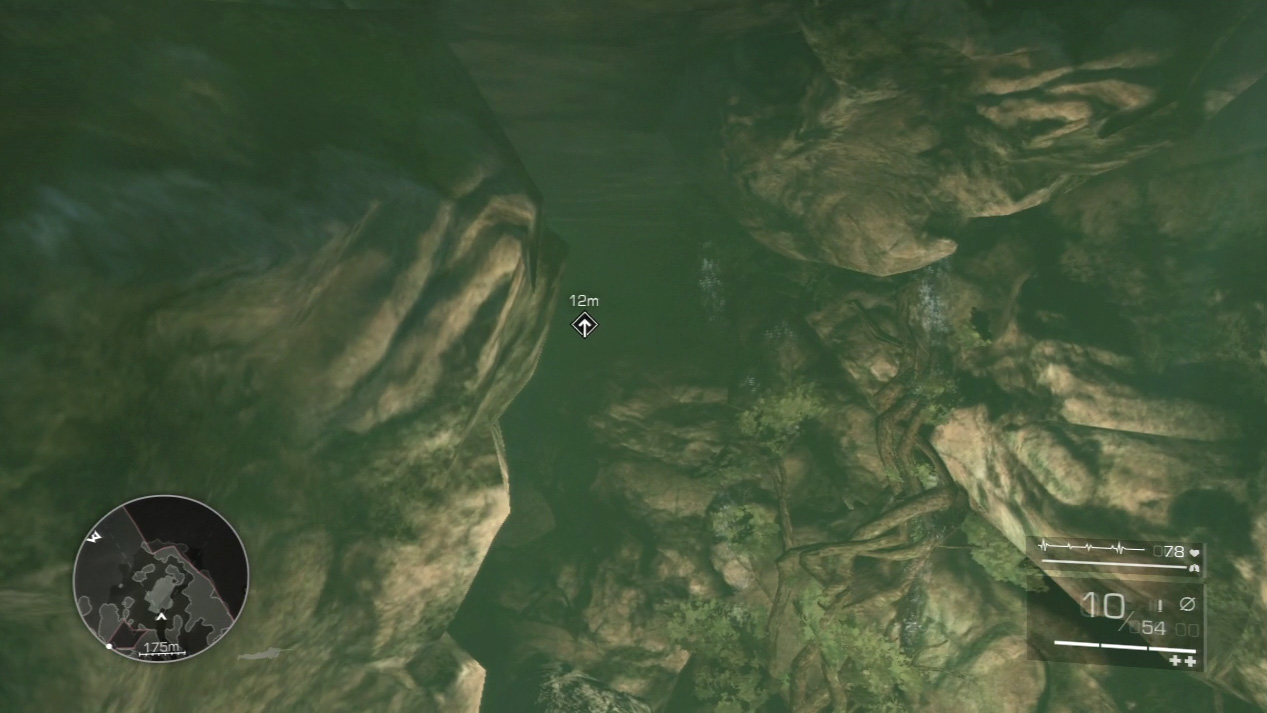
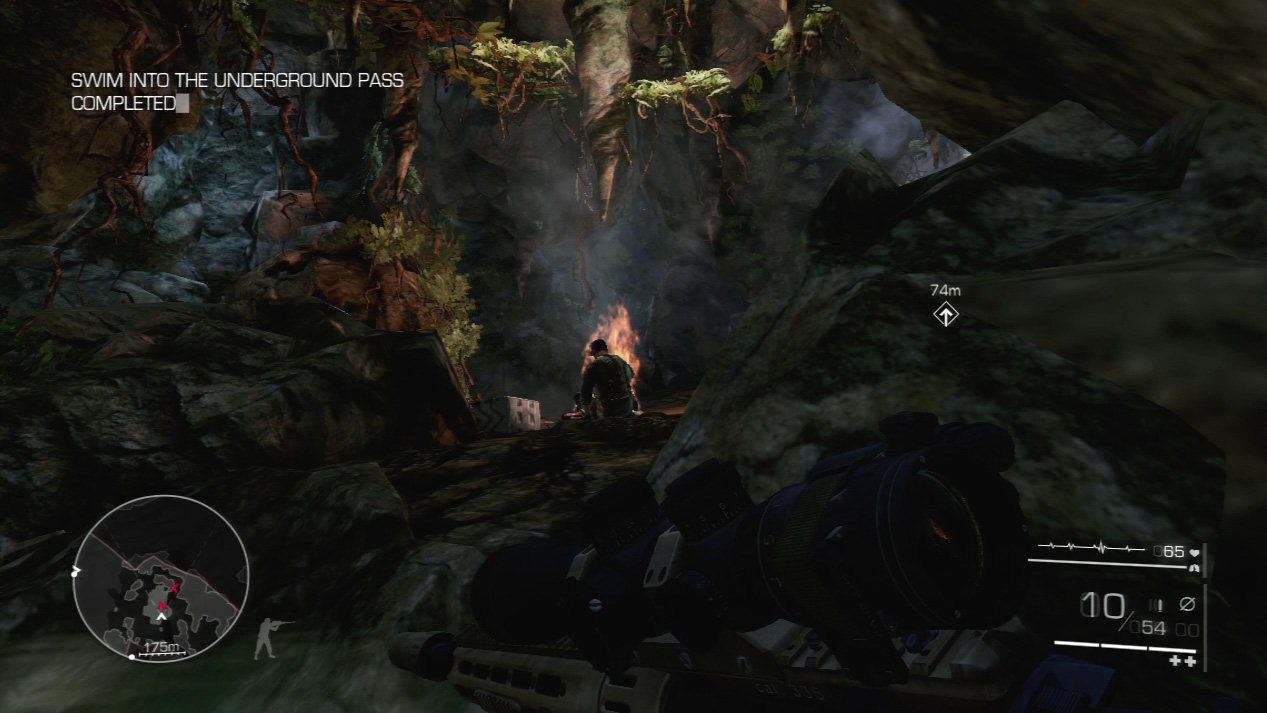
Dive again and swim under the next stretch of rocks. Eventually you’ll surface next to an enemy campfire.
Waypoint 20
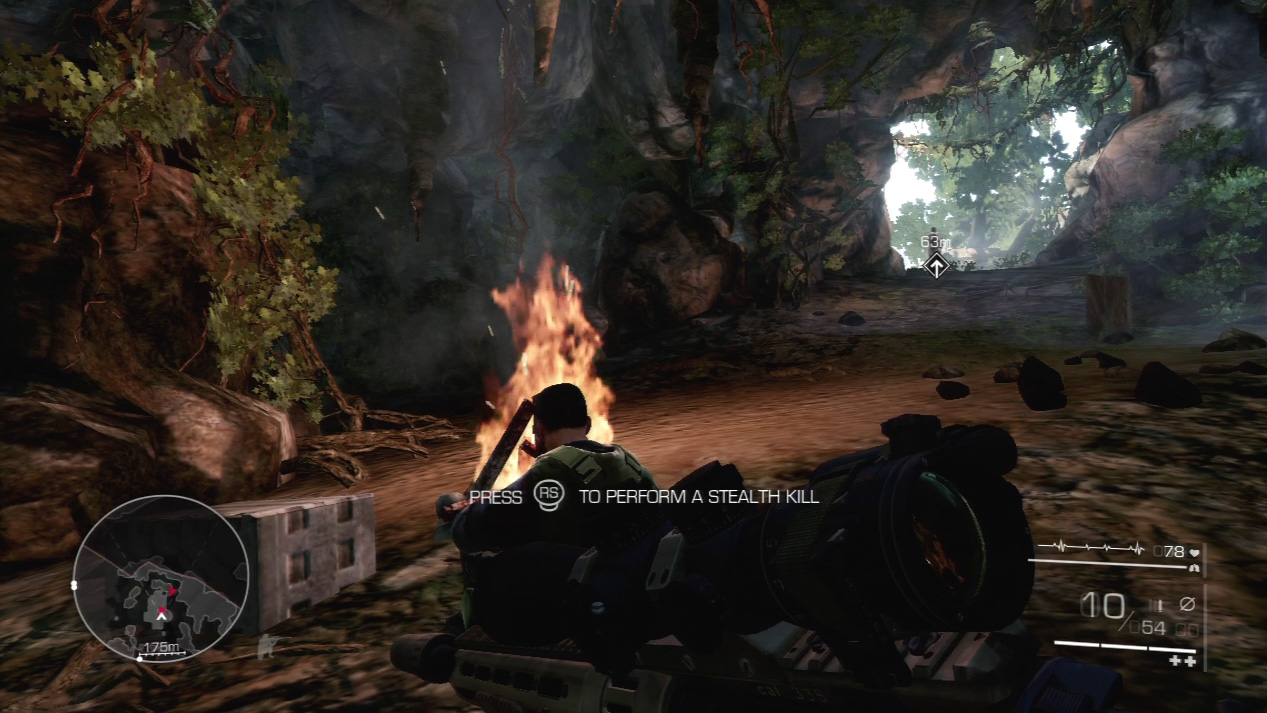
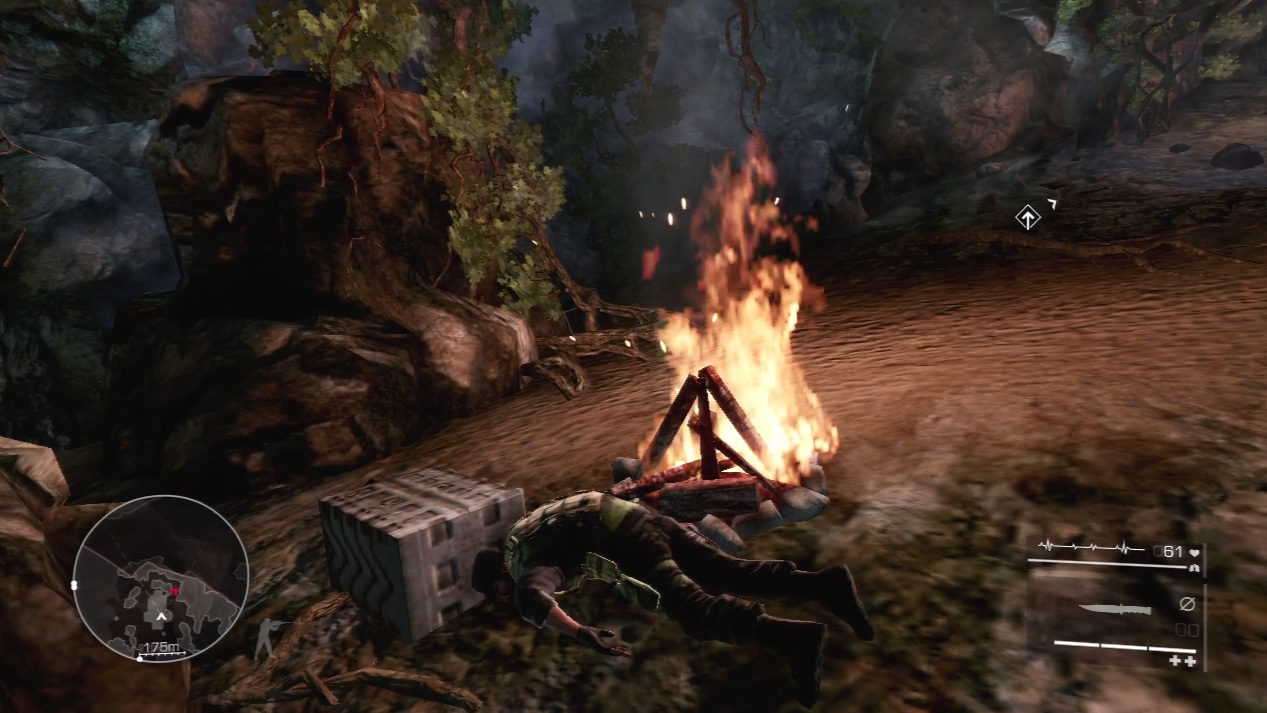
Creep out the water in a crouch and perform a stealth kill on the enemy sitting next to the campfire.
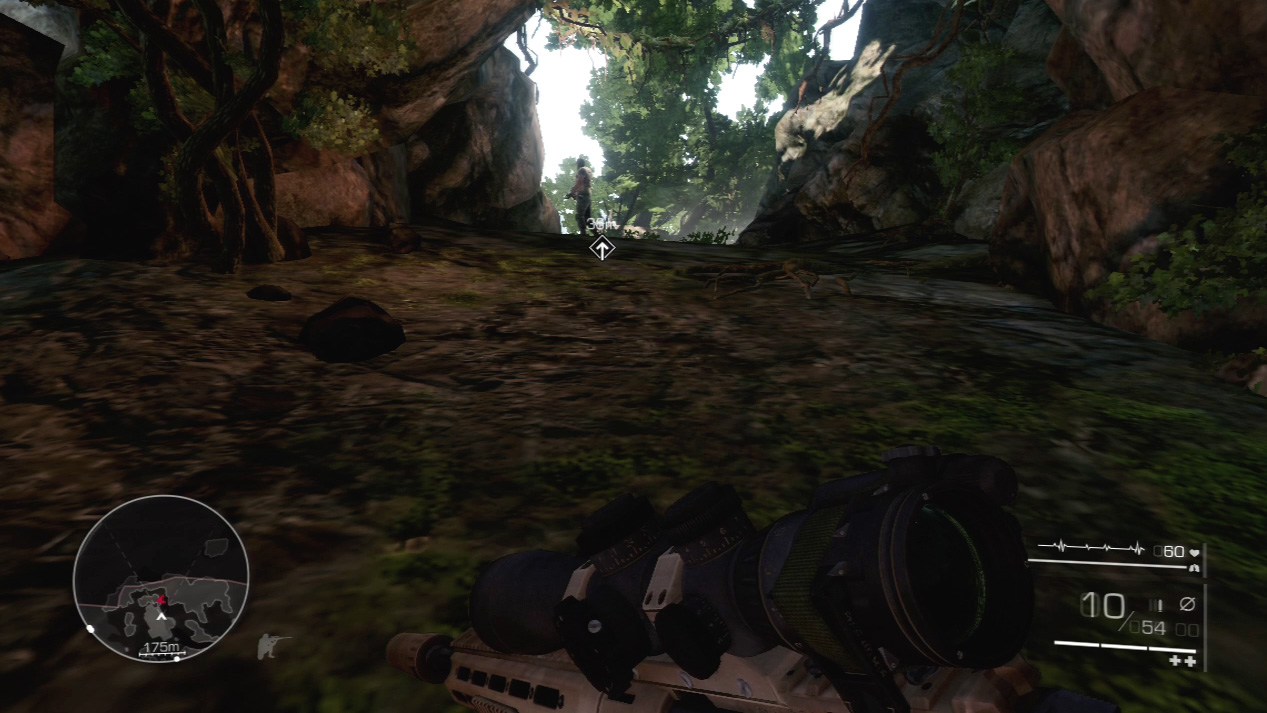
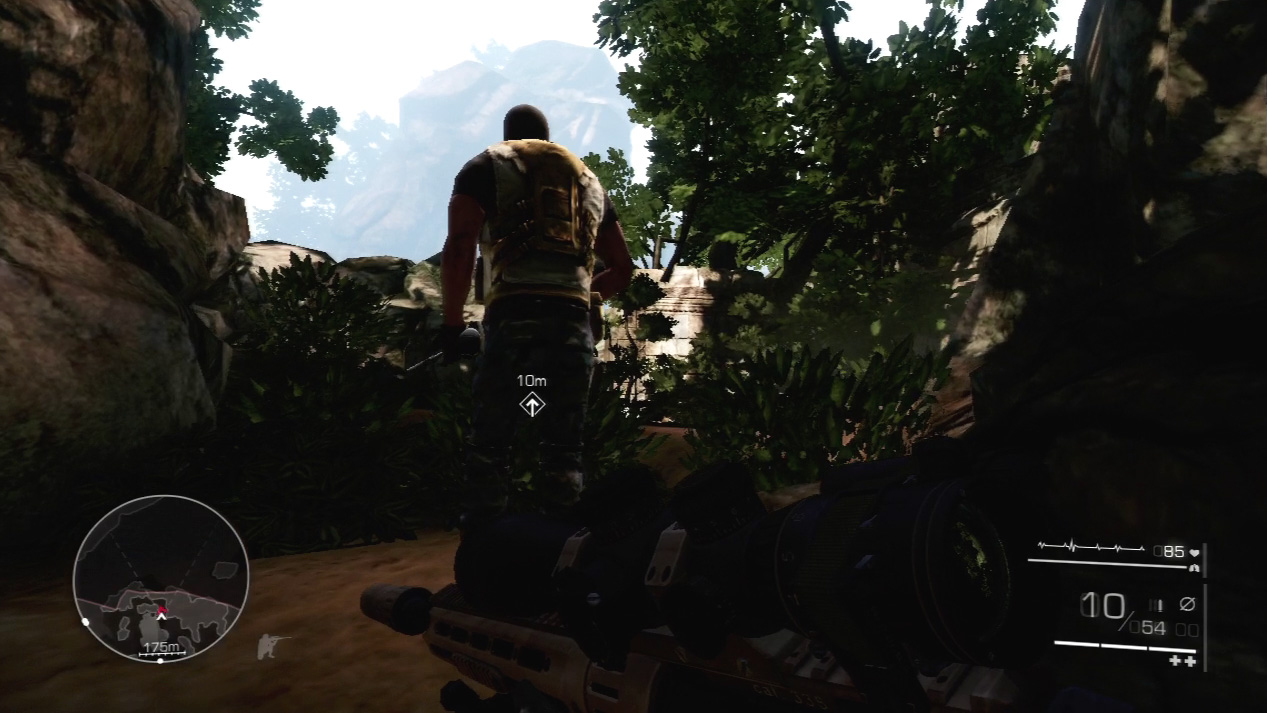
Sneak up the hill and keep your eyes on the enemy standing up top. He walks back and forth, but if you stay close the right cliff face, you can get close enough to execute your second stealth kill.
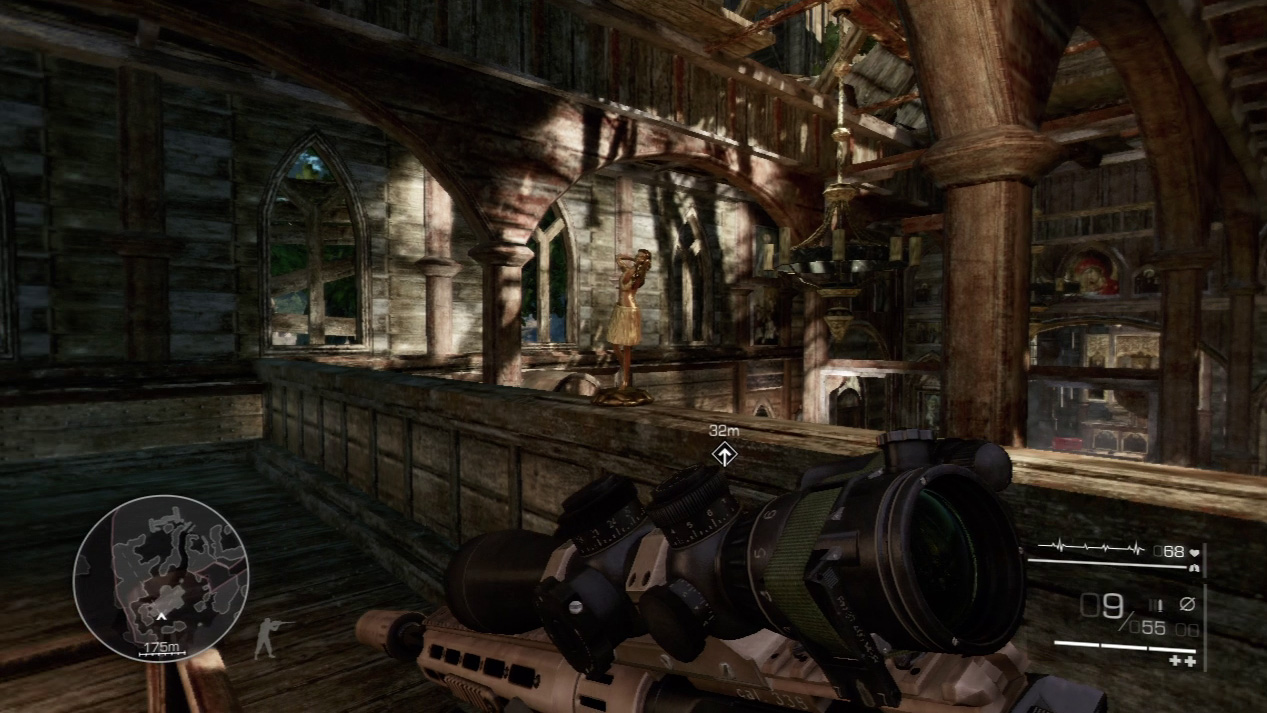
Act 1: Secret 4
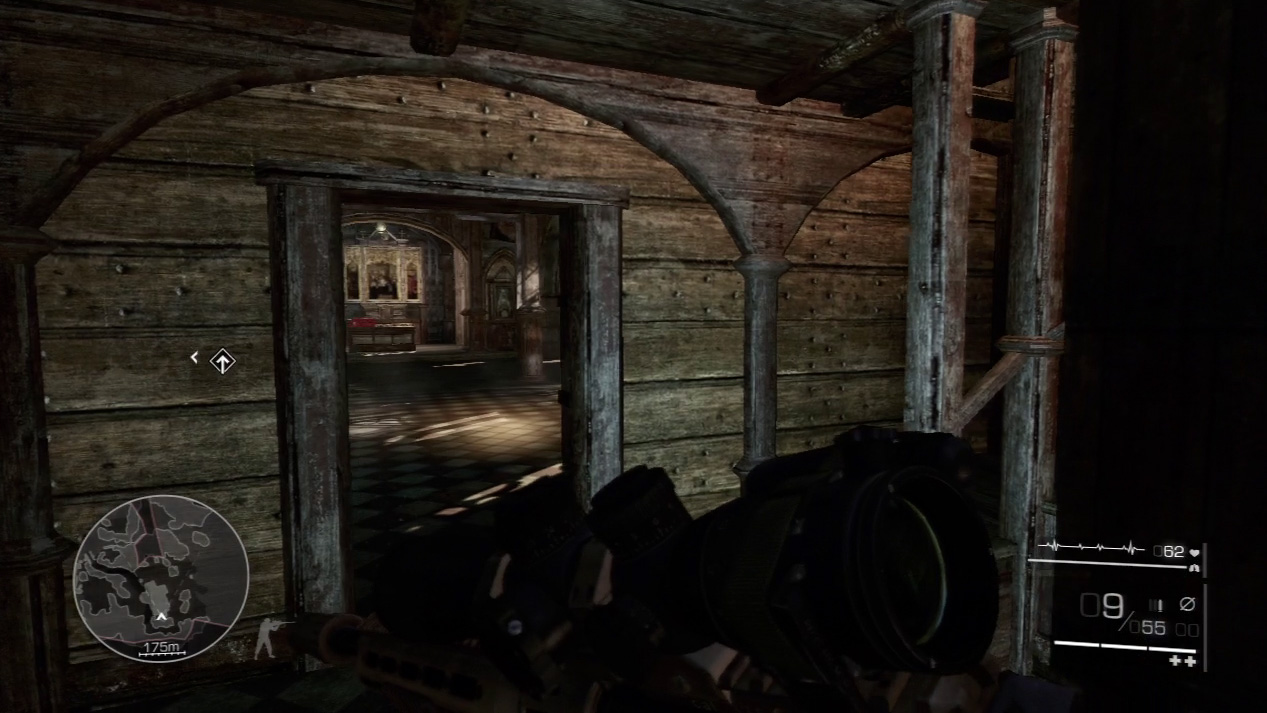
The fourth secret is inside the church on the upper floor, before you climb the steps to the tower. Take the stairs in the foyer and you’ll spot the statue sitting on the rail, overlooking the ground floor.
Waypoint 21
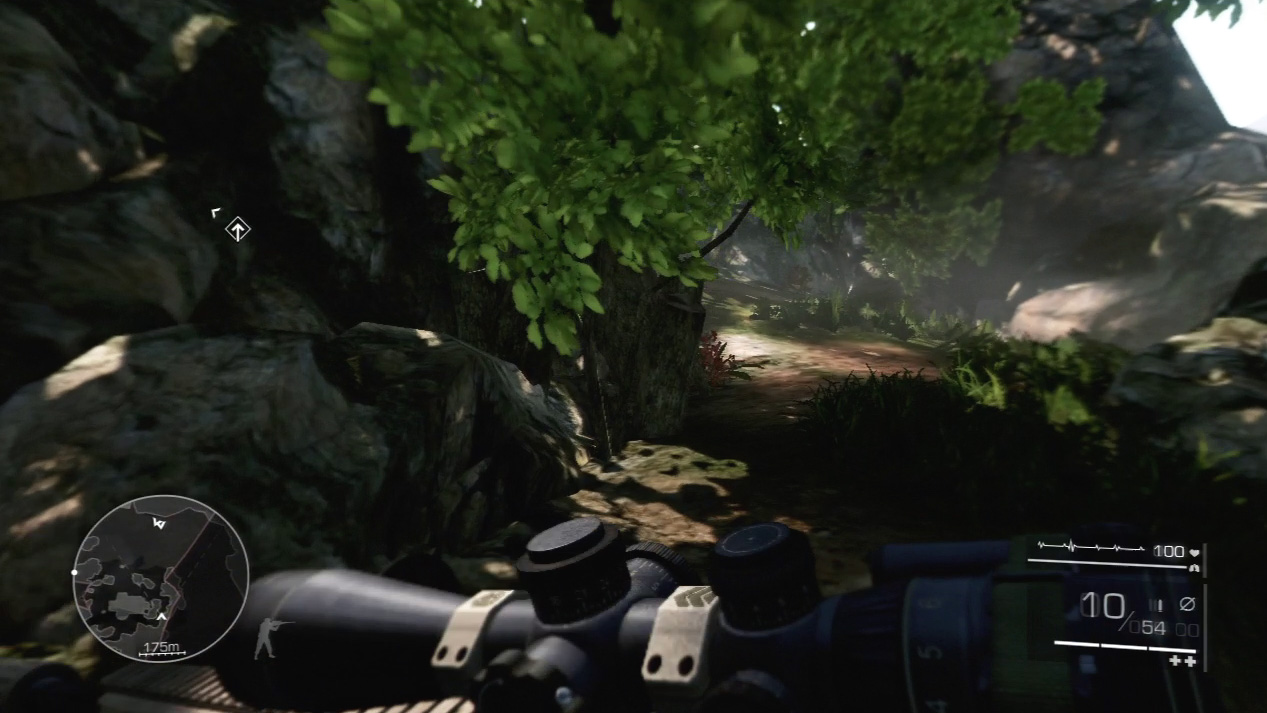
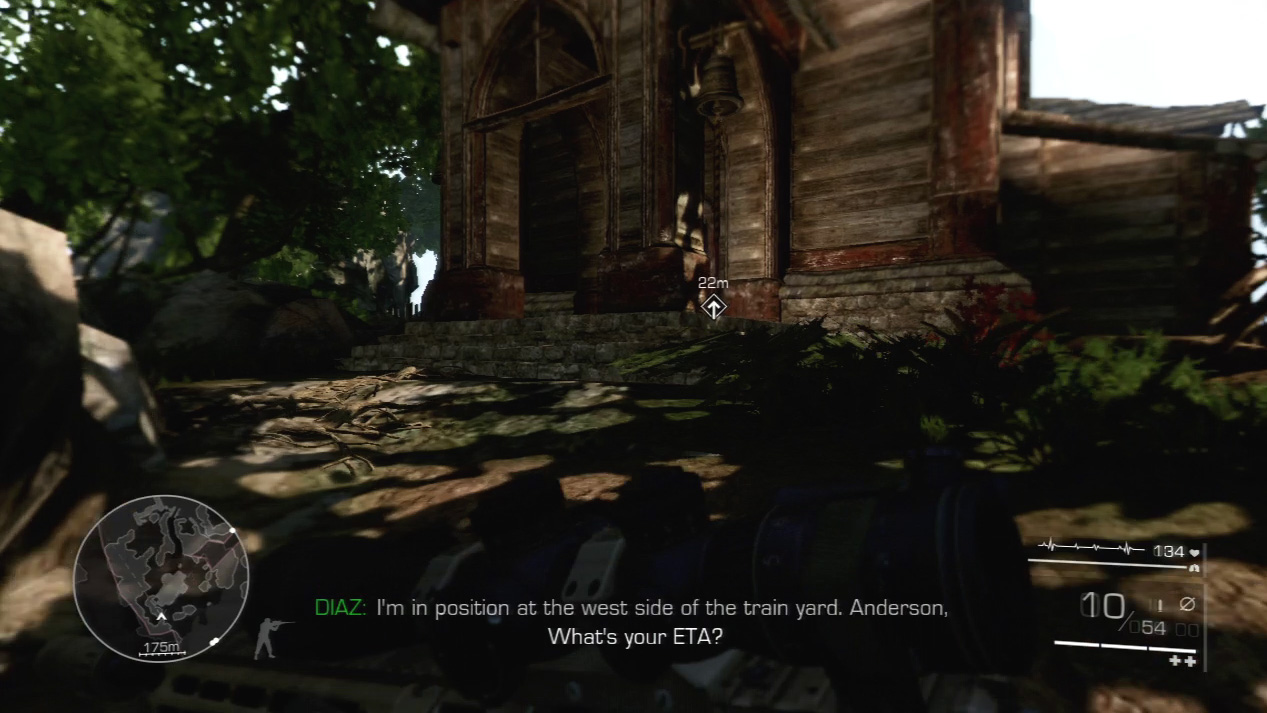
Climb the mountainside until you reach the church. It’s deserted so you can freely move about up here.
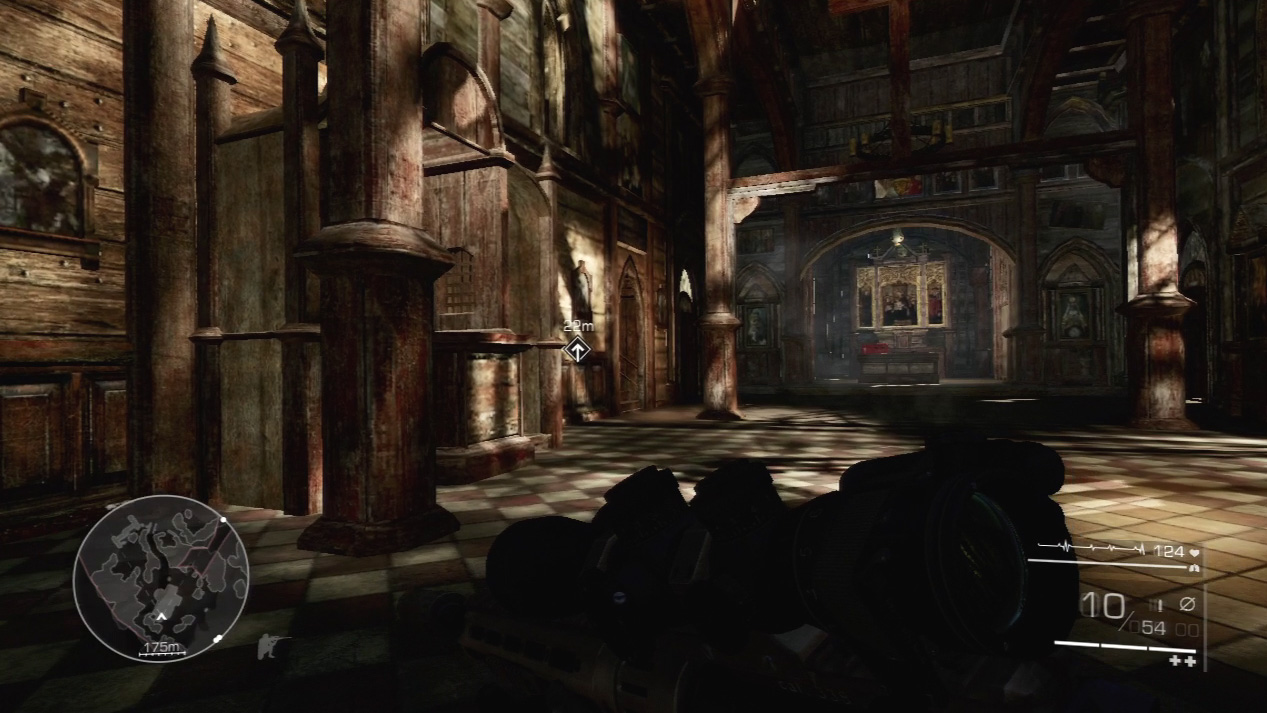
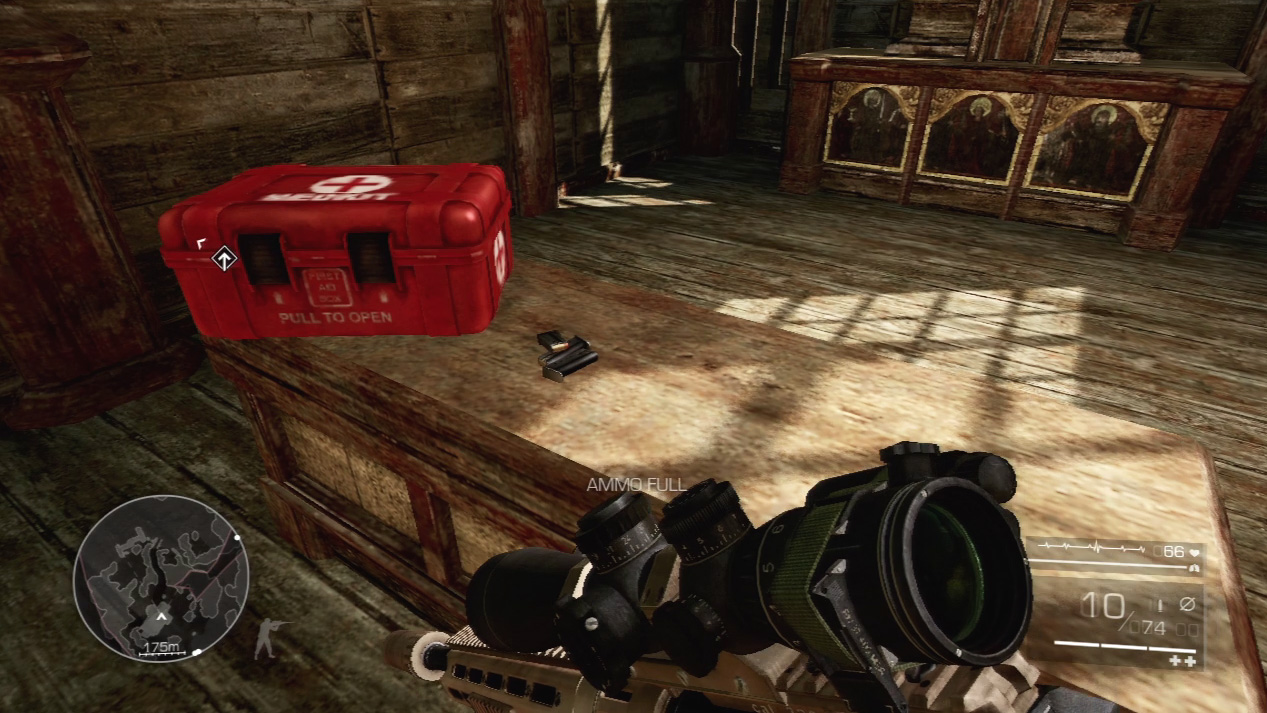
Look for the extra ammo and red medkit on the church’s ground floor. Restock before you climb up the stairs to the bell tower.
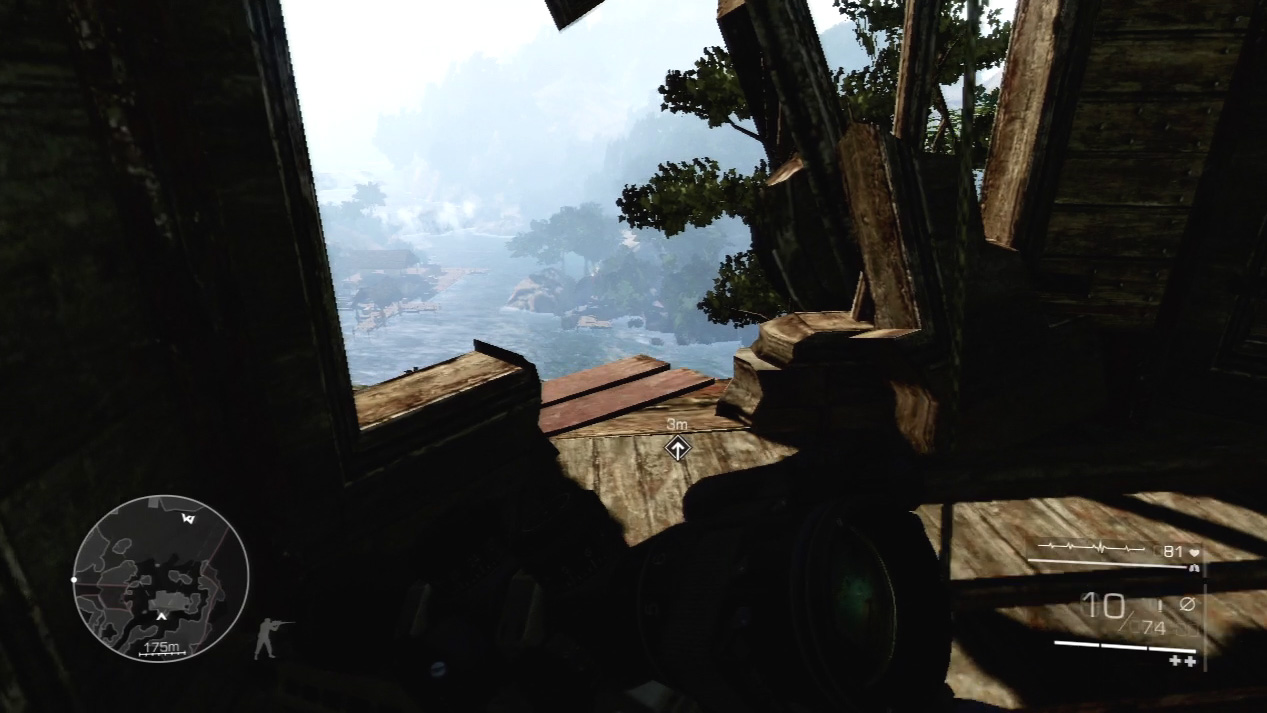
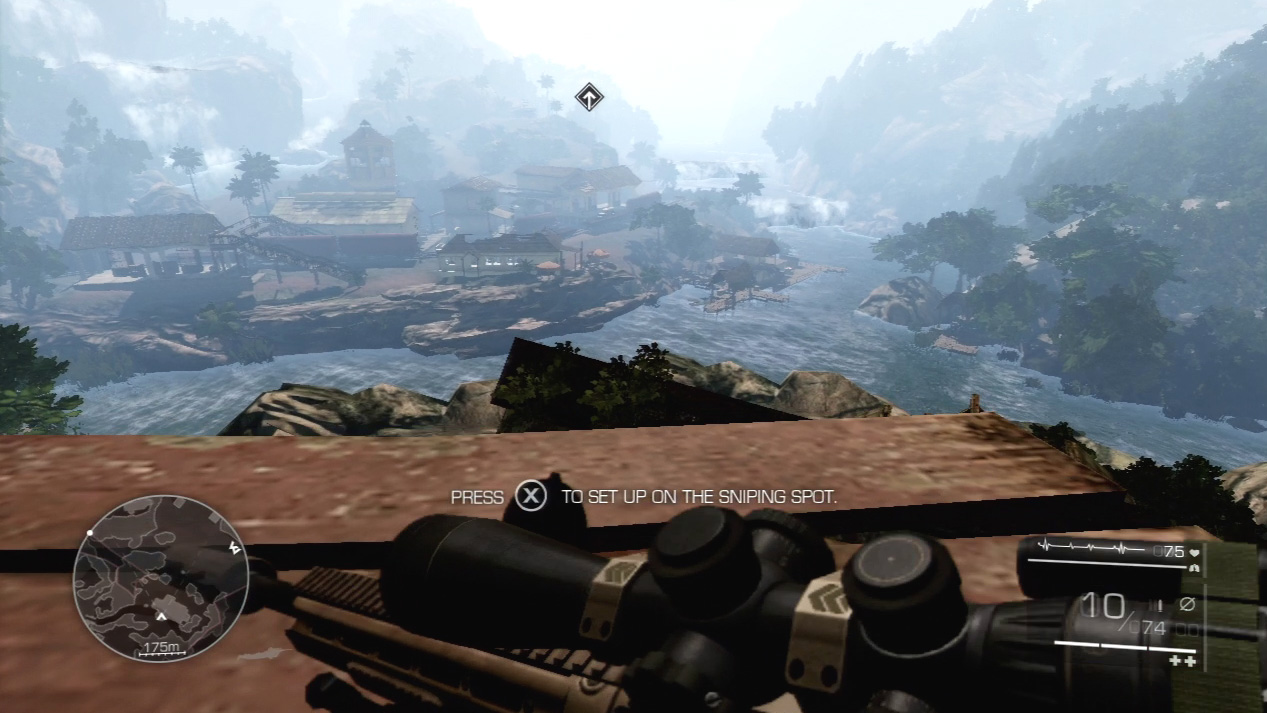
At the top of the tower, set up your sniping spot on the ledge overlooking the villa below. Crawl out to the edge until you have a great view of the surrounding countryside.
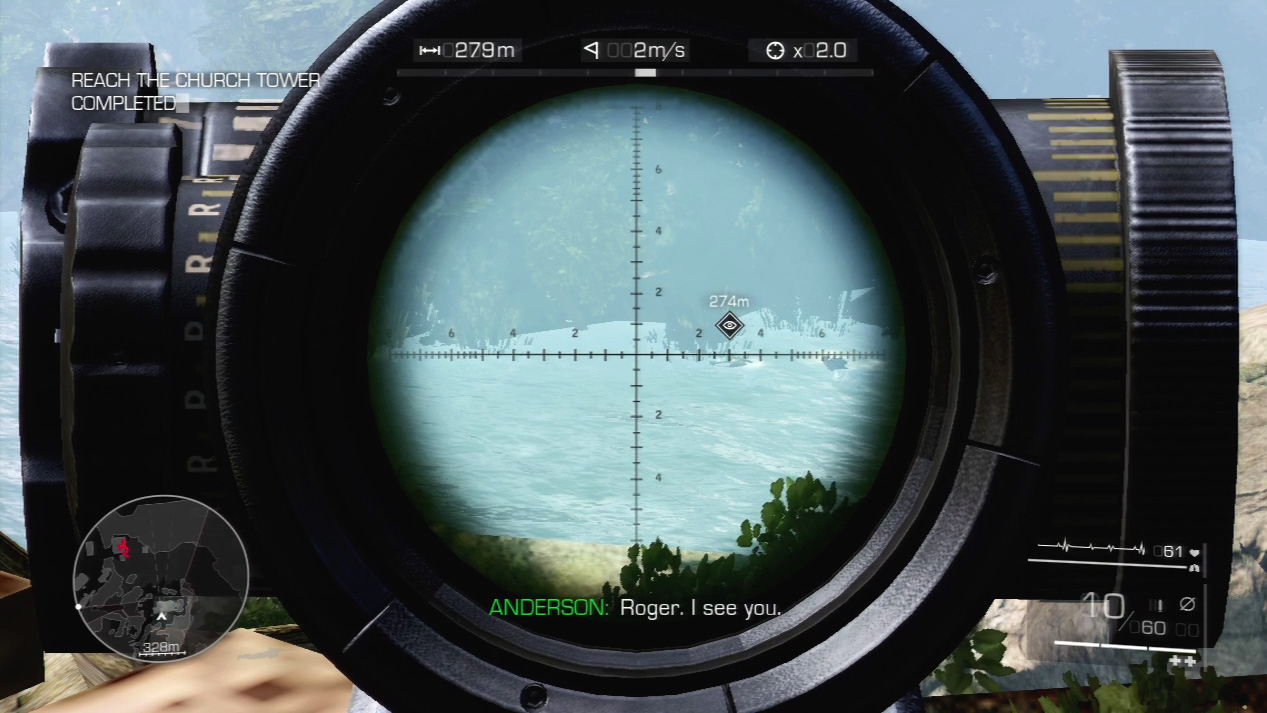
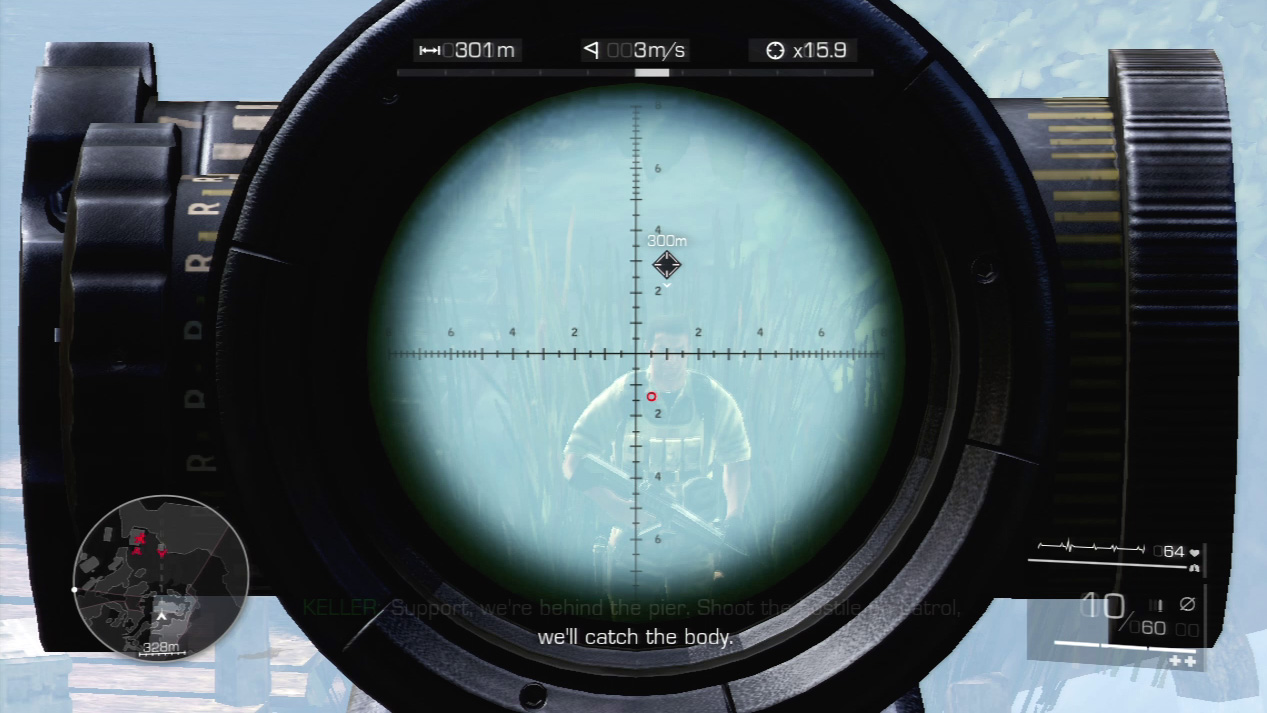
The assault team approaches the villa from your right. Watch for movement in the water as they near the pier. An enemy guard patrols the pier. Wait for him to reach the end of the pier, then snipe him so that the assault team can enter the villa without meeting resistance.
Expert Mode
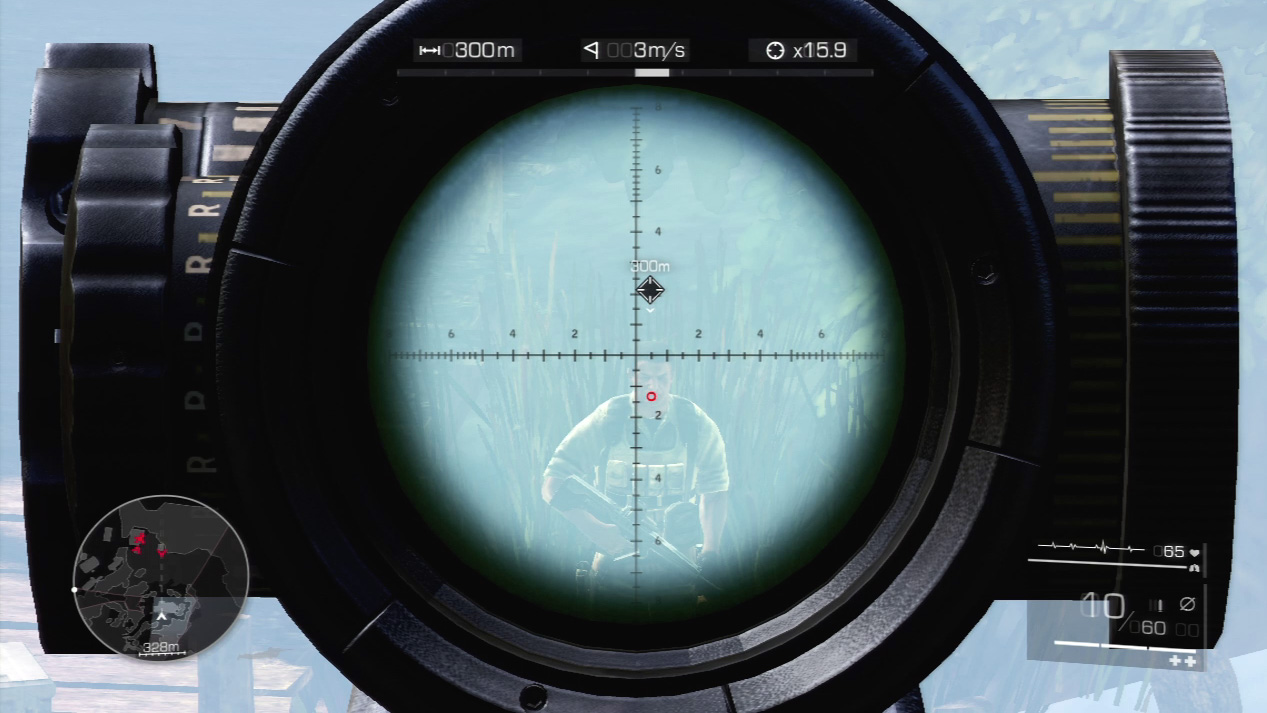
- Distance: Approximately 300 meters
- Wind: 3 meters/second (blowing right)
- Magnification: 15.9x
Gravity will drop the bullet between the second and third reticle line below the bull’s-eye. Wind will push your bullet to the right about one reticle line. Keep in mind that this is a relatively close shot from this sniping spot; future shots will move the shot farther down and to the right.
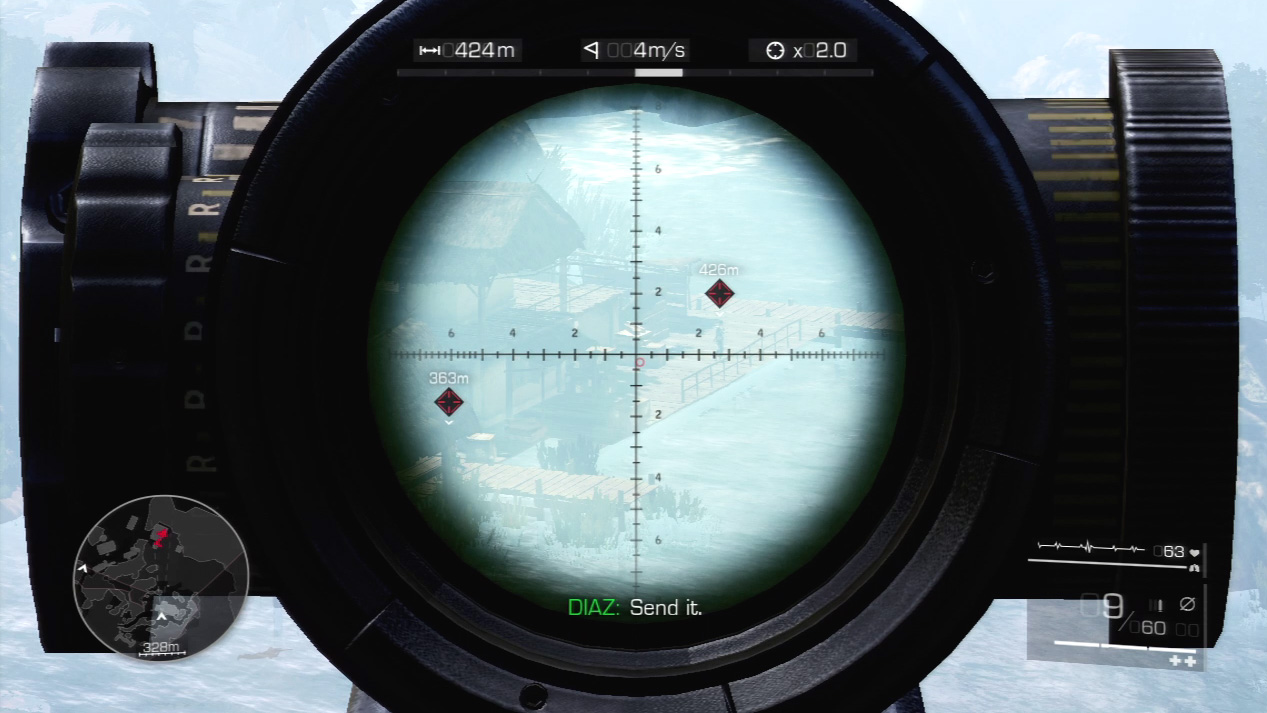
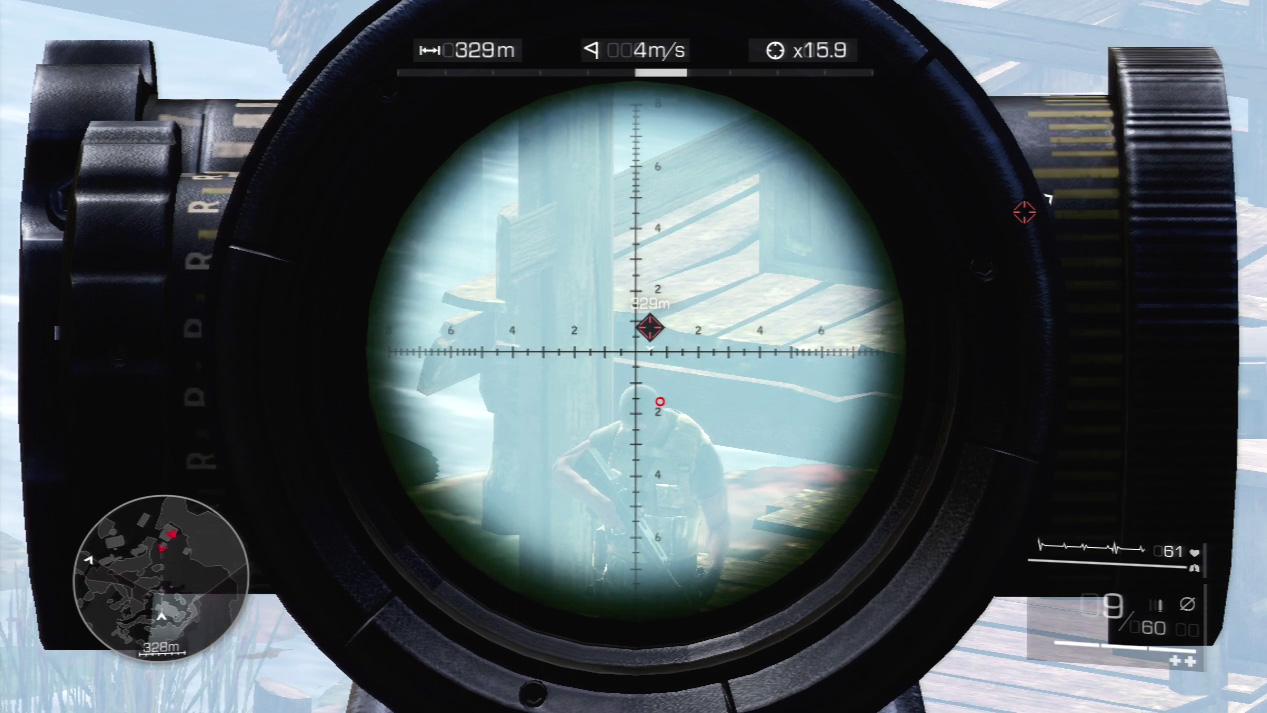
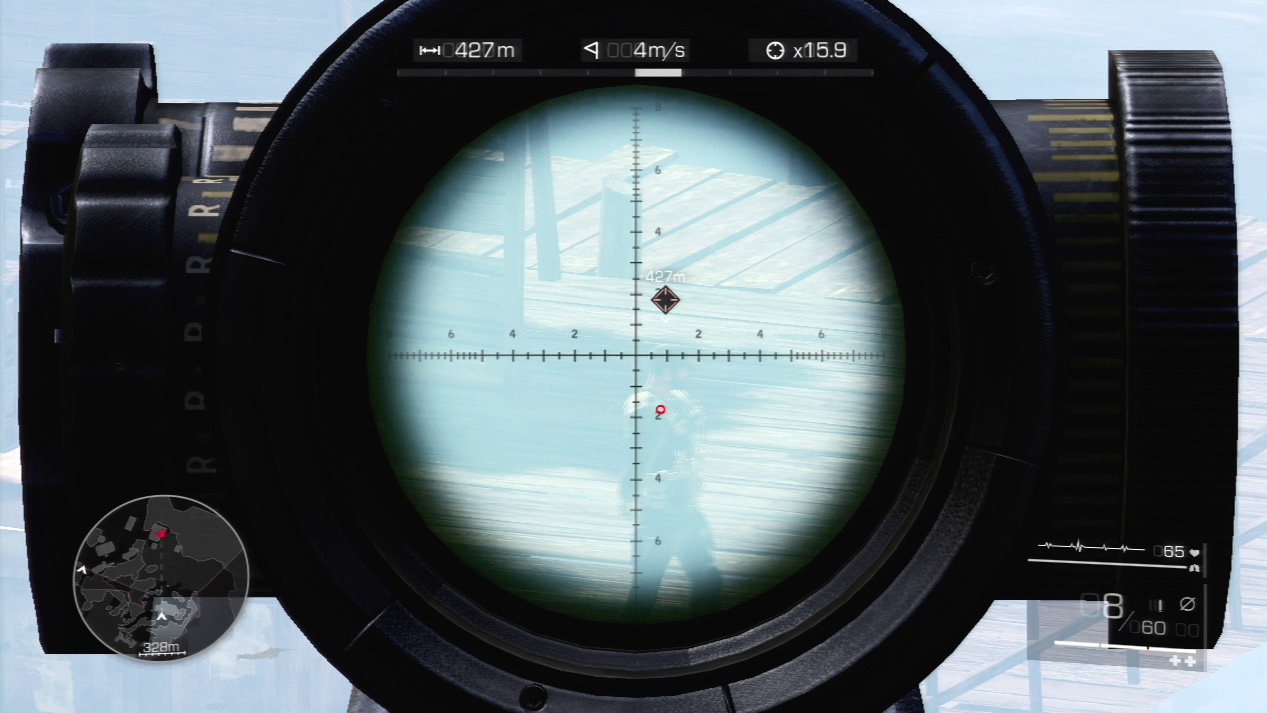
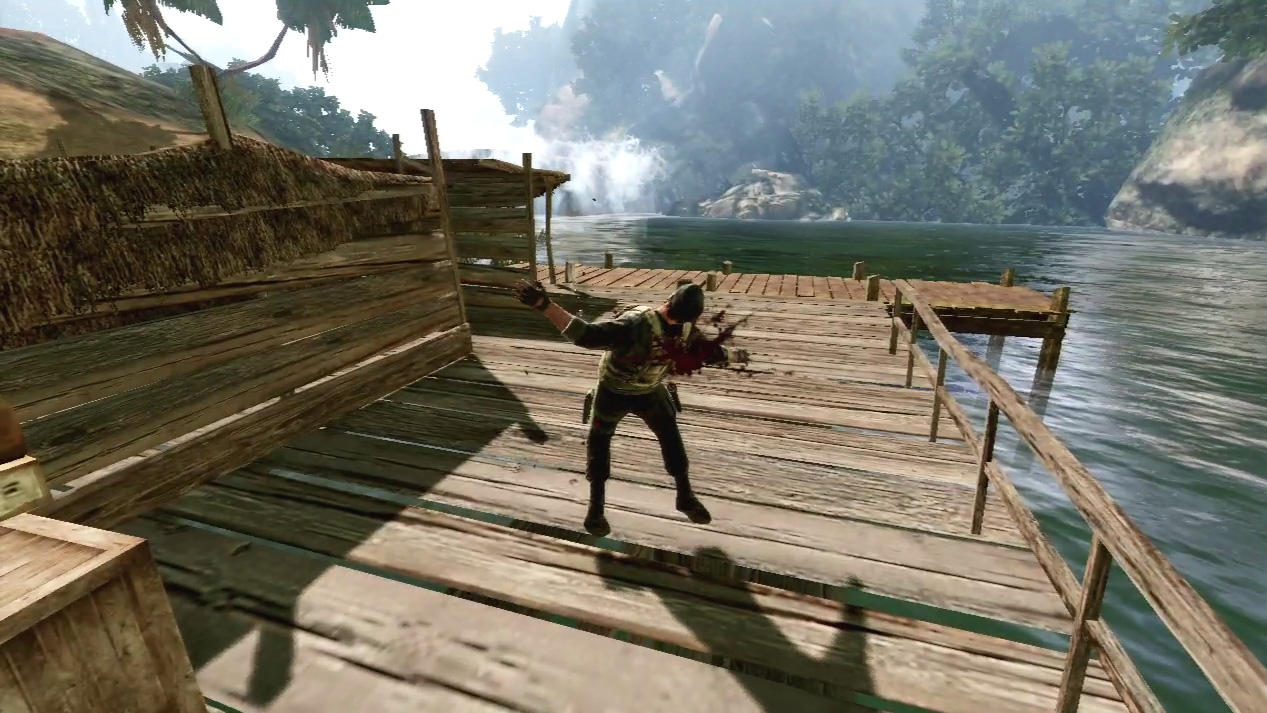
Shift your focus to the left and you’ll see two hostiles on the first hut by the shore. Don’t shoot at them immediately. You have to wait until both enemies have their backs turned to each other. When they can’t see each other, take out both targets one by one.
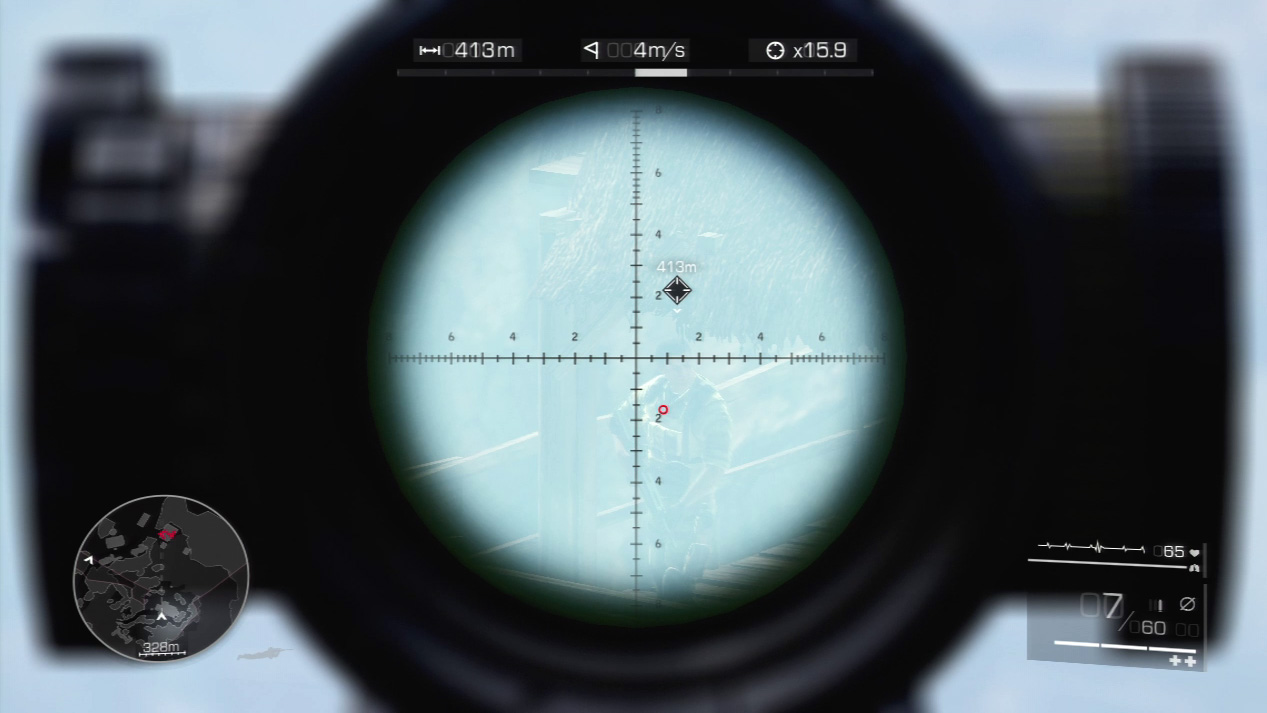
Continue scanning left to the nearby balcony. Diaz calls out the next enemy and you have to make a quick, accurate shot to eliminate the new enemy.
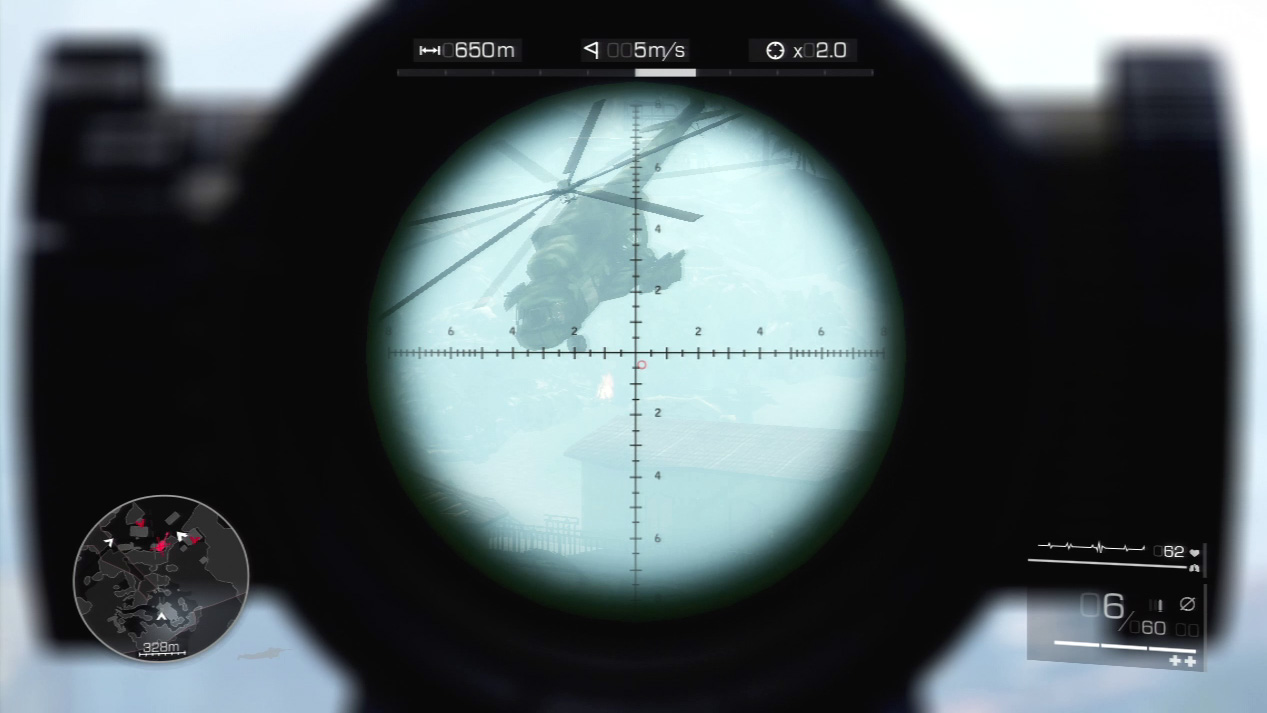
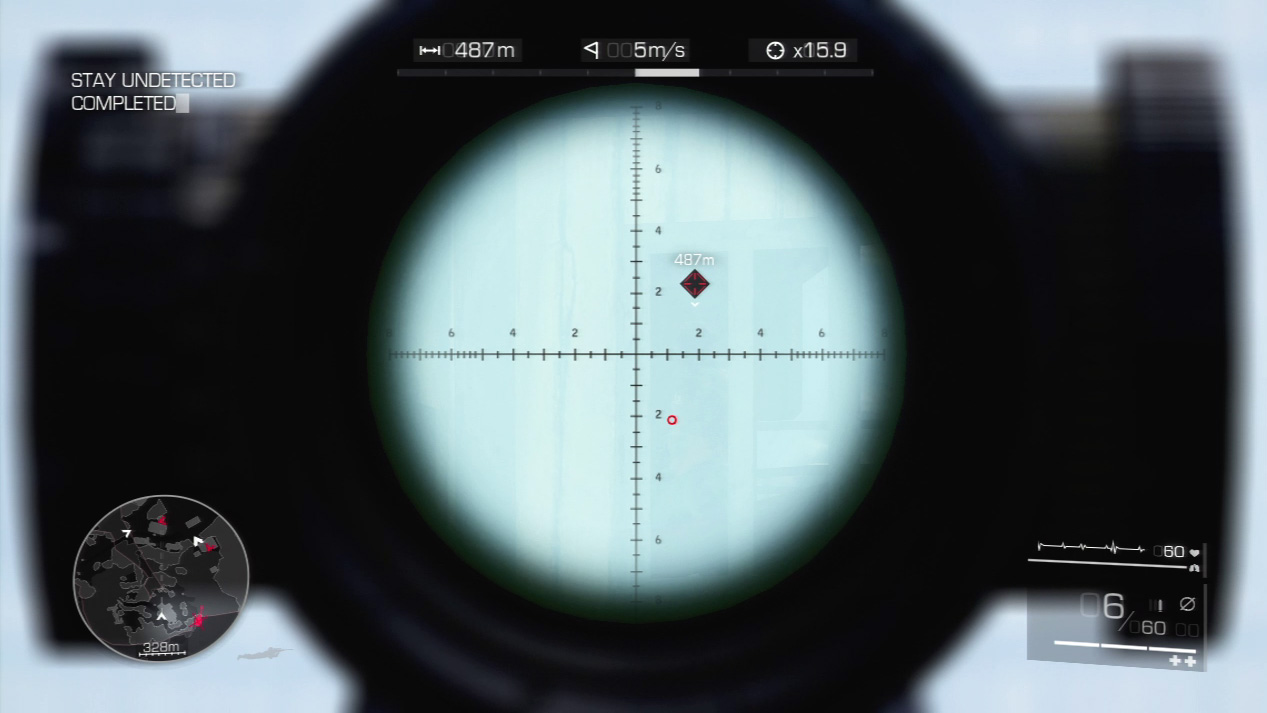
Diaz spots a sniper in the tower. You must bring him down before he spots the bodies on the pier. However, before you can line up a shot, an enemy helicopter whirls into view. You don’t have the firepower to deal with a chopper, so hold your fire until after the helicopter leaves the area. Find the sniper in the tower and kill him with a single, long-range shot.
]
Expert Mode
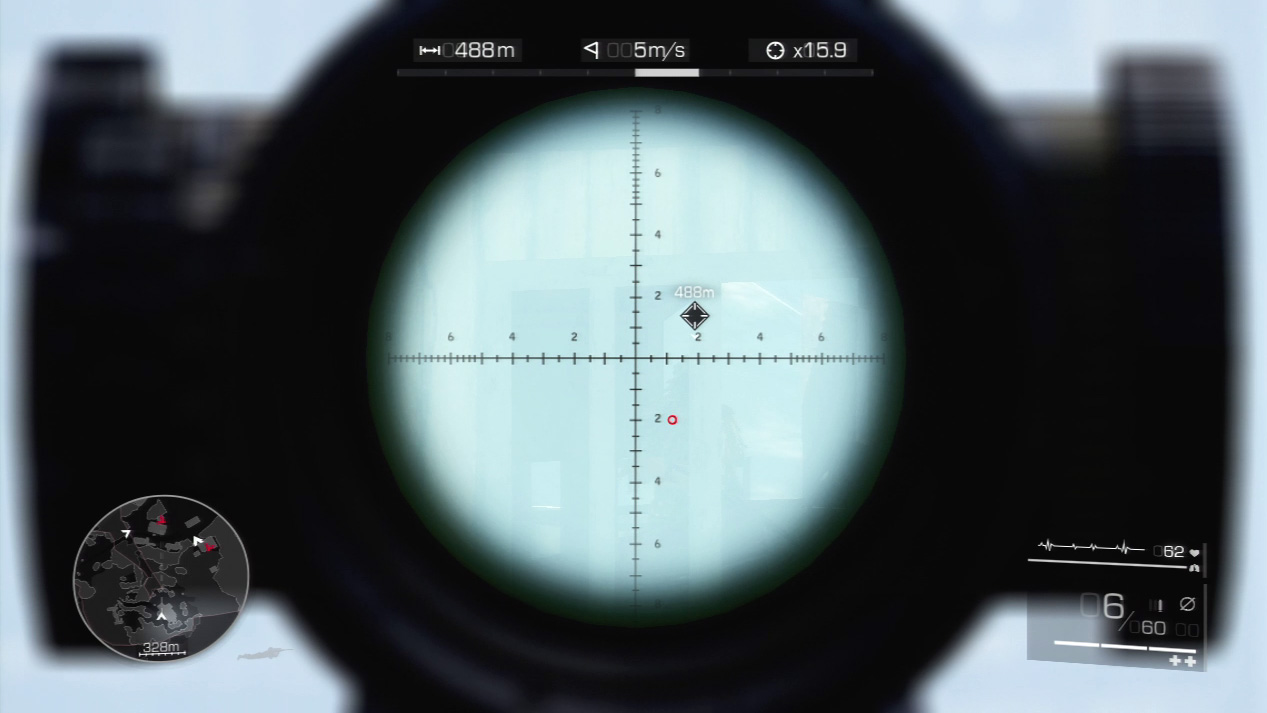
- Distance: Approximately 490 meters
- Wind: 5 meters/second (blowing right)
- Magnification: 15.9x
As promised, longer shots will slide out on your scope. This shot against the enemy sniper in the far building drops the bullet down to the fourth reticle line on the vertical axis and just beyond the second reticle line on the horizontal axis.
If you’re taking a really quick shot, line up a shot near the 2 on the bottom part of your scope and you’ll be very close, if not deadly, with your bullet.
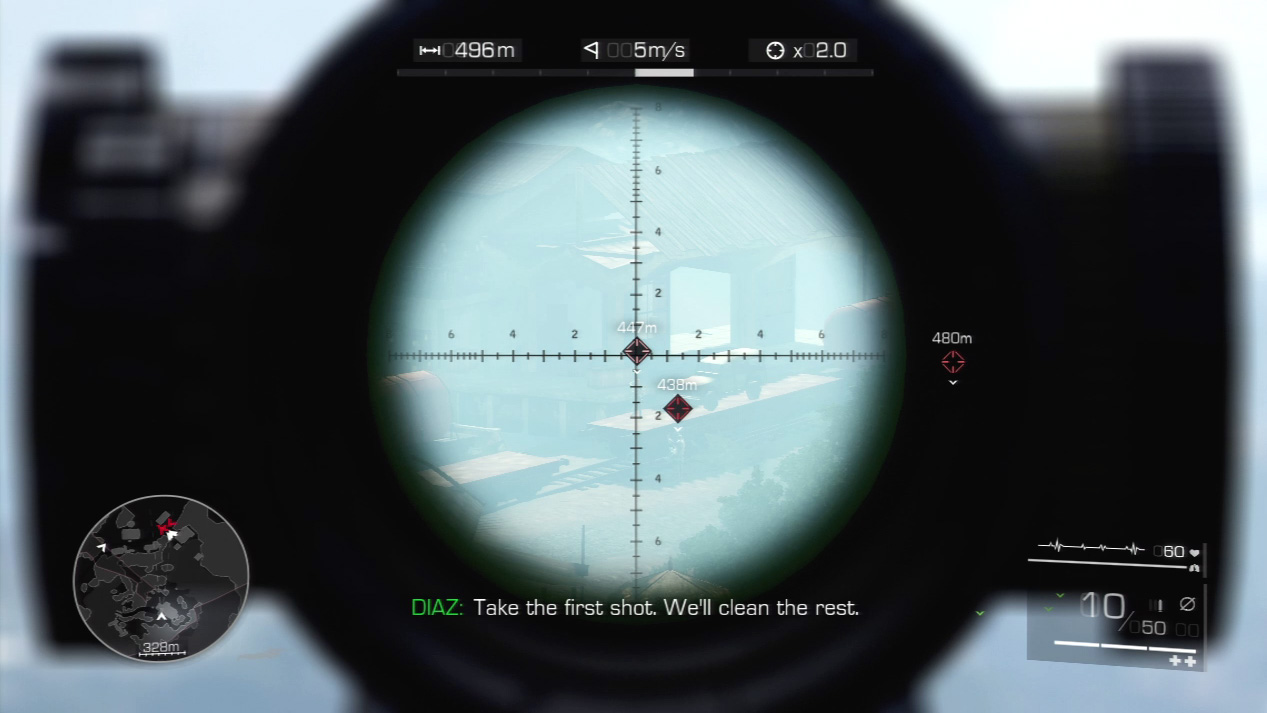
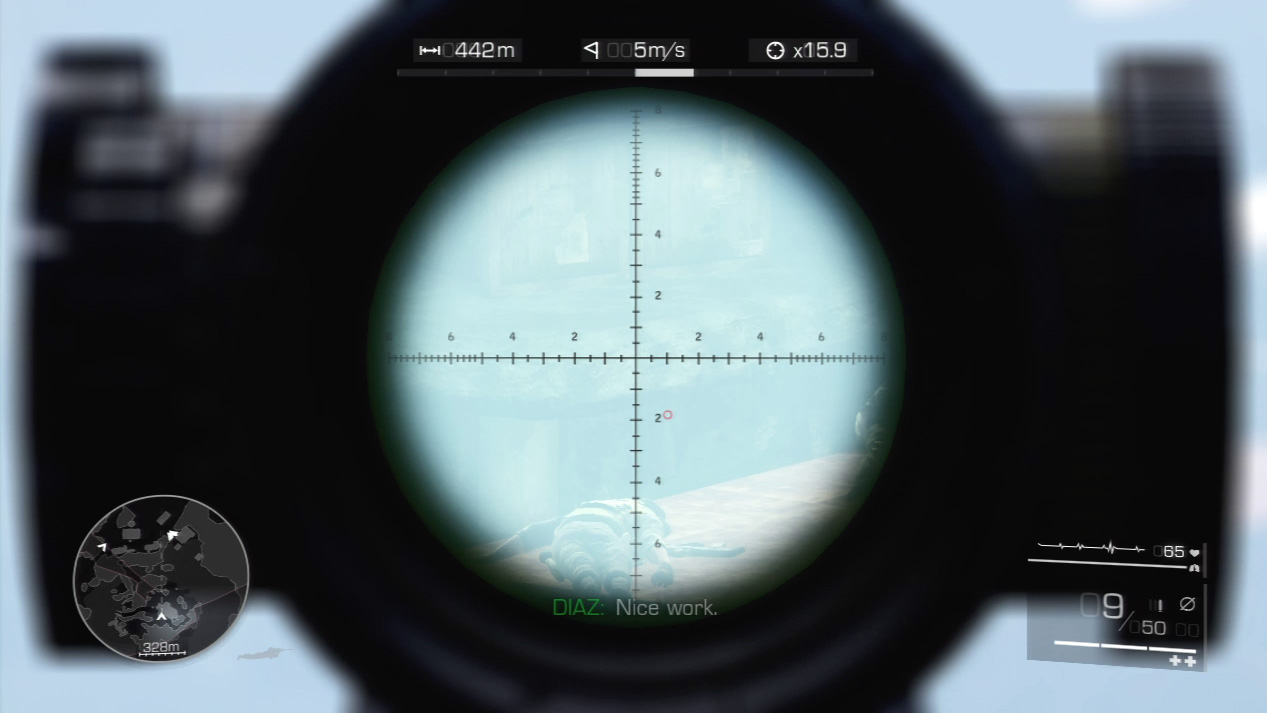
Swing down the platform near Diaz where three enemies approach. The team asks you to lead the assault by taking out one of the enemies; they’ll handle the rest.
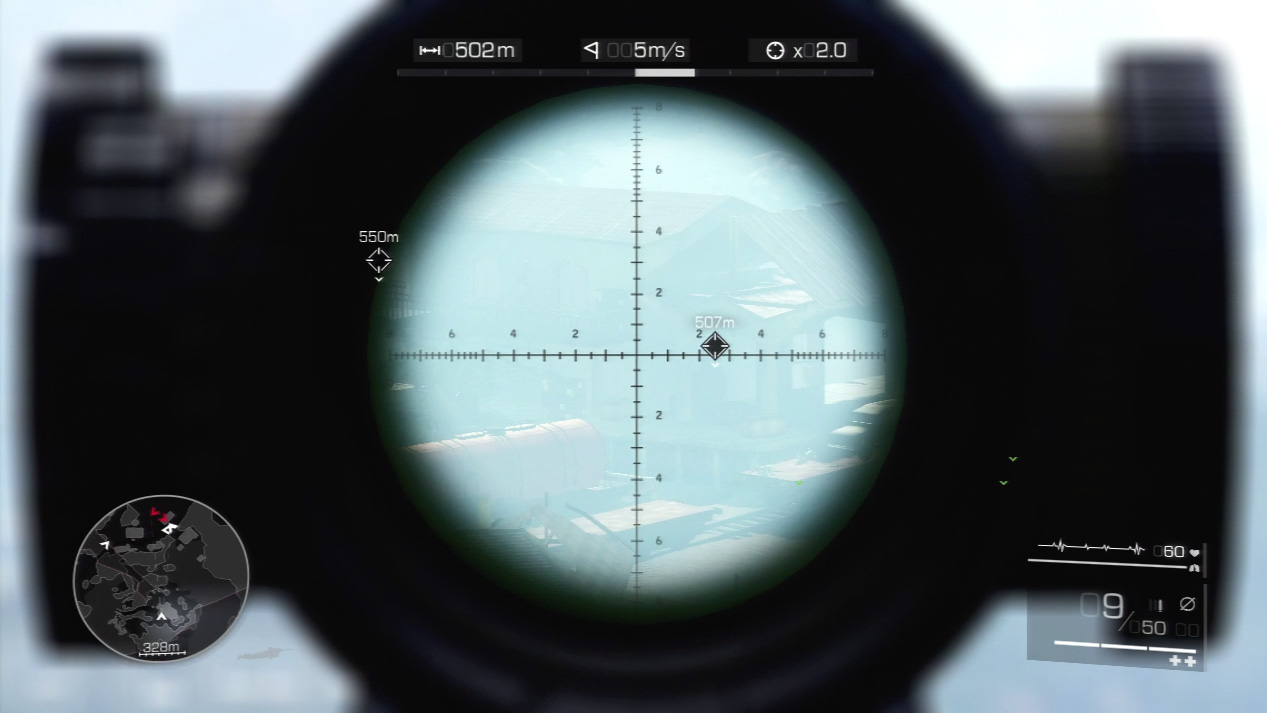
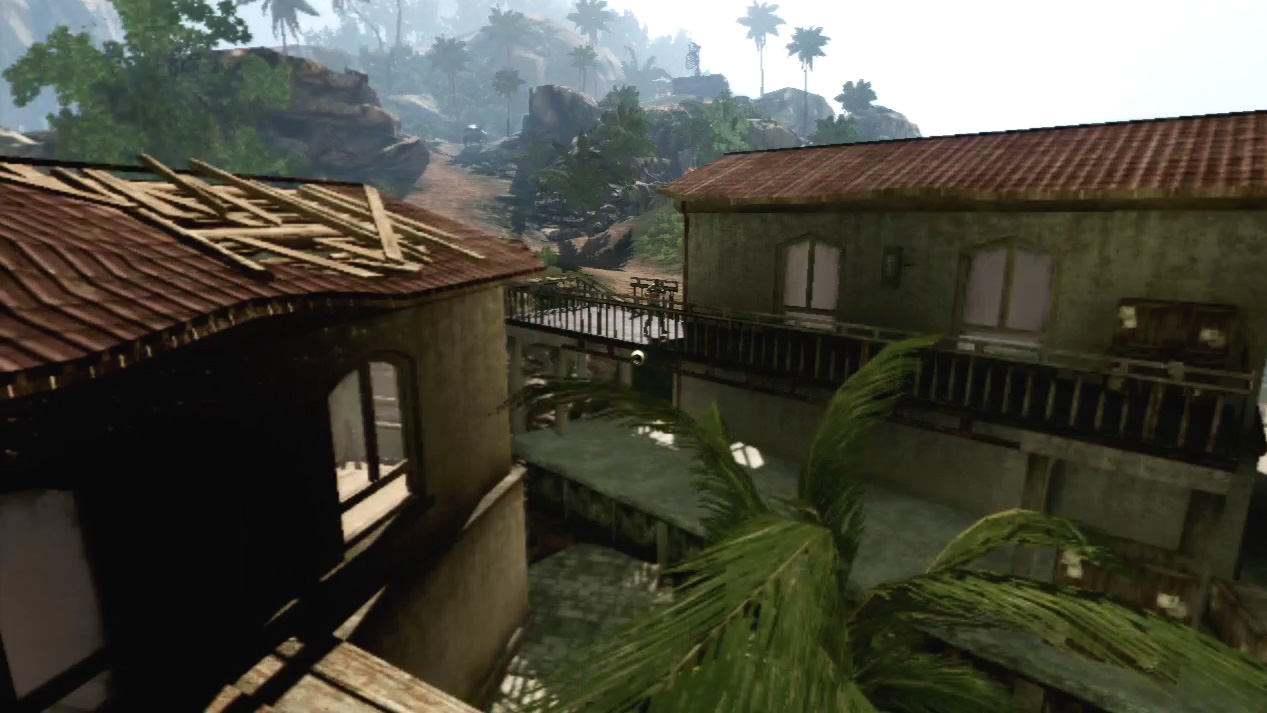
Two more enemies approach. You must take them down before they can raise the alarm. This sequence will test your skills on sniping a target and quickly reacquiring a second target.
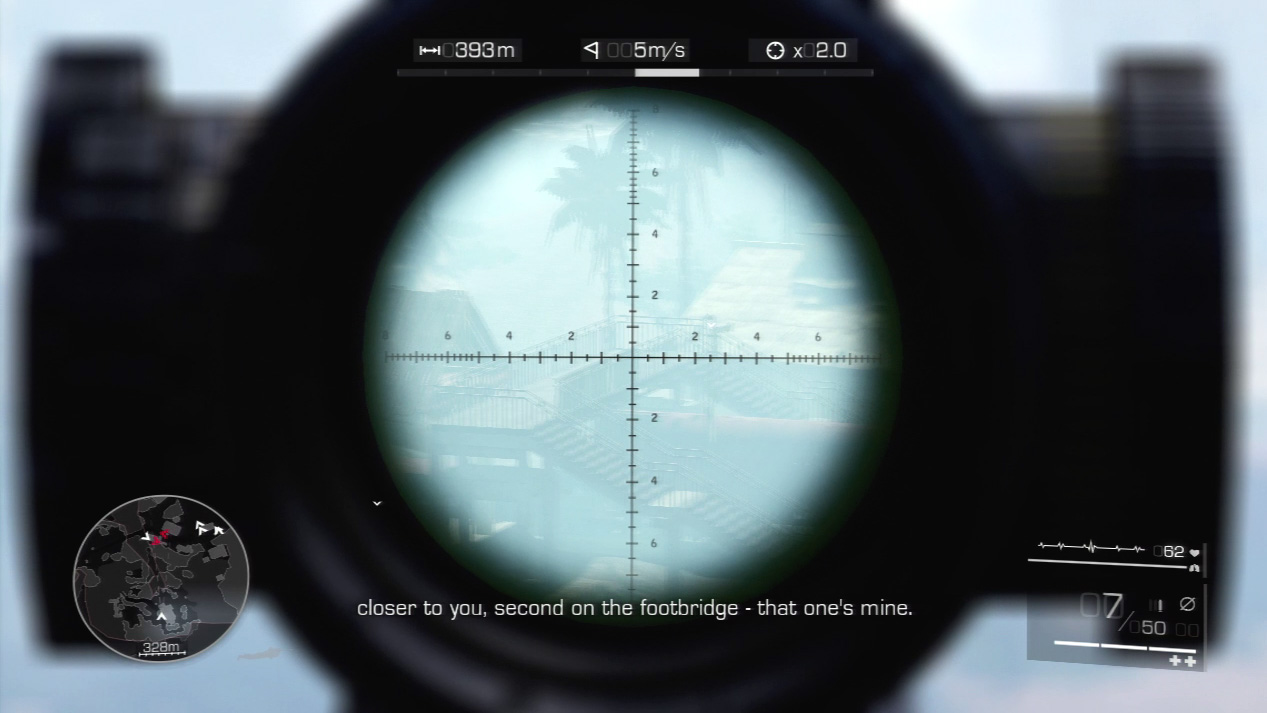
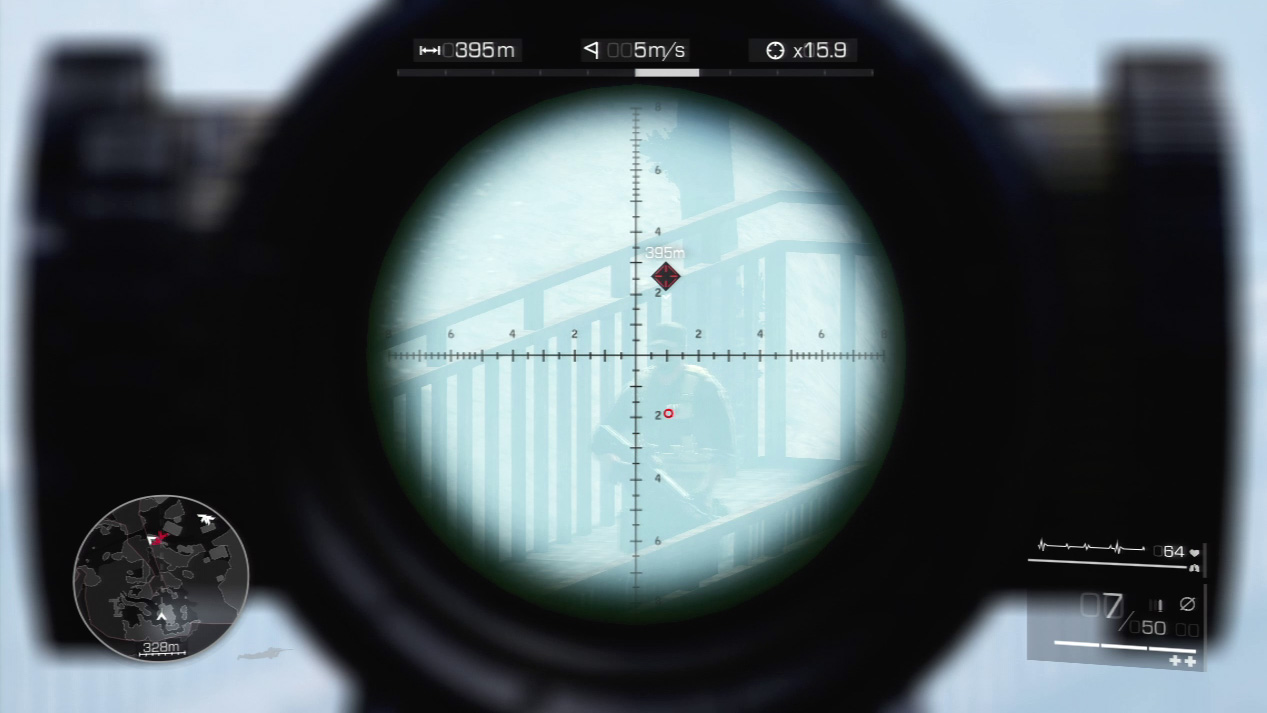
As Diaz moves out, your job is to cover him. Two enemies approach him. Diaz goes for the first, while you should zoom in on the enemy on the footbridge. Make sure you down your target quickly to protect Diaz.
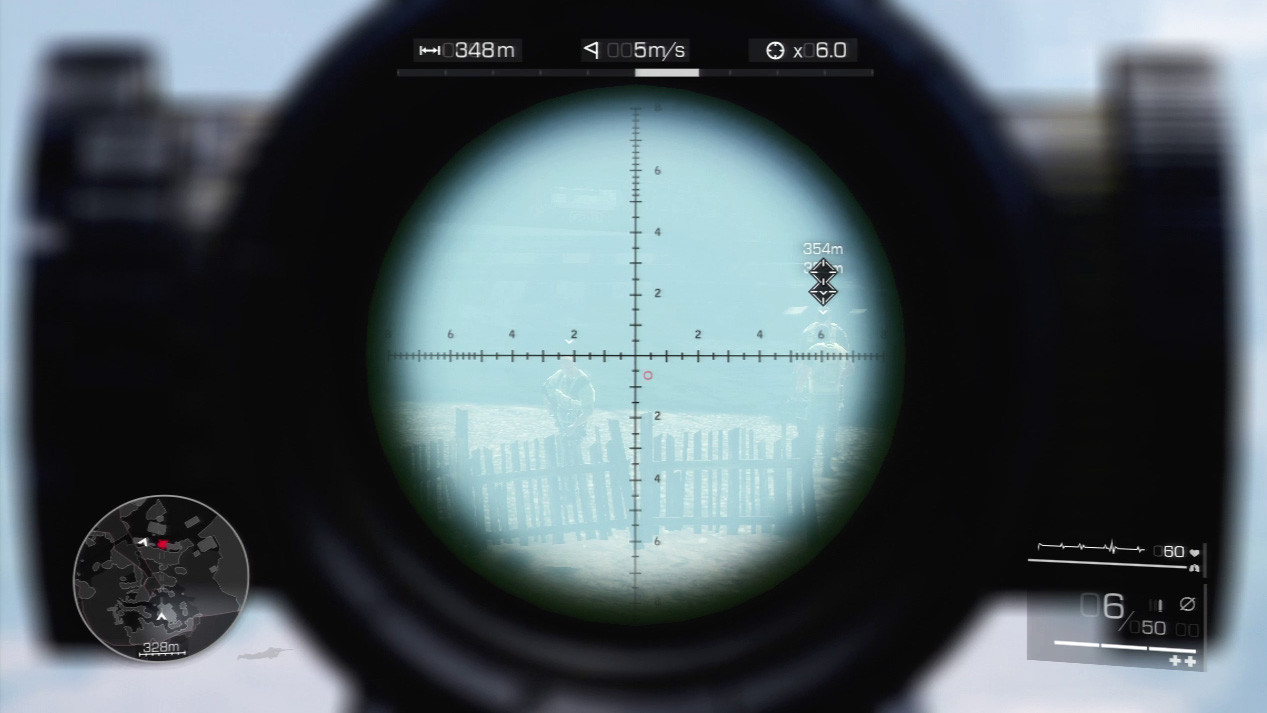
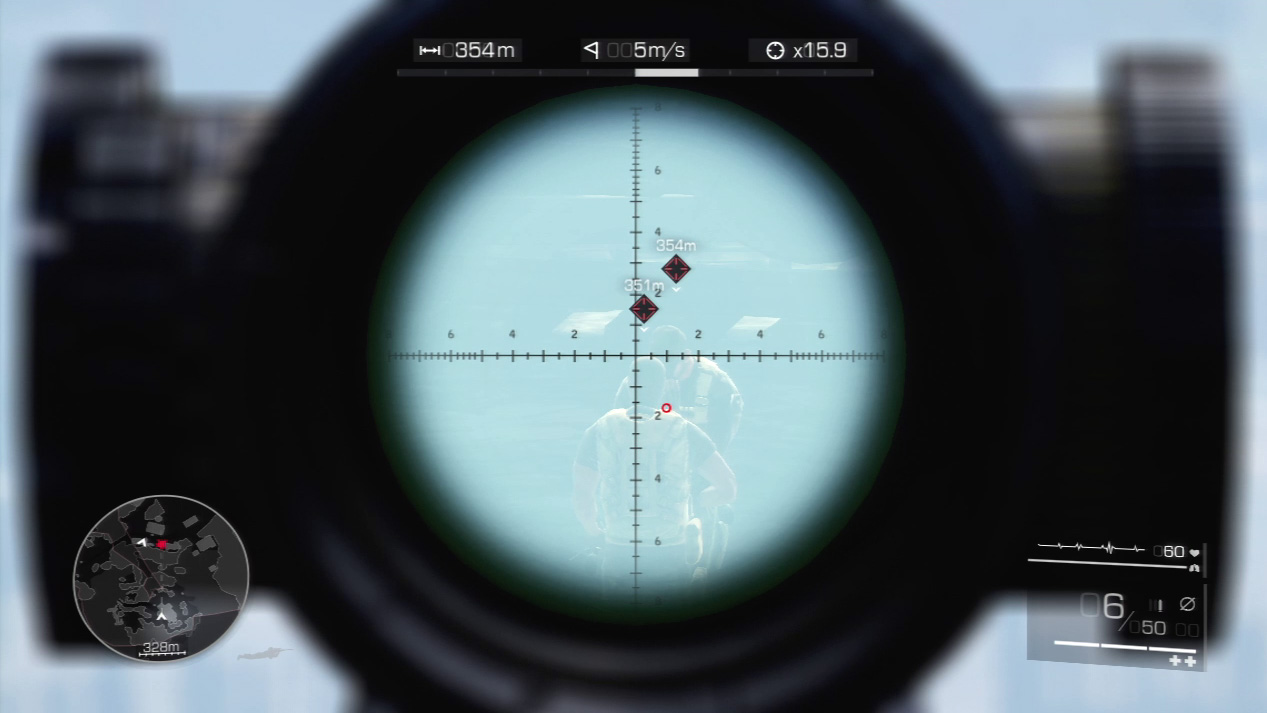
Three more patrolling enemies approach Diaz’s position from the right. When they stop to chit-chat, unload on them. It’s possible to strike the two in the rear with a double kill shot, though you can clean up all three if you fire quickly and accurately.
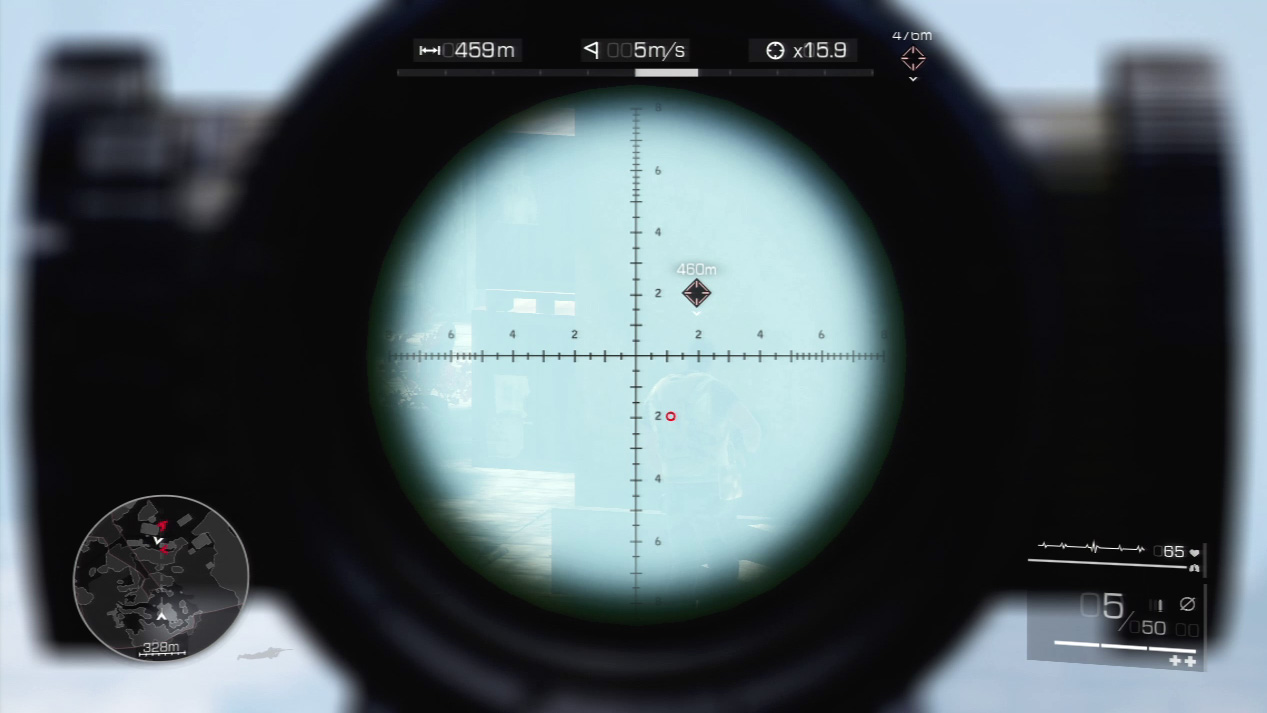
Diaz meets two more enemies en route to the rest of the assault team. Wait until the two enemies have their backs to each other and then take them out quickly.
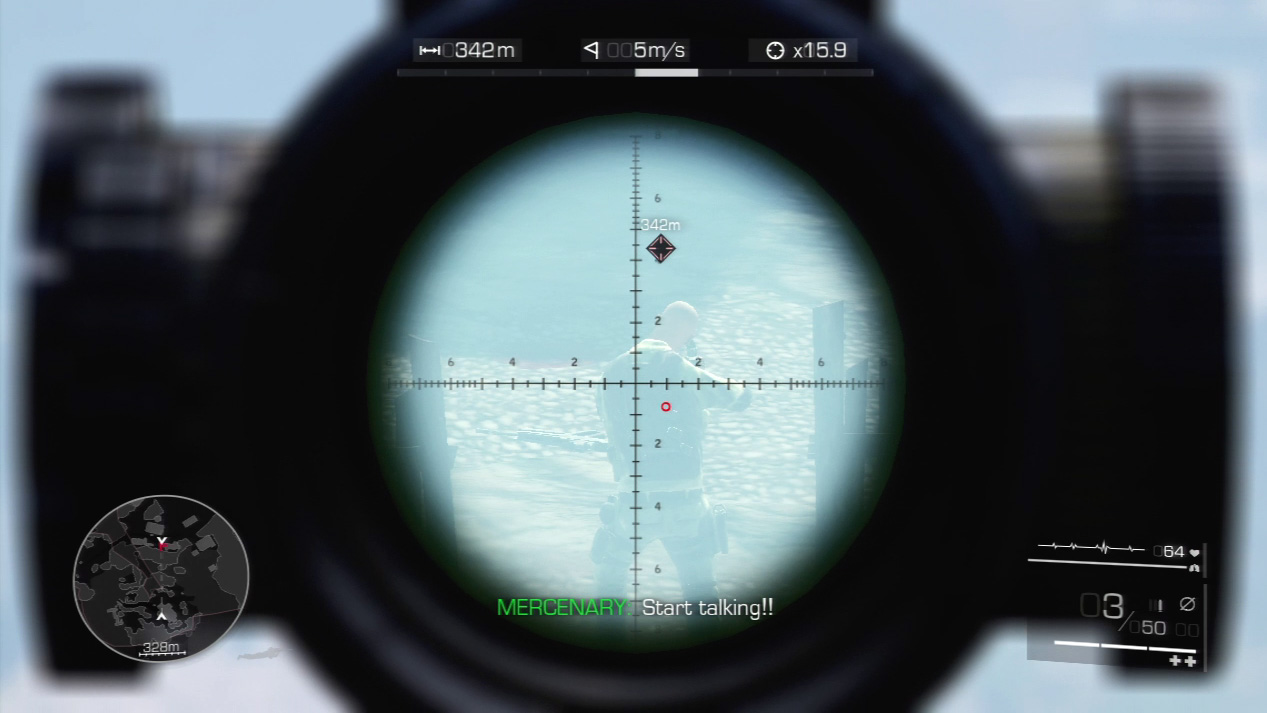
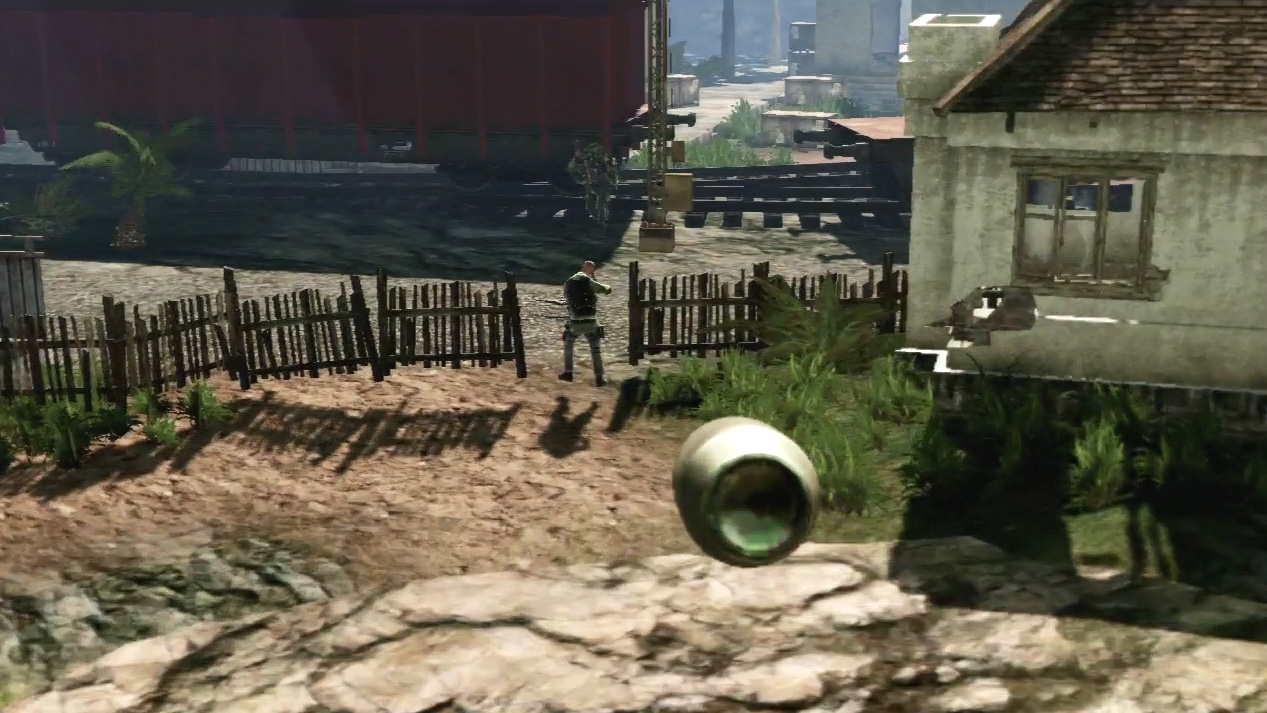
Suddenly, an enemy gets the drop on Diaz near the train tracks. If you don’t kill the enemy quickly, he shoots Diaz and the mission ends in failure. Zero in on the enemy quickly and launch a kill shot to save Diaz.
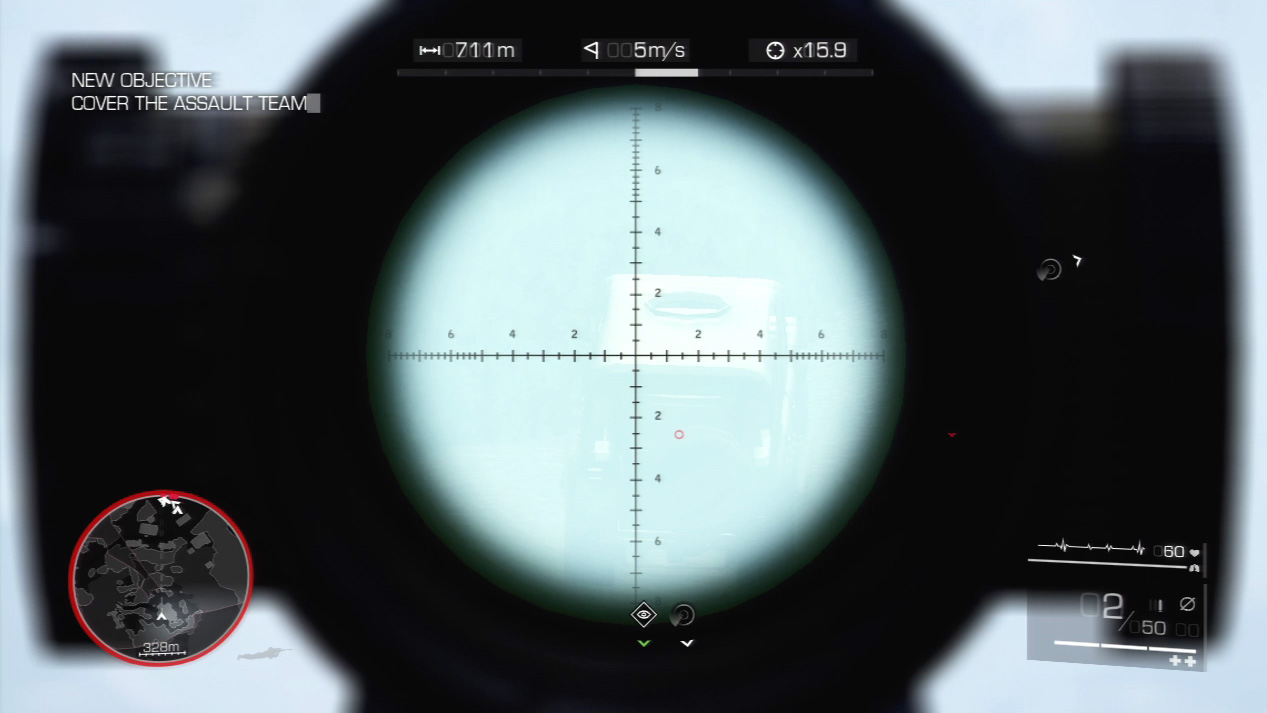
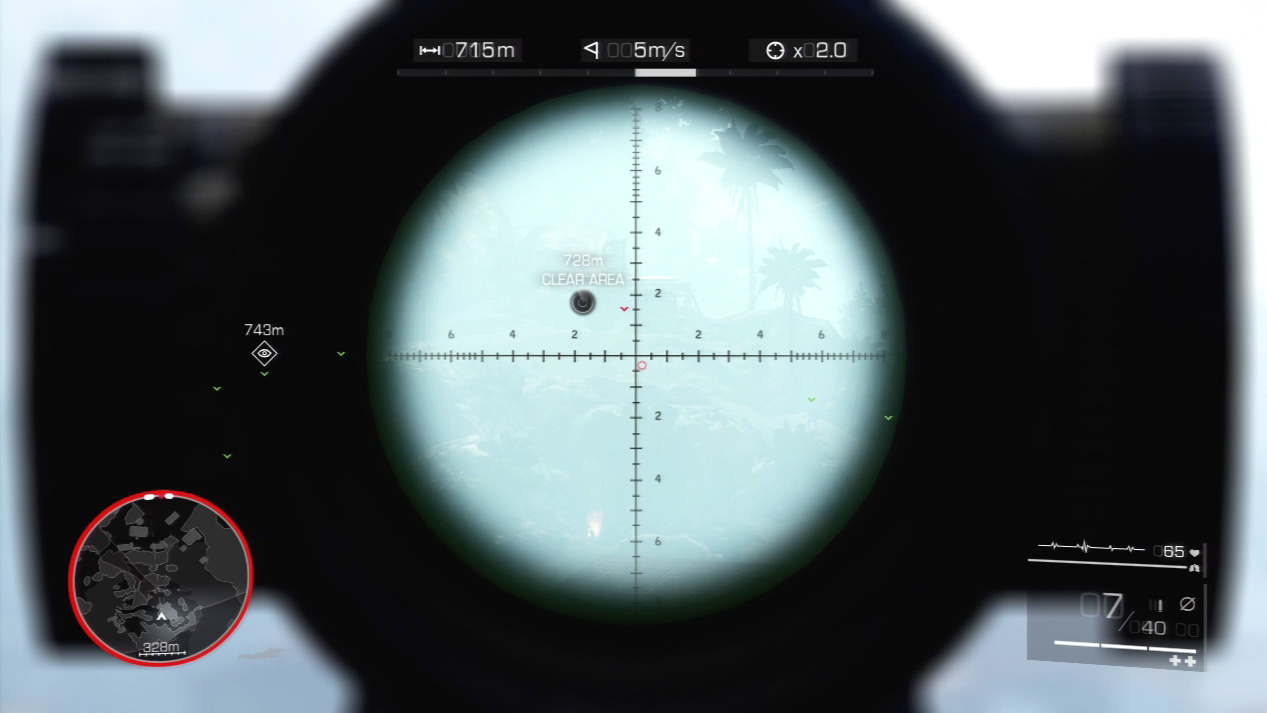
The assault team finally reaches the radar station. Give them whatever support you can by firing on any enemy that you can see. If you can take out the enemies behind cover, the assault team can advance quickly on the station.
When the last enemy falls, the team can breach the station and upload their computer virus that takes down the whole system. In the process, the team overhears that Kalalo’s men have captured an American spy. Your next mission just got more complicated.